Introduction
Welcome to the world of 3D printing! Whether you’re a hobbyist, an entrepreneur, or an enthusiast, one thing is certain – leveling your 3D printer is a crucial step towards achieving successful prints. In this guide, we will walk you through the steps to properly level your 3D printer, ensuring optimal print quality and reliability.
Imagine this scenario: you spend hours designing a complex 3D model, eagerly load it onto your printer, and hit the print button with anticipation. But as the printer starts its magic, you notice something is off. The layers aren’t adhering properly, the print seems lopsided, and the overall finish is far from satisfactory. Frustration sets in, and you wonder what went wrong.
Nine times out of ten, the answer lies in improper leveling. Leveling your 3D printer’s bed is the process of ensuring that it is parallel to the printer’s build plate. When the bed is not level, the nozzle-to-bed distance may vary across different areas, leading to inconsistent extrusion, poor adhesion, and ultimately, failed prints.
By properly leveling your 3D printer, you eliminate these potential issues and set a solid foundation for successful 3D printing. It may seem like a small detail, but trust us – it makes a world of difference.
While the specific leveling process can vary depending on the make and model of your printer, the fundamental principles remain the same. In the following sections, we will break down the steps to level your 3D printer, guiding you through the process and providing tips for fine-tuning along the way.
So, grab your printer’s manual, a bit of patience, and let’s dive into the wonderful world of leveling your 3D printer. With a properly leveled printer, you’ll be well on your way to creating amazing prints with precision and confidence. So let’s get started!
Why is leveling your 3D printer important?
Leveling your 3D printer is a critical step that directly impacts the quality and success of your prints. Here are a few key reasons why leveling is so important:
1. Print Quality: Properly leveling your 3D printer ensures that the first layer adheres evenly to the build plate. If the bed is not level, the nozzle might be too far from the bed in certain areas, resulting in poor adhesion and a subpar first layer. This can lead to print failures, warping, and a rough overall finish. By leveling the bed, you create an even base for your print, allowing for consistent layer adhesion and improved print quality.
2. Print Accuracy and Precision: A level bed helps to ensure that the nozzle maintains a consistent height from the bed across the entire print surface. This is essential for achieving accurate dimensions and precise layer heights. If the bed is not properly leveled, the nozzle may be too close to the bed in some areas, causing the print to be squished, or too far away, resulting in thin or missing layers. Leveling the bed minimizes these discrepancies, allowing for more accurate and precise prints.
3. Bed Adhesion: Leveling your bed optimizes the surface contact between the print and the build plate. When the bed is level, the first layer is evenly pressed against the build plate, providing sufficient adhesion. Poor bed leveling can result in parts detaching or warping during the printing process, causing failed prints. By leveling the bed, you create a solid foundation for successful and reliable adhesion.
4. Consistency: The consistency of bed leveling ensures that the printing process is repeatable. Once you have achieved the perfect level, you can confidently print multiple objects without the need for constant adjustments. This consistency saves you time, effort, and material waste, making your printing experience more efficient.
Overall, proper bed leveling is crucial for achieving high-quality prints with accurate dimensions, precise layer heights, and reliable adhesion. It lays the groundwork for successful 3D printing and allows you to unleash your creativity without the frustration of failed prints due to an uneven bed.
Now that you understand the importance of leveling your 3D printer, let’s proceed to the steps involved in the leveling process.
Steps to level your 3D printer
Leveling your 3D printer may seem daunting at first, but with the right approach and a bit of practice, it becomes a routine part of the printing process. Here are the essential steps to help you level your 3D printer:
1. Prepare your printer: Start by powering on your 3D printer and allowing it to warm up. Ensure that the build plate is clean and free from any debris or residue that could interfere with the leveling process.
2. Determine the leveling method: Different printers have varying methods for bed leveling. Some printers use manual screws, while others have automated systems. Consult your printer’s manual or manufacturer’s website to understand the recommended leveling method for your specific model.
3. Home the printer: Use the printer’s interface or control panel to home the printer, which means moving the nozzle to the starting position. This ensures consistency in the leveling process.
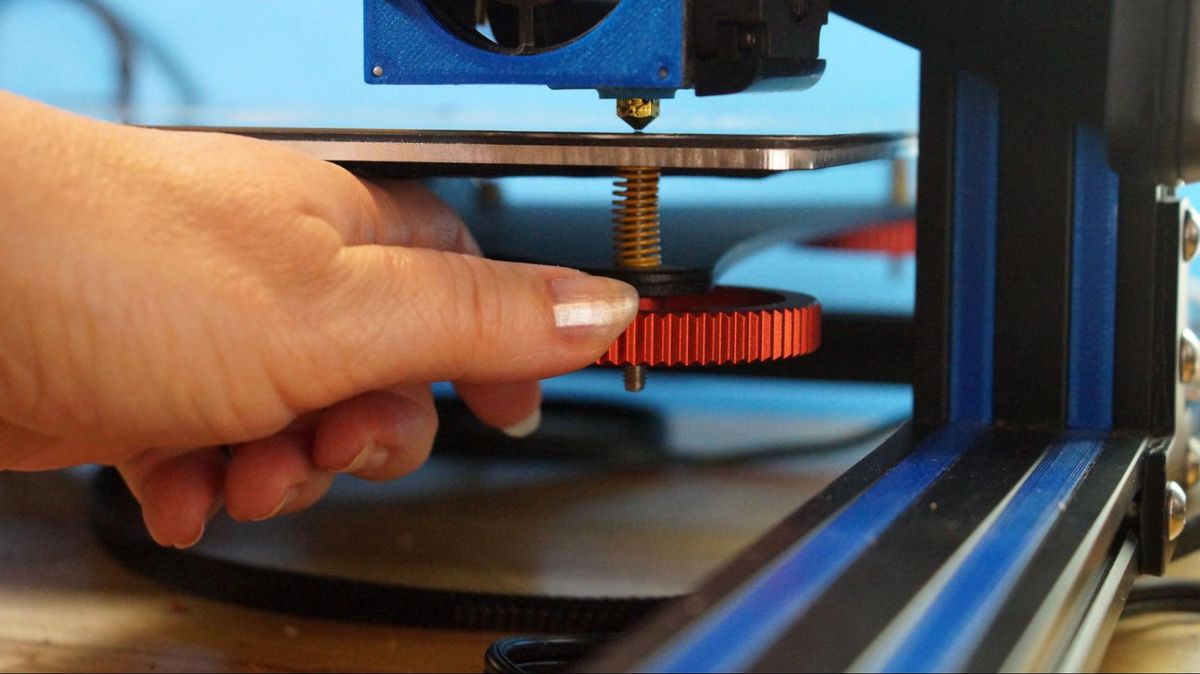
4. Adjust the leveling screws: Locate the leveling screws or knobs beneath the build plate. Loosen or tighten each screw to adjust the height of the different corners or zones. Aim to achieve a level build plate by adjusting the screws gradually.
5. Check the bed with a sheet of paper: Take a sheet of standard printer paper or a specialized feeler gauge and place it between the nozzle and the bed. Gently move the paper back and forth. If the paper slides easily, the nozzle is too far from the bed. If there is resistance or the paper cannot move, the nozzle is too close. Adjust the leveling screws until you can feel slight resistance when moving the paper.
6. Fine-tuning the leveling: Once you have achieved a rough leveling, focus on fine-tuning. This involves making small adjustments to the leveling screws to ensure an even nozzle-to-bed distance across the entire surface. Check and recheck each corner and the center of the bed to ensure consistency.
7. Repeat the process if necessary: Bed leveling is an iterative process. After making initial adjustments and fine-tuning, it’s important to repeat the process to verify the bed’s levelness. This helps to eliminate any slight variations that may have occurred during the initial adjustments.
8. Test print: Once you are satisfied with the bed leveling, perform a test print to verify the results. Choose a simple model that highlights the first layer’s quality and inspect the print for consistent adhesion and proper layer height.
By following these steps and practicing the bed leveling process, you’ll become familiar with your printer’s requirements and achieve optimal prints consistently. Remember, patience and perseverance are key to mastering this skill.
Now that you have learned the essential steps to level your 3D printer, it’s time to put your knowledge into practice and start creating amazing prints!
Prepare your printer
Before you begin the process of leveling your 3D printer, it is important to properly prepare your printer and workspace. Here are a few key steps to follow:
Clean the build plate: Start by ensuring that the build plate is clean and free from any debris or residue. A dirty build plate can affect the adhesion of the first layer and lead to print issues. Use a soft cloth or a specialized cleaner to gently wipe the build plate and remove any dust, fingerprints, or leftover filament.
Heat up the printer: Turn on your 3D printer and allow it to warm up to the recommended printing temperature. This step is important as the printer components, including the build plate, will expand slightly when heated, ensuring accurate leveling measurements.
Ensure a stable surface: Place your 3D printer on a stable and level surface. A wobbly or uneven surface can throw off the leveling process and result in inaccurate adjustments. Use a spirit level or a smartphone app to double-check the surface’s levelness before proceeding.
Gather necessary tools: Depending on your specific printer model, you may need some tools for the leveling process. Commonly used tools include a wrench or screwdriver to adjust the leveling screws, and a sheet of standard printer paper or a specialized feeler gauge to check the nozzle-to-bed distance. Check your printer’s manual or manufacturer’s instructions to determine the specific tools required.
By following these preparation steps, you set a solid foundation for a successful leveling process. A clean build plate, proper printer temperature, stable surface, and necessary tools all contribute to an effective and accurate leveling experience.
Now that your printer is prepared, let’s move on to the next step – determining the leveling method.
Determine the leveling method
The leveling method for 3D printers can vary depending on the make and model of your machine. It’s essential to understand the specific leveling method recommended by the manufacturer to ensure accurate and effective leveling. Here are three common leveling methods:
Manual leveling: Manual leveling involves adjusting the leveling screws or knobs underneath the build plate manually. This method requires you to make adjustments based on visual and tactile feedback, such as using a sheet of paper to gauge the distance between the nozzle and the bed. Manual leveling is commonly found in entry-level or DIY 3D printers.
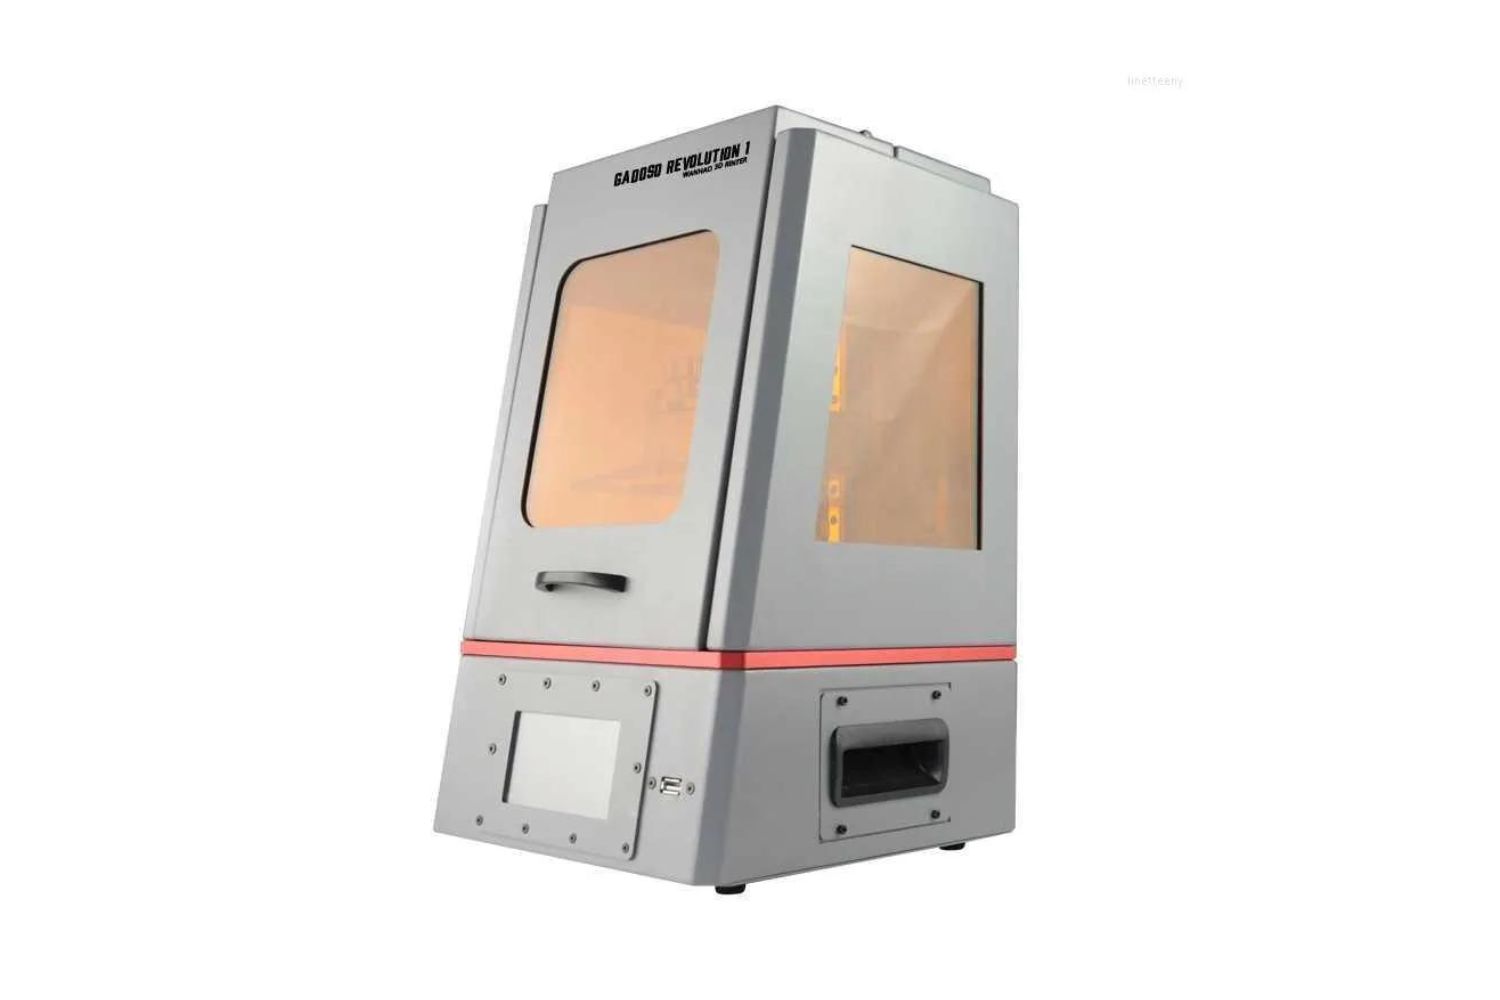
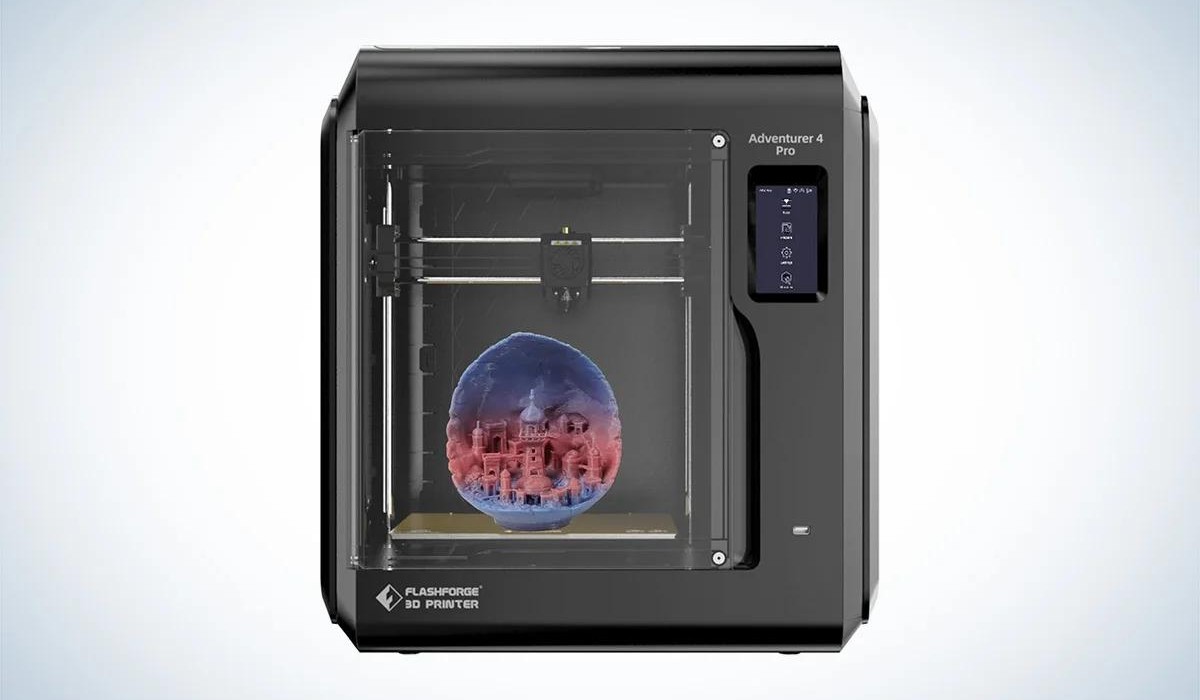
Assisted leveling: Assisted leveling utilizes an automated system to assist with the leveling process. This can include features like built-in leveling wizards, on-screen instructions, or even built-in sensors that measure the distance between the nozzle and the bed. Assisted leveling simplifies the process by guiding you through the necessary steps and reducing the need for manual adjustments. This method is common in mid-range to high-end 3D printers.
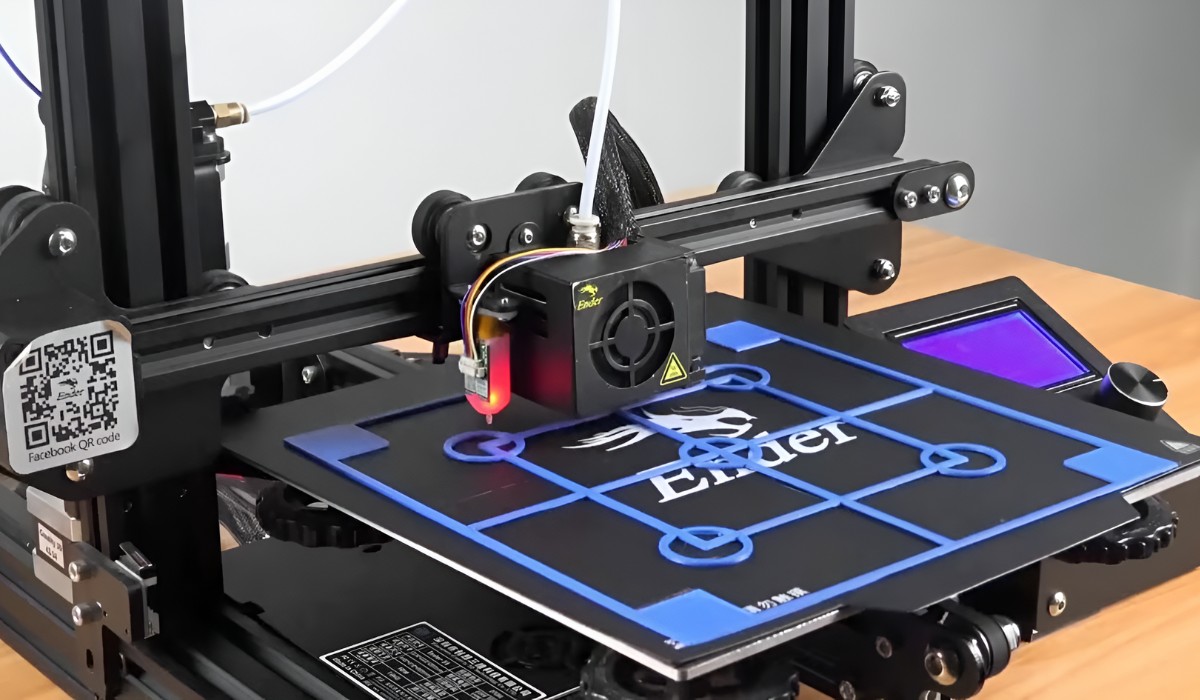
Mesh bed leveling: Mesh bed leveling is an advanced leveling method found in some high-end 3D printers. This technique involves creating a virtual map of the bed’s unevenness and compensating for it during the printing process. The printer probes multiple points on the bed using a sensor to create a detailed 3D map, ensuring precise leveling throughout the entire print surface. Mesh bed leveling is ideal for printers with non-flat or irregularly shaped beds.
To determine the leveling method for your printer, refer to the manufacturer’s manual or online resources. These resources will provide detailed instructions specific to your printer model, including any recommended tools or techniques.
Understanding the leveling method of your printer is crucial as it guides you in executing the leveling process accurately. Now that you have determined the leveling method, it’s time to move on to the next step – homing the printer.
Home the printer
Homing the printer is a crucial step in the leveling process as it establishes a consistent starting position for the nozzle. This position serves as a reference point for adjusting the leveling screws and ensures uniformity throughout the leveling process. Here’s how to home your printer:
1. Access the printer interface: Locate the control panel or interface of your 3D printer. This can be a physical panel with buttons and a screen or a graphical user interface (GUI) on your computer.
2. Select the homing command: Look for the “Home” command or button in the printer interface. The specific location may vary depending on your printer model, but it is typically found under the “Prepare” or “Movement” section. Select the appropriate homing command for your printer.
3. Wait for the homing process: After initiating the homing command, the printer’s motors will move the nozzle to a predetermined position, usually the front-left corner of the build plate, or the “home” position. Allow the printer to complete the homing process before proceeding to the next step.
Note: Homing may involve moving both the X and Y axes simultaneously or individually. Refer to your printer’s manual for the specific homing sequence and instructions.
By homing the printer, you establish a consistent starting position for the leveling process. This helps ensure consistency and accuracy throughout the adjustment of the leveling screws. Once the printer has been successfully homed, you’re ready to move on to the next step – adjusting the leveling screws.
Adjust the leveling screws
Adjusting the leveling screws is a critical step in achieving a level build plate. These screws are typically located beneath the build plate and are responsible for adjusting the height of different corners or zones. Here’s how to adjust the leveling screws:
1. Locate the leveling screws: Look underneath the build plate for the leveling screws or knobs. These screws are usually positioned at each corner of the build plate or along the edges. Some printers may have additional screws in the center or other strategic locations.
2. Loosen or tighten the screws: Use a wrench or screwdriver to adjust the leveling screws. If a corner of the build plate is too high, loosen the corresponding screw to lower it. If a corner is too low, tighten the screw to raise it. Make small and gradual adjustments to ensure accuracy. It’s helpful to make quarter-turn adjustments or less to fine-tune the leveling.
3. Aim for a level build plate: The goal is to adjust the leveling screws in a way that the build plate becomes parallel to the nozzle. This ensures an even nozzle-to-bed distance across the entire surface. Pay attention to each corner and make equal adjustments to achieve a level build plate.
Note: Some printers may have a visual indicator or bubble level to assist in determining the levelness of the build plate. Refer to your printer’s manual for any specific guidelines or indications.
4. Take your time: Levelling your printer requires patience and attention to detail. Take your time to adjust the screws carefully, making small changes as necessary. It may require several iterations of adjustment to achieve the desired levelness.
By adjusting the leveling screws, you are working towards creating a level build plate that ensures consistent nozzle-to-bed distance throughout the printing process. Once the leveling screws have been properly adjusted, you’re ready to move on to the next step and check the bed using a sheet of paper.
Check the bed with a sheet of paper
Checking the bed using a sheet of paper is a common technique to gauge the distance between the nozzle and the bed. This step ensures that the nozzle is at the correct height for optimal adhesion and print quality. Follow these steps to check the bed with a sheet of paper:
1. Prepare a sheet of paper: Take a standard printer paper or a specialized feeler gauge. These tools are used to measure the nozzle-to-bed distance accurately.
2. Position the paper: Move the print head or the bed to the desired starting position. Lower the bed or raise the print head slightly, leaving enough space for the paper to slide between the nozzle and the bed.
3. Slide the paper: Gently slide the paper back and forth between the nozzle and the bed. If the paper moves freely without any resistance, the nozzle is too far from the bed. On the other hand, if there is a significant amount of resistance or the paper cannot move, the nozzle is too close to the bed.
4. Adjust the leveling screws: Based on the resistance felt while sliding the paper, make small adjustments to the leveling screws. Loosen the screws slightly if the nozzle is too far from the bed, allowing for the paper to have a slight friction. Alternatively, tighten the screws if the nozzle is too close, giving the paper a gentle resistance while moving.
5. Repeat the process: Once you’ve made adjustments, check the bed in multiple locations. Slide the paper around different corners, edges, and the center of the build plate to ensure an even levelness. Repeat the process of adjusting the leveling screws and checking with the paper until you achieve consistent and optimal nozzle-to-bed distance.
By using the paper method, you can achieve a proper nozzle-to-bed distance, allowing for optimal adhesion during the printing process. This step is crucial for ensuring successful prints and preventing issues like poor bed adhesion, filament drag, or nozzle jams.
Now that you’ve checked the bed using a sheet of paper and achieved a good nozzle-to-bed distance, it’s time to move on to the next step – fine-tuning the leveling for optimal results.
Fine-tuning the leveling
Once you have achieved a rough level of the build plate, it is time to fine-tune the leveling to ensure an even nozzle-to-bed distance across the entire surface. Fine-tuning the leveling is a crucial step in achieving optimal print quality. Follow these steps to fine-tune the leveling of your 3D printer:
1. Focus on each corner: Begin by focusing on each corner of the build plate. Use the paper method described earlier to check the nozzle-to-bed distance in each corner. Make small adjustments to the leveling screws to achieve a consistent and slight resistance when sliding the paper.
2. Move to the edges and center: Once you have fine-tuned each corner, move on to the edges and center of the build plate. Check the nozzle-to-bed distance using the paper method in multiple locations. Adjust the leveling screws as needed to ensure a consistent and even distance.
3. Iterate and recheck: Bed leveling is an iterative process. After making adjustments, revisit each corner, edge, and the center of the build plate to recheck the nozzle-to-bed distance. Fine-tune any areas that may require further adjustment until you achieve a uniform level across the entire surface.
4. Take your time: Patience is key during the fine-tuning process. Make small adjustments to the leveling screws and recheck frequently. It may take a few iterations before you achieve the desired levelness.
By fine-tuning the leveling of your 3D printer, you minimize the risk of inconsistencies in the nozzle-to-bed distance. This leads to improved print quality, better layer adhesion, and reduced chances of print failures. Remember to take your time and be meticulous in this step to achieve optimal results.
Now that you have mastered the art of fine-tuning the leveling of your 3D printer, let’s proceed to the next step – repeating the leveling process, if necessary.
Repeat the process, if necessary
After completing the initial leveling process and fine-tuning, it’s important to reassess the levelness of your printer’s bed. While you may have achieved a satisfactory level, factors such as temperature changes or physical vibrations can sometimes cause the bed to shift slightly over time. To ensure consistent and optimal printing results, it’s advisable to repeat the leveling process periodically or whenever you encounter issues with print quality. Here are some guidelines for repeating the leveling process if necessary:
1. Monitor print quality: Pay attention to the quality of your prints. If you notice any inconsistencies, such as uneven layers, poor adhesion, or parts detaching from the bed, it may indicate the need for re-leveling.
2. Reassess the levelness: Use the paper method or any other leveling technique recommended by your printer’s manufacturer to re-check the levelness of your bed. Test different areas, including corners, edges, and the center of the build plate, to ensure consistency.
3. Make adjustments as needed: If you find that the bed is not level, make necessary adjustments to the leveling screws, following the same steps outlined earlier. Be patient and make small incremental changes to achieve the desired levelness.
4. Recheck and test print: After making adjustments, recheck the levelness of the bed in multiple areas. Once you are satisfied with the results, perform a test print to verify that the adjustments have improved the print quality.
Repeat the leveling process as necessary to maintain an optimal printing experience. Regularly checking and adjusting the bed leveling ensures that your 3D printer consistently produces high-quality prints with accurate dimensions and reliable adhesion.
By periodically repeating the leveling process, you can address any minor shifts or changes in the bed’s levelness and maintain consistent print quality over time.
Now that you understand the importance of periodically repeating the leveling process, let’s move on to the final step – testing your newly leveled printer with a print job!
Test print
After leveling and fine-tuning your 3D printer, it’s time to put your adjustments to the test by performing a test print. A test print allows you to evaluate the effectiveness of your leveling efforts and check for any remaining issues before diving into more complex or intricate prints. Follow these steps to perform a successful test print:
1. Choose a test model: Select a simple and small test model specifically designed to highlight the quality of the first layer. Many websites and online communities offer free test models suitable for this purpose.
2. Slice the model: Use slicing software to prepare the test model for printing. Adjust the settings as per your printer specifications, including the layer height, print speed, and temperature.
3. Prepare the printer and the build surface: Ensure that the build plate is clean and free of any residue. Apply an appropriate adhesive or use a heated bed if required for optimal print adhesion.
4. Start the print: Load the sliced test model onto your printer and initiate the print job. Observe the initial layer’s deposition and adhesion.
5. Evaluate the results: Analyze the test print’s outcome and pay attention to key factors such as layer adhesion, dimensional accuracy, and overall surface finish. If the print appears smooth, adheres well to the bed, and exhibits accurate dimensions, it indicates that your leveling efforts have been successful.
6. Reassess if necessary: If you notice any issues with the test print, such as poor adhesion, inconsistent layer height, or warped sections, it may indicate that further adjustments to the leveling are needed. Revisit the leveling process and make the required changes to improve the print quality.
Performing a test print allows you to gauge the effectiveness of your leveling adjustments and ensure that your printer is producing prints of high quality and accuracy. It acts as a final check before embarking on more complex projects and gives you the confidence to continue your 3D printing journey.
Congratulations! By following the steps outlined in this guide, you have successfully leveled your 3D printer and are now ready to unleash your creativity and bring your ideas to life through 3D printing.
Conclusion
Congratulations on leveling your 3D printer! By following the steps outlined in this guide, you have learned the importance of leveling your printer, the steps involved in the leveling process, and how to fine-tune the levelness of your printer’s build plate.
Proper leveling is essential for achieving optimal print quality, ensuring accurate dimensions, and reliable adhesion. It sets the foundation for successful and consistent 3D printing, allowing you to bring your designs to life with precision and confidence.
Remember to periodically reassess the levelness of your printer’s bed and repeat the leveling process as necessary. Small adjustments and fine-tuning may be needed over time due to temperature variations or physical vibrations.
Always pay close attention to the quality of your prints and make any necessary adjustments to improve your results. Testing your printer with a sample print helps you evaluate the effectiveness of your leveling efforts and identify any areas that require further attention.
With a leveled printer, you now have the ability to take your 3D printing projects to the next level. Whether you’re creating prototypes, personalized gifts, or intricate models, a properly leveled printer will contribute to the success and satisfaction of your prints.
Now that you have mastered the art of leveling, continue to explore other aspects of 3D printing, such as optimizing slicer settings, experimenting with different materials, and expanding your design skills. With practice and experience, you will continue to refine your printing techniques and unlock new possibilities for your creations.
Embrace the exciting world of 3D printing and unleash your creativity. Enjoy the journey and happy printing!


