Introduction
When it comes to 3D printing, one of the most common challenges users face is poor adhesion. You have carefully designed your model, chosen the right filament, and launched the print, only to find that the first few layers are not sticking properly to the print bed. This can be frustrating and result in failed prints.
Poor adhesion, also known as bed adhesion, refers to the inability of the printed object to adhere properly to the print bed during the printing process. It can lead to warping, lifting, or even complete detachment of the print. Understanding the causes of poor adhesion is crucial for successful 3D printing.
In this guide, we will explore the possible causes of poor adhesion and provide troubleshooting tips to help you improve the sticking of your prints. By following these recommendations, you will be able to achieve better adhesion and increase the success rate of your 3D prints.
Possible causes for poor adhesion
There are several factors that can contribute to poor adhesion in 3D printing. Understanding these causes will help you identify the issue and take the necessary steps to resolve it. Here are some common reasons why your 3D printer may be struggling with adhesion:
- Bed leveling: Improper bed leveling is one of the primary causes of poor adhesion. If the bed is not perfectly leveled, the nozzle may be too far or too close to the bed, resulting in uneven layer height and poor adhesion.
- Insufficient bed temperature: 3D printers typically require a heated bed to ensure proper adhesion. If the bed temperature is too low, the filament may not adhere properly. It’s important to check the recommended bed temperature for the filament you are using and adjust it accordingly.
- Incorrect nozzle height: The distance between the nozzle and the bed, also known as the nozzle height or Z-offset, plays a crucial role in adhesion. If the nozzle is too far from the bed, the filament may not stick properly. Conversely, if the nozzle is too close, it can lead to scraping or clogging.
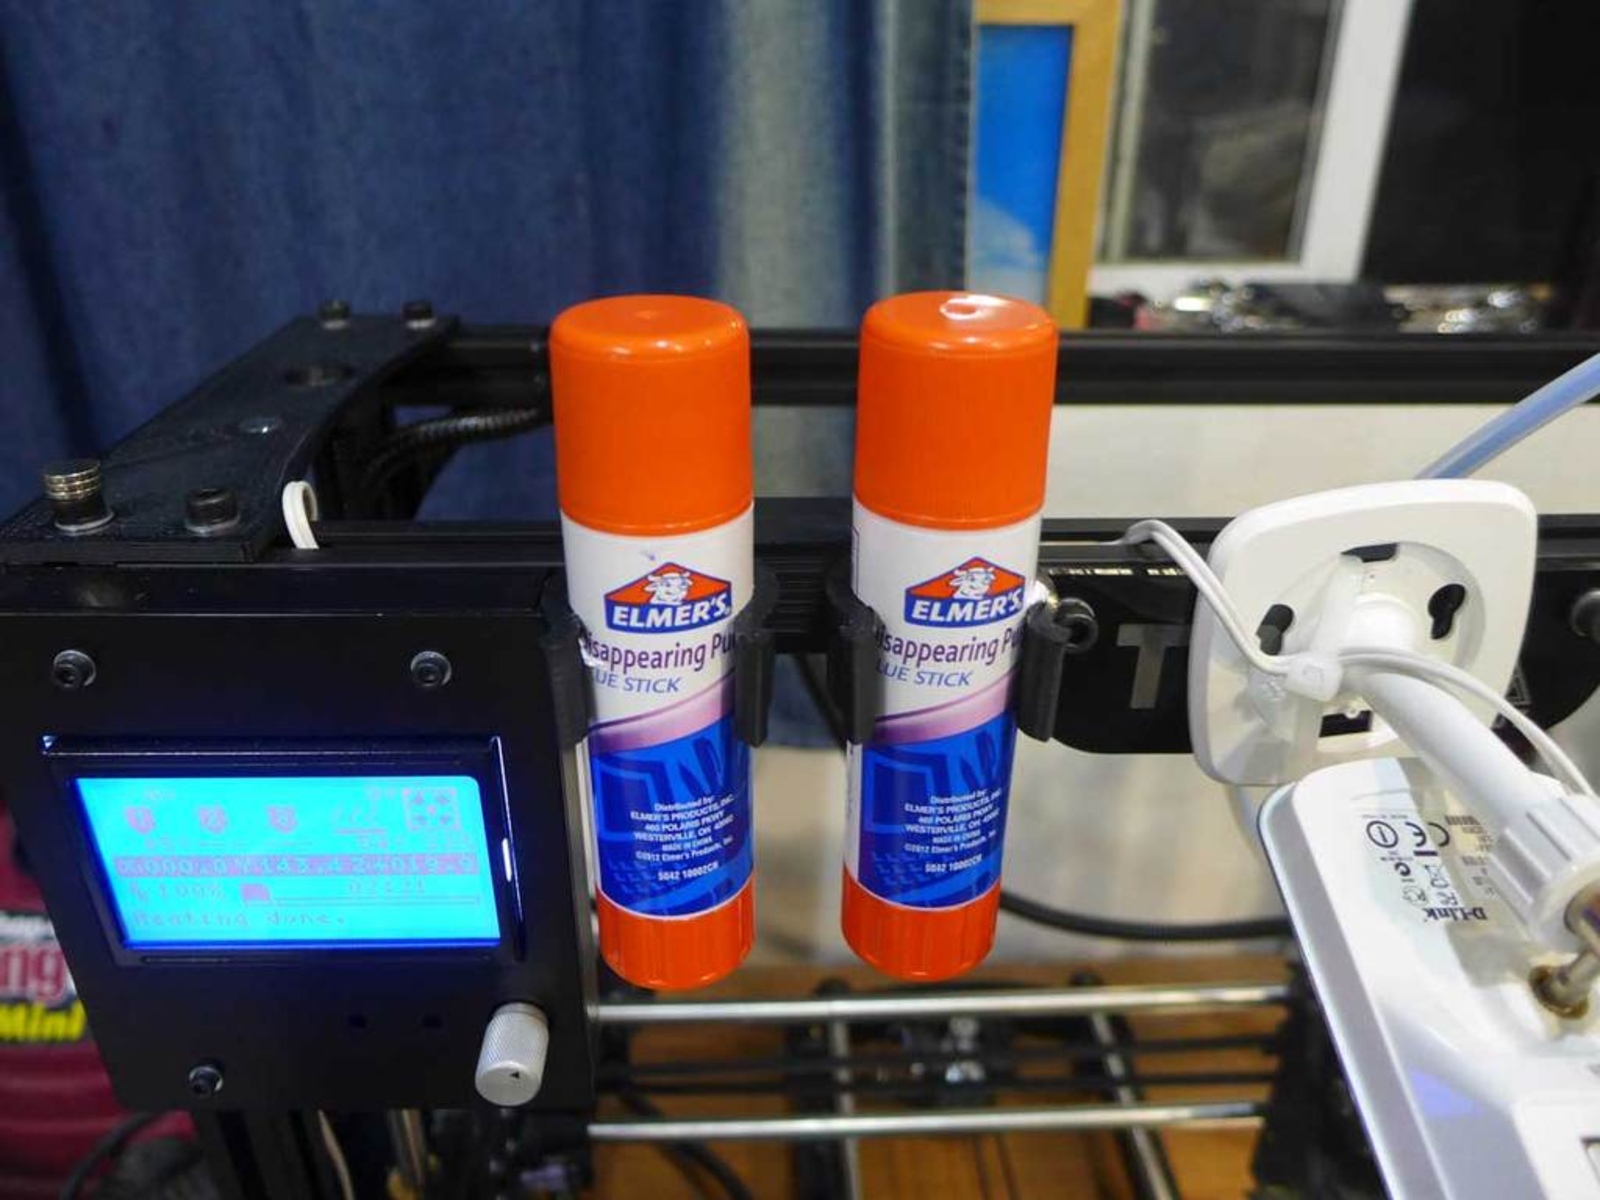
- Improper filament type: Different filaments have different adhesion properties. Using the wrong filament for your specific print job can result in poor adhesion. Some filaments, such as ABS, require a heated bed or adhesive aids like glue stick or hairspray to improve adhesion.
- Dust or debris on the bed: A clean and debris-free print bed is essential for good adhesion. Dust, oil, or any residue on the bed can create a barrier between the bed surface and the filament, causing poor adhesion. Regularly clean the bed with isopropyl alcohol or a similar cleaning solution.
- Incorrect print speed: Printing too fast can hinder adhesion, especially for the initial layers. Slow down the print speed, particularly for the first few layers, to ensure better contact between the filament and the bed.
Bed leveling
Proper bed leveling is vital for achieving good adhesion in 3D printing. If the bed is not level, the nozzle will not be at the correct distance from the bed, resulting in uneven layer height and poor adhesion. Here are some steps you can follow to ensure proper bed leveling:
- Auto bed leveling: If your 3D printer has an auto bed leveling feature, utilize it. This feature uses sensors to automatically adjust the bed level, making the process much easier and more accurate.
- Manual bed leveling: If your printer does not have auto bed leveling, it’s essential to manually level the bed. Start by homing the printer, ensuring that the nozzle is at the home position. Use a sheet of paper or a feeler gauge to adjust the bed height in each corner, making sure there is a slight friction between the nozzle and the paper.
- Check the middle points: While leveling the corners is crucial, you should also check the bed level in the middle. Move the nozzle to the center of the bed and verify that it is at the correct distance from the bed, ensuring consistent layer height across the entire print area.
- Regular maintenance: It’s important to periodically recheck and adjust the bed level as it can change over time due to vibrations or thermal expansion. Incorporating bed leveling as part of your regular maintenance routine will help ensure consistent adhesion.
Remember, proper bed leveling is the foundation for successful 3D printing. Take the time to level your bed correctly, and you will significantly improve the adhesion of your prints.
Insufficient bed temperature
The bed temperature plays a crucial role in ensuring proper adhesion in 3D printing. If the bed temperature is too low, the filament may not bond well to the print surface, resulting in poor adhesion and potential warping or lifting of the print. Follow these guidelines to ensure sufficient bed temperature:
- Refer to filament manufacturer’s recommendations: Different filaments require different bed temperatures for optimal adhesion. Check the recommended bed temperature provided by the filament manufacturer and adjust the settings accordingly in your printer software.
- Preheat the bed: Give the bed sufficient time to preheat before starting the print. This will ensure that the temperature is stable and uniform across the entire bed surface, promoting better adhesion throughout the print.
- Use an enclosure: If you are working with filaments that require higher bed temperatures, consider enclosing your 3D printer. An enclosure helps to maintain a stable and consistent temperature, enhancing adhesion for those print materials that are more sensitive to temperature fluctuations.
- Experiment with slight temperature adjustments: If you are consistently experiencing poor adhesion, try increasing the bed temperature slightly and observe the results. Sometimes a small adjustment can significantly improve adhesion without causing other issues like excessive warping or oozing.
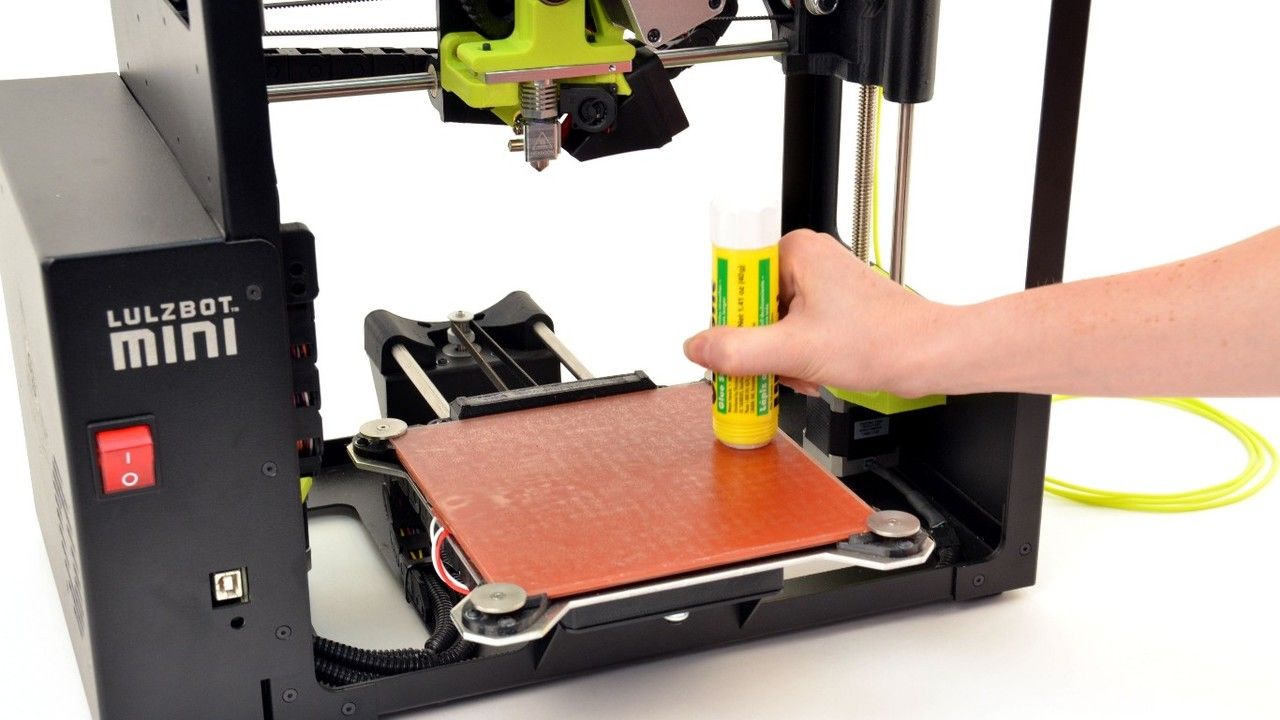
- Consider adhesive aids: For specific filaments that are known for challenging bed adhesion, such as ABS, PLA, or PETG, you can use adhesive aids like glue stick, hairspray, or specialized bed adhesion sprays. These products create a temporary bond between the filament and the bed, improving adhesion.
By ensuring the bed temperature is set correctly and taking advantage of adhesive aids when necessary, you can overcome insufficient bed temperature issues and achieve better adhesion in your 3D prints.
Incorrect nozzle height
The distance between the nozzle and the print bed, known as the nozzle height or Z-offset, greatly affects adhesion in 3D printing. Incorrect nozzle height can lead to poor first-layer adhesion, causing the print to detach or fail altogether. Here are some steps to ensure correct nozzle height:
- Manual adjustment: If your printer does not have an automated nozzle height adjustment feature, you will need to manually adjust the nozzle height. Start by homing the printer and moving the nozzle to the desired printing position.
- Leveling the bed: Proper bed leveling is the first step in setting the nozzle height. Follow the bed leveling steps discussed earlier to ensure the bed is level and the nozzle height is consistent across the entire print area.
- Mechanical adjustment: Some 3D printers allow for mechanical adjustment of the nozzle height through screws or knobs. Refer to your printer’s user manual to learn how to adjust the nozzle height using these mechanisms.
- Software adjustment: If your printer has firmware that supports software adjustment of the nozzle height, you can fine-tune the Z-offset through the printer settings. This allows you to make precise adjustments without physically modifying the printer.
- Test prints and fine-tuning: After adjusting the nozzle height, it’s important to perform test prints to verify the adhesion. Start with a simple test print, such as a calibration cube, and observe the first few layers. If the print is not sticking well, make small adjustments to the nozzle height until you achieve proper adhesion.
By ensuring the correct nozzle height, you can improve the adhesion of your prints and increase the success rate of your 3D prints.
Improper filament type
The filament you choose for your 3D printing project can have a significant impact on bed adhesion. Different filaments have different adhesion properties, and using the wrong filament for your specific print job can result in poor adhesion. Here are some considerations to ensure the proper filament type:
- Review filament requirements: Before selecting a filament, review the specifications and requirements of your printer. Ensure that the filament diameter is compatible with your printer’s extruder, and check if any specific filament types are recommended or not recommended.
- Understand adhesion characteristics: Different filaments have different adhesion characteristics. For example, ABS filament generally requires a heated bed to promote adhesion, while PLA filament can adhere well to non-heated beds. Understanding these characteristics will help you choose the appropriate filament for your specific print job.
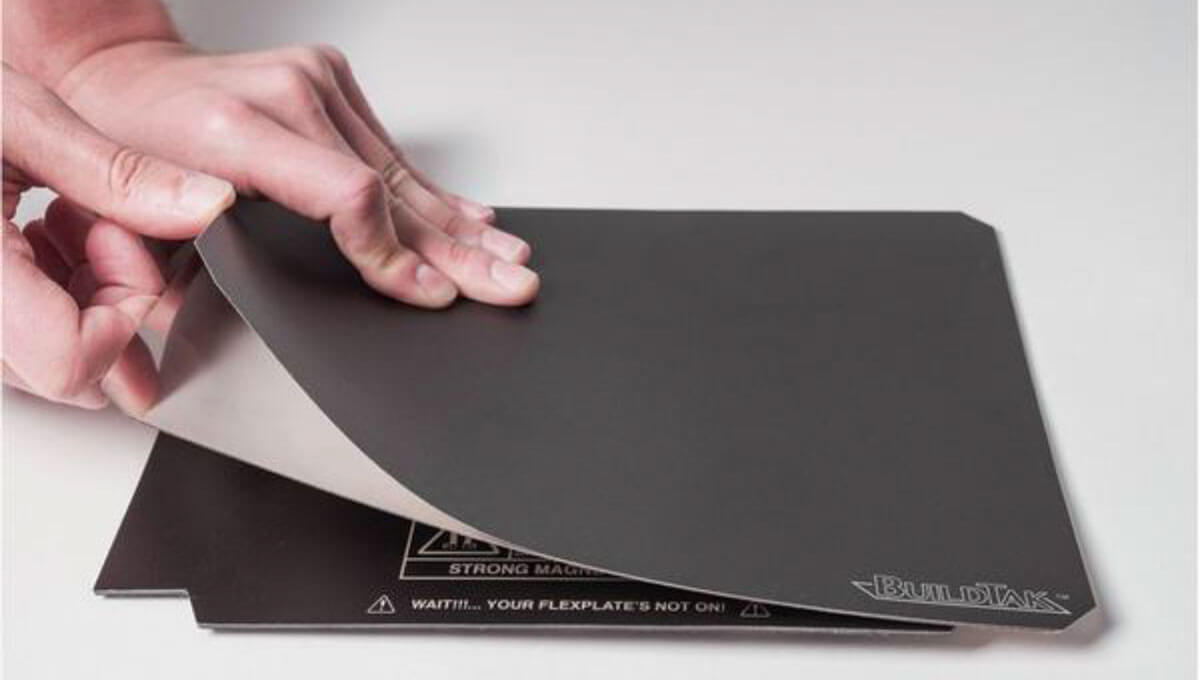
- Consider print bed surface: Some filament types adhere better to specific print bed surfaces. For example, PLA typically adheres well to glass beds, while PETG may require a textured surface like BuildTak or Kapton tape for optimal adhesion. Consider the material of your print bed and choose a filament that complements it for better adhesion.
- Experiment with adhesion aids: If you are using a filament known for challenging bed adhesion, such as nylon or flexible filaments, consider using adhesive aids like glue stick or hairspray. These aids create a temporary bond between the filament and the bed, improving adhesion for difficult-to-print materials.
- Consult filament manufacturer recommendations: Filament manufacturers often provide guidelines for optimal adhesion. Check their recommendations for bed temperature, bed preparation, and any additional tips specific to the filament type you are using.
By choosing the correct filament type and understanding its adhesion characteristics, you can significantly improve the bed adhesion and overall print quality in your 3D printing projects.
Dust or debris on the bed
A clean and debris-free print bed is essential for ensuring good adhesion in 3D printing. Dust, oil, or any residue on the bed can create a barrier between the print surface and the filament, resulting in poor adhesion and potential printing issues. Here are steps to prevent dust or debris from affecting your adhesion:
- Clean the print bed: Before each print, make sure to thoroughly clean the print bed. Use isopropyl alcohol or a similar cleaning solution to remove any dust, oil, or fingerprints. This will ensure the bed surface is clean and ready for proper adhesion.
- Use a lint-free cloth: When cleaning the print bed, use a lint-free cloth or microfiber cloth to avoid leaving any fibers behind. Fibers from regular towels or tissues can get stuck on the bed and interfere with adhesion.
- Remove any debris: Inspect the print bed for any loose filament, debris, or residual material from previous prints. Use tweezers or a scraper to gently remove any particles that may affect adhesion.
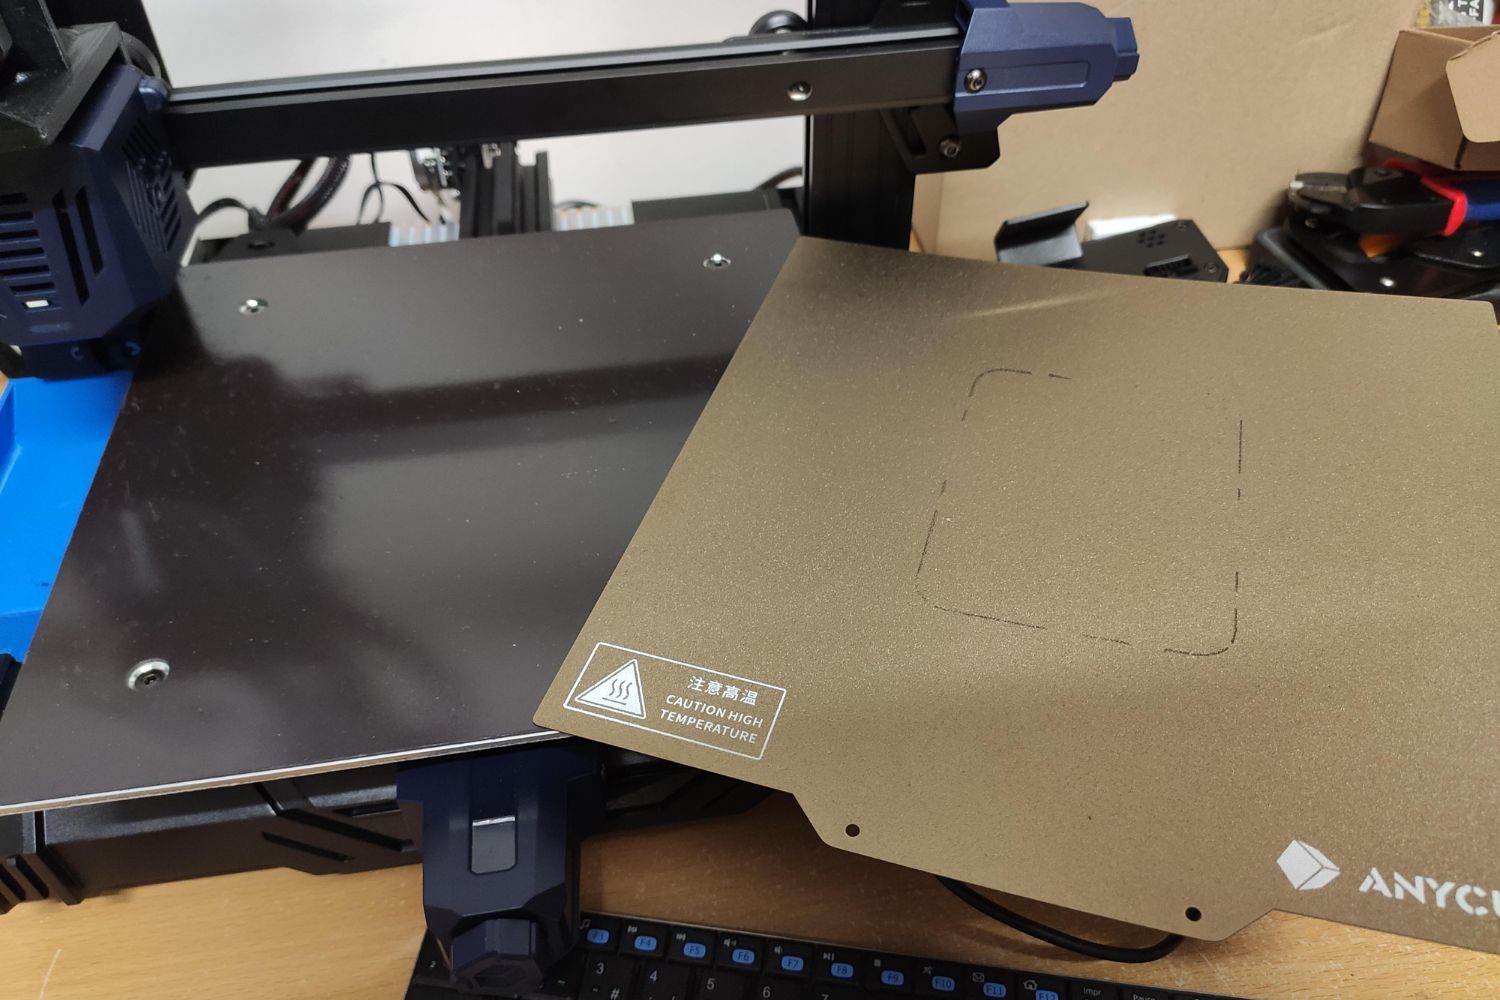
- Consider using a print surface: To protect the print bed and facilitate easier cleaning, consider using a removable print surface like BuildTak, PEI sheets, or painter’s tape. These surfaces can be easily cleaned or replaced, ensuring a clean and debris-free bed for each print.
- Maintain a clean printing environment: Keep the printing area clean and free from dust. Minimize exposure to open air and avoid printing near areas with excessive dust or debris, such as construction sites, to prevent particles from settling on the print bed.
By maintaining a clean print bed and environment, you can significantly improve adhesion and reduce the likelihood of print failures caused by dust or debris interfering with the printing process.
Incorrect print speed
The print speed, especially for the first few layers, can greatly affect bed adhesion in 3D printing. Printing too fast can prevent proper filament bonding to the bed, resulting in poor adhesion and potential issues with the print. Here are some considerations to ensure the correct print speed:
- Slow down the initial layers: The first few layers of a print are crucial for establishing proper adhesion. Slow down the print speed for these layers to allow for better contact between the filament and the bed. This will give the filament more time to adhere and promote a stronger bond.
- Adjust speed settings: Check your printer settings or slicing software to ensure that the print speed is set appropriately. Consider reducing the overall print speed for complex models or prints with intricate details to ensure better adhesion throughout the entire print process.
- Consider print cooling: Excessive cooling during the printing process can also affect adhesion. If you are experiencing poor adhesion, especially for materials like PLA, consider adjusting the print cooling settings to prevent rapid cooling of the filament and improve adhesion to the bed.
- Experiment with speed adjustments: If you consistently see poor adhesion in your prints, consider experimenting with different print speeds for the initial layers. Increase or decrease the speed slightly and observe the results. Keep in mind that extreme speed changes may impact overall print quality, so make small adjustments and find the right balance for successful adhesion.
- Optimize for your printer: Each printer has its own limitations and capabilities when it comes to print speed. Familiarize yourself with the capabilities of your printer and find the optimal print speed that allows for good adhesion without sacrificing print quality.
By adjusting and optimizing the print speed, you can improve the adhesion of your prints and minimize the risk of failed prints due to poor filament bonding to the bed.
Troubleshooting tips for better adhesion
If you are still experiencing issues with adhesion in your 3D prints, don’t worry. There are additional troubleshooting tips you can try to improve the sticking of your prints. Here are some suggestions to troubleshoot adhesion problems:
- Check filament quality: Poor-quality filament can lead to adhesion issues. Ensure that you are using high-quality filament from reputable manufacturers to minimize the risk of adhesion problems.
- Adjust print bed temperature: If you have already set the proper bed temperature but are still facing adhesion issues, try adjusting the temperature slightly higher or lower within the recommended range. Fine-tuning the temperature can sometimes improve adhesion.
- Use additional adhesive aids: Consider using additional adhesion aids like adhesion sprays, hairspray, or specialized tapes. These aids can create an improved bond between the filament and the print bed, increasing adhesion and reducing the risk of detachment.
- Ensure proper cooling: Excessive cooling can lead to poor adhesion, especially for certain filaments. Adjust the cooling settings in your printer software to find the ideal balance between cooling and adhesion for your specific filament and print settings.
- Check print surface cleanliness: Regularly clean the print surface to remove any buildup of adhesive aids or residue from previous prints. A clean print surface provides a better foundation for adhesion and reduces the risk of adhesion-related issues.
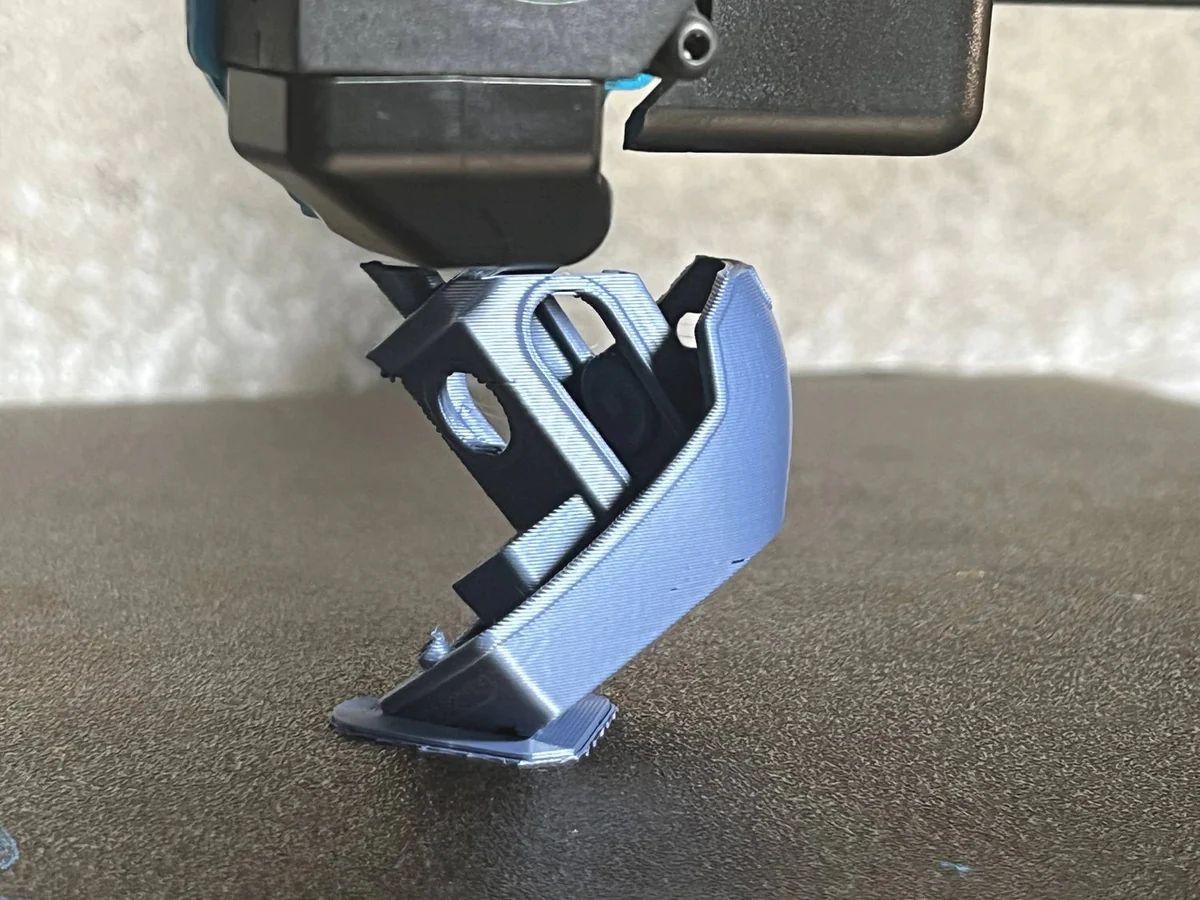
- Inspect the nozzle: A clogged or partially blocked nozzle can affect the flow of filament and lead to poor adhesion. Check the nozzle for any obstructions and clean or replace it if necessary.
- Optimize print settings: Review and optimize your print settings. Ensure that the layer height, infill density, and wall thickness are suitable for the specific filament and print job. Fine-tuning these settings can improve adhesion as well as overall print quality.
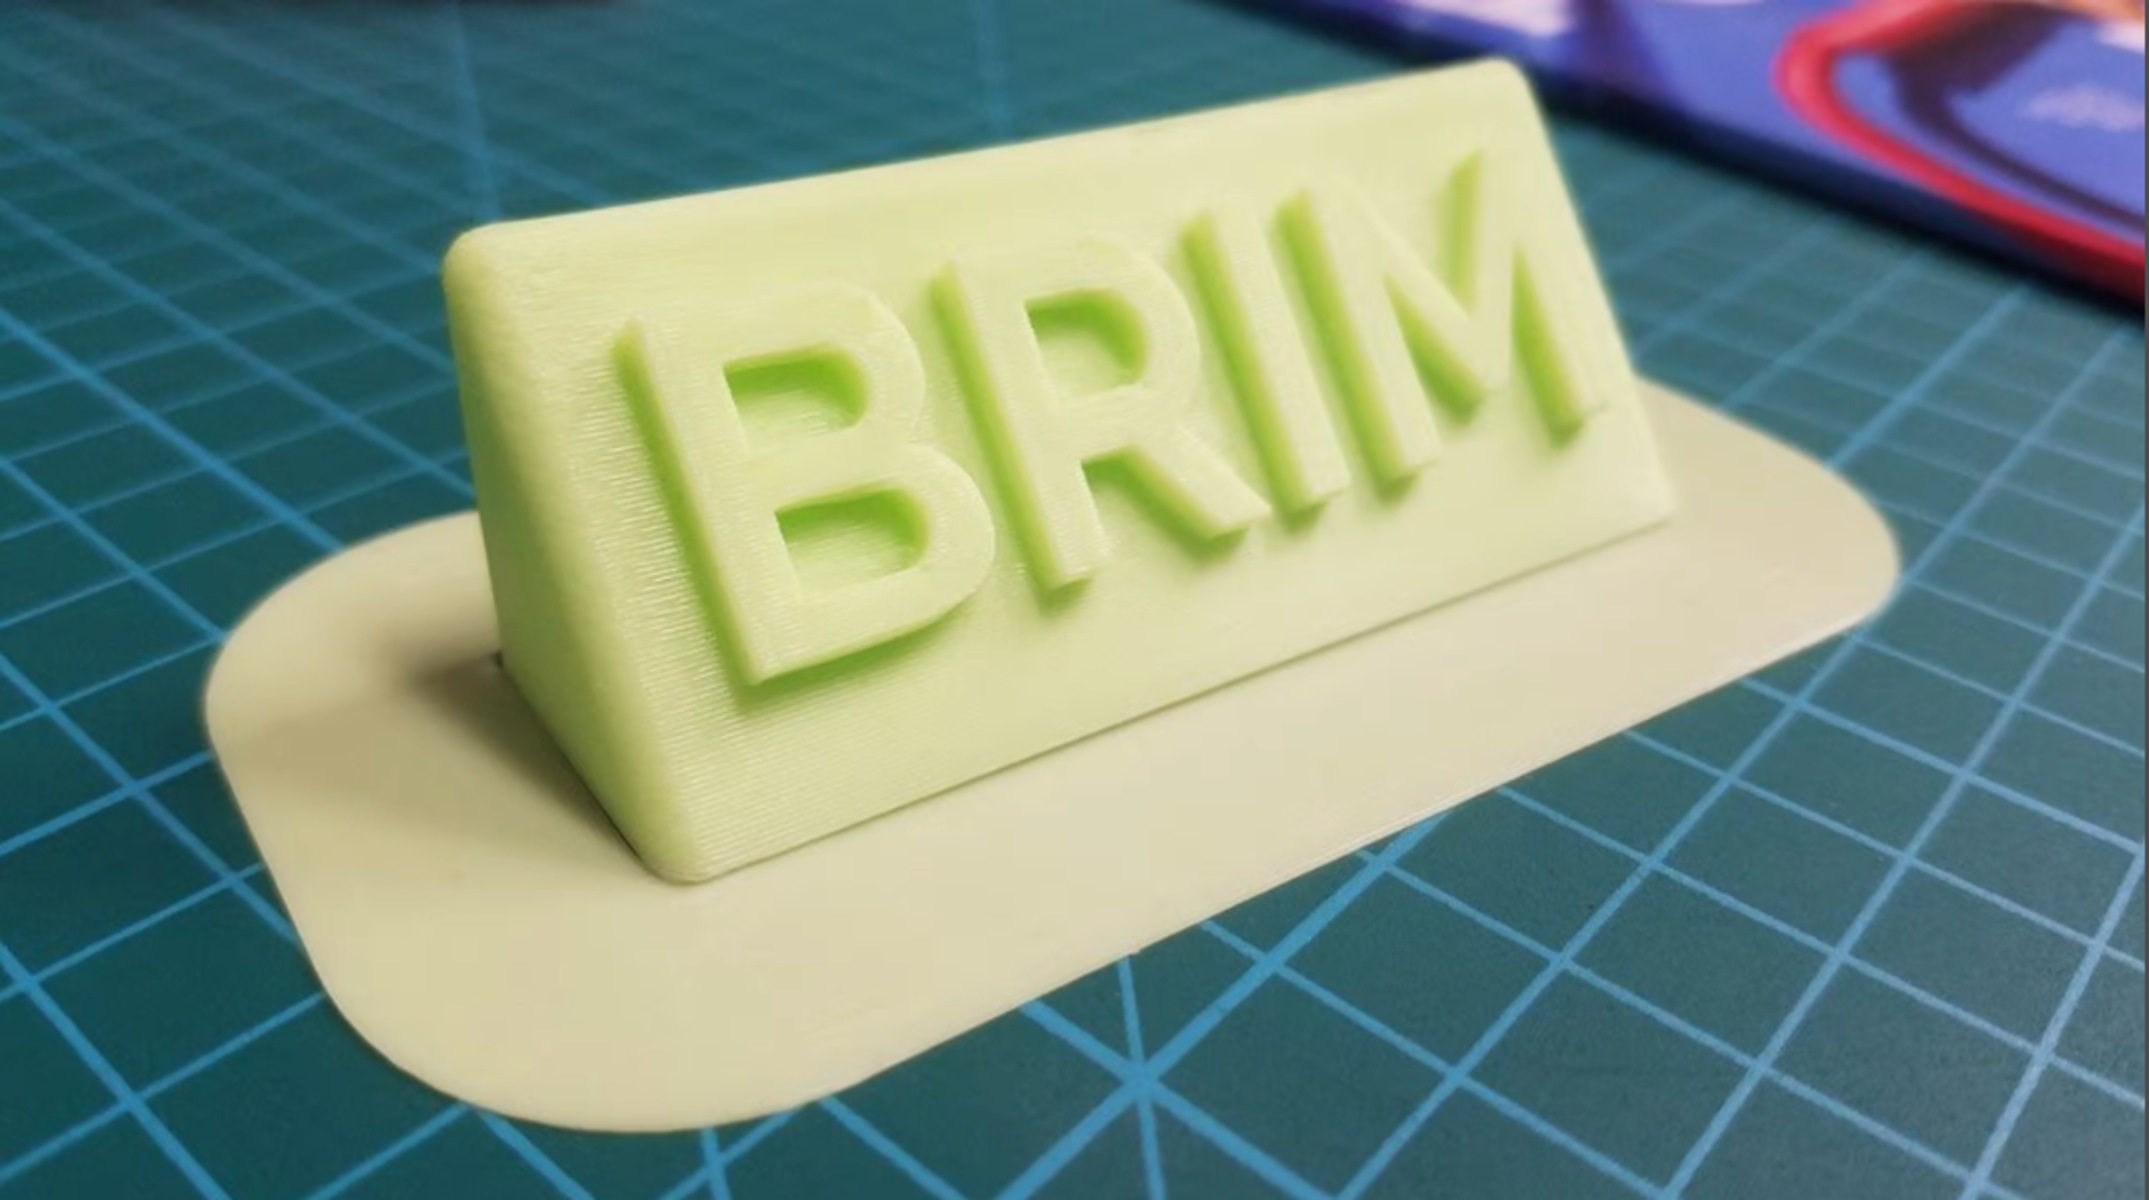
- Consider using a brim or raft: Adding a brim or raft can provide additional stability and adhesion for your prints. These features create extra surface area between the print and the bed, improving adhesion and minimizing the risk of warping or detachment.
By troubleshooting and implementing these tips, you can overcome adhesion challenges and achieve better sticking for your 3D prints.
Conclusion
Adhesion is a crucial factor in successful 3D printing. Poor adhesion can result in failed prints, warping, and lifting. However, by understanding the causes of poor adhesion and implementing troubleshooting tips, you can significantly improve the sticking of your prints.
Bed leveling, sufficient bed temperature, correct nozzle height, proper filament selection, cleanliness of the print bed, and appropriate print speed are all key factors that can affect adhesion. By ensuring these factors are optimized, you can enhance the adhesion of your prints and increase the success rate of your 3D printing projects.
Additionally, troubleshooting tips such as checking filament quality, adjusting print bed temperature, using adhesive aids if necessary, optimizing cooling settings, and maintaining a clean print surface can further improve adhesion. By implementing these tips, you can overcome adhesion challenges and achieve better results in your 3D prints.
Remember, achieving good adhesion is a combination of proper printer setup, filament selection, and meticulous attention to detail during the printing process. Experimentation and fine-tuning may be necessary to find the optimal settings for your specific printer and filament combination.
By consistently addressing and troubleshooting adhesion issues, you can unlock the full potential of your 3D printer and create high-quality prints with strong adhesion. Happy 3D printing!