Introduction
Welcome to the world of 3D printing, where imagination becomes reality. Whether you are a hobbyist or a professional, having a properly leveled printer bed is crucial for achieving high-quality prints. While the process of leveling a 3D printer bed may seem daunting at first, with the right knowledge and techniques, it can be a straightforward task that improves your overall printing experience.
When you start using a 3D printer, one of the first things you’ll learn is the importance of bed leveling. The printer bed is the foundation upon which your prints are built. If it is not level, your prints may have issues such as adhesion problems, warping, or layer shifting. These issues can lead to failed prints and wasted time and filament.
Bed leveling refers to the process of adjusting the position of the printer bed to ensure that it is parallel to the printer’s gantry. It involves making precise adjustments to the bed height in relation to the printer’s nozzle. This ensures that the first layer of your print adheres properly to the bed and is evenly deposited, resulting in accurate and successful prints.
There are several factors that can affect the levelness of your printer bed. These include the type of printer you have, the materials you are using, and the environmental conditions, such as temperature and humidity. Additionally, factors like wear and tear, transportation, and accidental bumps or shifts can also impact the levelness of the bed over time.
It’s important to be able to recognize the signs that your printer bed needs leveling. These signs can include uneven or poor adhesion of the first layer, prints that are not sticking to the bed, or prints that have an inconsistent first layer thickness. Taking the time to level your printer bed regularly can help you avoid these issues and ensure the success of your prints.
So, how often should you level your 3D printer bed? The answer depends on a variety of factors such as the type of printer you have, the frequency of use, and the materials you are printing with. In the next section, we will explore how often you should perform bed leveling based on these factors and provide some general guidelines to help you keep your printer bed in optimal condition.
Why Leveling the Printer Bed is Important
Leveling the printer bed is a critical step in the 3D printing process, as it directly affects the quality and success of your prints. Here are a few reasons why leveling the printer bed is important:
- Proper adhesion: When the printer bed is not level, the first layer of your print may not adhere properly to the bed. This can result in failed prints or prints that peel off mid-print. By leveling the bed, you ensure that the first layer is evenly deposited and firmly adheres to the bed, promoting successful prints.
- Print accuracy: A level printer bed ensures that the nozzle is at the correct height above the bed, allowing for accurate deposition of each layer. If the bed is not level, the nozzle may be too close or too far from the bed, leading to uneven layer heights and distorted prints. Leveling the bed helps maintain consistent layer heights and improves print accuracy.
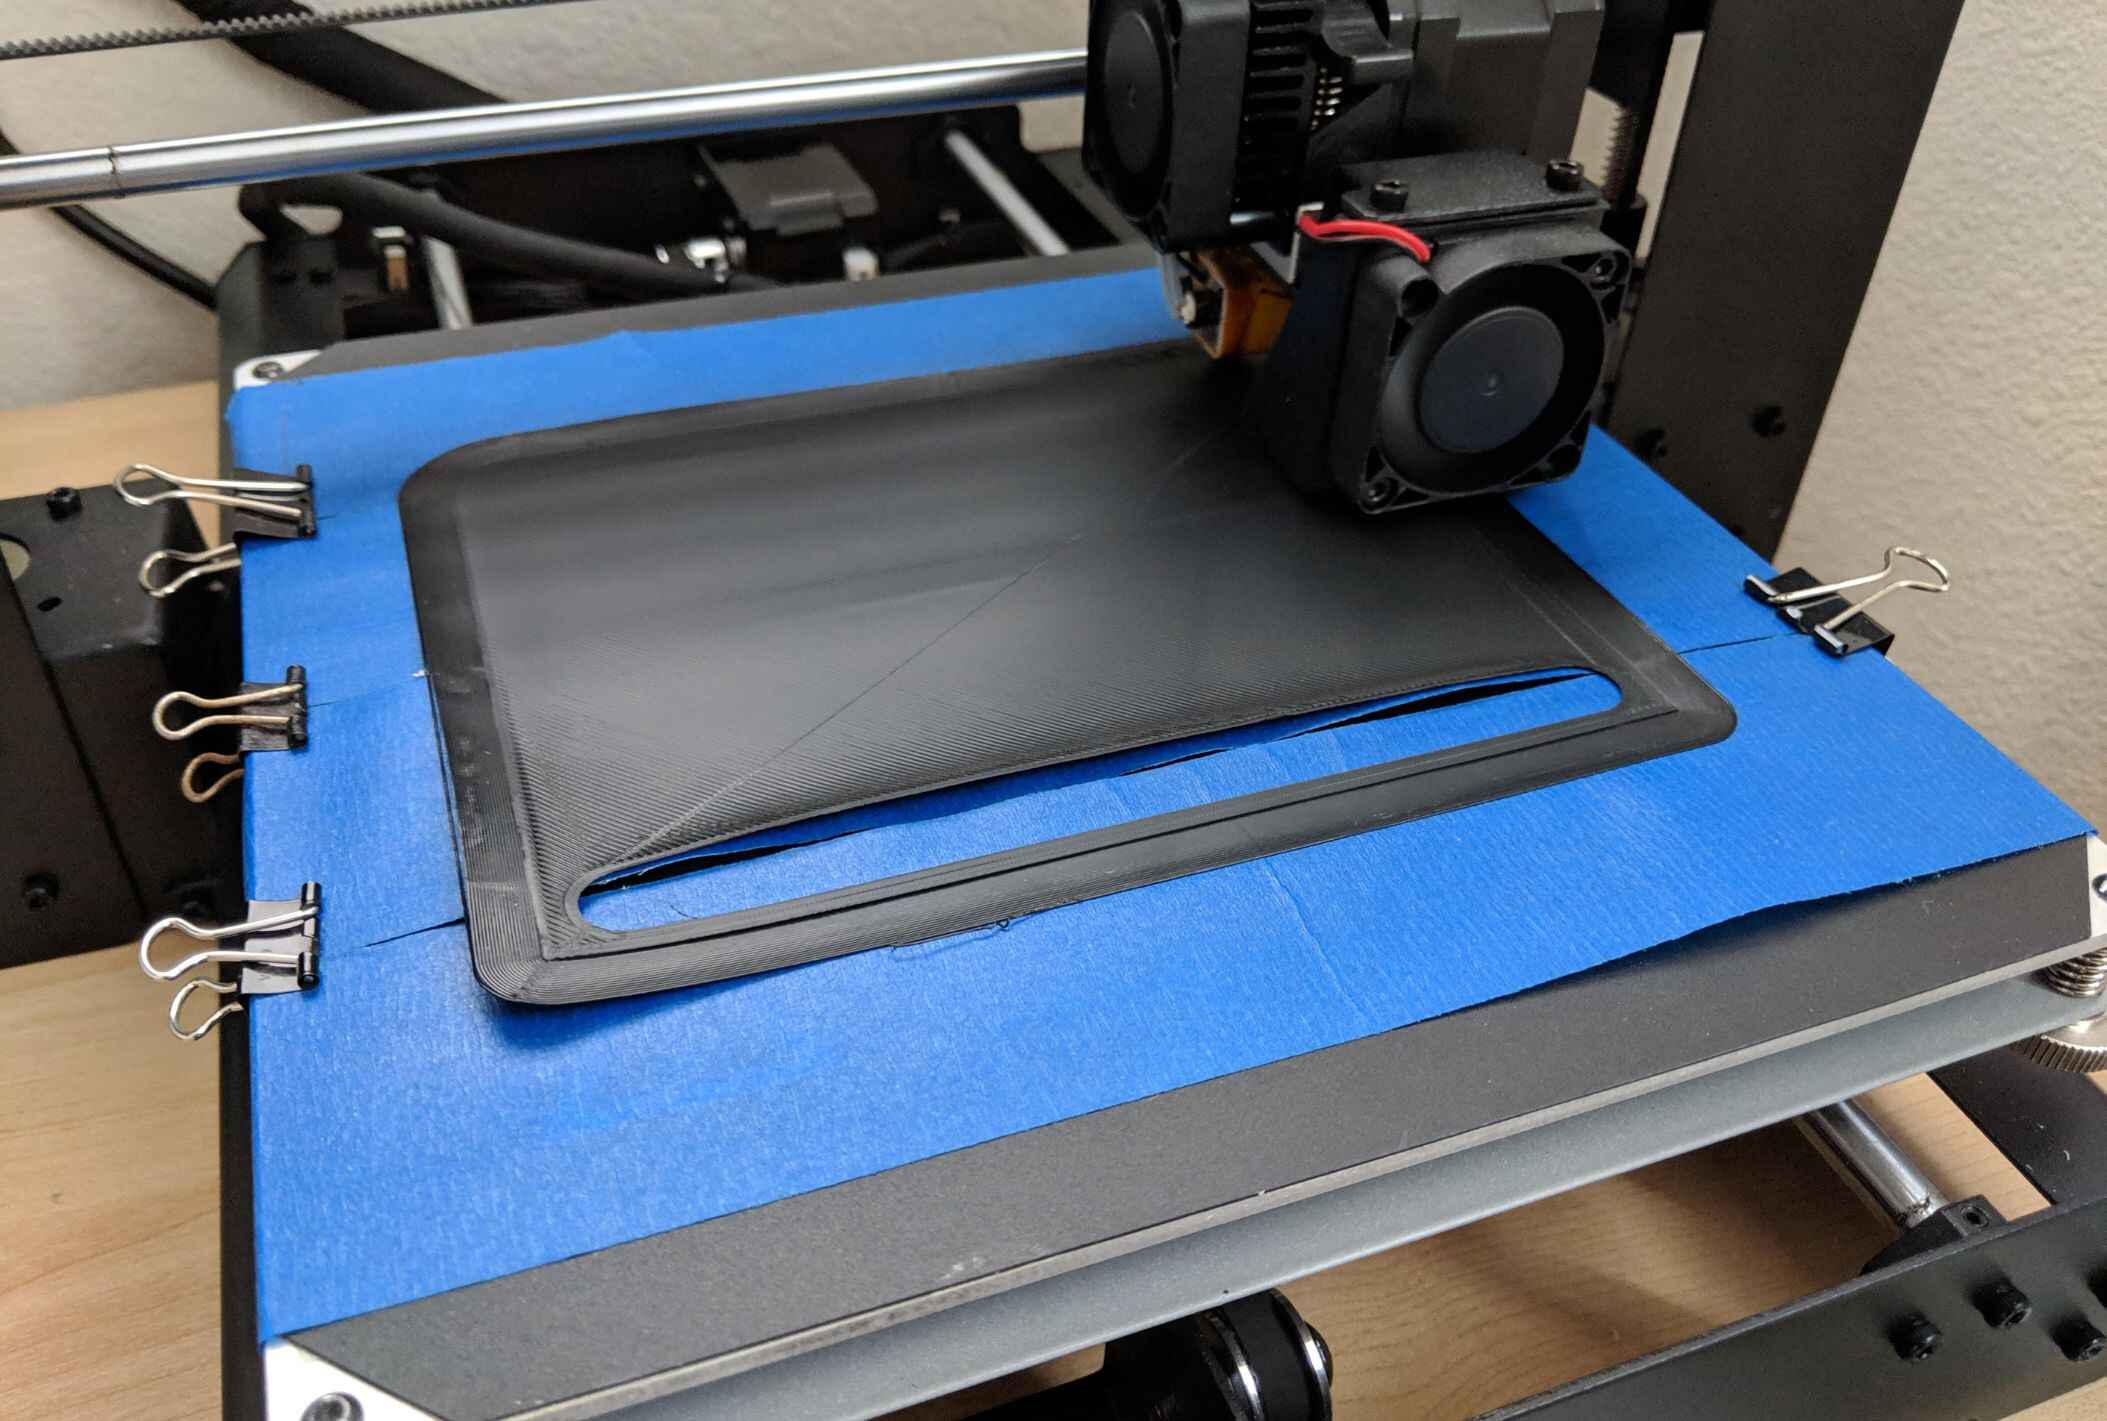
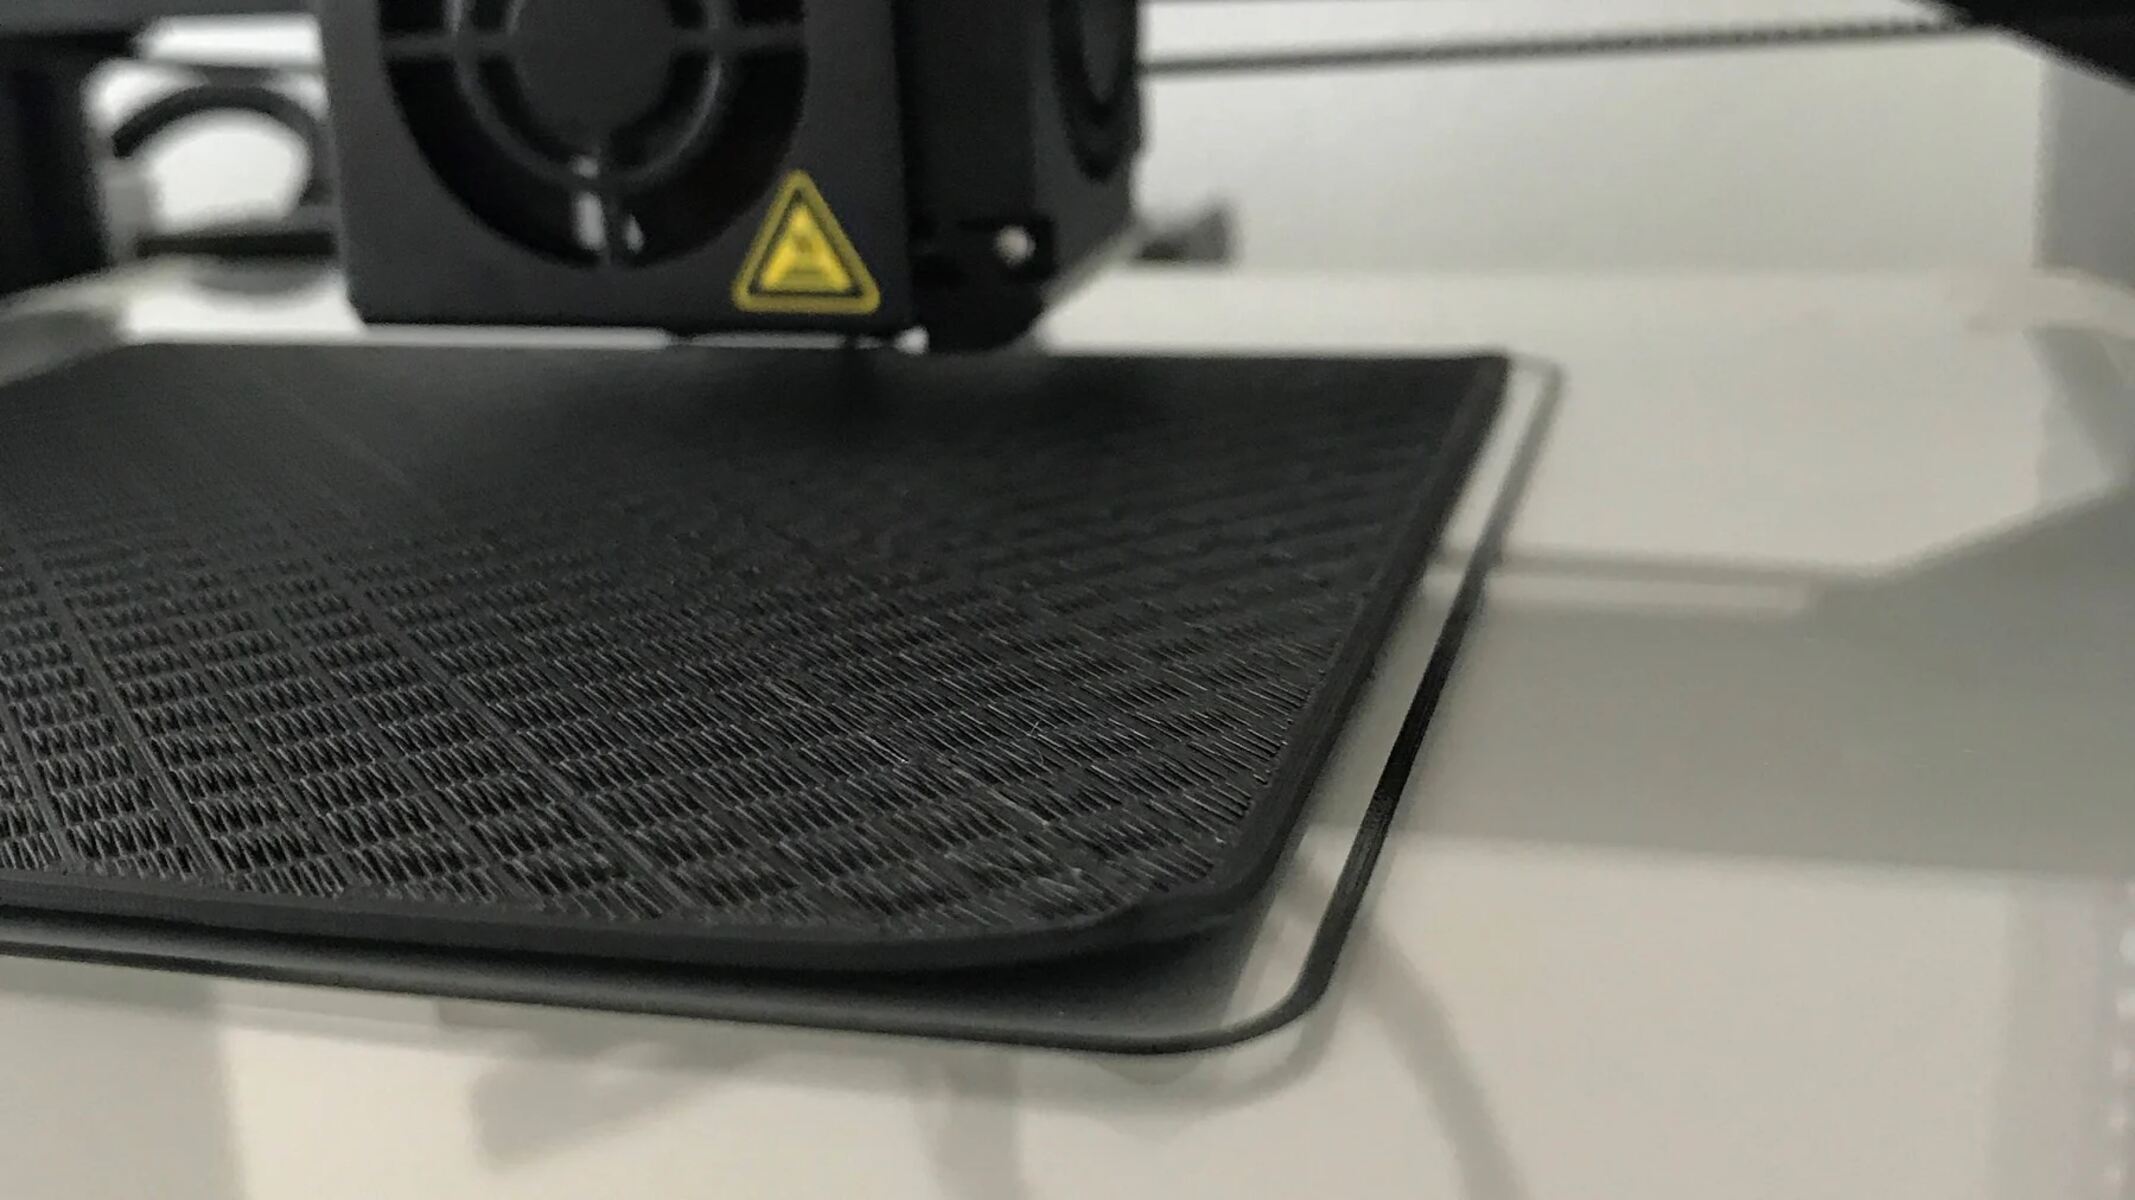
- Avoid warping and shifting: Uneven bed leveling can cause issues such as warping and layer shifting. Warping refers to the curling or lifting of the printed object’s edges due to improper bed adhesion. Layer shifting occurs when the layers of the print shift horizontally, resulting in misaligned and unusable prints. Proper bed leveling helps minimize these issues and ensures that your prints stay intact.
- Time and filament savings: When the printer bed is leveled, you can avoid failed prints and wasted filament. Failed prints can occur when the print detaches from the bed or when the layers are not properly aligned. By leveling the bed, you increase the chances of successful prints, saving both time and material.
- Consistent results: Leveling the printer bed helps achieve consistent results across different prints. When the bed is level, you can rely on the same settings and adjustments for each print, ensuring consistent print quality. This is especially important if you are working on a series of prints or need to replicate a particular design.
Overall, leveling the printer bed is a crucial step to ensure the success of your 3D prints. It improves bed adhesion, print accuracy, and reduces the chances of warping and shifting. Additionally, it helps you save time and filament while achieving consistent results. In the next section, we will explore the factors that can impact bed leveling and how to recognize when your printer bed needs leveling.
Factors that Affect Bed Leveling
Several factors can influence the levelness of your 3D printer bed. Understanding these factors will help you identify potential challenges and make necessary adjustments. Here are the key factors that can affect bed leveling:
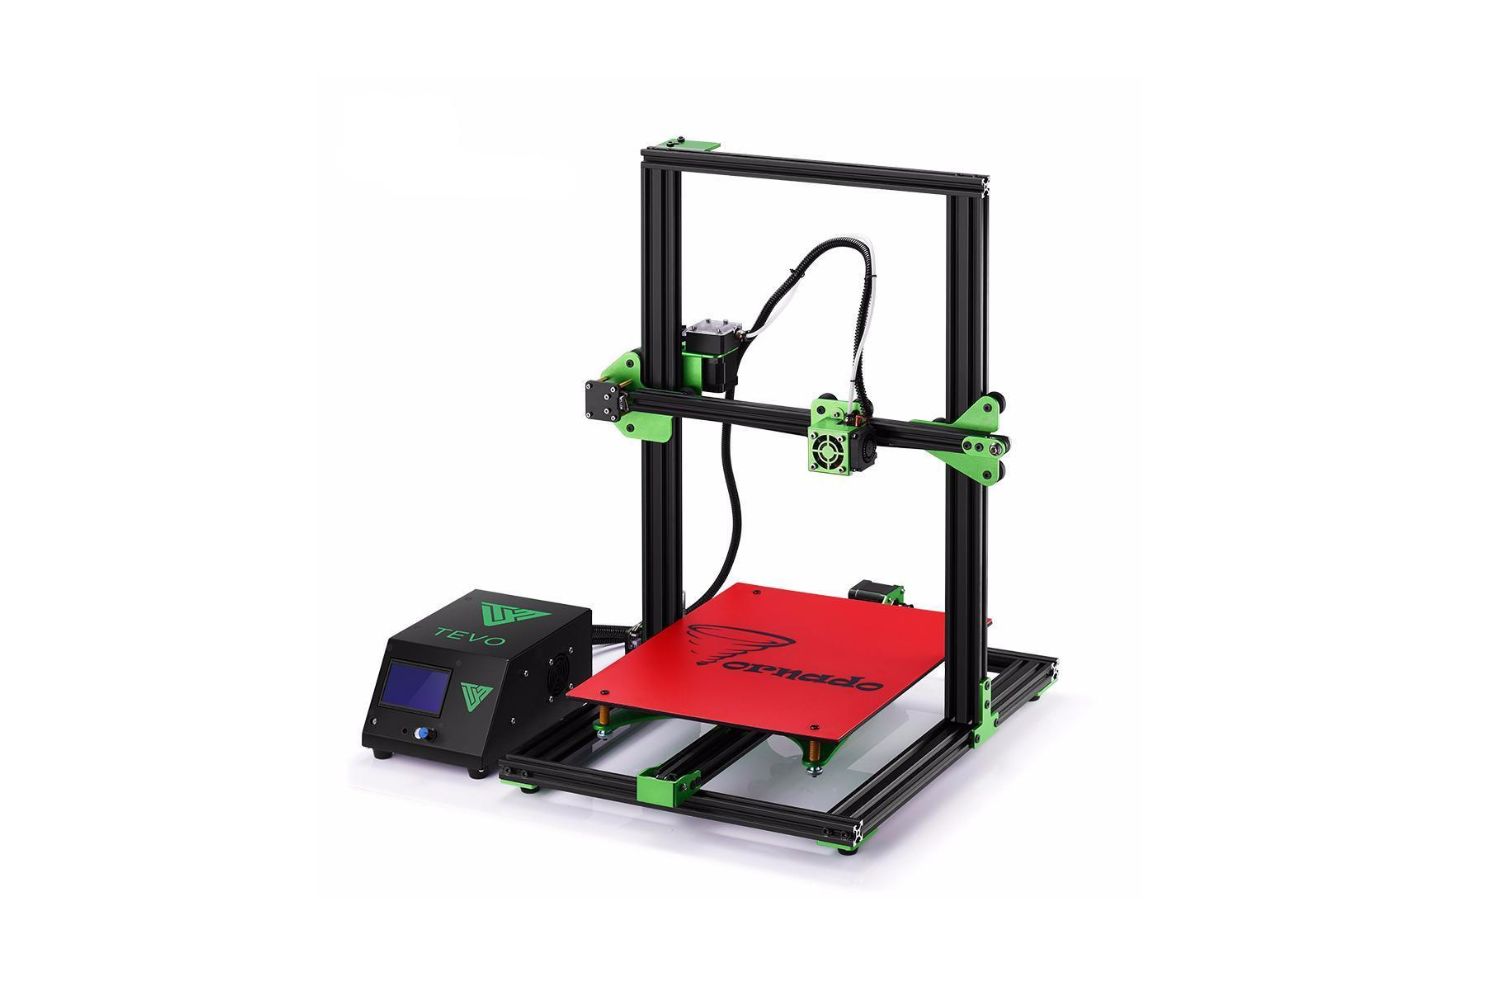
- Printer design: Different types of 3D printers have varying bed leveling mechanisms. Some printers have manual leveling, where you manually adjust the corners or center of the bed, while others have automatic bed leveling, using sensors and motors to adjust the bed level. The type of printer you have will determine the specific method you need to use for bed leveling.
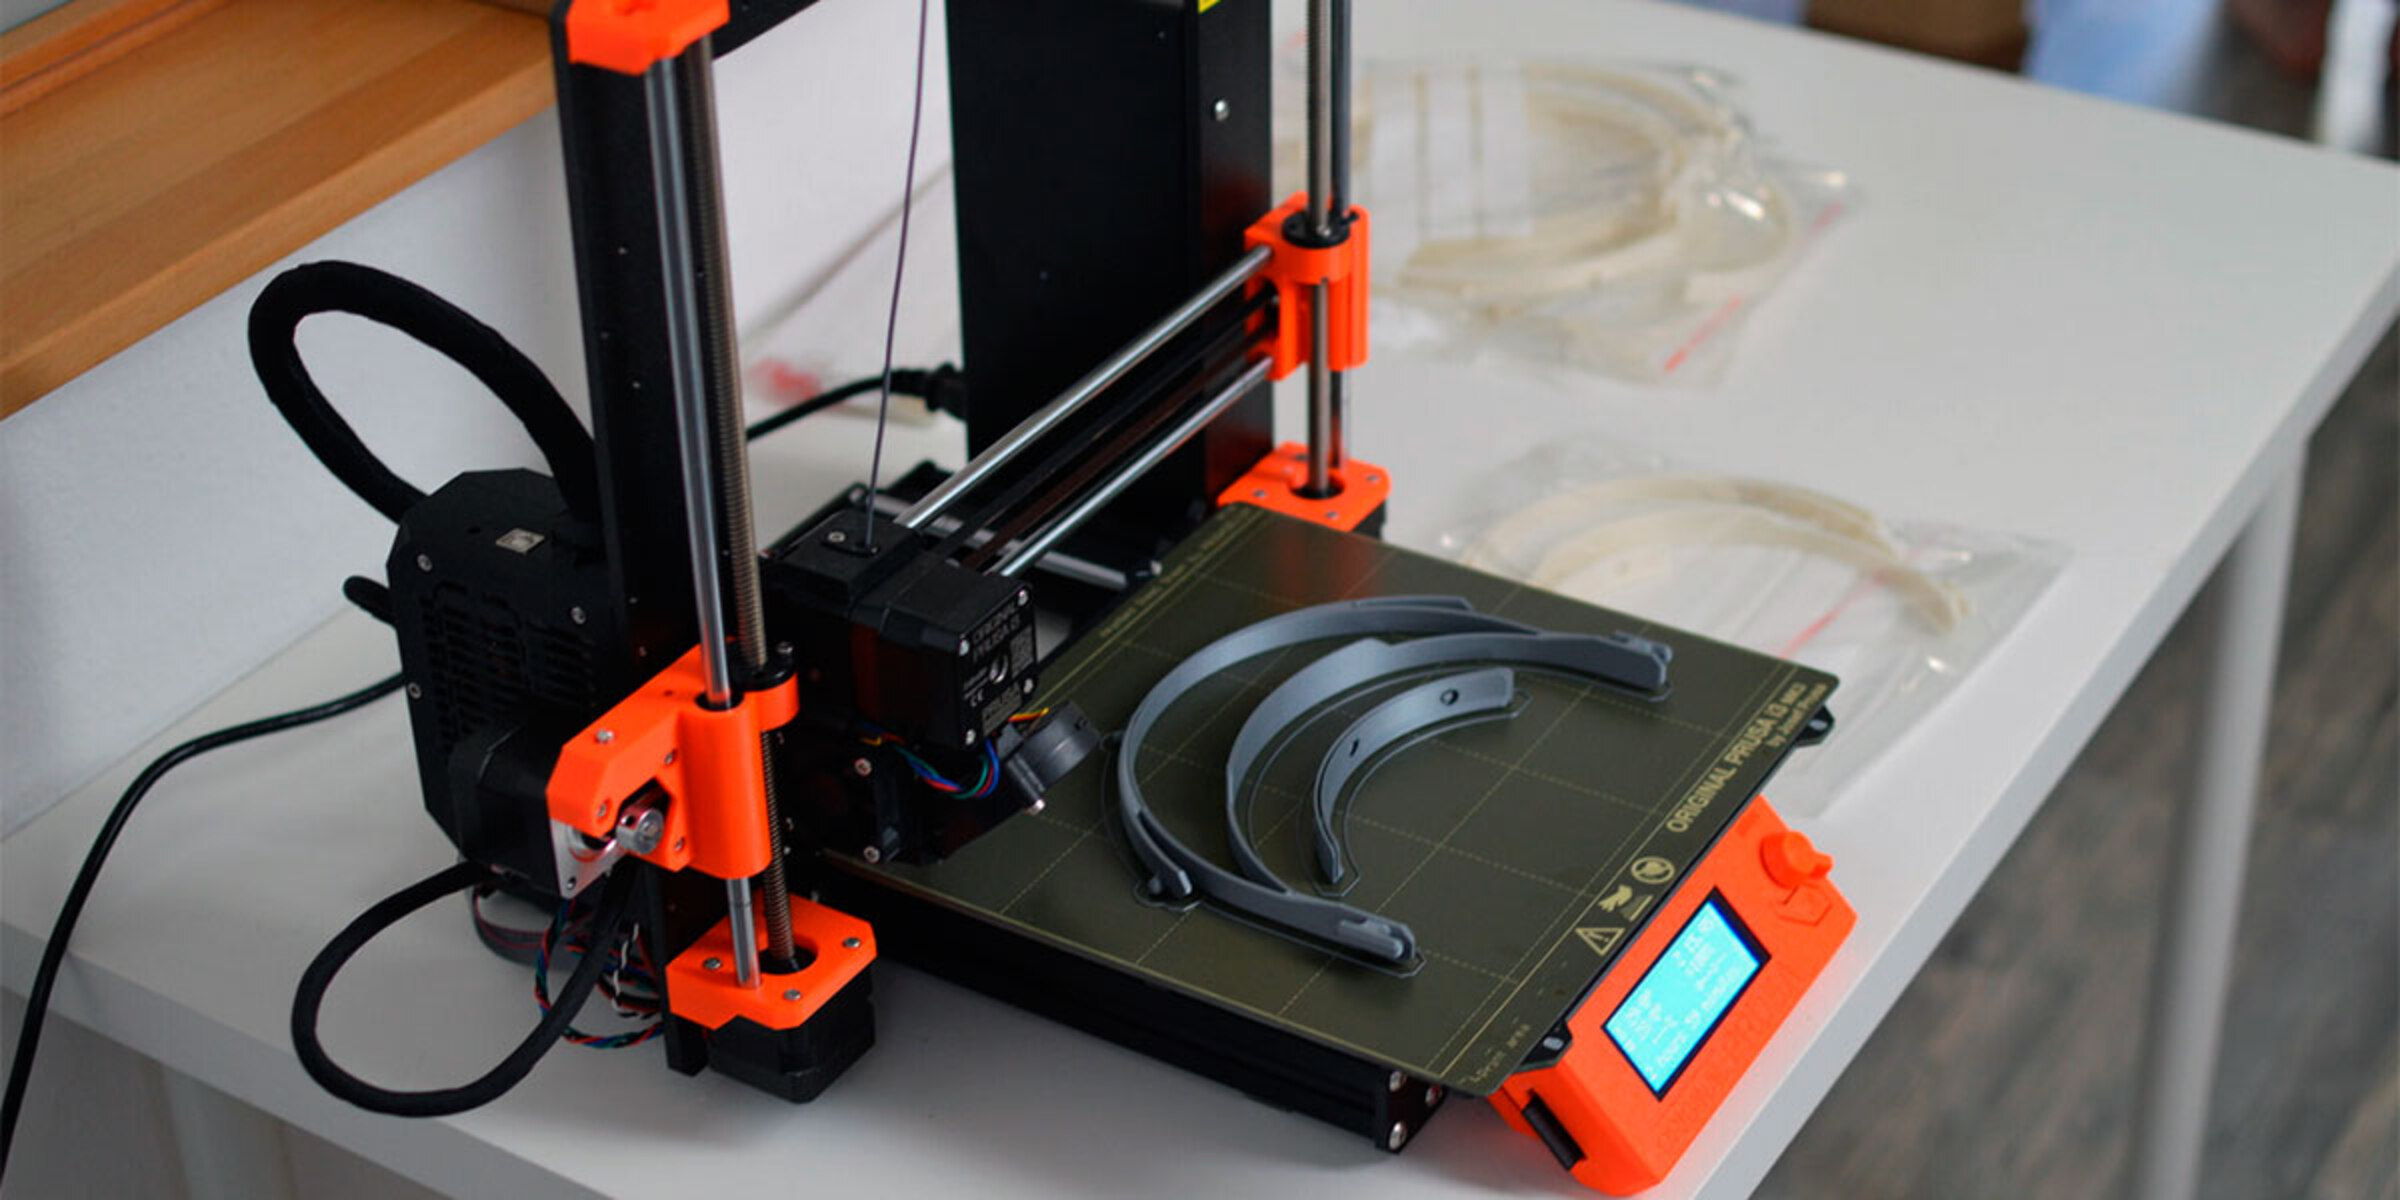
- Build surface: The material used for the printer’s build surface can impact bed leveling. Some printers have a glass bed, while others may have a heated build plate or a specialized build surface like PEI or BuildTak. Each material has different characteristics, such as how it expands or contracts with temperature changes, and may require specific bed leveling techniques.
- Material type and properties: Different 3D printing materials have different properties, including how they adhere to the print bed. Some materials, like PLA, have good adhesion, while others, like ABS, may require additional measures, such as using a heated bed or applying adhesive. The material you are printing with can affect the necessary bed leveling adjustments and techniques.
- Environmental conditions: Temperature and humidity can impact the levelness of the printer bed. Thermal expansion or contraction of the build surface or printer components can affect bed leveling. It’s important to monitor and account for changes in temperature and humidity in your printing environment, as they may require you to periodically re-level the bed.
- Printer maintenance: Wear and tear, loose screws, or mechanical issues can affect bed leveling. Regular maintenance of your 3D printer, including checking and tightening screws, lubricating moving parts, and ensuring proper alignment, can help maintain the levelness of the bed over time.
- Mechanical vibrations: Vibrations from the printer’s motors or external sources can cause the bed to shift slightly, affecting its levelness. If you notice changes in bed leveling after moving or transporting your printer or experiencing unusual vibrations, it may be necessary to re-level the bed.
By considering these factors, you can troubleshoot bed leveling issues and make the necessary adjustments for optimal print quality. In the next section, we will discuss the signs that indicate your printer bed needs leveling, helping you identify when it’s time to take action.
Signs that Your Printer Bed Needs Leveling
As a 3D printer enthusiast, it’s important to be aware of the signs that indicate your printer bed needs leveling. By recognizing these signs early on, you can address the issue and prevent potential printing problems. Here are some common signs that your printer bed needs leveling:
- Poor bed adhesion: If you notice that your prints are not sticking properly to the bed or are detaching during the print process, it could be a sign that the bed is not level. Poor bed adhesion can result in failed prints or uneven layer deposition, impacting the overall print quality.
- Uneven or inconsistent first layer: When the printer bed is not level, the first layer of your prints may appear uneven or inconsistent in thickness. You may notice gaps or thin spots in the first layer, which can lead to structural issues in your print as subsequent layers are built on top. A level bed ensures that the first layer is deposited evenly, resulting in a strong foundation for the rest of the print.
- Excessive warping: Warping occurs when parts of your print curl or lift off the bed during the printing process. This can happen if the bed is not level or if it is not at the optimal temperature for the filament you are using. If you consistently experience warping issues, it’s a good indication that the bed needs to be leveled to improve adhesion and prevent future warping problems.
- Prints are not sticking in certain areas: If you notice that your prints are consistently detaching from specific areas of the bed but sticking fine elsewhere, it could indicate uneven leveling of the bed. Uneven leveling can cause certain areas of the bed to be too close or too far from the nozzle, leading to adhesion issues in those specific spots. Leveling the bed will help ensure consistent adhesion across the entire bed surface.
- Inconsistent layer height: When the bed is not level, you may notice variations in the height of each printed layer. Some areas of the print may appear thicker or thinner than others, resulting in an inconsistent print quality. Proper bed leveling ensures that the nozzle is at the correct height above the bed, promoting consistent layer deposition and improving overall print accuracy.
If you encounter any of these signs, it’s a clear indication that your printer bed needs leveling. Regularly checking and maintaining the levelness of the bed will help you achieve better print quality, prevent failed prints, and save valuable time and filament. In the next section, we will discuss how often you should level your printer bed based on different factors and provide some general guidelines to help you maintain a properly leveled bed.
How Often Should You Level Your Printer Bed?
The frequency at which you should level your printer bed depends on various factors, including the type of printer you have, the materials you are using, and the frequency of use. Here are some general guidelines to help you determine how often you should level your printer bed:
- New printer: If you have just acquired a new 3D printer, it is recommended to level the bed before your first print. New printers may have slight variations in bed level due to manufacturing and shipping processes, so it’s crucial to ensure proper bed alignment right from the start.
- After moving or transporting: If you have moved or transported your printer, it is advisable to check and level the bed. The movement and vibrations during transportation can potentially cause the bed to shift, leading to misalignment. Taking a few minutes to re-level the bed after relocation will help ensure optimal print quality.
- Every few weeks or months: As a general rule of thumb, it is a good practice to level the printer bed every few weeks or months, depending on your usage. Regular bed leveling helps prevent any gradual misalignment that may occur due to continuous use or environmental changes. By performing this maintenance task periodically, you can catch and correct any minor deviations before they escalate into major issues.
- When changing print surfaces: If you switch to a different build surface, such as changing from a glass bed to a textured sheet or vice versa, it is essential to level the bed with the new surface. Each material and surface may have different characteristics, and leveling ensures optimal adhesion and print quality for the specific combination.
- When using different materials: Different filament materials may require slight adjustments to the bed level due to variations in their properties, such as adhesion and shrinkage rates. When transitioning from one material to another, it is recommended to re-level the bed to account for any differences and ensure proper first layer adhesion.
- Based on printing experience: As you gain more experience with your specific printer model and become familiar with its tendencies, you may develop a sense of when the bed needs leveling. If you notice a decline in print quality or encounter adhesion issues, it’s a good indication that the bed requires leveling, even if it hasn’t been too long since the last adjustment.
Remember, these are general guidelines, and it is essential to keep an eye on print quality and perform bed leveling as needed. Each printer and user’s requirements may vary, so it’s crucial to find a routine that works best for you. Taking the time to maintain a properly leveled printer bed will greatly enhance your overall 3D printing experience and result in higher quality prints.
In the next section, we will discuss different methods for leveling a 3D printer bed, providing you with options to choose from based on your printer’s design and capabilities.
Different Methods for Leveling a 3D Printer Bed
When it comes to leveling a 3D printer bed, different printers employ different methods and techniques. The method you use may depend on your printer’s design and leveling mechanism. Here are some common methods for leveling a 3D printer bed:
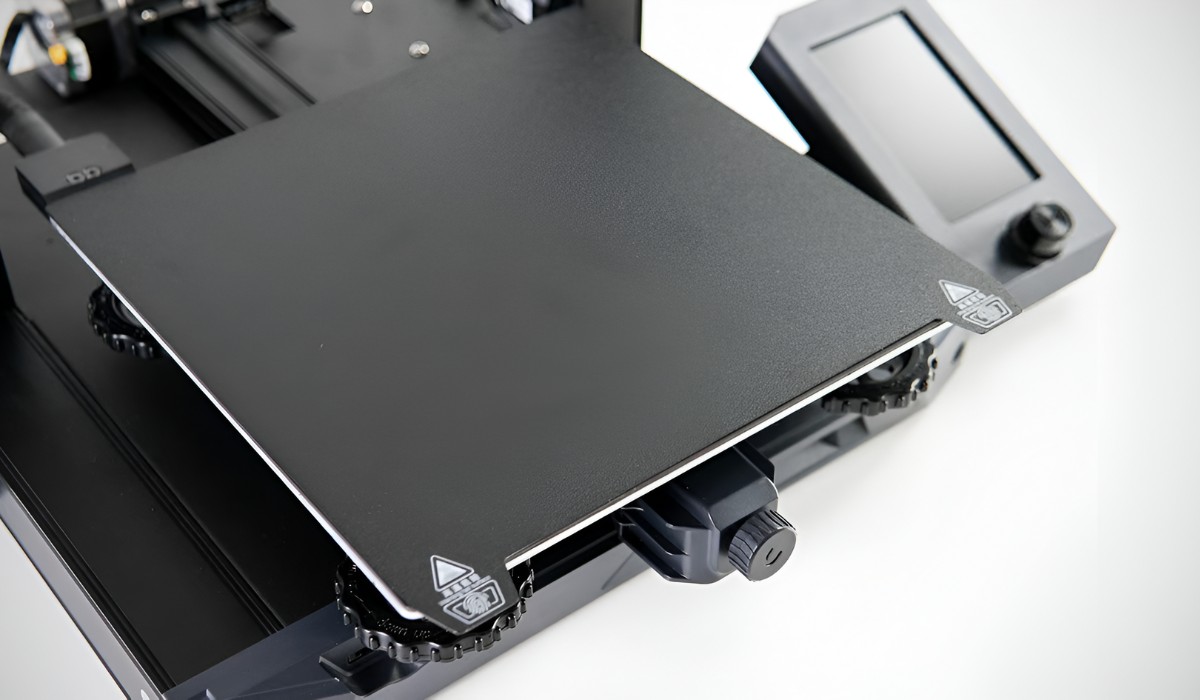
- Manual leveling: Manual leveling is a straightforward method used by many printers. It involves adjusting the leveling knobs or screws located beneath the printer bed. With this method, you manually raise or lower the corners or center of the bed to achieve a level position. Manual leveling typically involves using a sheet of paper or a feeler gauge to measure the distance between the nozzle and the bed, ensuring that there is a slight resistance when sliding the paper or gauge between them.
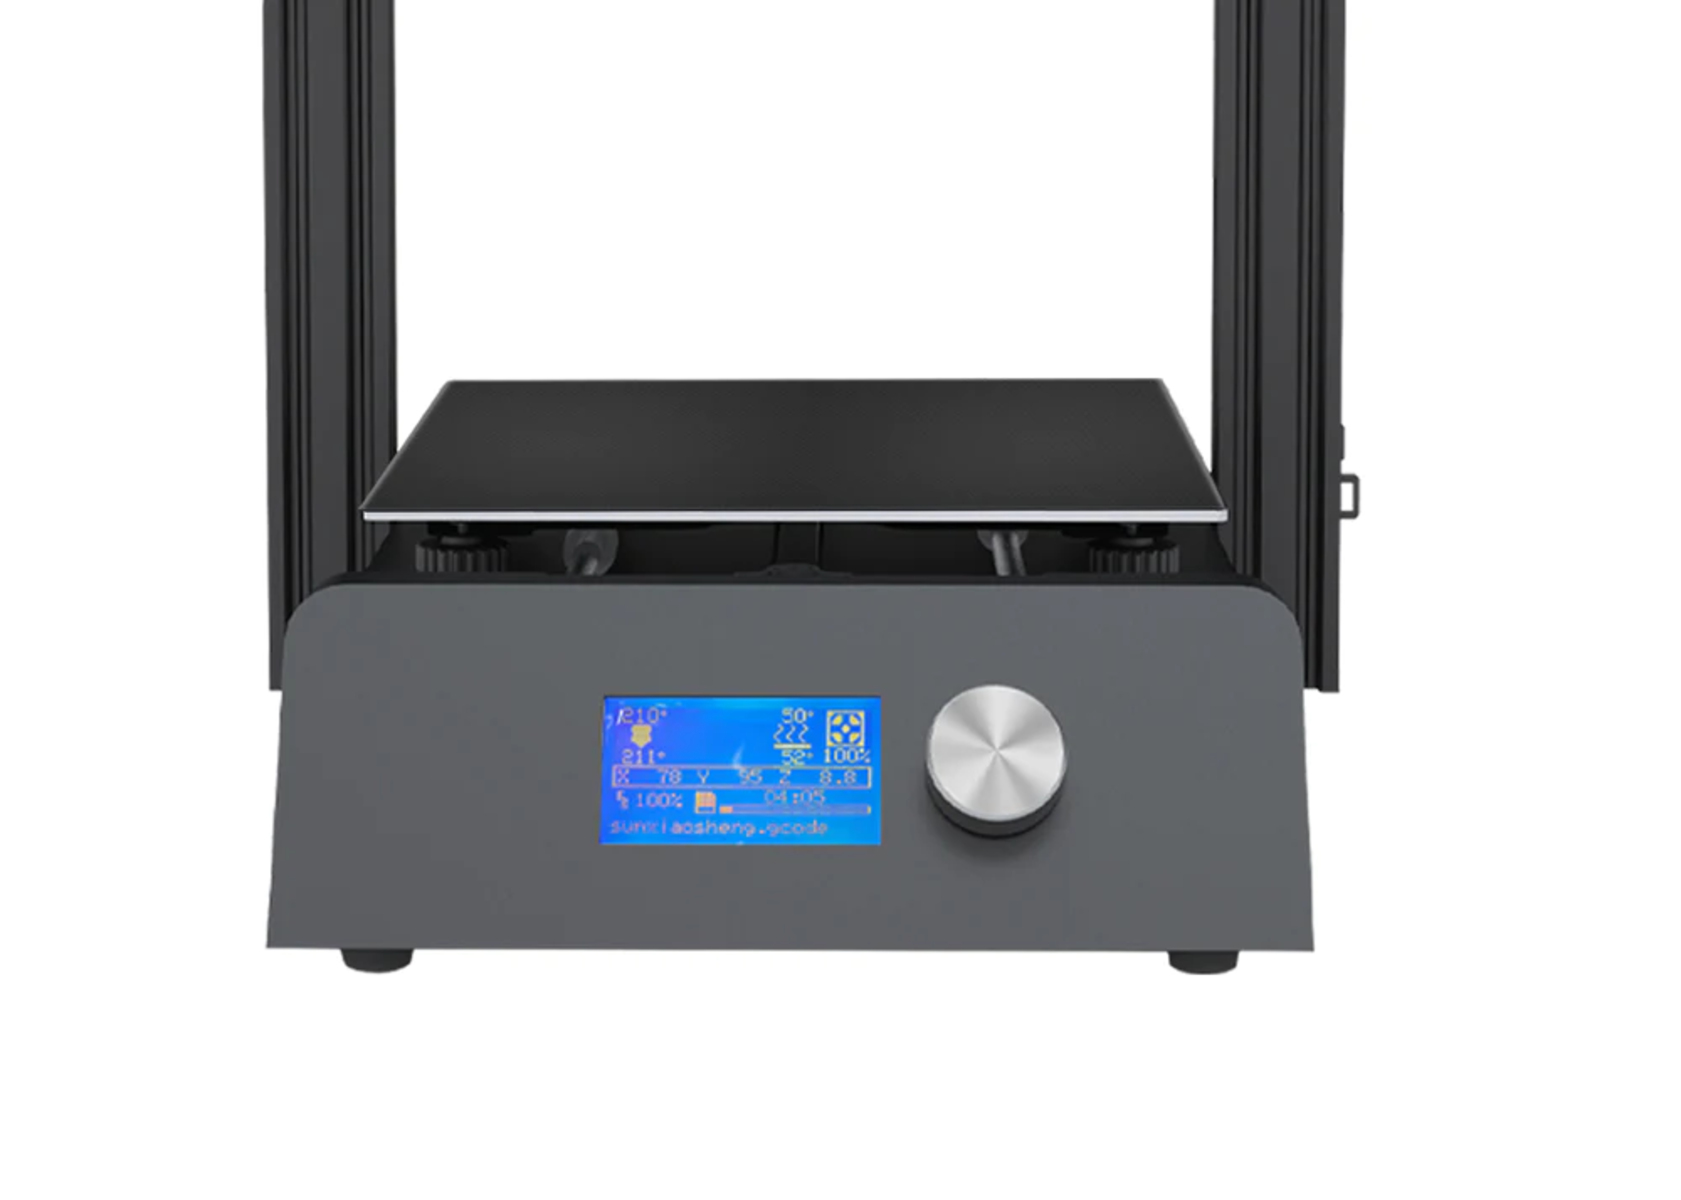
- Assisted leveling: Some printers feature assisted leveling systems that simplify the process. These systems use built-in sensors to guide you through the leveling process. Typically, you follow on-screen instructions or use a series of indicator lights to adjust the bed level. Assisted leveling takes out the guesswork and helps you achieve accurate leveling more easily.
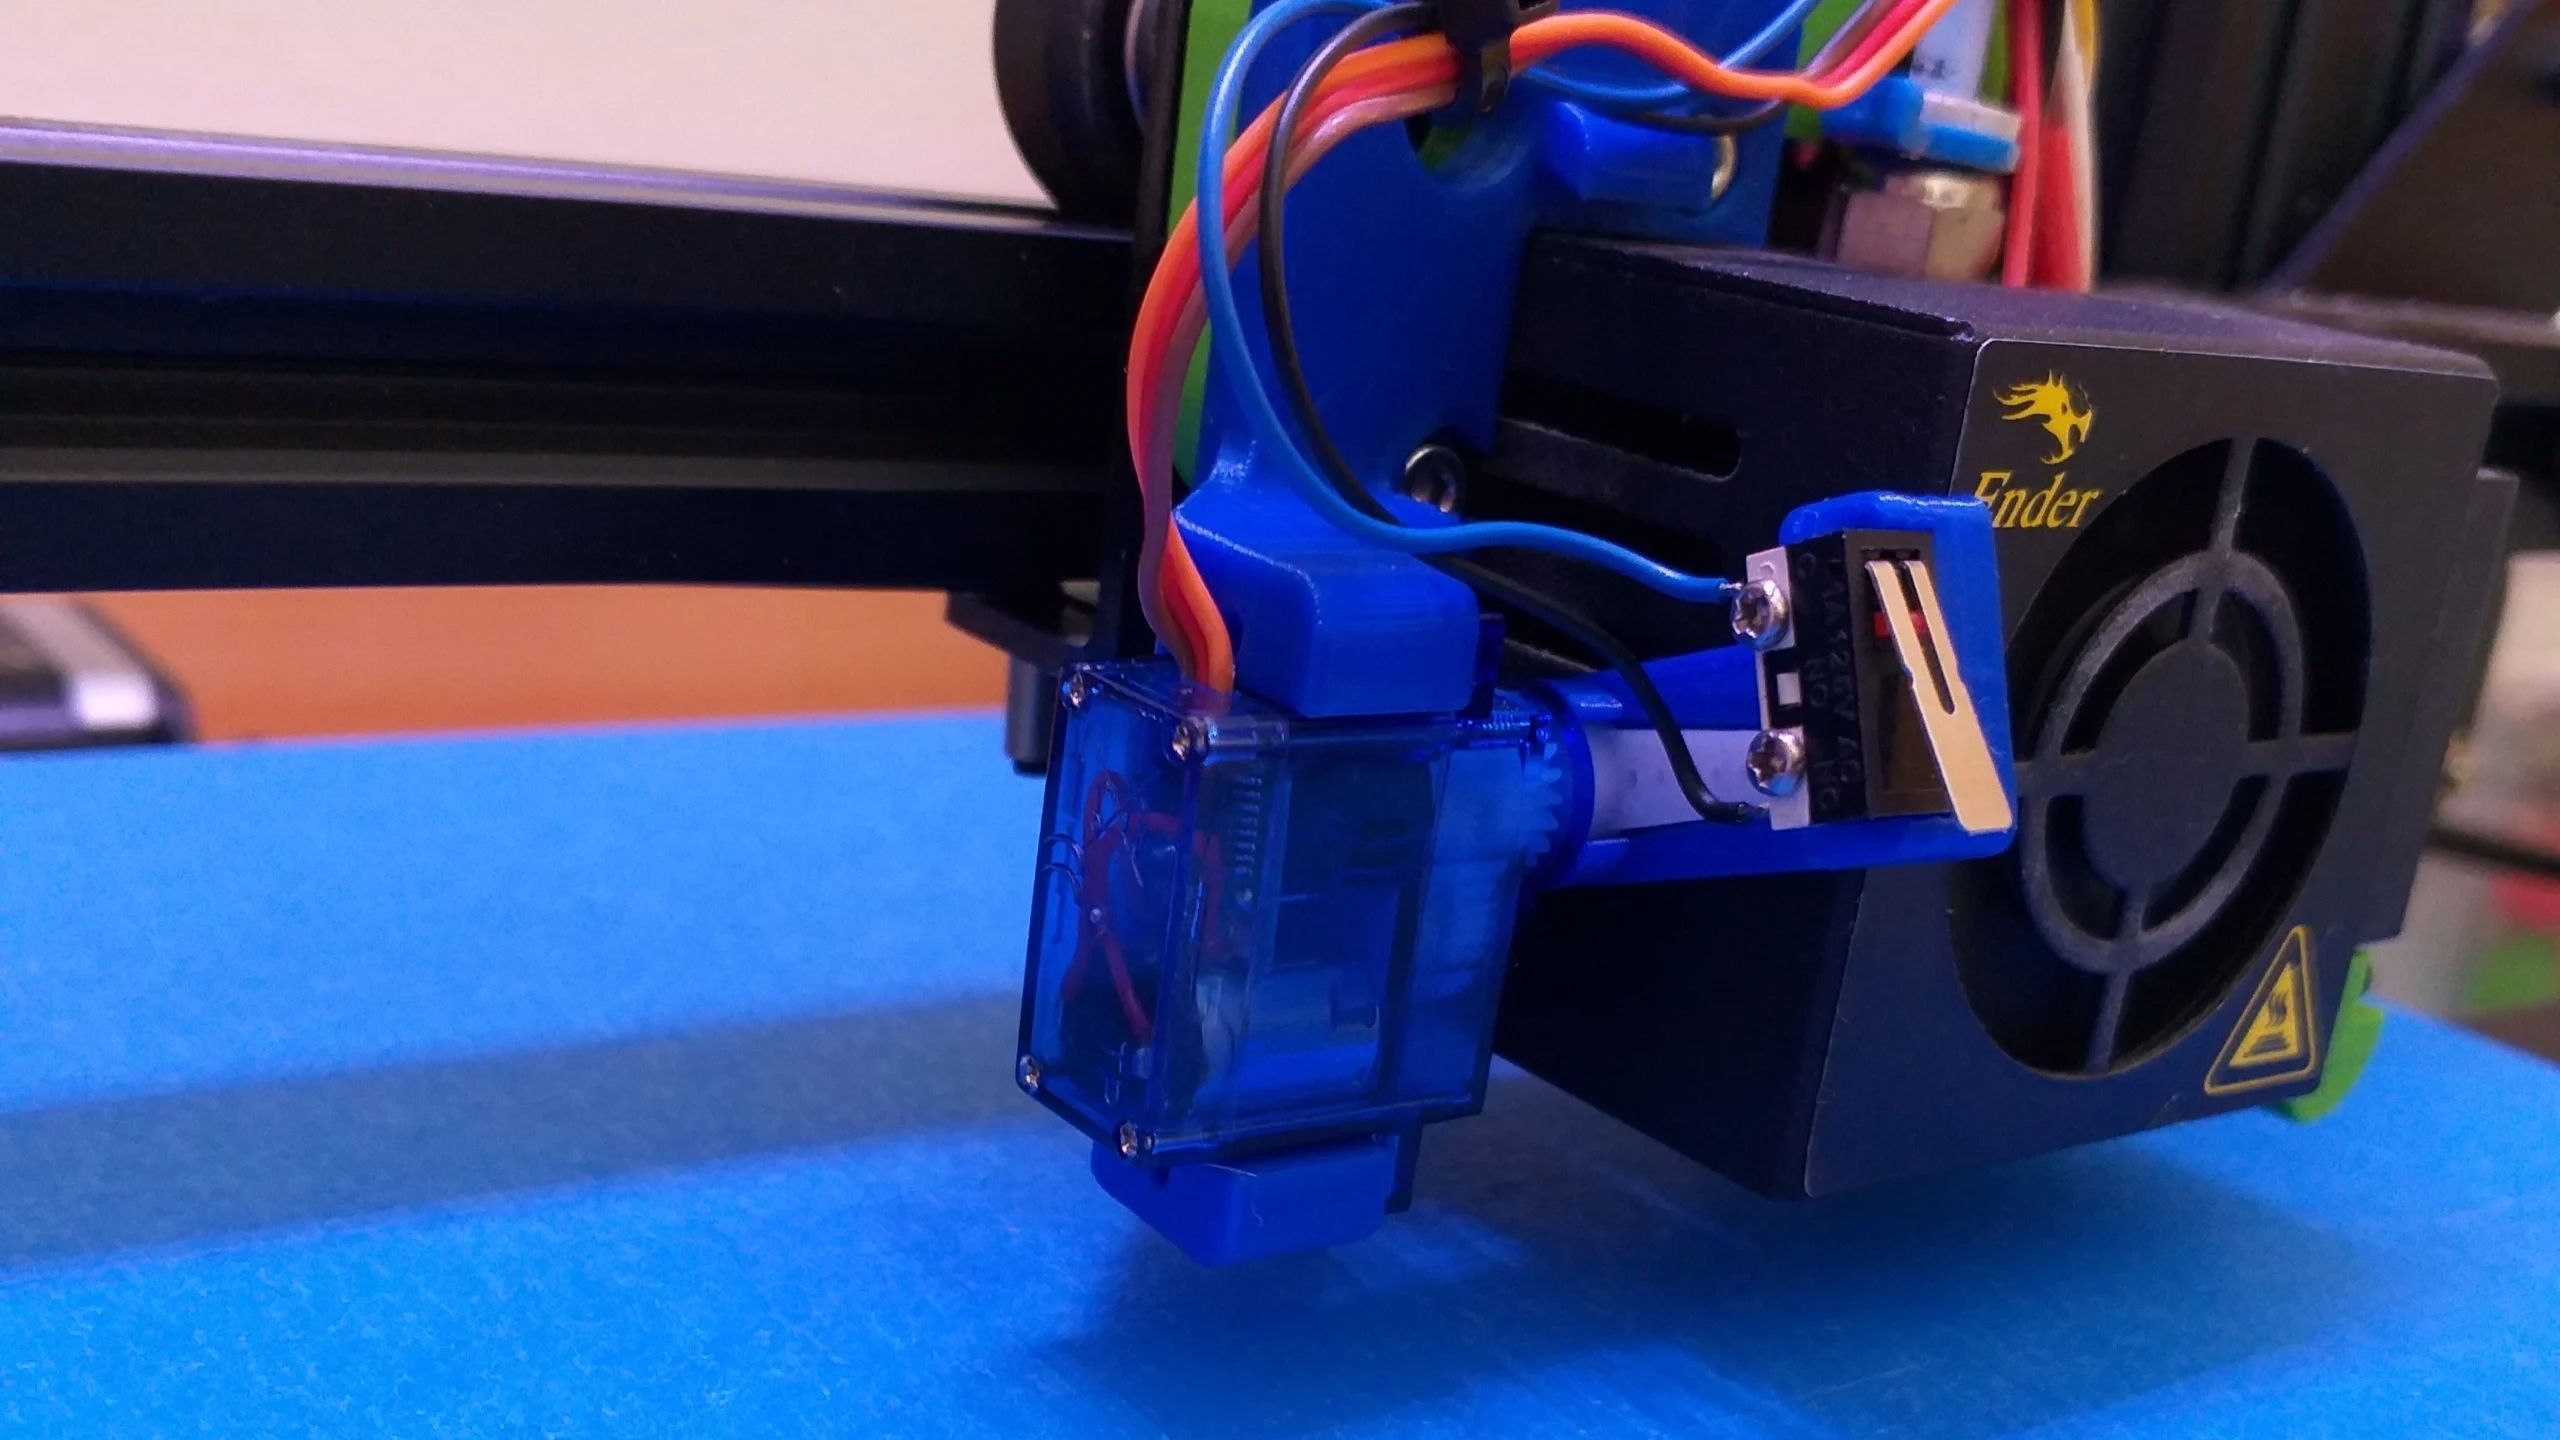
- Automatic bed leveling: Advanced 3D printers may come equipped with automatic bed leveling. This method utilizes sensors and motors to automatically adjust the bed level based on feedback from the sensors. This feature offers convenience and accuracy, as the printer measures the bed level at multiple points and adjusts it accordingly. Some printers may require initial manual adjustment before activating automatic bed leveling.
- Software-assisted leveling: Some printers offer software-based leveling tools. These tools rely on software that guides you through the leveling process step by step. The software analyzes the leveling points and provides instructions on how to adjust the bed level accordingly. This method is often found in printers that require precise calibration for optimal performance.
- Mesh bed leveling: Mesh bed leveling is a technique that compensates for slight bed irregularities. It involves creating a mesh of points across the bed and measuring the distance between the nozzle and bed at each point. This data is then used to generate a bed-leveling map, allowing the printer to adjust the nozzle height as it prints to compensate for any discrepancies in the bed level. Mesh bed leveling is often used in conjunction with automatic bed leveling systems.
It’s important to refer to your printer’s manual or consult online resources specific to your printer model for the recommended method of leveling. The method you choose will depend on your printer’s capabilities and your level of comfort in performing the adjustments.
Remember to follow proper safety practices when handling your printer and make gradual adjustments while checking the bed level at multiple points. Take your time and be patient during the leveling process to ensure accurate results.
In the next section, we will provide a step-by-step guide for leveling your printer bed, offering a clear process to follow regardless of the leveling method your printer utilizes.
Step-by-Step Guide to Leveling Your Printer Bed
Leveling your 3D printer bed is an essential maintenance task that ensures optimal print quality. Although the specific steps may vary depending on your printer model and leveling method, here is a general step-by-step guide to help you level your printer bed:
- Preparation: Start by ensuring that your printer is powered off and cooled down. This will prevent accidental movement or damage during the leveling process. Review your printer’s manual or consult online resources to familiarize yourself with the specific bed leveling method recommended for your printer.
- Home the printer: Use the printer’s control interface or software to home the printer. This will move the printhead or nozzle to a known starting position.
- Clean the bed: It’s important to clean the print bed before starting the leveling process to remove any debris or residue that may affect bed adhesion. Use isopropyl alcohol or a specialized bed cleaning solution, along with a clean cloth or lint-free paper, to thoroughly clean the bed surface.
- Select leveling point(s): Determine the specific points on the bed that you will use for leveling. This may involve choosing the corners of the bed or specific areas recommended by your printer’s manual.
- Adjust the leveling mechanism: If your printer has manual leveling, adjust the leveling knobs or screws beneath the bed. If your printer has assisted or automatic leveling, follow the on-screen instructions or use the designated controls to initiate the leveling process.
- Leveling test: To check the bed level, you can use a sheet of paper or a feeler gauge. Place the paper or gauge between the nozzle and bed at a leveling point. Gently move the paper/gauge back and forth. There should be a slight resistance, indicating that the nozzle is touching the paper or gauge while still allowing it to move freely. Repeat this process for all the selected leveling points.
- Adjust and retest: Make small adjustments to the leveling mechanism based on the test results. Turn the leveling knobs or screws incrementally to raise or lower the bed until you achieve the desired resistance when moving the paper or gauge. Retest the leveling points after each adjustment to ensure proper bed alignment.
- Repeat for all points: Continue the adjustment and retesting process for each selected leveling point until all points are properly leveled.
- Final check: After leveling all the points, visually inspect the bed to ensure that it appears level and the nozzle is at the correct height above the bed surface. Double-check the printer’s control interface or software to ensure that the bed level indicators confirm the leveling process was successful.
- Save settings: If your printer allows for saving settings or a bed leveling profile, make sure to save the new bed leveling adjustments for future use. This will help streamline future printing and avoid repetitive leveling.
Remember to take your time and make small adjustments during the leveling process. It may require several iterations of adjustment and testing to achieve optimal bed leveling. Regularly check your printer’s manual or consult online resources specific to your printer model for any model-specific tips or considerations.
By following this step-by-step guide, you can ensure that your printer bed is properly leveled, leading to improved print quality and successful prints.
In the next section, we will provide tips and tricks to make the bed leveling process easier and more efficient for you.
Tips and Tricks for Easier Bed Leveling
Bed leveling is an important maintenance task in 3D printing, and it can sometimes be challenging. Here are some tips and tricks to make the bed leveling process easier and more efficient:
- Use a leveling tool: Consider using a dedicated leveling tool, such as a bed level square or a digital caliper. These tools can provide more accurate measurements and make it easier to gauge the distance between the nozzle and the bed.
- Start with the corners: When manually leveling the bed, start with the corners before moving on to the center. This helps ensure that the bed is level at the extremities, which often have the most noticeable variations.
- Make small adjustments: Rather than making large adjustments to the leveling mechanism, try making small, incremental changes. This allows for finer tuning of the bed level and reduces the risk of over-adjusting and causing misalignment.
- Use visual aids: Place a good source of light, such as a flashlight, at an angle to the bed during the leveling process. This helps create shadows that make it easier to see the gap between the nozzle and the bed, aiding in the precision of adjustment.
- Level when the bed is heated: For printers with a heated bed, it is generally recommended to level the bed while it is heated to the printing temperature of the filament you will be using. This accounts for any thermal expansion or contraction that may occur and ensures more accurate leveling.
- Practice patience: Take your time during the leveling process. It may require several iterations of adjustment and testing to achieve the desired bed level. Rushing can lead to inaccurate leveling and poor print quality.
- Check and tighten hardware: Periodically check and tighten the hardware on your printer, including screws, belts, and brackets. Loose hardware can contribute to bed misalignment, so keeping everything securely fastened helps maintain a stable and level printing platform.
- Document your adjustments: Keep a record of the adjustments you make during the leveling process. This allows you to track your progress and revert to prior settings if needed. It also helps you identify patterns or recurring issues that may require additional troubleshooting.
- Seek community support: Join online forums, social media groups, or local 3D printing communities. These platforms are a great source of support and knowledge, as experienced users can provide insights, tips, and troubleshooting assistance related to bed leveling specific to your printer model.
Remember, different printers may have unique requirements, so it’s important to refer to your printer’s manual and consult the manufacturer’s recommendations for the best practices specific to your printer. With time and practice, you will become more comfortable with the bed leveling process and achieve consistent, high-quality prints.
In the next section, we will provide a concise summary to conclude this informative guide on leveling your printer bed.
Conclusion
Properly leveling your 3D printer bed is a crucial step in achieving high-quality prints and avoiding common problems such as poor adhesion, warping, and inconsistent layer heights. By understanding the importance of bed leveling, recognizing the signs that indicate it needs adjustment, and following the appropriate methods and techniques, you can optimize your 3D printing experience.
In this guide, we explored the significance of bed leveling and discussed the various factors that can affect it, such as printer design, build surface, material properties, environmental conditions, printer maintenance, and mechanical vibrations. We also provided a step-by-step guide to help you level your printer bed, taking you through the preparation, homing the printer, cleaning the bed, selecting leveling points, adjusting the leveling mechanism, testing and adjusting, and finalizing the process.
We also shared tips and tricks to make the bed leveling process easier and more efficient, such as using a leveling tool, starting with the corners, making small adjustments, using visual aids, leveling when the bed is heated, practicing patience, checking and tightening hardware, documenting adjustments, and seeking community support.
Remember, the specific recommendations may vary based on your printer model and leveling method, so it’s crucial to consult your printer’s manual and manufacturer’s guidelines. Regularly checking and maintaining the levelness of your printer bed will greatly enhance the success rate of your prints and ensure consistent, high-quality results.
By investing time and effort into proper bed leveling, you can unleash the full potential of your 3D printer and bring your creative ideas to life with precision and accuracy. Happy printing!