Introduction
Welcome to the world of 3D printing! Anet 3D printers have gained popularity among hobbyists and professionals alike due to their affordability, versatility, and ease of use. Whether you’re a beginner or an experienced user, configuring your Anet 3D printer is an essential step to ensure optimal performance and consistent print quality.
Configuring an Anet 3D printer involves assembling the printer, installing the necessary software, adjusting printer settings, calibrating the extruder, and loading the filament. It may sound intimidating, but fear not – this guide will take you through each step, providing detailed instructions and tips to make the process as smooth as possible.
But before we delve into the configuration process, it’s important to understand the basics of an Anet 3D printer. These printers work on the principle of additive manufacturing, where objects are built layer by layer using a heated nozzle that extrudes molten filament. The printer reads a 3D design file, typically in the form of an STL file, and translates it into specific movements of the print head.
In order to ensure a safe and successful configuration process, it’s crucial to take some safety precautions. Make sure to work in a well-ventilated area, wear protective goggles and gloves, and keep children and pets away from the printer while it’s in operation. Additionally, read the user manual and familiarize yourself with the printer’s components and their functions.
Now, without further ado, let’s begin the configuration journey and get your Anet 3D printer up and running!
What is an Anet 3D Printer?
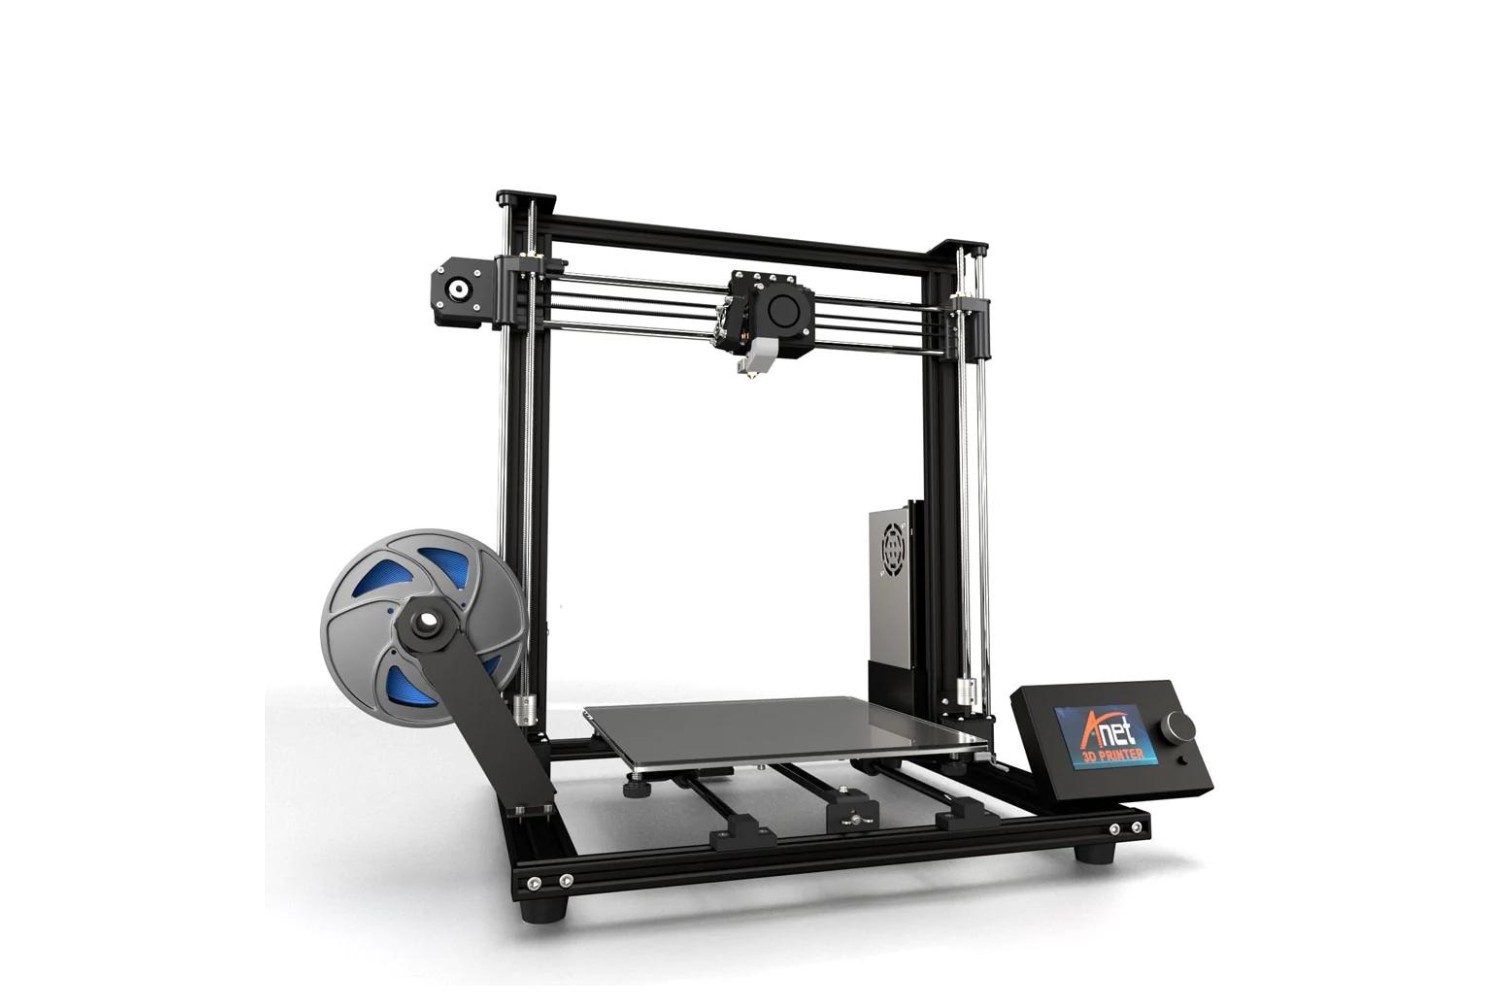
Anet 3D printers are affordable desktop printers that allow users to bring their digital designs to life in the form of three-dimensional objects. These printers are known for their open-source nature, which means that users have the freedom to modify and customize various aspects of the printer to suit their specific needs.
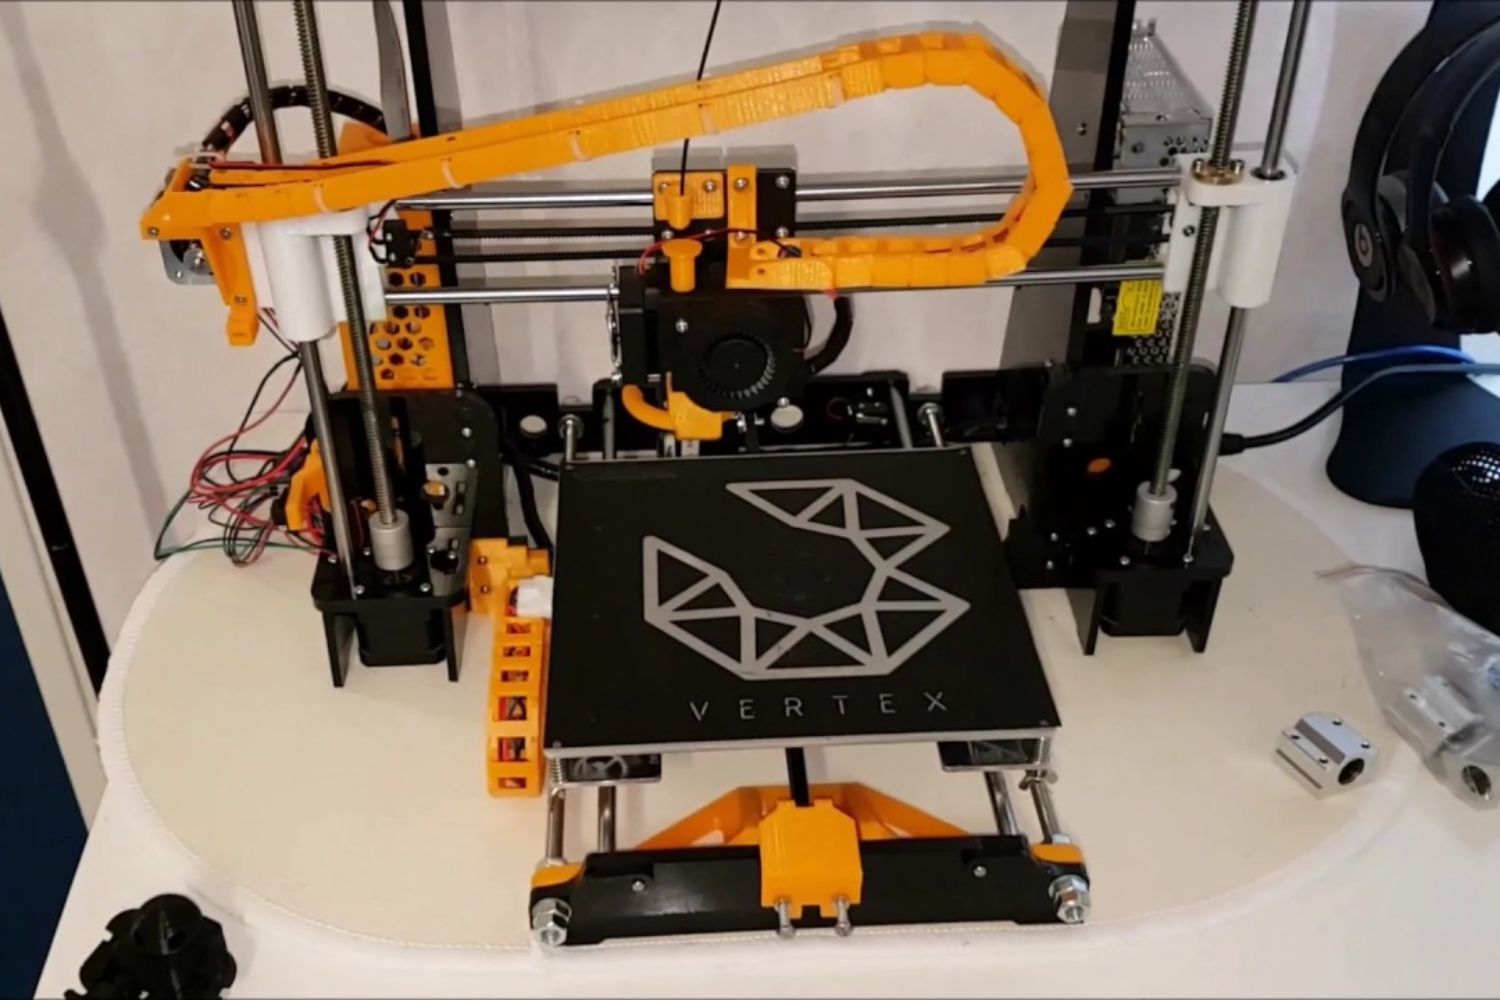
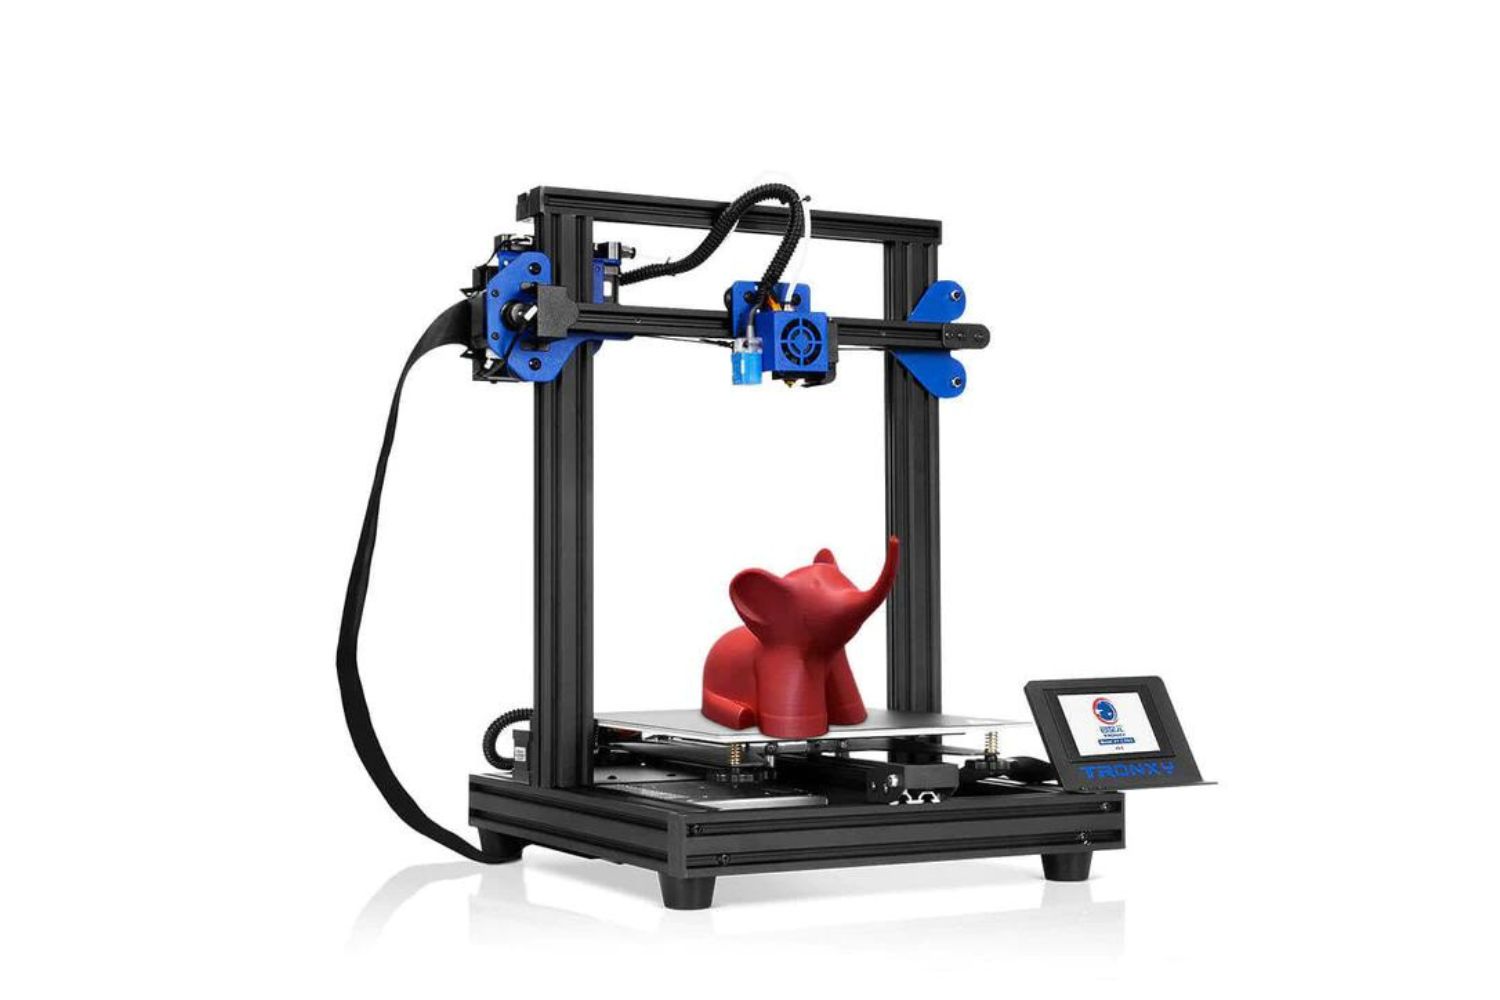
The main components of an Anet 3D printer include a frame, a heated print bed, a print head with a nozzle, and a spool holder for filament. The frame provides structural support and stability, ensuring precise movements during the printing process.
The heated print bed is an essential feature of an Anet 3D printer. It helps in ensuring proper adhesion of the printed object to the build surface, preventing warping or detachment during the printing process. The print head, also known as the extruder, is responsible for melting the filament and depositing it layer by layer to form the object. It moves in the X, Y, and Z axes to navigate the print area and build the object.
Anet 3D printers typically use fused deposition modeling (FDM) technology, where a thermoplastic filament is melted and extruded through a nozzle. This filament is commonly made of materials such as PLA (polylactic acid) or ABS (acrylonitrile butadiene styrene), which are widely used due to their ease of use and accessibility.
These printers are controlled by a microcontroller and firmware, allowing users to adjust various parameters such as print speed, temperature, and layer height. Anet printers often come with a user-friendly interface, allowing users to navigate through the menu and execute commands easily.
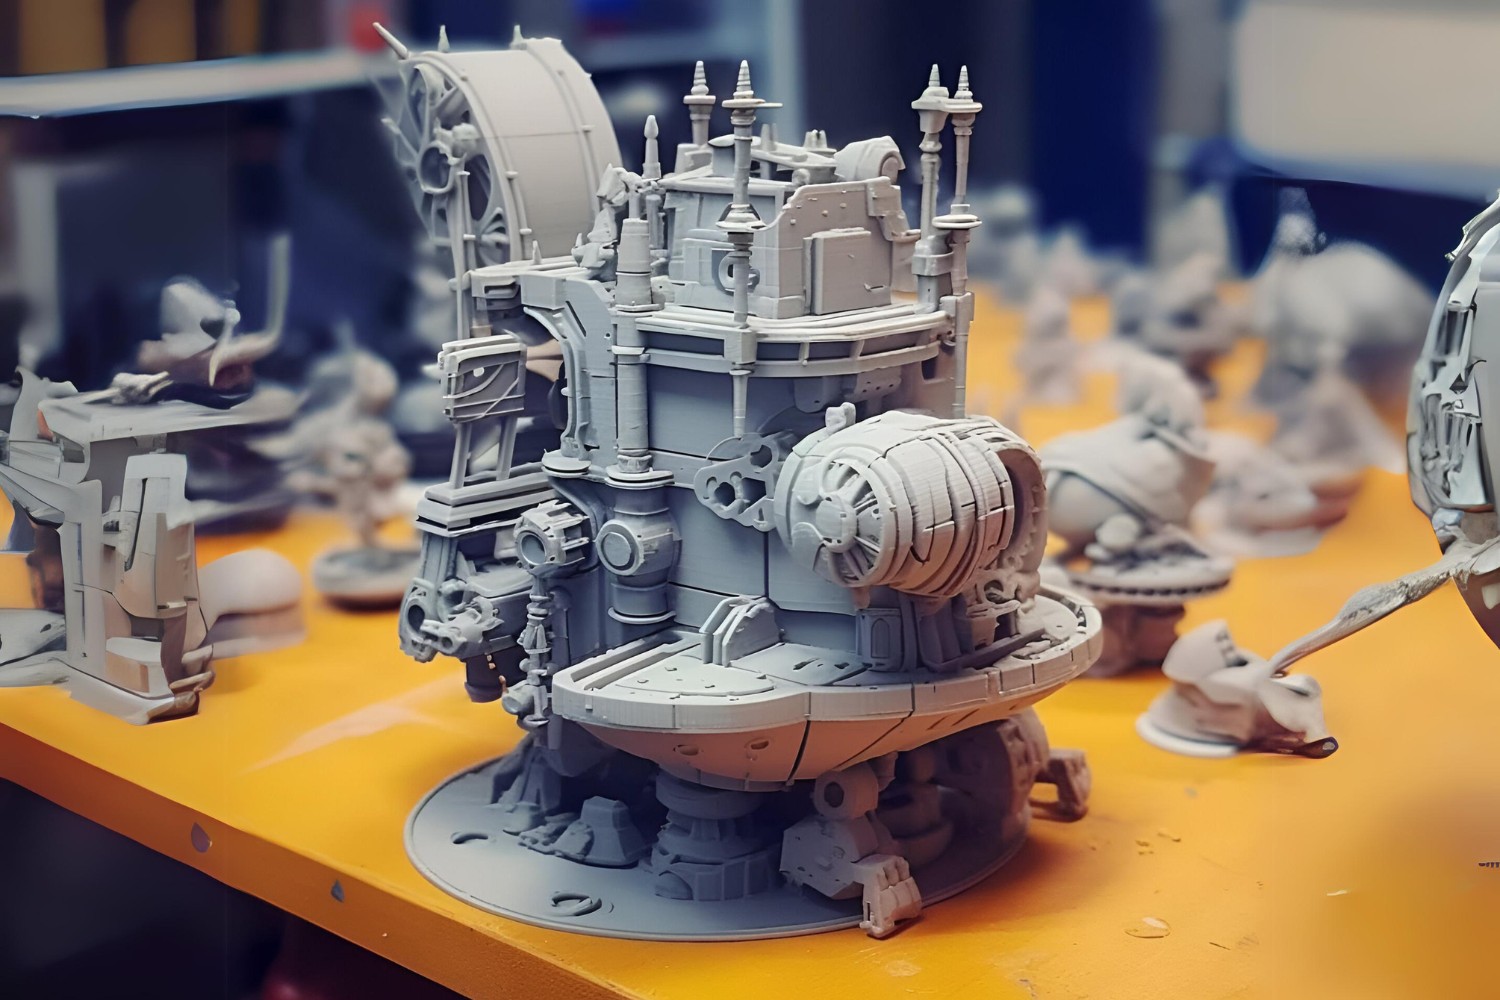
Anet 3D printers are widely used in various fields, including product prototyping, education, art, and DIY projects. With the ability to bring ideas to life in a relatively short period of time, Anet printers have become a valuable tool for makers and creators around the world.
Now that you have a basic understanding of what an Anet 3D printer is, let’s move on to exploring the different components of the printer and their functions in more detail.
Understanding the Components of an Anet 3D Printer
Before diving into the configuration process, it is important to have a clear understanding of the various components that make up an Anet 3D printer. Knowing the functions and features of each component will help you navigate the configuration process with confidence.
1. Frame: The frame of an Anet 3D printer provides stability and support. It is typically made of aluminum or acrylic and holds all the major components of the printer in place. A sturdy frame ensures accurate movements during the printing process, resulting in high-quality prints.
2. Print Bed: The print bed is the surface on which the object is printed. It is usually heated, which helps in preventing warping and enhances the adhesion of the printed object to the bed. The print bed can be made of glass, aluminum, or other materials, depending on the model of the printer.
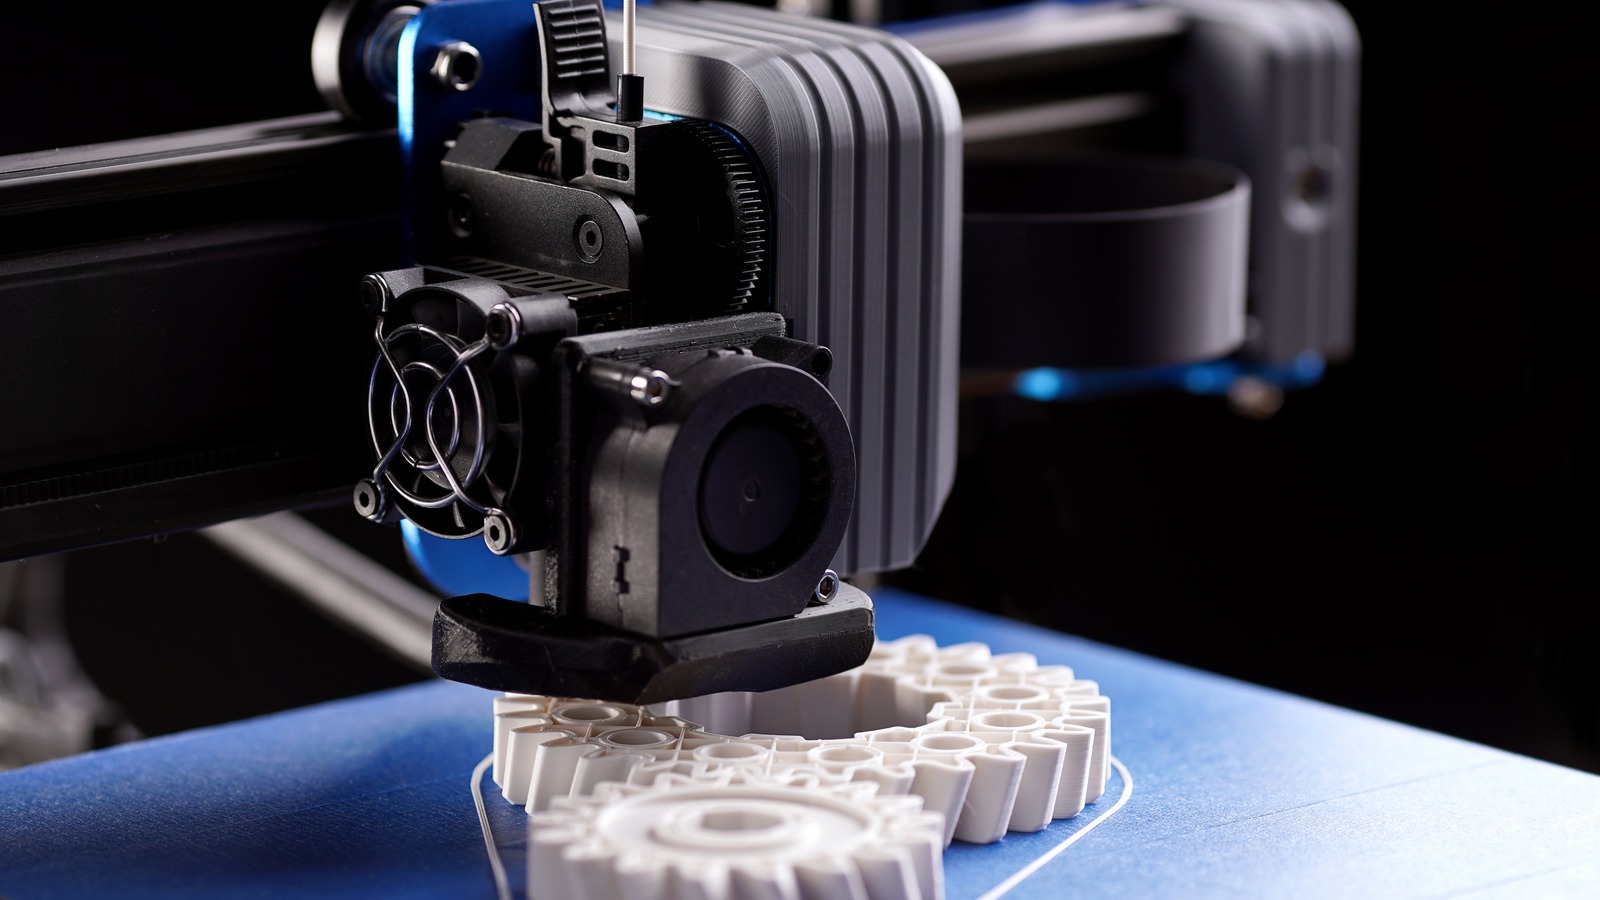
3. Print Head: Also known as the extruder, the print head is responsible for melting the filament and depositing it layer by layer to create the object. It moves in the X, Y, and Z axes, following the instructions from the printer firmware, to navigate the print area and build the object. The nozzle attached to the print head determines the diameter of the extruded filament, thereby affecting the level of detail in the printed object.
4. Filament: Filament is the material used to create the physical object. It is a long, thin strand of thermoplastic material that is fed into the extruder. An Anet 3D printer generally supports various types of filament, such as PLA, ABS, PETG, and more. Each filament type has different properties, such as strength, flexibility, and temperature resistance, allowing for a wide range of applications.
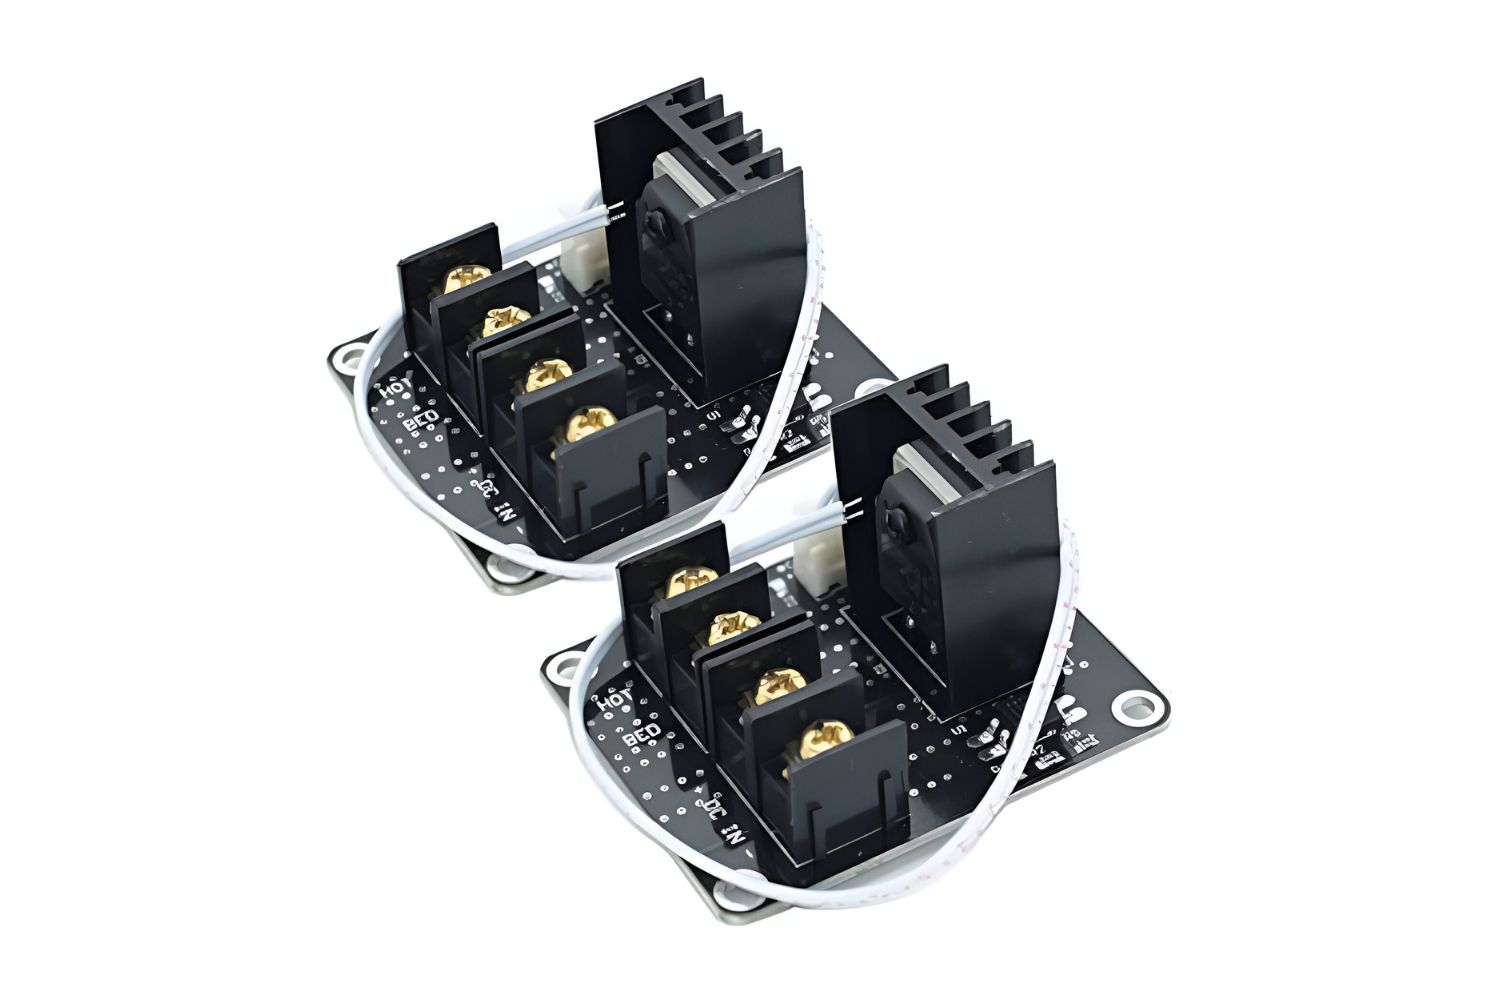
5. Control Board: The control board is the brain of the Anet 3D printer. It consists of a microcontroller that runs the firmware, which controls the movement of the print head, regulates temperature, and manages other printer functions. The control board may also have a display interface, buttons, and ports for connecting to a computer or other external devices.
6. Motors and Belts: Anet 3D printers use stepper motors and belts to control the movement of the print head and the print bed. These motors rotate in small, precise increments, enabling smooth and accurate movements of the printer components.
7. Power Supply: The power supply unit (PSU) provides the necessary electrical power to the printer. It converts the input voltage from the power outlet to the required voltage for the printer components. Anet printers often come with a built-in PSU, ensuring a reliable power source for consistent printing.
Understanding these components is crucial as it forms the foundation of your Anet 3D printer. Having this knowledge will help you troubleshoot any issues that may arise during the configuration process and optimize your printer’s performance for successful 3D printing.
Safety Precautions before Configuring
Before diving into the exciting world of configuring your Anet 3D printer, it’s important to prioritize safety. While 3D printing is a fascinating and rewarding hobby, it involves certain risks that can be mitigated by following some simple safety precautions.
1. Work in a Well-Ventilated Area: 3D printing often involves the use of heated filaments, which can emit fumes. It’s crucial to work in a well-ventilated area to avoid inhaling potentially harmful particles. If possible, set up your printer near a window or use a fume extractor to ensure proper air circulation.
2. Wear Protective Gear: Protecting yourself is essential when working with 3D printers. Wear protective goggles to shield your eyes from any flying debris or particles. It is also recommended to wear gloves, especially when handling hot components such as the print bed, nozzle, or heated filament.
3. Keep Children and Pets Away: 3D printers have moving parts and use high temperatures, making them potentially hazardous for children or pets. Ensure that your workspace is off-limits to young children and that they are supervised when near the printer. Additionally, keep curious pets away to avoid accidents or damage to the printer.
4. Familiarize Yourself with the User Manual: Before starting the configuration process, thoroughly read the user manual provided by Anet. The manual contains important safety instructions, guidelines, and specific information about your particular printer model. Understanding the manufacturer’s recommendations and specifications will help you navigate the configuration process safely and effectively.
5. Unplug the Printer when Not in Use: When not in use or during maintenance, unplug the printer from the power source to prevent accidental starts or electric shocks. This ensures that no electrical current is flowing through the printer, reducing the risk of injuries or damages.
6. Check for Damaged Wires or Components: Before configuring your Anet 3D printer, inspect the cables, wires, and components for any signs of damage. Frayed wires or loose connections can lead to electrical hazards or malfunctioning of the printer. If you notice any issues, consult the user manual or reach out to Anet’s customer support for guidance.
By adhering to these safety precautions, you can minimize the risks associated with 3D printing and ensure a safe and enjoyable experience. Remember, prioritizing safety is the key to unlocking the full potential of your Anet 3D printer without compromising your well-being.
Step 1: Assembling the Anet 3D Printer
Assembling your Anet 3D printer is the first exciting step towards bringing your creations to life. Follow these instructions to ensure a smooth and successful assembly process:
1. Unpack the Printer: Carefully unpack all the components and check for any shipping damages. Refer to the user manual to confirm that all the necessary parts are included.
2. Build the Frame: Assemble the frame of the printer according to the instructions provided. Most Anet printers come with pre-drilled holes and easy-to-follow instructions, allowing for hassle-free assembly.
3. Attach the Print Bed: Secure the print bed to the designated area on the frame. Make sure it is aligned properly and fastened securely. Ensure that any necessary cables or connectors are connected to the print bed’s heating element.
4. Mount the Print Head: Attach the print head, also known as the extruder, to its designated location on the frame. Carefully align the print head with the belt or linear rails, ensuring smooth movement along the X, Y, and Z axes.
5. Connect the Wires: Connect the wires from the print head, print bed, and other components to the control board. Follow the color-coded or labeled instructions in the user manual to ensure proper connections.
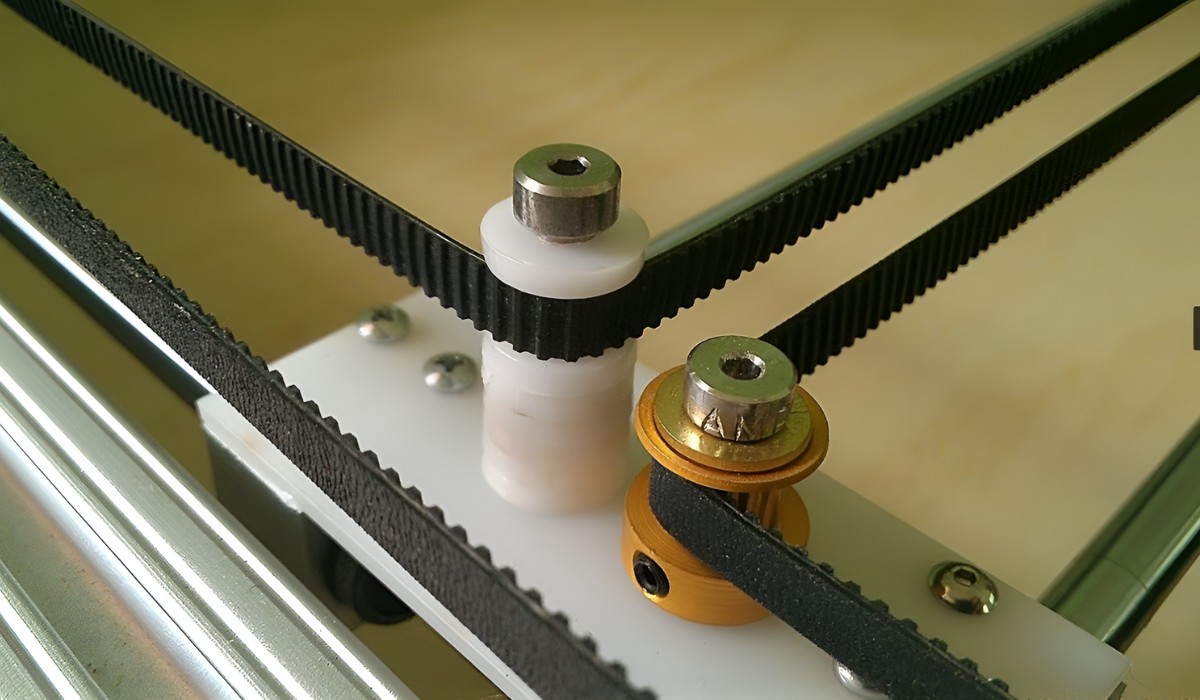
6. Check the Belts and Pulleys: Inspect the belts and pulleys for tightness and proper alignment. Adjust the tension of the belts if necessary, ensuring they are not too loose or too tight. Smooth movement of the print head and print bed is crucial for accurate prints.
7. Secure Ball Bearings and Rods: Ensure that all ball bearings and rods are properly seated and secured. Loose or misaligned bearings can affect the smooth movement of the print head.
8. Double-Check the Assembly: Once you have completed the assembly, go through each step again to verify that everything is properly connected and aligned. This will help avoid any potential issues during the configuration process.
Remember to consult the user manual specific to your printer model for detailed assembly instructions and any additional steps that may be required. Taking your time and ensuring precise assembly will set a solid foundation for successful 3D printing.
Step 2: Installing the Anet 3D Printer Software
After successfully assembling your Anet 3D printer, the next step is to install the necessary software for controlling and communicating with your printer. Follow these steps to install the Anet 3D printer software:
1. Download the Software: Visit the Anet website or the manufacturer’s official website to download the recommended software for your printer model. The software is typically available as a free download and is compatible with Windows, Mac, or Linux operating systems.
2. Install the Software: Once you have downloaded the software, locate the installation file and double-click to start the installation process. Follow the on-screen instructions to proceed with the installation. Choose the desired installation location and configuration options, if available.
3. Connect the Printer: Before opening the software, connect your Anet 3D printer to your computer using a USB cable or any other recommended method of connection. Ensure that the printer is properly powered on and that the USB connection is secure.
4. Launch the Software: Open the installed software on your computer. You may find shortcuts on the desktop or in the Start menu, depending on your operating system. If prompted, select the appropriate printer model from the list of supported devices.
5. Connect to the Printer: In the software interface, navigate to the connection settings or printer settings section. Look for an option to connect to the printer and establish a connection between the software and your Anet 3D printer. Follow the software’s instructions to complete the connection.
6. Test the Connection: Once the connection is established, perform a test to ensure that the software can communicate with the printer. This may include manually moving the print head, homing the printer, or checking the temperature readings of the print bed and nozzle through the software interface.
7. Verify Communication: After the test, verify that the software can send commands to the printer and receive feedback. This is essential for controlling the printer parameters during the printing process, such as speed, temperature, and layer height.
Follow these installation steps carefully to ensure a successful setup of the software for your Anet 3D printer. If you encounter any issues during the installation process, refer to the software’s user manual or seek support from Anet’s technical support team.
Step 3: Configuring the Printer Settings
Once you have assembled your Anet 3D printer and installed the necessary software, it’s time to configure the printer settings to ensure optimal performance and accurate prints. Follow these steps to configure your Anet 3D printer:
1. Open the Software Interface: Launch the software on your computer that was installed earlier. Make sure your printer is connected and properly recognized by the software.
2. Access Printer Settings: Navigate to the printer settings menu within the software interface. This may be located under a specific tab or menu option, depending on the software you are using.
3. Set Printer Parameters: Adjust the printer settings according to your requirements. This includes parameters such as print speed, temperature, layer height, and filament diameter. Refer to the user manual or consult online resources for recommended settings specific to your printer model and the filament you are using.
4. Choose Printing Material: Select the type of filament you are using from the available options in the software settings. This helps the software optimize the printing process based on the material’s specific characteristics, such as melting temperature and cooling time.
5. Configure Bed Leveling: Some Anet printers have automatic bed leveling features, while others require manual calibration. Consult the user manual to determine the bed leveling method for your printer. Follow the instructions to ensure that the print bed is perfectly level, which is crucial for proper adhesion and accurate prints.
6. Save Settings: Once you have configured the printer settings to your satisfaction, save the changes in the software. This allows you to easily access and reuse the settings for future prints.
7. Print a Test Object: Before starting with your actual print job, it’s a good idea to perform a test print to verify that the printer is properly configured. Choose a simple test object or use a calibration file provided by the software or printer manufacturer. Observe the print quality and make any necessary adjustments to the settings if needed.
By following these steps, you can effectively configure your Anet 3D printer to achieve the desired print quality and optimize the performance of your printer. Remember to regularly update and fine-tune the settings based on your specific prints and requirements.
Step 4: Adjusting the Bed Leveling
Bed leveling is a crucial step in ensuring the success of your 3D prints. Properly leveled bed allows for optimal adhesion of the first layer, which is essential for a strong foundation and accurate prints. Follow these steps to adjust the bed leveling on your Anet 3D printer:
1. Prepare the Printer: Ensure that your printer is powered on and the print bed is heated to the desired temperature, as specified by the filament manufacturer. This ensures that the bed is expanded to its operating size.
2. Home the Printer: Use the software interface or the printer controls to home the printer. This will move the print head to the predefined home position, aligning it to the X, Y, and Z axes.
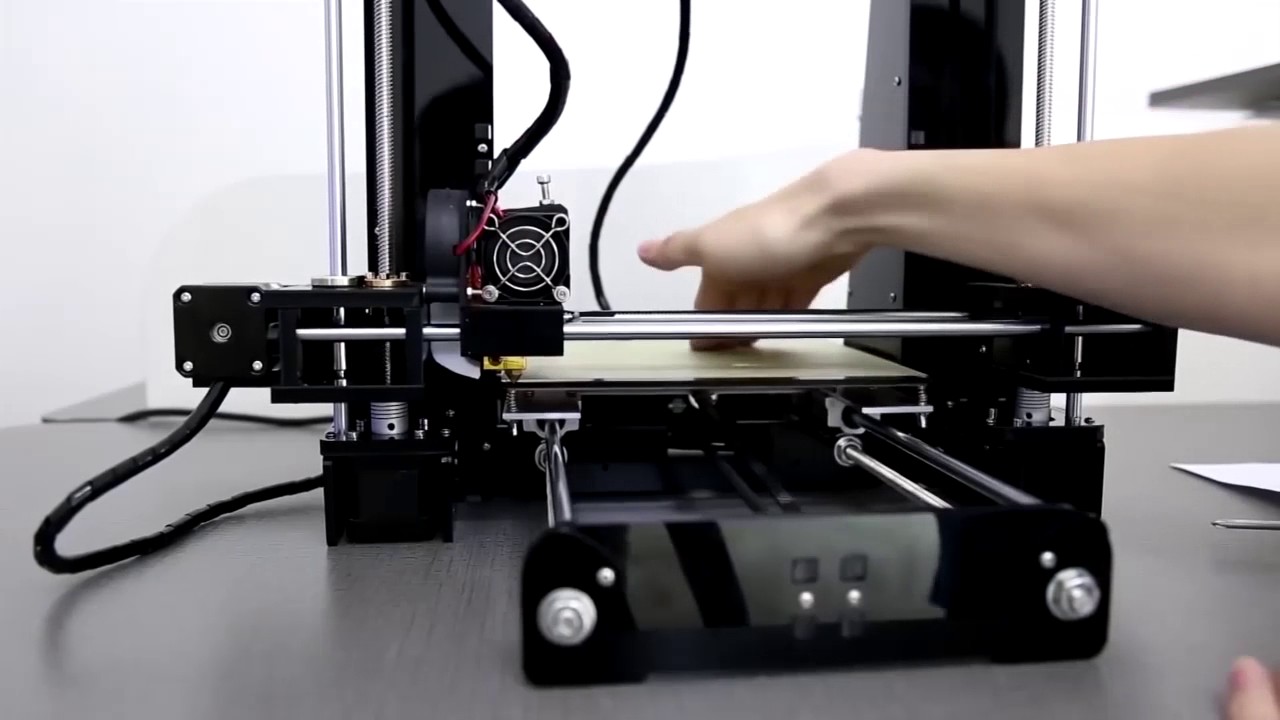
3. Manual Bed Leveling: If your printer doesn’t have automated bed leveling, you will need to manually level the bed. Use a piece of paper or a feeler gauge with a specified thickness to adjust the gap between the nozzle and the bed. Start with one of the four corners of the bed.
4. Adjust the Corner Screws: Loosen or tighten the corner screws of the bed to adjust the level. The goal is to have a slight resistance when sliding the paper or gauge between the nozzle and the bed. Repeat this process for all four corners, ensuring they are leveled evenly.
5. Check the Bed Level: After adjusting all four corners, move the print head to the center of the bed and check the levelness. Slide the paper or gauge between the nozzle and the bed to ensure even resistance across the entire bed surface.
6. Fine-Tune the Level: If required, make small adjustments to the corner screws to further fine-tune the levelness of the bed. Repeat the process of checking the levelness and making adjustments until the entire print bed is uniformly leveled.
7. Save the Settings: Once you have achieved the desired bed level, save the settings in the printer software or firmware. This will allow you to easily access the calibrated bed leveling for future prints.
8. Test the Bed Leveling: Before proceeding with a full print, perform a test print to confirm that the bed leveling is satisfactory. Observe the first layer and check for consistent adhesion across the entire print bed. Make further adjustments if needed.
By following these steps, you can effectively adjust the bed leveling on your Anet 3D printer. Properly leveled bed will greatly improve the first layer adhesion and overall print quality. Remember to periodically check and re-level the bed as it may shift over time due to temperature variations or printer movements.
Step 5: Calibrating the Extruder
Calibrating the extruder of your Anet 3D printer is an important step to ensure accurate filament flow and precise extrusion. Proper calibration improves the overall print quality and reduces the chances of issues such as under extrusion or over extrusion. Follow these steps to calibrate the extruder:
1. Preheat the Nozzle: Start by preheating the printer’s nozzle to the recommended temperature for the filament you will be using. Refer to the filament manufacturer’s guidelines for the appropriate temperature.
2. Load the Filament: Insert the filament into the extruder and follow the instructions provided by your Anet 3D printer model to load the filament. Make sure the filament is properly fed into the extruder and reaches the nozzle.
3. Extrude a Known Length: Measure a specific length of filament, for example, 100mm, from the extruder input. Mark this length on the filament with a pen or tape for easy reference.
4. Start Extrusion: Using the printer’s software interface, initiate the extrusion process and set it to extrude the known length of filament, in this case, 100mm.
5. Measure the Actual Extruded Length: As the filament is being extruded, carefully measure the distance between the extruder input and the mark you made on the filament. Use a caliper or ruler for accurate measurements.
6. Calculate the Extrusion Ratio: Compare the actual extruded length with the desired length. If, for example, the extruder extruded 95mm instead of the intended 100mm, the extrusion ratio would be 95%. Calculate the extrusion ratio by dividing the actual extruded length by the desired length and multiplying by 100.
7. Adjust the Extruder Steps/mm: Access the printer’s settings in the software interface and find the option to adjust the steps/mm for the extruder. Increase or decrease the value based on the calculated extrusion ratio. If it was lower than desired, increase the steps/mm value, and vice versa. Refer to the printer’s documentation or online resources for guidance on adjusting steps/mm.
8. Test and Repeat: Repeat the process of extruding a known length and measuring the actual extruded length. Make adjustments to the steps/mm value as needed until the actual extruded length matches the desired length within an acceptable margin of error.
By calibrating the extruder, you ensure that the printer accurately extrudes the filament based on the desired length, resulting in precise and consistent prints. Properly calibrated extruder settings are essential for achieving accurate dimensions and maintaining print quality.
Step 6: Loading Filament
Loading filament into your Anet 3D printer is a crucial step to prepare the printer for printing. Proper filament loading ensures uninterrupted extrusion and successful 3D prints. Follow these steps to load filament into your Anet 3D printer:
1. Preheat the Printer: Start by preheating the print bed and nozzle to the recommended temperature for the filament you will be using. This will soften the filament and allow for easier loading.
2. Prepare the Filament: Ensure that the end of the filament is cut cleanly and has a pointed tip. This will make it easier to feed into the extruder and prevent any clogs or jams.
3. Locate the Filament Input: Identify the filament input on your Anet printer. It is typically located near the extruder assembly or at the top of the printer frame. Refer to the user manual or printer markings for precise identification.
4. Release the Extruder Tension: If your printer has an extruder tension adjustment screw or lever, loosen it to reduce the pressure on the filament. This makes it easier to feed the filament into the extruder.
5. Insert the Filament: Gently insert the filament into the filament input. Make sure to align the filament with the extruder gear or hobbed bolt, ensuring that it is properly guided towards the nozzle.
6. Push the Filament: Apply gentle pressure to push the filament into the extruder. Use the printer controls or software interface to activate the filament load function, which advances the filament into the hotend and nozzle.
7. Monitor the Extrusion: Keep an eye on the extruder and nozzle. As the filament starts to extrude, verify that a steady stream of molten filament is being emitted from the nozzle. This indicates successful filament loading.
8. Retract and Clean the Nozzle: After successful loading, retract a small amount of filament to prevent any oozing. Use a clean cloth or tissue to wipe away any excess molten filament that may have accumulated around the nozzle.
9. Check for Any Issues: Observe the filament path, ensuring that it doesn’t get caught or tangled during the loading process. Make sure there are no signs of filament blockages, knots, or tension issues.
By following these steps, you can confidently load filament into your Anet 3D printer, ensuring a smooth and trouble-free printing process. Properly loaded filament allows for consistent extrusion and reliable printing of your 3D models.
Step 7: Final Configuration Checks
Before starting your 3D printing journey with your Anet printer, it’s important to perform final configuration checks to ensure everything is in order. These checks will help identify any issues or adjustments needed before commencing with your prints. Follow these steps for the final configuration checks:
1. Verify Printer Settings: Double-check the printer settings in the software interface. Ensure that all parameters, such as print speed, temperature, and layer height, are correctly set for your specific print job. Adjust any settings as necessary.
2. Check Bed Leveling: Confirm that the bed leveling is still accurate. Use a piece of paper or a feeler gauge to check the gap between the nozzle and the print bed. Make minor adjustments to the corner screws if required, ensuring a consistent level across the entire bed.
3. Inspect Filament Path: Carefully examine the filament path, from the spool holder to the extruder. Ensure that the filament is not tangled or snagged anywhere along the path. Smooth movement and uninterrupted filament flow are vital for successful prints.
4. Verify Extruder Calibration: Review the extruder calibration you performed in a previous step. Confirm that the extruder is accurately extruding the desired length of filament. Make any necessary adjustments to the steps/mm value if the calibration was not precise enough.
5. Test Extruder Retraction: Perform a test print that involves filament retraction. Observe the print to verify that the filament retracting and feeding correctly, leaving no strings or blobs of molten filament where they should not be. Adjust the retraction settings as needed for optimal results.
6. Evaluate First Layer Adhesion: Begin with a test print that focuses on the first layer. Examine the adhesion of the printed object to the print bed. Ensure that the first layer adheres uniformly, without any lifting or warping. Adjust the bed leveling or use additional adhesion aids if needed.
7. Check for Unusual Noises or Vibrations: While the test print is in progress, listen for any unusual noises or vibrations coming from the printer. These could indicate loose components or mechanical issues that need to be addressed. Address any concerns before proceeding with your actual prints.
8. Review Print Quality: After the test print completes, carefully inspect the print quality. Look for any inconsistencies, layer shifting, or other defects. Make adjustments to settings as needed to improve the print quality based on your observations.
By performing these final configuration checks, you can ensure that your Anet printer is in optimal condition before diving into your 3D printing projects. Thoroughly reviewing and addressing any potential issues will help you achieve successful prints with consistent quality and reliability.
Conclusion
Congratulations! You have successfully navigated through the process of configuring your Anet 3D printer. By following the steps outlined in this guide, you have assembled your printer, installed the necessary software, adjusted printer settings, calibrated the extruder, loaded filament, and performed final configuration checks.
Proper configuration and calibration of your Anet 3D printer is essential for achieving high-quality prints and maximizing the performance of your printer. It ensures that your printer is operating optimally, resulting in accurate dimensions, smooth layers, and reliable adhesion.
Remember, maintaining a safe working environment, wearing protective gear, and following safety precautions will protect both yourself and the printer during the configuration process and beyond. Regular maintenance and periodic recalibration of your printer will help ensure continued success with your 3D printing endeavors.
Now that your Anet 3D printer is fully configured, it’s time to explore the possibilities of creative expression and innovation that 3D printing offers. Whether you’re bringing your own designs to life or downloading and printing from an online repository, your Anet printer is ready to turn your imagination into reality.
Keep learning and experimenting with different filaments, settings, and designs to unlock the full potential of your Anet 3D printer. Stay updated with firmware and software updates, as they often bring new features and improvements to enhance your printing experience.
Enjoy the journey of 3D printing, and don’t forget to share your creations with others in the vibrant and supportive 3D printing community. Keep refining your skills, troubleshooting any challenges, and embracing the limitless possibilities that Anet 3D printers offer.
Happy printing!