Introduction
When it comes to 3D printing, achieving a smooth finish is often a top priority. A smooth surface not only enhances the visual appeal of the printed object but also improves its tactile quality. However, getting that perfect smooth finish can be a challenge, especially for beginners.
Fortunately, there are several settings you can adjust on your 3D printer to improve the smoothness of your prints. From temperature settings to filament type and print speed, every aspect plays a crucial role in achieving that desired polished look. In this article, we will explore the key settings you can tweak to get a smooth finish on your 3D prints.
Before we delve into the specific settings, it’s important to note that achieving a smooth finish is a combination of various factors working together. While adjusting just one setting might have a noticeable impact, it’s the collective optimization of these settings that will yield the best results.
So, let’s jump right in and explore the settings you need to consider for a smooth finish on your 3D prints. By making thoughtful adjustments and carefully calibrating your printer, you can take your printing skills to the next level and create stunning, professional-looking prints.
Temperature Setting
One of the crucial settings that significantly impact the smoothness of your 3D prints is the temperature setting. Each filament type has an optimal temperature range for extrusion, and finding the right temperature will greatly affect the overall quality of the print.
If the temperature is too low, the filament may not melt properly, leading to poor layer adhesion and a rough surface finish. On the other hand, if the temperature is too high, the filament may become overly viscous, resulting in blobs, stringing, or a melted appearance.
To find the ideal temperature, you can start by referring to the recommended temperature range provided by the filament manufacturer. However, keep in mind that this is just a starting point and may require some experimentation to achieve the smoothest results.
Begin by printing a temperature tower, which is a small test object that gradually changes temperature from the bottom to the top. By examining the different sections of the tower, you can determine which temperature produces the smoothest finish. Make note of the temperature at which the print looks the best and use that as your baseline.
Additionally, adjusting the temperature of your print bed can also affect the smoothness of the first few layers. Having a heated bed can help with adhesion and prevent warping, but it’s essential to find the right temperature for your specific filament and print bed surface.
By fine-tuning your temperature settings, you can optimize the flow of the filament and achieve a smooth and precise finish on your 3D prints.
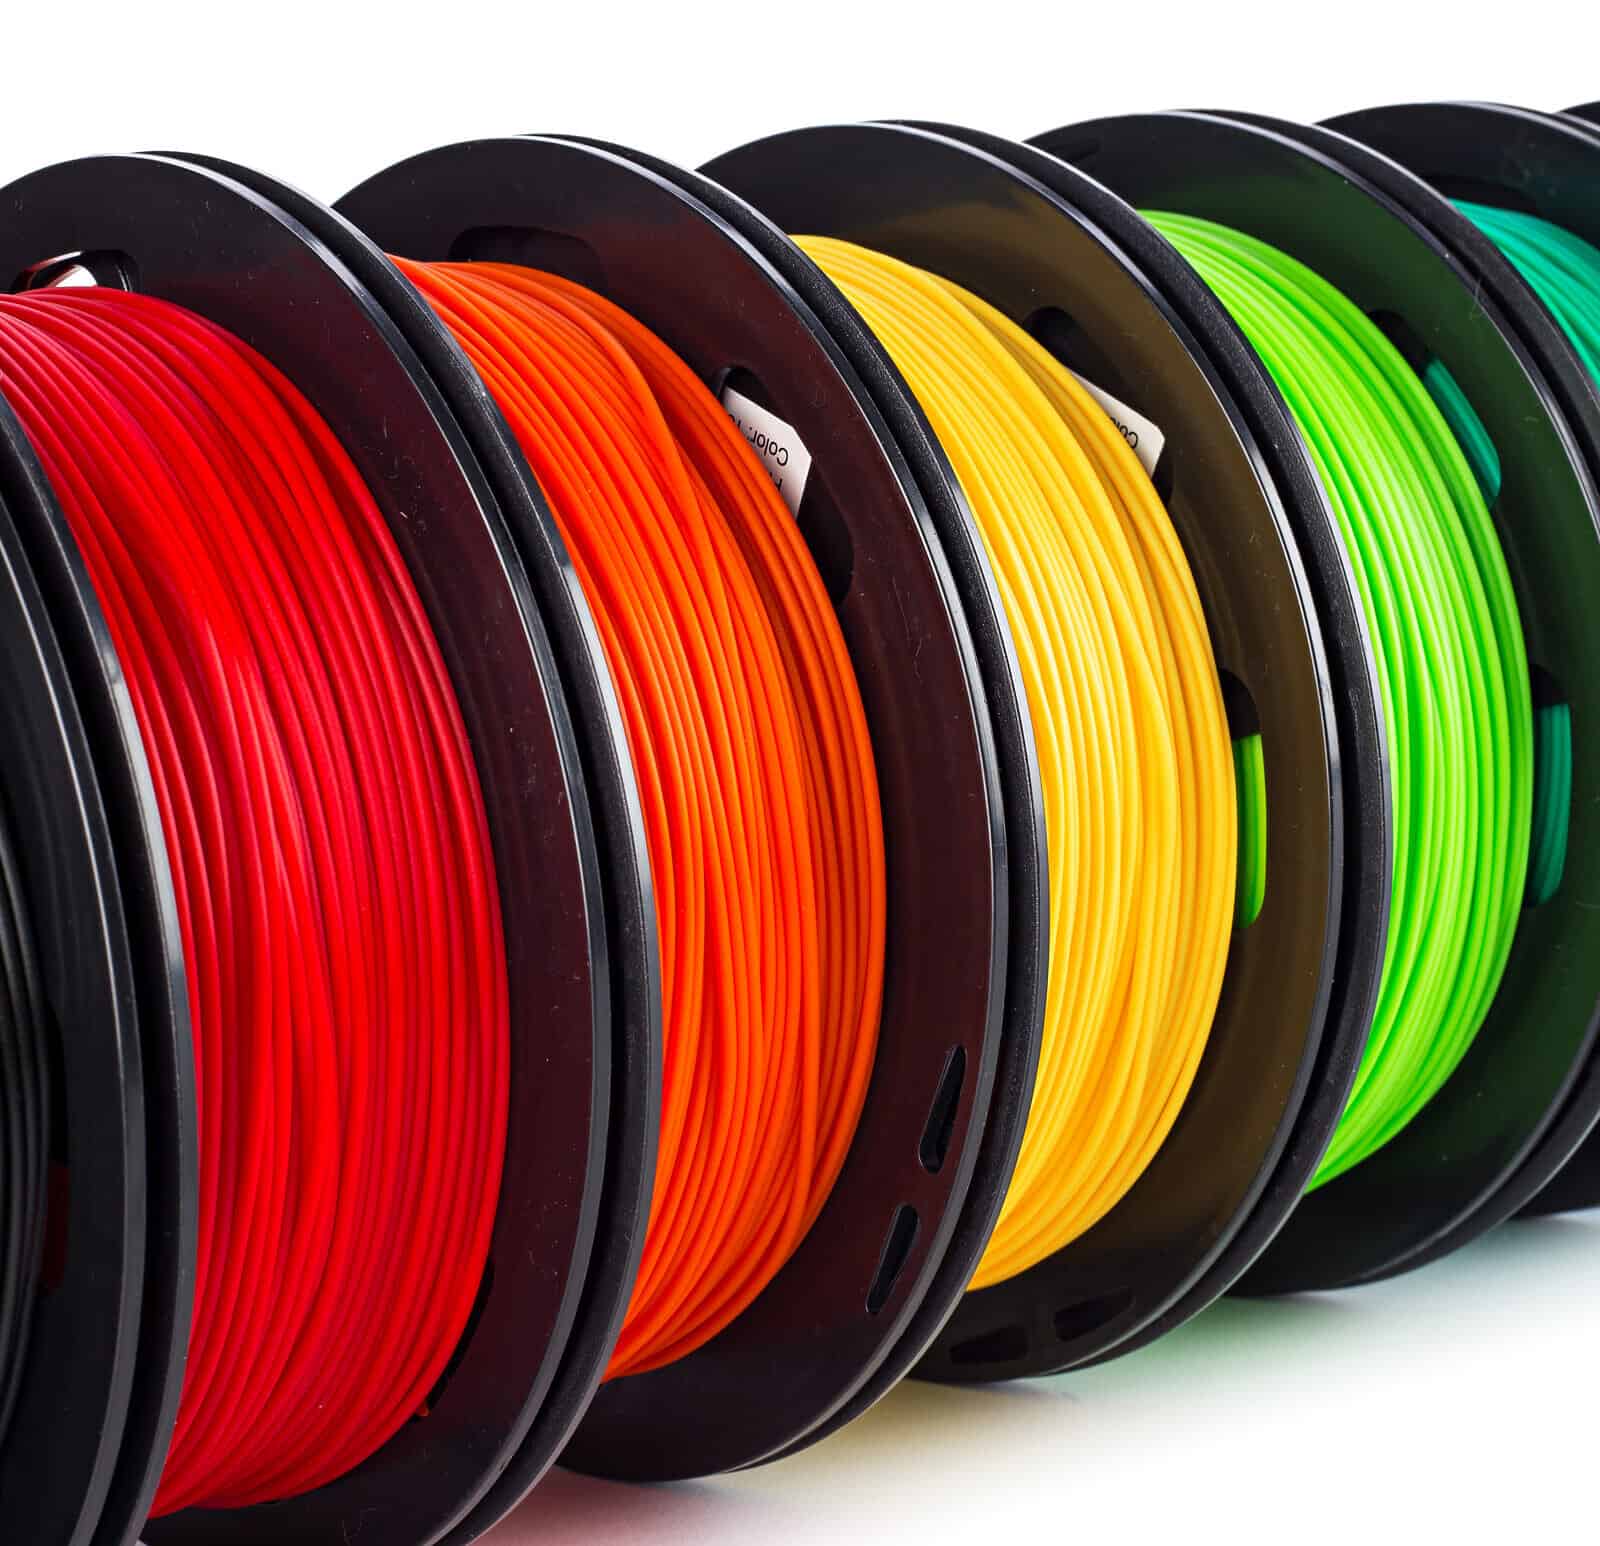
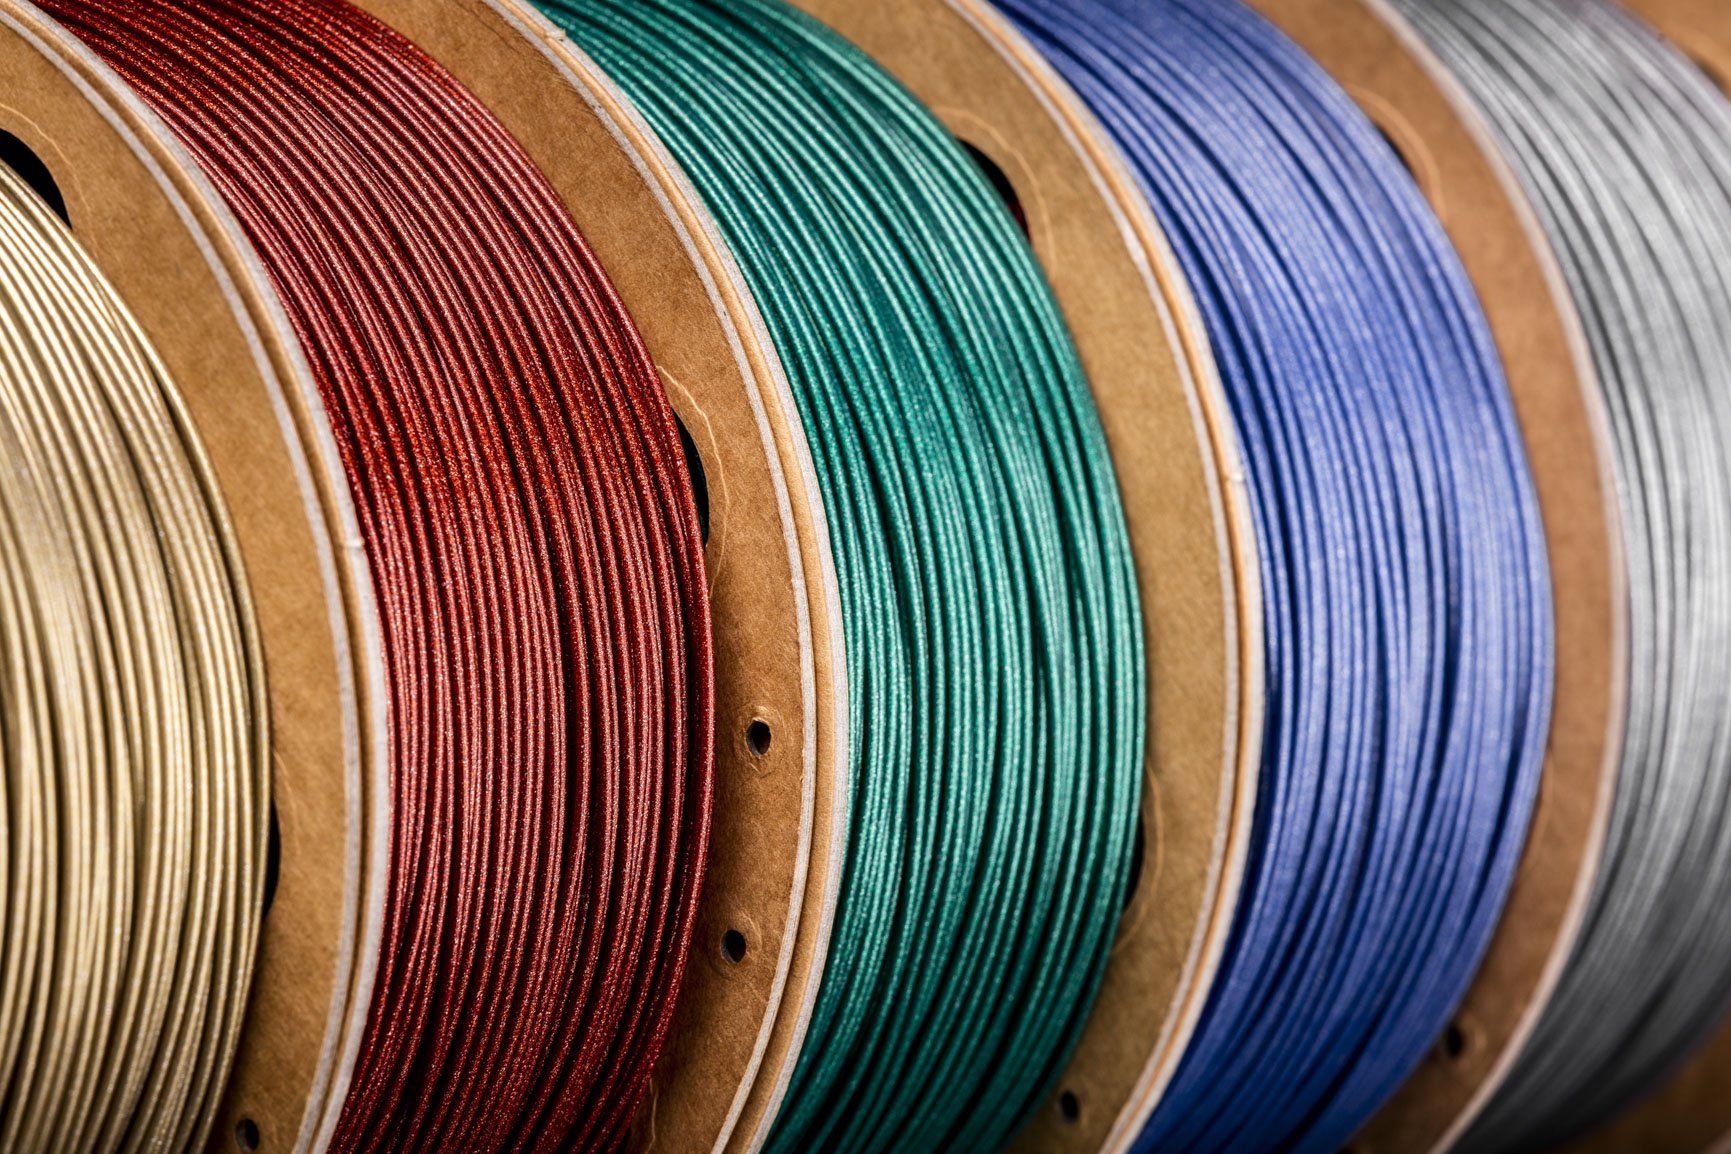
Filament Type
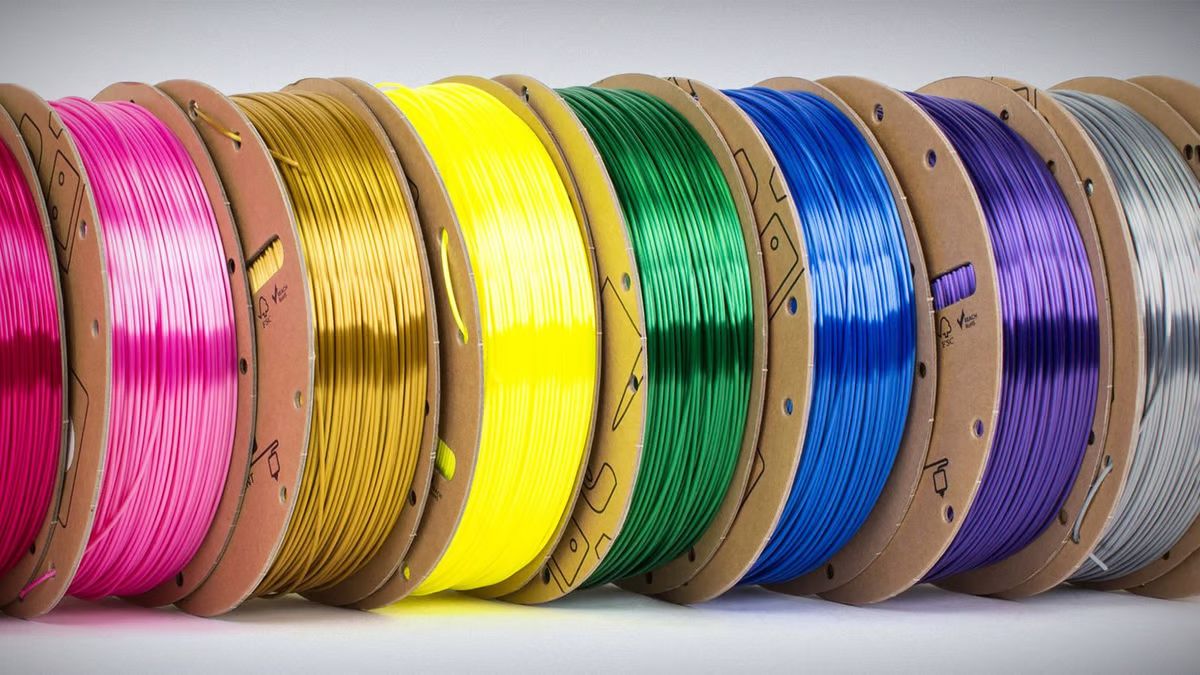
The type of filament you use in your 3D printer can have a significant impact on the smoothness of your prints. Different filament materials, such as PLA, ABS, PETG, and more, have varying characteristics that affect print quality.
PLA (Polylactic Acid) is one of the most commonly used filaments known for its ease of use and smooth finish. It has a low melting point, which requires lower extrusion temperatures and reduces the risk of warping or stringing. PLA is a great choice for beginners looking to achieve smooth prints without much hassle.
ABS (Acrylonitrile Butadiene Styrene) is another popular filament known for its durability and heat resistance. However, it can be trickier to work with compared to PLA. ABS requires higher extrusion temperatures and an enclosed print chamber to minimize warping. With proper settings and post-processing techniques, ABS can produce smooth prints with a glossy finish.
PETG (Polyethylene Terephthalate Glycol) is a filament that combines the best properties of both PLA and ABS. It has excellent layer adhesion, good flexibility, and is less prone to warping. PETG can produce smooth prints with a slightly translucent appearance, making it suitable for functional parts or items that require improved durability.
Aside from these popular filament types, there are many other options available in the market, such as flexible filaments (TPU/TPE), wood-based filaments, and metal-infused filaments. Each filament type may require specific settings and techniques to achieve smooth prints, so it’s important to familiarize yourself with the characteristics and recommendations for each.
Experimentation and practice are key when it comes to finding the perfect settings for each filament type. By understanding the properties and limitations of different filaments, you can select the most suitable material and optimize your printer settings for smooth and flawless 3D prints.
Layer Height
Another crucial setting that directly impacts the smoothness of your 3D prints is the layer height. Layer height refers to the thickness of each layer that is deposited during the printing process.
The layer height you choose determines the level of detail that can be achieved in your prints. Smaller layer heights, such as 0.1mm or 0.2mm, allow for finer details and smoother surfaces. On the other hand, larger layer heights, like 0.3mm or 0.4mm, result in faster prints but with less detail and rougher finishes.
It is important to note that selecting a very small layer height might increase the overall printing time significantly. However, it is often worth the extra time for certain prints that require a high level of precision and smoothness, such as miniatures or intricate models.
When deciding on the optimal layer height, consider the specific requirements of your print and strike a balance between print quality and printing time. If you need a smooth and detailed finish, opt for a smaller layer height. If speed is more important, you can choose a slightly larger layer height while still maintaining an acceptable level of smoothness.
Additionally, the capability of your 3D printer also plays a role in determining the achievable layer height. Some printers may struggle to maintain precise layer heights at extremely small increments, resulting in inconsistent prints. Understanding the capabilities and limitations of your printer will help you make informed decisions when selecting the appropriate layer height for your prints.
By adjusting the layer height based on your specific requirements and the capabilities of your printer, you can achieve the desired level of smoothness in your 3D prints while optimizing printing time.
Print Speed
The print speed setting on your 3D printer directly affects the time it takes to complete a print, as well as the quality and smoothness of the final result. It is important to find the right balance between speed and smoothness to achieve optimal results.
Printing too fast can lead to vibrations or inaccuracies in the print, resulting in a rough and uneven surface. On the other hand, printing too slowly may improve the overall smoothness but significantly increase the printing time.
When determining the appropriate print speed, consider the complexity and size of your print. For intricate or detailed models, slower speeds are generally recommended to ensure accurate and smooth results. Alternatively, larger and simpler objects can be printed at slightly higher speeds without compromising too much on quality.
It is worth noting that print speed can vary depending on different sections of a print. For example, outer walls and detailed sections may benefit from slower speeds, while infill areas can be printed faster.
Experimenting with different print speeds is key to finding the optimal setting that achieves both the desired smoothness and reasonable printing time. Start with the manufacturer’s recommendations and gradually adjust the speed until you find the sweet spot for your specific print.
Keep in mind that the print speed can also be influenced by other factors, such as temperature settings, layer height, and filament type. Therefore, it’s essential to consider these settings collectively when finding the ideal print speed for your 3D prints.
By fine-tuning the print speed and considering the complexity of your print, you can strike the right balance between speed and quality, resulting in smooth and visually appealing 3D prints.
Cooling Fan
The cooling fan is an important component of 3D printing that can greatly impact the smoothness of your prints, especially when working with materials like PLA. The purpose of the cooling fan is to rapidly cool down the layers as they are being deposited, preventing excessive heat buildup and ensuring better layer adhesion.
When printing with PLA, it is generally recommended to have the cooling fan turned on. The fan helps to solidify each layer quickly, reducing the chances of warping, stringing, or other surface imperfections.
However, the cooling fan should not be used on every layer. When printing small and intricate details, it is advisable to reduce the fan speed or even turn it off temporarily. This is because the fan’s strong airflow can interfere with the proper deposition of tiny details, resulting in roughness or inaccuracies.
Most 3D printers allow control over the cooling fan speed. Gradually increasing the fan speed throughout the print can help strike the right balance between cooling and maintaining smoothness. It is also worth experimenting with different fan settings for different types of prints to achieve optimal results.
Keep in mind that the use of a cooling fan may vary depending on the filament type and specific print settings. Some materials, like ABS, may not require as much cooling as PLA. It is recommended to refer to the manufacturer’s guidelines or online resources for filament-specific cooling recommendations.
By understanding when to use the cooling fan and adjusting its speed accordingly, you can achieve better surface quality, improved layer adhesion, and ultimately, smoother 3D prints.
Retraction Settings
Retraction is a crucial setting in 3D printing that helps reduce stringing and improve the overall smoothness of prints, especially when working with materials like PLA or PETG. Stringing occurs when the printer’s extruder continues to release filament while moving between non-printing areas, resulting in unwanted thin strands of filament.
By properly adjusting the retraction settings, you can minimize or eliminate stringing, leading to cleaner and smoother prints. Retraction refers to the process of pulling the filament back slightly when the nozzle is moving over non-printing areas. This retracts or pulls back the melted filament, preventing it from oozing or creating strings.
The retraction distance determines how far the filament is pulled back, while the retraction speed controls how quickly the filament is retracted. Both settings can be adjusted in your slicing software.
It is important to find the right balance for the retraction distance and speed. If the retraction distance is too small or the retraction speed is too slow, stringing may still occur. On the other hand, excessive retraction distances or speeds can lead to filament grinding or extruder issues.
Experimenting with different retraction settings is crucial to find the optimal values for your specific printer and filament combination. Start with the manufacturer’s recommendations and gradually adjust the settings in small increments until you achieve minimal or no stringing. Keep in mind that different filaments may require different retraction settings, so it’s important to re-tune these settings for each filament type.
Additionally, it’s worth noting that retraction settings can be affected by other factors such as print speed, temperature, and nozzle diameter. Therefore, it’s advisable to consider these factors collectively when fine-tuning your retraction settings.
By finding the right balance for retraction distance and speed, you can minimize stringing and achieve smoother and cleaner 3D prints.
Bed Leveling
Proper bed leveling is essential for achieving a smooth and successful 3D print. Bed leveling refers to the process of ensuring that the print bed is parallel to the nozzle, allowing for consistent and accurate layer deposition.
If the bed is not leveled properly, it can lead to uneven layer heights, poor adhesion, and an overall rough finish. This is because the nozzle may be too close or too far from the bed at different areas, resulting in inconsistent filament placement.
Bed leveling should be performed regularly, especially before starting a new print or if you notice any issues with adhesion or inconsistent layer heights. The exact method for leveling the bed may vary depending on the specific printer model, but it often involves adjusting the leveling screws or knobs at multiple points on the bed.
Tools such as a piece of paper or a feeler gauge can be used to ensure the proper gap between the nozzle and the bed. The goal is to achieve a slight resistance when sliding the paper or gauge between the nozzle and the bed, indicating that the gap is just right.
It is important to recheck the bed leveling periodically, as vibrations or temperature changes can cause the bed to become unlevel over time. Maintaining a level bed will help ensure consistent layer heights and improve the overall smoothness of your prints.
Additionally, some printers come with features that assist with bed leveling, such as automatic bed leveling or mesh bed leveling. These features can simplify the process and provide more accurate leveling results.
By taking the time to properly level your bed, you can create a solid foundation for your prints and achieve smoother and more precise 3D prints consistently.
Calibration
Calibration is an important aspect of ensuring the best possible print quality and smoothness in 3D printing. It involves fine-tuning various settings and parameters of your printer to achieve accurate and consistent results.
There are several aspects of calibration that you should consider to improve the smoothness of your prints. One crucial calibration is the extruder steps/mm. This setting ensures that the correct amount of filament is extruded during the printing process. If this value is not calibrated accurately, it can lead to under-extrusion or over-extrusion, resulting in a rough or uneven surface finish.
Calibrating the flow rate is another important calibration step. Flow rate determines the amount of filament that is being extruded based on the set extrusion width. By adjusting the flow rate, you can fine-tune the filament flow and ensure that the desired amount of material is being deposited, improving the overall smoothness of the print.
Furthermore, calibrating the steps/mm for the X, Y, and Z-axis helps ensure accurate movement and alignment of the printer’s components. If the movement is not precise, it can lead to shifted layers, a noticeable seam between layers, and ultimately affect the overall smoothness of the print.
An additional calibration step to consider is the bed adhesion. Proper bed adhesion helps maintain stability during the printing process, reducing the chances of warping or causing layers to lift. Techniques such as adjusting the bed temperature, using a suitable adhesive like a glue stick or a specialized bed adhesive, or utilizing a heated bed can all contribute to better adhesion and a smoother print surface.
Additionally, regularly calibrating other settings such as temperature, print speed, retraction, and cooling fan speed can further refine the print quality and enhance smoothness. These settings can vary depending on the filament type, desired level of detail, and specific characteristics of your printer.
Calibration is an ongoing process that may require periodic adjustments as you gain more experience, upgrade components, or change filament types. Taking the time to calibrate your 3D printer properly can make a significant difference in the smoothness and overall quality of your prints.
Conclusion
Achieving a smooth finish on your 3D prints is attainable by understanding and optimizing various settings on your 3D printer. By making careful adjustments to temperature, filament type, layer height, print speed, cooling fan, retraction settings, bed leveling, and calibration, you can enhance the quality and smoothness of your prints.
Temperature settings play a vital role in ensuring proper filament melting and adhesion. Finding the optimal temperature range for your filament type is crucial for achieving a smooth finish. Similarly, selecting the right filament type based on your requirements and understanding its characteristics is key to obtaining desired smoothness.
Layer height determines the level of detail in your prints, with smaller layer heights offering finer details and smoother surfaces. Print speed should be adjusted to strike the right balance between speed and smoothness, taking into account the complexity of the print.
The cooling fan helps solidify layers quickly, preventing overheating and promoting better layer adhesion. Retraction settings minimize stringing and ensure a cleaner finish, while proper bed leveling and calibration enhance overall print precision and smoothness.
Remember, achieving a smooth finish requires experimentation, patience, and adjustments tailored to your specific printer and filament combination. Regularly testing and refining these settings based on your desired outcome and the characteristics of your materials will lead to improved print quality.
So, take the time to fine-tune and optimize these settings, and with practice, you’ll be able to produce stunning and professional-looking 3D prints with a smooth finish.