Introduction
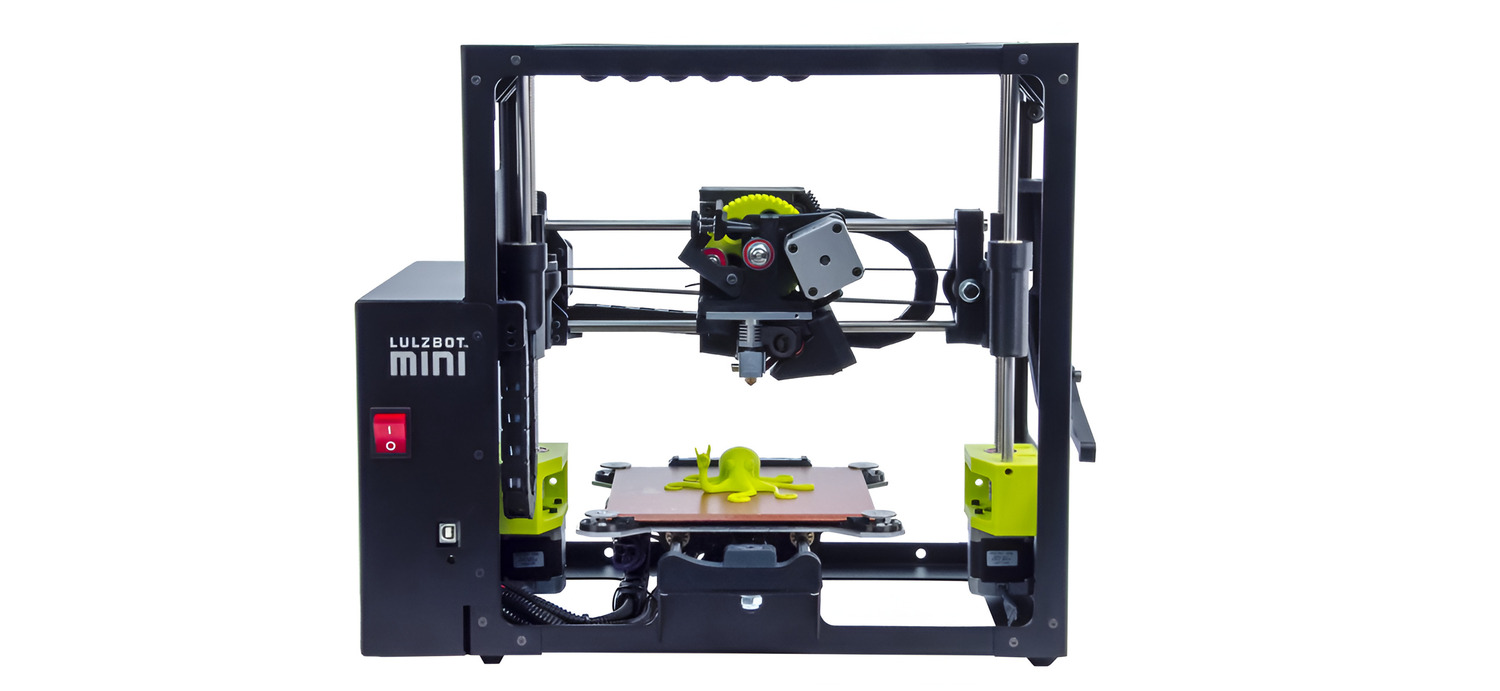
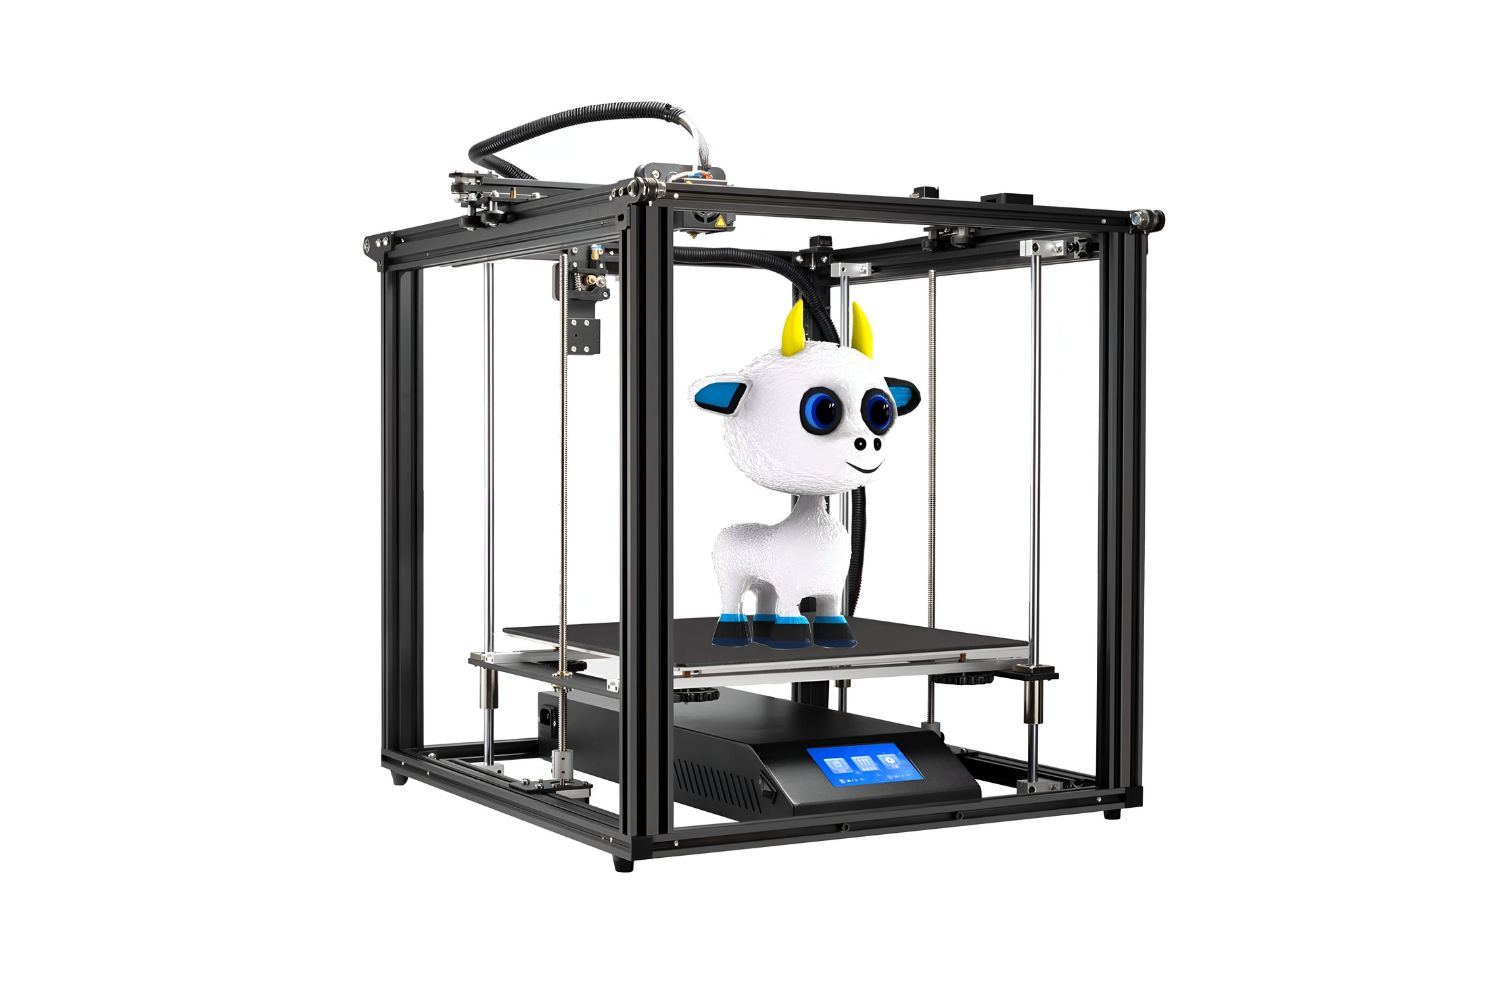
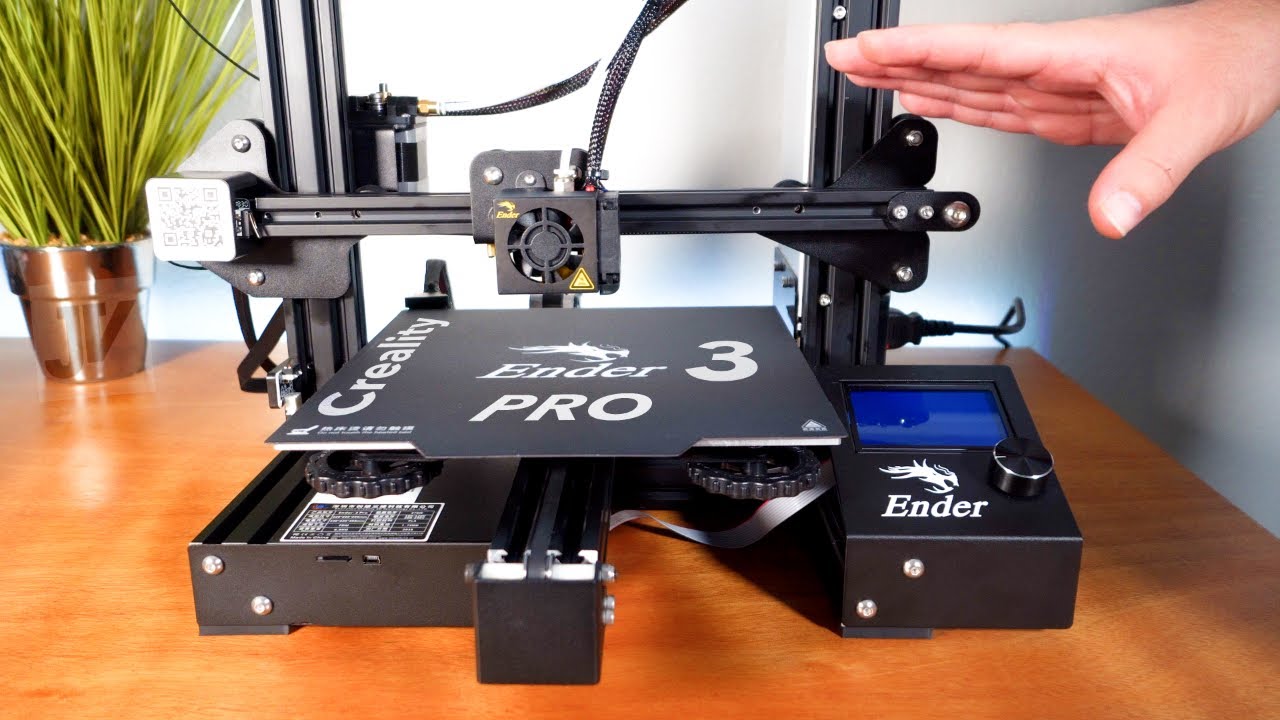
Welcome to the world of 3D printing! If you’re the proud owner of an Ender 3 or similar 3D printer, you’ve likely experienced the excitement of bringing your digital designs to life. However, to ensure the best print quality and avoid any issues, it’s essential to keep your 3D printer bed clean and well-maintained.
The printer bed is the foundation of your prints, providing a stable and level surface for the filament to adhere to. Over time, debris, residue, and even leftover filament can accumulate on the bed, affecting print adhesion and overall print quality. That’s why regular cleaning of the printer bed is crucial to maintain optimal performance.
In this guide, we’ll walk you through the step-by-step process of cleaning the 3D printer bed on your Ender 3. We’ll cover all the tools you’ll need and provide tips to ensure a thorough cleaning without damaging the bed’s surface. Whether you’re a beginner or an experienced 3D printing enthusiast, this guide is designed to help you keep your printer bed in top shape.
By maintaining a clean printer bed, you’ll enjoy better print adhesion, reduce the risk of failed prints, and improve overall print quality. So let’s dive into the world of cleaning your 3D printer bed and ensure every print is a success!
Why Cleaning the 3D Printer Bed is Important
Keeping your 3D printer bed clean is essential for several reasons. First and foremost, a clean bed ensures proper adhesion of the filament to the surface during printing. When debris, residue, or leftover filament accumulate on the bed, it can interfere with the print’s adhesion and lead to failed prints. Cleaning the bed regularly will help maintain a smooth and level surface, ensuring that your prints stick securely and consistently.
Moreover, a clean printer bed improves print quality. Any debris or residue on the bed can cause imperfections in your prints, such as bumps, rough surfaces, or uneven layers. By cleaning the bed, you remove any potential obstructions that could negatively impact the quality of your prints. This means you’ll end up with smoother, more precise, and visually appealing objects.
Cleaning the printer bed is also crucial for troubleshooting common printing issues. Sometimes, when prints consistently fail or adhere poorly to the bed, the problem may not lie with the model or the filament, but rather with a dirty bed. By cleaning the bed, you can eliminate one possible cause of printing problems and save time troubleshooting.
Additionally, maintaining a clean bed extends the lifespan of your 3D printer. Debris or filament residue can accumulate on the bed and transfer to other components of the printer, such as the nozzle or the extruder. Over time, this build-up can cause blockages, clogs, or other mechanical issues that could require costly repairs or replacements. Regularly cleaning the bed helps prevent these issues, ensuring that your printer remains in optimal condition for long-term use.
Lastly, cleaning the 3D printer bed promotes good hygiene in your printing environment. Some filaments, such as ABS, can release fumes or emit odors during printing. Cleaning the bed helps to remove any residual particles or unpleasant smells that may have accumulated over time, providing a more pleasant and healthier printing experience.
In summary, cleaning the 3D printer bed is important because it ensures proper adhesion, improves print quality, helps troubleshoot printing issues, prolongs the lifespan of the printer, and promotes a hygienic printing environment. Now that you understand the importance of maintaining a clean bed, let’s move on to the tools you’ll need to get started with the cleaning process.
Tools You Will Need
Before you begin cleaning the 3D printer bed, it’s important to gather all the necessary tools to ensure a thorough and efficient process. Here are the essential tools you’ll need:
- Isopropyl Alcohol: Isopropyl alcohol, also known as IPA, is a commonly used cleaning agent for 3D printer beds. It is effective in removing grease, oils, and residue without leaving behind any residue of its own. Look for a high concentration of isopropyl alcohol, such as 90% or above, for optimal cleaning power.
- Clean Microfiber Cloth: A clean microfiber cloth is perfect for wiping down the printer bed after applying the cleaning agent. It is gentle on the surface and helps remove any remaining debris or residue.
- Cotton Swabs: Cotton swabs are useful for cleaning hard-to-reach areas on the printer bed, such as corners or edges. They can be dipped in isopropyl alcohol to remove any stubborn residue or filament buildup.
- Plastic Scraper or Spatula: A plastic scraper or spatula is handy for safely removing any leftover filament or debris that may be stuck to the bed. It should have a flat edge and be made of a non-abrasive material to prevent damage to the bed’s surface.
- Soap and Water: In some cases, a gentle soap and water solution can be used instead of isopropyl alcohol. This is particularly useful if the bed is heavily soiled or if you prefer a non-chemical cleaning method. Just ensure that the bed is thoroughly dried after cleaning.
- Protective Gloves: While not mandatory, wearing protective gloves is recommended to avoid direct contact with chemicals or any residues that may be present on the bed. It’s always better to prioritize safety when handling cleaning agents.
These essential tools will provide you with everything you need to effectively clean your 3D printer bed. Now that you’re equipped with the necessary tools, let’s move on to the step-by-step guide on cleaning the 3D printer bed on your Ender 3.
Step-by-Step Guide on Cleaning the 3D Printer Bed
Now that you have gathered the necessary tools, it’s time to dive into the step-by-step process of cleaning the 3D printer bed on your Ender 3. Follow these instructions carefully to ensure a thorough cleaning and maintain the optimal performance of your printer:
- Preparing the 3D printer bed: Start by turning off and unplugging your 3D printer. Allow the printer bed to cool down completely before proceeding with the cleaning process. This will prevent any accidental burns or damage to the printer bed.
- Removing debris and filament residue: Use a plastic scraper or spatula to gently remove any large debris or leftover filament from the printer bed. Be cautious not to scratch or damage the bed’s surface while scraping.
- Using isopropyl alcohol or soap and water: Depending on your preference and the level of cleanliness required, choose either the isopropyl alcohol or soap and water solution. If using isopropyl alcohol, moisten a clean microfiber cloth with the solution. If using soap and water, create a gentle solution by mixing a small amount of mild soap with water in a separate container.
- Scrubbing the bed surface: With the cloth or sponge dampened with the cleaning solution, gently scrub the entire surface of the printer bed. Pay special attention to areas that have residue or stubborn marks. If necessary, use cotton swabs dipped in the cleaning solution to reach and clean hard-to-reach areas.
- Drying the bed: Once the bed is thoroughly cleaned, use a clean and dry microfiber cloth to dry the surface. Ensure that there is no moisture left on the bed, as it can affect print adhesion and potentially damage the printer components.
- Reassembling and calibrating the printer: After ensuring that the bed is completely dry, reassemble any components that were removed during the cleaning process. Take this opportunity to also check and tighten any loose screws or connections. Once reassembled, recalibrate the printer bed according to the manufacturer’s instructions to ensure it is level and ready for your next print.
Following these step-by-step instructions will help you maintain a clean and well-functioning 3D printer bed. Remember to clean the bed regularly, especially between prints or when you notice a decline in print quality. Now that you’ve successfully cleaned your printer bed, let’s move on to some tips and precautions to keep in mind while cleaning.
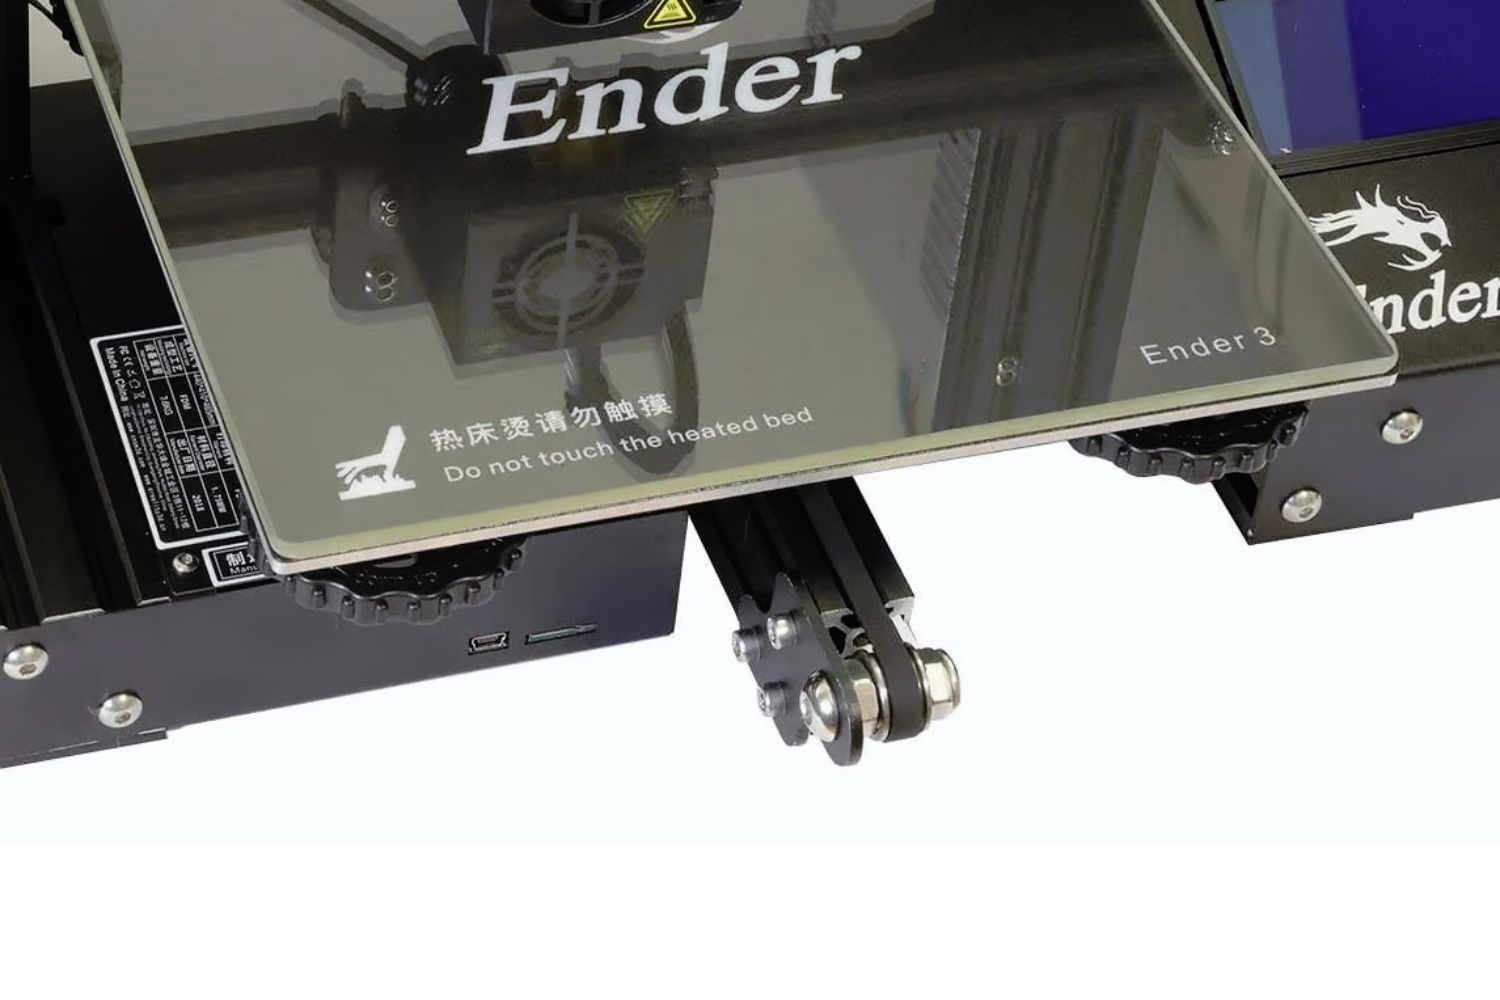
Preparing the 3D Printer Bed
Before you start the process of cleaning the 3D printer bed, it’s crucial to prepare it properly. Taking the necessary precautions ensures your safety and prevents any potential damage to the printer bed or other components. Follow these steps to prepare the bed before cleaning:
- Turn off and unplug the printer: Before you begin the preparation process, make sure the printer is turned off and unplugged from the power source. This minimizes the risk of electric shock and ensures your safety while working on the printer bed.
- Allow the printer bed to cool down: 3D printer beds can get very hot during and after printing. It’s essential to allow the bed to cool down completely before cleaning. This prevents the risk of burns and protects the integrity of the cleaning agents you’ll use later on.
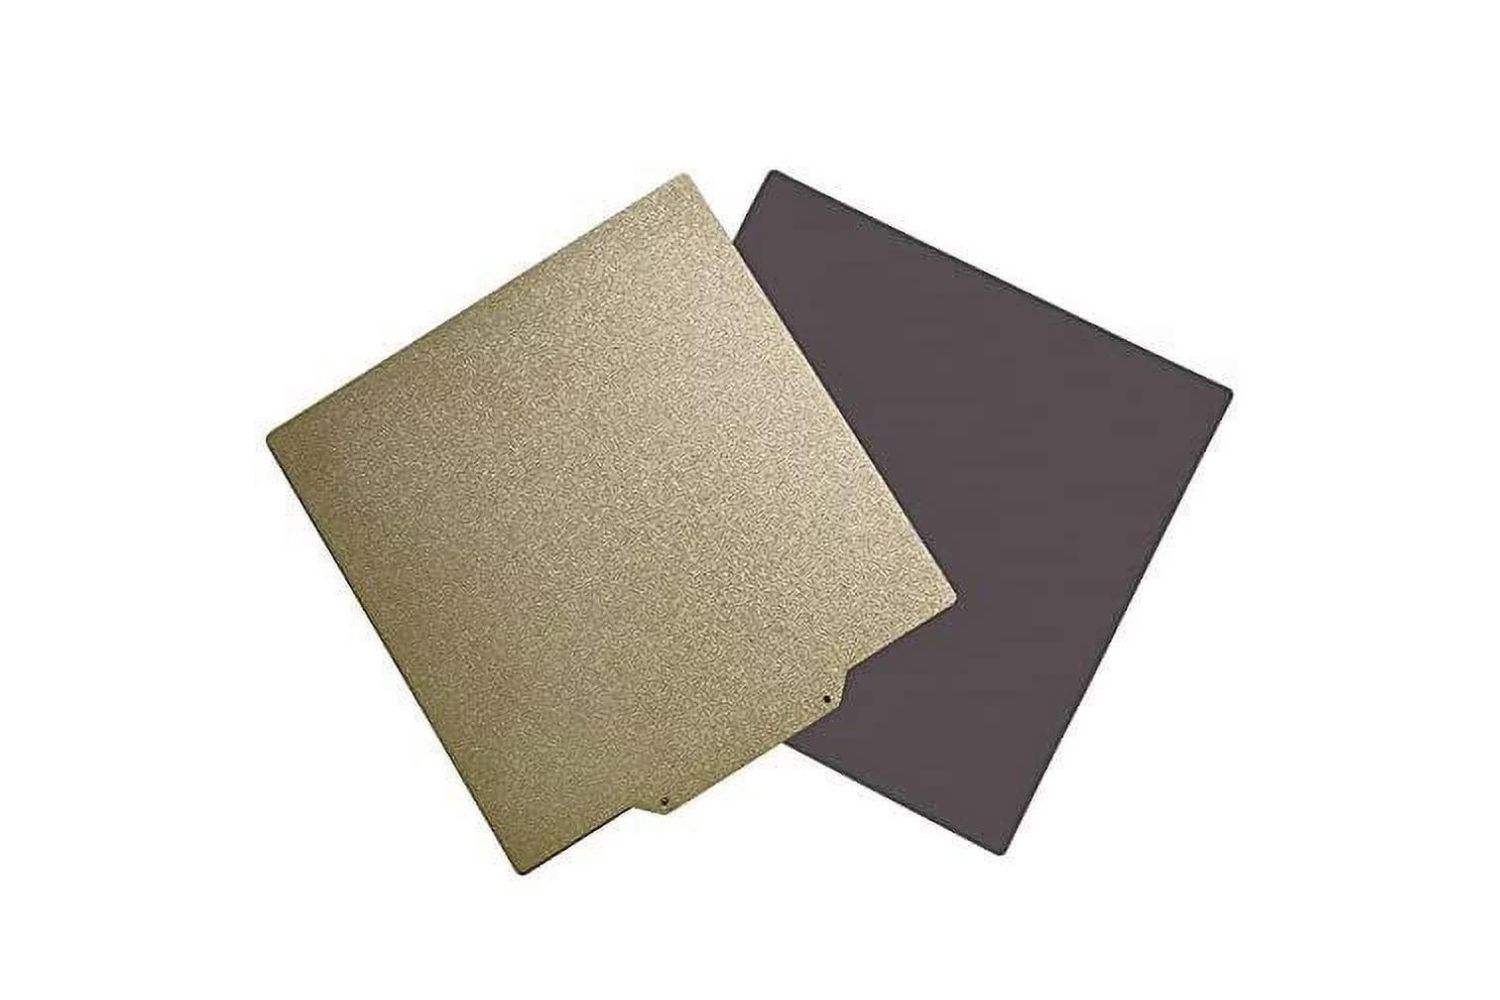
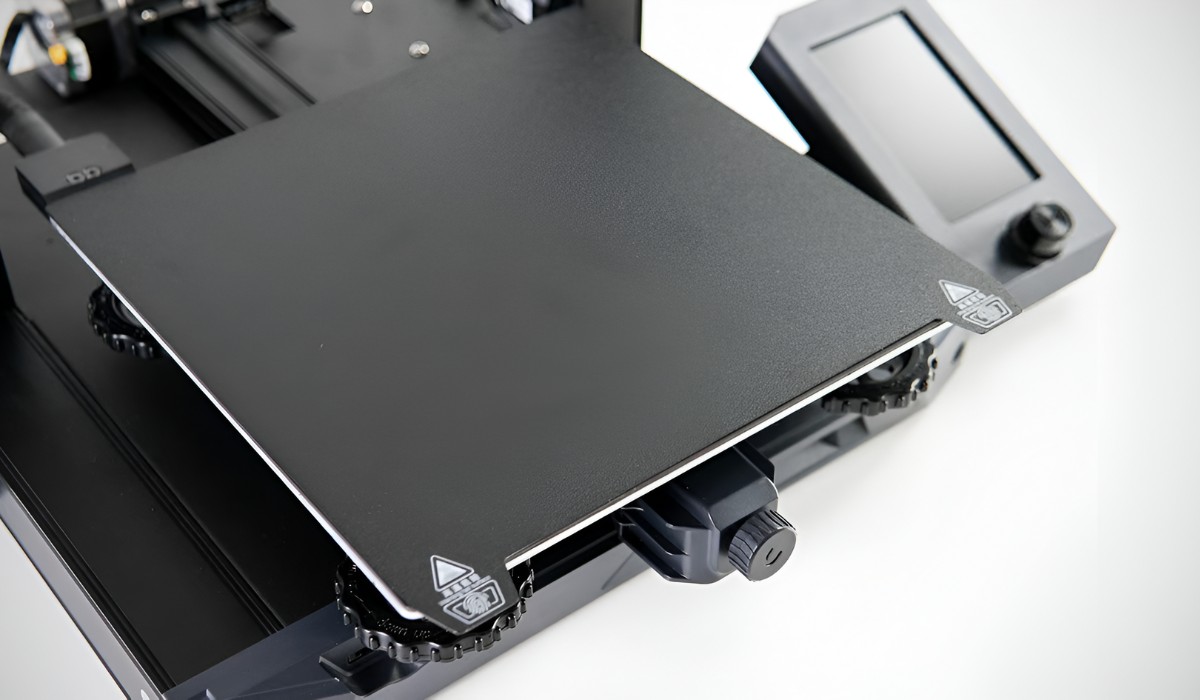
- Remove any removable components: Check if there are any removable components on your printer bed, such as a glass plate or a magnetic bed surface. If present, carefully remove these components according to the manufacturer’s instructions. This allows for better access during the cleaning process and prevents any damage or interference with these removable parts.
- Gather the necessary tools: Refer back to the “Tools You Will Need” section for a comprehensive list of the tools required for the cleaning process. Ensure you have all the tools ready and within reach before you proceed.
- Put on protective gloves (optional): While not mandatory, wearing protective gloves can be a good practice to protect your hands from cleaning agents or any residues that may be present on the bed. It’s always better to prioritize safety when handling chemicals or potentially hazardous substances.
By following these steps, you’ll properly prepare the 3D printer bed for the cleaning process. Taking the time to prepare ensures a smoother and more efficient cleaning experience. Once you’ve completed the preparation steps, you can move on to the next stage: removing debris and filament residue from the bed.
Removing Debris and Filament Residue
Before applying any cleaning solutions, it’s important to remove any debris and filament residue that may have accumulated on the 3D printer bed. This step ensures a clean surface for the subsequent cleaning process. Follow these steps to effectively remove debris and filament residue:
- Gently scrape with a plastic scraper: Using a plastic scraper or spatula, carefully scrape off any large debris or leftover filament particles from the printer bed. Be cautious not to use excessive force or create scratches on the bed’s surface while scraping. It’s important to gently remove the debris without causing any damage.
- Use a soft brush: If the debris and filament residue are not easily removed by scraping alone, a soft brush can be useful. Brush gently across the bed’s surface to dislodge any residual particles. The brush should be soft-bristled to avoid scratching or damaging the bed.
- Vacuum or use compressed air (optional): For stubborn or hard-to-reach debris, you can use a vacuum cleaner or compressed air to blow away the particles. This method can be particularly effective in removing fine dust or small particles that may be difficult to remove manually.
- Inspect the bed for remaining debris: After scraping and brushing, carefully inspect the bed to ensure that all debris and filament residue have been removed. Take your time to visually examine the surface and feel it with your fingertips to detect any remaining particles.
By following these steps, you’ll effectively remove debris and filament residue from the 3D printer bed. This ensures a clean foundation for the subsequent cleaning process and helps maintain optimal print quality. Now that the bed is free from debris, you can proceed to the next step: using isopropyl alcohol or soap and water to clean the bed surface.
Using Isopropyl Alcohol or Soap and Water
Once you have removed debris and filament residue from the 3D printer bed, it’s time to clean the bed surface using either isopropyl alcohol or soap and water. Both options are effective for removing any remaining dirt, oils, or residue that may be present. Follow these steps to clean the bed:
- Choose your cleaning agent: Decide whether you want to use isopropyl alcohol or a solution of soap and water. Isopropyl alcohol is a common choice as it evaporates quickly and leaves no residue. On the other hand, soap and water can be a good alternative if you prefer a non-chemical cleaning method or if the bed is heavily soiled.
- Moisten a clean microfiber cloth: If using isopropyl alcohol, moisten a clean microfiber cloth with a small amount of the solution. Make sure the cloth is damp, but not dripping. If opting for soap and water, create a gentle solution by mixing a small amount of mild soap with water in a separate container.
- Wipe the bed surface: With the dampened cloth, gently wipe the entire surface of the printer bed. Pay attention to areas that may have residual dirt or oils. If necessary, use cotton swabs dipped in the cleaning solution to clean hard-to-reach areas such as corners or edges.
- Apply gentle pressure: Apply a moderate amount of pressure while wiping the bed surface but avoid excessive force that could damage the bed. The goal is to remove any remaining dirt or residue without scratching or denting the bed’s surface.
- Rinse and dry (if using soap and water): If you chose to clean the bed with soap and water, rinse the bed with clean water to remove any soap residue. Ensure that the bed is thoroughly dried after cleaning. Any moisture left on the bed can affect print adhesion or potentially damage printer components.
By following these steps, you’ll effectively clean the 3D printer bed using isopropyl alcohol or soap and water. This will ensure a pristine surface for optimal print adhesion and superior print quality. Now that the bed is clean, it’s time to discuss the next step: scrubbing the bed surface to remove stubborn marks or residue.
Scrubbing the Bed Surface
After cleaning the 3D printer bed with isopropyl alcohol or soap and water, it’s important to ensure that any stubborn marks or residue are thoroughly removed. Scrubbing the bed surface helps eliminate these persistent imperfections and provides a smooth, clean surface for optimal print adhesion. Follow these steps to effectively scrub the bed:
- Identify stubborn marks or residue: Carefully examine the bed surface to identify any areas with stubborn marks or residue that were not fully removed during the initial cleaning process. These may be leftover adhesive, grease, or other substances that require extra attention.
- Moisten a cotton swab or cloth: Moisten a cotton swab or cloth with isopropyl alcohol and target the specific areas with stubborn marks or residue. Apply the solution directly to these spots and let it sit for a few moments to loosen the residue.
- Gently scrub the bed surface: Using the moistened cotton swab or cloth, gently scrub the targeted areas on the bed surface. Apply light pressure and small circular motions to loosen and remove the stubborn marks or residue. Take care to avoid excessive force or abrasive materials that could damage the bed.
- Reapply cleaning solution if necessary: If the initial scrubbing doesn’t completely remove the stubborn marks or residue, reapply the cleaning solution to the cotton swab or cloth and continue scrubbing. Be patient and persistent, focusing on one area at a time.
- Inspect and repeat if needed: After scrubbing the bed surface, inspect the area to ensure that the stubborn marks or residue have been effectively removed. If necessary, repeat the scrubbing process until the bed surface is smooth and free from any stubborn marks.
By following these steps, you’ll effectively scrub the bed surface of your 3D printer, removing any stubborn marks or residue that may have remained after the initial cleaning. This thorough scrubbing process ensures a clean and pristine bed surface for optimal print quality. Once the bed has been scrubbed, it’s time to move on to the next step: drying the bed to remove any moisture.
Drying the Bed
After cleaning and scrubbing the 3D printer bed, it’s important to ensure that the bed is thoroughly dried before attempting any prints. Drying the bed effectively removes any moisture that may be present, ensuring optimal print adhesion and preventing potential damage to the printer components. Follow these steps to effectively dry the bed:
- Use a clean and dry microfiber cloth: Take a clean microfiber cloth and ensure that it is completely dry. Using a wet or damp cloth may introduce moisture back onto the bed surface, which can compromise print quality and potentially damage the printer.
- Gently pat the bed surface: With the dry microfiber cloth, gently pat the bed surface to absorb any residual moisture. Avoid rubbing the cloth vigorously, as this can create static electricity or leave behind lint.
- Inspect for any remaining moisture: After patting the bed surface dry, visually inspect the entire bed to ensure there is no remaining moisture. Pay attention to corners, edges, and other hard-to-reach areas. If you notice any dampness, continue patting with the dry cloth until the surface is completely dry.
- Air dry (optional): To expedite the drying process, you can allow the bed to air dry for a few minutes. Avoid using a hairdryer or other sources of direct heat, as this can cause warping or damage to the bed.
By following these steps, the 3D printer bed will be thoroughly dried and free from any moisture that could affect print adhesion or damage the printer components. Now that the bed is dry, it’s time to move on to the final step: reassembling the printer and calibrating the bed.
Reassembling and Calibrating the Printer
After successfully cleaning and drying the 3D printer bed, it’s time to reassemble the printer and calibrate the bed. This step ensures that the printer is ready for your next print job and ensures optimal print quality. Follow these steps to effectively reassemble and calibrate the printer:
- Refer to the manufacturer’s instructions: Consult the manufacturer’s instructions or user manual for specific guidance on reassembling and calibrating your particular 3D printer model. These instructions will provide detailed steps and settings specific to your printer.
- Replace any removed components: If you removed any components from the printer bed, such as a glass plate or a magnetic bed surface, carefully place them back into position according to the manufacturer’s instructions. Take care to align them properly and secure them in place.
- Tighten any loose screws or connections: Use a screwdriver or the appropriate tool to check all screws and connections on the printer. Ensure that they are tightened securely to prevent any unwanted movements or vibrations during printing.
- Recalibrate the printer bed: Bed leveling is an essential calibration process that ensures the bed is at the correct height relative to the printer’s nozzle. Follow the manufacturer’s instructions to recalibrate the printer bed. This may involve adjusting screws or knobs to achieve proper leveling.
- Perform a test print: Once the bed has been calibrated, perform a test print to ensure that the printer is functioning correctly. Use a simple test model or a calibration print to check the bed’s adhesion and print quality.
- Make further adjustments if necessary: If the test print reveals any issues, such as poor adhesion or inconsistent layers, make the necessary adjustments to the printer settings or bed leveling. Fine-tuning may be required to achieve the desired print quality.
By following these steps, you’ll effectively reassemble and calibrate your 3D printer after cleaning the bed. This ensures that your printer is ready for future print jobs, providing optimal performance and print quality. Now that your printer is reassembled and calibrated, you’re ready to embark on your next 3D printing adventure!
Tips and Precautions for Cleaning the 3D Printer Bed
When it comes to cleaning the 3D printer bed, there are certain tips and precautions to keep in mind to ensure a safe and effective process. Follow these recommendations to make the most out of your cleaning routine:
- Read the manufacturer’s guidelines: Before cleaning the bed, familiarize yourself with the manufacturer’s guidelines and recommendations for cleaning and maintenance. This ensures that you follow the specific instructions for your printer model and avoid any potential damage.
- Clean the bed regularly: Make it a habit to clean the printer bed regularly, especially after each print or whenever you notice a decline in print quality. Regular maintenance prevents the accumulation of debris and residue, ensuring optimal print adhesion and reducing the risk of failed prints.
- Avoid abrasive materials: When cleaning the bed surface, avoid using abrasive materials, such as steel wool or rough scrub brushes, as they can scratch or damage the bed. Stick to soft cloths, cotton swabs, or non-abrasive brushes to gently clean the surface.
- Be cautious with scraping: While scraping off debris or residue, be cautious not to apply excessive force or rough movements. The goal is to remove the particles gently without causing any damage to the bed. Use a plastic scraper or spatula with a flat, non-abrasive edge.
- Test cleaning agents: If you’re using a new cleaning agent, such as a different brand of isopropyl alcohol, or trying soap and water, perform a small test on a small portion of the bed surface to ensure it doesn’t cause any adverse effects or discoloration. This helps avoid any potential damage to the bed.
- Ensure proper ventilation: When using isopropyl alcohol or other cleaning agents, ensure that the area is well-ventilated to prevent inhalation of fumes. Open a window or work in a well-ventilated room to avoid any potential health risks.
- Allow the bed to dry completely: Before reassembling the printer or attempting any prints, ensure that the bed is thoroughly dried. Any moisture left on the bed can affect print adhesion and cause potential damage to the printer components. Use a dry microfiber cloth or allow the bed to air dry completely.
- Keep a clean printing environment: In addition to cleaning the bed, maintain a clean printing environment. Regularly vacuum or dust the surrounding area to minimize the chance of debris falling onto the bed and compromising print quality or causing clogs.
By following these tips and taking necessary precautions, you’ll be able to clean your 3D printer bed effectively and safely. Regular maintenance and proper cleaning techniques will contribute to optimal print quality and extend the lifespan of your 3D printer. Now, armed with these tips, you’re ready to keep your 3D printer bed in top shape!
Conclusion
Cleaning the 3D printer bed is an essential part of maintaining optimal print quality and prolonging the lifespan of your 3D printer. By following the step-by-step guide and implementing the tips and precautions provided in this article, you’ll be able to effectively clean your printer bed and achieve superior print results.
Regularly removing debris, filament residue, and dirt from the bed surface ensures proper adhesion, improves print quality, and helps troubleshoot any printing issues that may arise. Additionally, by using isopropyl alcohol or soap and water, you can eliminate grease, oils, and other contaminants that may affect the print adhesion or surface finish.
Remember to take the necessary precautions, such as turning off and unplugging the printer, allowing the bed to cool down, and using appropriate tools and cleaning agents. It’s important to handle the cleaning process with care to avoid damage to the bed or other printer components.
By regularly cleaning and maintaining your 3D printer bed, you’ll enjoy a smoother printing experience with improved print quality and adhering capabilities. Keep in mind the importance of proper calibration after cleaning the bed, as it ensures accurate leveling and optimal performance of your printer.
Now that you have a thorough understanding of how to clean the 3D printer bed and the importance of this maintenance task, you’re ready to embark on your 3D printing journey with confidence. Follow these guidelines and make cleaning the bed a regular part of your printing routine for consistent, high-quality prints.