Introduction
Welcome to the world of 3D printing! The Ender 3D printer is a fantastic tool that allows you to bring your digital designs to life by creating three-dimensional objects layer by layer. Whether you’re a hobbyist, a designer, or an engineer, the Ender 3D printer offers a convenient and affordable way to turn your ideas into reality.
With its high-quality prints and user-friendly interface, the Ender 3D printer has gained popularity among enthusiasts and professionals alike. In this guide, we will take you through the essential steps of getting started with your Ender 3D printer, from the initial setup to troubleshooting common issues.
Before we dive into the details, it’s important to note that 3D printing involves some safety considerations. Always ensure you operate your printer in a well-ventilated area to avoid inhaling fumes from the filaments. Additionally, keep the printer away from flammable materials and never leave it unattended while printing.
Now, let’s proceed with setting up your Ender 3D printer and exploring the fascinating world of 3D printing. By the end of this guide, you’ll be equipped with the knowledge and skills to unleash your creativity and bring your ideas to life!
Safety Precautions
Before delving into the exciting world of 3D printing with your Ender 3D printer, it’s crucial to take some safety precautions to ensure a safe and enjoyable experience. Here are a few important measures to keep in mind:
- Operate in a Well-Ventilated Area: 3D printing involves the melting of filaments, which may emit potentially harmful fumes. It is advisable to set up your Ender 3D printer in a well-ventilated area to minimize the inhalation of these fumes. If possible, consider using an air purifier or a dedicated exhaust fan to improve air circulation.
- Avoid Exposure to Toxic Materials: Some filaments, such as ABS (Acrylonitrile Butadiene Styrene), may release toxic fumes when melted. Be sure to research the specific filament you are using and ensure its compatibility with your printer. Always read the safety data sheet provided by the manufacturer to understand any potential hazards.
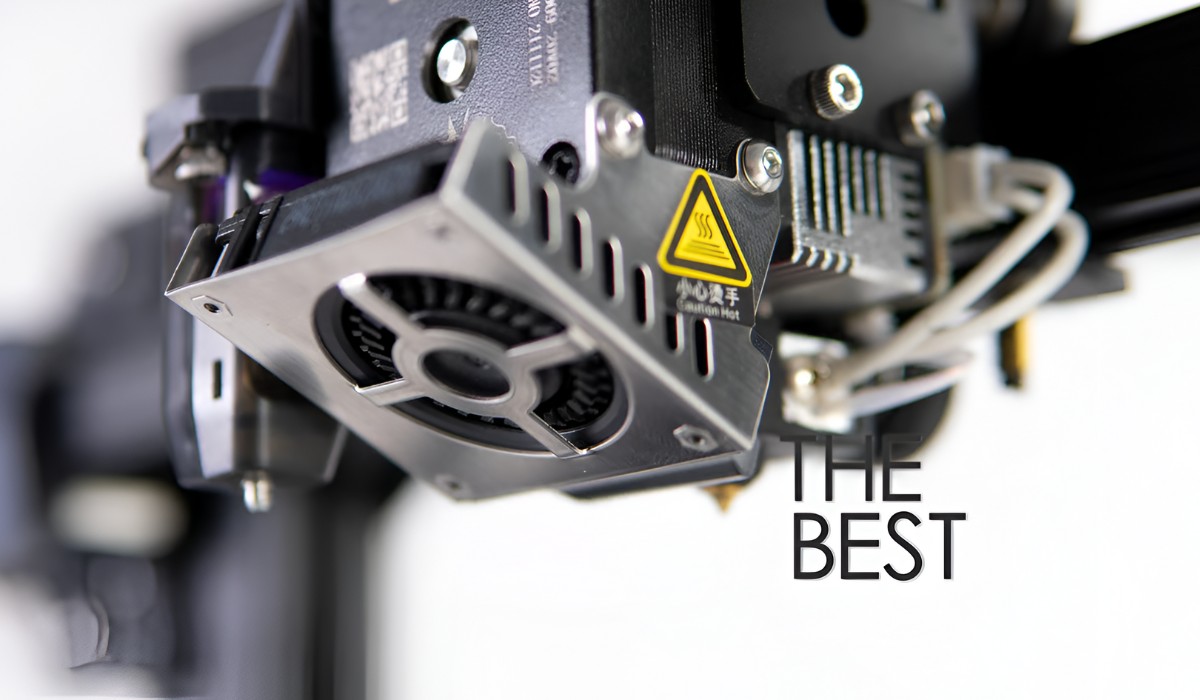
- Keep Flammable Materials Away: While 3D printing, it’s important to keep your Ender 3D printer away from flammable materials. The heated components and electrical systems can pose a fire hazard. Make sure to have a clear working space around the printer and avoid placing it near curtains, paper, or any other easily combustible items.
- Don’t Leave the Printer Unattended: It’s crucial to keep an eye on your Ender 3D printer while it’s operational. Although most printers have safety features, it’s always best to supervise the printing process in case any issues arise. This way, you can intervene promptly and minimize the risk of any accidents.
- Properly Store and Handle Filaments: Store your filaments in a cool and dry place to prevent moisture absorption, which can affect print quality. Additionally, handle the filament with clean hands to avoid transferring oils or dirt that may interfere with the printing process.
By adhering to these safety precautions, you can minimize potential risks and ensure a safe environment for yourself and those around you. Let’s now move on to setting up your Ender 3D printer and explore its amazing capabilities!
Setting up the Ender 3D Printer
Now that you’re aware of the safety precautions, it’s time to set up your Ender 3D printer. Follow these steps to ensure a smooth start:
- Unboxing and Assembly: Carefully unbox your Ender 3D printer, making sure to remove all protective packaging. Follow the provided instructions or online tutorials to assemble the printer frame securely. Take your time and double-check that all components are correctly connected.
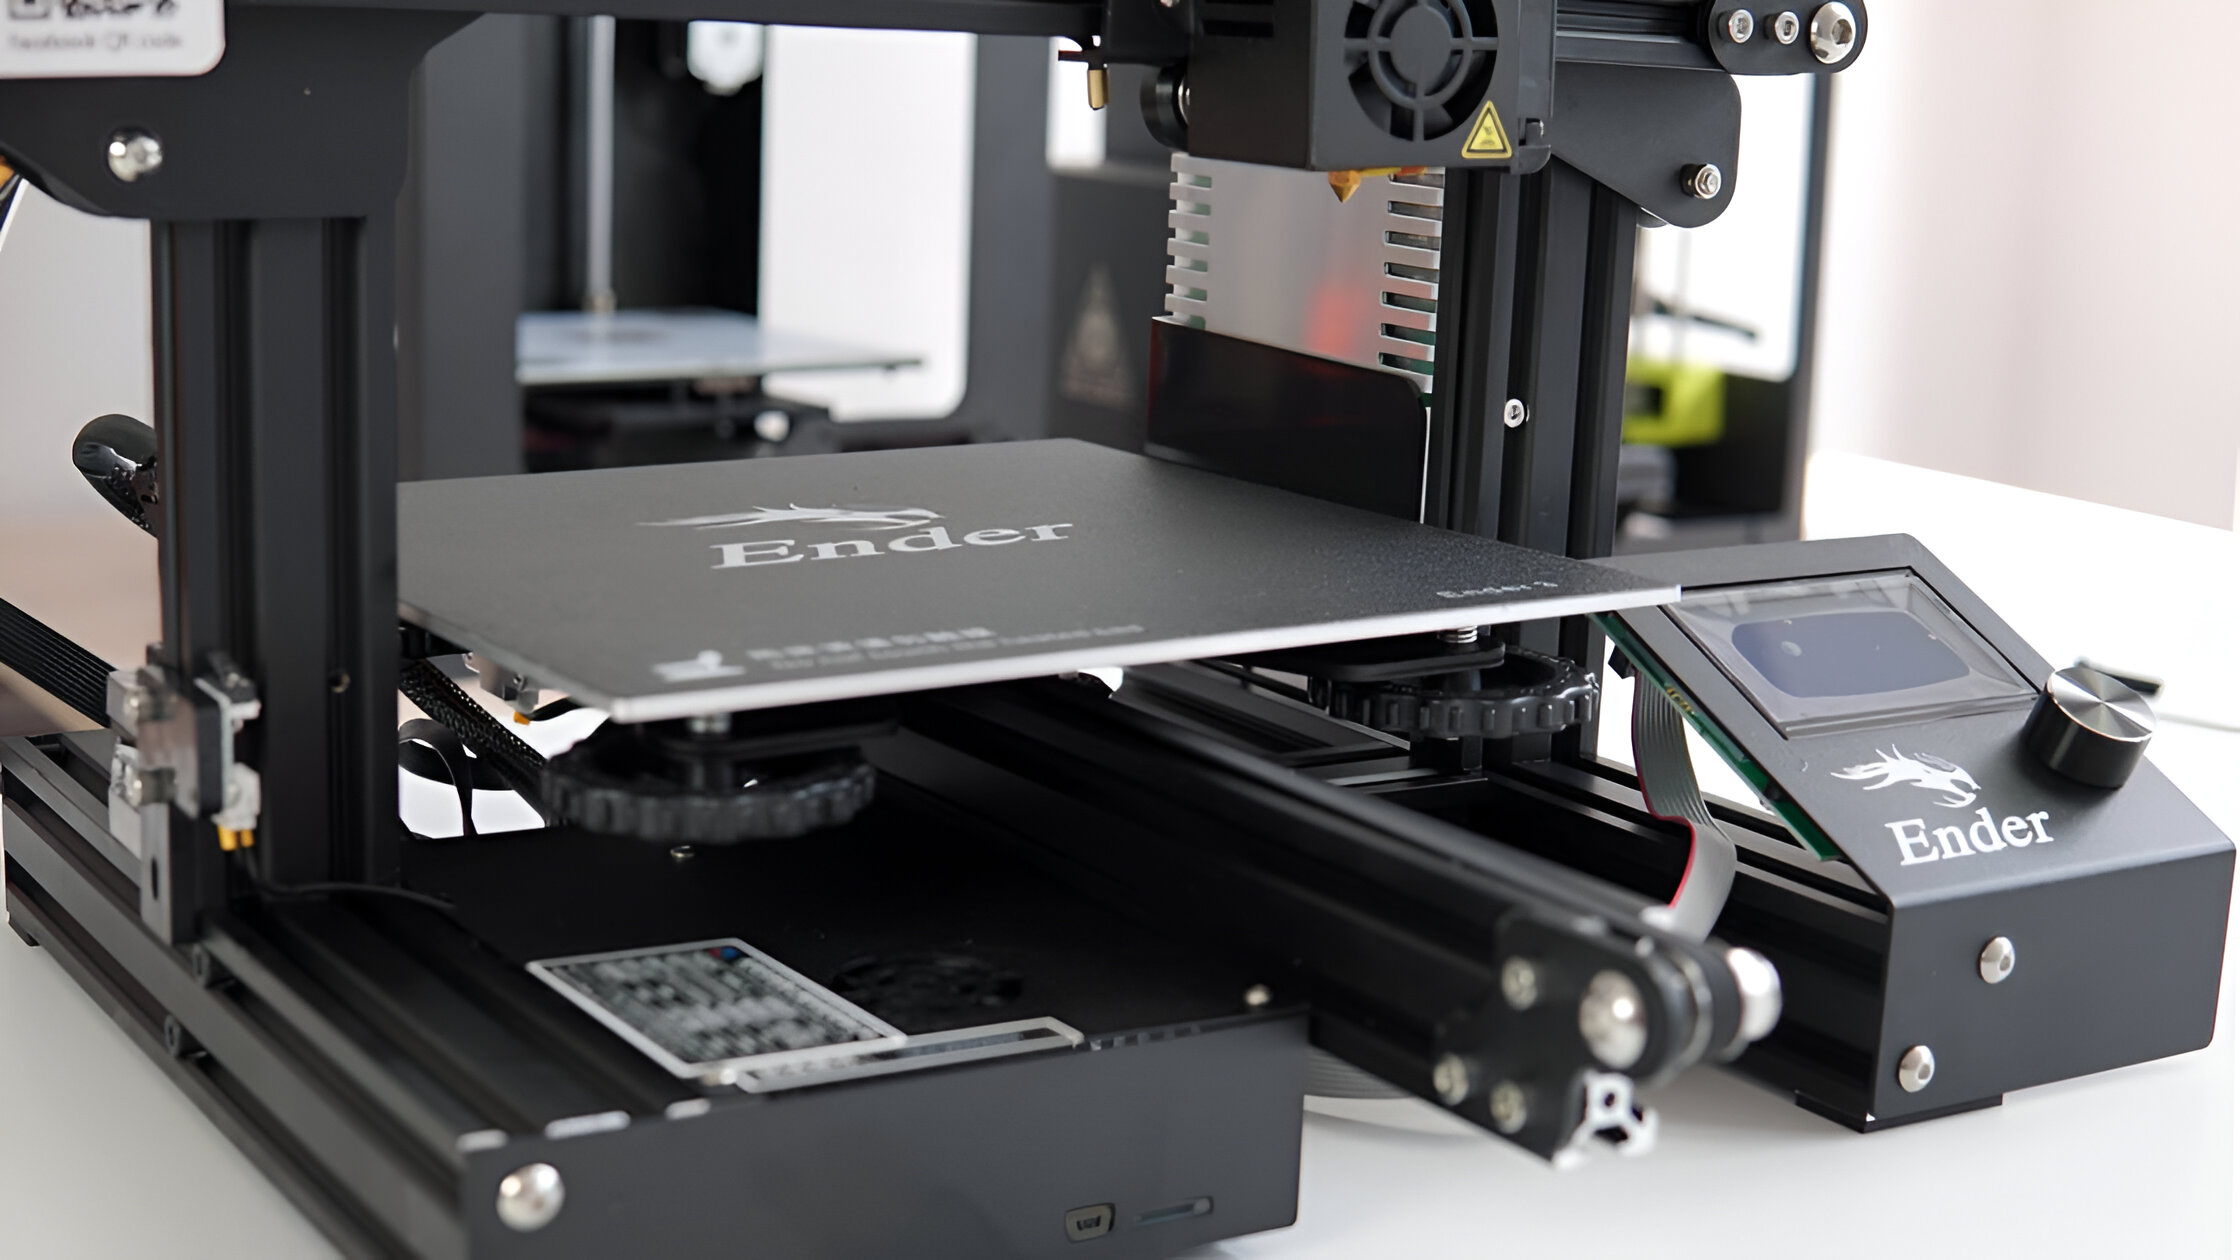
- Leveling the Bed: Properly leveling the printing bed is crucial for successful prints. Before powering on the printer, ensure that the bed is leveled by adjusting the four corner knobs. Use a piece of paper as a gauge, moving the hotend assembly until the paper can be slightly gripped between the nozzle and bed. Repeat this process for each corner until the bed is evenly leveled.
- Connecting Power and Filament: Plug in your Ender 3D printer and turn it on. Ensure that you have a compatible power supply for your region. Next, feed the filament through the filament guide tube and into the extruder. Follow the manufacturer’s guidelines to load the filament into the extruder, allowing it to flow smoothly.
- Software Setup: Install the necessary software on your computer to communicate with the Ender 3D printer. Popular software options include Cura and Simplify3D. Connect your printer to your computer using a USB cable or utilize an SD card to transfer the print files.
- Firmware Update: Check for the latest firmware updates for your Ender 3D printer model. Upgrading the firmware will ensure optimal performance and compatibility with various features. Follow the instructions provided by the manufacturer to update the firmware.
- Initialization and Calibration: Once the initial setup is complete, initialize the printer by preheating the nozzle and bed to the recommended temperatures. This will ensure that the printer is ready for printing. Additionally, calibrate the extruder steps and bed leveling if necessary to fine-tune the print quality.
With these steps completed, you have successfully set up your Ender 3D printer and prepared it for printing. In the next section, we’ll dive into understanding the user interface and how to navigate through the printer’s functions. Stay tuned!
Understanding the Ender 3D Printer Interface
Now that your Ender 3D printer is set up, let’s take a closer look at the user interface and understand how to navigate its functions. Familiarizing yourself with the interface will help you make the most of your printing experience. Here’s an overview of the main components:
- Control Knob and LCD Screen: The Ender 3D printer features a control knob and an LCD screen. The control knob allows you to navigate through the different options and menus displayed on the screen. It acts as a button when pressed to select and confirm your choices.
- Main Menu: The main menu provides access to various settings and functions of the printer. It typically includes options such as preheating, auto-leveling, filament loading, print file selection, and more. Use the control knob to scroll through the menu and press it to select an option.
- Print Settings: Within the main menu, you’ll find the print settings menu. This is where you can adjust parameters such as print speed, layer height, temperature, and more. These settings will vary depending on the specific filament and print requirements. Consult your printer’s manual for guidance on optimal settings.
- Print Progress: When a print job is in progress, the LCD screen will display the print progress. It will show the layer currently being printed, estimated remaining time, and other relevant information. This allows you to monitor the progress and make any necessary adjustments if required.
It’s important to note that while the Ender 3D printer interface is intuitive, it may take some time to become familiar with its settings and functions. Take the time to explore the different menus and options, and don’t hesitate to consult the user manual or online resources for further guidance.
With a solid understanding of the Ender 3D printer interface, you are now ready to load and change filaments. Our next section will guide you through the process, so let’s keep the learning momentum going!
Loading and Changing Filament
One of the essential steps in 3D printing with the Ender 3D printer is loading and changing filament. This process ensures a continuous supply of material for your prints and allows you to switch between different filament colors or types. Let’s explore how to do it:
- Preheating: Start by preheating the printer to the recommended temperature for the filament you’re using. This will soften the filament and make it easier to feed into the extruder. Consult the filament manufacturer’s guidelines for the appropriate temperature.
- Retracting the Filament: On the Ender 3D printer’s interface, navigate to the main menu and find the option to retract the filament. This will reverse the filament’s direction and help release it from the extruder. Use the control knob to select the retraction option and follow the instructions displayed on the screen.
- Removing the Filament: After retracting the filament, gently pull it out from the extruder. Be careful not to force it or tug too hard, as this can damage the extruder or other components. If the filament is stuck, it may require additional heating or manual assistance. Consult your printer’s manual for guidance on troubleshooting filament removal.
- Preparing the New Filament: Prepare the new filament by cutting the end at a diagonal angle. This will help guide it into the extruder effectively. Additionally, ensure that the filament spool is properly positioned and secured on the filament holder to prevent any tangling or tension during the printing process.
- Feeding the Filament: With the preheated extruder and prepared filament, navigate to the main menu and select the option to load filament. Advance the filament slowly into the extruder until it reaches the extruder nozzle. The filament should start melting and extruding from the nozzle. Continue feeding the filament until it flows smoothly without any gaps or blockages.
Remember to monitor the printer during the filament loading process and ensure that the filament is being fed smoothly without any issues. If you encounter any problems or the filament doesn’t extrude properly, refer to the troubleshooting section or consult online resources for assistance.
Now that you’ve successfully loaded or changed the filament, you’re ready to explore the exciting world of 3D printing with your Ender 3D printer. In the next section, we’ll dive into calibrating the printer for optimal print quality. Let’s continue on this learning journey!
Calibrating the Ender 3D Printer
Calibrating your Ender 3D printer is a crucial step to ensure optimal print quality and accuracy. By fine-tuning various settings and adjustments, you can achieve precise and consistent prints. Let’s explore the calibration process:
- Extruder Calibration: Start by calibrating the extruder steps. This ensures that the printer accurately measures and extrudes the right amount of filament. Print a calibration cube or use a calibration tool to measure the actual extrusion length. Adjust the extruder steps in the printer’s firmware settings to compensate for any discrepancies.
- Bed Leveling: Proper bed leveling is crucial for achieving a successful first layer and overall print quality. Use the manual bed leveling knobs to adjust the bed’s height at each corner. Use a piece of paper or a feeler gauge to ensure that there is a slight resistance between the nozzle and the bed. Repeat this process until the bed is uniformly leveled.
- First Layer Calibration: The first layer of a print is crucial for adhesion and overall print quality. Adjust the Z-axis height or the bed level during the printing process to ensure the first layer adheres properly without being too squished or too far apart. Fine-tune these settings until you achieve a first layer that is smooth and consistent.
- Print Speed and Temperatures: Experiment with different print speeds and temperatures to find the optimal settings for your prints. Higher speeds may result in reduced print quality, while lower speeds can improve fine details. Adjust the temperatures based on the filament type and manufacturer’s recommendations to prevent under or over extrusion.
- Retraction Settings: Retraction is an essential setting that prevents stringing or oozing of filament during non-printing moves. Adjust the retraction distance and speed to minimize these issues. It may require some trial and error to find the ideal retraction settings for your specific filament and print settings.
Calibrating your Ender 3D printer may require some patience and experimentation. Take the time to make small adjustments and test your prints to achieve the desired results. Remember to document any changes you make so that you can refer back to them in the future.
With the printer properly calibrated, you’re now equipped to choose and prepare a 3D model for printing. We’ll explore this process in the next section, so let’s continue our journey to unleash your creativity!
Choosing and Preparing a 3D Model
Choosing the right 3D model and preparing it for printing is an exciting part of the 3D printing process. Whether you’re designing your own model or downloading one from the internet, here are some steps to consider:
- Explore Online Repositories: There are numerous online platforms and repositories such as Thingiverse, MyMiniFactory, and Cults3D that offer a wide range of pre-designed 3D models. Browse through these websites to find a model that suits your needs. Make sure to check the licensing requirements for any models you download.
- Design Your Own Model: If you have experience with 3D modeling software, you can design your own model. Programs like Tinkercad, Fusion 360, or Blender provide a range of tools and features to create custom designs. Take your time and unleash your creativity to come up with unique, personalized models.
- Check the Model’s Printability: Before proceeding with the printing process, it’s essential to check the model’s printability. Look for any overhangs, intricate details, or thin sections that might require supports. Ensure that the model is manifold and doesn’t have any errors or missing faces that could affect the print quality.
- Scale and Orient the Model: Depending on your desired size and print time, you may need to scale the model. Ensure that the proportions are maintained and that the model fits within the build volume of your Ender 3D printer. Additionally, orient the model in a way that minimizes the need for supports and maximizes print quality.
- Generate Supports if Necessary: If your model has overhangs or unsupported sections, you may need to generate supports. Most slicing software, such as Cura or Simplify3D, offer options to automatically generate support structures. Adjust the settings to find the right balance between support material and print quality.
- Export and Slice the Model: Once you’re satisfied with the design and model settings, export the 3D model file in a format compatible with your slicing software (e.g., .STL or .OBJ). Open the file in the slicing software and adjust the print settings, such as layer height, infill density, and print speed. Generate the G-code file that the printer understands.
Choosing and preparing a 3D model can be a creative and rewarding process. Whether you’re bringing your own designs to life or exploring the vast library of existing models, keep in mind the limitations of your Ender 3D printer and optimize the model accordingly.
In the next section, we’ll walk you through the process of running a 3D print with your Ender 3D printer. Get ready to see your chosen model come to life!
Running a 3D Print
Now that your 3D model is prepared and the slicing process is complete, it’s time to run a 3D print with your Ender 3D printer. Follow these steps to ensure a successful print:
- Prepare the Printer: Double-check that your Ender 3D printer is properly set up, leveled, and loaded with the desired filament. Ensure that the print bed is clean and free from any debris.
- Transfer the G-Code: Transfer the generated G-code file to your Ender 3D printer. This can be done using an SD card or by connecting your computer directly to the printer via USB.
- Position the Print: Place the model on the print bed, ensuring that it is centered and properly aligned. If required, use adhesion aids such as a thin layer of glue stick or a heated bed surface to improve adhesion.
- Start the Print: On the printer’s LCD screen, navigate to the file menu and select the G-code file you transferred. Confirm the selection and start the print. Monitor the initial layer closely to ensure proper adhesion and filament flow.
- Monitor the Print: During the print process, periodically check on the printer to ensure everything is running smoothly. Keep an eye out for any signs of filament jams, layer shifting, or other issues. Make any necessary adjustments to the printer if required.
- Allow the Print to Finish: Let the printer complete the entire print job without interruption. Avoid moving or touching the printer during the printing process, as it may cause misalignment or defects in the print.
- Post-Print Handling: Once the print is finished, allow the print to cool down completely before removing it from the print bed. Gently remove any supports if necessary, and clean up any excess filament strings or imperfections.
Running a 3D print requires patience and attention to detail. It’s essential to monitor the print closely, especially during the first few layers, to catch any potential issues early on. By following these steps, you’ll be on your way to successfully bringing your 3D model to life.
In the next section, we’ll discuss common troubleshooting techniques to help you address any issues that may arise during the 3D printing process. Let’s dive into troubleshooting and ensure smooth printing experiences!
Troubleshooting Common Issues
While 3D printing with your Ender 3D printer can be a rewarding experience, it’s not uncommon to encounter a few challenges along the way. Here are some common issues that may arise during the printing process and how to troubleshoot them:
- Poor Adhesion: If you’re experiencing issues with your print not sticking to the bed, ensure that the print bed is properly leveled. Additionally, consider using adhesion aids such as a glue stick or a heated bed surface. If the problem persists, try adjusting the bed temperature or using a different bed surface material.
- Stringing and Oozing: Stringing or oozing occurs when excess filament drips or trails behind the nozzle during non-printing moves. To minimize this issue, adjust the retraction settings in your slicing software. Increasing the retraction distance and speed can help reduce filament stringing and improve print quality.
- Over- or Under-Extrusion: Over-extrusion results in a buildup of excess filament, while under-extrusion leads to thin or incomplete prints. To address these issues, check the extruder’s calibration and adjust the flow rate or extrusion multiplier. Additionally, ensure that the filament diameter is correctly set in your slicing software.
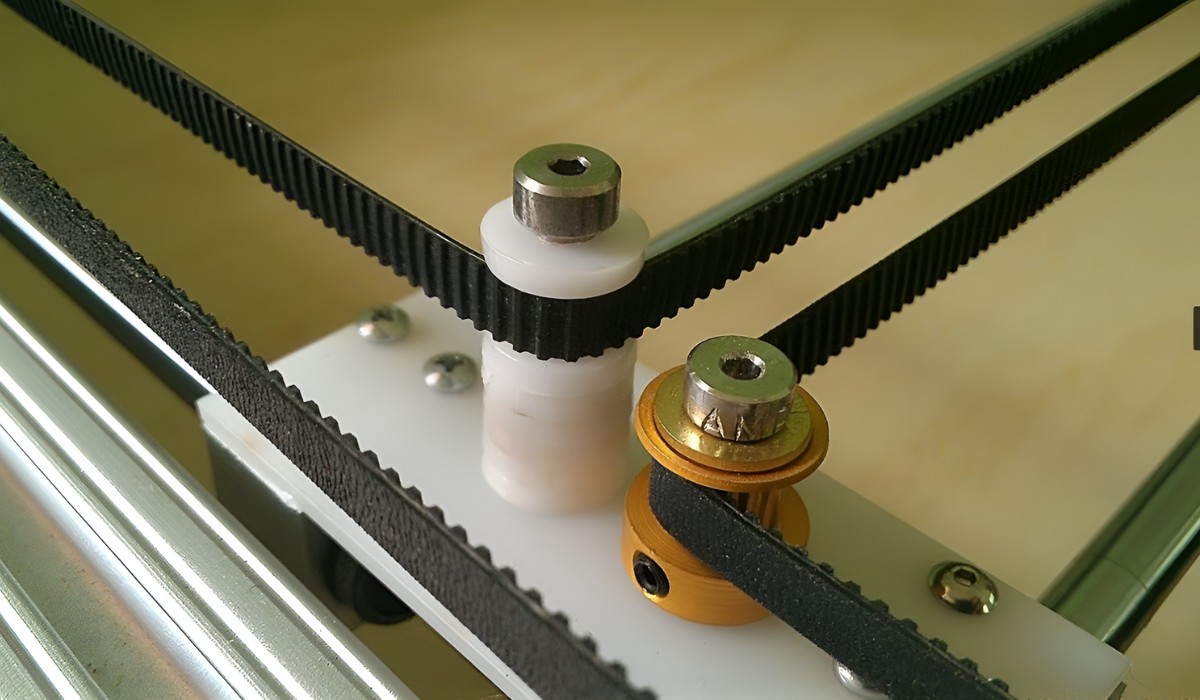
- Lack of Detail or Layer Shifting: If your prints lack fine details or exhibit layer shifting, it may be due to issues with the X, Y, or Z-axis. Check that the belts and pulleys are properly tensioned and that all axes move smoothly. Tighten any loose screws or bolts that may be causing the shifting. Additionally, ensure that the print speed is appropriate for the level of detail required.
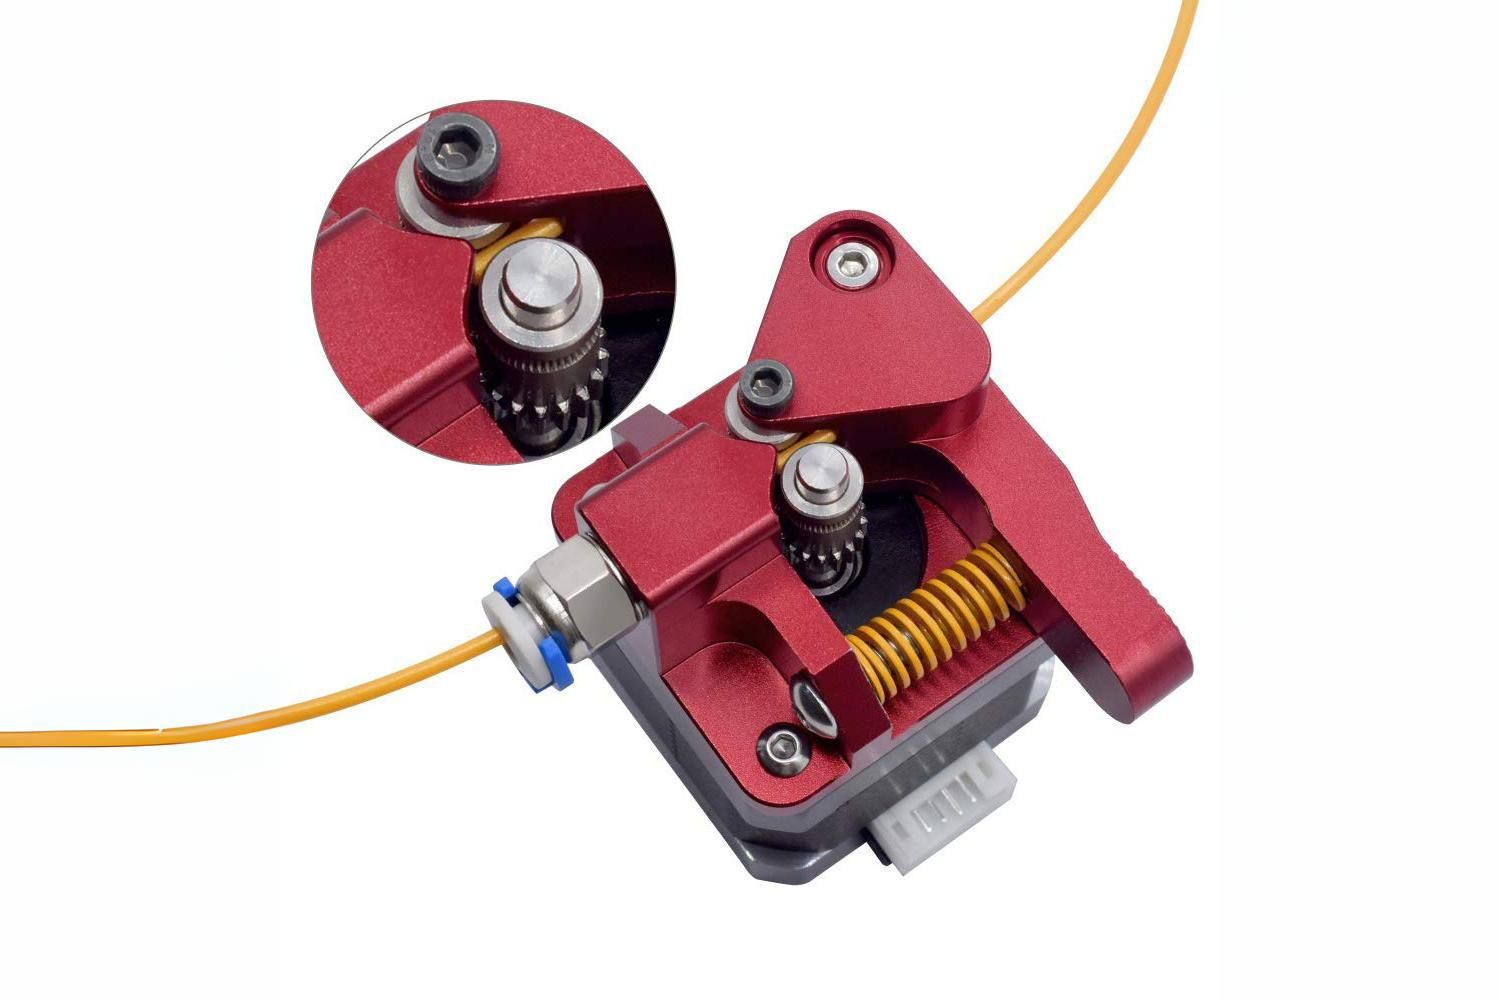
- Extruder Jams: If the filament gets stuck or clogged in the extruder, it can lead to print failures. Clear the jam by first unloading the filament and then inspecting the extruder assembly for any obstructions or debris. Use a small wire or needle to carefully remove any blockages. Adjusting the printing temperature or reducing the print speed can also help prevent extruder jams.
These are just some of the common issues you may encounter during 3D printing with your Ender 3D printer. If you face any other specific problems, consult the printer’s manual or seek assistance from online communities and forums dedicated to 3D printing. Remember, troubleshooting is part of the learning process, and with time and experience, you’ll be able to overcome these challenges and achieve excellent print results.
In the final section, we’ll discuss some important maintenance and cleaning tips to keep your Ender 3D printer in top shape. Let’s explore how to care for your printer!
Maintenance and Cleaning Tips
Maintaining and cleaning your Ender 3D printer is essential to ensure optimal performance and extend its lifespan. Here are some maintenance and cleaning tips to keep your printer in top shape:
- Regular Cleaning: Keep your printer clean by regularly removing dust, debris, and residue. Use a soft, lint-free cloth or a small brush to gently clean the exterior surfaces. Be careful around delicate components and avoid using abrasive materials that could scratch or damage the printer.
- Bed Cleaning: Clean the print bed between prints to remove any residual filament or adhesive materials. Isopropyl alcohol is effective for cleaning glass or mirror beds, while a mild soap solution can be used for other bed surfaces. Ensure that the bed is completely dry before starting a new print.
- Extruder Maintenance: Regularly inspect and clean the extruder assembly to remove any accumulated filament debris or dust. Ensure that the gears and bearings are in good condition and properly lubricated. Refer to the manufacturer’s guidelines for specific maintenance instructions for your Ender 3D printer model.
- Check and Tighten Screws: Periodically check all the screws and bolts on your printer to ensure they are properly tightened. Vibration during printing can cause screws to loosen over time, which may affect print quality or lead to mechanical issues. Use the appropriate tools to tighten any loose screws or bolts.
- Filament Storage: Properly store your filament to maintain its quality. Keep it in a cool and dry place, away from direct sunlight and moisture. Consider using airtight filament storage containers or desiccant packs to prevent moisture absorption, which can lead to print quality issues and filament degradation.
- Software and Firmware Updates: Stay up to date with the latest software and firmware updates for your Ender 3D printer. These updates often include bug fixes, performance enhancements, and new features that can improve your printing experience. Follow the manufacturer’s instructions to safely update your printer’s software and firmware.
By following these maintenance and cleaning tips, you can ensure that your Ender 3D printer operates smoothly and consistently. Regular maintenance not only improves print quality but also helps identify and address any potential issues before they become major problems.
Congratulations! You’ve completed the journey from setting up your Ender 3D printer to troubleshooting common issues and maintaining its optimal performance. Armed with this knowledge, you’re now ready to dive further into the world of 3D printing and unleash your creativity. Happy printing!
Conclusion
Congratulations on completing this comprehensive guide on how to use an Ender 3D printer! Throughout this journey, we’ve explored the essential steps of setting up the printer, understanding the interface, loading and changing filaments, calibrating the printer, choosing and preparing 3D models, running prints, troubleshooting common issues, and maintaining the printer. You now have the knowledge and skills to embark on your own 3D printing adventures.
Remember, 3D printing is a creative and constantly evolving field. As you gain experience, continue to explore new techniques, materials, and design possibilities. Connect with the vibrant 3D printing community to learn from others, seek inspiration, and share your own successes and challenges.
Always prioritize safety when operating your Ender 3D printer. Follow the recommended safety precautions, including operating in a well-ventilated area, storing filaments properly, and monitoring prints to prevent accidents.
Lastly, have fun and enjoy the process. 3D printing opens up a world of possibilities, allowing you to turn your ideas into tangible objects. Whether you’re creating prototypes, personalized gifts, or artistic designs, the Ender 3D printer offers a platform for your imagination to run wild.
Now it’s your turn to make your mark in the world of 3D printing. Take what you’ve learned in this guide and start exploring the endless possibilities that await you. Happy printing!