Introduction
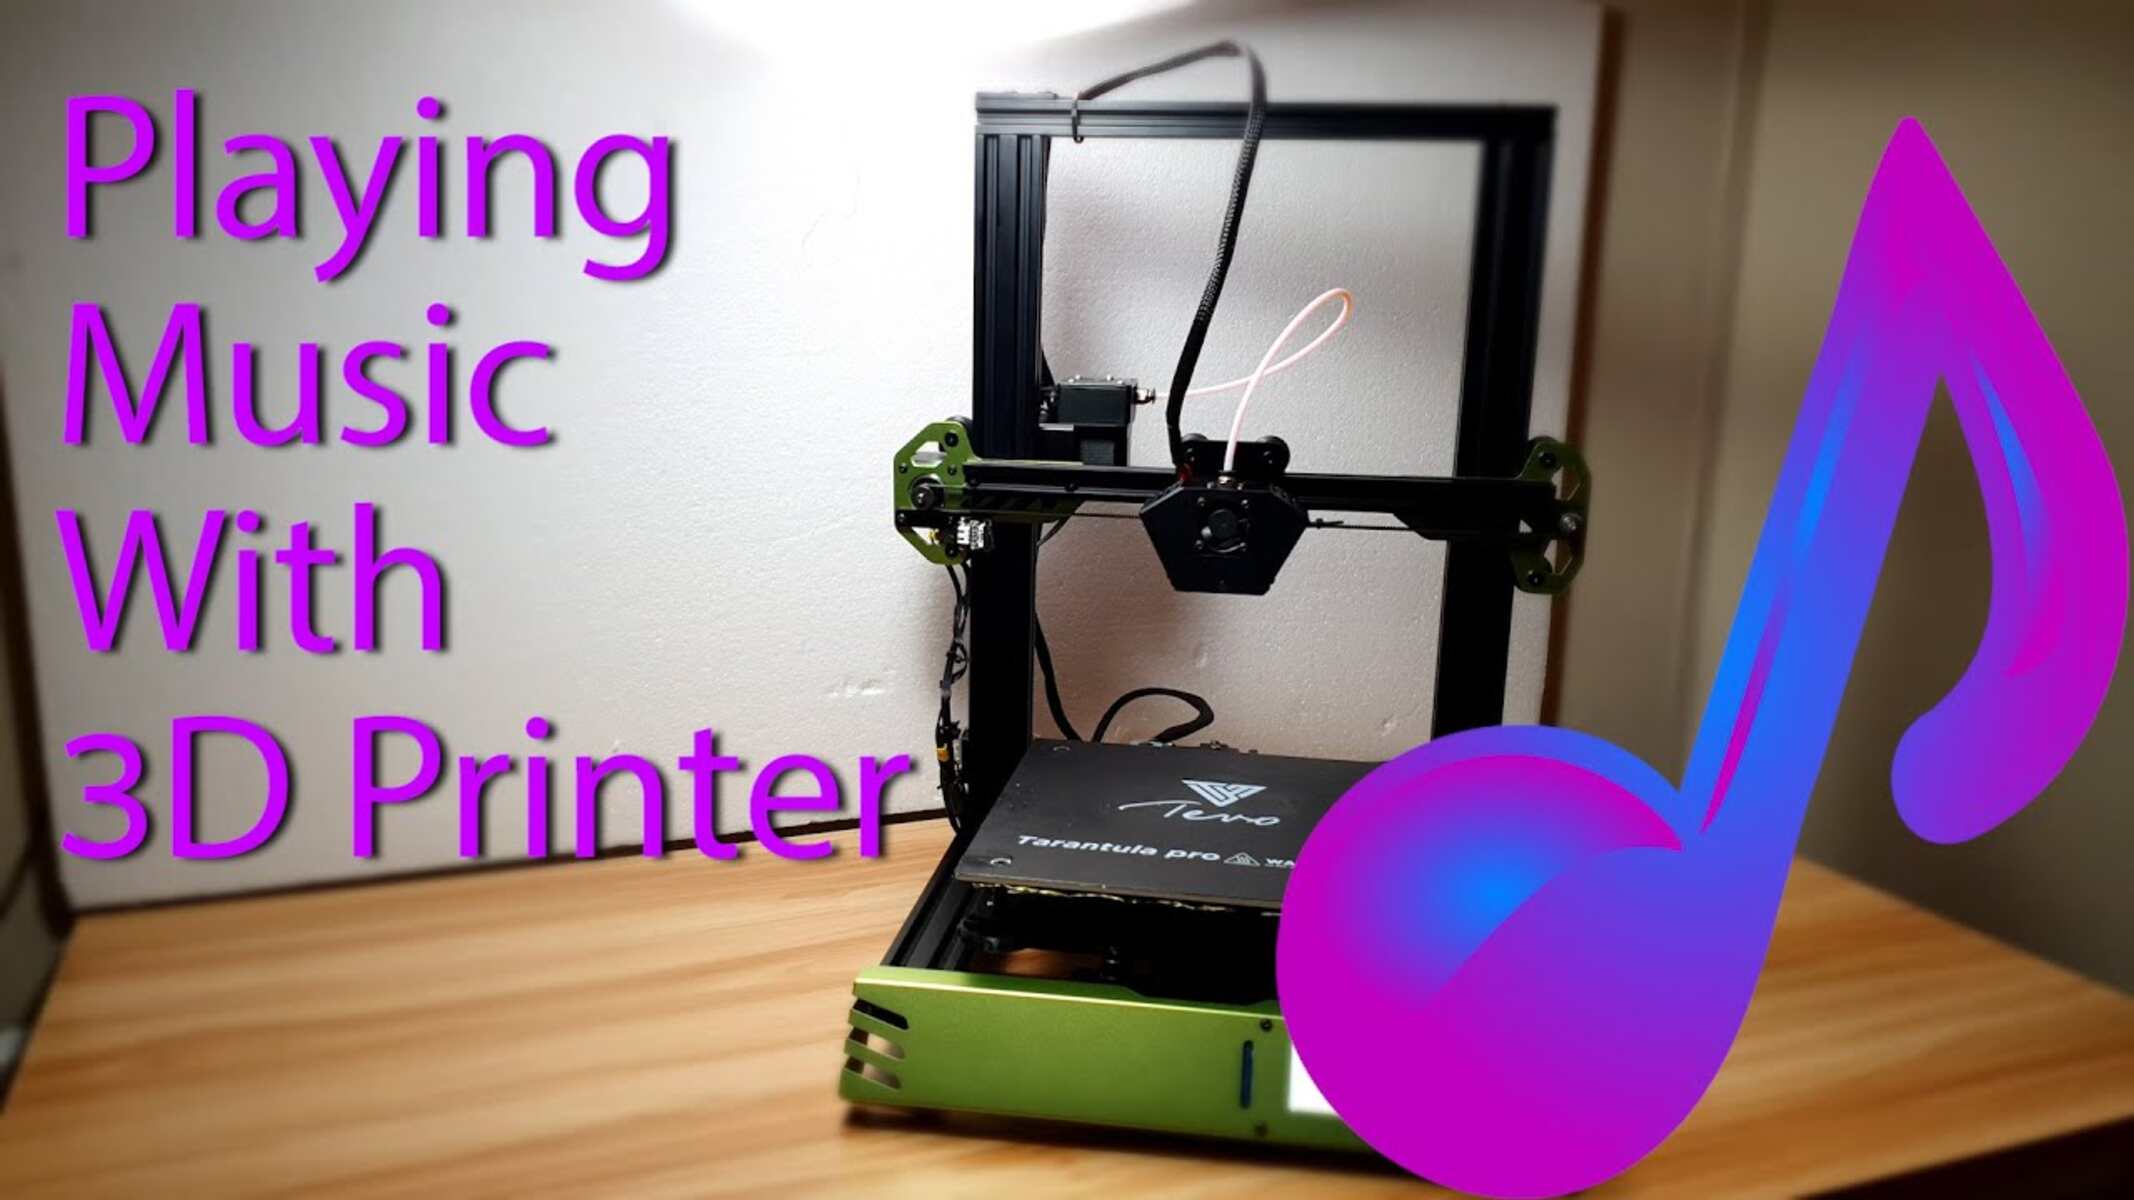
Welcome to the fascinating world of 3D printing and music! In this article, we will explore the innovative concept of playing music with a 3D printer. Gone are the days when music was limited to traditional instruments. With the advent of 3D printing technology, the possibilities for creating unique musical experiences are virtually endless.
Imagine being able to design and produce custom musical instruments or intricate music boxes right at your fingertips. The marriage of technology and music opens up a realm of creativity and exploration that pushes the boundaries of what is possible in the world of sound. Whether you are a musician, a DIY enthusiast, or simply curious about the intersection of art and technology, this article will guide you through the process of playing music using a 3D printer.
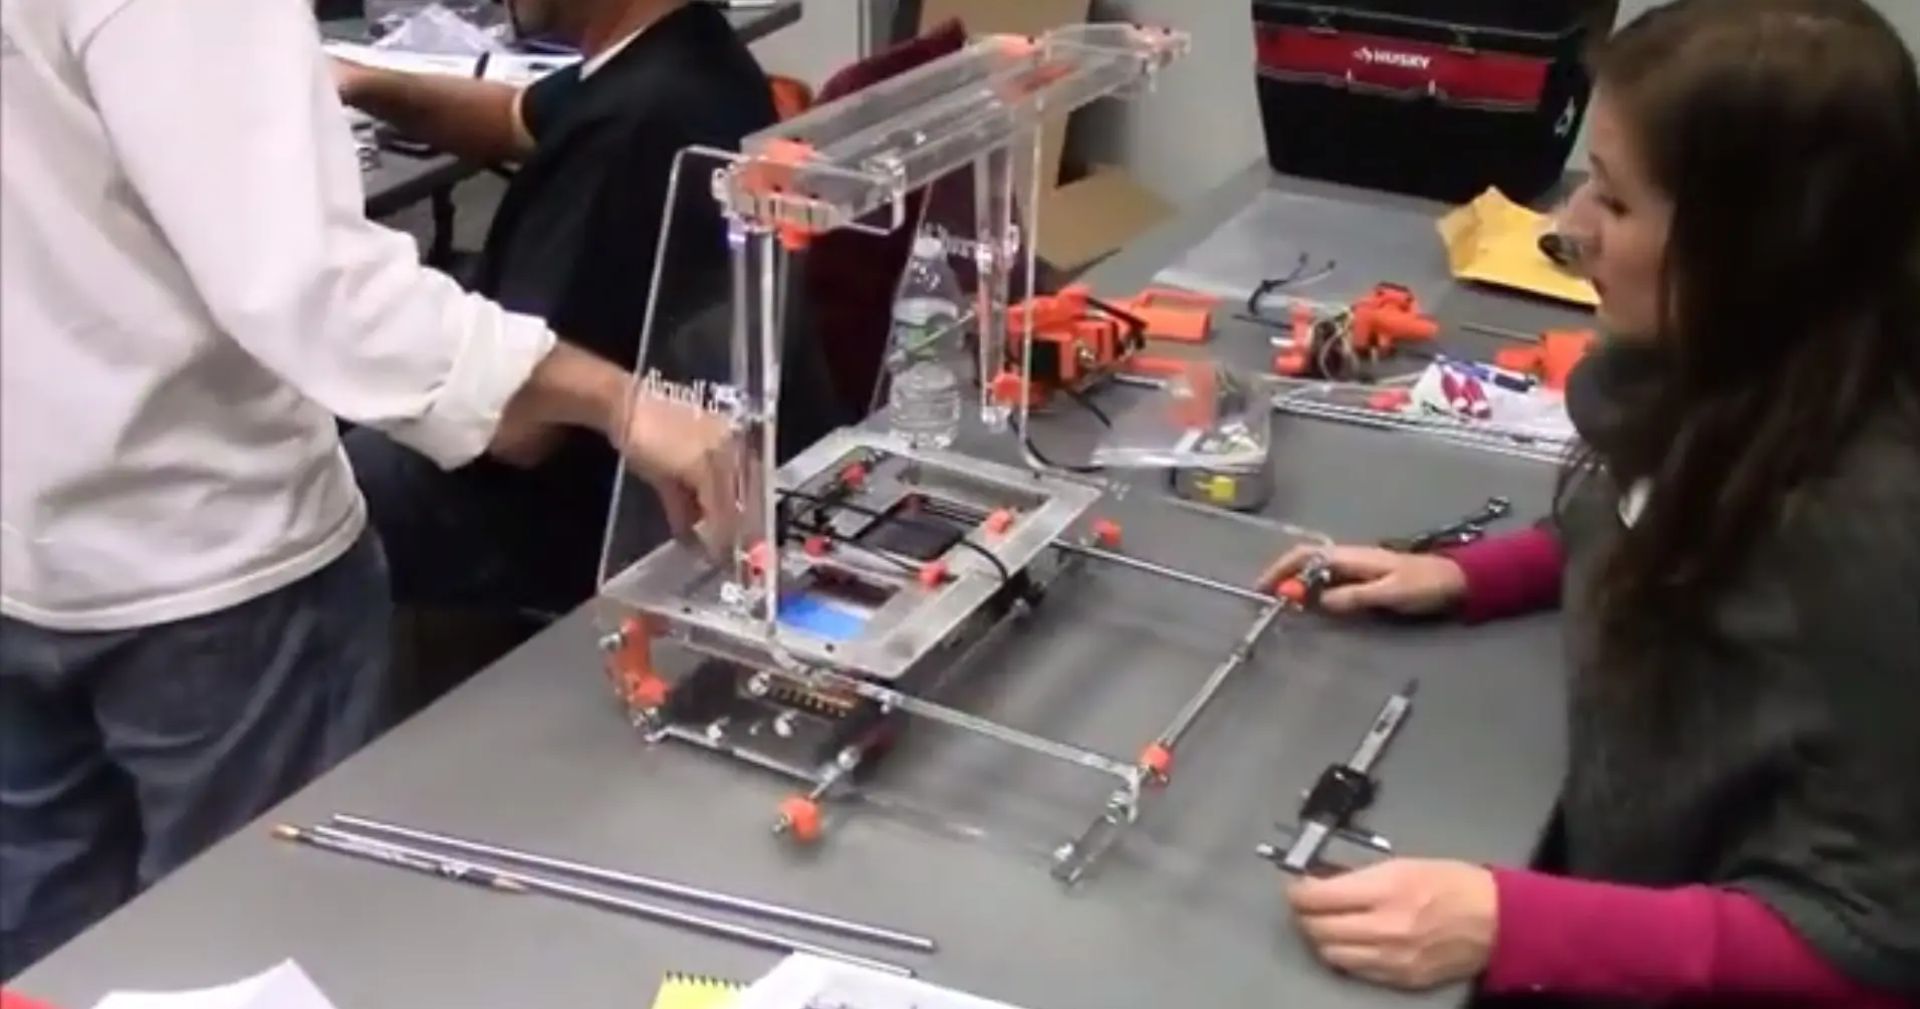
Before we dive into the practical aspects, let’s take a moment to understand the basics of 3D printing technology. Essentially, 3D printing, also known as additive manufacturing, is a process of creating physical objects by layering materials based on a digital model. Unlike traditional manufacturing methods that involve cutting or drilling, 3D printers build objects layer by layer using different materials, such as plastics, metals, or even food.
The ability to create intricate designs and bring them to life with the help of a 3D printer has revolutionized various industries, including healthcare, aerospace, and fashion. Now, it’s time to explore how we can apply this technology to the world of music.
Understanding 3D Printing Technology
Before we delve further into playing music with a 3D printer, let’s take a closer look at the technology behind it. 3D printing is an additive manufacturing process that involves the creation of three-dimensional objects from a digital model. It allows for the creation of complex shapes and intricate designs that would be difficult or impossible to achieve with traditional manufacturing methods.
The process typically starts with a 3D modeling software, where a digital representation of the desired object is created. This digital model is then sliced into thin layers, which the 3D printer will use as a guide to build the object layer by layer. The printer deposits materials, such as plastics, metals, or resins, according to the design specifications.
There are several types of 3D printing technologies available, including fused deposition modeling (FDM), stereolithography (SLA), selective laser sintering (SLS), and digital light processing (DLP). Each technology has its own unique process and materials, but the general principle remains the same – building objects layer by layer.
One of the key advantages of 3D printing is its versatility. It can be used to create a wide range of objects, from simple prototypes to complex structures. In the context of music, 3D printing offers an exciting opportunity to design and produce custom musical instruments, accessories, or even decorative pieces with intricate musical motifs.
Additionally, 3D printing enables personalization and customization. With the ability to easily modify designs and create unique variations, musicians and enthusiasts can tailor their instruments to their specific preferences and playing styles. This opens up a world of possibilities for individual expression and creativity in the realm of music.
As the technology continues to advance, 3D printers are becoming more accessible and affordable. This means that more people can experiment with 3D printing and explore its potential in the field of music. Whether you are a professional musician looking to innovate your sound or a hobbyist eager to explore the intersection of technology and music, 3D printing offers a revolutionary approach to creating and experiencing music.
Choosing the Right 3D Printer
Now that we have a basic understanding of 3D printing technology, let’s discuss the factors to consider when choosing a 3D printer for playing music. With the wide variety of options available in the market, selecting the right printer can make all the difference in achieving high-quality results.
First and foremost, consider the print quality and resolution of the printer. This will determine the level of detail and precision that can be achieved in your 3D printed music pieces. Look for printers that offer fine layer heights and high-resolution capabilities to ensure intricate designs and smooth finishes.
Next, consider the build volume of the printer. This refers to the maximum size of the object that can be printed. Depending on the type of musical instrument or music accessory you plan to create, you may require a larger build volume to accommodate your designs. Keep in mind that larger build volumes typically come with higher costs, so assess your needs accordingly.
Another critical factor to consider is the type of material that can be used with the printer. Different materials have various properties, such as durability, flexibility, and acoustic characteristics. For musical instruments, it’s important to choose a printer that can handle materials suitable for audio applications, such as ABS, PLA, nylon, or wood-based filaments.
Additionally, take into account the printer’s software compatibility and ease of use. Look for printers that are compatible with popular design software and offer user-friendly interfaces. This will make the design and printing process more seamless and convenient, especially for those new to 3D printing.
Budget is also a significant consideration. 3D printers can vary significantly in price, depending on their capabilities and features. Determine your budget and weigh it against the desired features and quality to find the best balance for your needs. It’s worth noting that investing in a higher-quality printer can result in superior sound and durability in your 3D printed music pieces.
Lastly, consider the availability of customer support and resources. Look for reputable brands and manufacturers that offer reliable customer support, troubleshooting guides, and a robust online community. This will ensure that you have access to assistance and resources when encountering any challenges or seeking inspiration for your musical creations.
By carefully considering these factors, you can select a 3D printer that aligns with your budget, requirements, and creative aspirations. Remember, the right printer will serve as an invaluable tool in bringing your musical ideas to life through the exciting medium of 3D printing.
Preparing Music Files for 3D Printing
Once you have chosen the right 3D printer, the next step is to prepare your music files for 3D printing. As we explore the fusion of music and technology, it’s essential to understand how to translate musical notes into a format that can be interpreted by the printer.
To begin, you will need a music file in a suitable format, such as MIDI (Musical Instrument Digital Interface). MIDI files contain musical information, including note pitches, durations, and velocities, making them ideal for converting into 3D printable designs.
There are various software programs available that can convert MIDI files into 3D printable models. These software programs utilize algorithms to transform the musical data into geometric shapes and patterns. The resulting 3D models can then be printed by the 3D printer.
Once you have chosen a suitable software program, import your MIDI file and explore the available customization options. These options may include adjusting the thickness or height of the printed model, selecting specific instruments or musical sections to highlight, or even adding personalized elements to the design.
It’s important to note that the printer will interpret the MIDI data as three-dimensional space, with the X, Y, and Z axes representing different musical parameters. By understanding how the printer reads the data, you can create custom designs that not only look visually appealing but also emphasize specific musical elements.
During the preparation process, take the time to review and fine-tune your design. Pay attention to details such as support structures, infill density, and layer orientations, as these factors can affect the final sound quality and overall durability of the printed music piece.
After finalizing the design, export it in the appropriate file format, such as STL (Standard Tessellation Language), which is universally recognized by 3D printing software. This file contains the information needed for the printer to build the object layer by layer, based on the design specifications.
Before you proceed with the printing process, take a moment to review the file and ensure that it is valid and error-free. Some 3D printing software programs include automatic validation features that can detect potential issues, such as intersecting surfaces or non-manifold geometry. Validating the file will help prevent any unforeseen problems during the printing process.
By carefully preparing your music files for 3D printing, you can unleash your creativity and transform audio compositions into captivating tangible objects. As you gain more experience in this process, you can experiment with different design techniques and materials to create truly unique and harmonious 3D printed music pieces.
Selecting the Material for 3D Printing Music
The choice of material plays a crucial role in the sound quality and overall performance of 3D printed musical instruments or accessories. The material used must possess specific acoustic properties and be suitable for the intended musical application. Let’s explore some of the common materials and their characteristics for 3D printing music.
One popular material option for 3D printing music is PLA (Polylactic Acid). PLA is a biodegradable thermoplastic derived from renewable resources such as cornstarch or sugarcane. It offers good printing quality and is available in a wide range of colors. However, PLA may not be the optimal choice for musical instruments requiring high durability or those exposed to high temperatures.
ABS (Acrylonitrile Butadiene Styrene) is another common material choice. ABS is known for its durability, impact resistance, and high-temperature resistance. It is a suitable material for 3D printing musical instruments that require strength and stability, such as drumsticks or guitar picks. However, ABS requires a heated print bed and proper ventilation due to its emissions during printing.
For a more authentic and traditional feel, wood-based filaments can be used. These filaments combine a mixture of wood particles (usually fine sawdust) with a PLA or ABS polymer. Wood-based filaments exhibit similar properties to real wood, including texture, appearance, and even a subtle wood scent. They can be used to create aesthetically pleasing musical accessories or instrument accents.
Nylon is a versatile material with excellent strength, flexibility, and resistance to impact. It is suitable for 3D printing musical accessories such as instrument stands, holders, or even intricate parts within instruments. Nylon is known for its durability and can withstand considerable stress, making it a reliable choice for functional components of musical instruments.
Certain specialized filaments, such as conductive filaments infused with metal particles, can be used to 3D print electronic music instruments or musical circuitry. These filaments allow for the creation of custom sensors, touch-sensitive surfaces, or even conductive guitar picks. When selecting such filaments, it’s essential to ensure compatibility with both the printer and the intended electronic components.
When choosing a material, it’s also crucial to consider the post-processing requirements. Some materials may require sanding, painting, or extra finishing touches to achieve the desired look and feel. Additionally, consider the ease of post-processing and whether it aligns with your desired aesthetic or functional goals for the 3D printed music piece.
Ultimately, the material selection depends on the specific requirements of the musical instrument or accessory. Experimentation and testing different materials may be necessary to find the perfect balance between sound quality, durability, and aesthetics. By exploring the various options available, you can create unique and personalized 3D printed music pieces that deliver outstanding performance and visual appeal.
Adjusting Settings for Optimal Sound Quality
To achieve the best sound quality from your 3D printed musical instruments, it’s crucial to carefully adjust the printing settings. These settings can significantly impact the final sound produced by the instrument. Let’s explore some key considerations for optimizing sound quality through printer settings.
One important setting to adjust is the layer height. The layer height refers to the thickness of each printed layer. A smaller layer height generally results in smoother surfaces and finer details, which can contribute to better sound resonance. However, it’s essential to balance the layer height with print time and material usage, as smaller layer heights can increase the overall printing time and material consumption.
Infill density is another critical setting. Infill density refers to the percentage of the inner volume of the printed object that is filled with material. For musical instruments that require enhanced sound quality, it is advisable to use a lower infill density. A lower infill density allows for better acoustic properties, as it creates a more resonant space within the instrument. However, be cautious not to compromise the overall structural integrity of the printed part.
Orientation is also a key factor to consider. The orientation in which the object is printed can impact the sound produced. Experiment with different orientations to find the one that maximizes sound quality. For example, for wind instruments, printing in a way that aligns the air channel with the printing direction may yield better results.
Support structures play a significant role in maintaining the integrity of the printed object. However, excessive support structures can hinder sound projection and dampen vibrations. When designing musical instruments, try to minimize the need for support structures or strategically place them to minimize their impact on sound quality.
Temperature and cooling settings should also be adjusted appropriately. High temperatures can cause excessive warping or deformation of the printed part, which can negatively impact sound quality. Similarly, inadequate cooling can lead to overheating and distortions. Find the optimal temperature and cooling settings for your specific printer and material to achieve the best results.
Additionally, consider post-processing techniques to further enhance sound quality. Sanding the printed part can smooth out rough surfaces, improving the feel and resonance of the instrument. Adding a finishing coat can also enhance the aesthetics while minimizing any potential negative impact on sound quality.
Throughout the printing and post-processing stages, be sure to carefully inspect the printed parts for any imperfections or distortions that could affect sound quality. Perform quality checks and make any necessary adjustments before finalizing the instrument.
By adjusting the printer settings to optimize sound quality, you can unlock the full potential of your 3D printed musical instruments. Experimentation, attention to detail, and a willingness to iterate will lead you toward achieving exceptional sound results that showcase the unique combination of craftsmanship and technology.
Printing the Music
Now that you have prepared your music files and adjusted the printer settings for optimal sound quality, it’s time to start printing your musical creations. Follow these steps to ensure a successful and satisfying printing process.
First, double-check that your 3D printer is properly calibrated and leveled. Calibration ensures that the printer will accurately reproduce the design dimensions and details. Leveling the print bed ensures that the first layer adheres properly and helps prevent warping or lifting during the printing process.
Next, load the chosen filament into the printer. Ensure that the filament is correctly inserted and feeding smoothly into the extruder. It’s also recommended to use the appropriate print settings for the selected filament material, such as nozzle temperature and print speed. These settings will vary depending on the filament type and manufacturer’s recommendations.
Before starting the print job, carefully inspect the sliced model in the 3D printing software. Ensure that there are no errors or issues with the model’s geometry, such as intersecting surfaces, inverted normals, or non-manifold parts. Resolving these issues beforehand will help to avoid any printing problems.
Once you are satisfied with the sliced model, initiate the print job. Observe the printer carefully during the initial layers to ensure successful adhesion to the print bed. Also, keep an eye on the printing progress periodically to ensure that there are no issues such as filament jams or skipped layers.
Depending on the complexity and size of the printed music piece, the printing process may take several hours or even days. It’s important to be patient and allow the printer to complete the job without interruption. Avoid opening the printer unnecessarily, as it can cause temperature fluctuations or introduce environmental contaminants.
After the print is complete, let the printed object cool down before removing it from the print bed. This will help prevent any possible deformations or warping that can occur due to sudden temperature changes. Carefully detach the object from the print bed without applying excessive force to avoid damaging both the print and the printer.
Depending on the complexity of the printed music piece, post-processing may be required. This can include removing support structures, sanding rough surfaces, or applying a finishing coat to enhance aesthetics. Follow the necessary post-processing steps to achieve the desired final appearance and feel.
Lastly, take a moment to admire your 3D printed music piece. Celebrate the successful completion of your project and prepare to test the sound quality and performance of the instrument. Embrace the unique blend of craftsmanship and technology that has brought your musical creation to life.
By following these steps and ensuring attention to detail throughout the printing process, you can create exceptional 3D printed music pieces that showcase your creativity and passion for music.
Finishing and Assembling the 3D Printed Music Piece
After the 3D printing process is complete, there are a few crucial steps to follow to ensure that your 3D printed music piece is fully finished and assembled. These steps will help refine the aesthetics, improve functionality, and ensure a polished final result.
The first step is to carefully inspect the printed object for any imperfections or rough edges. Use sandpaper or sanding tools to smooth out any rough surfaces or visible layer lines. Take your time to achieve the desired finish, keeping in mind the overall aesthetics and feel of the music piece.
Next, consider any assembly or additional components required for your specific musical instrument or accessory. If your design consists of multiple printed parts, ensure that they fit together properly. It may be necessary to make minor adjustments or perform slight modifications to ensure a seamless assembly.
In some cases, you may need to purchase and incorporate non-printed components such as strings, tuning pegs, or keys. Take precise measurements and consider compatibility when selecting these components to ensure the best fit and performance.
Consider the overall strength and structural integrity of the printed parts. Add reinforcement or additional support in areas that may be subject to high stress or tension. This can be achieved by inserting metal rods, screws, or adhesives, depending on the design requirements. Reinforcing critical areas will enhance the performance and durability of the printed music piece.
If desired, add any decorative elements or personal touches to the music piece. This can include painting, varnishing, or applying other finishes to enhance the overall aesthetics. Take care not to obstruct any functional parts or dampen the sound quality of the instrument.
Once all the finishing touches are complete and any necessary adjustments have been made, it’s time to perform a final assembly of the printed music piece. Carefully fit together the different components, ensuring proper alignment and functionality. Follow any specific assembly instructions or guidelines provided by the design or instrument manufacturer.
After the final assembly, take a moment to test and fine-tune the instrument. Play the music piece and observe its sound quality, resonance, and playability. Make any necessary adjustments to strings, tension, or other variables to achieve the desired sound and performance.
Throughout the finishing and assembly process, remember that patience and attention to detail are key. Take your time to ensure that each step is performed carefully and accurately. By doing so, you can create a fully finished and assembled 3D printed music piece that meets your creative vision and delivers a unique musical experience.
Testing and Fine-Tuning the Sound
Once your 3D printed music piece is fully assembled, it’s time to test and fine-tune the sound quality. This important step ensures that your instrument performs optimally and delivers the desired musical experience. Follow these guidelines to assess and adjust the sound of your 3D printed music piece.
To begin, warm up the instrument by playing it for a few minutes. This allows the materials to acclimate and resonate properly. Pay attention to the initial sound characteristics, including tone, sustain, and volume.
Evaluate the overall tonality of the instrument. Determine if it produces the desired sound, whether it’s bright, warm, mellow, or any other tonal quality you intended. Adjustments can be made by modifying the design, altering the materials, or adjusting playing techniques.
Experiment with different playing techniques to explore the instrument’s capabilities. Explore the full range of notes and dynamic levels to assess the instrument’s responsiveness and expressiveness. Pay attention to any limitations or areas that can be improved, and adjust accordingly.
Test the sustain and resonance of the instrument. Observe how long the sound carries after a note is played and note any areas where the sustain may be lacking. Consider adjusting the design or materials to improve resonance and prolong the sound.
Evaluate the intonation and tuning accuracy of the instrument. Use a tuner or reference pitch to ensure that each note is accurately in tune. Make any necessary adjustments to the design or components to achieve proper intonation.
Take note of any unwanted vibrations, buzzing, or rattling noises that may occur during play. These can indicate loose or improperly assembled parts. Identify the source of the issue and make the necessary adjustments, such as tightening screws or adding padding.
Seek feedback from other musicians or individuals with experience in the particular instrument type. Their input can provide valuable insights and suggestions for improving the sound quality and playability of your 3D printed instrument.
Throughout the testing and fine-tuning process, don’t be afraid to make adjustments and continue iterating on your design. Experiment with different materials, component placements, or shapes to achieve the desired sound characteristics.
Remember that each 3D printed music piece is unique, and it may require some trial and error to achieve the best sound quality. Embrace the iterative process and see it as an opportunity for growth and exploration in your musical journey.
By testing, evaluating, and fine-tuning the sound of your 3D printed music piece, you can ensure that it meets your musical expectations and delivers a satisfying performance. Enjoy the process of refining and perfecting your instrument to unlock its true musical potential.
Conclusion
In the realm of music, 3D printing has opened up an exciting world of possibilities. From creating custom instruments and accessories to exploring new soundscapes, the fusion of technology and music has transformed the way we create and experience musical artistry.
Throughout this article, we have delved into the process of playing music with a 3D printer. We’ve explored the foundational aspects of 3D printing technology, discussed the importance of selecting the right printer and materials, and delved into the necessary steps for preparing, printing, and finishing 3D printed music pieces.
We’ve discovered that 3D printing not only offers endless opportunities for customization and personalization but also provides the means to experiment with unconventional designs and materials, resulting in unique and truly individualized musical instruments and accessories.
By adjusting printer settings, fine-tuning sound quality, and conducting thorough testing, musicians can achieve exceptional results and explore new avenues of creativity and expression.
The journey into playing music with a 3D printer may involve challenges and require patience, but the rewards are truly transformative. Musicians and enthusiasts can explore uncharted territory, push the boundaries of traditional instruments, and create sounds that were once only imagined.
As 3D printing technology continues to advance, it is an exciting time to be a musician, as we embrace new ways to blend artistry and technology. The power to design, create, and fine-tune our musical instruments and accessories allows us to forge new paths and create musical experiences that resonate with our unique visions.
So, whether you are a professional musician looking to innovate your sound, a DIY enthusiast eager to explore the intersection of technology and music, or simply curious about the possibilities offered by 3D printing, I invite you to embark on this captivating journey. With a 3D printer by your side, the world of music becomes a canvas for your imagination to soar. Seize the opportunity and bring your musical creations to life through the fascinating medium of 3D printing.