Introduction
Welcome to the world of 3D printing where imagination knows no bounds! However, if you’ve ever tried to print a 3D model only to find it doesn’t fit on the printer bed, you’re not alone. Many 3D printing enthusiasts face the challenge of breaking down a 3D model to fit the printer bed size. But worry not, as in this guide, we will walk you through the process and help you overcome this hurdle.
One of the key factors to consider when 3D printing is the size of your printer bed. The printer bed determines the maximum dimensions of the objects you can print. If your model exceeds the bed’s dimensions, you will need to break it down into smaller parts or resize it to fit. This can be intimidating for beginners, but with some understanding and techniques, you’ll be able to optimize your models and achieve successful prints.
Before we delve into the steps of breaking down a 3D model, it’s essential to evaluate the printer bed size and determine the limitations it imposes. Take note of the dimensions of your printer bed, as this will serve as a reference point throughout the process. With this information in hand, you can proceed to analyze your model and make the necessary adjustments for a seamless printing experience.
Rescaling the model is a common technique used to adapt models to the printer bed size. By scaling the model down proportionally, you can achieve a perfect fit without compromising the overall design. We will explore this technique and provide guidance on how to precisely resize your model to align with the printer bed’s limitations.
Another crucial step in the process is slicing the model. Slicing involves breaking down the model into layers that the 3D printer can print. This ensures that each layer is within the printer’s bed boundaries. We will discuss the slicing process and provide insights into selecting the right slicing settings for optimal results.
Orientation plays a vital role in successfully printing a 3D model. By orienting the model appropriately, you can minimize support structures and maximize print quality. We will share tips on determining the optimal orientation for your model, taking into account both aesthetic and practical considerations.
Once the model is sliced and oriented, the next step is to position it on the printer bed. Fine-tuning the position and making adjustments, if necessary, will help optimize the print and avoid any potential issues during the printing process. We will provide guidance on how to position the model correctly to ensure a smooth and hassle-free printing experience.
By following the steps outlined in this guide, you will gain the skills and knowledge needed to break down a 3D model and fit it onto your printer bed. With practice and experience, you will overcome the challenges posed by large or complex models, unlocking a world of endless possibilities for your 3D printing projects.
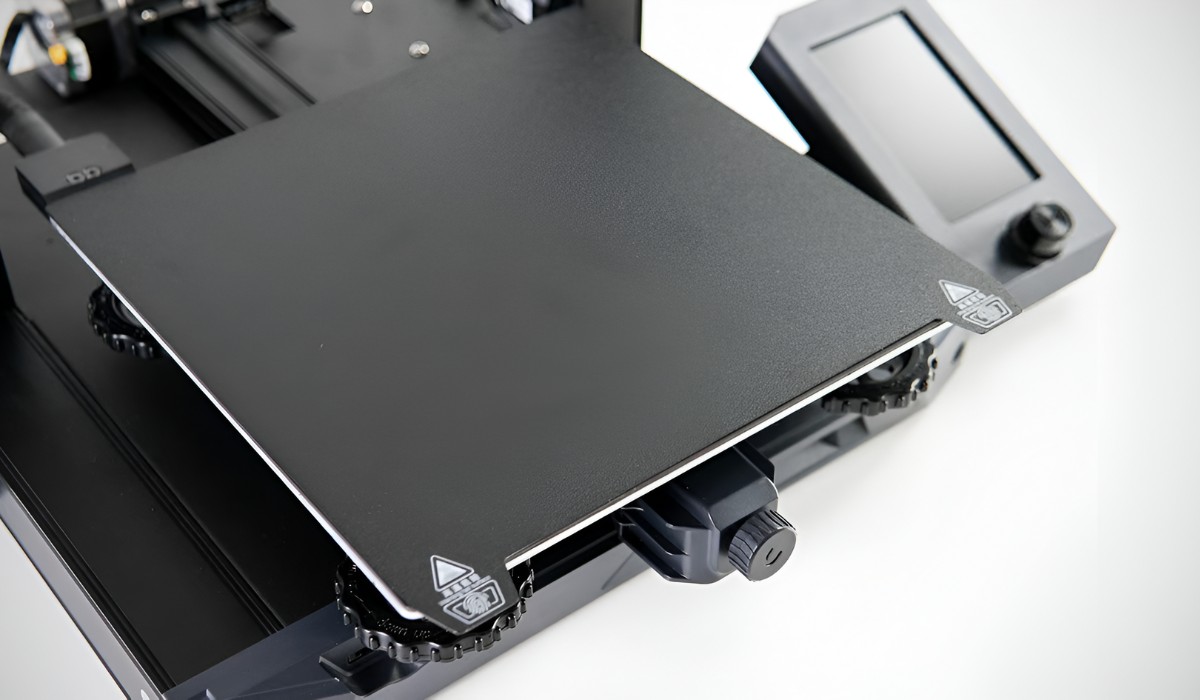
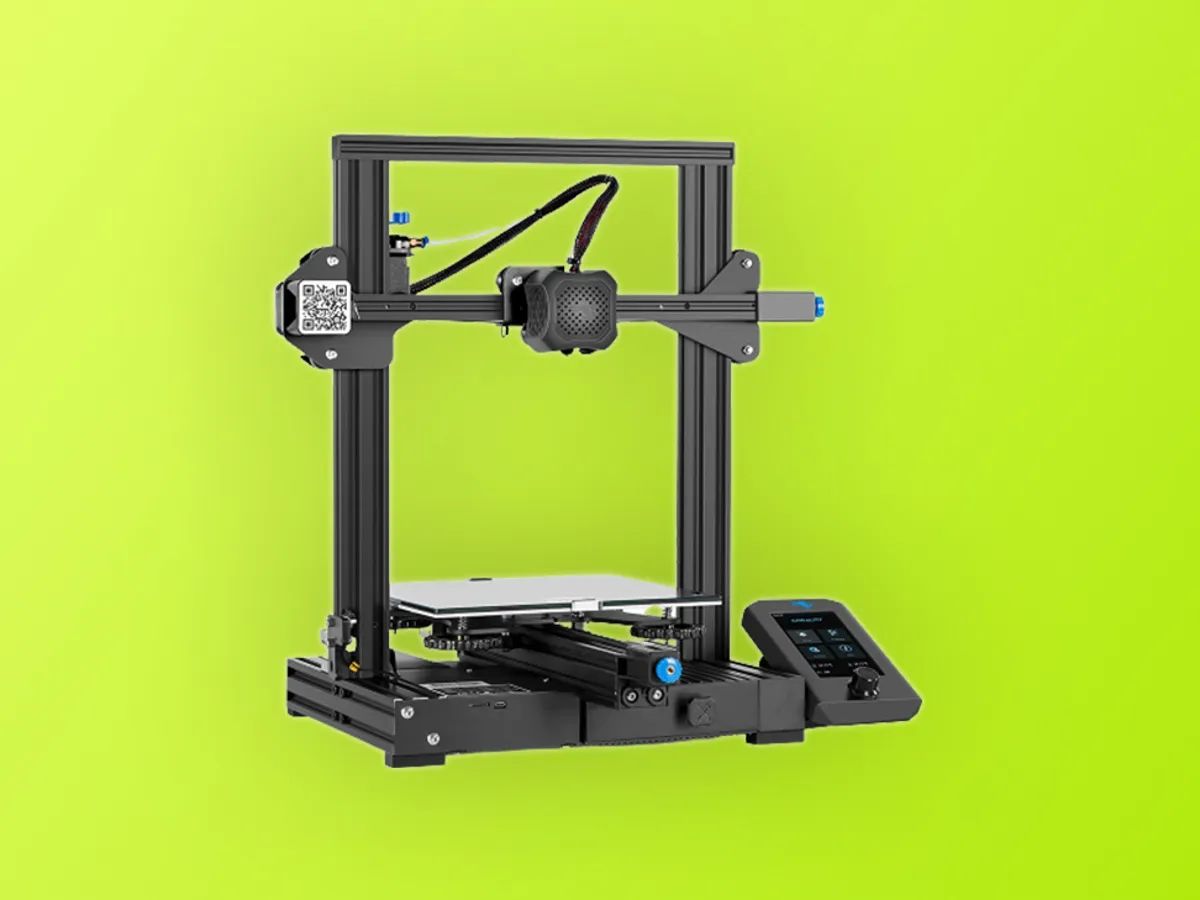
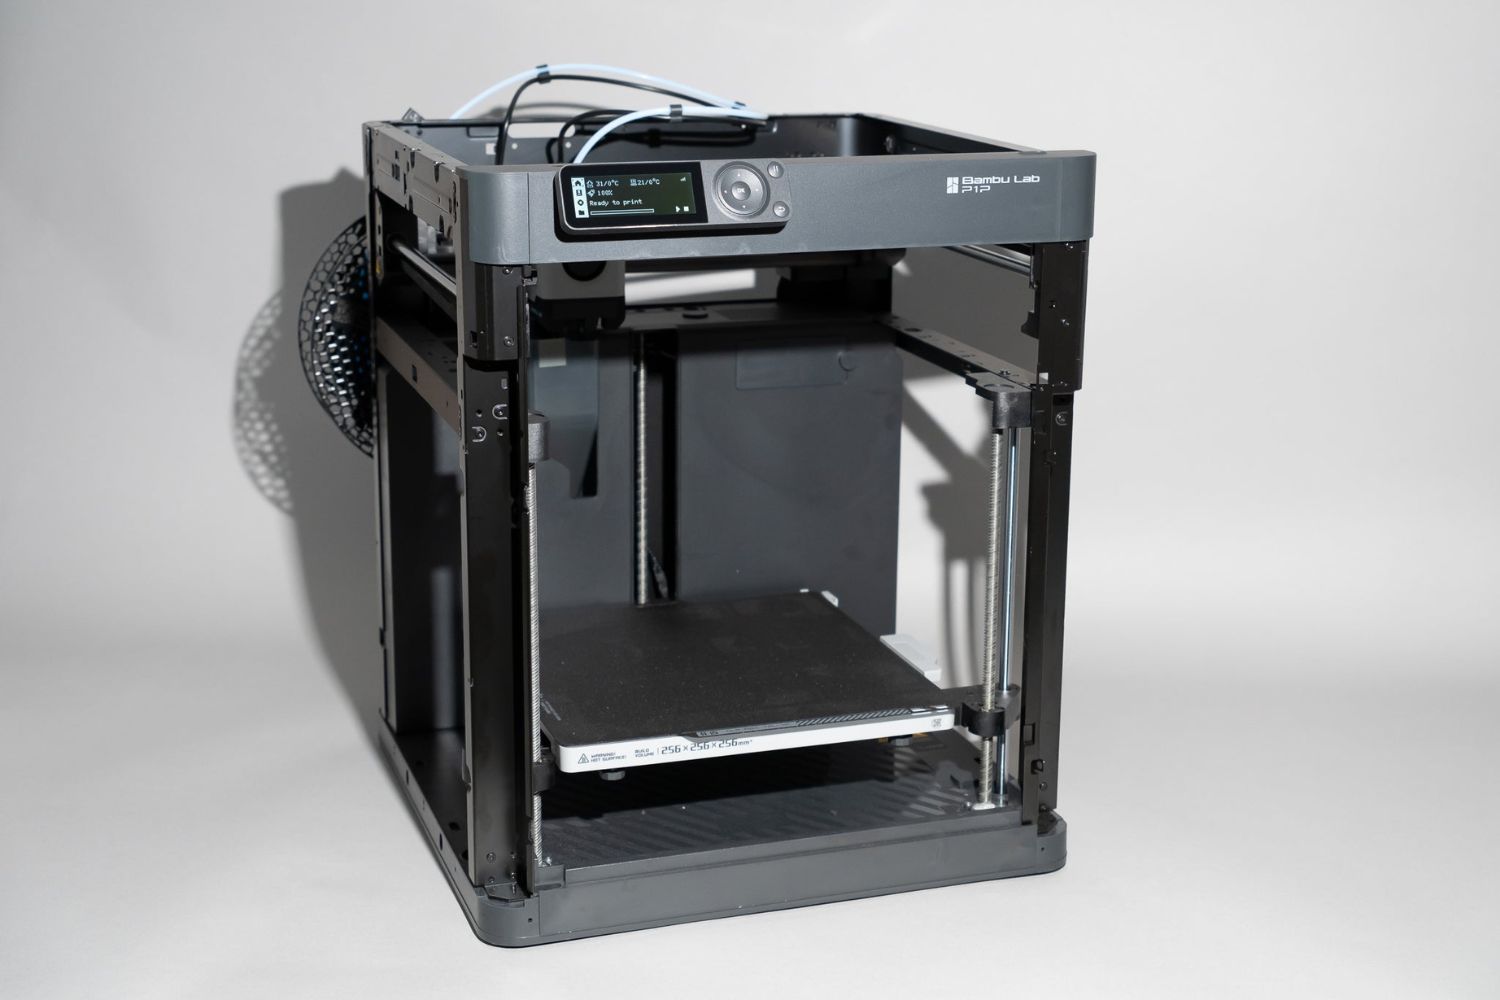
Understanding the 3D Printer Bed Size
Before diving into the process of breaking down a 3D model, it is crucial to have a clear understanding of the 3D printer bed size and its implications. The printer bed is the platform where your 3D prints are created, and its dimensions determine the maximum size of the objects that can be printed.
The size of the printer bed can vary widely depending on the make and model of your 3D printer. Some printers have small beds, measuring around 150mm x 150mm, while larger professional-grade printers may have beds as large as 500mm x 500mm or even more. Therefore, it is essential to know the specific dimensions of your printer bed.
When working with a 3D model, you need to ensure that it fits within the size limitations of the printer bed. If the dimensions of the model exceed the available printing area, you will need to make adjustments to either resize or break down the model into smaller parts that can fit on the bed.
It’s worth noting that the recommended printing area might be slightly smaller than the actual bed size due to factors like the printer’s frame or the print head’s movements. Therefore, it is advisable to leave a small margin around the edges of the bed to avoid any potential issues during the printing process.
Understanding the limitations imposed by the printer bed size is crucial for a successful 3D printing experience. Being aware of these limitations allows you to plan ahead and make necessary adjustments to your models before initiating the printing process.
It is also vital to consider the height, or Z-axis, limitations of the printer. If a model exceeds the maximum build height of the printer, it will need to be scaled down vertically or broken down into smaller sections to fit within the printer’s Z-axis limitations.
By familiarizing yourself with the printer bed size and its implications, you’ll be able to optimize your 3D printing projects and ensure that your models fit within the printer’s capabilities. This knowledge will enable you to plan and execute your prints with confidence, avoiding any surprises or disappointments during the printing process.
Evaluate the Model
Before diving into the process of breaking down a 3D model to fit the printer bed, it is essential to carefully evaluate the model itself. By assessing the model’s complexity, dimensions, and design, you can determine the necessary adjustments needed to optimize it for printing.
The first step in evaluating the model is to examine its overall complexity. Some models may have intricate details or fine features that could pose challenges during the printing process. It is important to assess whether the model is suitable for your current level of 3D printing expertise and the capabilities of your printer. If the model seems too complex or challenging, you may consider choosing a simpler design or acquiring more advanced printing techniques before attempting to print it.
Next, analyze the dimensions of the model. Compare the size of the model with the available printing area on your printer bed. If the model is larger than the printing area, you will need to make adjustments accordingly, either by resizing the model or breaking it down into smaller parts that can fit on the bed. Keep in mind that scaling down a model may affect its overall proportions and details, so it is important to find the right balance between size and quality.
Consider the design aspects of the model as well. Are there any overhangs, unsupported areas, or delicate features? These design elements may require additional support structures or modified printing settings to ensure successful printing. Evaluate how these design aspects align with your printer’s capabilities and determine whether any modifications or optimizations are necessary.
Additionally, assess the model’s file type and make sure it is compatible with your preferred slicing software. Different 3D printers and software may have specific file format requirements, so it is crucial to ensure compatibility to avoid any hiccups in the printing process.
Lastly, take into consideration the intended purpose of the printed model. Is it purely for aesthetic purposes or does it serve a functional need? This will help you prioritize certain aspects of the printing process, such as print quality, durability, or material selection.
By thoroughly evaluating the 3D model, taking note of its complexity, dimensions, design elements, file compatibility, and intended purpose, you will gain a deeper understanding of the adjustments and optimizations required to successfully print it.
Analyze Model’s Dimensions
Once you have evaluated the overall design and complexity of the 3D model, the next step is to analyze its dimensions. Understanding the specific measurements of the model will enable you to determine the necessary adjustments required to fit it onto the printer bed.
Start by identifying the key dimensions of the model, such as its width, height, and depth. These measurements will serve as a reference point for resizing or breaking down the model to fit within the printer bed’s limitations.
Compare the dimensions of the model with the available printing area on your printer bed. If the width and depth of the model are larger than the printer bed’s dimensions, you will need to rescale the model or consider breaking it down into smaller parts.
When resizing the model, it is important to maintain the aspect ratio to avoid distorting its proportions. Most 3D modeling software allows you to scale the model uniformly along all axes, ensuring that the overall design remains intact. Keep in mind that scaling down a model too much may result in a loss of detail, while scaling it up may exceed the printer bed’s size limitations.
If breaking down the model is necessary, assess the geometry of the design to determine logical separation points. Look for natural joints or areas where the model can be divided without compromising its overall aesthetic and structural integrity.
Consider the complexity of the model when deciding how to segment it. If the model has intricate features or delicate parts, it may be more challenging to break it down without causing issues during assembly. Conversely, models with simpler or more modular designs may be easier to separate into smaller printable components.
Once you have determined the appropriate segmentation points, ensure that the individual parts will fit within the printer bed’s dimensions. It may be necessary to further resize or adjust the parts to ensure a perfect fit and avoid any potential printing issues.
When analyzing the dimensions of the model, also take the height, or Z-axis, into consideration. If the model exceeds the maximum build height of your printer, you will need to assess if the model can be sliced horizontally into multiple layers that fit within the printer’s Z-axis limitations.
By carefully analyzing the dimensions of the 3D model, you can make informed decisions regarding resizing, breaking down, and optimizing it to fit within the printer bed’s limitations. This analysis will help you ensure a successful and efficient printing process, resulting in high-quality 3D prints that accurately capture your original design.
Rescale the Model
If the 3D model you want to print exceeds the dimensions of your printer bed, rescaling the model is an effective technique to ensure a perfect fit. By proportionally adjusting the size of the model, you can optimize it to fit within the available printing area without compromising its overall design.
To begin the rescaling process, it is essential to determine the target dimensions for your model. Consider the maximum dimensions of your printer bed and decide on a suitable size that will allow the model to fit comfortably within those limitations.
Most 3D modeling software provides tools to easily rescale a model. These tools allow you to uniformly adjust the size of the model along all axes. It is important to maintain the aspect ratio while rescaling to avoid distorting the model’s proportions.
Before resizing the model, it is advisable to make a backup or duplicate of the original file. This ensures that you have a copy of the model at its original size in case you need to revert back or adjust it further.
When rescaling, take into consideration the optimum print quality and level of detail you wish to achieve. Scaling a model down too much may result in the loss of intricate details, while scaling it up too much may exceed your printer’s resolution capabilities.
It is also important to be mindful of the structural integrity of the model when rescaling. Some models may have thin or delicate parts that could become too fragile or prone to breaking if scaled down too significantly. Ensure that the rescaled model remains structurally sound and can withstand the printing process.
After resizing the model, it is a good practice to preview it in your slicing software to ensure that it fits within the printer bed’s dimensions. This will give you a visual representation of how the rescaled model will look when printed and allow you to make any necessary adjustments before initiating the printing process.
Remember that rescaling a model can affect its overall dimensions, details, and proportions. It is important to strike a balance between size and quality, ensuring that the rescaled model meets your desired specifications while fitting within the printer bed’s limitations.
By successfully rescaling the model, you will be able to optimize its size to fit within your printer bed’s dimensions, allowing for a seamless and successful 3D printing experience.
Slice the Model
Slicing is a crucial step in preparing a 3D model for printing. It involves breaking down the model into a series of individual layers or slices that the 3D printer can understand and print. Slicing software plays a vital role in this process, as it converts the 3D model into instructions that the printer can follow.
To begin slicing the model, you will need to import the 3D model file into your chosen slicing software. Different slicers may have varying interfaces and settings, but the general principles remain the same.
One of the key considerations when slicing a model is the layer height, which determines the thickness of each individual layer that will be printed. A lower layer height produces higher quality prints but increases printing time, while a higher layer height reduces the printing time but sacrifices detail.
Examine the model in the slicing software and preview the sliced layers to ensure that the geometry and details are accurately captured. It is important to pay attention to any overhangs, unsupported areas, or intricate features that may require additional settings or support structures for successful printing.
Most slicing software provides options to adjust various parameters, such as infill density, wall thickness, and print speed. These settings affect the internal structure and visual appearance of the printed object. Experimenting with different configurations will help you find the optimal settings for your specific model and desired print quality.
Consider the printing material you intend to use and adjust the slicing settings accordingly. Different materials have unique characteristics and require specific settings to achieve the best results. Temperature settings, cooling options, and extrusion rates may need to be adjusted to ensure proper adhesion and layer bonding.
Once you have fine-tuned the slicing settings, generate the G-code, which contains the instructions for the 3D printer. The G-code file will specify how the printer should move, extrude filament, and build each layer of the object. Save the generated G-code file to be used for the actual printing process.
Before printing, it is advisable to review the preview of the print in the slicing software. This preview allows you to visualize each layer and identify any potential issues or areas that may require further adjustments. This step is crucial for ensuring the model will be successfully printed without any unforeseen complications.
Slicing the model is a critical step in 3D printing as it converts the 3D model into instructions that the printer can execute. Taking the time to understand the slicing process and optimize the settings will help you achieve accurate and high-quality prints that truly capture the essence of your 3D design.
Orient the Model
Orienting the model is a crucial step in preparing it for 3D printing. Proper orientation ensures optimal print quality, minimizes the need for support structures, and maximizes the overall efficiency of the printing process.
When considering how to orient your model, there are a few factors to keep in mind. First, think about the intended use or display of the printed object. Is there a specific viewpoint or angle that would showcase the model best? Orienting the model to highlight its key features or present it in the most appealing way can enhance the overall aesthetic value of the print.
Next, consider the geometry of the model itself. Look for areas with overhangs, unsupported portions, or intricate details. By orienting these areas in a way that minimizes the need for support structures, you can simplify the printing process and achieve a cleaner, more refined print.
Another important aspect to consider is the stability of the model during printing. Ensuring that the model has a stable base and minimal areas that could potentially shift or move during printing will reduce the risk of print failures or inaccuracies.
Additionally, take into account the printing material you will be using. Some materials, like ABS, may require a heated build plate or certain orientations to minimize warping. Understanding the material’s properties and requirements will help you determine the best orientation for successful printing.
Experimenting with different orientations in your 3D modeling software or slicing software can give you a visual representation of how the model will look when printed. This allows you to assess any potential issues and make adjustments before initiating the print.
Keep in mind that the orientation of the model may affect the printing time and the use of support structures. Certain orientations may result in the need for more support structures, which can impact both print quality and post-processing efforts. Finding the right balance between support structures, printing time, and overall print quality is essential.
Lastly, consider any functional aspects of the model that may affect its orientation. For example, if you are printing a mechanical part with specific mechanical features or moving components, the orientation may need to align with the intended functionality of the printed object.
Orienting the model properly is crucial for achieving the best possible 3D print. Taking the time to evaluate the model’s geometry, intended use, stability requirements, and material properties will help you determine the optimal orientation. With careful consideration and experimentation, you can ensure successful and high-quality 3D prints that accurately capture the essence of your design.
Position the Model on the Bed
Once you have sliced and oriented the model, the next step is to position it on the bed of your 3D printer. Properly positioning the model ensures that it will print correctly and efficiently, minimizing any potential issues during the printing process.
Start by visualizing how the model will fit on the printer bed. Consider the available space and any restrictions imposed by the printer’s build volume. Carefully evaluate the dimensions of the model and ensure that it fits comfortably within the printing area without overlapping the edges or exceeding the bed’s size limitations.
When positioning the model, it is important to ensure that the base or bottom layer has sufficient adhesion to the printer bed. This will provide a stable foundation for the print and prevent any movement or warping during the printing process. Make sure that the base is level and properly aligned with the bed to optimize adhesion.
Consider the intended use or display of the printed object and position it accordingly. If the object will be viewed or used from a specific angle, aligning it in the desired orientation on the bed will ensure that it prints with the desired orientation and appearance.
Check the slicing software or preview to verify that the model is positioned correctly on the bed. This will allow you to assess any potential issues or interferences and make any necessary adjustments before initiating the print.
Take into account the printer’s capabilities and limitations when positioning the model. If your printer has a dual extruder, you may need to ensure that the model is positioned correctly to take advantage of both extruders if required. Additionally, if your printer has specific limitations or requirements for certain features or materials, make sure that the model is positioned to accommodate these factors.
For large or complex models, consider using rafts or brims to improve adhesion and stability during printing. These additional structures can provide support and prevent warping or peeling of the base layer.
Finally, double-check any support structures that may be required for overhangs or intricate details. Make sure that the support structures are properly positioned, as they may affect the quality and finish of the final print. Consider whether any post-processing work will be required to remove the support structures efficiently.
By carefully positioning the model on the printer bed, you can ensure that it prints accurately and efficiently. Taking the time to evaluate the available space, consider the intended use, and optimize the orientation and support structures will result in a successful 3D print that manifests your design as intended.
Fine-Tuning and Adjustments
Once you have positioned the model on the bed and prepared it for printing, it’s time to fine-tune and make any necessary adjustments to ensure optimal results. Fine-tuning involves refining the settings, parameters, and variables that can impact the print quality and overall performance of the 3D printer.
Start by reviewing the slicing settings and verifying that they align with your desired outcome. Adjust parameters such as layer height, infill density, print speed, and cooling settings to achieve the desired level of detail, structural integrity, and surface finish.
Consider the material you are using and evaluate the recommended settings for that specific material. Different materials require different temperatures, flow rates, and cooling measures to achieve the best possible print quality. Experimenting with these settings and finding the optimal configuration for your material will enhance the final results.
If you notice any issues during the printing process, such as gaps in the layers, stringing, or warping, make real-time adjustments. Tweak the temperature, retraction settings, print speed, or cooling options to address these issues and improve the overall print quality.
Monitor the printing process closely and make adjustments as needed. If you notice any abnormalities or deviations from the desired outcome, pause the print if possible and make the necessary tweaks to rectify the issue. This may include adjusting the print settings, repositioning the model, or addressing any mechanical or extrusion issues that may arise.
During the printing process, periodically inspect the layers and examine the progress of the print. This will allow you to identify any potential issues early on and make adjustments before they escalate. If necessary, pause or cancel the print and troubleshoot the cause of the problem to prevent wasting time and materials.
Make note of any post-processing requirements or considerations. Some prints may require additional finishing touches such as sanding, painting, or smoothing to achieve the desired final appearance. Take into account these factors when fine-tuning the print settings to ensure that the print comes out with the appropriate surface finish and is suitable for the intended application.
Remember, fine-tuning and adjustments may be an iterative process. It may take several attempts before finding the optimal settings and achieving the desired outcome. Keep track of the changes you make and document the results to learn from each print and optimize future projects.
By fine-tuning and making necessary adjustments throughout the printing process, you can achieve high-quality prints that exhibit the desired level of detail, precision, and overall aesthetic appeal. Paying attention to the nuances of the printing process and proactively making adjustments will help you maximize the potential of your 3D printer and produce exceptional results.
Conclusion
3D printing opens up a world of possibilities, allowing you to bring your digital designs to life. However, when faced with the challenge of fitting a 3D model onto the printer bed, it’s important to have a strategic approach to overcome this limitation. By following the steps outlined in this guide, you can successfully break down a 3D model and optimize it to fit within the printer’s capabilities.
Understanding the 3D printer bed size is the first step in this process. By evaluating the printer’s dimensions, you can determine the limitations it imposes and plan accordingly. Analysing the dimensions of the model itself allows you to make informed decisions about resizing or breaking it down into smaller parts.
Slicing the model is crucial for translating the 3D design into instructions that the printer can understand. By fine-tuning the slicing settings and previewing the model in the slicing software, you can ensure that each layer is accurately represented and minimize any potential printing issues.
Orienting the model strategically on the printer bed is essential for achieving optimal print quality and minimizing the need for support structures. Carefully positioning the model takes into account its geometry, stability, and intended use, resulting in a successful print.
Finally, fine-tuning and making necessary adjustments throughout the printing process allows you to optimize print settings, troubleshoot issues, and achieve the desired outcome. Monitoring the print closely, making real-time adjustments, and post-processing as needed will enhance the final result.
With practice and experience, you will gain the skills necessary to break down a 3D model and optimize it for printing. Each print brings valuable insights and lessons that will inform your future projects. As you continue to explore the world of 3D printing, remember to experiment, iterate, and embrace the creative possibilities that this technology offers.