Introduction
Welcome to the world of 3D printing! As a beginner, you might have experienced the frustrating phenomenon known as warping. Picture this: you spend hours designing or downloading a 3D model, eagerly start printing it, and then suddenly, disaster strikes. The edges of your print start curling up, warping the entire object and ruining your hard work. So, what exactly is warping in 3D printing, and why does it happen?
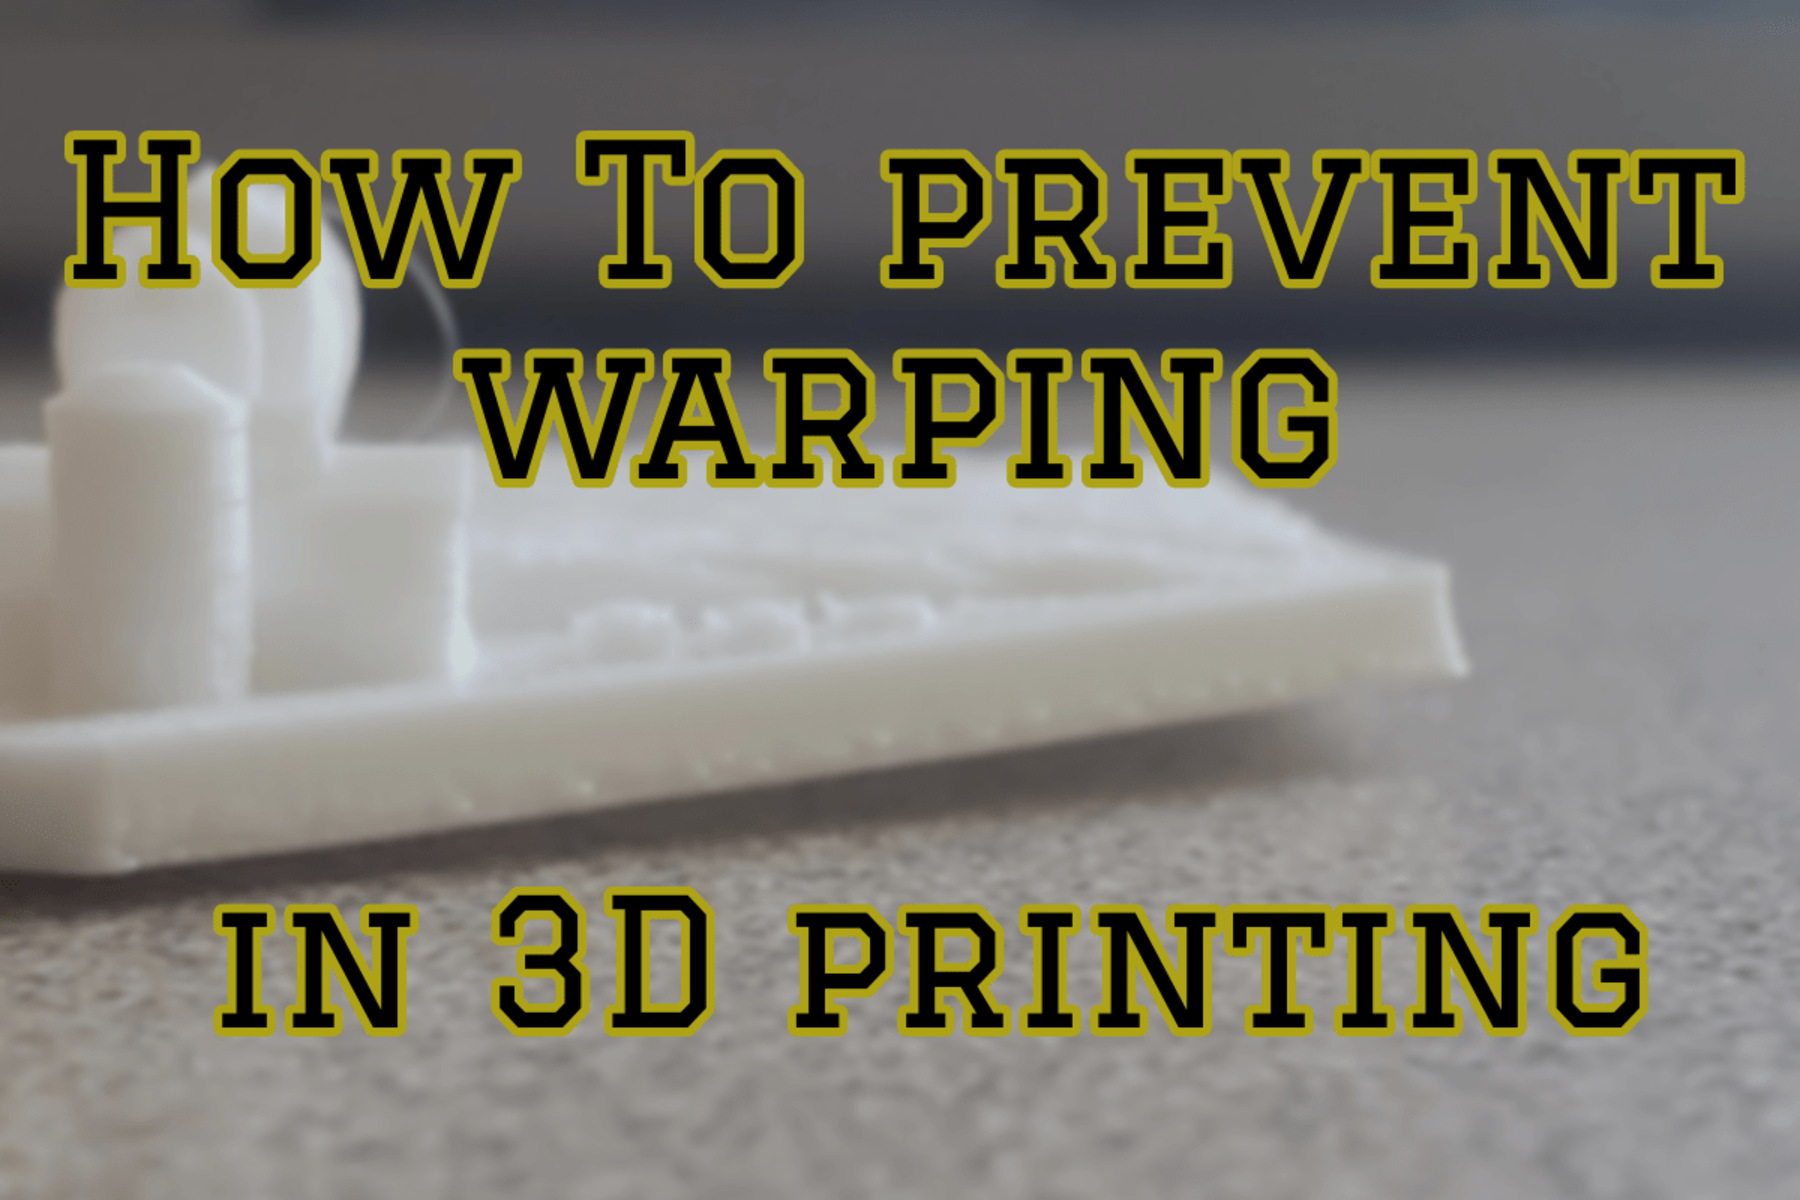
Warping is when a printed object curls or lifts up from the print bed during the printing process. This deformation can lead to poor print quality, structural issues, and even total print failure. It’s a common challenge faced by 3D printing enthusiasts, but with the right knowledge and techniques, it can be effectively prevented.
Understanding the factors that contribute to warping is crucial in finding the appropriate solutions. Temperature variations, cooling inconsistencies, improper adhesion to the print bed, and even the type of filament used can all play a role in causing warping. By addressing these factors and implementing the right preventive measures, you can significantly reduce the occurrence of warping and achieve successful 3D prints.
In this article, we will delve into the causes of warping and share valuable tips to help you prevent it. From ensuring proper bed adhesion to optimizing temperature settings, these techniques will empower you to produce high-quality 3D prints with minimal warping. So, let’s dive in and discover the secrets to conquering warping in 3D printing!
What is warping in 3D printing?
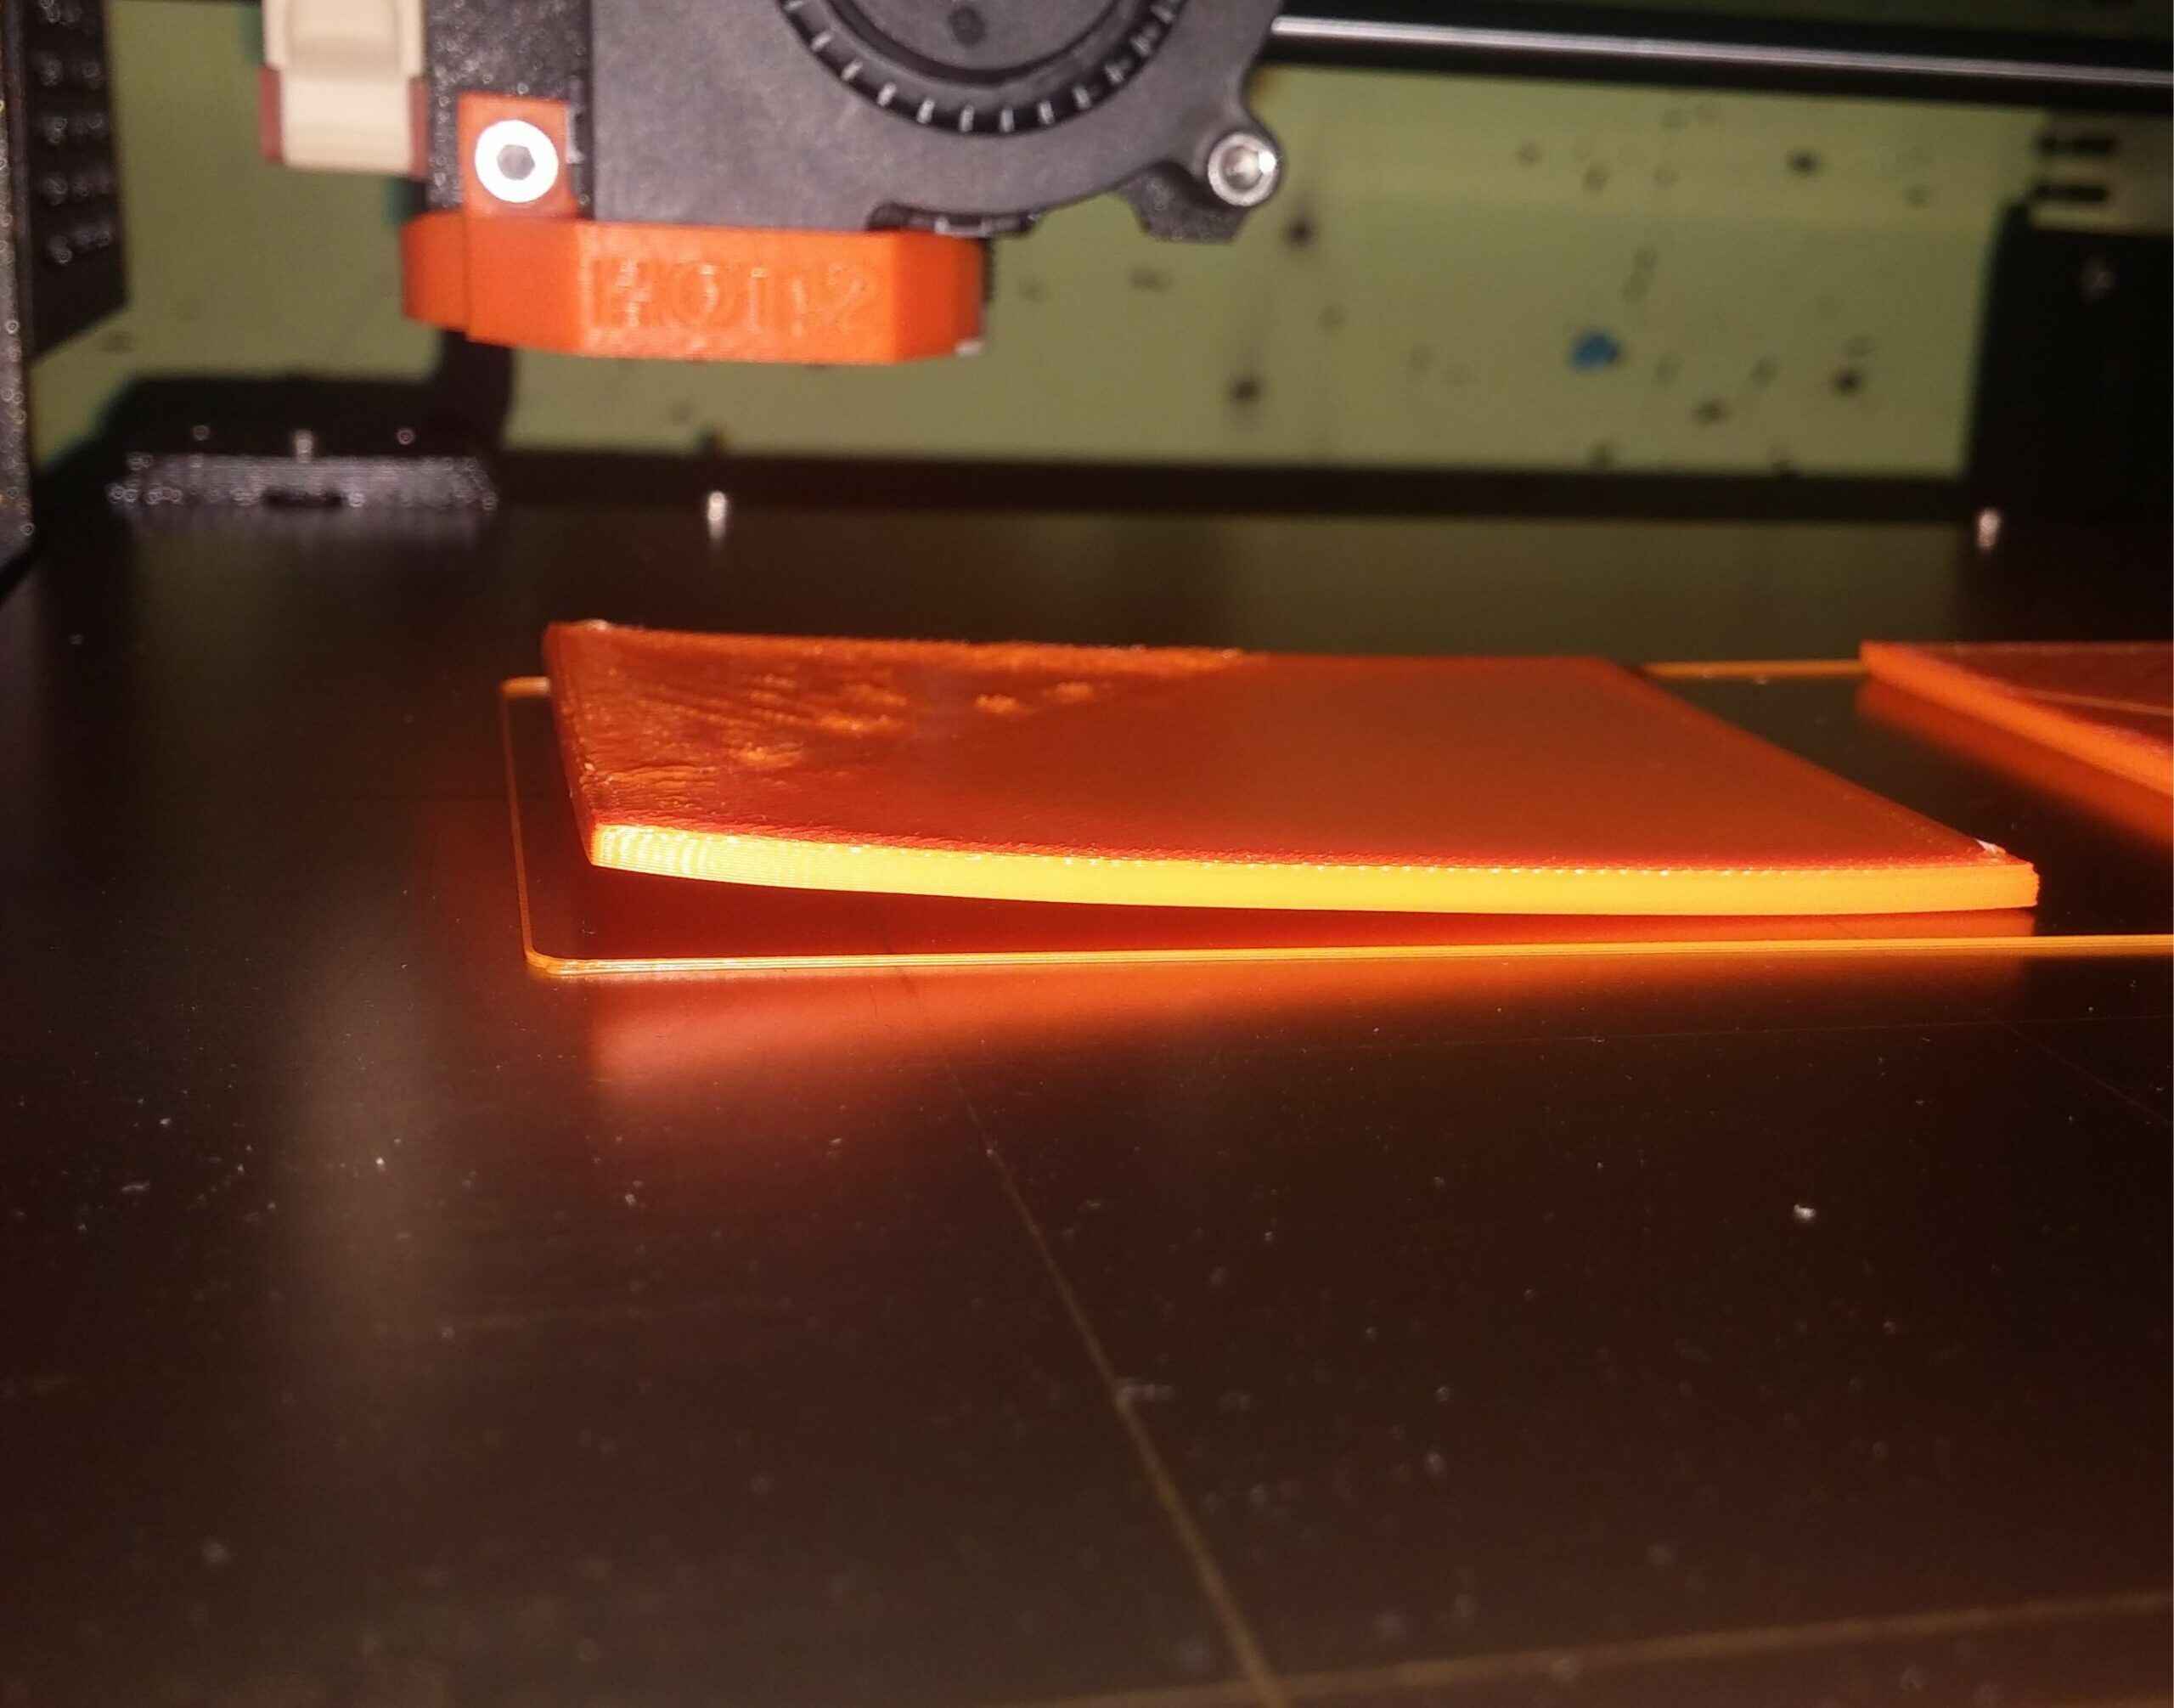
Warping is a prevalent problem in 3D printing that occurs when the corners or edges of a printed object lift and curl up from the print bed during the printing process. This deformation can lead to various issues, including failed prints, decreased structural integrity, and compromised print quality.
Several factors contribute to the occurrence of warping. One primary factor is the uneven cooling of the printed layers. As the lower layers cool and contract at a different rate than the upper layers, stress builds up, causing the material to warp or peel away from the print bed.
Another factor is the uneven distribution of temperature throughout the print bed. If the temperature is not consistent across the entire surface, some areas may cool more quickly, resulting in uneven cooling and warping. Additionally, certain materials, such as ABS filament, are more prone to warping due to their higher coefficient of thermal expansion.
Warping can also be influenced by the design of the object itself. Sharp corners, overhangs, and tall and narrow structures are more susceptible to warping due to the higher stress concentration in these areas. The lack of sufficient support material or inadequate infill density can further exacerbate the problem.
Now, why is warping such a big concern? Apart from ruining your prints, warping can lead to printing failures, wasted time, and wasted filament. It can also impair the functionality and accuracy of the printed object. For example, if you are printing mechanical parts or architectural models with precise dimensions, warping can result in misalignment or structural weaknesses, rendering the final product unusable or unreliable.
Preventing warping is essential for achieving successful 3D prints with optimal quality and functionality. In the following sections, we will discuss practical tips and techniques to minimize the occurrence of warping and improve your printing experience.
Factors that contribute to warping
Warping in 3D printing can be influenced by various factors that affect the printing process and the materials used. Understanding these factors is crucial in identifying effective ways to prevent warping. Let’s explore some of the main contributors:
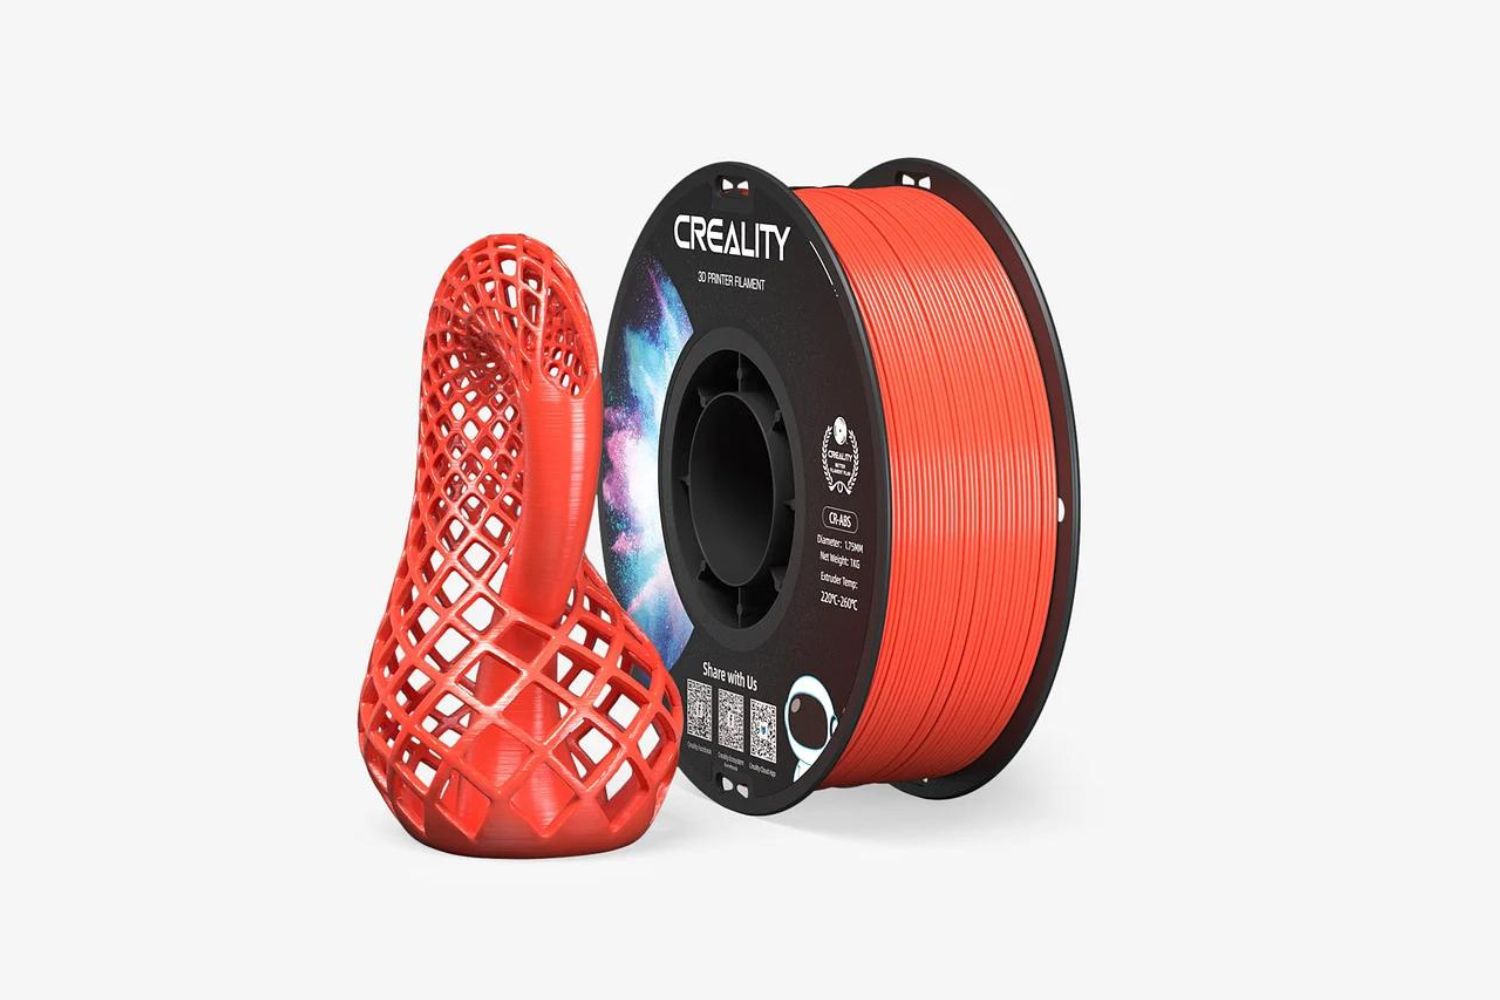
- Material type: Different materials have varying rates of thermal expansion and contraction. Certain materials, such as ABS, nylon, and polycarbonate, are more prone to warping due to their higher coefficients of thermal expansion. On the other hand, materials like PLA and PETG tend to have less warping issues.
- Print bed temperature: The temperature of the print bed plays a crucial role in preventing warping. If the print bed is too cold, the bottom layers of the print can cool too quickly, causing them to contract and warp. It is recommended to maintain a proper bed temperature specific to the filament being used. This can usually be found in the filament manufacturer’s guidelines.
- Ambient temperature and airflow: The surrounding temperature and airflow in the printing environment can impact how evenly the printed layers cool. If there are significant temperature variations or drafts, uneven cooling can occur, leading to warping. It is advisable to keep the printing area well-insulated and maintain a consistent ambient temperature.
- Print speed and cooling settings: Printing too fast can generate excessive heat, especially in smaller areas, causing warping. Additionally, inadequate cooling can result in insufficient solidification of the printed layers, leading to warping. Adjusting the print speed and cooling settings according to the material being used can help minimize warping issues.
- Print design: The design of the object being printed can also impact warping. Objects with sharp corners, overhangs, or tall and narrow structures are more susceptible to warping. Adding support structures, using rounded edges, or optimizing the orientation of the print can help mitigate these issues.
- Adhesion to the print bed: Proper adhesion to the print bed is crucial for preventing warping. Insufficient adhesion can cause the print to lift off the bed, leading to warping. Factors that affect bed adhesion include the cleanliness of the bed, the type of bed surface (for example, glass, BuildTak, or PEI), and the use of adhesives or bonding agents.
By taking these contributing factors into account and implementing appropriate strategies, you can significantly reduce the occurrence of warping in your 3D prints. In the next section, we will focus on the importance of bed adhesion and explore effective techniques to improve it.
Understanding the importance of bed adhesion
When it comes to preventing warping in 3D printing, one of the most critical factors to consider is bed adhesion. Bed adhesion refers to the bond between the first layer of the print and the print bed. Ensuring proper bed adhesion is essential for achieving successful prints with minimal warping. Let’s explore why bed adhesion is so important:
1. Stability: A strong bond between the print bed and the first layer of the print provides stability and prevents the print from shifting or lifting during the printing process. This stability minimizes the chances of warping, especially in larger and more complex prints.
2. Uniform cooling: Proper bed adhesion helps to ensure uniform cooling of the printed layers. When the print stays firmly attached to the bed, the heat is distributed evenly across the print, promoting consistent cooling and reducing the risk of differential shrinkage that can cause warping.
3. Solid foundation: The first layer of a print serves as the foundation for the rest of the object. If the first layer does not adhere properly, it can lead to a weak base, making the entire print more susceptible to warping. A solid foundation is crucial for maintaining the structural integrity of the print.
4. Accuracy and dimensional precision: Proper bed adhesion contributes to the accuracy and dimensional precision of the print. When the first layer adheres firmly to the bed, it enables more precise layer alignment and reduces the chances of distortion or warping that can result in dimensional inaccuracies.
Now that we understand the importance of bed adhesion, let’s move on to the next section, where we will discuss practical tips to improve bed adhesion and prevent warping in 3D printing.
Tips to prevent warping
Preventing warping in 3D printing requires a combination of proper techniques, settings, and material considerations. By implementing these tips, you can minimize warping and achieve successful 3D prints:
- Proper bed leveling: Ensuring that your print bed is leveled correctly is crucial for achieving good adhesion. An uneven bed can result in inconsistent layers and lead to warping. Regularly check and adjust the bed leveling to maintain a proper print surface.
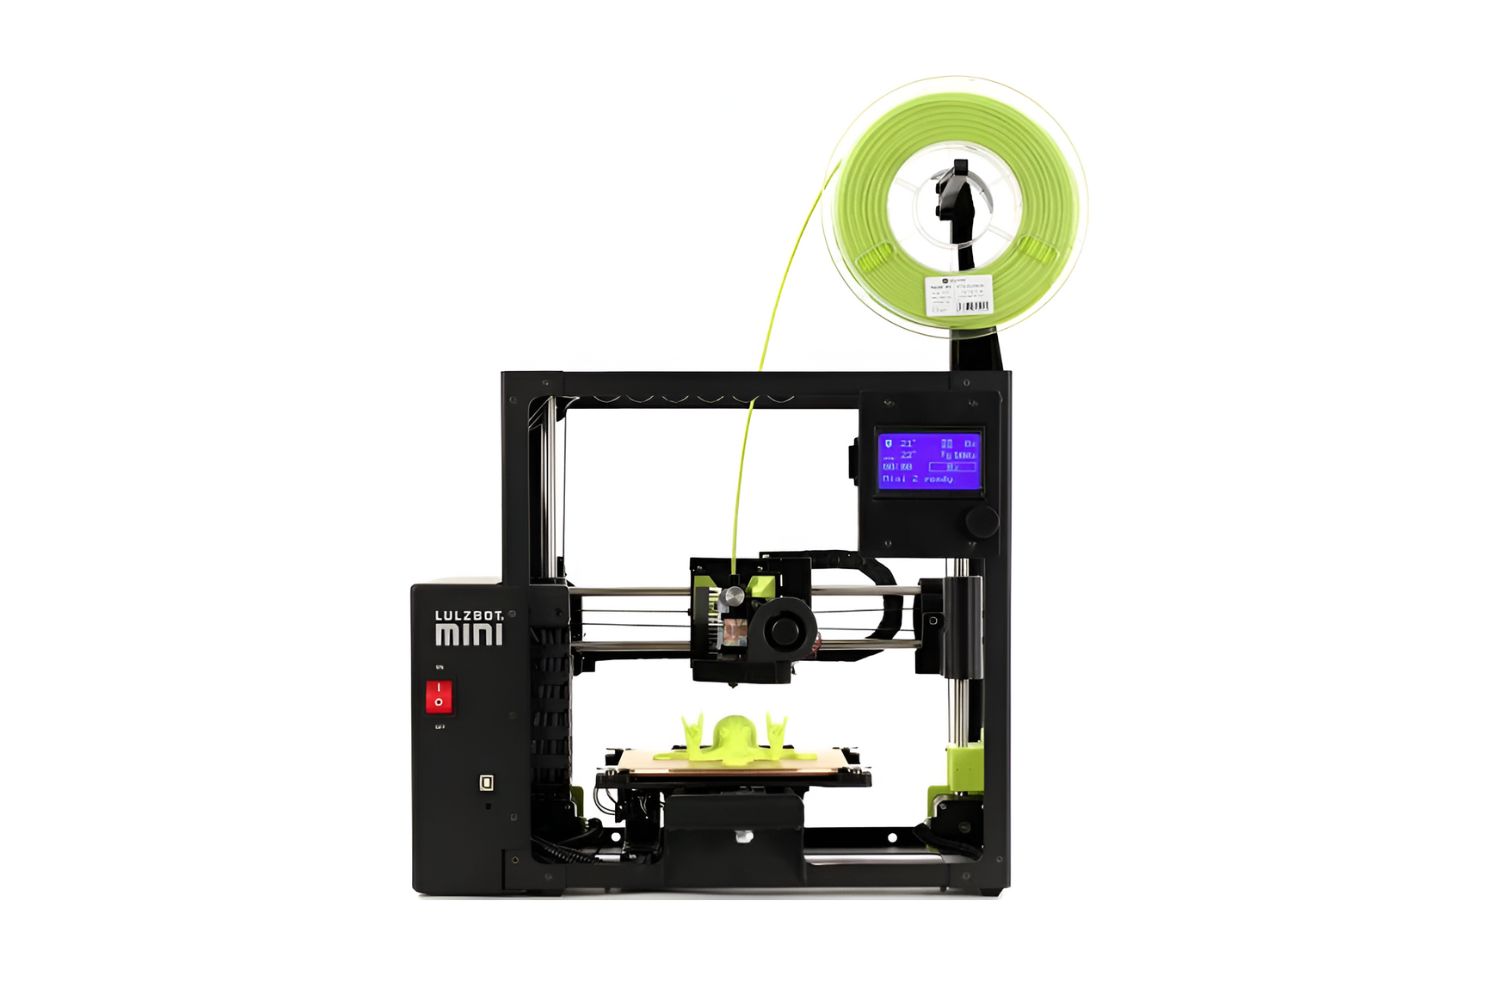
- Using a heated bed: A heated bed can greatly help in preventing warping, especially for materials like ABS. Heating the print bed to the appropriate temperature specified by the filament manufacturer promotes better adhesion and reduces thermal stress, resulting in less warping.
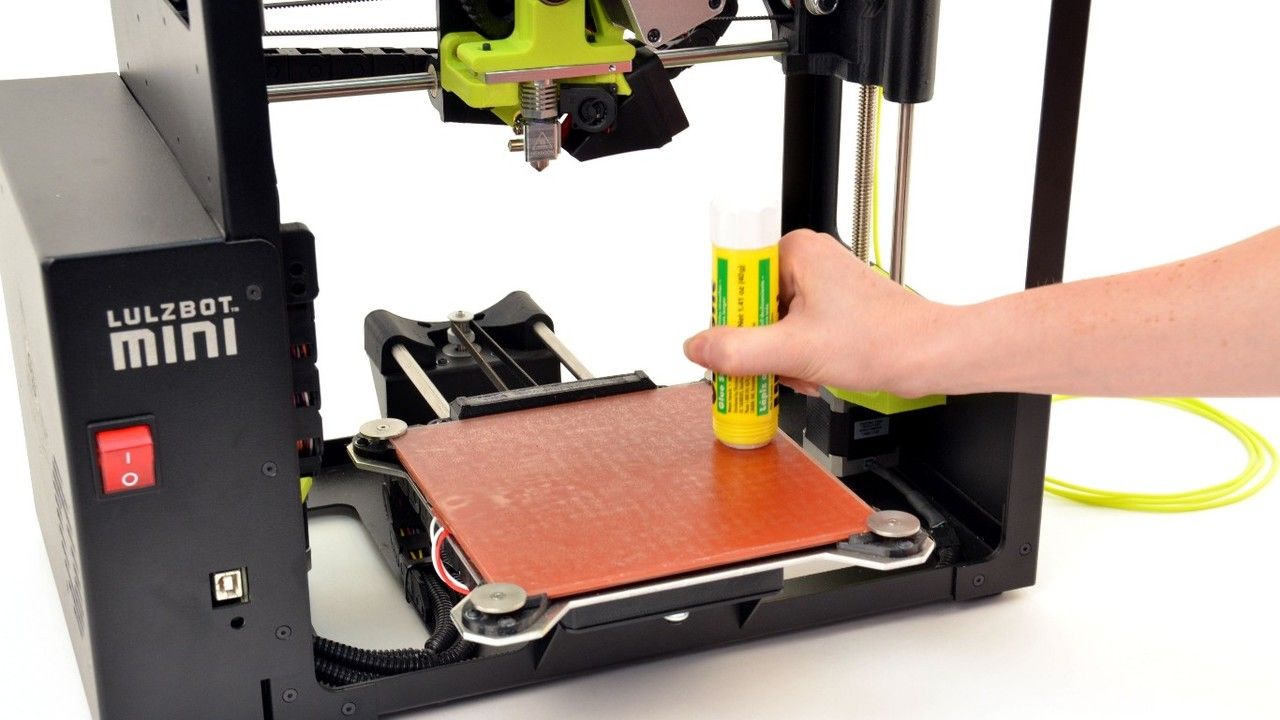
- Applying an adhesive or bonding agent: To improve bed adhesion, you can apply adhesive substances like hairspray, glue stick, or specialized 3D printing adhesives to the print bed. These coatings provide a grippy surface for the first layer of the print to adhere to, reducing the chances of warping.
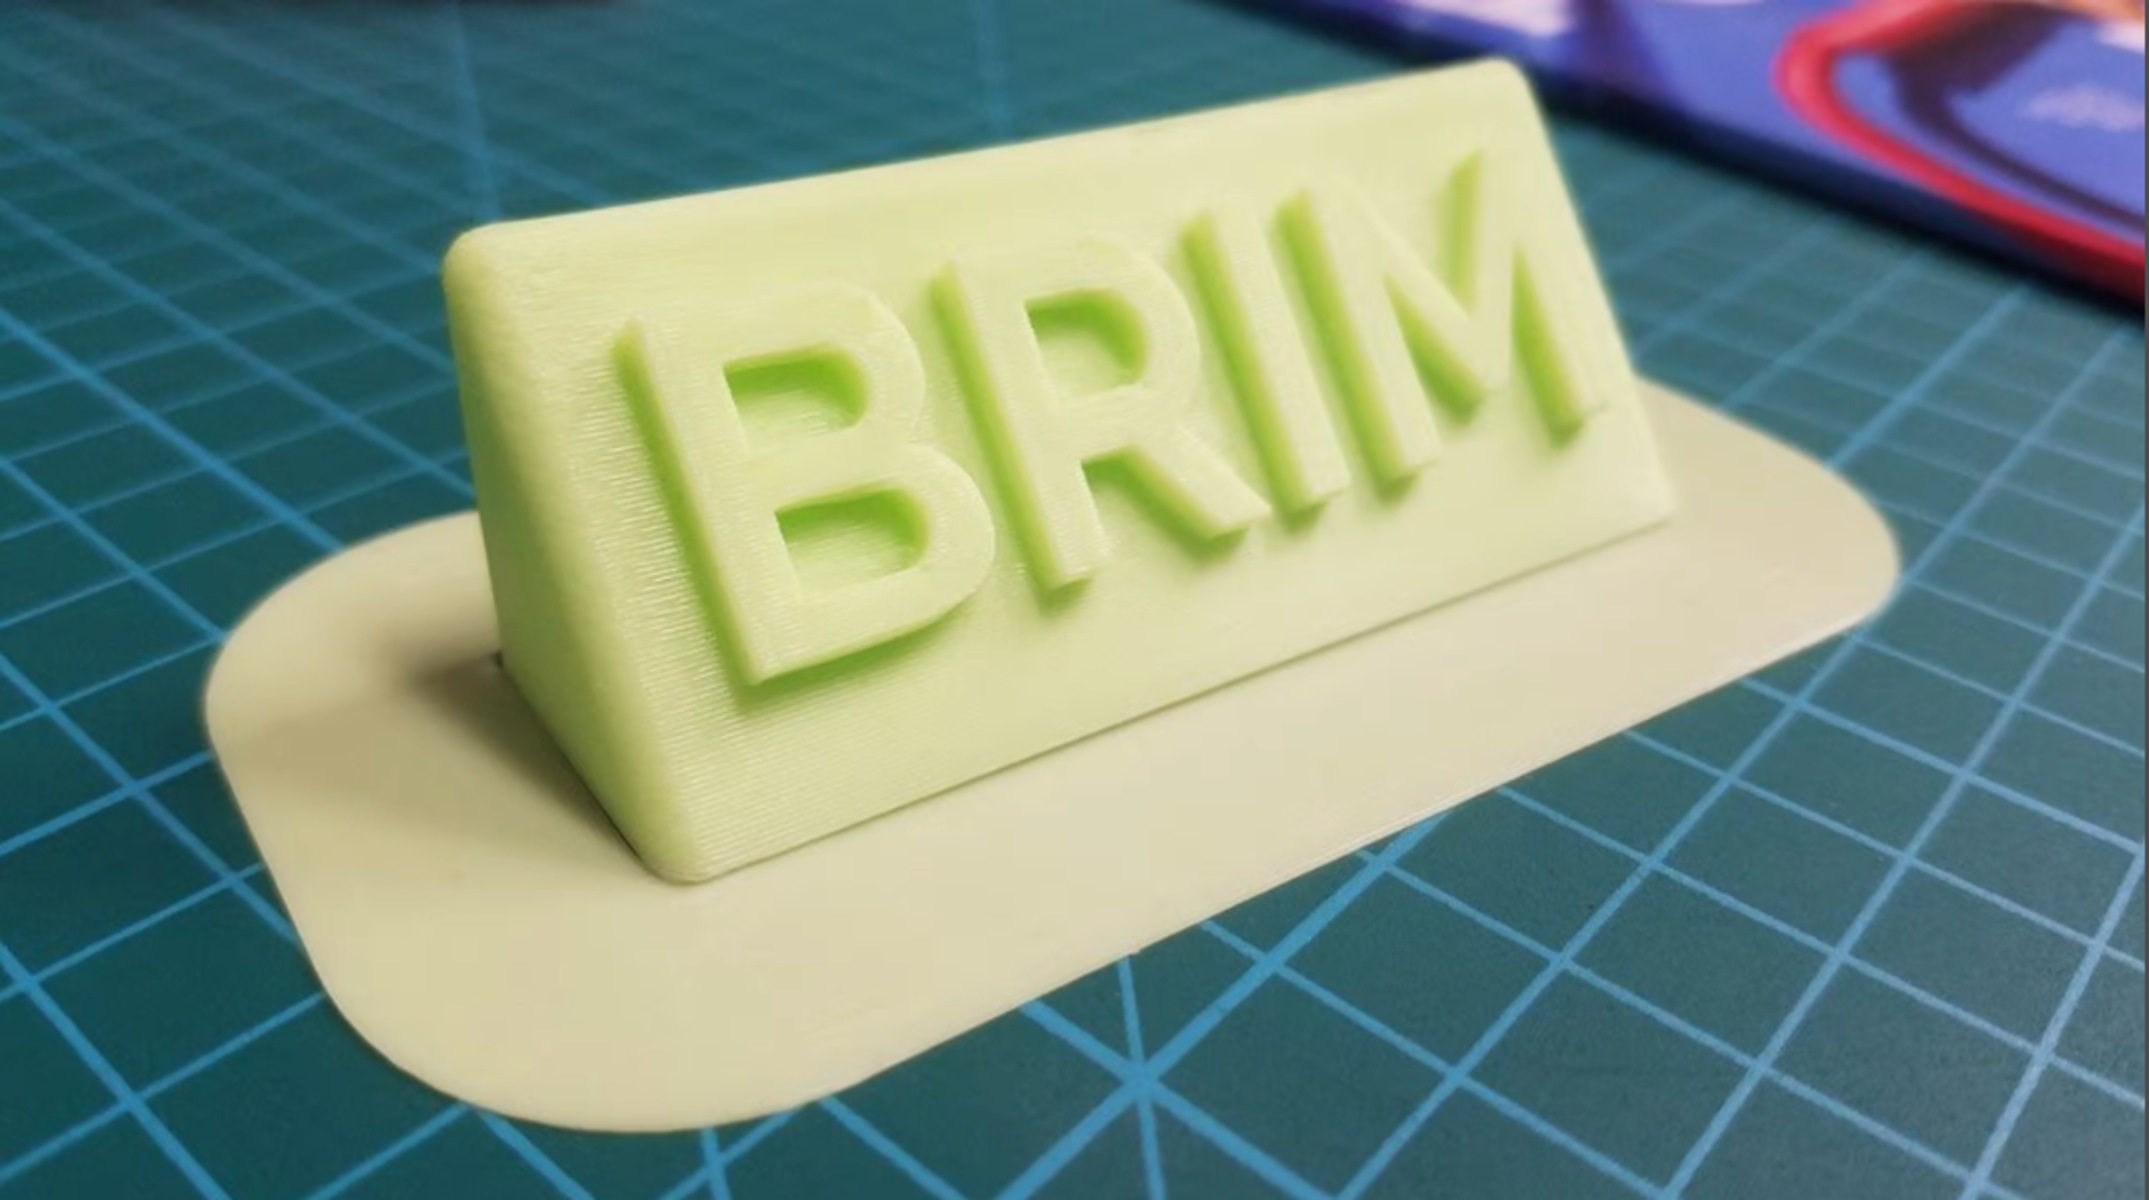
- Using a brim or raft: A brim is a thin layer of material added around the base of the print, while a raft is a thicker, grid-like support structure. Both techniques increase the surface area of the first layer, enhancing bed adhesion and reducing warping. Consider using a brim or raft for prints with small contact areas or complex geometries.
- Enclosing the printer: Creating an enclosure around the printer can help maintain a stable printing environment by reducing temperature fluctuations and drafts. Enclosing the printer with acrylic panels, for example, helps to retain heat and promote even cooling, resulting in decreased warping.
- Adjusting the cooling settings: Cooling settings can affect the rate at which the printed layers solidify. Gradually introducing cooling or adjusting the fan speed during specific layers can prevent rapid cooling and reduce thermal stress, ultimately minimizing warping. Experiment with different cooling settings to find the optimal balance for your prints.
- Choosing the right filament: Filament selection plays a significant role in preventing warping. Some materials, like PLA and PETG, tend to have less warping issues compared to ABS or nylon. Consider using filaments with lower coefficients of thermal expansion or ones specifically formulated to minimize warping for your desired applications.
By implementing these tips and adapting them to your specific printing setup, materials, and requirements, you can significantly reduce the occurrence of warping and achieve high-quality, successful 3D prints.
Proper bed leveling
Proper bed leveling is essential for successful 3D printing and plays a crucial role in preventing warping. When your print bed is not leveled correctly, it can result in uneven first layer adhesion, leading to warping and print failure. Follow these tips to ensure proper bed leveling:
- Manual or automatic leveling: Depending on your printer model, you can level the bed manually using adjustment screws or utilize automatic bed leveling features if available. Automatic bed leveling uses sensors or probes to measure the distance between the nozzle and bed, simplifying the leveling process.
- Print bed cleanliness: Before leveling, ensure that the print bed is clean. Remove any dust, debris, or leftover filament from previous prints. A clean bed surface provides better contact for the first layer and improves bed adhesion, minimizing the chances of warping.
- Bed leveling procedure: To level the bed manually, home the nozzle and use a piece of paper or a feeler gauge to slide between the nozzle and the bed. Adjust the leveling screws until you feel slight resistance on the paper. Repeat this process for each leveling point on the bed surface.
- Visual and tactile inspections: During bed leveling, pay attention to the nozzle’s distance from the bed at different points. The nozzle should be consistently close to the bed across the entire print surface. Visual checks and gently tapping the nozzle against the bed can help identify uneven leveling or areas that require adjustment.
- Regular maintenance: Bed leveling is not a one-time task. It is recommended to check and adjust the bed leveling regularly, especially if you frequently remove the print bed or experience print failures. Changes in temperature and mechanical stress can affect the bed’s level over time.
Proper bed leveling ensures a uniform and accurate first layer, leading to better adhesion and reduced warping. Take the time to calibrate and fine-tune your bed leveling technique for optimal print results.
Using a heated bed
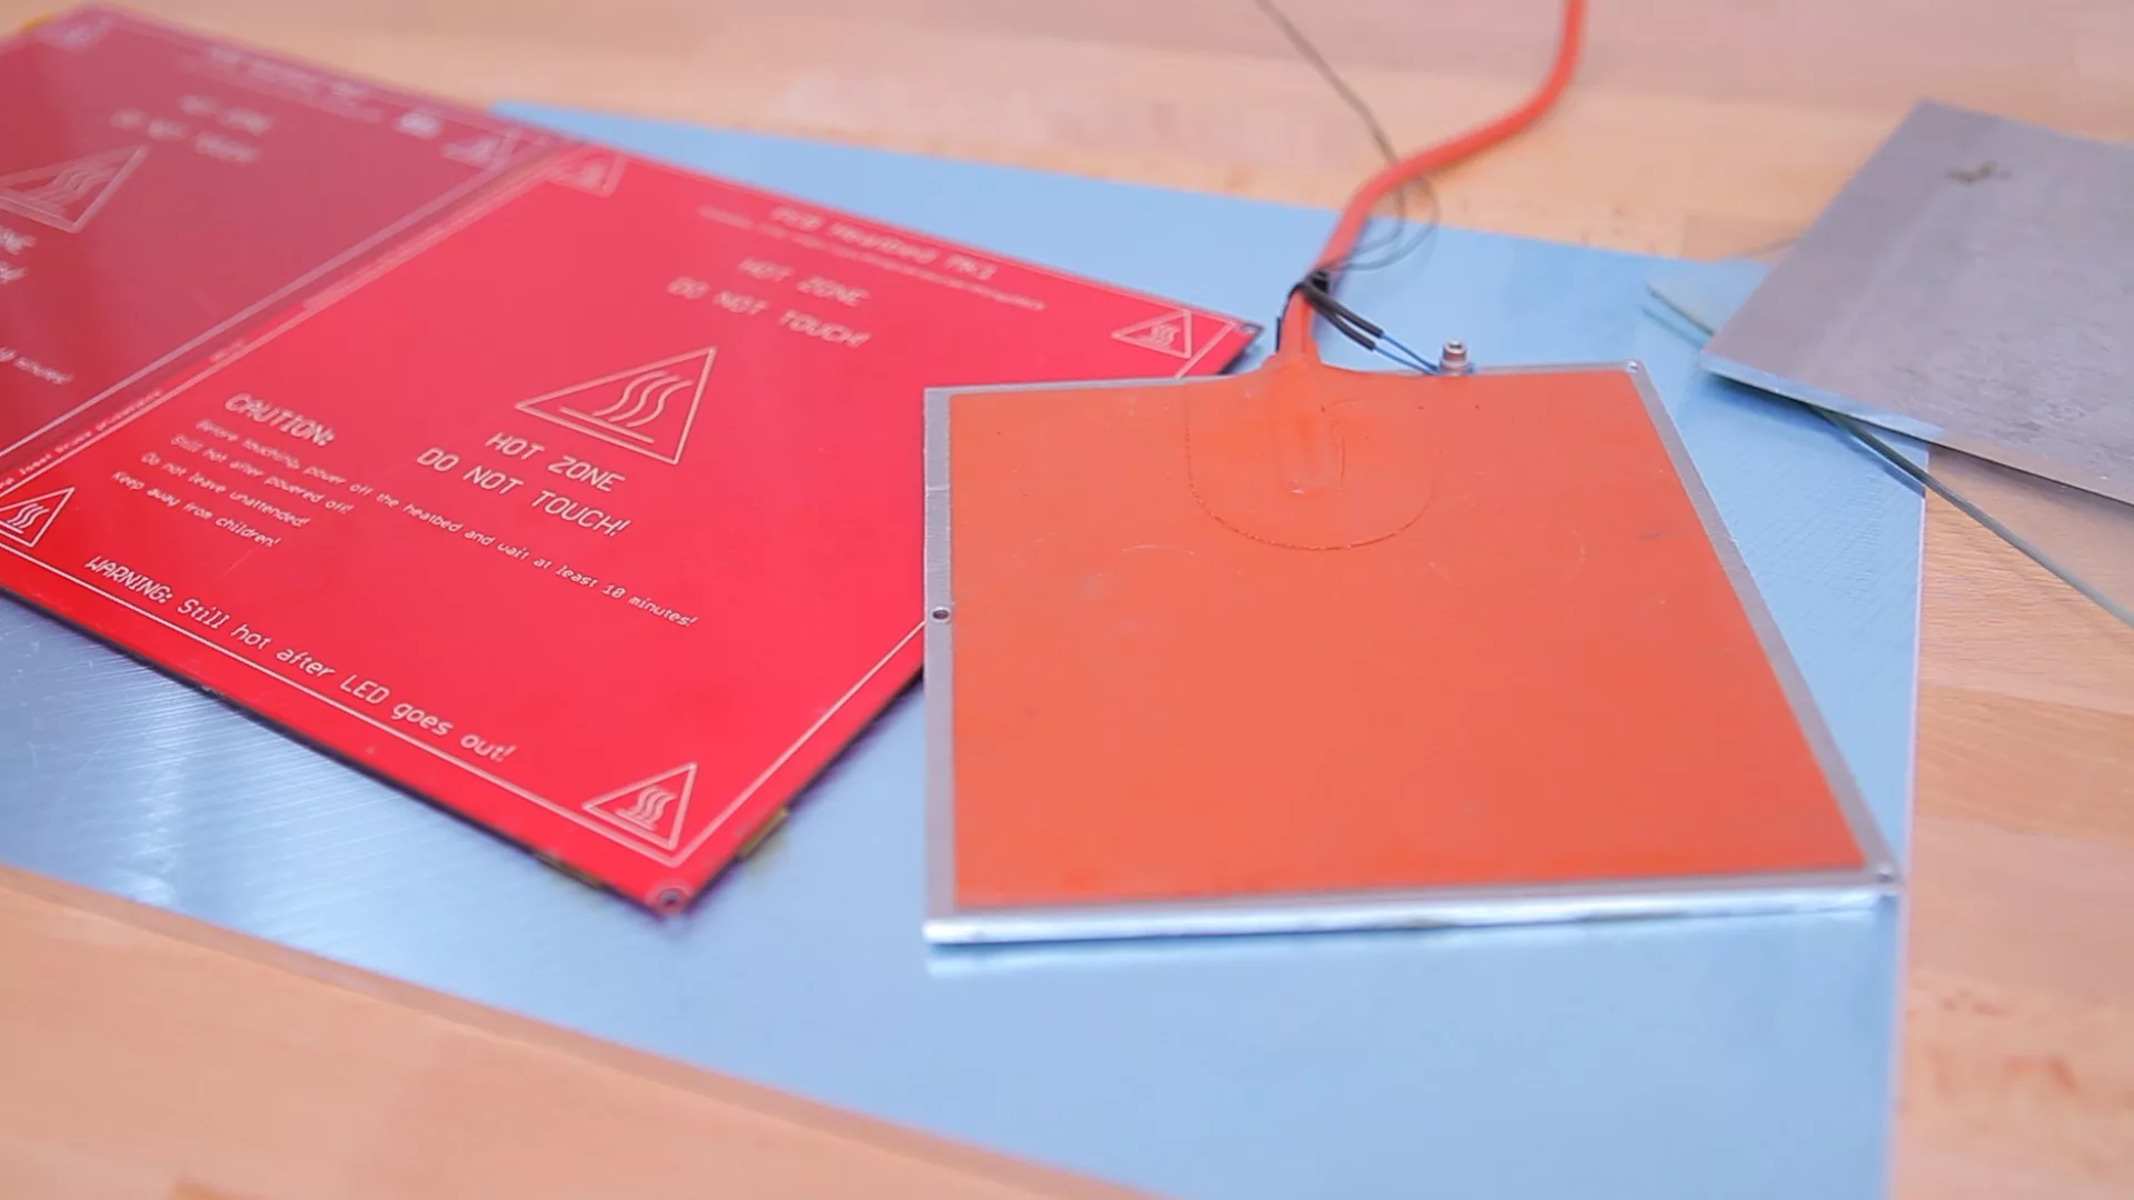
Utilizing a heated bed is a highly effective technique for preventing warping in 3D printing, particularly for materials like ABS. The heated bed helps to maintain a consistent temperature throughout the printing process, promoting better adhesion and minimizing thermal stress. Keep the following tips in mind when using a heated bed:
- Understanding filament requirements: Different filaments have specific bed temperature requirements. Refer to the filament manufacturer’s recommendations for the ideal bed temperature. ABS typically requires a higher bed temperature, ranging from 80 to 110 degrees Celsius, to minimize warping.
- Preheating and stabilizing: Allow sufficient time for the bed to reach the desired temperature before starting the print. Preheating the bed ensures a stable temperature during the entire printing process. This stability further enhances bed adhesion and reduces the chances of warping.
- Bed surface material: Consider the type of bed surface material you are using. Common options include glass, BuildTak, PEI, or specialized adhesives. Different materials may have varying adhesion properties and require specific temperature settings. Experiment with different surfaces and adjust the bed temperature accordingly for optimal bed adhesion and minimized warping.
- Bed insulation: Insulating the print bed can help maintain a stable temperature and minimize heat loss to the surroundings. Insulation materials like cork or silicone thermal pads can be placed underneath or around the bed to improve heat retention. This promotes a more uniform temperature distribution and reduces the risk of warping.
- Adopting a gradually decreasing bed temperature: In some cases, when printing materials like ABS, a technique called “bed temperature tapering” can be beneficial. This involves gradually decreasing the bed temperature as the print progresses, which reduces the likelihood of sudden cooling and subsequent warping.
Using a heated bed is an excellent approach to prevent warping, especially for materials that are prone to thermal stresses. By understanding the specific temperature requirements of your filament, preheating adequately, and optimizing the bed surface and insulation, you can achieve better bed adhesion and minimize warping issues.
Applying an adhesive or bonding agent
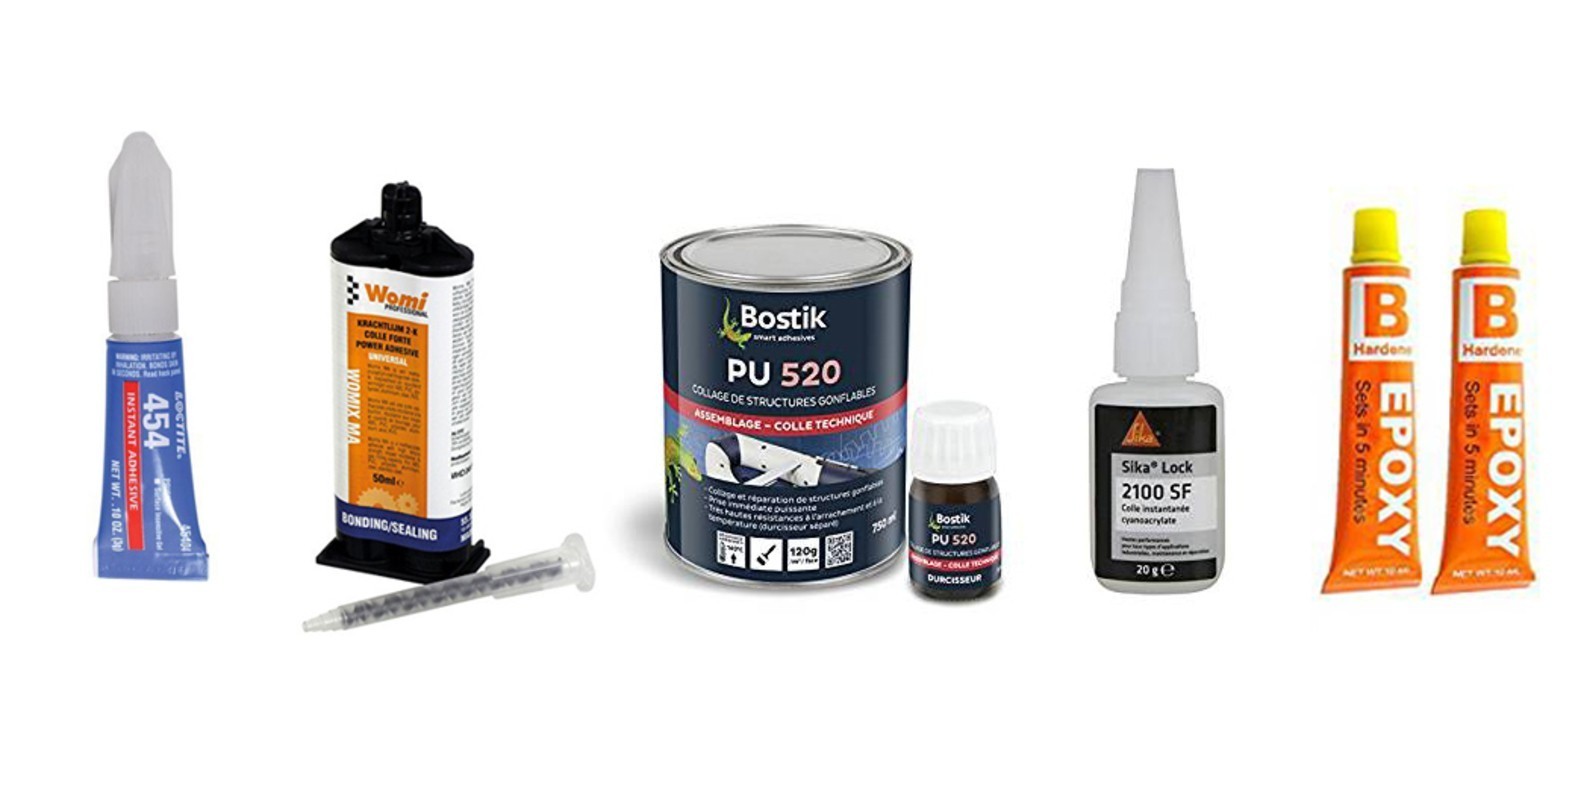
Applying an adhesive or bonding agent to the print bed is an effective strategy for improving bed adhesion and preventing warping. These adhesives create a grippy surface that helps the first layer adhere firmly, reducing the chances of warping. Consider the following tips when using adhesives or bonding agents:
- Hairspray: Hairspray is a commonly used adhesive for 3D printing. Spray a light and even coat of hairspray onto the print bed before starting the print. Allow it to dry before initiating the printing process. Hairspray provides a sticky surface that enhances bed adhesion for various filament types.
- Glue stick: Glue sticks are another popular choice for bed adhesion. Apply a thin layer of glue stick across the print bed, paying attention to the area where the print will be placed. Be sure to choose a glue stick that is non-toxic and easily removable. Glue sticks work well with materials like PLA and are known for their reliable adhesion.
- 3D printing adhesives: There are specialized adhesives available on the market specifically designed for 3D printing. These adhesives are formulated to provide excellent bed adhesion for different filament types. Follow the manufacturer’s instructions for applying these adhesives, as they may vary depending on the specific product.
- Kapton tape: Kapton tape, also known as polyimide tape, is a heat-resistant adhesive tape used in 3D printing. It provides a flat and adhesive surface that helps with bed adhesion and works well for materials like ABS. Apply the tape evenly across the print bed, ensuring there are no air bubbles or loose ends.
- Build surfaces: Some 3D printers come with specialized build surfaces that provide enhanced bed adhesion without the need for additional adhesives. These surfaces, such as BuildTak or PEI sheets, offer excellent grip for a wide range of filament types. Clean and maintain these surfaces regularly to ensure consistent adhesion.
Experiment with different adhesives and bonding agents to find the most suitable option for your specific filament and printer setup. Keep in mind that a little goes a long way, so avoid applying excessive amounts of adhesive, as it can create difficulties in removing the print once it is finished. Finding the right adhesive or bonding agent can significantly improve bed adhesion and help prevent warping in your 3D prints.
Using a brim or raft
Using a brim or raft is a helpful technique to improve bed adhesion and minimize warping in 3D printing, especially for prints with small contact areas or complex geometries. These additional structures provide a larger surface area for the first layer to adhere to, enhancing stability and reducing the likelihood of warping. Consider the following tips when using a brim or raft:
- Brim: A brim is a thin, flat extension of the print that surrounds the base of the object. It increases the surface area of the first layer, providing additional contact with the print bed. A brim is particularly useful for prints with narrow or small bases. It improves bed adhesion and helps distribute stress, minimizing warping.
- Raft: A raft is a thicker, grid-like support structure that is created under the entire print. It acts as a foundation for the main model and provides excellent bed adhesion. A raft is especially beneficial for prints with uneven or unreliable bed surfaces. It helps distribute heat and prevents warping caused by temperature variations or imperfect bed leveling.
- Adjusting brim/raft settings: Most slicing software allows you to adjust the parameters of the brim or raft. You can control the number of layers, distance from the print model, and other specific settings. Experiment with these settings to find the optimal configuration for your print. Keep in mind that a thicker brim or raft will provide better adhesion but may require more post-processing to remove.
- Removing the brim or raft: Once the print is finished, carefully remove the brim or raft. Use a sharp knife or a suitable tool to separate it from the printed model. Take care not to damage the print while removing the brim or raft. If needed, use sandpaper or a file to smooth any remaining marks or rough edges left by the brim or raft.
- Applying adhesive to brim contact points: For even better adhesion, you can apply adhesive or bonding agents to the contact points between the brim or raft and the print bed. This further improves bed adhesion and reduces the chances of the brim or raft detaching during the printing process.
Using a brim or raft provides an effective solution to enhance bed adhesion and reduce warping, especially for challenging prints. Experiment with these techniques to find the best approach for your specific models and printer setup.
Enclosing the printer
Enclosing the printer is a useful technique for minimizing warping in 3D printing. By creating an enclosed environment, you can control temperature fluctuations and reduce the effects of drafts, ultimately improving bed adhesion and print quality. Consider the following tips when enclosing your printer:
- Using an enclosure: An enclosure is a structure that surrounds the printer and provides a controlled environment for the printing process. Enclosures can be built using various materials such as plexiglass, acrylic panels, or even DIY solutions like cardboard or foam boards.
- Retaining heat: One of the main benefits of enclosing the printer is heat retention. By trapping the heat generated by the printer and insulating the enclosure, you can maintain a stable temperature. This stability reduces thermal stresses, promotes even cooling, and minimizes warping.
- Temperature monitoring: Installing a thermometer or using a temperature monitoring device inside the enclosure allows you to monitor and adjust the internal temperature. It helps ensure that the desired temperature is maintained throughout the printing process and provides valuable insights for troubleshooting if warping persists.
- Reducing drafts: Enclosing the printer helps to shield the print from drafts or sudden temperature changes in the surrounding environment. Drafts can disrupt the cooling process and lead to uneven cooling, resulting in warping. By minimizing drafts, you create a more controlled environment for better print quality.
- Improving adhesion: The enclosed environment improves bed adhesion by reducing the chance of the print lifting or detaching from the bed. The stable temperature and reduced airflow provide favorable conditions for the first layer to adhere properly, resulting in minimized warping and improved print success.
Keep in mind that when enclosing the printer, proper ventilation is necessary to prevent heat buildup and ensure adequate airflow for cooling components such as the hotend and electronics. It is essential to strike a balance between insulation and ventilation to maintain a safe and controlled printing environment.
Enclosing the printer can be especially beneficial when printing with materials that are prone to warping, such as ABS. However, it can also provide advantages for other filaments by providing a more stable printing environment. Experiment with different enclosure designs and materials to find the setup that works best for your printer and the specific filament you are using.
Adjusting the cooling settings
Adjusting the cooling settings during the 3D printing process can effectively prevent warping by controlling the rate of cooling for printed layers. Proper cooling ensures that the layers solidify uniformly, reducing the chances of differential shrinkage and minimizing warping. Consider these tips when adjusting the cooling settings:
- Gradual cooling: Gradually introducing cooling can help prevent rapid temperature changes and thermal stress. Start with minimal or no cooling for the initial layers to ensure good adhesion and bonding to the print bed. Then, gradually increase the cooling as the print progresses to enhance solidification and reduce warping.
- Adjustable fan speed: Many 3D printers feature adjustable fan speeds. Higher fan speeds promote faster cooling, while lower speeds allow for slower and more controlled cooling. Experiment with different fan speeds to find the best balance for your specific filament and print design to minimize warping.
- Target cooling on specific layers: In some cases, you may want to target cooling on specific layers where warping is more likely to occur. This can be achieved through layer-specific cooling settings in your slicing software. By adjusting the fan speed or airflow for specific layers, you can tailor the cooling process to minimize warping in critical areas.
- Printing smaller objects together: When printing smaller objects or multiple objects on the same print bed, adjusting the cooling settings can be beneficial. Increasing the cooling or reducing the fan speed may help maintain consistent cooling across all objects, reducing warping caused by differential cooling rates.
- Additional cooling devices: Depending on your printer model, you may have the option to add supplemental cooling devices like side fans or external air blowers. These can provide targeted cooling to specific areas of the print, reducing the risk of warping in those areas. Experiment with their placement and settings to optimize cooling efficiency.
Keep in mind that the optimal cooling settings can vary depending on the filament type, print design, and printer model. It’s important to experiment with different cooling configurations and observe the effects on print quality and warping. Make incremental adjustments to find the best cooling settings for your specific printing setup.
Choosing the right filament
Choosing the right filament is paramount to prevent warping in 3D printing. Each filament type has its own characteristics, including varying thermal properties that can significantly impact the chances of warping. Consider the following tips when selecting the filament for your prints:
- PLA: PLA (Polylactic Acid) is a popular filament choice known for its ease of use and minimal warping tendencies. It has a lower coefficient of thermal expansion compared to other filaments, making it less prone to warping. PLA can be an excellent option for beginners or when warping is a concern.
- PETG: PETG (Polyethylene Terephthalate Glycol-Modified) is another filament with good resistance to warping. It offers improved toughness and flexibility compared to PLA, making it suitable for functional parts. PETG typically has a slight tendency to warp, but adjusting printing parameters and maintaining proper bed adhesion can help mitigate this issue.
- ABS: ABS (Acrylonitrile Butadiene Styrene) has a higher coefficient of thermal expansion, making it more prone to warping. However, with proper techniques like using a heated bed, enclosing the printer, and adjusting cooling settings, you can successfully print ABS without significant warping. ABS is known for its strength and durability, making it suitable for functional prototypes and parts requiring higher temperature resistance.
- Nylon and other high-temperature filaments: Filaments such as nylon, polycarbonate, and other high-temperature materials have a greater tendency to warp due to their higher coefficients of thermal expansion. These filaments require careful attention to factors like a heated bed, enclosure, and proper cooling settings to minimize warping. Additionally, using adhesion aids like glue stick or Kapton tape can also help with bed adhesion when printing with these materials.
- Specialized filaments: Filament manufacturers produce specialized filaments designed to minimize warping. These filaments often have advanced formulations or additives that help reduce thermal stresses and improve bed adhesion. Consider exploring filaments labeled as “warp-resistant” or “low-warp” to benefit from their additional properties aimed at minimizing warping.
When selecting a filament, consider the specific requirements of your project and the material’s characteristics. Pay attention to the recommended print settings provided by the filament manufacturer to ensure optimal print results and minimize the risk of warping.
By choosing the right filament and understanding its properties, you can significantly reduce warping issues and achieve successful 3D prints with improved quality and reliability.
Conclusion
Warping in 3D printing can be a frustrating challenge, but with the right techniques and considerations, it can be effectively prevented. By understanding the factors that contribute to warping and implementing the appropriate strategies, you can achieve successful 3D prints with minimal warping and improved print quality.
Proper bed adhesion is crucial for preventing warping. Ensuring a level print bed, utilizing a heated bed, and applying adhesives or bonding agents can significantly enhance bed adhesion and reduce the chances of warping. Additionally, using techniques like using a brim or raft, enclosing the printer, adjusting cooling settings, and choosing the right filament can further mitigate warping issues.
Experimentation and fine-tuning may be necessary to find the best techniques and settings for your specific printer, filament, and print designs. It’s important to consider the unique characteristics of your materials and adapt the prevention techniques accordingly.
By implementing these tips and techniques, you can successfully prevent warping and produce high-quality, well-adhered 3D prints. Enjoy the process of troubleshooting and refining your printing skills as you achieve more consistent and satisfying results, free from the frustrations of warping.