Introduction
Welcome to the world of 3D printing, where imagination takes shape! With the ability to transform digital designs into physical objects, 3D printing has become a revolutionary technology that has captured the attention of hobbyists, designers, and even industries. However, like any technology, 3D printing is not without its challenges.
In this article, we will explore the common problems that arise during 3D printing and provide you with practical solutions to fix them. Whether you are a beginner or an experienced enthusiast, understanding these issues and how to overcome them will help you achieve better results and unleash the full potential of your 3D printer.
From warping to nozzle clogging, each problem we encounter presents an opportunity to learn and improve our printing skills. By addressing these issues effectively, you can minimize frustration and wasted materials, and create high-quality prints with precision and consistency. So, let’s dive into the most common 3D printing problems and discover how to solve them!
Please note that while we will discuss various troubleshooting techniques, it’s important to remember that each 3D printer is unique. Different models and manufacturers may require slightly different approaches. Therefore, always consult your printer’s user manual and online resources specific to your model for the best results.
Now, let’s roll up our sleeves and get ready to troubleshoot those 3D printing problems!
Common 3D Printing Problems
Despite the incredible capabilities of 3D printing, it is not uncommon to encounter various issues that can hinder the printing process. Understanding these common problems will empower you to identify and address them effectively. Let’s take a look at some of the most frequent difficulties faced by 3D printing enthusiasts:
- Warping: Warping occurs when the corners of the print curl upward or detach from the build platform during the printing process. This is often caused by uneven cooling or improper bed adhesion.
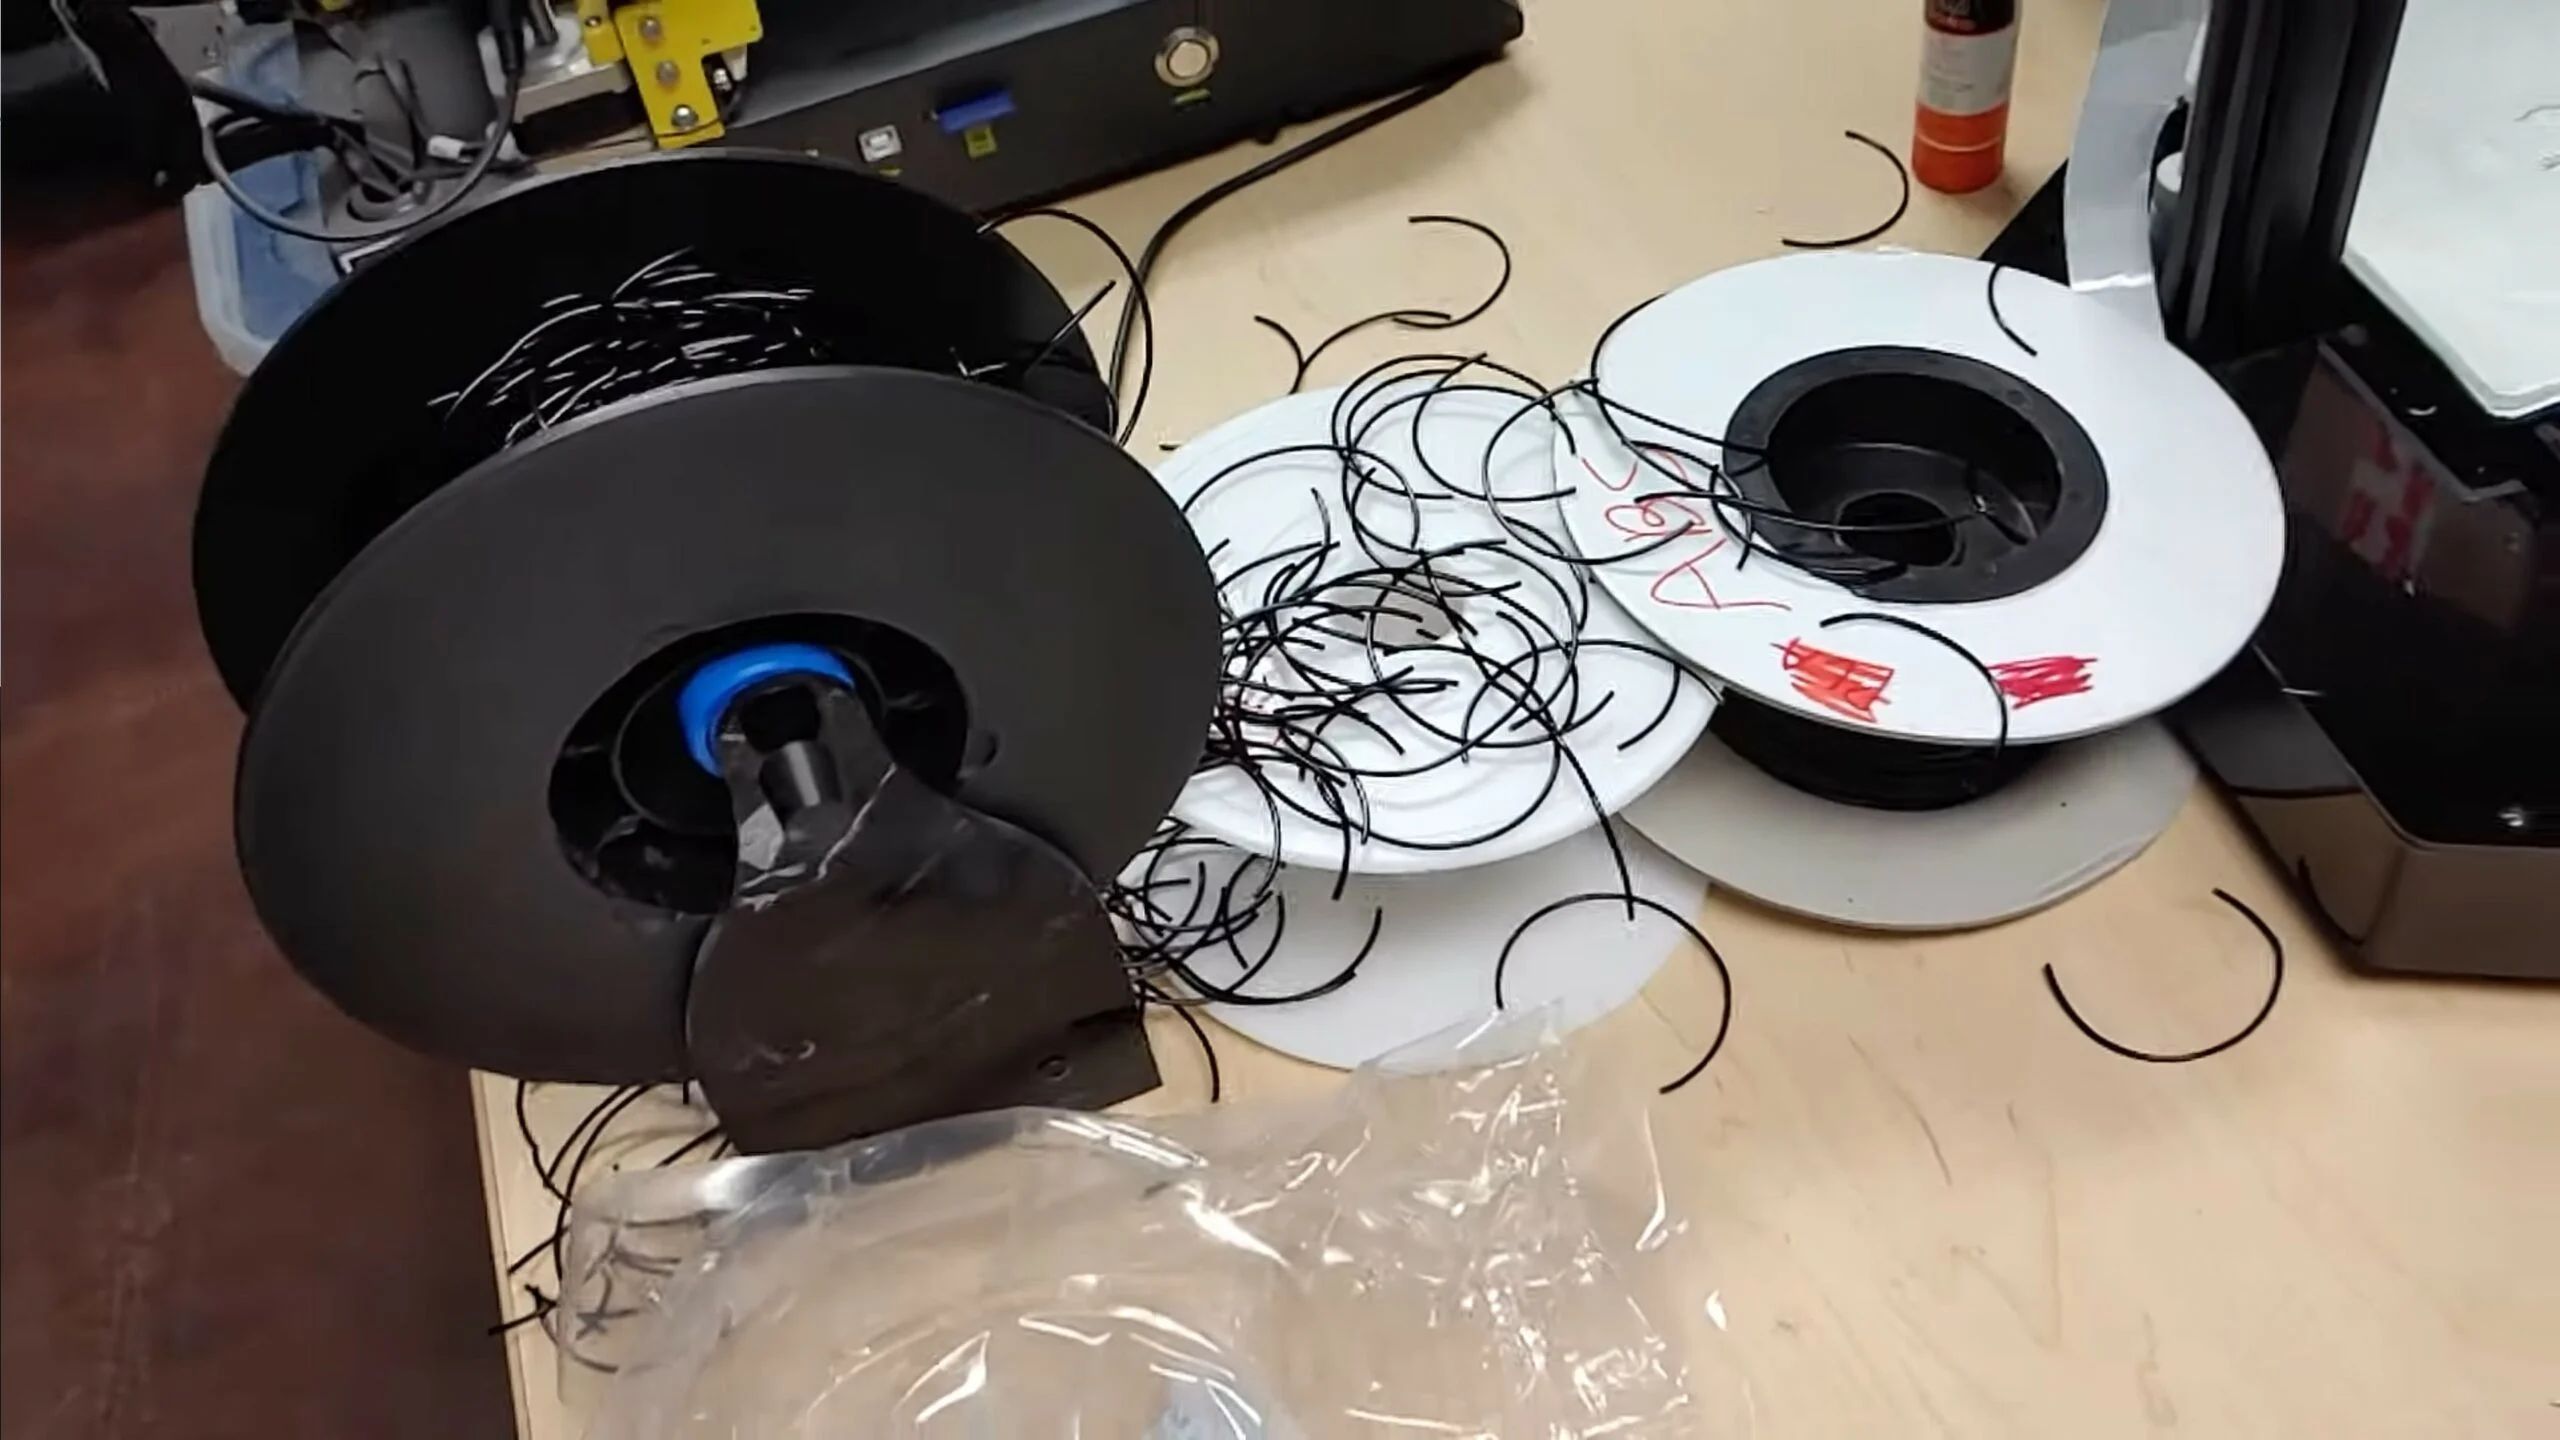
- Stringing: Stringing refers to the thin strands of material that are left between different parts of the print, resembling spiderwebs. It occurs due to improper retraction settings or excessive material flow.
- Layer Shifting: Layer shifting happens when the layers of the printed object shift or misalign during the printing process. This can be caused by loose belts, mechanical malfunctions, or a sudden jolt to the printer.
- Nozzle Clogging: Nozzle clogging leads to interrupted or inconsistent extrusion of material. It can occur due to dust or debris in the filament, improper filament feeding, or a worn-out nozzle.
- Under-Extrusion: Under-extrusion occurs when the printer fails to deposit enough material, resulting in weak or incomplete prints. It can be caused by a partially clogged nozzle, insufficient material flow, or incorrect temperature settings.
- Over-Extrusion: Over-extrusion, on the other hand, happens when the printer deposits too much material, leading to excessive bulging or oozing. This can be caused by high material flow rates or incorrect extrusion settings.
- Bed Adhesion Issues: Bed adhesion issues can include difficulties in getting the print to stick to the build platform or improper adhesion resulting in a warped or detached print. Different factors like improper bed leveling, insufficient bed temperature, or incompatible printing surfaces can contribute to this problem.
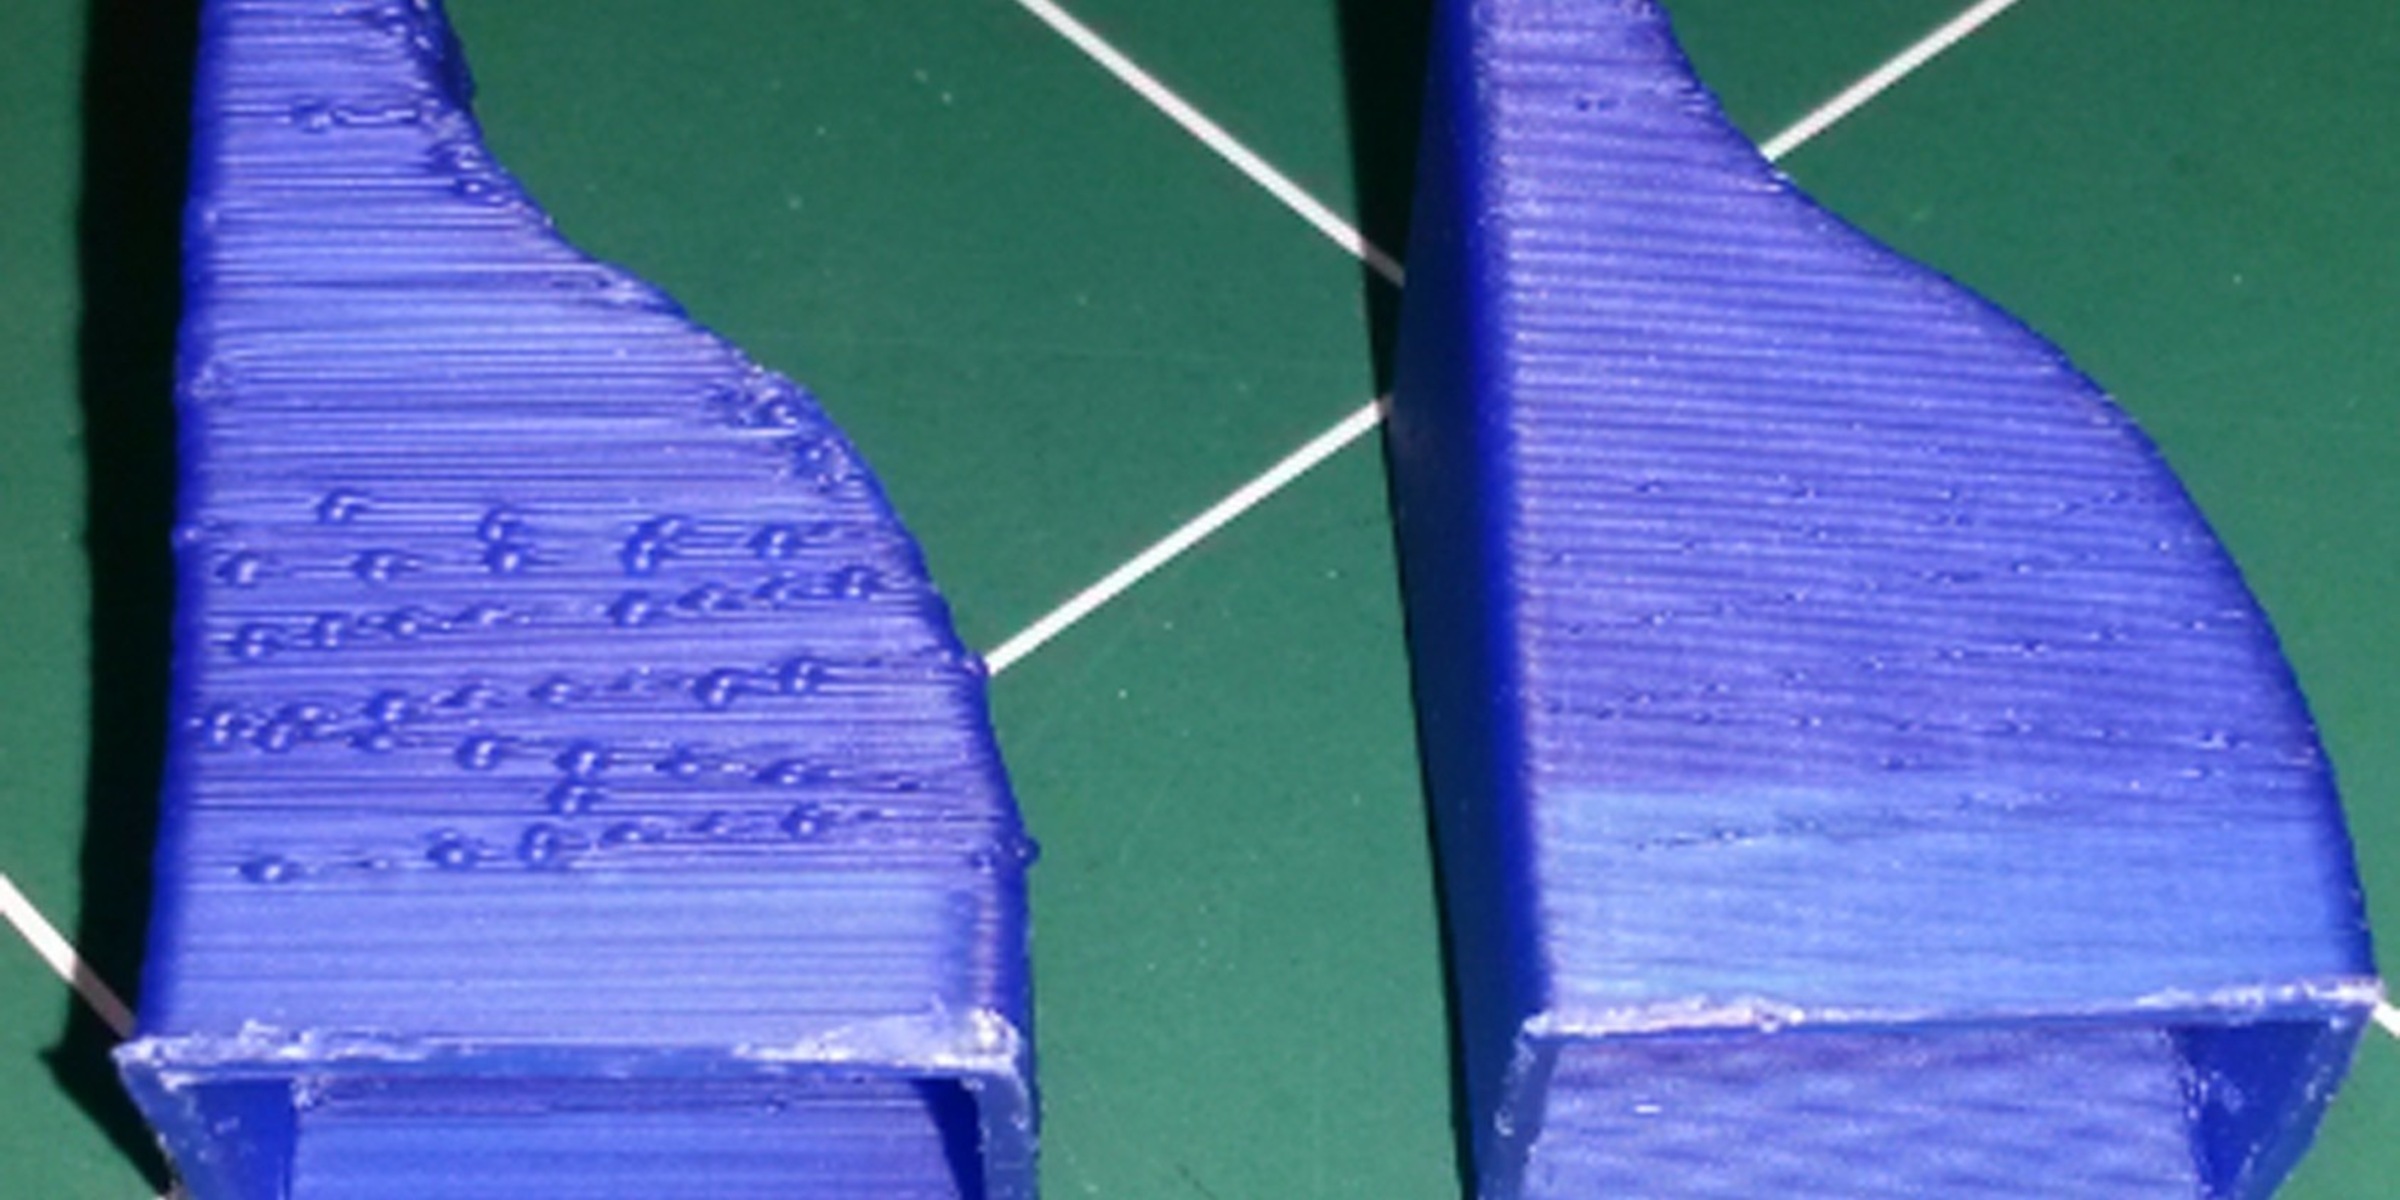
- Poor Surface Quality: Poor surface quality refers to surface defects such as roughness, bumps, or visible layer lines. It can be caused by incorrect layer height settings, insufficient cooling, or inadequate print quality settings.
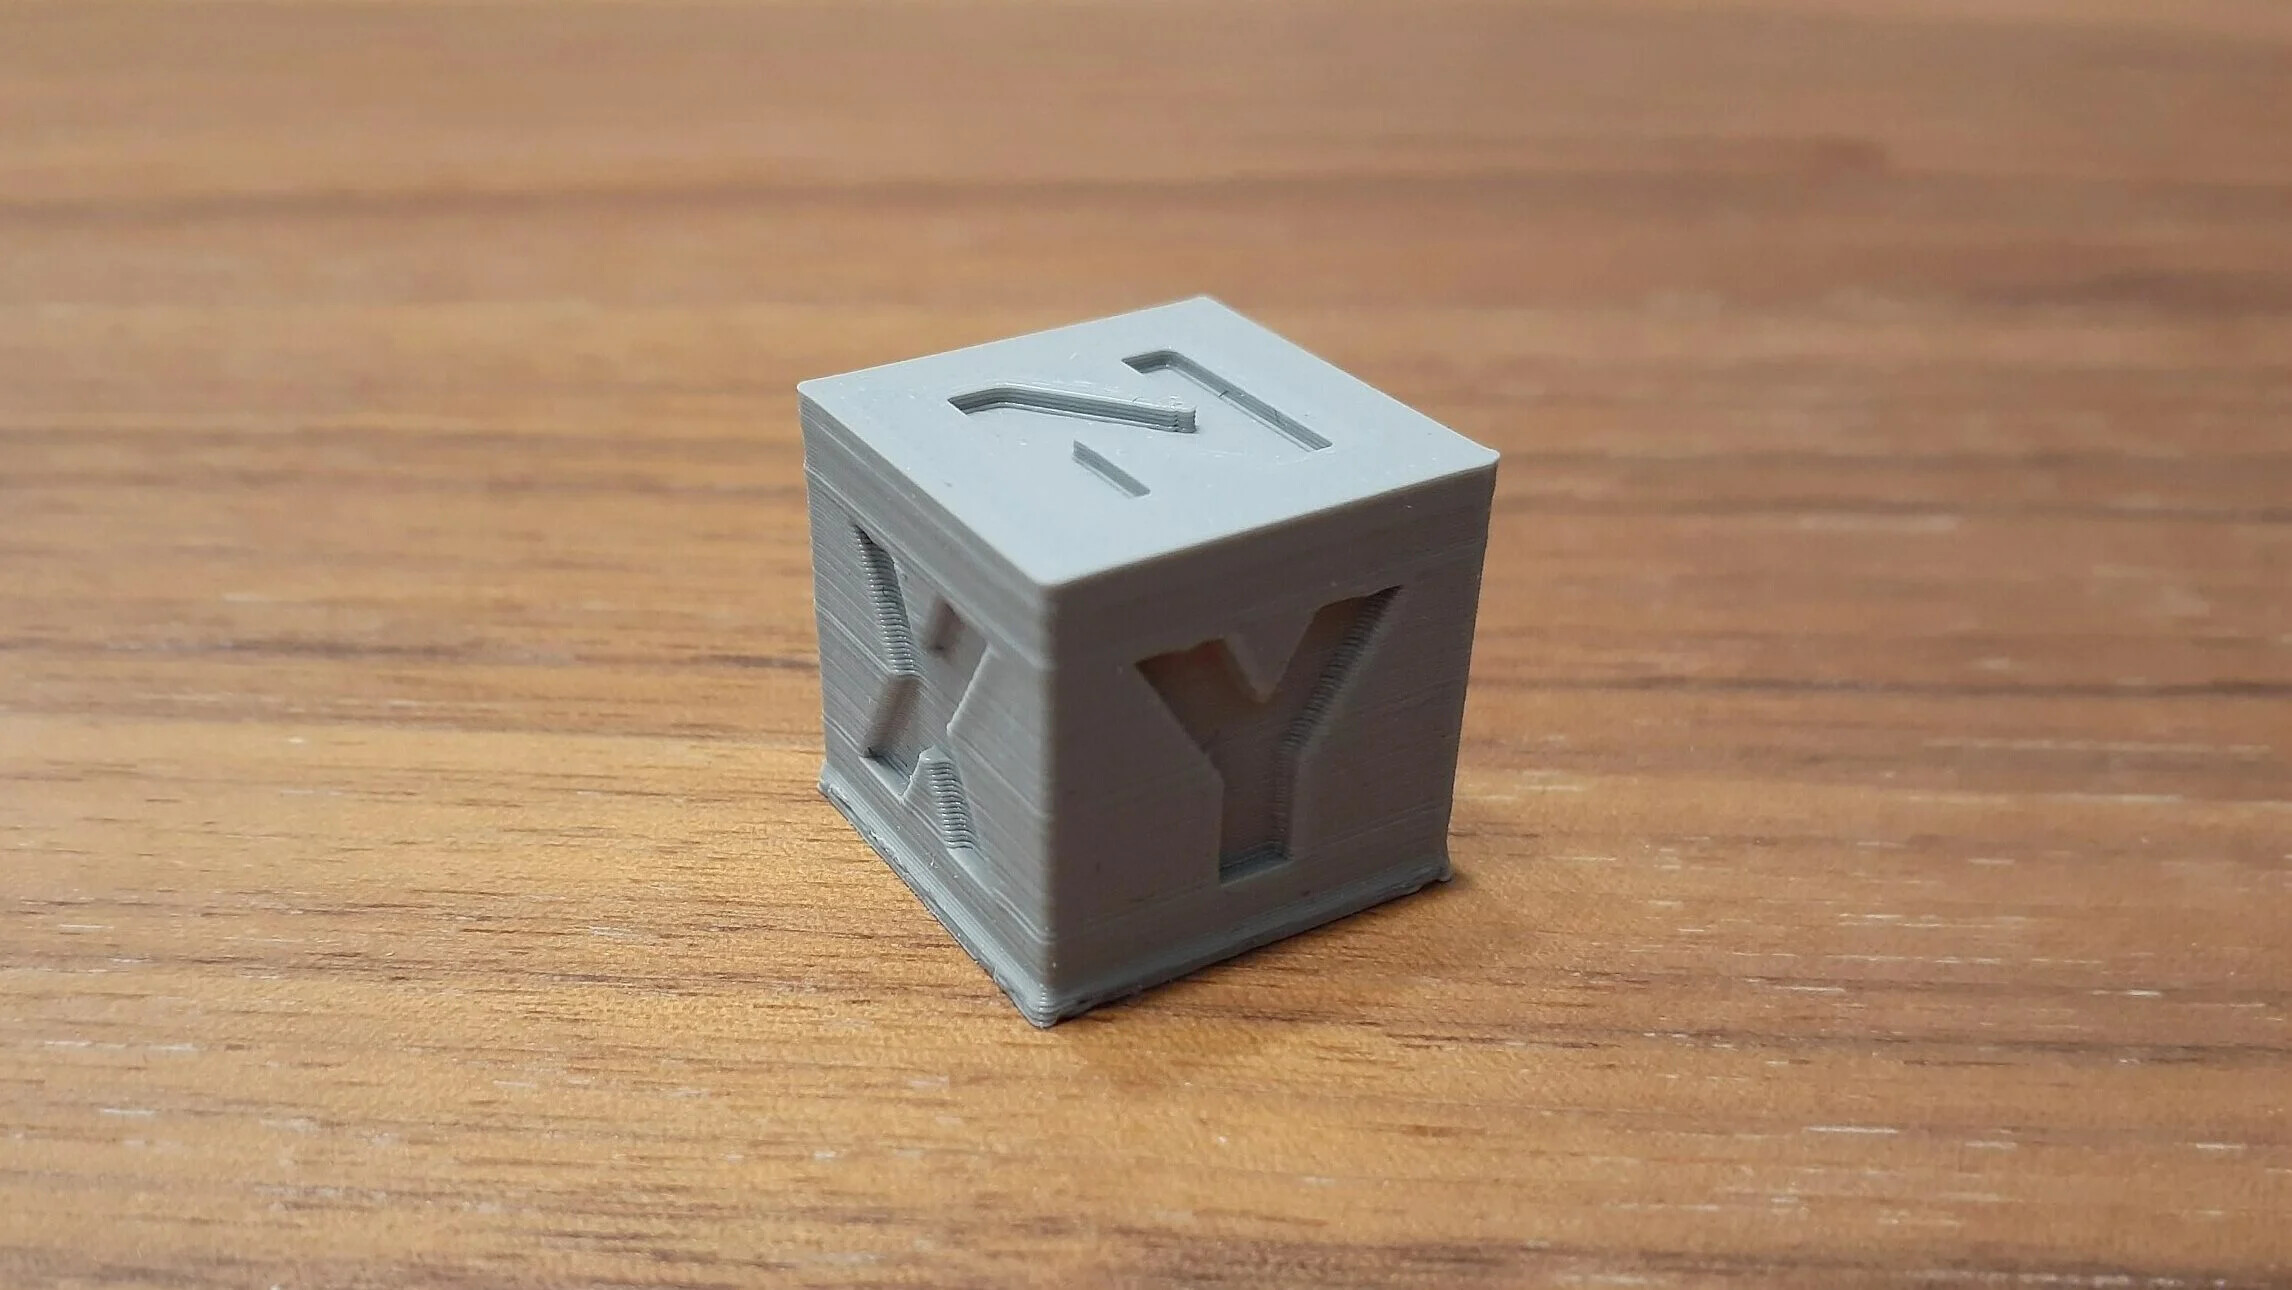
- Calibration Problems: Calibration problems can encompass a range of issues, including improper leveling of the print bed, misalignment of the axes, or skewing of the prints. These problems can result in skewed prints, distorted dimensions, or failed prints.
By being aware of these common 3D printing problems, you can take proactive steps to troubleshoot and resolve them. In the following sections, we will provide you with practical solutions and tips to address each of these issues, helping you achieve optimal results with your 3D printer.
Warping
Warping is a common issue in 3D printing where the corners or edges of a print curl upwards or detach from the build platform. This problem can be frustrating as it often leads to failed or distorted prints. However, understanding the factors that contribute to warping and implementing appropriate solutions can help mitigate this issue.
Several factors can cause warping, including:
- Inadequate bed adhesion: If the first layer of your print does not adhere well to the build platform, it can result in warping. Ensure that the build platform is clean and level, and consider using adhesion aids such as adhesive sprays or tapes.
- Uneven cooling: Uneven cooling of the printed object can cause different parts to cool at different rates, leading to warping. Consider implementing a cooling fan to provide consistent cooling throughout the printing process.
- Insufficient material flow: In some cases, warping can occur due to inconsistent material flow during the printing process. To address this, ensure that the material is properly loaded and flowing smoothly through the extruder.
- Printing large, flat objects: Large, flat objects are more prone to warping due to the larger surface area. Consider using a brim or raft around the print to provide additional support and improve bed adhesion.
- Material and temperature settings: Different materials have varying levels of susceptibility to warping. Experiment with different filament types and adjust the printing temperature to find the best settings for minimizing warping.
To mitigate warping, here are some potential solutions:
- Ensure proper bed leveling and cleanliness. A level and clean build platform provide a solid foundation for good adhesion.
- Implement a heated build platform. Heating the build platform can help improve bed adhesion for certain materials that require higher temperatures.
- Use a brim or raft. Adding a brim or raft can increase the contact area between the print and the build platform, improving adhesion and reducing warping.
- Apply adhesion aids. Adhesive sprays, build surfaces, or painter’s tape can be used to improve bed adhesion and reduce the chances of warping.
- Optimize cooling settings. Ensure that the cooling fan is properly positioned and adjust the cooling settings to provide consistent cooling throughout the print.
- Experiment with different materials and temperature settings. Different filament types have different warping tendencies, so try adjusting the printing temperature to find the optimal settings.
By implementing these solutions and experimenting with different settings, you can significantly reduce warping and achieve more successful prints on your 3D printer.
Stringing
Stringing is a common problem in 3D printing where thin strands or wisps of material are left between different parts of the print. These string-like structures, also known as “stringing” or “oozing,” can negatively affect the final appearance and quality of the print. However, by understanding the causes of stringing and implementing effective solutions, you can minimize and even eliminate this issue.
Several factors can contribute to stringing:
- Retraction settings: Improper retraction settings can result in excessive material flow, leading to stringing. Retraction refers to the process where the filament is pulled back slightly to prevent oozing during non-printing moves.
- Material flow rate: Higher material flow rates can cause excess material to be deposited, resulting in stringing. It is important to balance the material flow rate to ensure precise extrusion.
- Printing temperature: Inconsistent or incorrect temperature settings can cause the material to become too fluid, leading to increased stringing. Finding the optimal printing temperature for your filament type can help minimize this issue.
- Travel speed: High travel speeds between different printing areas can cause excess material to be dragged along, resulting in stringing. Adjusting the travel speed and acceleration settings can help reduce this problem.
To minimize stringing, consider the following solutions:
- Retraction settings: Adjust the retraction distance and speed in your printer’s settings. Increasing the retraction distance and speed can help retract the filament more effectively, reducing the chances of stringing.
- Optimize material flow rate: Fine-tune the material flow rate in your slicer software or printer’s settings. Lowering the flow rate slightly can help prevent excessive material from being extruded, minimizing stringing.
- Experiment with temperature settings: Adjust the printing temperature to find the optimal temperature for your filament. Lowering the temperature slightly can reduce the fluidity of the material, decreasing the likelihood of stringing.
- Adjust travel speed: Reduce the travel speed between different printing areas to minimize the dragging of material. Slowing down the travel speed can help prevent stringing by allowing the excess material to be properly retracted.
- Enable or increase the retraction combing: Combing is a feature in some slicer software that allows the printer to avoid crossing already-printed areas. Enabling or increasing the combing distance can help reduce the chances of stringing.
By implementing these solutions and fine-tuning your settings, you can significantly reduce stringing and achieve cleaner and more precise prints on your 3D printer.
Layer Shifting
Layer shifting is a frustrating problem that can occur during 3D printing when the layers of the printed object shift or misalign, resulting in a distorted final print. This issue can be caused by various factors, including mechanical malfunctions and loose belts. Understanding the causes and implementing troubleshooting techniques can help address layer shifting effectively.
Here are some common causes of layer shifting:
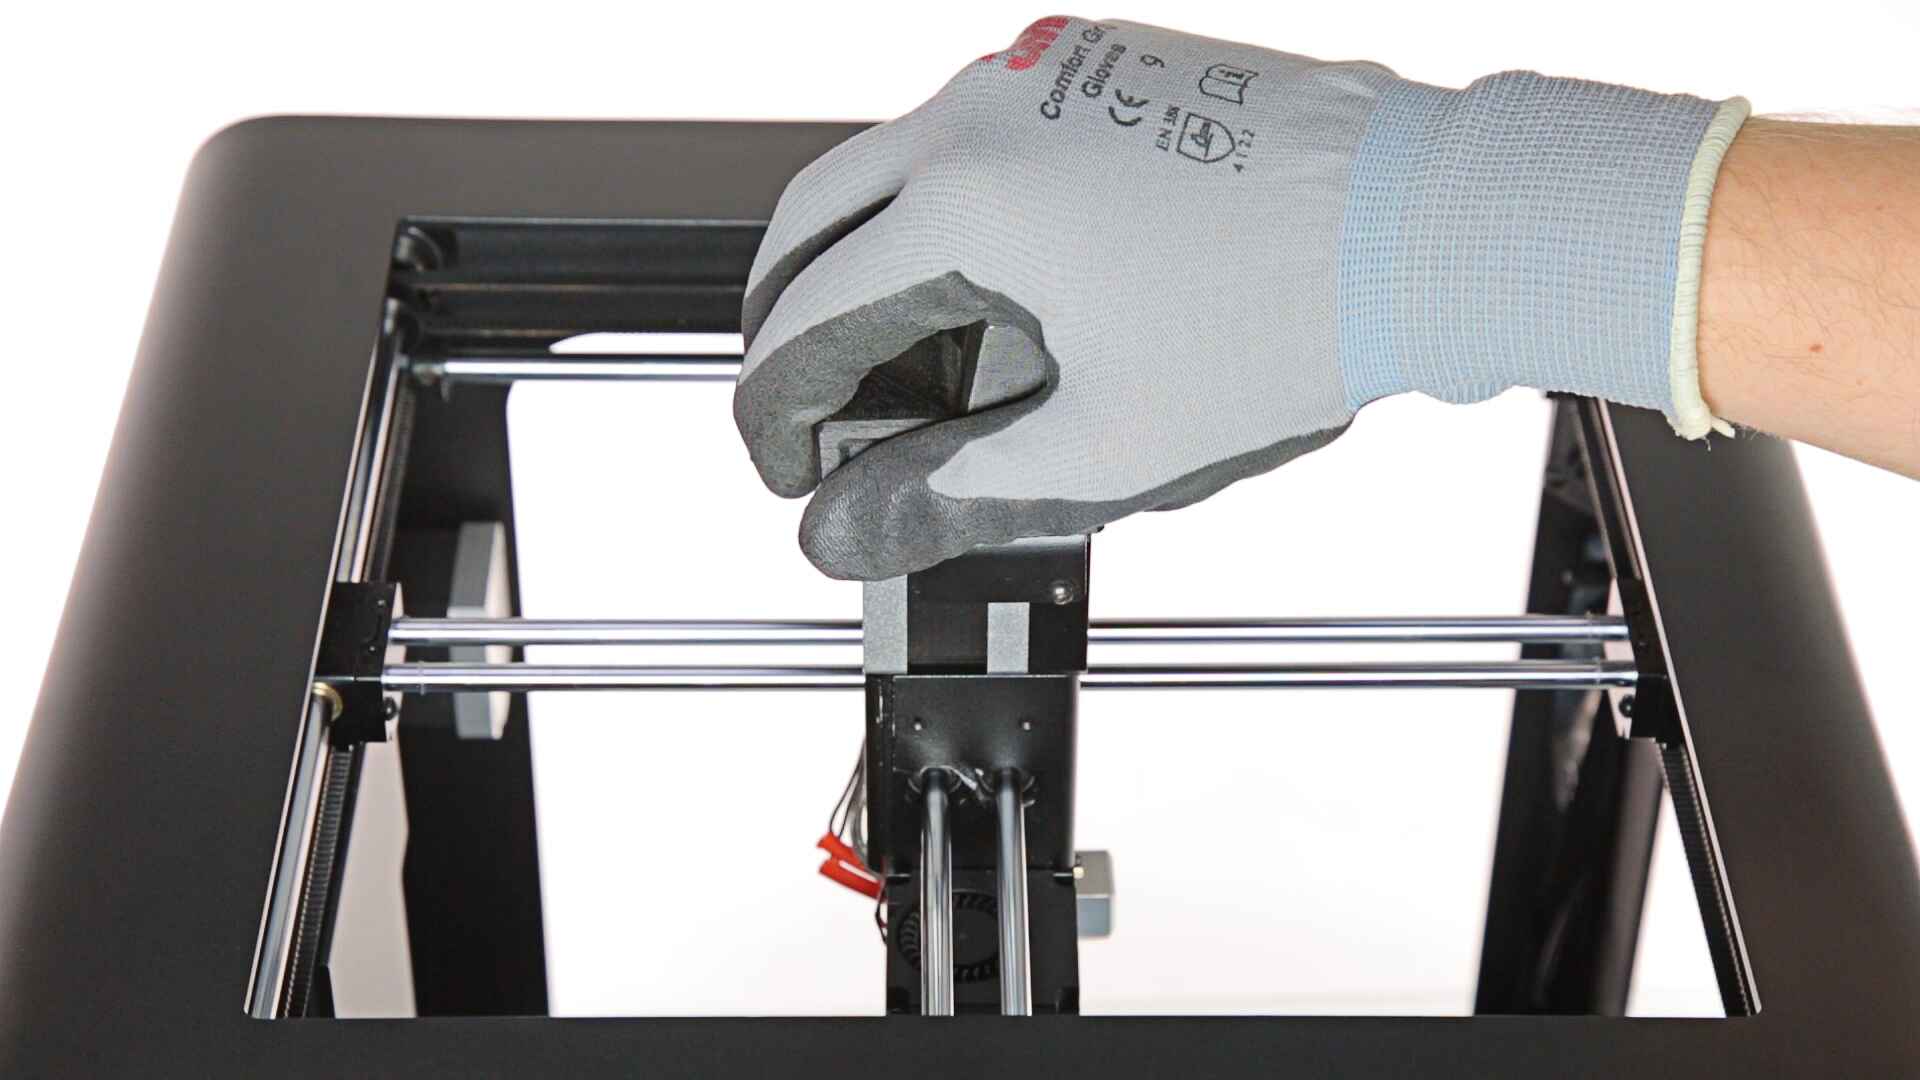
- Loose belts: If the belts that control the movement of the print head are loose, they can cause the layers to shift during printing. Ensure that the belts are tightened properly to minimize this issue.
- Mechanical issues: Problems with the printer’s mechanical components, such as the stepper motors or the gantry, can lead to layer shifting. Regular maintenance and inspection of these components can help prevent or identify any issues.
- Obstructions or interference: Objects or obstacles in the printer’s workspace can interfere with the print head’s movement, causing layer shifting. Make sure there are no obstructions that could impede the smooth operation of the print head.
- Sudden jolts or vibrations: Unexpected movement or vibrations during the printing process can cause the layers to shift. Ensure that your printer is placed on a stable surface and minimize any external factors that could cause unnecessary movement.
To troubleshoot and resolve layer shifting, consider the following solutions:
- Check and tighten belts: Inspect the belts and ensure that they are tight and properly secured. Loose belts can be tightened using tensioners or by adjusting the pulleys.
- Inspect and maintain mechanical components: Regularly check the printer’s mechanical components for any signs of wear or damage. Grease or lubricate the moving parts as recommended by the manufacturer to ensure smooth operation.
- Remove obstructions: Clear the printer’s workspace of any objects or debris that could interfere with the print head’s movement. Ensure that the print bed is clean and free from any obstructions.
- Secure the printer: Place your printer on a stable surface to minimize any movement or vibrations that could lead to layer shifting. Consider using anti-vibration pads or enclosures to further reduce the impact of external factors.
By implementing these solutions and maintaining your printer properly, you can significantly reduce the occurrence of layer shifting and achieve more accurate and reliable prints on your 3D printer.
Nozzle Clogging
Nozzle clogging is a common problem in 3D printing that can disrupt the extrusion of material and lead to failed or incomplete prints. It occurs when debris or filament residue accumulates in the nozzle, blocking the smooth flow of material. Understanding the causes of nozzle clogging and implementing preventative measures can help you maintain a reliable extrusion process.
Here are some common causes of nozzle clogging:
- Dust and debris: Dust particles or debris in the filament can accumulate in the nozzle and cause clogs. It is important to handle and store your filament in a clean and dust-free environment.
- Imperfect filament feeding: Issues with the filament feeding mechanism can lead to inconsistent or partial feeding, resulting in clogs. Ensure that the filament is properly loaded and that the feeding mechanism is clean and functioning correctly.
- Worn-out nozzle: Over time, the nozzle can wear out or accumulate residue, making it more prone to clogging. Regularly inspect and clean the nozzle, and replace it if necessary.
To prevent nozzle clogging, consider the following solutions:
- Use high-quality filament: Invest in high-quality filament from reputable suppliers to minimize the presence of contaminants that could lead to clogs.
- Clean the filament: Before loading the filament, inspect it for any dust or debris and clean it if necessary. A filament cleaner or a lint-free cloth can be used to remove any contaminants.
- Keep the printer clean: Regularly clean the extruder assembly, including the feeder mechanism and the nozzle. This helps prevent the accumulation of debris and ensures smooth filament flow.
- Perform regular maintenance: Follow the manufacturer’s guidelines for maintenance, including cleaning and replacing the nozzle periodically. This helps maintain optimal extrusion and prevents clogs.
- Use filament filters: Filament filters can be attached to the filament spool to catch any dust or debris before it enters the extruder, reducing the chances of clogging.
By implementing these preventative measures and performing regular maintenance on your 3D printer, you can minimize the occurrence of nozzle clogging and enjoy a more reliable and uninterrupted printing experience.
Under-Extrusion
Under-extrusion is a common problem in 3D printing that occurs when the printer fails to deposit enough material, resulting in weak or incomplete prints. This can be frustrating as it can lead to issues such as poor layer adhesion and gaps in the print. Understanding the causes of under-extrusion and implementing effective solutions can help you achieve consistent and high-quality prints.
There are several factors that can cause under-extrusion:
- Partially clogged nozzle: A partially clogged nozzle can restrict the flow of filament, leading to under-extrusion. It is essential to regularly clean and maintain your nozzle to prevent clogs.
- Incorrect material flow: Insufficient material flow can result in under-extrusion. This can be caused by a misaligned extruder motor, incorrect flow rate settings, or a worn-out extruder gear.
- Incorrect temperature settings: The printing temperature plays a crucial role in ensuring proper material flow. Incorrect temperature settings can affect the viscosity of the filament and result in under-extrusion.
- Incorrect filament diameter: Using filament with an incorrect diameter setting in your slicer software can cause under-extrusion. Make sure to measure your filament’s diameter accurately and adjust the settings accordingly.
To address under-extrusion, consider the following solutions:
- Clean the nozzle: Regularly clean the nozzle to remove any accumulated debris or residue that could be causing partial clogs. Use a nozzle cleaning kit or perform cold pulls to clear any blockages.
- Check and adjust the extruder motor: Ensure that the extruder motor is properly aligned and functioning correctly. Adjust the tension on the extruder gear if necessary to ensure consistent material feeding.
- Calibrate the flow rate: Adjust the flow rate settings in your slicer software to ensure the appropriate amount of material is being extruded. You may need to increase or decrease the flow rate to achieve optimal extrusion.
- Check and adjust the temperature: Experiment with different temperature settings to find the optimal printing temperature for your filament. Adjusting the temperature can help improve the flow and extrusion consistency.
- Verify filament diameter: Measure the diameter of your filament accurately using calipers and update the filament diameter settings in your slicer software. This ensures that the software calculates the correct amount of material to extrude.
By implementing these solutions and ensuring proper maintenance of your 3D printer, you can minimize under-extrusion and achieve more consistent and high-quality prints.
Over-Extrusion
Over-extrusion is a common issue in 3D printing where the printer deposits an excessive amount of material, resulting in bulging or oozing in the printed object. This can lead to poor surface quality, dimensional inaccuracies, and even failed prints. Understanding the causes of over-extrusion and implementing appropriate solutions can help you achieve more precise and visually appealing prints.
Here are some common causes of over-extrusion:
- High material flow rate: A high material flow rate can cause the extruder to push out more material than necessary, leading to over-extrusion. It is important to optimize the flow rate settings in your slicer software.
- Incorrect extrusion multiplier: The extrusion multiplier controls the amount of material extruded during printing. An incorrect multiplier can result in over-extrusion. Calibrate and adjust this setting in your slicer software as needed.
- Incorrect temperature settings: Incorrect temperature settings can cause the filament to become too fluid, resulting in over-extrusion. Verify and adjust the temperature settings to achieve optimal extrusion consistency.
- Slow cooling: Insufficient cooling time between layers or inadequate cooling fans can lead to over-extrusion. Proper cooling is necessary to allow each layer to solidify before the next one is deposited.
To address over-extrusion, consider the following solutions:
- Adjust the flow rate settings: Fine-tune the material flow rate settings in your slicer software to achieve the desired extrusion amount. Lowering the flow rate can help prevent excessive material deposition.
- Calibrate the extrusion multiplier: Calibrate and adjust the extrusion multiplier setting in your slicer software to ensure accurate material deposition. This setting should allow for precise extrusion without overloading the printed object.
- Review and adjust temperature settings: Experiment with different temperature settings to find the optimal temperature for your filament. Adjusting the temperature can help achieve a proper balance between material viscosity and flow.
- Improve cooling: Verify that the cooling fans are working correctly and positioned properly. Ensure that there is sufficient cooling time between layers to allow for proper solidification of the material.
By implementing these solutions and making adjustments to your printer’s settings, you can reduce over-extrusion and achieve more accurate and visually appealing prints.
Bed Adhesion Issues
Bed adhesion is crucial for successful 3D printing, as it ensures that the first layer adheres securely to the build platform. Poor bed adhesion can result in warped or detached prints, leading to failed or compromised print quality. Understanding the causes of bed adhesion issues and implementing effective solutions can help you achieve better adhesion and improve the overall printing results.
Here are some common causes of bed adhesion issues:
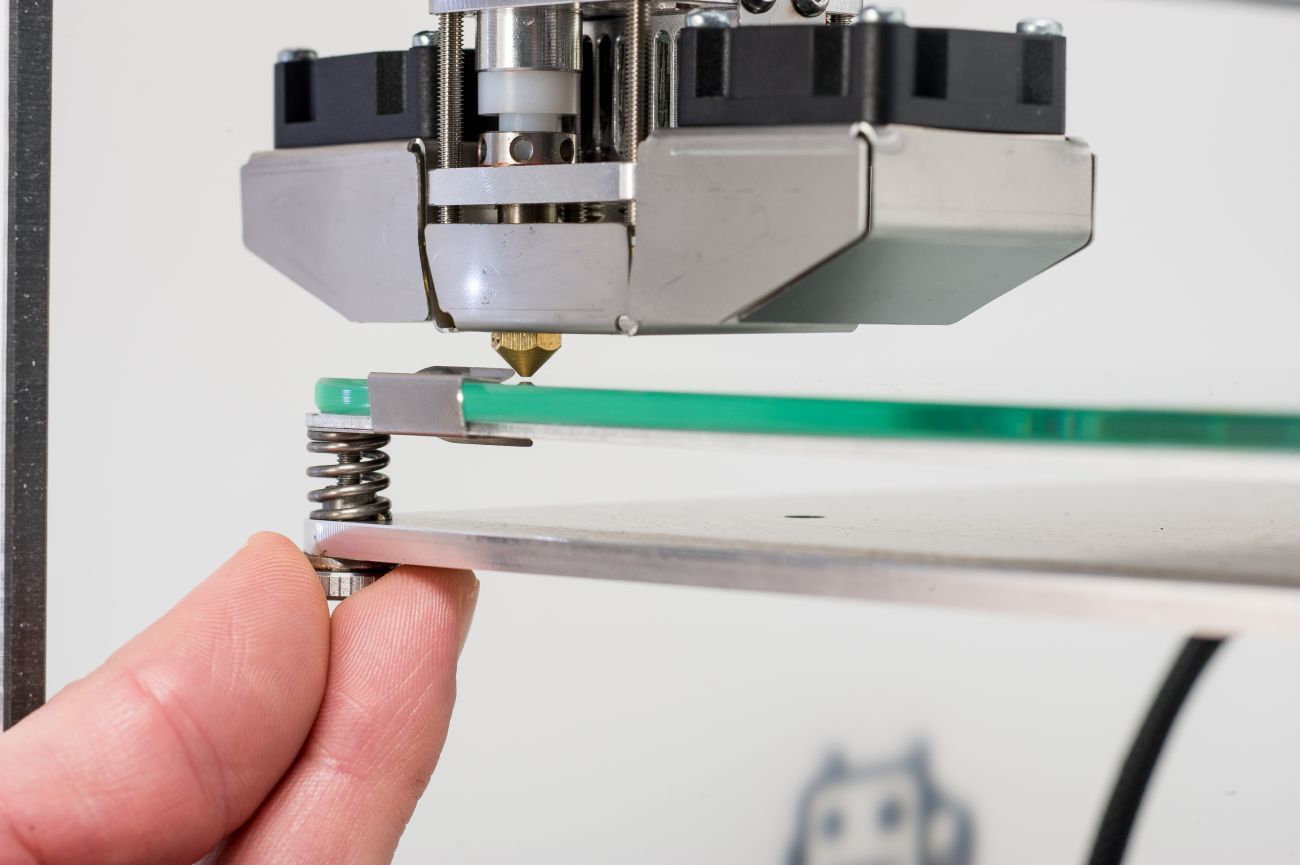
- Improper bed leveling: If the print bed is not properly leveled, it can lead to uneven bed adhesion. Leveling the bed ensures that the first layer is deposited at the correct height and in proper contact with the build surface.
- Insufficient bed temperature: Some materials require a heated bed to achieve proper adhesion. If the bed temperature is too low, the first layer may not adhere well to the build platform, leading to poor adhesion.
- Incompatible printing surfaces: Using an incompatible or improper printing surface can affect bed adhesion. The surface should have the right texture and material compatibility to ensure proper adhesion.
- Inadequate bed preparation: Skipping or improperly preparing the build surface can affect bed adhesion. Proper preparation includes cleaning the surface, applying adhesion aids (such as adhesive sprays or tapes), or using a build plate with a textured surface.
To improve bed adhesion, consider the following solutions:
- Level the print bed: Ensure that the print bed is properly leveled before each print. Follow the instructions from your printer’s manual or use a leveling tool to adjust the bed height precisely.
- Set the appropriate bed temperature: Refer to the filament manufacturer’s guidelines for the recommended bed temperature. Adjust the bed temperature accordingly to ensure that it is suitable for the specific filament being used.
- Choose the right printing surface: Experiment with different printing surfaces to find the one that works best for your filament and desired print. Some common options include glass plates with adhesive surfaces, PEI sheets, or specialized textured build plates.
- Prepare the bed surface: Clean the build surface thoroughly before each print to remove any dirt or residue that could affect adhesion. If necessary, apply adhesion aids such as adhesive sprays or tapes to enhance bed adhesion.
- Optimize the first layer settings: Adjust the first layer settings in your slicer software, such as the printing speed, extrusion width, or initial layer height, to ensure proper first layer adhesion and good interlayer bonding.
By implementing these solutions and taking proper care of your print bed, you can improve bed adhesion and increase the success rate of your 3D prints.
Poor Surface Quality
Poor surface quality is a common issue in 3D printing that can affect the overall appearance and smoothness of the printed object. It is frustrating to invest time and effort into a print only to end up with rough, bumpy, or uneven surfaces. Understanding the causes of poor surface quality and implementing effective solutions can help you achieve smoother and more visually appealing prints.
Here are some common causes of poor surface quality:
- Incorrect layer height: The layer height determines the thickness of each layer of the print. Choosing an improper layer height can result in visible layer lines and rough surfaces.
- Inadequate cooling: If the printed layers do not have sufficient cooling time, they can become too soft and cause imperfections on the surface. Inadequate cooling can also contribute to stringing and drooping of overhangs.
- Insufficient print quality settings: Not using the appropriate print quality settings in your slicer software can lead to poor surface quality. Adjusting settings such as print speed, extrusion width, and layer adhesion can help improve the surface finish.
- Printing temperature: Incorrect printing temperature can affect the material flow and lead to poor surface quality. It is important to find the optimal temperature for your filament to achieve smooth and consistent extrusion.
To improve surface quality, consider the following solutions:
- Optimize layer height: Experiment with different layer heights to find the optimal setting for your desired surface finish. Smaller layer heights will result in finer details, while larger layer heights may be suitable for faster prints with less emphasis on surface smoothness.
- Ensure proper cooling: Ensure that your printer’s cooling fan is properly positioned and functioning correctly. Adjust the cooling settings in your slicer software to allow for adequate cooling time between layers, especially for small sections or overhangs.
- Adjust print quality settings: Fine-tune settings like print speed, extrusion width, and layer adhesion in your slicer software to improve surface quality. Slower speeds and smaller extrusion widths can help achieve smoother surfaces.
- Optimize printing temperature: Experiment with different printing temperature settings to find the optimal temperature for your specific filament. Finding the right balance between material flow and viscosity will help achieve better surface quality.
- Post-processing techniques: Consider post-processing techniques such as sanding, priming, or smoothing with acetone vapor to further improve the surface quality of your prints.
By implementing these solutions and fine-tuning your printing settings, you can achieve smoother and more visually appealing surface finishes in your 3D prints.
Calibration Problems
Calibration problems can significantly impact the accuracy and reliability of 3D prints. When a printer is improperly calibrated, issues such as skewed prints, distorted dimensions, and failed prints can occur. It is essential to regularly calibrate your printer to ensure optimal performance and achieve the desired results. Understanding the causes of calibration problems and implementing appropriate solutions can help you overcome these challenges.
Here are some common calibration problems:
- Bed leveling: Improper bed leveling can lead to uneven first layers and result in skewed or detached prints. Accurate bed leveling ensures proper adhesion and consistent layer deposition.
- X, Y, Z axis alignment: Misalignment of the printer’s X, Y, or Z axis can cause prints to come out skewed or with distorted dimensions. Proper alignment is crucial to ensure accurate movement and positioning of the print head.
- Extruder steps per millimeter: Incorrect extruder steps per millimeter (E-steps) settings can affect the amount of filament extruded during printing. If the E-steps are set too high or too low, it can lead to under or over-extrusion, resulting in inaccurate prints.
- Print head offset: Incorrect print head offset can cause misalignment between the print head and the printer’s X, Y, or Z axis. This can result in prints that are not properly positioned on the build platform.
To address calibration problems, consider the following solutions:
- Bed leveling: Regularly check and properly level the print bed using a leveling tool or a piece of paper. Adjust the leveling screws or knobs as needed to ensure even contact between the nozzle and the bed.
- Axis alignment: Use a calibration cube or other calibration prints to check the alignment of your printer’s X, Y, and Z axes. Make adjustments to the printer’s mechanical components, such as belts and rods, to ensure proper alignment.
- Extruder steps per millimeter: Calibrate the extruder steps per millimeter to ensure accurate filament extrusion. Use a calibration print or a filament distance measurement to fine-tune the E-steps settings in your printer’s firmware.
- Print head offset: Check and adjust the print head offset in your printer’s firmware or slicer software to ensure proper alignment. Refer to your printer’s manual or online resources for guidance on adjusting the offset values.
- Regular maintenance: Regularly inspect and clean your printer’s mechanical components. Lubricate moving parts, check for loose screws, and perform any necessary maintenance to ensure smooth and accurate movement.
By implementing these solutions and regularly calibrating your printer, you can overcome calibration problems and achieve more accurate and reliable 3D prints.
Troubleshooting and Solutions
When facing 3D printing problems, it is important to have a troubleshooting mindset and be equipped with effective solutions to overcome the challenges. Here, we will provide you with a comprehensive list of troubleshooting techniques and solutions that can help address various issues commonly encountered in 3D printing.
1. Start with a strong foundation:
- Ensure that your printer is properly calibrated, including bed leveling, axis alignment, and extrusion settings. A well-calibrated printer provides a solid foundation for successful prints.
- Use high-quality filament from reputable suppliers to minimize the chances of encountering extrusion and material-related issues.
2. Address common problems:
- For warping issues, ensure proper bed adhesion through leveling, use of adhesion aids, and optimizing cooling and temperature settings.
- To address stringing, adjust retraction settings, optimize material flow rate, and experiment with different temperature settings to find the optimal parameters.
- Layer shifting can be resolved by tightening belts, ensuring mechanical components are in good condition, and minimizing jolts or vibrations during printing.
- To tackle nozzle clogging, regularly clean the nozzle, inspect the filament for dust or debris, and maintain proper filament feeding.
- For under-extrusion problems, check for nozzle blockages, adjust material flow rate and printing temperature, and ensure proper filament feeding.
- Address over-extrusion by adjusting flow rate settings, calibrating extrusion multipliers, and optimizing print temperature and cooling settings.
- Improve bed adhesion by leveling the bed, using the correct bed temperature for your filament, choosing suitable printing surfaces, and adequately preparing the bed surface.
- To address poor surface quality, optimize layer height, ensure proper cooling, adjust print quality settings, and fine-tune printing temperatures.
- Tackle calibration problems by regularly checking and adjusting bed leveling, axis alignment, extruder steps per millimeter, and print head offset.
3. Iterate and test:
- Don’t be discouraged by initial failures. Use them as opportunities to learn and iterate. Make small adjustments to your settings and test the results to find the optimal configuration.
- Keep a record of your troubleshooting steps and the solutions that worked. This will help you build your knowledge base and enable quick reference in future prints.
Remember, each 3D printer is unique, and different models may require specific troubleshooting approaches. Consult your printer’s user manual and online resources for more detailed instructions and guidance specific to your printer model.
By following these troubleshooting techniques and implementing the suggested solutions, you can overcome various 3D printing problems and achieve better results with your 3D printer.
Conclusion
3D printing is an exciting technology that allows us to turn digital designs into physical objects. However, it is not without its challenges. From warping and stringing to nozzle clogging and poor surface quality, 3D printing problems can arise and hinder the printing process. Understanding the causes of these issues and implementing effective solutions is essential for achieving successful and high-quality prints.
In this article, we have explored nine common 3D printing problems and provided practical solutions to address each of them. By properly troubleshooting and implementing the suggested solutions, you can overcome issues such as warping by optimizing bed adhesion and cooling, tackle stringing by adjusting retraction settings and material flow rates, and resolve nozzle clogging by regularly cleaning the nozzle and ensuring proper filament feeding.
We have also discussed how to address under-extrusion by checking for nozzle blockages and adjusting flow rates, and how to tackle over-extrusion by optimizing flow rate settings and adjusting print temperatures. Bed adhesion issues can be resolved by leveling the bed, using the appropriate bed temperature, and preparing the bed surface adequately. Poor surface quality can be improved through optimizing layer height, cooling, and print quality settings.
Lastly, we explored how calibration problems can impact print accuracy and provided guidance on addressing them through regular maintenance, calibration, and alignment adjustments.
Remember, each 3D printer is unique, and it may require some trial and error to find the optimal settings and solutions for your specific model. Regularly consult your printer’s user manual and online resources for specific guidance and instructions.
By developing a troubleshooting mindset, experimenting with different settings, and implementing the solutions discussed in this article, you can overcome common 3D printing problems and achieve successful prints. Enjoy the exciting journey of 3D printing and unleash your creativity!