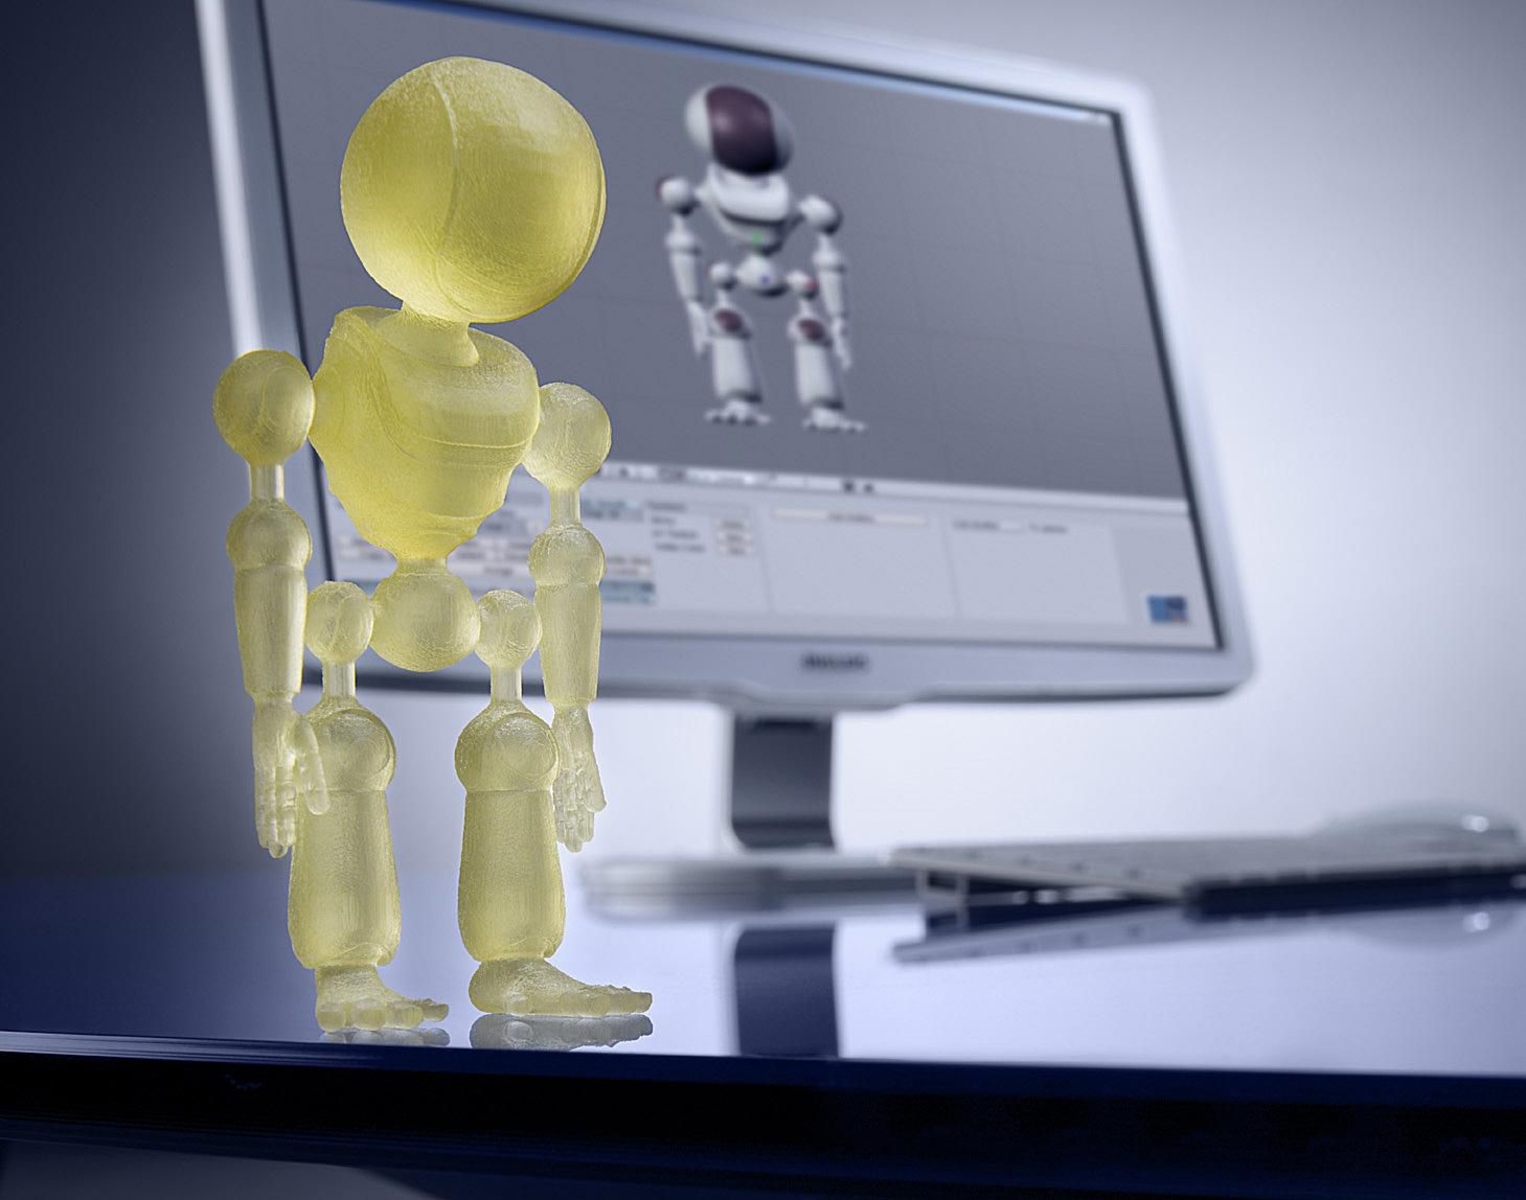
Introduction
Welcome to the world of 3D printing, where creativity and innovation come to life! Whether you’re a seasoned enthusiast or just beginning your journey, it’s not uncommon to encounter issues with your 3D printer. From clogged nozzles to misaligned axes, these challenges can be frustrating. But fear not! In this article, we will guide you through a step-by-step process to help you fix common issues with your 3D printer.
Before we dive into the troubleshooting steps, it’s important to understand that 3D printing involves a complex interplay of various components. From the nozzle that extrudes the melted filament to the intricate wiring that powers the machine, each part plays a crucial role in producing high-quality prints. Identifying the root cause of the problem is the first step towards finding a solution.
By following the steps outlined in this guide, you’ll be equipped with the knowledge and techniques to tackle most common issues encountered during 3D printing. From basic maintenance tasks like cleaning the nozzle and checking the filament, to more advanced adjustments like calibrating the printer and realigning the axis, we’ve got you covered.
It’s worth noting that not all problems can be solved without seeking professional help. If you’ve exhausted all troubleshooting options and are still experiencing issues, it’s advisable to consult a certified technician or contact the manufacturer for assistance. Without further ado, let’s jump in and learn how to fix your 3D printer!
Step 1: Identify the Problem
When your 3D printer isn’t working as expected, the first step is to identify the specific issue. This may seem obvious, but properly identifying the problem will give you a clear direction on how to proceed with troubleshooting.
Start by closely examining the printer for any visible signs of malfunction. Is the filament not extruding? Are the prints consistently coming out warped or misshapen? Is the printer emitting strange noises or error messages? Take note of these observations as they will help you narrow down the possible causes.
Next, consider any recent changes or modifications you may have made to the printer. Did you install new software or firmware? Have you made adjustments to the printer’s settings? Understanding any changes you’ve implemented can provide important clues as to the source of the problem.
If you’re experiencing issues with specific prints, it’s also worth examining the model file and slicing settings. Are there any complex features or overhangs in the design that could be causing problems? Are the layer heights and print speeds properly configured for the specific filament being used?
Finally, consult the printer’s documentation or online resources for common issues experienced by other users. Many manufacturers provide troubleshooting guides or forums where users can share and find solutions for their specific printer models.
By carefully identifying and understanding the problem, you’ll be able to approach the troubleshooting process with a focused mindset. In the following steps, we will address common issues and provide step-by-step instructions to help you resolve them.
Step 2: Clean the Nozzle
One of the most common issues that 3D printing enthusiasts face is a clogged nozzle. Over time, tiny particles of filament or debris can accumulate in the nozzle, obstructing the smooth flow of material. This can result in uneven extrusion, poor print quality, or even complete failure to extrude.
To clean the nozzle, start by heating the printer to the recommended temperature for the filament currently loaded. Once the printer reaches the correct temperature, using a pair of tweezers or a small wire brush, gently remove any visible debris from the nozzle tip. Be careful not to apply excessive force and avoid scratching the nozzle while cleaning.
If there is stubborn residue that cannot be removed using tweezers or a brush, you can try using a cold-pull method. First, heat the nozzle to the appropriate temperature, then pause the print and carefully remove the filament. Cut off the melted end of the filament, leaving a clean tip. Next, allow the nozzle to cool down slightly until it’s no longer too hot to touch. Insert the clean end of the filament a few centimeters into the nozzle, and then apply gentle upward pressure while pulling it out. This technique can help dislodge any blockages or trapped debris.
Another option is to use a specialized cleaning filament. This filament is designed to remove any residue or contaminants from the nozzle and can be run through the extruder like regular filament. Follow the manufacturer’s instructions for using the cleaning filament.
After cleaning the nozzle, perform a test print to ensure that the extrusion is smooth and consistent. If the issue persists, it may be necessary to repeat the cleaning process or consider additional troubleshooting steps.
Keeping the nozzle clean is crucial for maintaining optimal print quality and preventing future clogs. Regular maintenance and periodic cleaning will go a long way in ensuring a hassle-free 3D printing experience.
Step 3: Check the Filament
When troubleshooting issues with your 3D printer, checking the filament is an important step to ensure smooth and successful prints. Sometimes, problems with the filament can cause issues such as under-extrusion, inconsistent flow, or even complete print failures.
Start by examining the filament for any physical defects. Look for signs of tangles, knots, or kinks that could cause interruptions in the material flow. If you notice any defects, carefully unwind and straighten the filament, taking care not to bend or stress it excessively.
Next, check the filament diameter. Most filaments come with a specified diameter, such as 1.75mm or 2.85mm. Use a caliper or a filament gauge to measure the diameter at several points along the spool. If you notice significant variations in diameter, it could affect the extrusion process. In such cases, consider using a filament that meets the manufacturer’s recommended specifications.
Moisture can also impact filament performance. If the printer’s filament spool has been exposed to high humidity or moisture, it can absorb moisture, leading to issues during printing. To remedy this, place the filament spool in a dry storage container or use a filament dryer or dehumidifier to remove any moisture present. This will help ensure smooth extrusion and prevent filament degradation.
Another critical aspect to check is the compatibility of the filament with the printer’s extruder temperature. Different filaments have different melting points, and using a filament with a temperature outside the recommended range can result in poor print quality or extrusion issues. Refer to the filament manufacturer’s specifications or recommended print settings for the ideal temperature range for that filament.
Lastly, consider the quality of the filament itself. Lower-quality filaments may contain impurities or inconsistencies that can lead to print problems. Investing in high-quality filaments from reputable manufacturers can significantly improve print results and reduce troubleshooting efforts.
By thoroughly checking the filament and ensuring its quality, diameter, and compatibility with the printer, you can minimize potential problems and optimize your 3D printing experience.
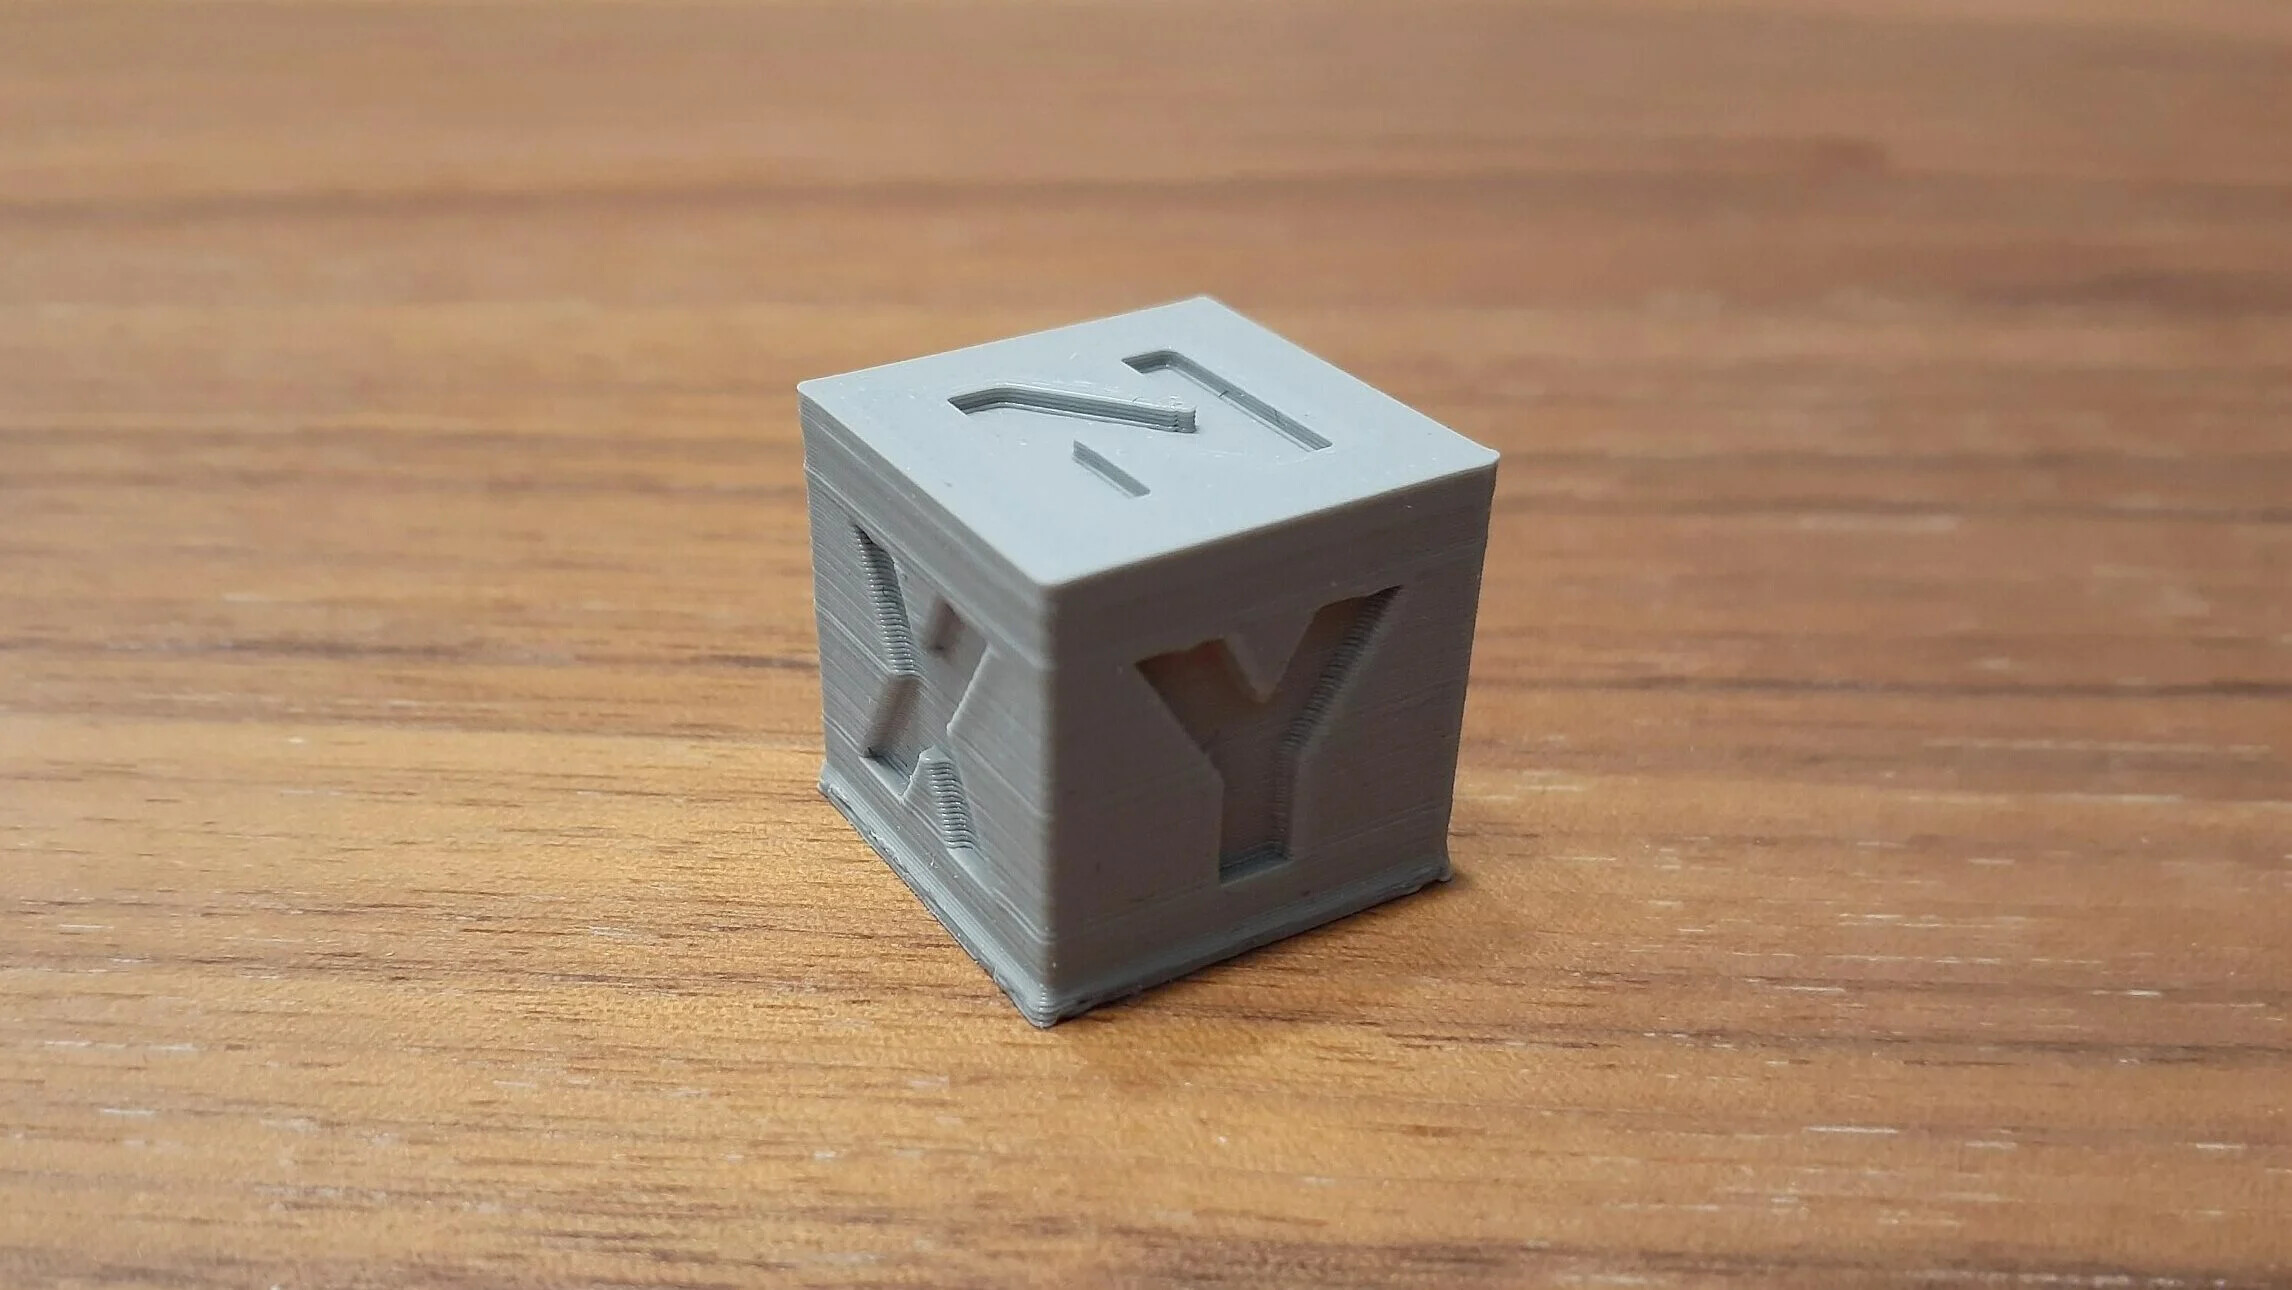
Step 4: Calibrate the Printer
Calibrating your 3D printer is crucial for achieving precise and accurate prints. Calibration ensures that the printer’s settings are properly adjusted to match the desired specifications and the characteristics of the filament being used. This step is especially important if you’re experiencing issues such as layer shifting, dimensional inaccuracies, or poor print quality.
There are several aspects of the printer that need to be calibrated, including the extruder steps-per-mm, the bed leveling, and the nozzle height.
Start by calibrating the extruder steps-per-mm. This calibration ensures that the printer is extruding the correct amount of filament for each movement. Use a caliper to measure a length of filament and mark it. Then, instruct the printer to extrude a specific amount of filament and measure the distance that is actually extruded. If the measured distance differs from the expected amount, adjust the extruder steps-per-mm in the printer’s firmware settings. Repeat this process until the extruder consistently extrudes the correct amount of filament.
Next, move on to bed leveling. A level bed is essential for ensuring proper layer adhesion and print quality. Many printers have an auto-leveling feature, but manual bed leveling may be required for best results. Use a sheet of printer paper as a feeler gauge and adjust the leveling screws on the bed until the nozzle just barely grips the paper when moved around the bed in different locations. This ensures a consistent distance between the nozzle and the bed surface.
Finally, calibrate the nozzle height or Z-offset. This calibration ensures that the nozzle is the correct distance from the print bed. Use a calibration card or sheet to adjust the nozzle height until it just lightly grips the card when moved underneath. This fine-tunes the first layer height and helps with proper adhesion and bed adhesion.
Regularly calibrating your printer is essential to maintain optimal performance. It may require some trial and error, but the time and effort invested in calibration will yield more consistent and higher-quality prints.
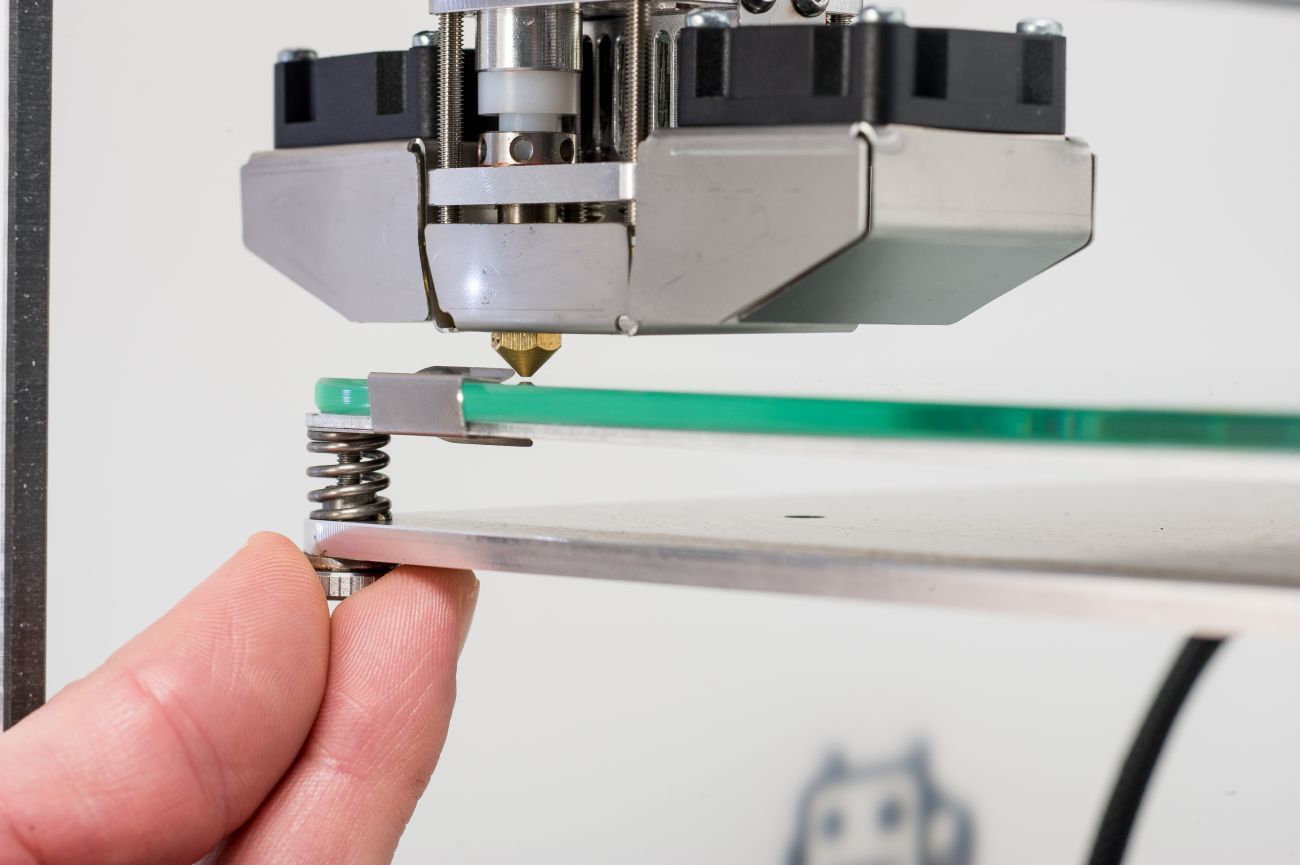
Step 5: Adjust the Bed Leveling
Proper bed leveling is crucial for achieving successful 3D prints. If the print bed is not level, it can lead to poor adhesion, uneven layers, and warped prints. Adjusting the bed leveling ensures a consistent distance between the nozzle and the bed throughout the printing process.
Start by homing the printer to its home position, usually referred to as the “zero” or “home” position. This is the starting point for all axes and provides a reference point for bed leveling adjustments.
Next, find the leveling mechanism on your printer. Some printers have manual adjustment screws or knobs, while others have automatic bed leveling features. Follow the instructions provided by the printer manufacturer to access and adjust the bed leveling mechanism.
For manual bed leveling, you’ll typically use a piece of paper or a feeler gauge to gauge the distance between the nozzle and the bed. Start by adjusting the corners of the bed using the leveling screws. Place the paper or gauge on the bed and move the nozzle towards each corner, adjusting the screws until you feel a slight resistance as the paper is gripped by the nozzle. Repeat this process for all four corners of the bed, ensuring that the nozzle is at the same distance from the bed in each corner.
If your printer has automatic bed leveling, follow the manufacturer’s instructions to activate and calibrate the feature. This usually involves using a sensor or probe to measure the distance between the nozzle and the bed at multiple points, allowing the printer to compensate for any variances in bed level.
After making adjustments, it’s important to recheck the bed leveling to ensure proper alignment. This can be done using the paper or gauge method described earlier.
Remember to recalibrate the bed leveling periodically, as vibrations or other factors can cause it to become misaligned over time. Regular maintenance and adjustment of the bed leveling will result in more accurate and reliable prints.
Step 6: Update Firmware
Updating the firmware of your 3D printer is an essential step to ensure optimal performance and compatibility with the latest features and improvements. Firmware, also known as the printer’s operating system, controls the various functions and settings of the printer.
Before updating the firmware, it’s important to back up any custom settings or configurations you’ve made on the printer. This will allow you to easily restore your preferences after the update.
To update the firmware, start by visiting the manufacturer’s website or the specific community forum for your printer model. Look for the latest firmware version and download it to your computer. The firmware file is typically in a .hex or .bin format.
Next, connect your printer to your computer using a USB cable or follow the specific instructions provided by the manufacturer for your printer model.
Once connected, open the firmware update tool provided by the manufacturer or use third-party firmware flashing software, such as Pronterface or Repetier. Follow the on-screen instructions to select the firmware file you downloaded and initiate the firmware update process.
During the firmware update, it’s crucial to avoid any interruptions, such as power loss or disconnecting the printer. This can lead to firmware corruption and potentially render the printer inoperable. Ensure that your computer and printer have stable power sources and maintain the connection throughout the update process.
After the firmware update is complete, it’s important to perform a factory reset or restore your previous settings if you have made any custom configurations. This will ensure that the printer operates as intended with the updated firmware.
Regularly updating the firmware is recommended to take advantage of new features, bug fixes, and overall improvements in performance and stability. Check for firmware updates periodically and stay up to date with the latest releases from the manufacturer.
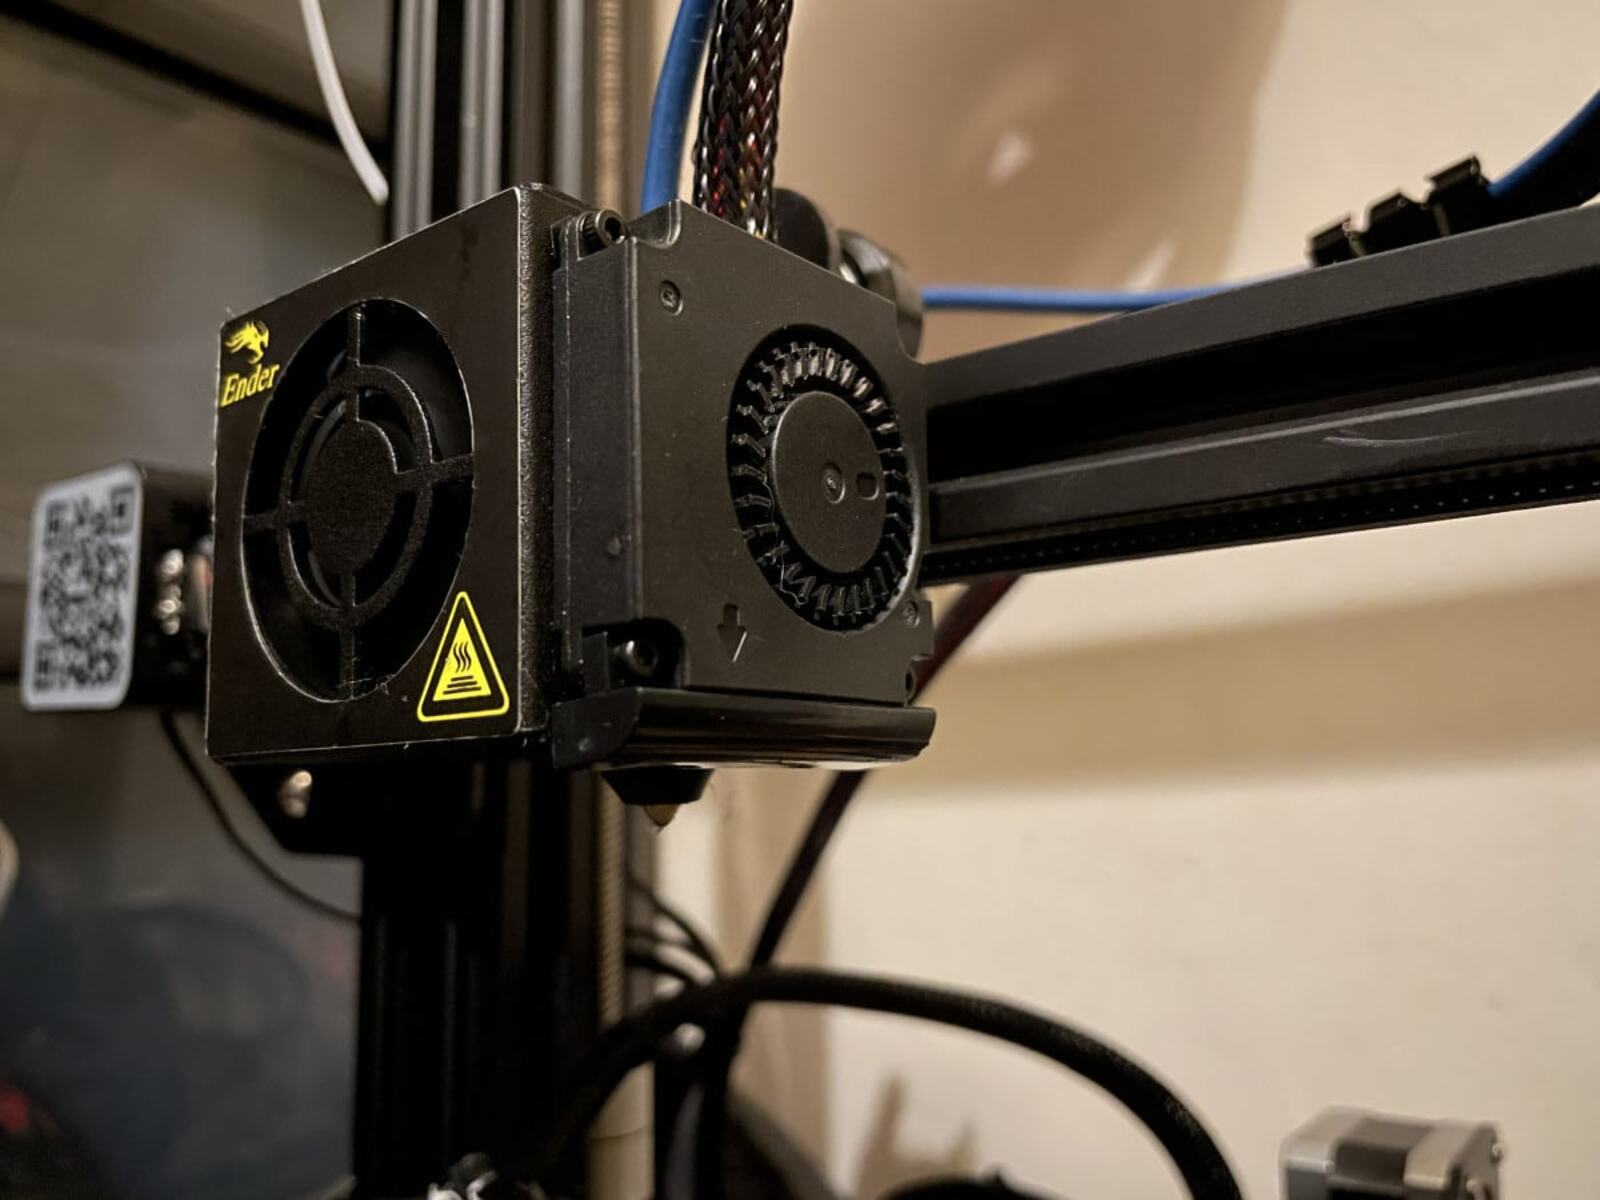
Step 7: Check the Wiring
Inspecting the wiring of your 3D printer is an important step in troubleshooting and resolving potential issues. A loose or faulty connection can cause errors, erratic behavior, or even complete malfunctions in the printer.
Start by carefully examining the cables and wires connected to the printer. Look for any signs of damage, fraying, or wear along the length of the cables. Pay close attention to areas where the cables are bent or flexed frequently, as these are potential areas for wire fatigue.
Ensure that all cables are properly connected and securely plugged into their respective ports. If you find any loose connections, gently reseat the cables and ensure they are firmly attached. Additionally, check for any loose screws or connectors that may need tightening.
If you have a printer with a removable control board, such as an Arduino-based printer, inspect the connections between the control board and other components, including the motors, sensors, and heated bed. Ensure that all connectors are properly seated and that there are no loose pins or misaligned connections.
It may also be helpful to use a multimeter or continuity tester to check for any broken or damaged wires. This can be especially useful if you suspect an intermittent or partial connection issue.
If you have made any modifications or added additional components to your printer, double-check that the wiring for these modifications is properly installed and secured. Improperly installed modifications can disrupt the overall electrical system of the printer.
Remember to power off and unplug your printer before performing any inspections or adjustments to ensure safety.
Checking the wiring is an important maintenance step that helps prevent potential electrical issues and ensures the printer operates reliably. It’s a good practice to periodically inspect the wiring, especially after moving or transporting the printer.
Step 8: Realign the Axis
Proper alignment of the printer’s axes is essential for achieving accurate and precise prints. Over time, vibrations, wear and tear, or accidental bumps can cause the axes to become misaligned, resulting in skewed prints, dimensional inaccuracies, or even failed prints.
Start by homing the printer to its origin position, also known as the “zero” or “home” position. This ensures that all the axes are at their starting positions and provides a reference point for realignment.
To realign the axes, focus on one axis at a time, typically the X and Y axes. Use a caliper or ruler to measure the distance between two fixed reference points on the printer’s frame. Note the measurements for future reference.
Next, manually move the printhead or print bed along the misaligned axis. Observe the position of the printhead or print bed in relation to the reference points. Adjust the corresponding axis’s guide rods, belts, or screws to ensure that the printhead or print bed aligns perfectly with the reference points at all positions along the axis.
Make small adjustments and recheck the alignment frequently to achieve the desired alignment. It may take several iterations of adjustment and measurement to fine-tune the alignment.
Repeat this process for the other axis, ensuring that each axis is aligned correctly and parallel to the printer’s frame.
After realigning the axes, perform a test print to verify if the alignment has improved. Print a calibration model or object with straight edges and check if the dimensions and angles match the expected values.
Regularly checking and realigning the axes ensures that the printer operates at its optimal level. Misaligned axes can directly affect print quality and precision, so it’s important to incorporate axis realignment into your maintenance routine.
Step 9: Replace Worn-out Parts
As your 3D printer ages and undergoes constant use, certain components may start to wear out or deteriorate. When troubleshooting printer issues, it’s important to consider if any parts need replacement. Worn-out parts can lead to decreased print quality, inconsistent performance, or even complete printer malfunction.
Start by examining the critical components of the printer, such as the nozzle, belts, pulleys, bearings, and drive gears. Look for signs of wear, damage, or deformation. A worn-out nozzle may have a deteriorated or irregular tip, leading to poor extrusion or clogging. Belts that are frayed or loose can result in inaccurate movement and layer misalignment. Damaged pulleys or bearings may cause rough movements and vibrations. If any parts appear damaged or significantly worn, it may be necessary to replace them.
Consult the printer’s documentation or the manufacturer’s website for replacement part information. Identify the specific model numbers or part names and order the appropriate replacements. Some printers may have readily available spare parts, while others may require ordering from dedicated suppliers or manufacturers.
When replacing parts, follow the manufacturer’s instructions or refer to online resources for step-by-step guidance. Pay attention to any specific tools or techniques required for the replacement process.
Once the worn-out parts have been replaced, perform test prints to evaluate the impact on print quality and overall performance. Monitor the printer closely to ensure that the replaced parts work properly and address any remaining issues with print quality or functionality.
Regularly inspecting and replacing worn-out parts is a crucial aspect of printer maintenance. By keeping your printer in good working condition, you’ll enjoy more reliable and consistent prints, and extend the overall lifespan and performance of your 3D printer.
Step 10: Seek Professional Help if Needed
Despite your best efforts, there may be instances where troubleshooting and DIY fixes are not enough to resolve issues with your 3D printer. In such cases, seeking professional help is a wise step to take.
If you have followed the previous steps and are still experiencing persistent issues or are uncertain about how to proceed, it is advisable to reach out to a certified technician or the manufacturer’s support team. They have the expertise and specialized knowledge to diagnose and address more complex or underlying problems.
When seeking professional help, provide them with detailed information about the issues you have encountered, the troubleshooting steps you have taken, and any error messages or symptoms you have observed. This will help the technician or support representative understand the situation and provide appropriate guidance.
Be prepared to potentially ship your printer if requested. Depending on the issue, some repairs may require shipping the printer to a service center or authorized repair facility. Follow the instructions provided by the technician or manufacturer for packaging and shipping your printer securely.
Engaging with professional help can be an investment, but it can also save you time and possibly prevent further damage to your printer. They will not only diagnose and fix the problem but also provide insights on maintenance practices to enhance the printer’s performance and longevity.
In some cases, it may be more cost-effective or practical to consider upgrading to a newer printer model. Seeking professional advice can help you determine if repairing or upgrading is the best course of action based on your specific circumstances and needs.
Remember, the ultimate goal is to ensure that your 3D printer is functioning optimally and producing high-quality prints. Seeking professional help when necessary can provide the expertise and solutions you need to achieve that goal.
Conclusion
3D printing offers incredible possibilities for creativity and innovation, but like any technology, it can encounter issues from time to time. By following the ten steps outlined in this guide, you have learned how to troubleshoot and fix common problems with your 3D printer.
Beginning with identifying the problem and moving through steps such as cleaning the nozzle, checking the filament, calibrating the printer, adjusting the bed leveling, updating the firmware, checking the wiring, realigning the axis, replacing worn-out parts, and seeking professional help when needed, you have gained the knowledge and skills to overcome many obstacles that may arise during the 3D printing process.
Remember that troubleshooting can sometimes be a trial-and-error process, and it’s important to remain patient and persistent. Take the time to understand and practice each step, ensuring that you are confident in your abilities to implement the solutions effectively.
Regular maintenance and periodic checks will help prevent potential issues and ensure the smooth operation of your printer. By keeping your printer in optimal condition, you can continue to unleash your creativity and bring your designs to life with precision and quality.
Enjoy your 3D printing journey and explore the endless possibilities that this fascinating technology has to offer!