Introduction
When operating a 3D printer, it can be frustrating and puzzling when it shuts off unexpectedly while heating. This issue not only disrupts the printing process but also hampers productivity and can be a source of significant inconvenience. Understanding the causes behind a 3D printer shutting off when heating is crucial in order to troubleshoot and resolve the problem effectively.
Various factors can contribute to a 3D printer shutting off during the heating process. It could be a power supply issue, faulty wiring connections, malfunctioning thermistor, or even an overheating component. It is important to pinpoint the underlying cause to implement the appropriate solution.
In this article, we will explore common causes of a 3D printer shutting off when heating and provide troubleshooting steps to help you resolve the issue. By following these steps, you can get your 3D printer back up and running, ensuring a smooth and uninterrupted printing experience.
Common Causes of 3D Printer Shutting Off When Heating
When your 3D printer shuts off while heating, it can be caused by various factors. Here are some common causes to look out for:
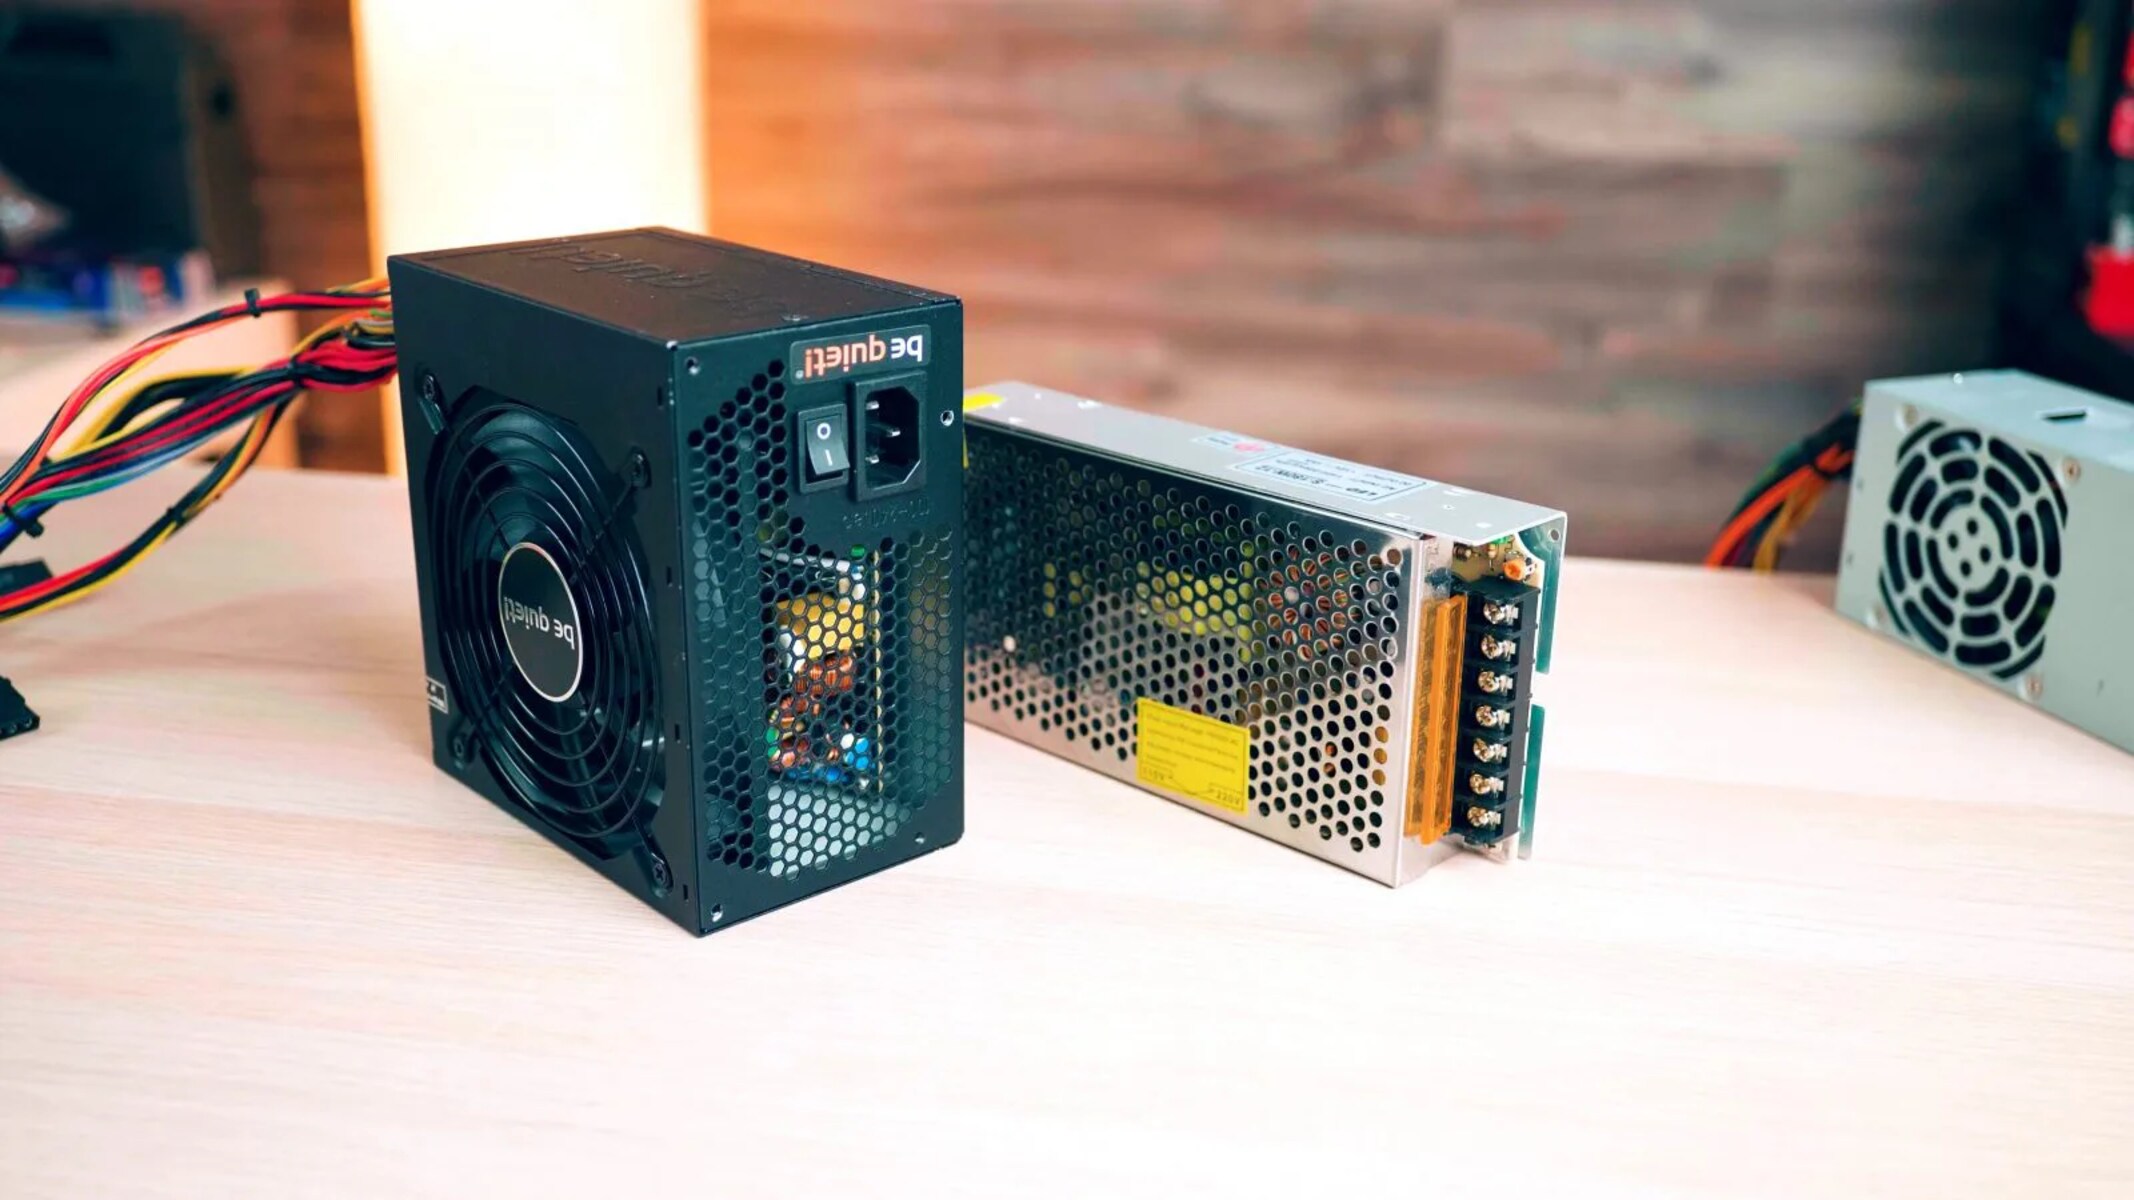
- Power supply issues: One of the primary reasons for a 3D printer shutting off during the heating process is a problem with the power supply. It could be due to a loose power cable connection, a faulty power outlet, or inadequate power distribution to the printer. Insufficient power can cause the printer to shut down to protect itself.
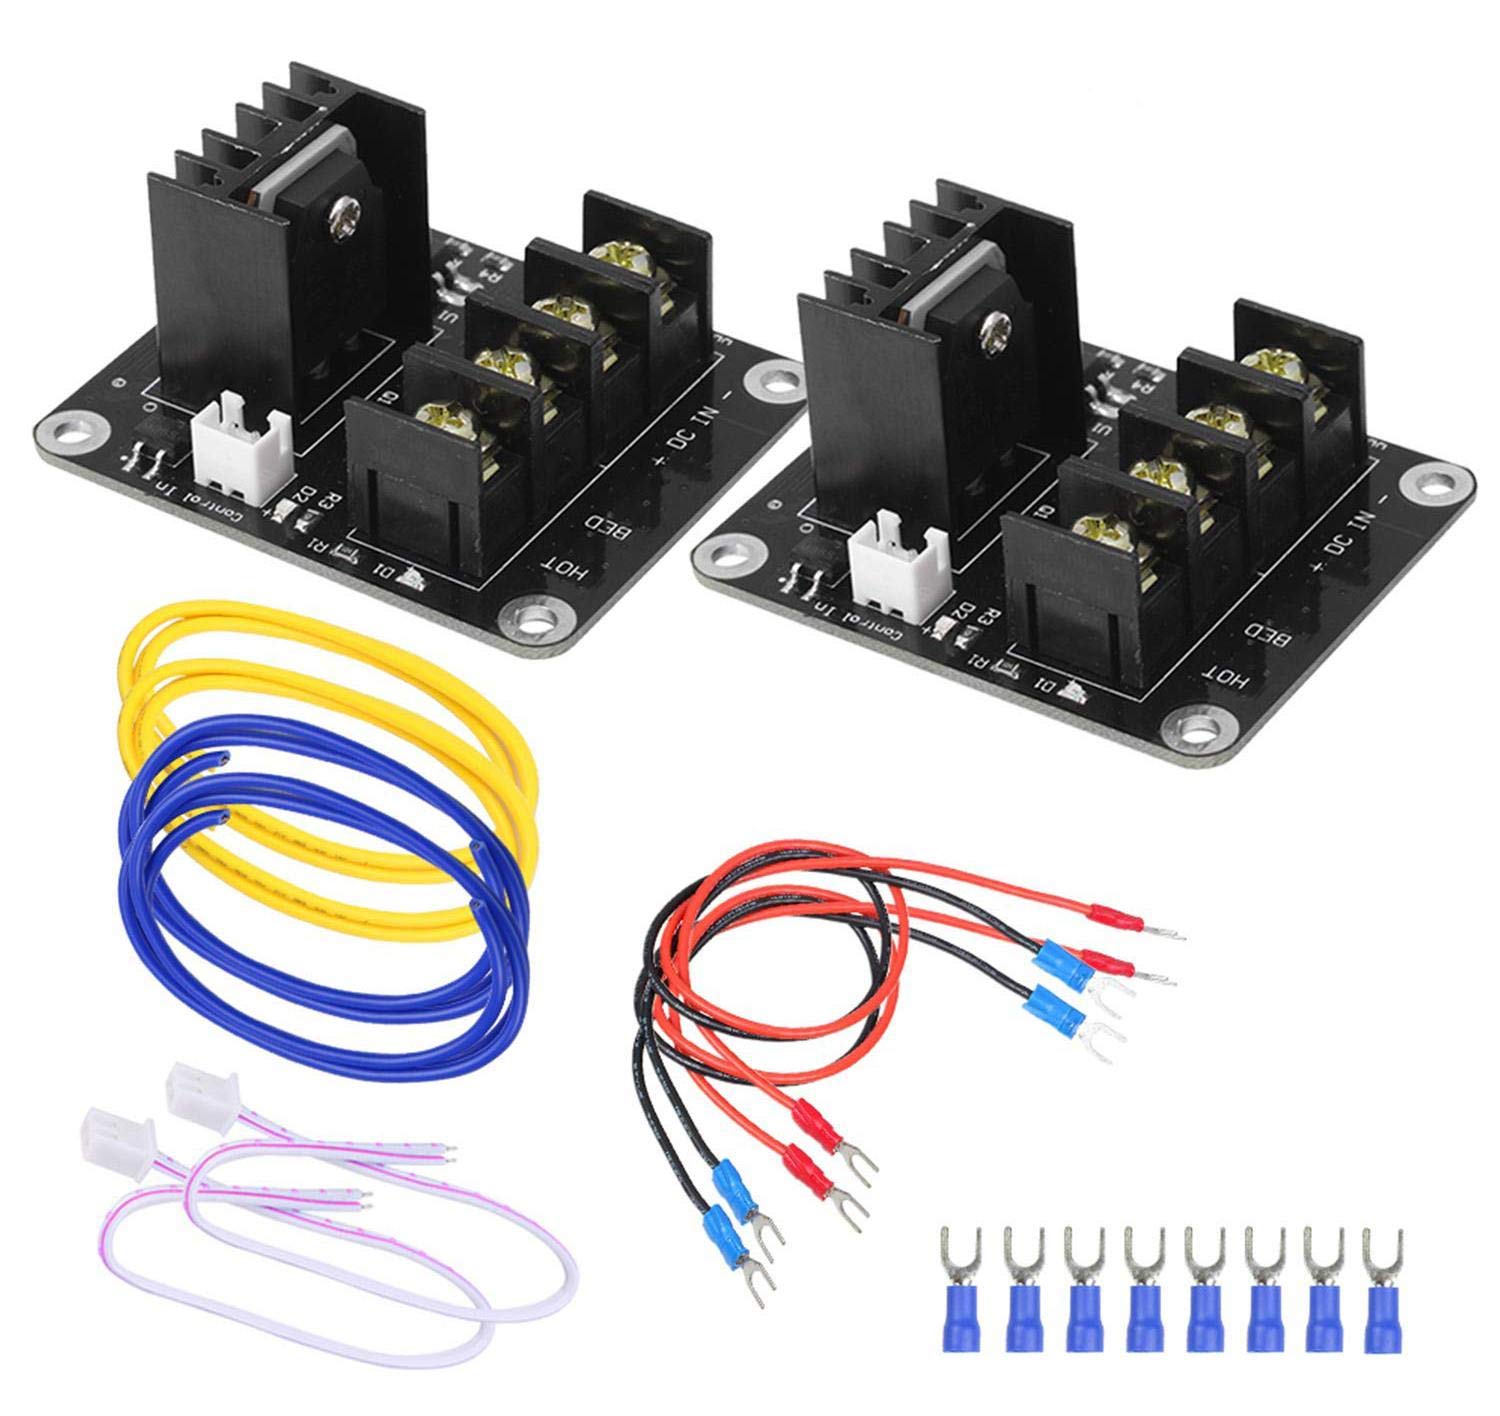
- Wiring connections: Faulty or loose wiring connections can also result in the printer shutting off when heating. Ensure that all the wiring connections, especially those related to the heating element, are secure and properly connected.
- Malfunctioning thermistor: The thermistor is a temperature sensor that monitors the temperature of the printer’s hot end. If the thermistor is malfunctioning or providing inaccurate readings, it can cause the printer to shut off as a safety precaution.
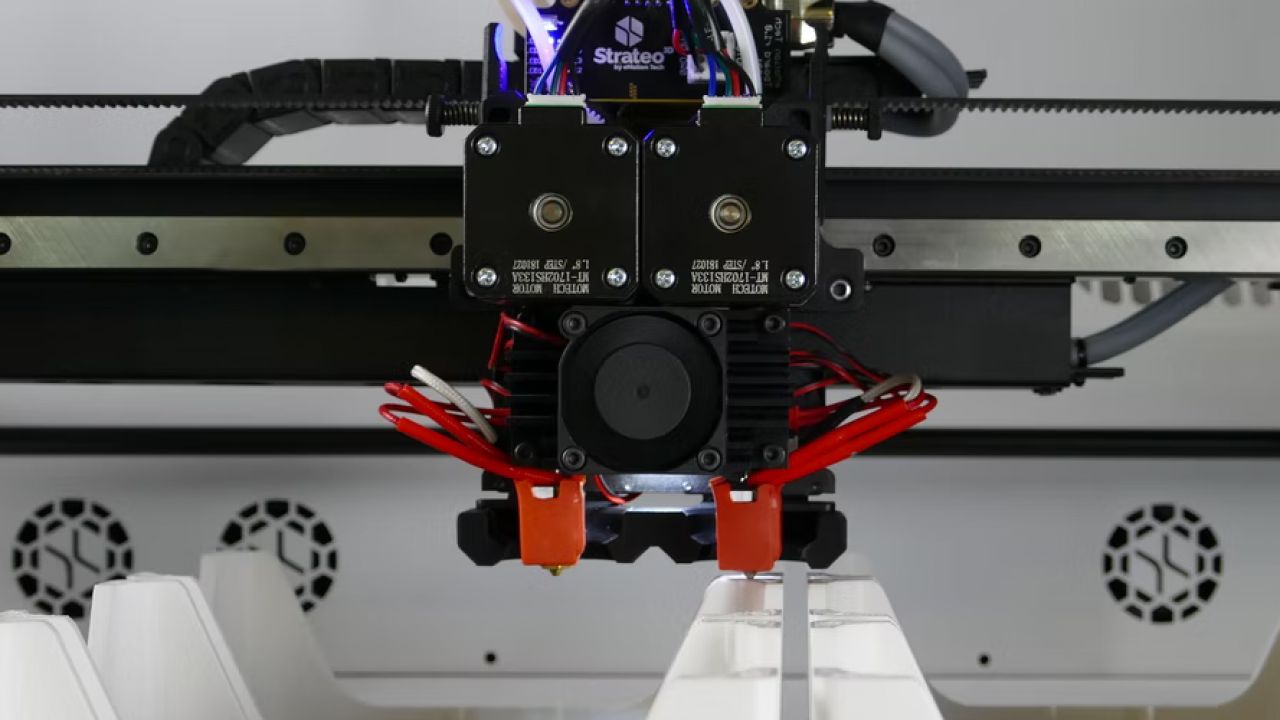
- Overheating component: Another possible cause is an overheating component, such as a faulty heated bed or a clogged cooling fan. When certain components exceed their recommended temperature limits, the printer may automatically shut down to prevent damage or fire hazards.
- Software or firmware issues: Sometimes, issues with the printer’s firmware or software can cause it to shut off during the heating process. Outdated firmware, conflicting settings, or incorrect temperature profiles can lead to unexpected shutdowns.
Identifying the underlying cause of your 3D printer shutting off when heating is essential to implement the appropriate troubleshooting steps. By understanding these common causes, you can effectively diagnose and resolve the issue, ensuring a seamless and uninterrupted printing experience.
Troubleshooting Steps for 3D Printer Shutting Off When Heating
If you’re experiencing the frustrating issue of your 3D printer shutting off while heating, here are some troubleshooting steps to help you identify and resolve the problem:
- Check Power Supply: Ensure that the power supply is stable and providing sufficient power to the printer. Check the power cable connections and try plugging the printer into a different power outlet to rule out any power-related issues. Consider using a surge protector to protect against voltage fluctuations.
- Inspect Wiring Connections: Examine all the wiring connections, especially those related to the heating element, ensuring they are secure and properly connected. Tighten any loose connections and make sure there are no damaged wires or frayed insulation that could cause a short circuit.
- Verify Thermistor Functionality: Test the thermistor to ensure it is functioning correctly. You can use a multimeter to measure the resistance of the thermistor at different temperatures and compare the readings with the manufacturer’s specifications. Replace the thermistor if it is found to be faulty or providing inaccurate readings.
- Examine Heating Element: Inspect the heating element, such as the hot end or heated bed, for any signs of damage or malfunction. Clean any debris or filament residue that may be interfering with the heating element’s performance. If necessary, replace the heating element if it is found to be faulty.
- Fixing Overheating Issues: If the printer is shutting off due to overheating, check the cooling fans and ensure they are working properly. Clean any obstructions that may be affecting the airflow. Consider upgrading the cooling system or installing additional heat sinks if necessary.
- Verify Firmware and Software Settings: Check for any firmware or software updates for your printer. Outdated firmware or conflicting software settings can cause unexpected shutdowns. Update the firmware and ensure the temperature settings are accurate and compatible with your printer’s specifications.
- Check for Safety Features or Limits: Some printers have built-in safety features, such as thermal runaway protection, which automatically shuts down the printer if the temperature exceeds a certain limit. Review the printer’s documentation or consult the manufacturer’s guidelines to understand any safety features or limits that may be causing the shutdowns.
By following these troubleshooting steps, you can identify and resolve the underlying issue that is causing your 3D printer to shut off when heating. Remember to proceed with caution and consult the printer’s manual or seek professional assistance if needed. This will help you ensure a smooth and uninterrupted printing experience.
Check Power Supply
One of the first troubleshooting steps when your 3D printer shuts off while heating is to check the power supply. A stable and sufficient power supply is essential for the printer to function properly. Follow these steps to check the power supply:
- Power Cable Connections: Ensure that the power cable is securely plugged into both the printer and the power outlet. Sometimes, a loose connection can cause intermittent power supply issues. Try unplugging and re-plugging the power cable to ensure a good connection.
- Verify Power Outlet: Test the power outlet by plugging in another device, such as a lamp or a charger, to see if it is working properly. If the outlet is faulty, use a different outlet or troubleshoot the outlet itself.
- Power Distribution: If you have multiple devices connected to the same power source, ensure that the power distribution is adequate. If the power draw exceeds the capability of the power source, it can cause the printer to shut off. Consider using a dedicated outlet or a power strip with surge protection.
- Surge Protector: Consider using a surge protector to protect your printer from power surges or voltage fluctuations. These unpredictable electrical events can damage the printer’s components and lead to unexpected shutdowns. A surge protector can help stabilize the power supply and prevent such issues.
By checking the power supply and addressing any related issues, you can eliminate power-related causes for your 3D printer shutting off when heating. However, it’s important to remember that electrical troubleshooting should be done with caution to avoid any safety hazards. If you’re unsure or uncomfortable with handling electrical components, consult a professional or the manufacturer for assistance.
Inspect Wiring Connections
Faulty or loose wiring connections can often be the culprit behind a 3D printer shutting off when heating. Ensuring that all wiring connections are secure and properly connected is crucial. Follow these steps to inspect the wiring connections:
- Power Off: Before inspecting any wiring connections, make sure to power off and unplug your 3D printer. This will prevent any accidental electrical shocks or short circuits while handling the wires.
- Visually Inspect: Carefully examine all the wiring connections in and around your printer. Pay close attention to the connections related to the heating element, such as the hot end or heated bed. Look for any loose, disconnected, or damaged wires.
- Tighten Connections: If you notice any loose connections, tighten them using appropriate tools. Ensure that the connections are secure but be cautious not to overtighten, as it may damage the connectors or wires.
- Check for Damage: Inspect the wiring for any signs of damage, such as frayed insulation or exposed wires. If you find any damage, carefully cut out the damaged section and strip the wire ends before reconnecting them.
- Verify Polarity: Double-check that the wires are connected with the correct polarity. Incorrect polarity can lead to improper functioning and potential short circuits. Consult the printer’s manual or wiring diagram to ensure proper polarity.
- Secure Routing: Ensure that the wiring is routed properly and is not pinched or trapped between moving parts. Pinched or trapped wires can cause intermittent connections and result in the printer shutting off during the heating process.
By inspecting and ensuring the integrity of the wiring connections, you can eliminate any potential issues caused by loose or faulty connections. However, always exercise caution when dealing with electrical components and consult the printer’s manual or a professional if you are unsure about any specific wiring connections.
Verify Thermistor Functionality
The thermistor is an essential component in a 3D printer that measures the temperature of the hot end or heated bed. If the thermistor is malfunctioning or providing inaccurate readings, it can cause the printer to shut off when heating. Follow these steps to verify the thermistor functionality:
- Identify the Thermistor: Locate the thermistor in your printer, which is usually attached to the hot end or heated bed. Refer to the printer’s manual or documentation for specific instructions on locating the thermistor.
- Remove Power: Before working on the thermistor, make sure to power off the printer and unplug it from the power source. This will ensure your safety during the inspection process.
- Measure Resistance: Use a multimeter set to resistance mode (ohmmeter) to measure the resistance of the thermistor. Before measuring, ensure that the thermistor is at room temperature and not heated. Refer to the printer’s manual for the expected resistance values at different temperatures.
- Compare Readings: Compare the measured resistance with the expected values provided by the printer’s manufacturer. If the resistance readings significantly deviate from the expected values or do not change with temperature variations, it indicates a faulty thermistor that needs to be replaced.
- Reassembly and Replacement: If the thermistor is found to be faulty, carefully remove and replace it following the manufacturer’s guidelines. Take note of the specific type or model of the thermistor to ensure compatibility and accuracy.
- Calibration: After replacing the thermistor, it may be necessary to calibrate temperature settings in the printer’s firmware or software. Follow the manufacturer’s instructions to update the temperature profiles or perform a calibration test to ensure accurate temperature readings.
By verifying the functionality of the thermistor, you can identify any issues related to temperature sensing. If the thermistor is faulty or providing inaccurate readings, replacing it will help ensure accurate temperature control and prevent unexpected shutdowns during the heating process.
Examine Heating Element
In some cases, a faulty or malfunctioning heating element can cause a 3D printer to shut off when heating. The heating element, whether it’s the hot end or the heated bed, plays a crucial role in maintaining the desired temperature for successful printing. Follow these steps to examine the heating element:
- Power Off: Before examining the heating element, ensure that the printer is powered off and unplugged to prevent any electrical accidents or burns.
- Visual Inspection: Carefully inspect the heating element for any visible signs of damage, such as frayed wires or a cracked hot end. Pay attention to any discoloration or burn marks that may indicate overheating or a short circuit.
- Cleaning: Remove any debris, filament residue, or buildup that may be obstructing the heating element. Use a brush or compressed air to gently clean the area surrounding the heating element.
- Resistance Check: Use a multimeter to measure the resistance of the heating element. Compare the measured resistance with the manufacturer’s specifications to ensure it falls within the acceptable range. A significant deviation may indicate a faulty heating element that needs to be replaced.
- Replacement: If the heating element is found to be faulty or damaged, refer to the printer’s manual or consult the manufacturer’s guidelines for the appropriate replacement procedure. Ensure that you select a compatible heating element that matches the specifications of your printer.
- Thermal Paste or Insulation: During the replacement process, consider applying a thin layer of thermal paste or installing new insulation to improve heat transfer and maintain uniform temperature distribution. This can help enhance the overall performance and longevity of the heating element.
By examining and addressing any issues with the heating element, you can ensure consistent and reliable heating during the printing process. A properly functioning heating element is crucial for achieving precise and high-quality prints without unexpected shutdowns.
Fixing Overheating Issues
Overheating components can cause a 3D printer to shut off unexpectedly during the heating process. It is important to address these overheating issues to prevent damage and ensure the printer operates smoothly. Here are steps to fix overheating problems:
- Cooling Fans: Inspect the cooling fans in your printer, particularly those that are responsible for cooling the hot end or the heated bed. Ensure they are free from dust and debris that may obstruct airflow. Clean or replace the fans if necessary.
- Adequate Ventilation: Ensure that the printer has proper ventilation to dissipate heat effectively. Place the printer in a well-ventilated area or consider installing additional cooling fans or ventilation systems to prevent heat buildup.
- Heat Sinks: Consider adding heat sinks to critical components, such as the hot end or motor drivers, to improve heat dissipation. Heat sinks can absorb and dissipate excess heat, helping to prevent overheating and prolonging the lifespan of these components.
- Check for Filament Jams: Filament jams can impede proper extrusion, causing the printer to work harder and generate more heat. Regularly check for filament jams and clear them promptly to maintain proper printer function and prevent overheating.
- Upgrade Cooling System: If your printer consistently struggles with overheating, consider upgrading the cooling system. This could involve installing more efficient fans, improving fan placement, or even implementing liquid cooling solutions for better temperature control.
- Monitor Print Environment: Pay attention to the ambient temperature around the printer. Excessive heat in the print environment can make it more challenging to maintain stable temperatures and may contribute to the overheating problem. Keep the printer in an environment with a moderate and consistent temperature.
By implementing these steps, you can address and resolve overheating issues in your 3D printer. Preventing excessive heat buildup ensures a stable and reliable printing experience, allowing for high-quality prints and reducing the risk of unexpected shutdowns.
Verify Firmware and Software Settings
The firmware and software settings in your 3D printer play a crucial role in its overall functionality, including temperature control. A misconfigured or outdated firmware/software can cause the printer to shut off unexpectedly when heating. Follow these steps to verify your firmware and software settings:
- Firmware Update: Check if there are any firmware updates available for your printer model. Visit the manufacturer’s website or community forums to find the latest firmware version. Updating the firmware can address known issues and improve overall system performance.
- Software Compatibility: Ensure that the slicing software you are using is compatible with your printer’s firmware. Verify that you have selected the correct printer model and configured the temperature settings accurately within the software.
- Temperature Profiles: Review the temperature profiles in your slicer software to ensure they match the recommended settings for the specific filament you are using. Incorrect temperature settings can cause the printer to shut off when the target temperature is not reached or exceeded.
- Communication Settings: Verify the communication settings between your computer and the printer. Ensure that the correct baud rate and port settings are selected to establish a stable connection. Test the communication by sending simple commands to the printer.
- Factory Settings: Consider restoring the printer to its factory settings if you suspect that the current settings are causing the shutdown issue. Refer to the printer’s manual or the manufacturer’s instructions for the specific steps to restore default settings.
- Configuration Files: If you have made any custom configurations or modifications to the printer’s firmware, double-check the configuration files for any mistakes. Incorrect settings can lead to temperature control issues and unexpected shutdowns.
By verifying and correctly configuring your firmware and software settings, you ensure that the printer operates within the intended parameters. This can help eliminate any compatibility issues or mistakes in the temperature control settings, preventing unexpected shutdowns during the heating process.
Check for Safety Features or Limits
Many 3D printers come equipped with built-in safety features or limits to protect against potential hazards. These safety mechanisms can cause the printer to shut off if certain conditions are met. It is important to review and understand these safety features to ensure they are not causing the unexpected shutdowns. Here are the steps to check for safety features or limits:
- Manufacturer’s Documentation: Refer to the printer’s manual or documentation to identify any safety features or limits that may be in place. Look for information related to temperature limits, thermal runaway protection, or any other safety mechanisms.
- Temperature Limits: Check if the printer has predefined temperature limits for the hot end or heated bed. Exceeding these limits can trigger the safety mechanism and result in a shut-off. Adjust the temperature settings within these limits to prevent unintended shutdowns.
- Thermal Runaway Protection: Some printers have thermal runaway protection, a safety feature that monitors the temperature and shuts off the printer if a significant temperature anomaly is detected. Ensure that this feature is properly configured and functioning as intended.
- Inspect Safety Components: Inspect any dedicated safety components, such as fuses or thermal fuses, to ensure they are not tripped or damaged. Faulty safety components can cause false positive triggers and result in unnecessary shutdowns.
- Disable for Testing: As a troubleshooting step, you can temporarily disable certain safety features or limits to determine if they are the cause of the shutdowns. This should only be done for testing purposes and under close supervision to maintain a safe operating environment.
- Consult Manufacturer: If you are unable to identify or resolve the shutdown issue related to safety features or limits, reach out to the printer manufacturer for assistance. They can provide specific guidance and troubleshooting support based on the design and specifications of the printer.
By checking for and understanding the safety features or limits of your 3D printer, you can ensure safe operation while minimizing the occurrence of unexpected shutdowns. It is important to strike a balance between maintaining safety measures and uninterrupted printing to achieve optimal performance.
Conclusion
Experiencing a 3D printer shutting off when heating can be frustrating, but with proper troubleshooting, you can identify and resolve the underlying causes. We have explored common reasons for this issue, including power supply problems, faulty wiring connections, malfunctioning thermistors, overheating components, firmware/software settings, and safety features. By following the respective troubleshooting steps for each potential cause, you can effectively address the issue.
Remember to always prioritize safety when working with electrical components and consult the printer’s manual or seek professional assistance if needed. Checking the power supply, inspecting wiring connections, verifying thermistor functionality, examining the heating element, fixing overheating issues, reviewing firmware/software settings, and understanding safety features or limits are crucial steps in resolving the problem.
By systematically going through these troubleshooting steps, you can prevent unexpected shutdowns, ensure proper temperature control, and maintain a seamless 3D printing experience. Regular maintenance, keeping firmware/software up to date, and adhering to safety guidelines will help minimize the occurrence of such issues in the future.
Happy printing!