Introduction
Welcome to the world of 3D printing! As you delve into the exciting realm of additive manufacturing, you’ll soon discover the joy of seeing your designs come to life. However, once the printing process is complete, you may find yourself faced with the task of removing the printed object from the print bed or build plate. This step, though seemingly simple, can sometimes prove to be challenging.
Whether you are a hobbyist or a professional, knowing how to remove your prints properly is essential to avoid damaging the object or the 3D printer itself. In this article, we will explore various techniques and tools that can help you remove prints effectively and safely.
Before diving into the different methods, it’s important to note that the ease of print removal can vary depending on several factors, such as the type of filament used, the complexity of the design, and the build surface material. Therefore, it’s crucial to approach print removal with caution and adapt the techniques to suit your specific printer and prints.
In the following sections, we will cover manual print removal using tools like spatulas or scrapers, applying heat for easier removal, utilizing chemical assistance, and the benefits of using a 3D printer enclosure. Additionally, we will provide some tips to prevent difficult print removal situations.
Now, let’s dive into the world of print removal and learn how to safely and efficiently remove prints from your 3D printer!
Preparing for Print Removal
Before attempting to remove a print from your 3D printer, there are a few important steps you should take to ensure a smooth and successful removal process.
Firstly, let the printed object cool down completely. This is crucial to prevent any deformation or damage to the print or the printer’s build surface. Depending on the size and complexity of the print, it may take anywhere from a few minutes to several hours for it to cool down completely.
Next, inspect the print bed or build plate to ensure it is clean and free from any debris or residual filament. If there are any leftover particles or adhesive materials, it can make print removal more challenging. Use a soft brush or cloth to gently clean the surface, being careful not to scratch or damage it.
Additionally, if you are using a removable build plate, consider removing it from the printer before attempting to remove the print. This can offer better stability and flexibility during the removal process. Follow the manufacturer’s instructions to safely detach the build plate from the printer.
It’s also a good idea to familiarize yourself with the specific material you are using for printing. Different filaments have different properties, and this can impact how easily the print will detach from the build surface. For example, prints made with PLA filament generally have better adhesion during printing but are easier to remove. On the other hand, prints made with ABS filament can be more challenging to remove due to its tendency to stick firmly to the build surface.
By taking these preparatory steps, you will set yourself up for success when it comes to removing prints from your 3D printer. Now that we’ve covered the basics of preparation, let’s move on to the different techniques you can employ for print removal.
Manual Print Removal
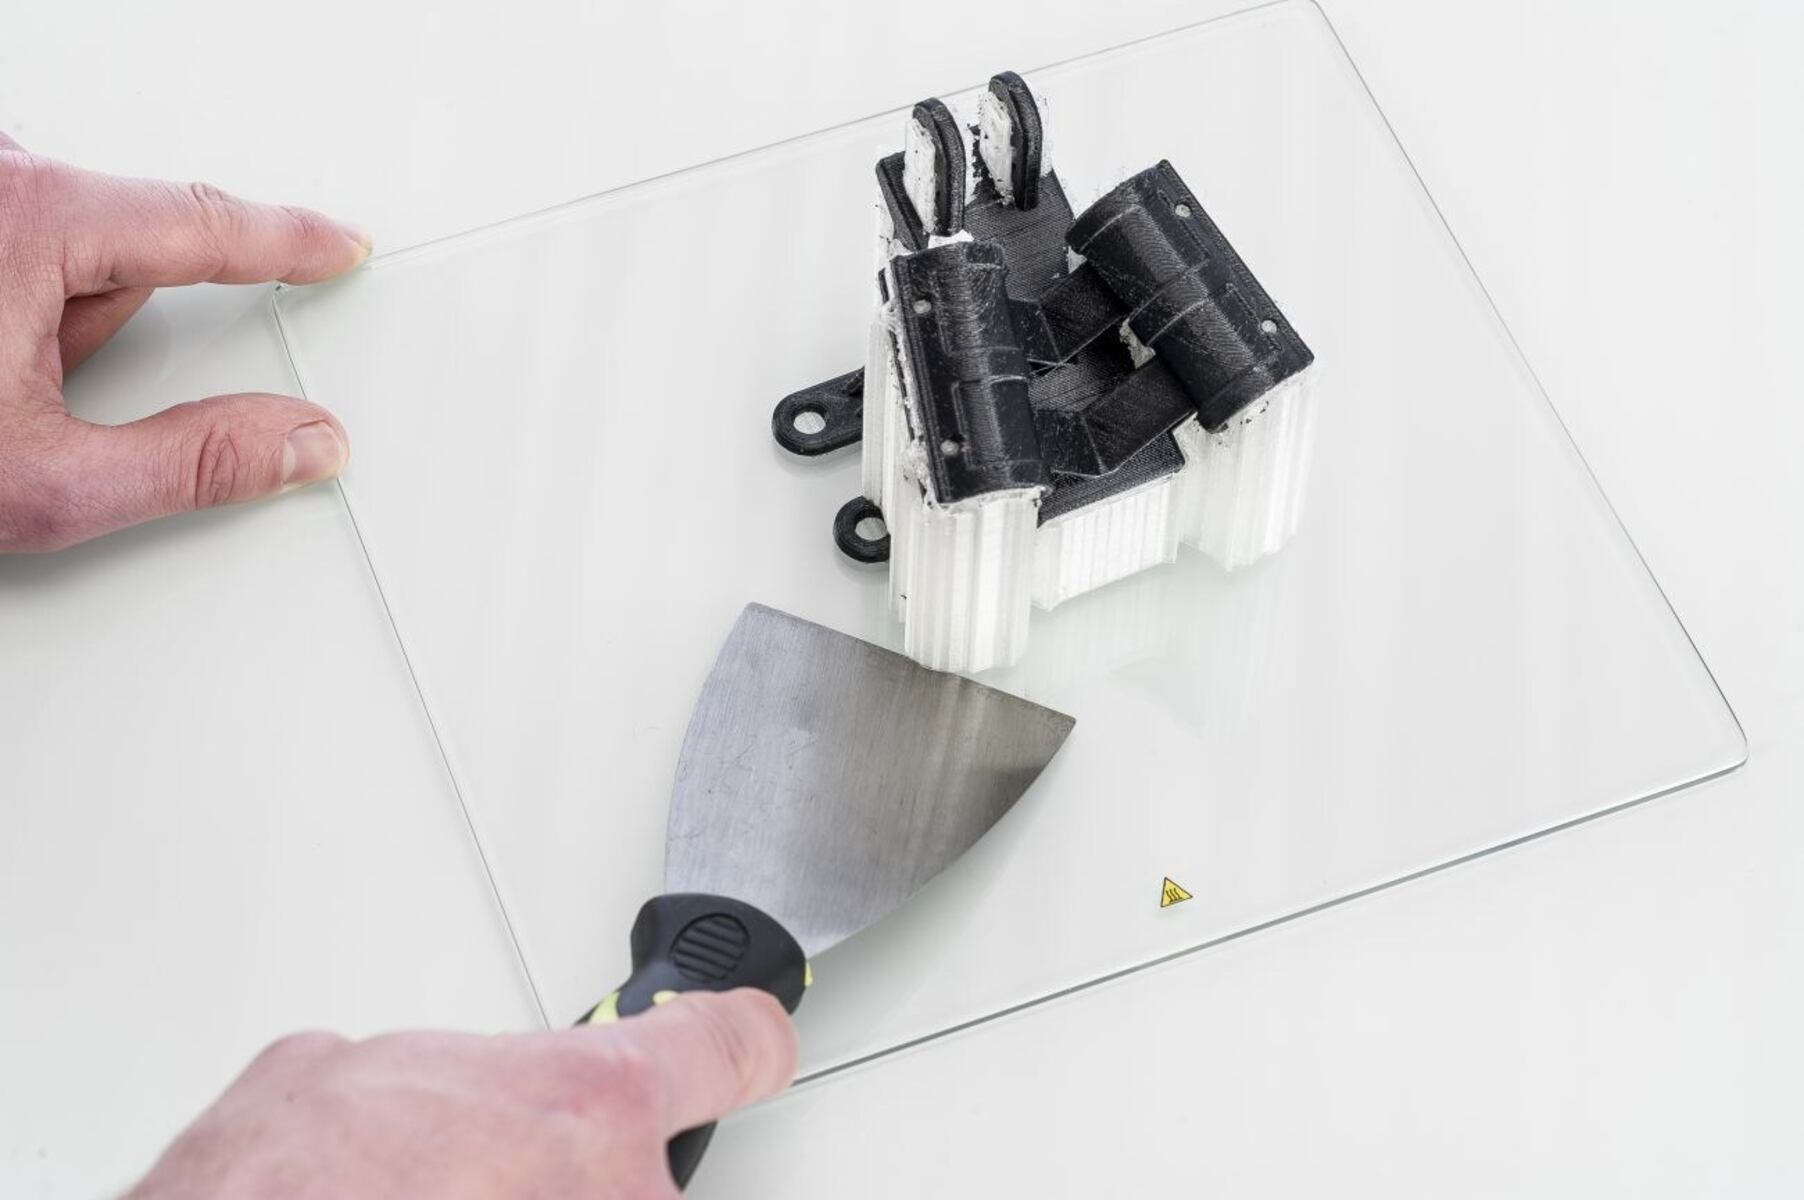
Manual print removal involves using tools to gently pry the printed object off the build plate. This method is commonly used and can be effective for most prints.
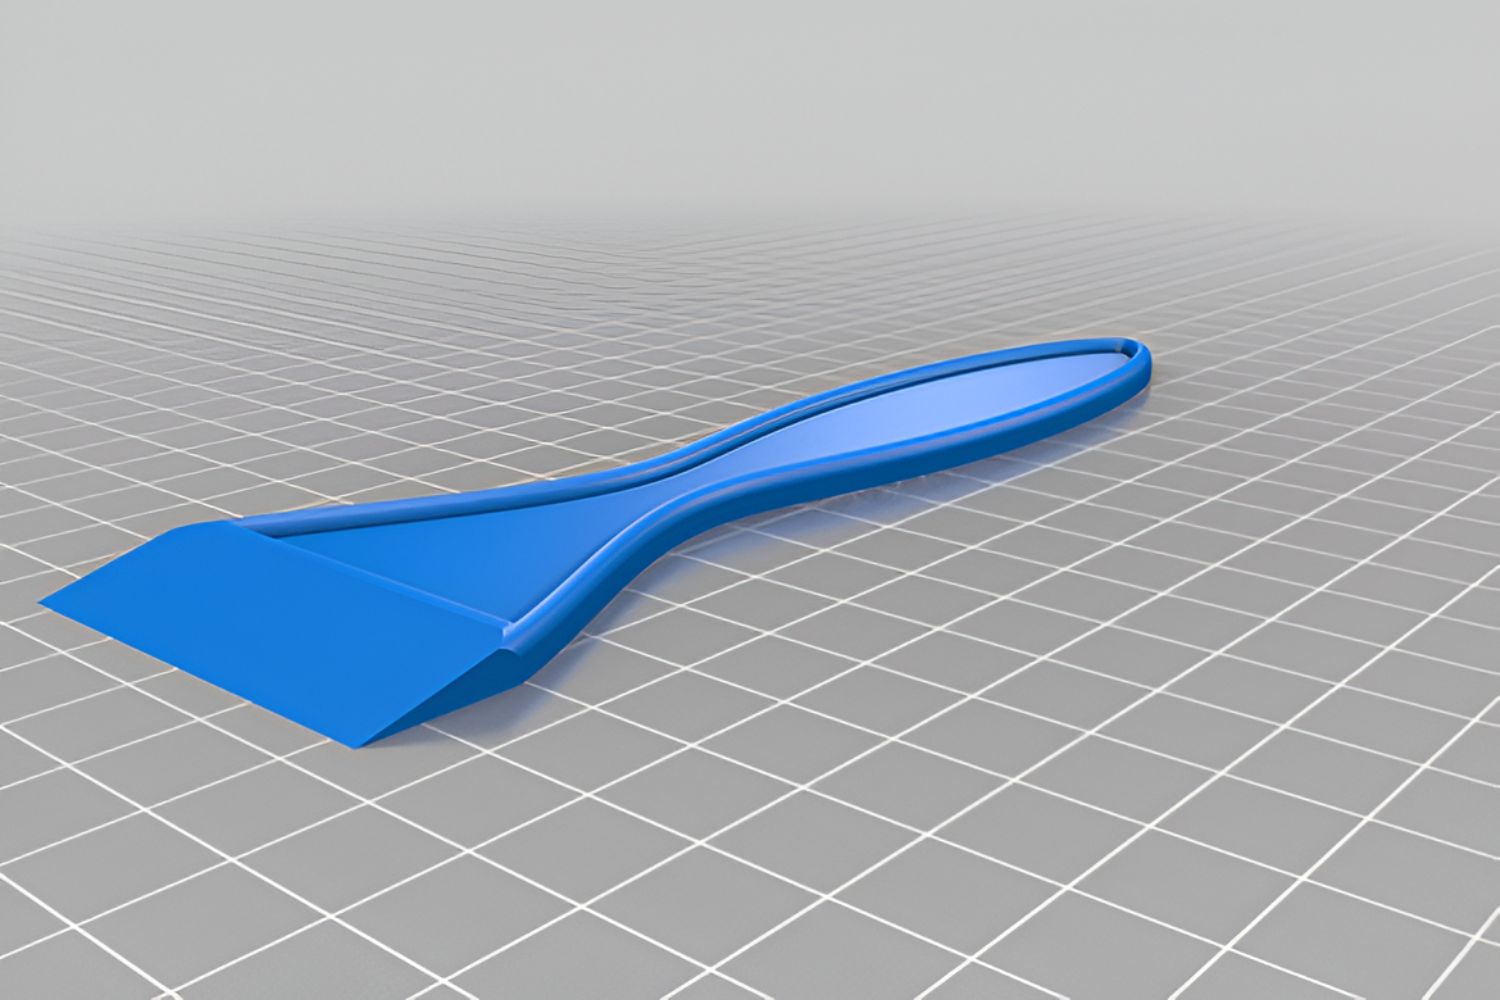
One of the simplest tools you can use for manual print removal is a spatula or scraper. Choose a tool that is thin and sturdy, such as a putty knife or a specialized 3D printing spatula. Carefully insert the tool between the print and the build surface, applying gentle pressure to gradually lift the print. Move the tool around the edges of the print, slowly working your way towards the center, until the print is fully detached from the build plate.
When using a spatula or scraper, be cautious not to apply too much force or use excessive leverage, as this can damage the print or the build surface. Take your time and work carefully to ensure a successful removal.
For particularly stubborn prints, you can try applying heat to loosen the bond between the print and the build plate. Heating the build plate slightly can help soften the filament and make it easier to remove. However, be cautious not to overheat or damage the build surface or surrounding components of the printer.
If you have access to a heated build plate, such as in printers that support heated beds, you can increase the temperature to a moderate level (around 40-50 degrees Celsius) and allow the plate to warm up. Once heated, gently pry the print using the spatula or scraper as mentioned earlier. The combination of heat and manual force can greatly assist in print removal.
Alternatively, if your printer does not have a heated bed, you can use a heat gun or a hairdryer to apply targeted heat to the specific area where the print is attached. Keep the heat source at a reasonable distance from the print and gradually increase the temperature until the filament softens. Again, use the spatula or scraper to carefully lift the print off the build plate.
It’s important to note that while manual print removal can be effective, it may not work well for prints with a large surface area or complex geometries. In such cases, alternative methods, such as using a 3D printer enclosure or chemical assistance, may provide better results, which we’ll explore in the following sections.
Using a Spatula or Scraper
When it comes to manual print removal, a spatula or scraper can be a handy tool. These tools are specifically designed to gently lift and detach prints from the build plate without causing damage.
Choose a thin and sturdy spatula or scraper that is appropriate for the size of your prints. There are specialized spatulas available that are specifically designed for 3D printing, featuring a sharp and thin edge that can easily slide between the print and the build surface.
To use a spatula or scraper, start by locating a corner or edge of the print that is easiest to access. Gently insert the tool between the print and the build plate, being careful not to apply excessive force. Gradually move the tool along the edge of the print, applying gentle upward pressure to lift the print from the surface.
If you encounter resistance or the print does not easily detach, do not force it. Instead, try repositioning the tool at a different angle or accessing a different edge of the print. By working systematically, you can slowly release the print from the build plate without causing any damage.
It’s essential to be patient and gentle during this process. Applying too much force or using excessive leverage can lead to the print breaking or damaging the build surface. Take your time and work methodically to ensure a successful print removal.
After successfully detaching the print from the build plate, inspect both the print and the build surface. If there are any residual adhesive or filament particles left on either surface, you can use a soft brush or cloth to clean them. Avoid using sharp objects that may scratch or damage the build surface.
Using a spatula or scraper can be an effective method for removing prints, especially for those with a larger surface area or complex geometries. However, keep in mind that this method may not work well for prints with extreme adhesion or when dealing with delicate prints. In such cases, alternative techniques, such as applying heat or using chemical assistance, may be necessary.
Applying Heat
When traditional methods like using a spatula or scraper prove to be ineffective, applying heat can be a useful technique to loosen the bond between the print and the build plate. By heating the print or the build plate, the filament becomes softer and more pliable, making it easier to remove.
If your 3D printer has a heated bed, you can take advantage of this feature to apply controlled heat for print removal. Start by increasing the temperature of the bed to a moderate level, typically around 40-50 degrees Celsius. Allow the bed to heat up for a few minutes to ensure that the entire surface is evenly heated.
Once the bed is heated, gently insert a spatula or scraper between the print and the build plate. Apply slight pressure and gradually lift the print from one edge while maintaining the heat. The combination of heat and the manual force applied with the tool should help release the print without damaging it or the build plate.
If your 3D printer doesn’t have a heated bed, you can still apply heat using alternative methods. One option is to use a heat gun or a hairdryer. Keep the heat source at a reasonable distance from the print and gradually increase the temperature until the filament softens enough to be removed.
When using a heat gun or hairdryer, be cautious not to overheat the print or surrounding components. Keep the heat source in motion and maintain a safe distance to prevent heat damage to the print or any sensitive parts of the printer.
It’s important to note that the appropriate temperature and duration of heating may vary depending on the type of filament you are using and the adhesion properties. Experimentation and observation are key to finding the right balance between heat application and print removal.
After successfully removing the print from the build plate, allow both the print and the build plate to cool down before starting a new print. This will help prevent any deformation or damage to the print or the build plate during subsequent printing processes.
Applying heat can be an effective technique for difficult print removal scenarios, particularly when dealing with filament types that have strong adhesion to the build surface. However, exercise caution and ensure that you do not overheat or damage any components of your 3D printer during the process.
Chemical Assistance
When other methods like manual removal and heat application prove challenging, chemical assistance can be a viable option for loosening the bond between the print and the build plate. These chemicals can help weaken the adhesive properties of the filament, making it easier to remove the print.
One commonly used chemical for print removal is isopropyl alcohol (IPA). IPA is a versatile solvent that can effectively dissolve residue left by certain filaments, such as ABS or PLA. To use IPA, dip a soft cloth or paper towel into the solution and gently wipe it over the edges of the print where it is in contact with the build plate. Allow the alcohol to penetrate for a few minutes, and then attempt to lift the print with a spatula or scraper.
Another chemical option is a specialized adhesive release agent, such as a 3D printing bed adhesive remover. These products are specifically designed to help loosen the bond between the print and the build surface. Follow the manufacturer’s instructions on how to apply and use the adhesive release agent to ensure safe and effective print removal.
When working with chemicals, it’s important to follow proper safety precautions. Wear appropriate protective gear, such as gloves and safety glasses, and ensure that you are working in a well-ventilated area. Additionally, be mindful of the specific recommendations and warnings for the chemicals you are using.
After using any chemical assistance, make sure to thoroughly clean the build plate and remove any residual chemicals. Residue left behind can negatively impact the adhesion of future prints or potentially cause issues with print quality.
While chemical assistance can be effective in loosening the bond between the print and the build plate, it is essential to use these substances responsibly and with caution. Be aware of any potential interactions between the chemicals used and the build surface material, and follow the manufacturer’s guidelines to prevent damage or adverse effects.
Remember that chemical assistance is not always necessary and should be used as a last resort when other methods have failed. If you are unsure about which chemical to use or if you have any concerns, consult with the manufacturer or seek advice from experienced users to ensure successful print removal without compromising safety.
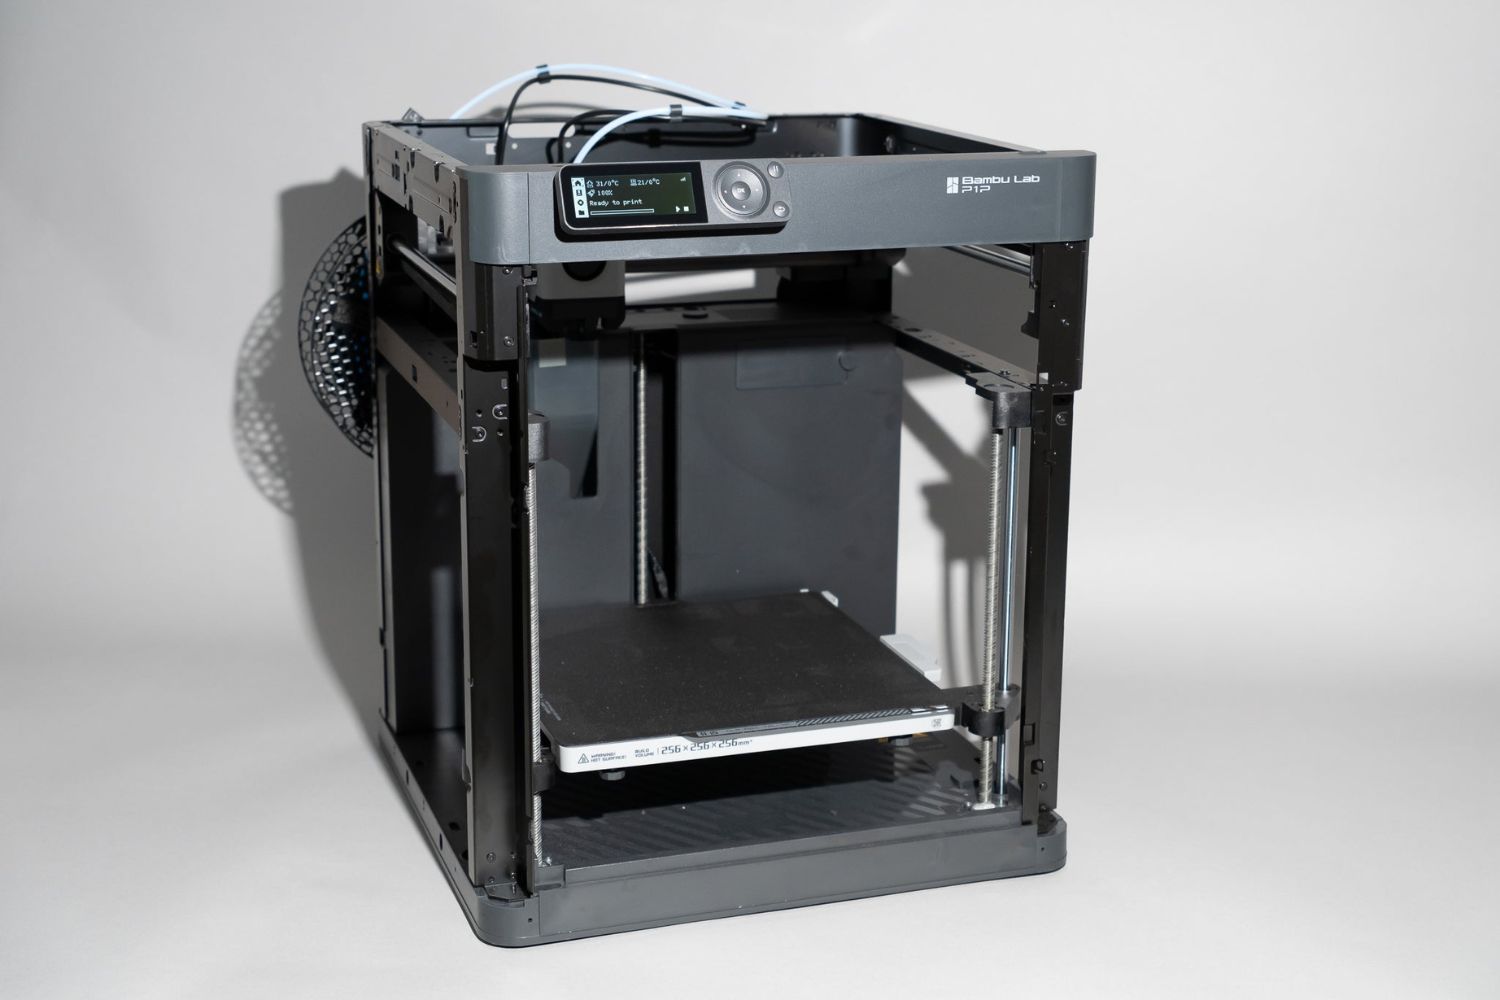
Using a 3D Printer Enclosure
One effective way to improve print adhesion and make print removal easier is by using a 3D printer enclosure. An enclosure creates a controlled environment around the printer, helping to maintain stable temperatures throughout the printing process and reducing the chances of warping or adhesion issues.
Enclosures come in various forms, such as DIY solutions or commercially available enclosures designed specifically for different types of 3D printers. These enclosures typically consist of a housing that surrounds the printer, enclosing it on all sides. Some enclosures also include additional features like built-in ventilation systems or temperature controls.
The benefits of using an enclosure for print removal are twofold. Firstly, the enclosed environment helps to maintain a consistent temperature, particularly beneficial for filament materials like ABS, which can be prone to warping during cooling. By minimizing warping, the print is more likely to detach easily from the build plate.
Secondly, an enclosure can provide an extra layer of protection and stability during the print removal process. The enclosed space offers a controlled environment for handling and safely removing prints, reducing the risk of accidentally damaging the print or the printer’s components.
When using a 3D printer enclosure, it’s important to monitor the internal temperature to ensure it remains within the recommended range for the filament being used. Excessive heat can cause issues like filament degradation or even damage to the printer electronics. Therefore, it’s essential to either purchase an enclosure specifically designed for your printer model or construct one using suitable materials and ventilation systems.
Additionally, be mindful of any specific ventilation requirements or safety guidelines provided by the printer manufacturer or enclosure manufacturer. Proper airflow and ventilation will help maintain a comfortable working environment and prevent any potential risks associated with heat buildup or chemical fumes.
By utilizing a 3D printer enclosure, you can create a controlled and stable environment for your prints, making the removal process easier and reducing the chances of print damage or failed removal attempts. Consider investing in an enclosure or exploring DIY enclosure options to enhance your 3D printing experience.
Preventing Difficult Print Removal
While knowing effective print removal techniques is important, it’s also necessary to take preventive measures to reduce the likelihood of encountering difficult print removal situations. By implementing these preventive measures, you can save time and effort in the long run. Here are some tips to help prevent challenging print removal:
1. Level the Build Plate Properly: Ensuring that the build plate is properly leveled is crucial for successful print adhesion and easy removal. Follow your printer’s instructions on how to level the build plate accurately. A well-leveled build plate helps create consistent first-layer adhesion, reducing the chances of the print sticking too firmly to the surface.
2. Use an Appropriate Build Surface: Consider using build surfaces specifically designed for 3D printing, such as PEI sheets or glass plates coated with adhesion-promoting materials like BuildTak. These surfaces provide reliable adhesion during printing and often make it easier to remove prints after completion.
3. Apply Adhesive or Bed Preparation: Depending on the filament and the build surface material, applying adhesives like glue stick, hairspray, or specialized bed adhesion solutions can enhance print adhesion and ensure easy removal. Experimentation may be required to find the right level of adhesion for your specific needs.
4. Optimize Raft or Brim Usage: Rafts and brims are structures that can be printed around the base of the model to improve adhesion. They provide additional support and surface area for the print to adhere to, making removal easier. However, consider using rafts or brims only when necessary, as they can add extra print time and consume additional filament.
5. Fine-Tune Print Settings: Adjusting print settings, such as the first-layer height, temperature, or print speed, can significantly impact the adhesion and ease of print removal. Experiment with different settings to find the optimal balance that provides good adhesion without making the print too difficult to remove.
6. Utilize Cooling Fan: Cooling fans can help with print quality and reduce the likelihood of warping, making print removal easier. Ensure that the cooling fan is properly functioning and adjusted to the appropriate speed for the filament being used.
7. Practice Post-Processing Techniques: Sometimes, it’s not the actual print removal that becomes difficult, but rather the clean-up process after removing the print. By practicing techniques like sanding, using a file, or employing chemical smoothing methods, you can smooth rough edges or remove any imperfections, making the post-processing tasks more manageable.
Implementing these preventive measures can greatly reduce the chances of encountering difficult print removal situations. Remember that the specific techniques may vary depending on your printer model, filament type, and personal preferences, so always be willing to experiment and find what works best for you!
Conclusion
Removing prints from a 3D printer can sometimes be a challenge, but with the right techniques and tools, it can be made much easier and safer. Whether you’re using manual methods like spatulas or scrapers, applying heat, utilizing chemical assistance, or leveraging the benefits of a 3D printer enclosure, each approach has its own merits and considerations.
Preparing for print removal by letting the object cool down completely, inspecting and cleaning the build plate, and familiarizing yourself with the specific materials used are crucial steps to ensure successful print removal. From there, you can explore different techniques based on the difficulty of the removal or the type of filament and build surface being used.
By using a spatula or scraper, you can gently lift and detach prints from the build plate, while applying heat can soften the filament and make it easier to remove. Chemical assistance, such as isopropyl alcohol or specialized adhesive release agents, can weaken the adhesive properties of the filament for smoother removal. Additionally, using a 3D printer enclosure can provide a controlled environment and improve print adhesion, making removal easier.
To prevent difficult print removal situations, you can level the build plate properly, use appropriate build surfaces, apply adhesives or bed preparation solutions, optimize raft or brim usage, fine-tune print settings, utilize cooling fans, and practice post-processing techniques to ensure smooth and hassle-free print removal.
Remember that the success of print removal depends on various factors, including the specific printer and filament used, as well as the complexity of the print itself. It’s important to approach print removal with caution, adapt the techniques to suit your specific setup, and exercise patience during the process.
With the knowledge and techniques shared in this article, you can confidently navigate the print removal process and enjoy the rewards of your 3D printing endeavors. Happy printing!