Introduction
3D printing is an exciting technology that allows us to turn our digital designs into physical objects. However, like any technology, it can sometimes encounter issues and pitfalls. One common problem that users may face is when their 3D printer starts printing in the corner instead of the desired location.
When you’re expecting a precise and accurate print, having it misaligned can be frustrating. Fortunately, there are several common causes for this issue, and understanding them can help you troubleshoot and fix the problem.
In this article, we will explore the potential reasons why your 3D printer is printing in the corner and provide troubleshooting tips to address the issue. Whether you’re a beginner or an experienced user, this guide will help you get to the root of the problem and get your printer back on track.
Before we dive into the details, it’s important to note that different 3D printers may have varying mechanisms and settings. Therefore, while the causes and solutions discussed here are generally applicable, it’s advisable to consult your printer’s user manual or the manufacturer’s support if needed.
So, let’s jump right in and explore the common causes for your 3D printer’s corner printing issue. By understanding these causes, we can better diagnose and troubleshoot the problem at hand.
Common Causes for 3D Printer Printing in the Corner
There can be several reasons why your 3D printer is printing in the corner instead of the desired location. By identifying the common causes, you can narrow down the issue and find an appropriate solution. Let’s take a closer look at some of the potential culprits:
- Incorrect Print Settings: One of the most common causes is incorrect print settings. This can include the bed leveling, print dimensions, or the origin point of the print. If these settings are not properly configured, your printer may start printing in the corner instead of the center.
- Calibration Issues: Another culprit can be calibration problems. Calibration refers to the accurate alignment of various components of your 3D printer. If the X, Y, or Z axis is not calibrated correctly, it can result in the printer starting the print in the wrong location.
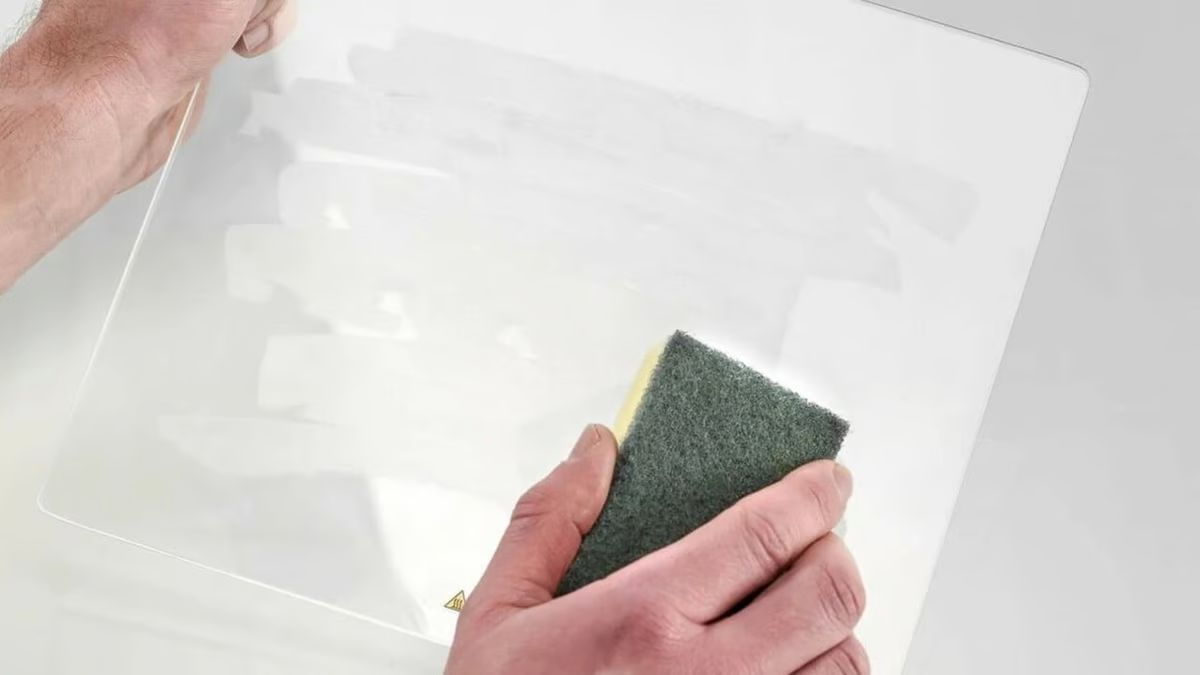
- Print Bed Adhesion: Insufficient adhesion of the print to the print bed can also cause the printer to shift and print in the corner. If the material does not stick properly to the bed, it can lead to dislocation during the printing process.
- Software or Firmware Errors: Errors in the software or firmware can also contribute to the corner printing problem. This can happen if there are bugs or glitches in the slicing software or if the firmware is outdated or incompatible with your printer.
- Mechanical Issues: Mechanical problems, such as loose belts, misaligned rods, or a faulty stepper motor, can cause the printer to start the print in the wrong position. These issues can prevent the printer from accurately moving along the designated axes.
While these are some of the common causes for corner printing, it’s important to note that there can be other factors specific to your printer model. It’s always a good idea to check the specific troubleshooting guide or consult the manufacturer’s support for your particular printer.
Now that we have identified the potential causes, let’s move on to discussing how to review your print settings to ensure they are correctly configured for accurate printing.
Reviewing the Print Settings
When faced with the issue of your 3D printer printing in the corner, it’s important to start by reviewing and double-checking your print settings. This step will help ensure that all the necessary parameters are correctly configured for accurate printing. Here are some aspects to consider:
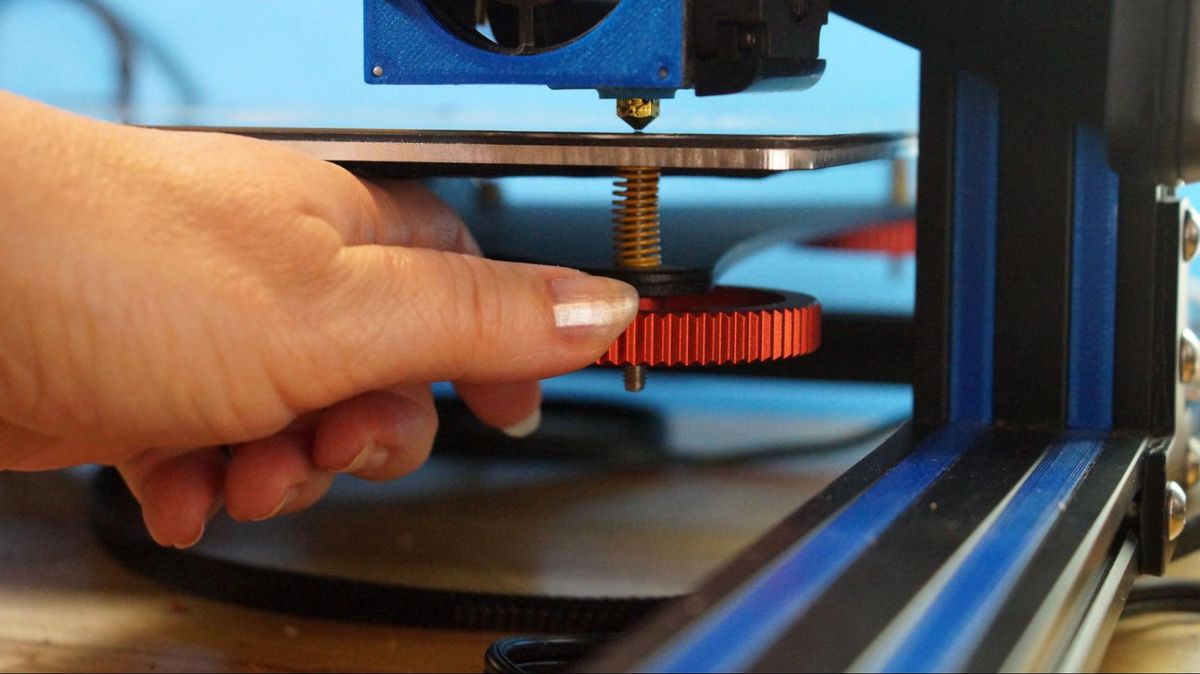
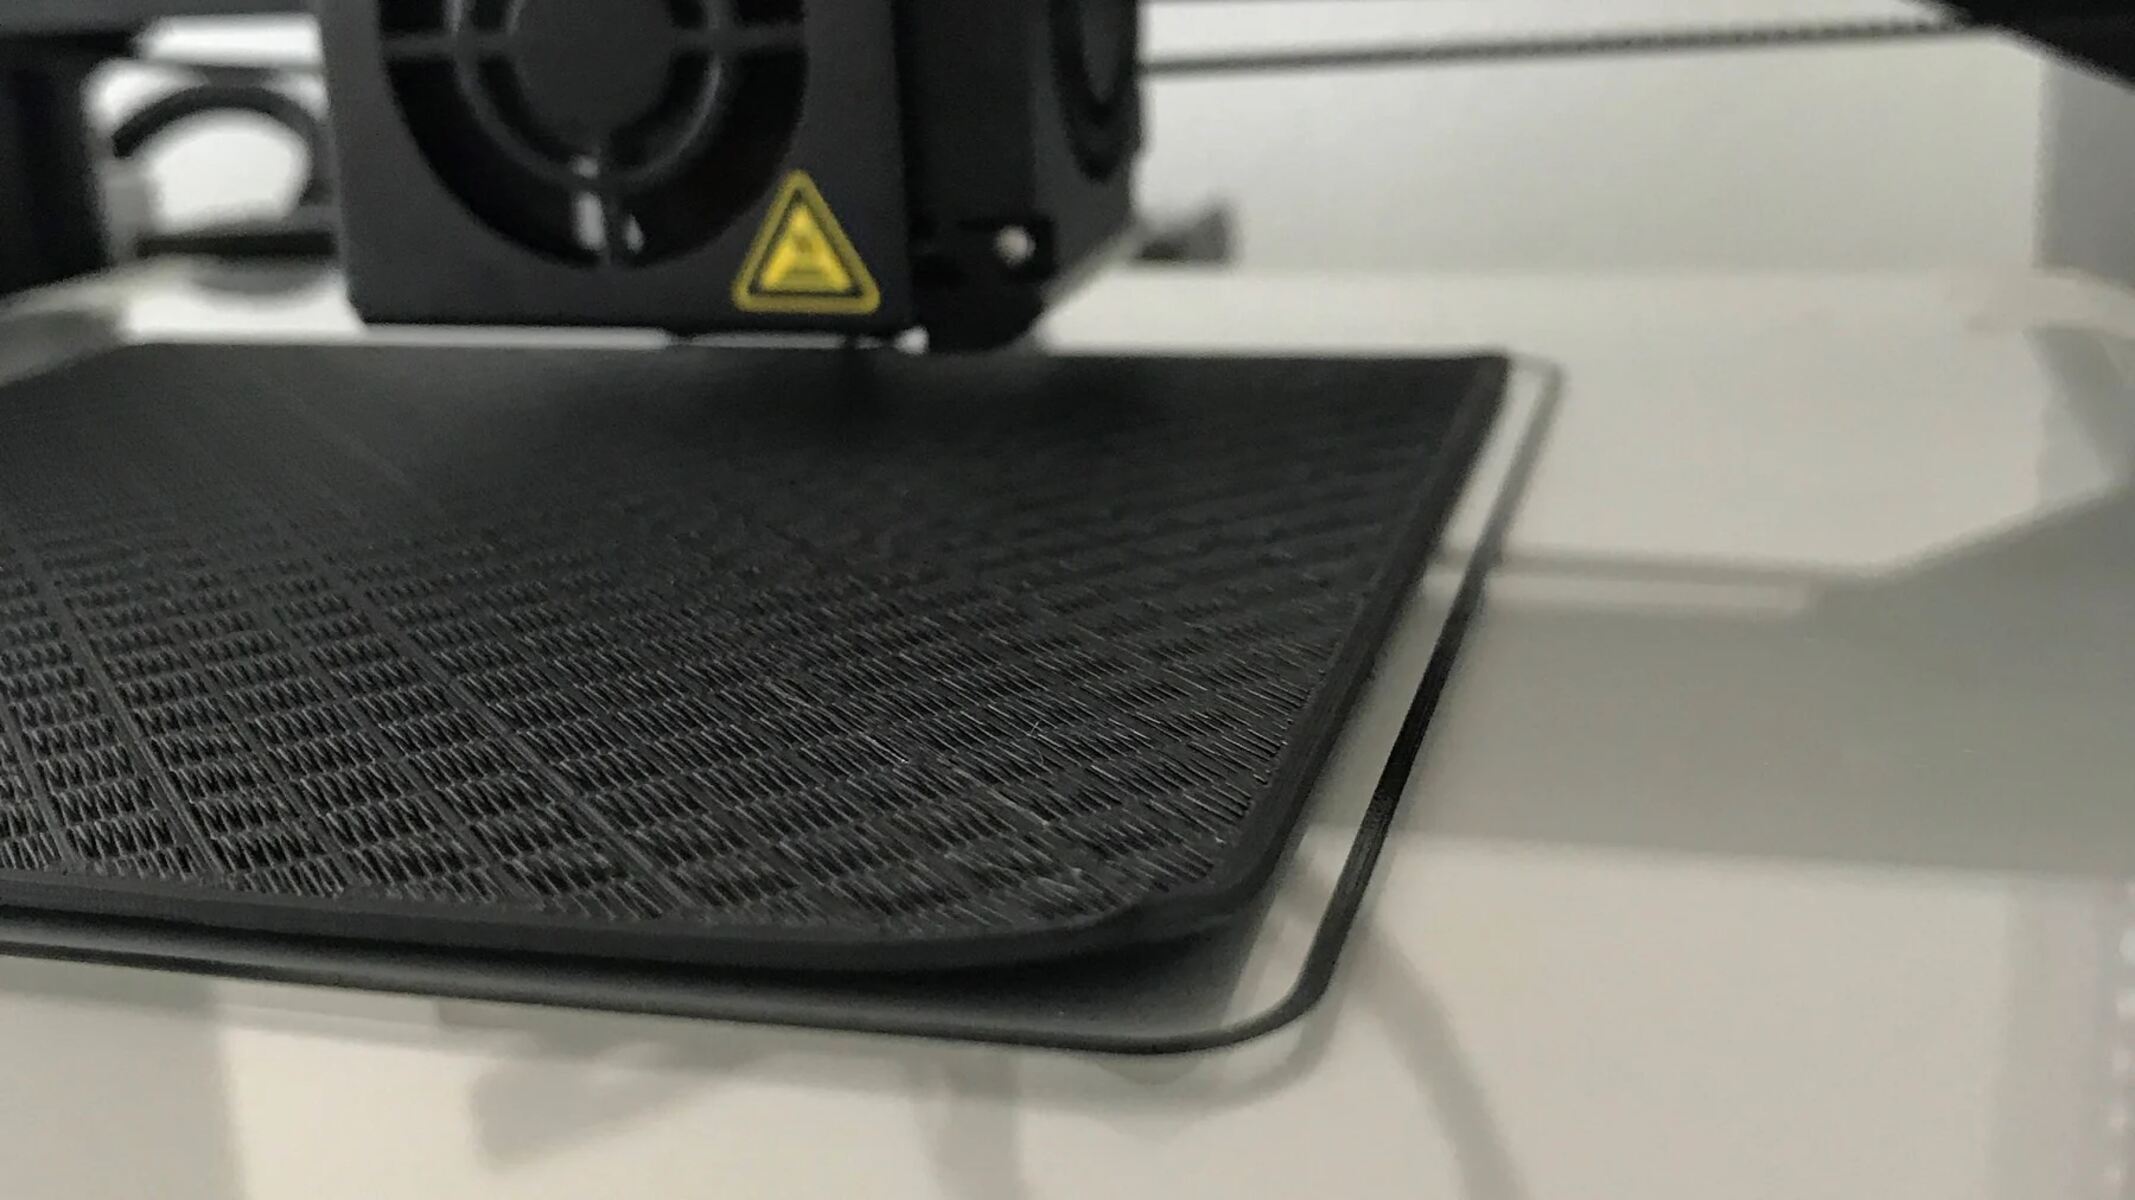
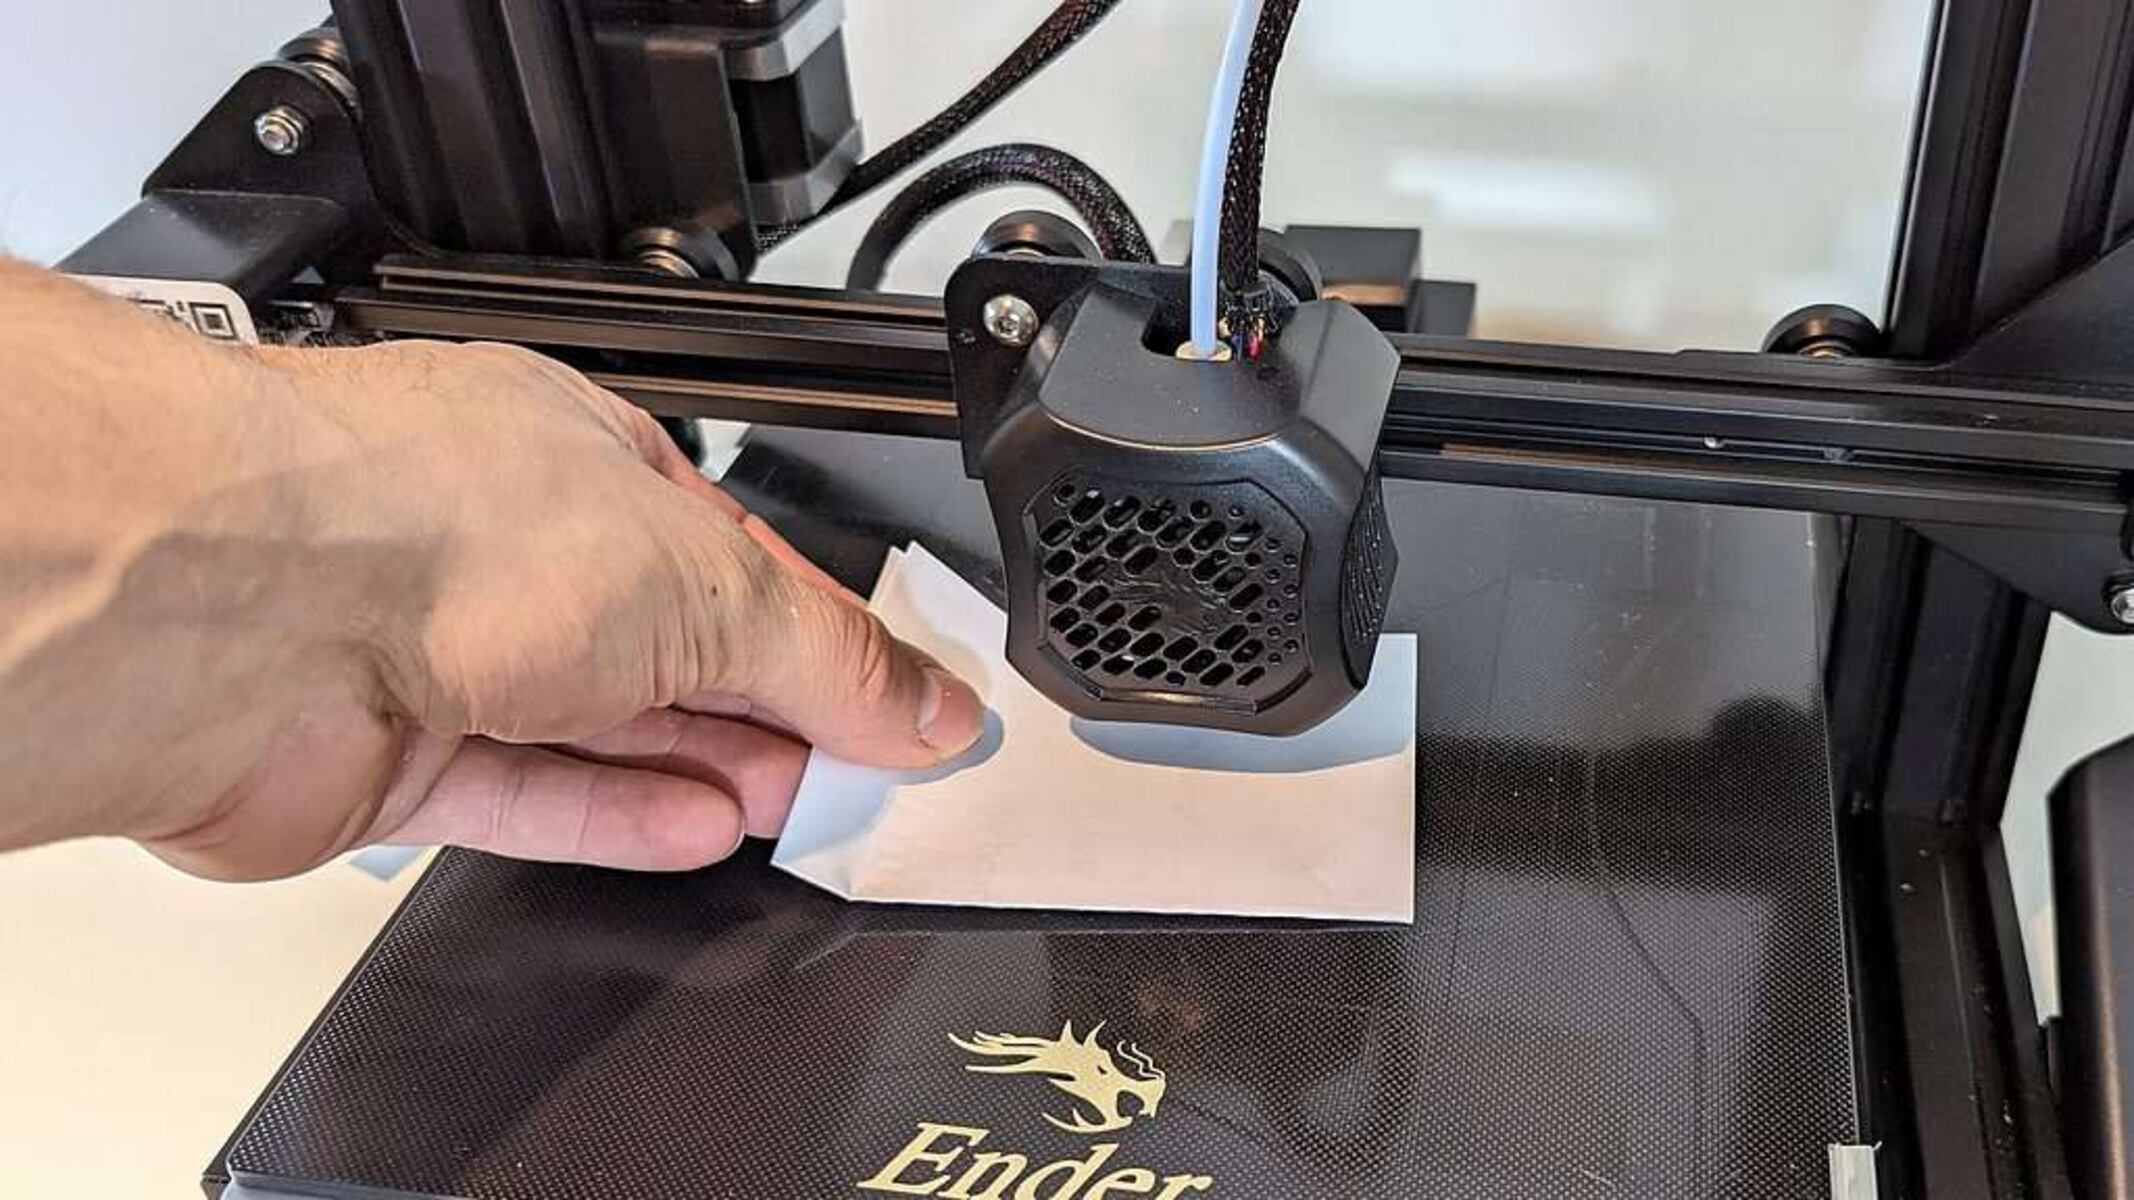
- Bed Leveling: Begin by checking the bed leveling of your printer. An uneven or improperly leveled bed can cause the print head to start printing too high or too low, resulting in corner printing issues. Use a leveling tool or follow the manufacturer’s instructions to properly level the bed.
- Print Dimensions: Verify that the print dimensions specified in the software or slicing program match the actual dimensions of the object you want to print. Incorrect dimensions can cause the printer to start printing outside the designated area.
- Origin Point: Ensure that the correct origin point is set for your print. This is the reference point from which the printer begins printing. If the origin point is not properly defined, it can lead to the printer starting in the wrong location.
- Print Speed: Adjusting the print speed can also help resolve corner printing issues. If the speed is set too high, it can cause the printer to lose accuracy and start printing in the wrong location. Experiment with slower print speeds to see if it improves the print quality.
- Retraction Settings: Check the retraction settings in your slicing software. Retraction is the process of pulling the filament back slightly during non-printing moves to prevent oozing or stringing. If the retraction settings are not properly configured, it can affect the overall print accuracy.
Reviewing and adjusting these print settings should help improve the accuracy and positioning of your prints. If the issue persists, it may be necessary to delve deeper into the mechanical aspects of your printer, as discussed in the next section.
Now that we have gone through the print settings, let’s explore potential mechanical issues that could be causing the corner printing problem.
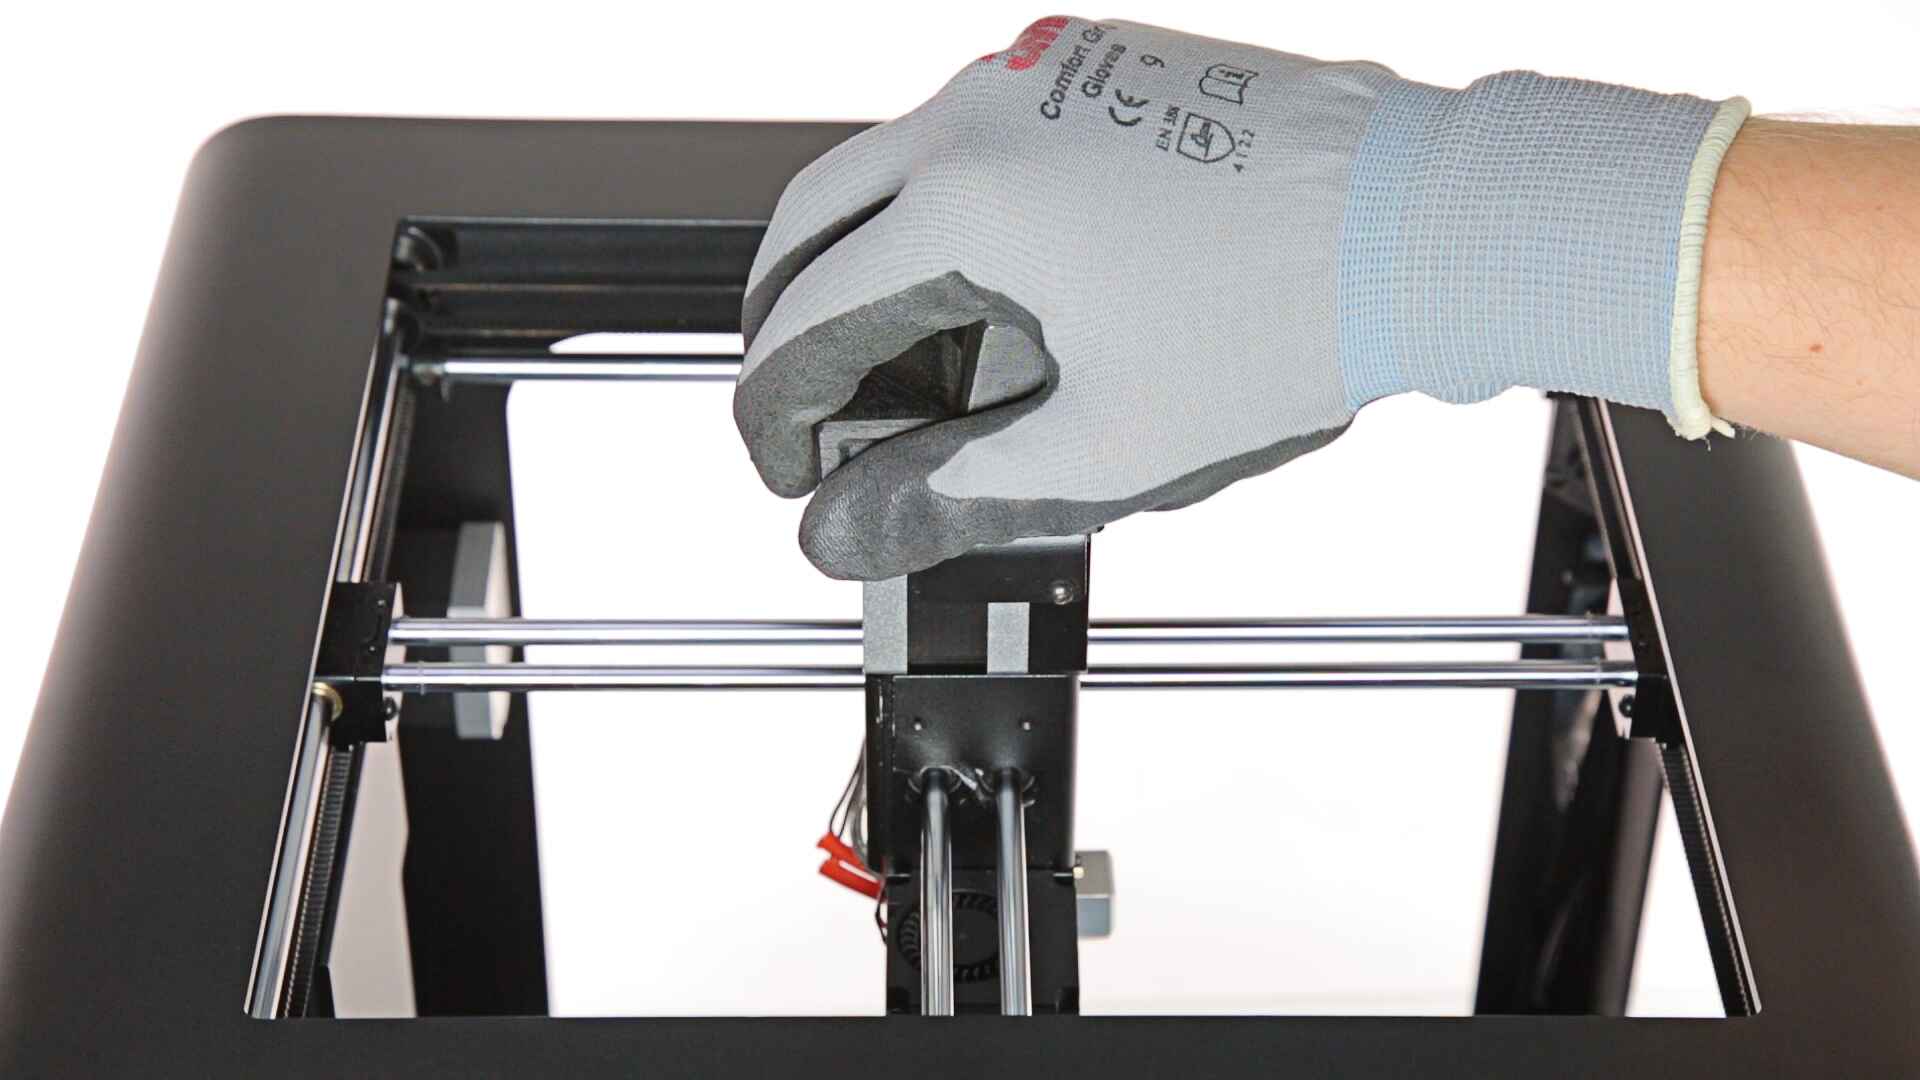
Issues with the Printer Mechanics
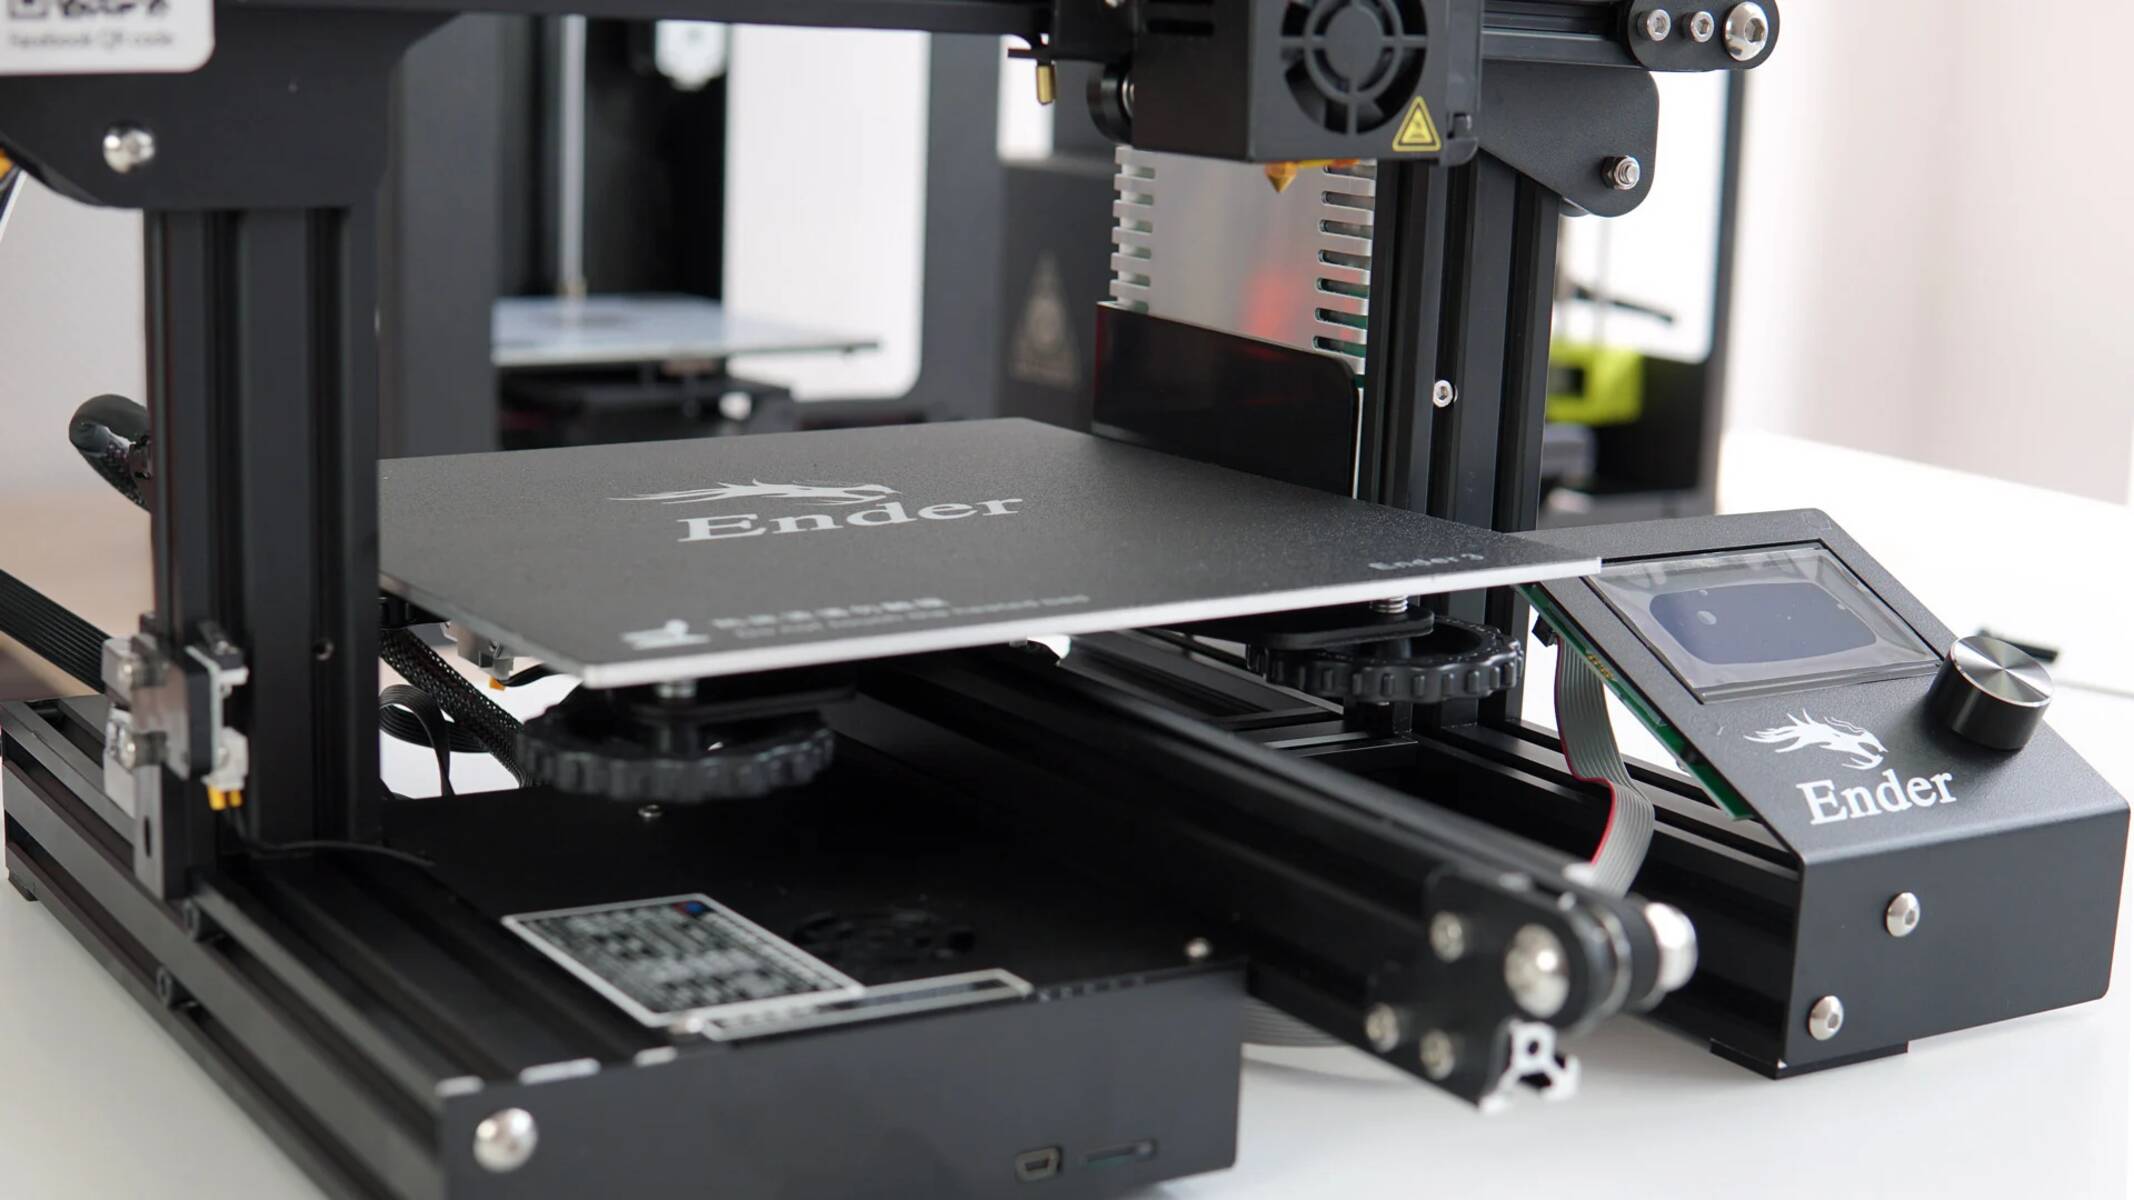
If you have reviewed your print settings and are still experiencing corner printing issues on your 3D printer, it’s time to examine the mechanical components of your machine. Mechanical problems can significantly impact the printer’s ability to accurately position the print head. Here are some common mechanical issues that may cause corner printing:
- Loose Belts: Check the tension of the belts that control the movement of the print head. If these belts are loose, it can result in inaccurate positioning and corner printing. Tighten the belts as per the manufacturer’s instructions to ensure proper tension.
- Misaligned Rods: Misaligned rods can throw off the printer’s movement in the X, Y, or Z axis, causing the print head to start in the wrong location. Carefully check if the rods are straight and properly aligned. If not, make the necessary adjustments to align them correctly.
- Faulty Stepper Motor: A faulty stepper motor can cause irregular movements and impact the printer’s ability to accurately position the print head. Listen for any unusual noises or vibrations during operation, as these may indicate a problem with the stepper motor. In such cases, it may be necessary to replace the motor.
- Over/Under-tightened Screws: Ensure that all screws and bolts on your printer are properly tightened. Over-tightened screws can cause binding, limiting the movement of the print head, while loose screws can lead to instability and misalignment. Use a proper tool to tighten the screws as needed.
- Worn Bearings: Bearings help facilitate smooth and accurate movement of the print head. If the bearings are worn or damaged, it can result in jerky or imprecise movements, leading to corner printing issues. Inspect the bearings for signs of wear or damage and replace them if necessary.
Addressing these mechanical issues requires careful inspection, adjustment, and sometimes replacement of the affected components. It’s important to consult your printer’s manual or seek guidance from the manufacturer if you are unsure about any mechanical adjustments.
If you have ruled out both print settings and mechanical issues as the cause of the corner printing problem, it’s time to examine potential software or firmware errors, which we will discuss in the next section.
Software or Firmware Problems
When troubleshooting corner printing issues on your 3D printer, it’s essential to examine potential software or firmware problems that may be causing the misalignment. Software and firmware play a vital role in controlling the printer’s movements and ensuring precise positioning. Here are some software and firmware-related issues to consider:
- Slicing Software: The slicing software you use to convert your 3D model into printable instructions can affect the print accuracy. Ensure that you are using the latest version of the software and that it is compatible with your printer model. Additionally, review the slicing settings and make any necessary adjustments to improve accuracy.
- Firmware Compatibility: Check if your printer’s firmware is up to date and compatible with your slicing software. Outdated firmware may not properly communicate with the software, resulting in incorrect positioning of the print head. Visit the manufacturer’s website or consult the user manual for instructions on updating the firmware.
- Glitches or Bugs: Software glitches or bugs can cause unexpected behavior, including corner printing problems. Check online forums and resources to see if other users have encountered similar issues with the same software or firmware version. If a bug is identified, reach out to the software or firmware developer for further assistance.
- Configuration Settings: Review the configuration settings in your printer’s firmware. Make sure the steps per millimeter (or steps per unit) are correctly calibrated for each axis. Incorrect configuration settings can lead to disproportionate movements and result in corner printing issues.
- Communication Errors: Verify that there are no connectivity or communication errors between your computer and the printer. Make sure the USB cable or network connection is secure and functioning correctly. Unstable connections can interrupt the transfer of coordinates, leading to misalignment during printing.
By addressing these software and firmware considerations, you can improve the communication and coordination between your computer, slicing software, and printer. If the underlying issue persists, it’s time to move on to troubleshooting steps to fix the corner printing problem, which we will discuss in the next section.
Troubleshooting Steps to Fix the Issue
If you’ve gone through the previous sections and are still experiencing corner printing issues with your 3D printer, it’s time to implement some troubleshooting steps to identify and resolve the problem. Follow these steps to address the issue:
- Double-Check Print Settings: Review your print settings once again, paying close attention to bed leveling, print dimensions, origin point, print speed, and retraction settings. Ensure that they are correctly configured and aligned with your printing requirements.
- Inspect and Calibrate Mechanical Components: Thoroughly inspect the mechanical components of your 3D printer, such as belts, rods, stepper motors, screws, and bearings. Tighten loose components and make necessary adjustments to calibrate them correctly.
- Update Software and Firmware: Ensure that you are using the latest version of your slicing software and that your printer’s firmware is up to date. Update them if required, as newer versions often address bugs and compatibility issues that can contribute to corner printing problems.
- Verify Connectivity: Check the connectivity between your computer and the printer. Ensure that the USB cable or network connection is secure and functioning properly. Unstable connections can cause communication errors and result in misaligned prints.
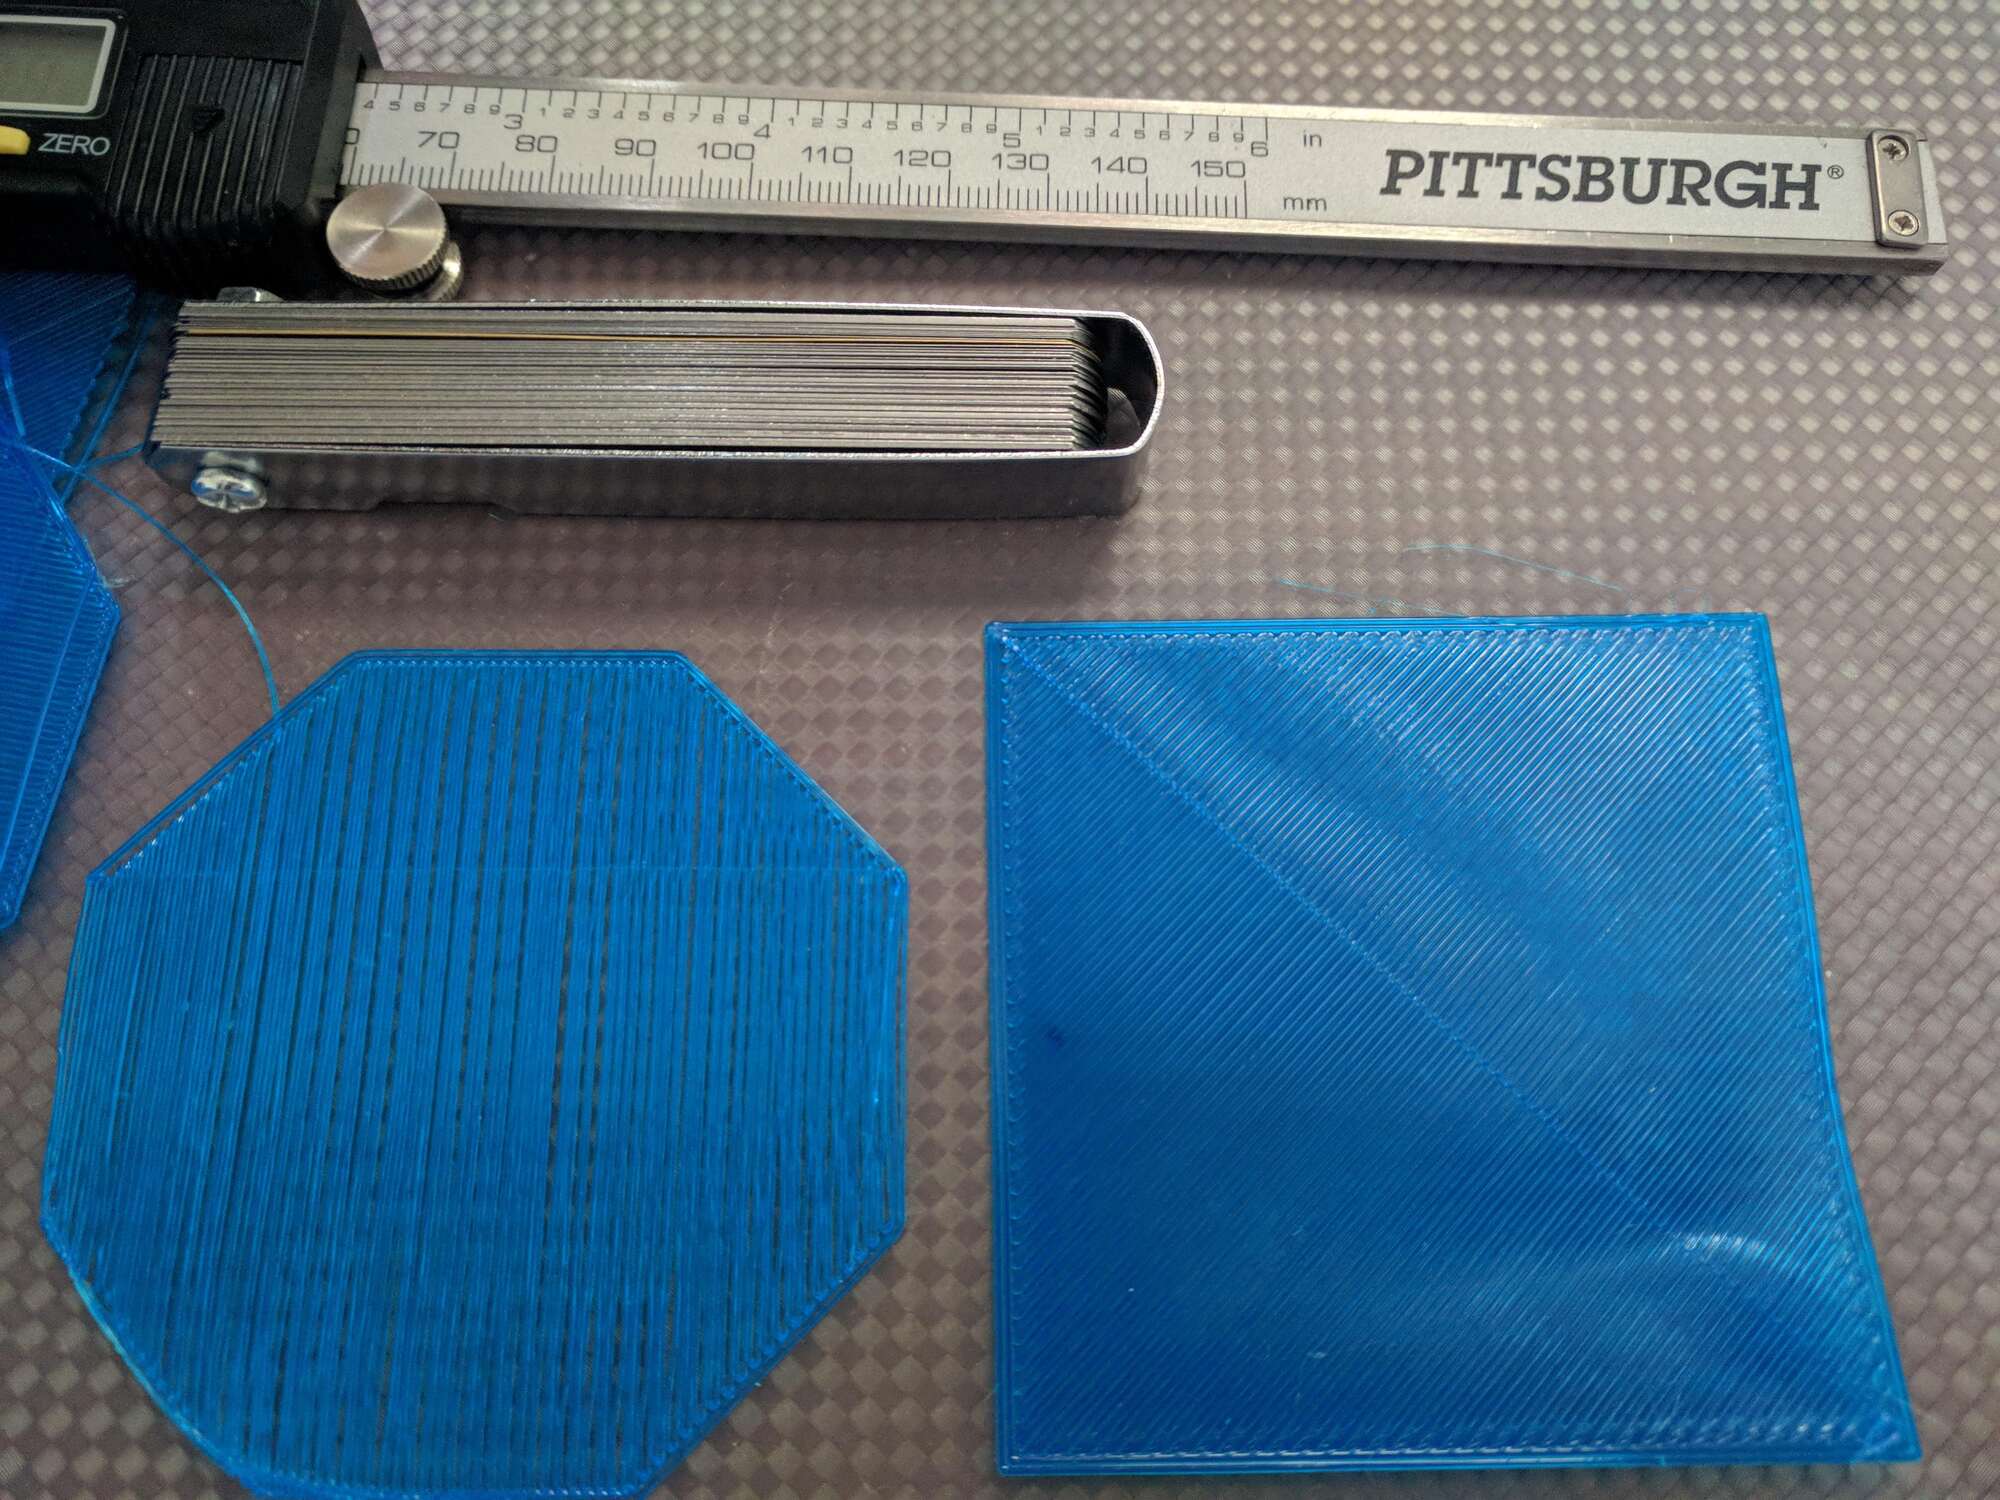
- Perform Test Prints: Conduct test prints using simple objects to observe the print accuracy. Start with smaller models, gradually increasing the complexity. Monitor the print progress and determine if the corner printing issue has been resolved or if any further adjustments are necessary.
- Seek Manufacturer’s Support: If the problem persists despite your troubleshooting efforts, it’s advisable to seek assistance from the manufacturer’s support team or online communities. They may have specific solutions or recommendations for your printer model.
It’s important to note that troubleshooting can be an iterative process, and it may require multiple attempts and adjustments to resolve the corner printing issue. Be patient and methodical in your approach, keeping track of the changes you make and their effects on the print results.
By following these troubleshooting steps, you should be able to identify and address the underlying cause of the corner printing problem, ensuring more accurate and precise prints in the future.
Conclusion
Printing in the corner instead of the intended location can be a frustrating issue when using a 3D printer. However, by understanding the common causes and following the troubleshooting steps mentioned in this article, you can effectively diagnose and fix the problem.
We started by examining common causes for corner printing, including incorrect print settings, calibration issues, print bed adhesion problems, software or firmware errors, and mechanical issues. By reviewing these factors, you can narrow down the potential sources of the issue.
Next, we discussed how to review and adjust the print settings to ensure proper configuration. This included checking bed leveling, print dimensions, the origin point, print speed, and retraction settings. Making the necessary adjustments in these areas can greatly improve print accuracy.
We then explored potential issues with the printer’s mechanics, such as loose belts, misaligned rods, faulty stepper motors, over- or under-tightened screws, and worn bearings. By inspecting and addressing these mechanical components, you can restore accurate positioning of the print head.
The section on software or firmware problems highlighted the importance of using compatible and up-to-date slicing software and firmware. Glitches, bugs, configuration mistakes, and communication errors can all contribute to corner printing issues, which can be resolved by updating and configuring the software and firmware correctly.
Lastly, we provided troubleshooting steps to help you fix the corner printing problem. By double-checking print settings, inspecting and calibrating mechanical components, updating software and firmware, ensuring proper connectivity, performing test prints, and seeking manufacturer support when needed, you can work towards a solution.
Remember, troubleshooting can be an iterative process, and it may take some trial and error to achieve the desired print results. Patience and persistence are key as you navigate through the various troubleshooting steps.
By following the guidance in this article, you can overcome corner printing issues and achieve accurate and precise 3D prints. Happy troubleshooting and happy printing!