Introduction
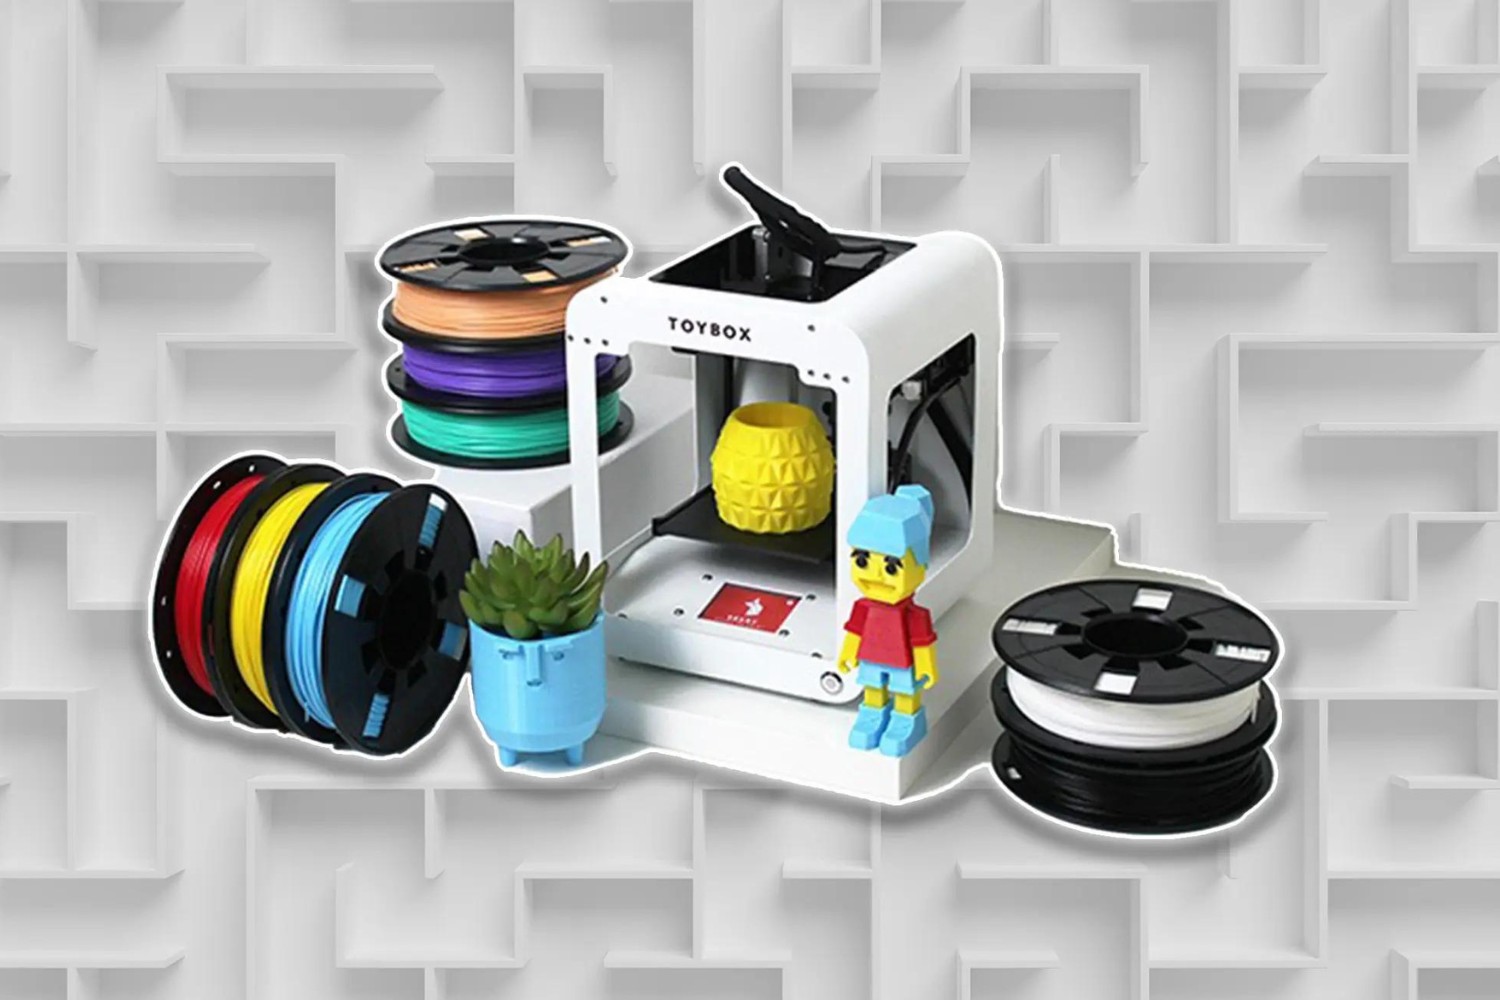
Welcome to the exciting world of 3D printing with the Toybox 3D Printer! Whether you’re a hobbyist, DIY enthusiast, or just curious about the possibilities of this innovative technology, the Toybox 3D Printer is the perfect tool to bring your creations to life.
With its user-friendly interface and compact design, the Toybox 3D Printer is suitable for all ages and skill levels. From designing and printing your own toys to creating functional prototypes, the possibilities are endless. This article will guide you through the process of using the Toybox 3D Printer, from unboxing to printing your first masterpiece.
Before we dive into the details, let’s take a moment to understand what 3D printing is all about. Unlike traditional manufacturing methods that involve subtractive processes like cutting or carving, 3D printing is an additive process. It builds objects layer by layer, using a digital model as a blueprint. This means you have full control over the design and can create complex and intricate objects with ease.
The Toybox 3D Printer utilizes the latest technology to ensure high-quality prints and ease of use. It offers a multitude of features and functions to enhance your printing experience. Whether you’re a beginner or an experienced user, you’ll find this printer to be a valuable tool in unleashing your creativity.
Throughout this article, we will walk you through each step of the printing process, from setting up the printer to customizing your prints. We’ll also provide troubleshooting tips in case you encounter any issues along the way.
So, let’s embark on this 3D printing journey together and discover the endless possibilities that the Toybox 3D Printer has to offer. Get ready to bring your imagination to life and transform your ideas into tangible objects. Let’s dive in!
Getting Started
Before you can start creating 3D prints with the Toybox 3D Printer, there are a few essential steps to get you up and running. This section will guide you through the initial setup and familiarize you with the necessary tools and software.
The first step is to ensure that you have all the components of the Toybox 3D Printer. Open the box and check that it includes the printer itself, the power adapter, a spool of filament, and any other accessories that may come with it. If you find any missing or damaged parts, contact the manufacturer for assistance.
Next, find a suitable location for your printer. Choose a stable surface away from direct sunlight and excessive moisture. The printer should also be easily accessible for filament changes and maintenance. Once you’ve found the perfect spot, plug in the power adapter and turn on the printer.
While the printer is booting up, it’s a good time to download the Toybox app. This app is available for both iOS and Android devices and acts as a creative hub for your 3D printing projects. Visit the app store on your device, search for “Toybox,” and download the free app.
Once the app is installed, open it and create an account. This account will allow you to save and access your designs from any device. You can also explore the Toybox community, where you can share designs and get inspiration from other creators.
Now that you have the app ready, you’ll need to connect it to your Toybox 3D Printer. Follow the instructions provided in the app to connect your printer via Wi-Fi. This connection will enable you to send designs directly from the app to the printer.
With the printer and app connected, it’s time to load the filament. Open the printer’s filament compartment and ensure that the filament spool is properly placed. Feed the filament through the filament guide and into the extruder. Follow the instructions in the app to heat the extruder and load the filament. Once the filament is loaded, you’re ready to start printing!
Now that you’re familiar with the basic setup and tools, it’s time to dive into the world of 3D printing with the Toybox 3D Printer. In the next sections, we’ll explore how to prepare your design, use the Toybox app, customize your prints, and monitor the printing process. So let’s get creative and bring your ideas to life!
Unboxing the Toybox 3D Printer
Excitement fills the air as you eagerly unbox your brand-new Toybox 3D Printer, ready to embark on your 3D printing adventures. Unboxing is an essential first step that allows you to familiarize yourself with the components and accessories that come with the printer.
As you open the box, you’ll find the Toybox 3D Printer snugly packed and protected by foam padding. Carefully lift it from the packaging and place it on a clean, flat surface. Take a moment to appreciate the sleek and compact design of the printer. Its modern aesthetics make it a stylish addition to any workspace.
Next, locate the power adapter and the accompanying cables. These will be needed to power up the printer and ensure smooth operation. Check that all cables are intact and free from any damage.
Now, let’s explore the various accessories included with the Toybox 3D Printer. You’ll typically find a starter pack of filament, which allows you to begin your printing journey right away. Inspect the filament spool and ensure it is securely sealed to maintain its freshness and quality.
Additionally, you may find a set of calibration cards or tools. These aids are used to fine-tune the printer’s settings and ensure optimal print quality. Familiarize yourself with these tools, as they will come in handy during the setup process.
Lastly, check for any documentation or instruction manuals. The manufacturer often includes a quick start guide or user manual to assist you in setting up and operating the Toybox 3D Printer. Take the time to read through these resources, as they provide valuable insights and tips to get the most out of your printing experience.
As you unbox each component and inspect them, take note of any damage or missing items. If something seems amiss, it’s essential to contact the manufacturer or retailer promptly. They will be able to assist you in resolving any issues and ensuring you have all the necessary components to start printing.
Unboxing the Toybox 3D Printer is an exciting moment that marks the beginning of your 3D printing journey. By familiarizing yourself with the printer and its accessories, you are setting the foundation for successful and enjoyable printing sessions. In the next section, we’ll guide you through the setup process and get you ready to start printing your creations.
Setting up the Toybox 3D Printer
Now that you have unboxed your Toybox 3D Printer, it’s time to set it up for your first printing adventure. Follow these steps to ensure a smooth and successful setup process:
- Find a suitable location: Choose a stable and level surface for your printer. Avoid placing it near direct sunlight or excessive heat sources.
- Plug in the power adapter: Connect the power adapter to an appropriate power source and plug it into the printer. Ensure a secure connection.
- Power on the printer: Press the power button to turn on the printer. You should see the printer’s display light up, indicating that it’s ready for setup.
- Connect to Wi-Fi: Using the printer’s interface, navigate to the network settings and connect the printer to your Wi-Fi network. This will allow you to control the printer remotely using the Toybox app.
- Download the Toybox app: Visit the app store on your mobile device and search for “Toybox.” Download and install the app to your device.
- Create an account: Open the app and create a new account. This will enable you to save and access your designs across multiple devices.
- Connect the app to the printer: Follow the instructions provided in the app to connect it to your Toybox 3D Printer. This connection will allow you to send designs wirelessly to the printer.
- Load the filament: Open the filament compartment of the printer and ensure that the filament spool is properly secured in place. Feed the filament through the filament guide and into the extruder. Follow the instructions in the app to heat the extruder and load the filament.
Once you’ve completed these steps, your Toybox 3D Printer should be ready for action. Take a moment to familiarize yourself with the printer’s interface and settings. Explore the various options and features available to customize your prints and ensure optimal output quality.
During the initial setup, it’s a good idea to perform a test print to ensure that everything is functioning correctly. The Toybox app often includes sample designs that you can choose to print. Select a simple design and follow the instructions to start the printing process.
Setting up the Toybox 3D Printer is an essential step to ensure a seamless printing experience. By following these steps and acquainting yourself with the printer and the app, you’ll be well-prepared to unleash your creativity and bring your designs to life. In the next sections, we’ll explore how to prepare your designs for printing and dive deeper into the features offered by the Toybox app. Let’s continue our journey into the world of 3D printing!
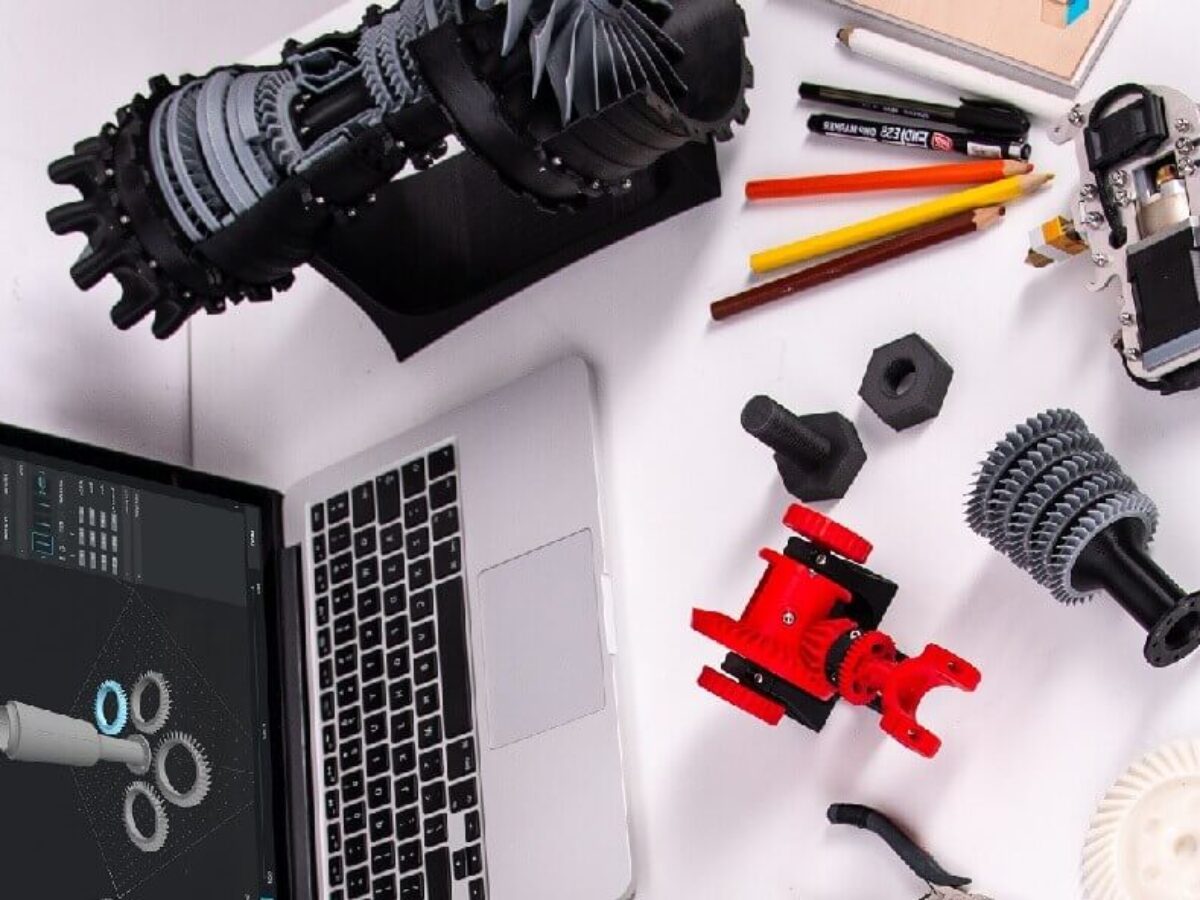
Preparing your Design
Now that you have set up your Toybox 3D Printer, it’s time to prepare your digital design for printing. This section will guide you through the steps of transforming your creative ideas into printable files.
The first step in preparing your design is to choose or create a 3D model. There are several options available to you:
- Create your own design: If you have the skills and expertise, you can use 3D modeling software, such as Autodesk Fusion 360 or Tinkercad, to create your own unique designs. Let your imagination run wild and bring your creative ideas to life.
- Download pre-existing designs: The internet is a treasure trove of 3D models that you can use for your projects. Websites like Thingiverse and MyMiniFactory offer a vast library of downloadable designs created by the 3D printing community. Browse through these platforms, find a design that aligns with your vision, and download the corresponding STL file.
- Modify existing designs: If you find a design that is close to what you’re looking for but requires some adjustments, you can use 3D modeling software to modify it. This allows you to customize the design to better suit your needs and preferences.
Once you have your 3D model, you need to convert it into a format that the Toybox 3D Printer can understand. The recommended file format is STL (Standard Tessellation Language). This file format represents the geometry of the model and is widely supported by 3D printing software.
To convert your design into an STL file, you can use various software tools, such as Autodesk Meshmixer or Ultimaker Cura. These programs allow you to import your design and export it in the required format. Simply follow the instructions provided by the software to save your file as an STL.
With your design converted into an STL file, it’s time to import it into the Toybox app. Open the app and navigate to the design section. Select the option to upload a new design, and choose the STL file from your device’s storage.
Once your design is uploaded, you can further customize it using the tools provided by the app. Scale the size of the model, adjust its orientation, or add supports if needed. The app will provide visual cues and indicators to help you optimize your design for printing.
Before sending your design to the printer, it’s a good practice to preview it. The Toybox app offers a preview feature that allows you to visualize how your design will look once printed. Use this feature to identify any potential issues, such as intersections or overlapping parts, and make necessary adjustments.
Preparing your design may require some trial and error, but with practice, you’ll become more adept at creating or selecting models and optimizing them for printing. In the next section, we’ll explore how to use the Toybox app to send your design to the printer and customize your print settings. Get ready to bring your designs to life!
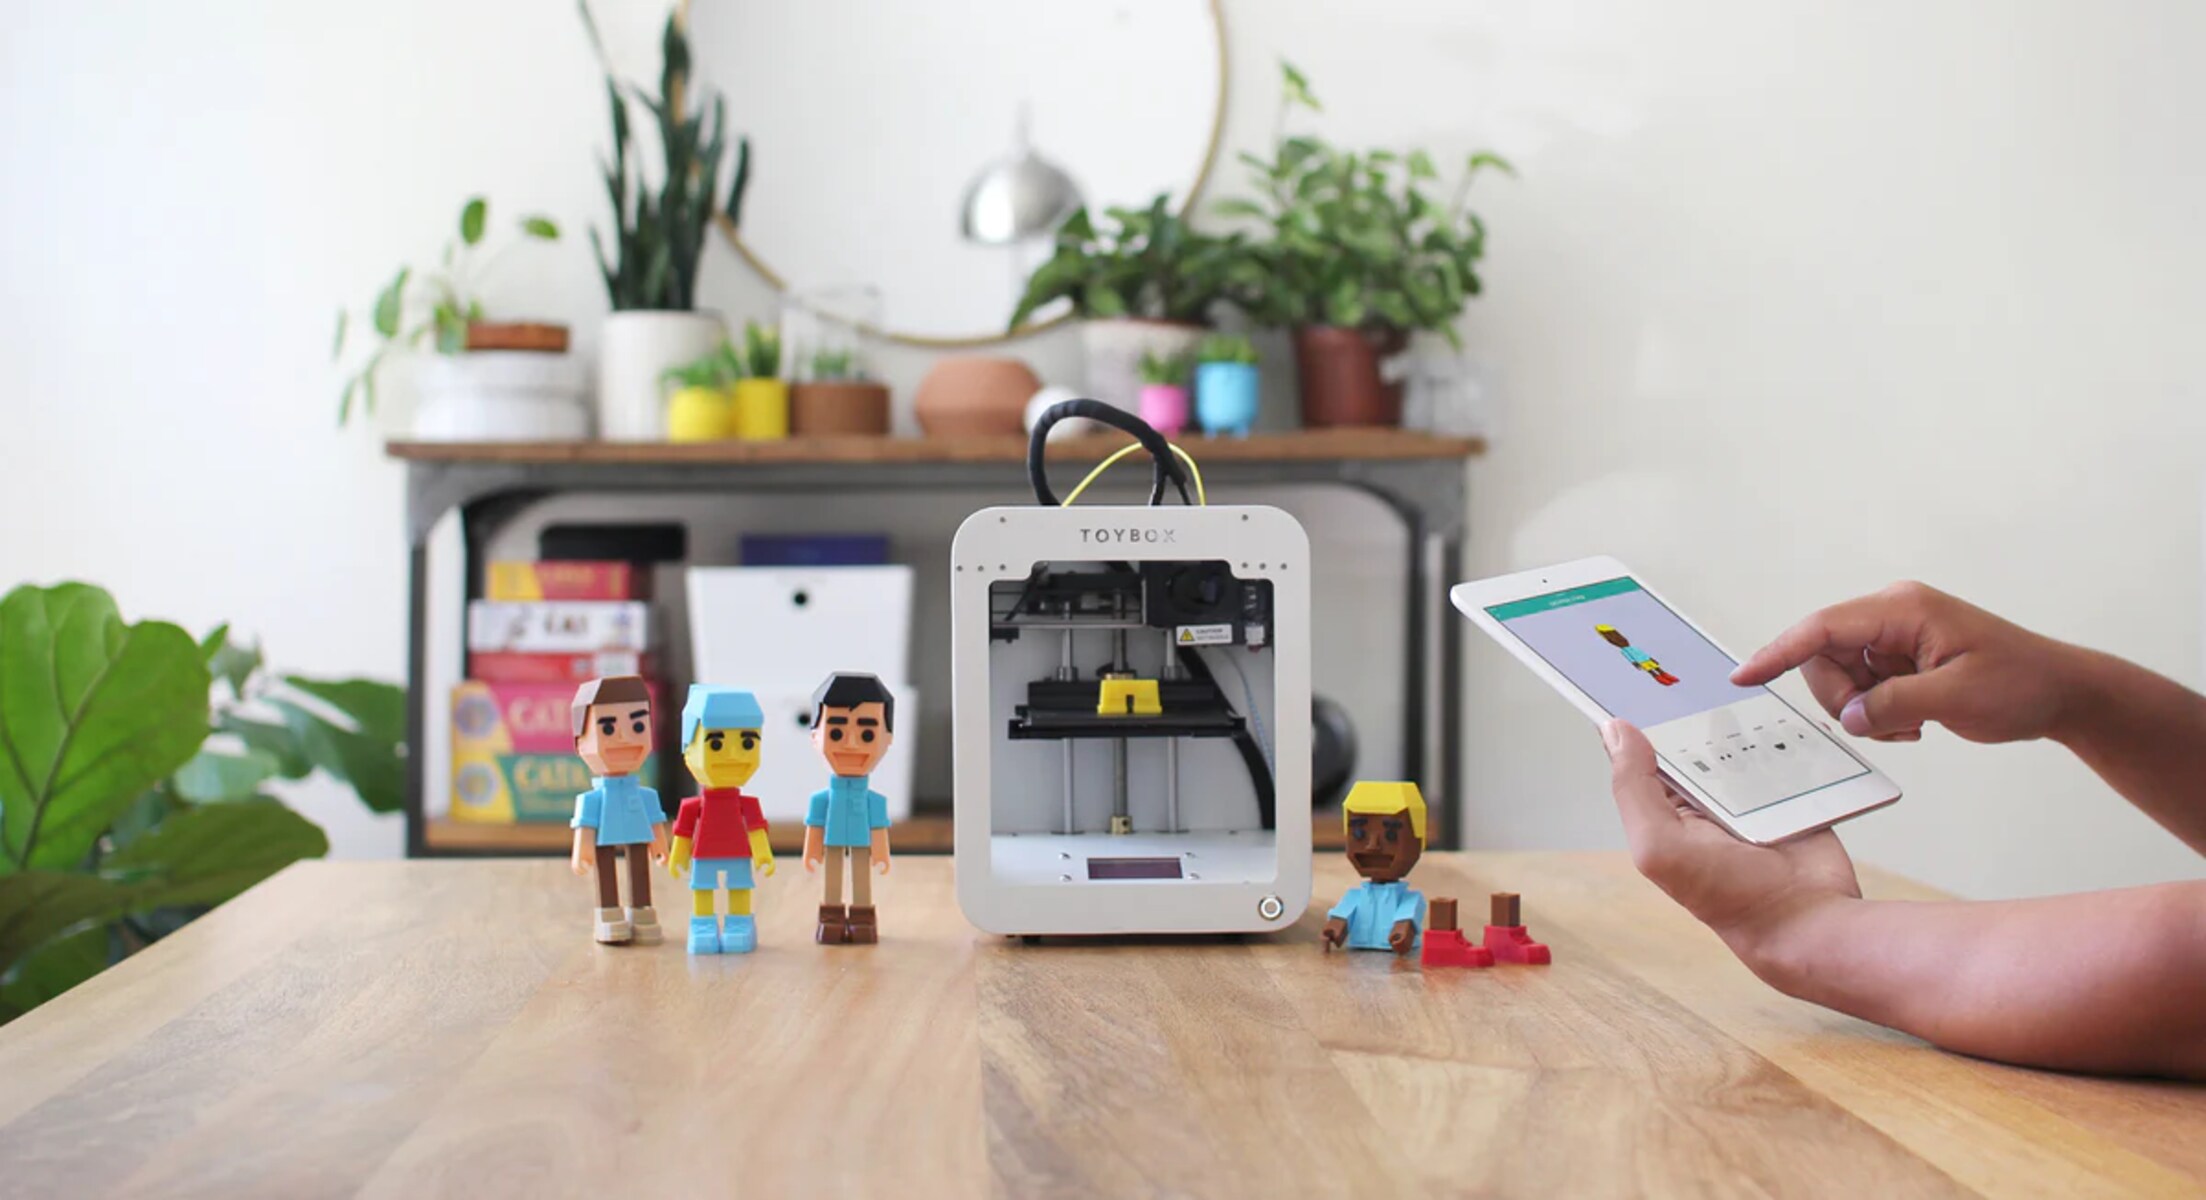
Using the Toybox App
The Toybox app is your gateway to a world of creativity and endless possibilities. It provides a user-friendly interface that allows you to control your Toybox 3D Printer, customize your prints, and explore a vibrant community of like-minded creators. In this section, we will guide you through the key features of the Toybox app and how to use them effectively.
Upon opening the Toybox app, you’ll be greeted with a visually pleasing and intuitive home screen. Here, you can access various sections of the app, including the design library, community gallery, and settings.
The design library is where you can manage and organize your designs. Upload your own STL files or browse through the pre-existing designs available in the library. The library offers convenient filters and search options to help you find the perfect design for your next project.
If you’re looking for inspiration or want to showcase your creations, the community gallery is the place to be. Browse through the impressive designs shared by other Toybox users, leave comments, and even collaborate with fellow creators.
Once you’ve selected the design you want to print, it’s time to customize your print settings. With the Toybox app, you have control over various aspects of your print, such as scale, orientation, and supports. Use the app’s intuitive tools to adjust these settings to your preference.
After customizing your print settings, you can preview your design to get a visual representation of how it will look when printed. The app provides real-time feedback, allowing you to make any necessary adjustments and optimize your design before sending it to the printer.
Once you’re satisfied with the preview, it’s time to send your design to the Toybox 3D Printer. The app provides a seamless and wireless connection to the printer, allowing you to initiate the printing process with just a few taps on your device.
As your design is being printed, the Toybox app provides a progress monitor that allows you to keep an eye on the printing process. You can view the elapsed time, estimated time remaining, and even pause or cancel the print if needed.
Using the Toybox app not only enhances your printing experience but also connects you with a vibrant community of creators. You can share your designs, get feedback, and discover new tips and techniques to improve your skills. Take advantage of this community to learn and grow as a 3D printing enthusiast.
Now that you have a grasp of the Toybox app’s features and how to use them, you’re ready to unleash your creativity and bring your designs to life. In the next section, we’ll explore the process of sending your design to the Toybox 3D Printer and customizing your print to make it uniquely yours.
Sending your Design to the Toybox 3D Printer
With your design finalized and customized using the Toybox app, it’s time to send it to your Toybox 3D Printer and bring it to life. In this section, we will walk you through the process of sending your design wirelessly to the printer and ensure a smooth printing experience.
Firstly, make sure that your Toybox 3D Printer is powered on and connected to the same Wi-Fi network as your mobile device. Open the Toybox app and navigate to the design library, where your customized design is saved.
Select the design you want to print. This will open a detailed view of the design, where you can review the settings you’ve customized and make any last-minute adjustments if needed.
Once you’re satisfied with the settings, tap on the “Print” button. The Toybox app will establish a connection with your printer and begin the transfer of your design wirelessly.
During the transfer process, the app will display a progress indicator, showing you the status of the file transfer. This may take some time, depending on the size and complexity of your design. It’s important to ensure a stable Wi-Fi connection to avoid any interruptions during the transfer.
Once the design file has been successfully sent to the Toybox 3D Printer, the app will provide a confirmation message. Take a moment to double-check that the design name and settings match your expectations.
At this point, you can step back and let your Toybox 3D Printer work its magic. The printer will take the design file and start the printing process, carefully layering the filament to construct your object.
While your print is underway, you can monitor its progress using the Toybox app’s printing interface. This interface provides real-time updates on the printing time, progress, and estimated time remaining. It also allows you to pause or cancel the print if needed.
Don’t be afraid to take the time to watch the process unfold. Seeing your design gradually come to life is a rewarding experience and sparks excitement as you witness your creation taking shape.
Once the printing process is complete, carefully remove your finished print from the Toybox 3D Printer. Depending on the complexity and intricacy of your design, you may need to remove any support structures or clean up any excess filament residue.
Congratulations! You have successfully sent your design from the Toybox app to the Toybox 3D Printer and obtained a tangible print of your creation. Marvel at the fine details and intricacies of your object, and let your imagination soar as you start exploring new ideas for future prints.
In the next section, we’ll delve into the possibilities of customizing your prints, adding personal touches, and exploring different materials and colors to further enhance your creations.
Customizing your Print
One of the exciting aspects of 3D printing with the Toybox 3D Printer is the ability to customize your prints and add personal touches. In this section, we’ll explore the various ways you can unleash your creativity and make your prints truly unique.
One way to customize your print is by adjusting its size and scale. The Toybox app allows you to resize your design, giving you the flexibility to create larger or smaller versions of your object. Experiment with different dimensions to achieve the desired outcome.
Another way to personalize your print is by choosing the right filament color. The Toybox 3D Printer supports a variety of filament colors, giving you the freedom to create vibrant, eye-catching prints. Select a color that aligns with your design or invokes the desired mood for your creation.
In addition to color, you can also experiment with different filament materials. The Toybox 3D Printer supports a wide range of filaments, including PLA, ABS, and flexible materials. Each filament type offers unique properties and characteristics, allowing you to tailor your print to specific needs or achieve desired textures or flexibilities.
When customizing your print, consider adding support structures if needed. Support structures help maintain the stability and integrity of your design during the printing process, especially for complex or overhanging features. The Toybox app provides tools to automatically generate support structures, ensuring successful prints with intricate designs.
Furthermore, you can explore post-processing techniques to further enhance your prints. Techniques such as sanding, painting, or adding additional details can elevate the overall look and feel of your design. Experiment with different techniques and materials to achieve the desired finish.
Aside from physical customization, you can also explore the realm of software customization. The Toybox app provides tools and features that allow you to modify and manipulate your designs directly within the app. This includes adding text, symbols, or patterns to your prints, creating a personal message or adding unique details.
Remember, the only limit to customizing your print is your imagination. Feel free to experiment, take risks, and push the boundaries of what’s possible. The Toybox 3D Printer empowers you to create one-of-a-kind prints that truly reflect your vision and creativity.
In the next section, we’ll explore how to monitor the printing process, troubleshoot common issues, and ensure a seamless 3D printing experience with the Toybox 3D Printer.
Monitoring the Printing Process
Once you’ve sent your design to the Toybox 3D Printer, it’s important to monitor the printing process to ensure a successful print. In this section, we’ll discuss the importance of monitoring, the tools available for tracking progress, and how to troubleshoot common issues.
Monitoring the printing process allows you to stay informed about the progress of your print and address any issues that may arise. It’s essential to keep an eye on the print to ensure that it’s proceeding as expected and to make adjustments if necessary.
The Toybox app provides a dedicated interface for monitoring the printing process. After you’ve sent your design to the printer, you can access this interface to view the elapsed time, estimated time remaining, and the current progress of the print.
Pay attention to any unusual noises or behaviors from the printer. These could indicate a problem that needs to be addressed. If you notice any issues, consult the troubleshooting section of the Toybox app or refer to the user manual for guidance.
In some cases, you may need to pause or cancel the print due to unforeseen circumstances. The Toybox app allows you to pause or cancel the print directly from the monitoring interface. However, it’s important to exercise caution and consider the impact of pausing or canceling on the print’s quality and integrity.
During the printing process, it’s crucial to ensure a stable Wi-Fi connection between the app and the Toybox 3D Printer. A weak or intermittent connection may result in communication errors and could negatively affect the print. If you notice any connectivity issues, try relocating your device closer to the printer or ensuring a stronger Wi-Fi signal.
Occasionally, prints may fail or encounter issues such as warping, stringing, or incomplete layers. If you experience any of these issues, consult the troubleshooting resources provided by the Toybox app or visit the manufacturer’s support website for guidance. They typically offer solutions to common printing problems, such as adjusting temperature settings, bed leveling, or filament flow.
Regularly monitoring the printing process not only helps prevent potential problems but also allows you to intervene and make adjustments as needed. It allows you to maintain the quality of your prints and reduces the likelihood of failed or imperfect objects.
By actively monitoring your prints with the Toybox app, you can have peace of mind knowing that your creations are being printed successfully. In the next section, we’ll discuss the final steps of the printing process, including removing your print from the Toybox 3D Printer and some additional troubleshooting tips.
Removing your Print from the Toybox 3D Printer
Congratulations! Your print is complete, and it’s time to bring your creation to life by carefully removing it from the Toybox 3D Printer. This section will guide you through the process of safely and effectively removing your print.
Before you begin, make sure the print has had enough time to cool down. Depending on the complexity and size of the print, this may take several minutes to an hour. Touching a hot print can result in burns or damage, so exercise caution and prioritize safety.
Once the print has cooled down, locate the print bed on the Toybox 3D Printer. This is the surface on which your print was built. Carefully inspect the print bed to ensure there are no remaining traces of filament or debris that could interfere with the removal process.
Use a spatula or a specialized print removal tool to gently lift the edges of the print. Start at a corner and work your way around, applying gentle pressure to separate the print from the bed. Take your time and be patient to avoid damaging the print or the printer while removing it.
If you encounter resistance during the removal process, avoid forcing or jerking the print. Instead, use the spatula or tool to gently apply pressure and ease the print off the bed. You may need to repeat this process at different points along the print’s edges until it detaches completely.
Once the print is successfully detached from the print bed, carefully lift it away from the bed and inspect it for any imperfections or remaining support structures. If necessary, use a pair of pliers or additional tools to remove any unwanted elements, such as support material or excess filament strands.
Make sure to handle the print with care to avoid damaging fragile or intricate parts. If your print includes moving components, test their functionality to ensure they are working as intended. This gives you an opportunity to identify any defects or issues that may need further attention.
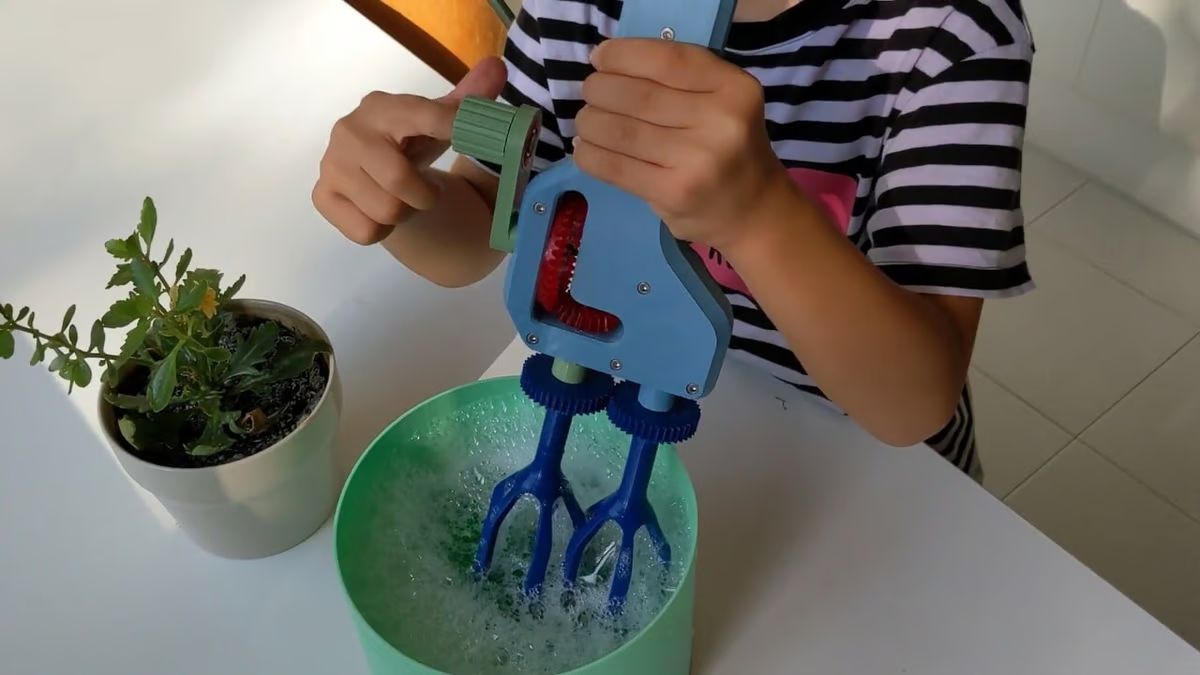
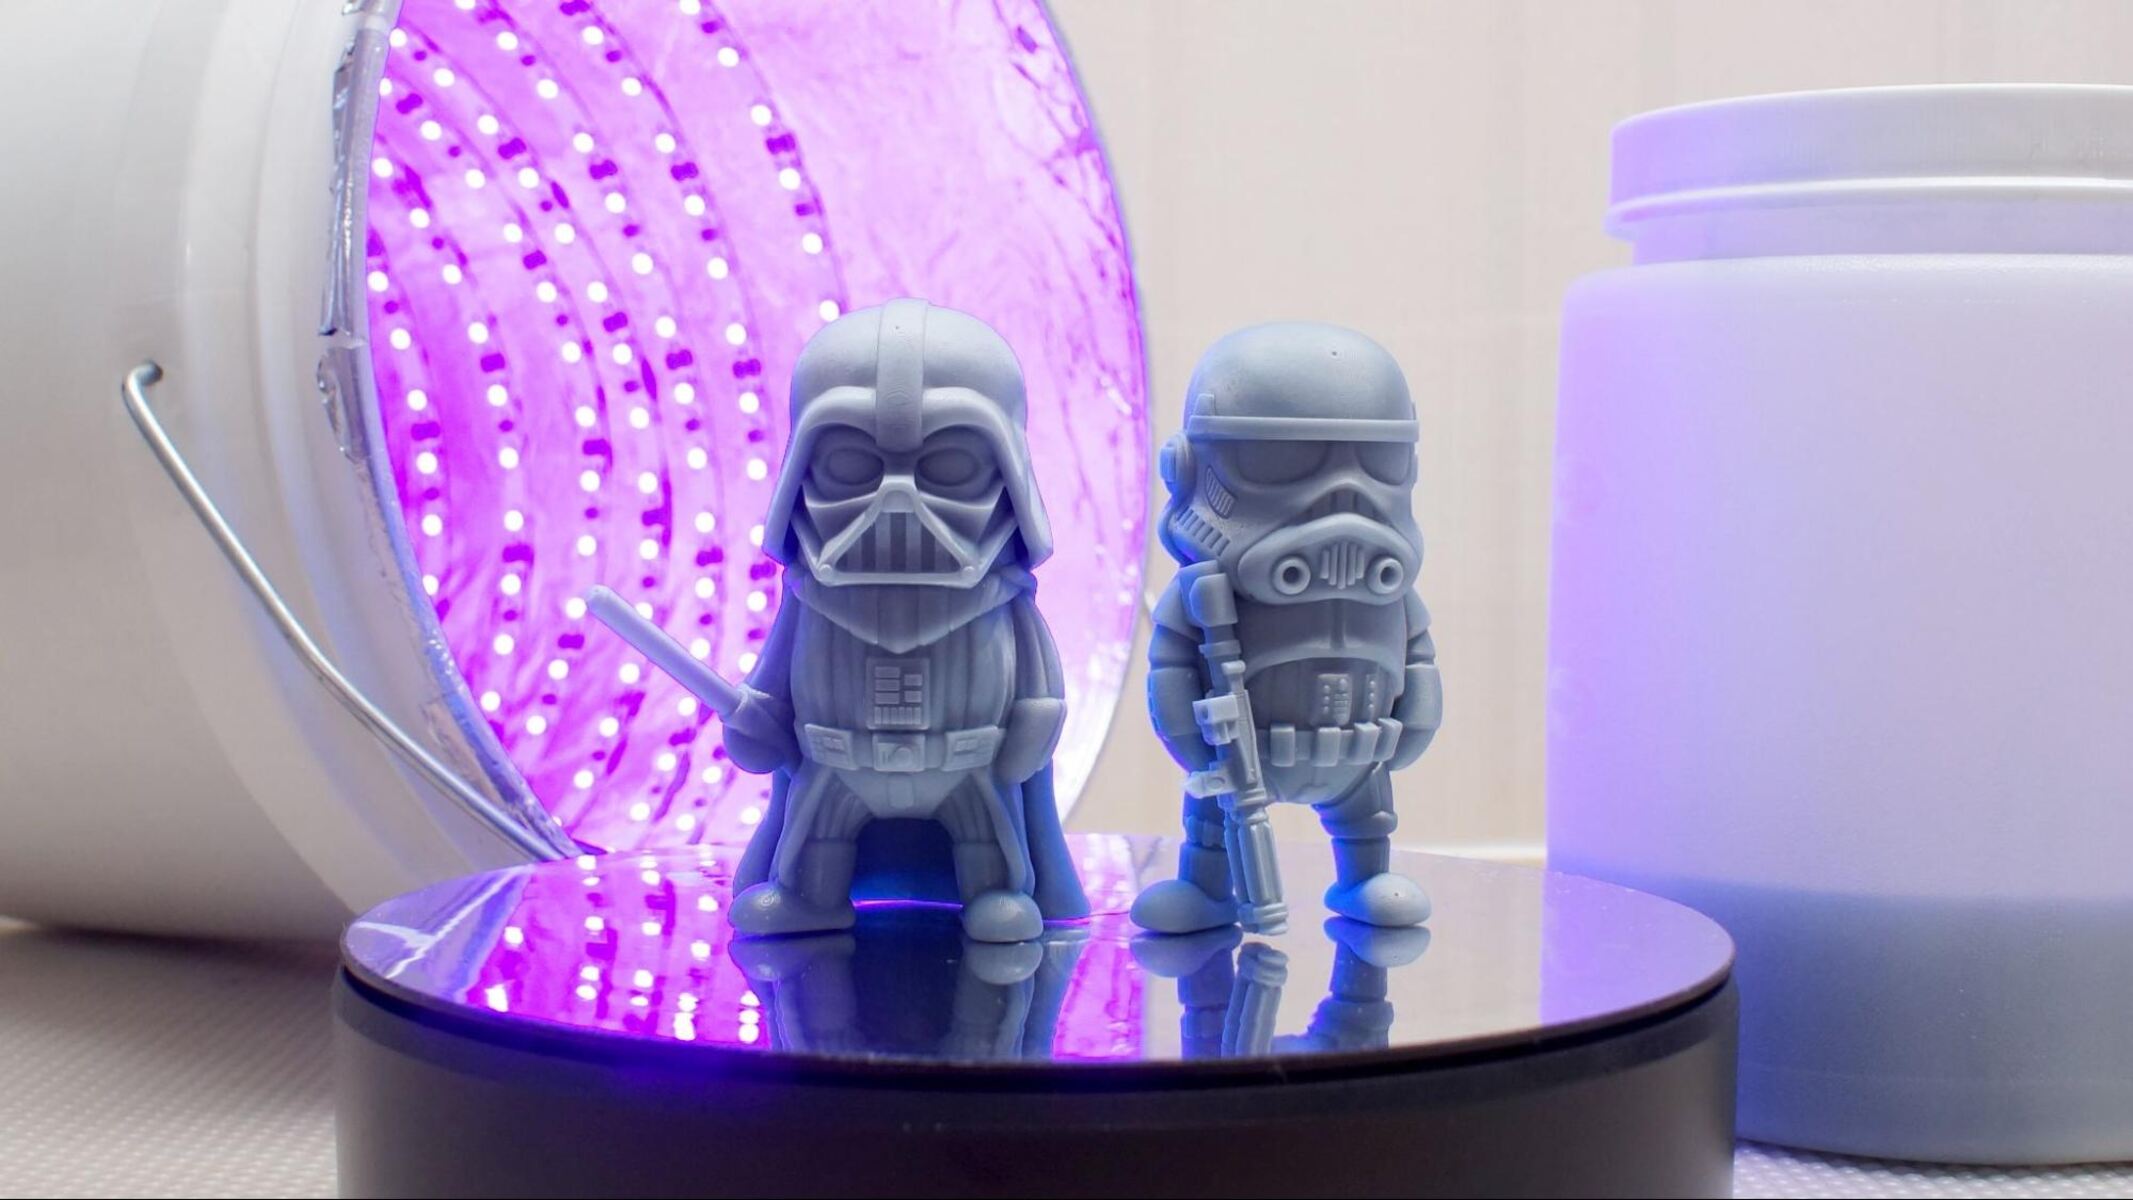
Finally, take a moment to admire your completed print. Marvel at the details and craftsmanship that the Toybox 3D Printer has brought to life. It’s an exciting and satisfying moment to hold your creation in your hands and see your hard work and imagination materialize.
With your print successfully removed from the Toybox 3D Printer, you can now display it, use it in your projects, or showcase it to others. As you gain more experience and confidence, you can experiment with different finishing techniques, such as sanding, painting, or adding other embellishments, to enhance the final appearance of your print.
Removing your print from the Toybox 3D Printer is the final step in the printing process. In the next section, we’ll provide some additional troubleshooting tips and resources to help you overcome any challenges you may encounter along the way.
Troubleshooting Tips
While 3D printing with the Toybox 3D Printer is an exciting and rewarding experience, you may encounter occasional challenges or issues. In this section, we’ll provide you with some troubleshooting tips to help you overcome common problems and ensure smooth printing sessions.
1. Print Quality Issues: If you notice inconsistencies or imperfections in the print quality, try the following troubleshooting steps:
- Check the print bed leveling: Ensure that the print bed is properly leveled to maintain an even printing surface. Follow the manufacturer’s instructions for bed leveling.
- Review print settings: Double-check the settings in the Toybox app for any misconfigurations. Adjust parameters such as temperature, layer height, or print speed as needed.
- Calibrate the extruder: Ensure that the extruder is properly calibrated. Refer to the manufacturer’s guidelines for instructions on calibrating the extruder steps and filament flow.
- Inspect the filament: Check the quality and condition of the filament. Make sure it is not tangled or damaged, as these issues can affect the print quality.
2. Connectivity Issues: If you’re experiencing problems with the wireless connection between the Toybox app and the printer, consider the following:
- Verify Wi-Fi signal strength: Ensure that your mobile device and printer are connected to the same Wi-Fi network and that the signal strength is strong enough for a stable connection.
- Move closer to the router: If the Wi-Fi signal is weak, try moving your mobile device and/or the printer closer to the router to improve the connection quality.
- Reboot devices: Restart both your mobile device and the Toybox 3D Printer. This can help resolve temporary connectivity issues.
- Reset network settings: If the problem persists, try resetting the network settings on both your mobile device and the printer and reconnecting them.
3. Print Adhesion Issues: If your print is not adhering properly to the print bed, try the following steps:
- Adjust print bed temperature: Increase the print bed temperature slightly to improve adhesion between the filament and the bed surface.
- Apply adhesive aids: Depending on the filament type and print bed material, applying adhesive aids such as glue stick, hairspray, or print bed adhesive sheets can enhance print adhesion.
- Use a raft or brim: Consider using a raft or brim in the print settings. These features create a wider base for the print, improving adhesion and stability.
- Clean the print bed: Ensure that the print bed is clean and free from debris or residue that may hinder proper adhesion. Use isopropyl alcohol or mild soap and water to clean the surface.
These troubleshooting tips should help you overcome common issues and ensure a successful 3D printing experience. However, if you encounter persistent problems or need further assistance, consult the troubleshooting resources provided by the Toybox app or visit the manufacturer’s support website for additional guidance.
Technology can sometimes be unpredictable, but with patience and perseverance, you’ll be able to overcome challenges and unlock the full potential of the Toybox 3D Printer. Now that you’re equipped with troubleshooting tips, go ahead and continue your 3D printing journey with confidence!
Conclusion
Congratulations on completing this guide to using the Toybox 3D Printer! You’ve learned how to set up the printer, prepare and customize your designs, and monitor and troubleshoot during the printing process. With this knowledge, you’re well-equipped to unleash your creativity and bring your ideas to life through 3D printing.
The Toybox 3D Printer offers an exciting opportunity to explore the world of 3D printing with its user-friendly interface, wireless connectivity, and wide range of customizable options. Whether you’re a hobbyist, DIY enthusiast, or just curious about the possibilities, this printer offers a great platform to transform your imagination into physical objects.
Remember to always follow proper safety precautions when using the Toybox 3D Printer. Avoid touching hot parts, maintain a clean printing environment, and supervise younger users if necessary. Familiarize yourself with the user manual and manufacturer’s guidelines to ensure safe and optimal operation of the printer.
As you continue your 3D printing journey, don’t be afraid to experiment, learn from others in the community, and push the boundaries of your creativity. The Toybox app and its community gallery provide endless inspiration and opportunities to share your designs and connect with fellow creators.
If you encounter any challenges along the way, refer back to this guide or consult the troubleshooting resources provided by the Toybox app. Remember that troubleshooting is part of the learning process, and with practice, you’ll become more confident in overcoming obstacles and achieving perfect prints.
Now, armed with the knowledge and skills you’ve gained, it’s time to let your creativity soar and embark on your own 3D printing adventures. Whether you’re printing toys, prototypes, or functional objects, the Toybox 3D Printer is your tool to turn imagination into reality. Embrace the possibilities, have fun, and enjoy the incredible world of 3D printing!