Introduction
Welcome to the world of 3D printing! If you’re a 3D printing enthusiast or professional, you know that obtaining high-quality prints is crucial. One factor that heavily influences print quality is the accuracy and stability of the printer’s temperature control system. This is where PID tuning becomes essential.
PID tuning is the process of adjusting the Proportional, Integral, and Derivative (PID) parameters of the printer’s firmware to optimize temperature control. It ensures that the printer maintains a consistent and precise temperature throughout the printing process, resulting in better print quality, reduced filament waste, and minimized print failures.
In this article, we will delve into the world of PID tuning for 3D printers. We will explain why it is important, discuss the components of PID control, and guide you through the step-by-step process of performing PID tuning on your 3D printer.
Whether you’re a beginner looking to improve your print quality or an experienced user aiming for perfection, understanding and implementing PID tuning will undoubtedly enhance your 3D printing experience.
Before we dive into the details, it’s important to note that the specific instructions and settings may vary depending on your 3D printer model and firmware. However, the fundamental concepts and principles discussed in this article are applicable to most 3D printers.
So, grab your 3D printer, get your tools ready, and let’s embark on the journey of PID tuning to unlock the true potential of your 3D printer!
What is PID Tuning?
PID tuning, short for Proportional, Integral, and Derivative tuning, is a process used to optimize the temperature control system of a 3D printer. It involves adjusting the parameters of the PID controller to achieve a stable and precise temperature for the hotend and heated bed.
The PID controller is a feedback mechanism that continuously measures the actual temperature and makes adjustments based on the difference between the desired temperature (setpoint) and the actual temperature. The three components of the PID controller work together to maintain a stable temperature:
- Proportional (P) term: This term determines how quickly the controller responds to differences between the setpoint and the actual temperature. A higher proportional value results in a faster response but can lead to overshooting or oscillations.
- Integral (I) term: This term helps to eliminate any steady-state error and ensures the controller can reach and maintain the setpoint accurately over time. It corrects for any accumulated error by gradually reducing or increasing the output.
- Derivative (D) term: This term predicts the rate of change of the temperature and helps to stabilize the system by reducing overshoot and oscillations. It accounts for sudden changes and prevents temperature fluctuations.
PID tuning involves finding the optimal values for these three parameters (P, I, and D) to achieve the desired temperature control performance. Different printers and filaments may require different PID values, and finding the right balance can significantly improve print quality and reduce temperature-related issues.
During the tuning process, the printer’s firmware adjusts the PID values, and the results are evaluated in real-time through temperature tests. By analyzing the response and behavior of the heating elements, the firmware can optimize the temperature control system for more accurate and consistent output.
Effective PID tuning can address common temperature-related issues such as fluctuating temperatures, long heating or cooling times, overshooting, and uneven thermal distribution. It is an essential step to ensure a stable and controlled environment for successful 3D printing.
Now that we understand what PID tuning is and its significance in 3D printing, let’s explore why PID tuning is important and how it can benefit your printing process.
Why is PID Tuning Important?
PID tuning plays a crucial role in achieving consistent and high-quality 3D prints. Here are some reasons why PID tuning is important:
- Temperature Stability: PID tuning ensures that the printer’s temperature remains stable throughout the printing process. Temperature fluctuations can lead to print defects, such as layer adhesion issues, warping, or inconsistent extrusion. By fine-tuning the PID parameters, you can maintain a precise and steady temperature, resulting in better print quality and improved overall printing performance.
- Reduced Print Failures: Unstable temperature control can cause filament jams, under-extrusion, or over-extrusion, leading to print failures. By optimizing the PID values, you can minimize these issues and increase the chances of successful prints. This is especially important when printing complex or intricate models that require accurate temperature control to achieve the desired level of detail and structural integrity.
- Filament Compatibility: Different filaments have varying temperature requirements. PID tuning allows you to tailor the temperature control system to the specific filament you’re using, ensuring optimal printing conditions. Whether you’re working with PLA, ABS, PETG, or other materials, PID tuning can help achieve the recommended temperature range for the best results.
- Time and Filament Savings: Inefficient temperature control can lead to over-heating or excessive cooling times, resulting in wasted time and filament. PID tuning optimizes the temperature response, reducing the time it takes for the printer to reach and stabilize at the desired temperature. This not only saves time but also minimizes filament waste, making your 3D printing process more efficient and cost-effective.
- Consistent Printing Conditions: PID tuning ensures that each print is produced under consistent and controlled temperature conditions. This is especially important for large prints that may take several hours or even days to complete. By maintaining a stable temperature throughout the printing process, you can avoid inconsistencies and achieve uniform results from start to finish.
Overall, PID tuning is essential in optimizing the temperature control system of your 3D printer. It allows for precise and stable temperature control, reduces print failures, improves filament compatibility, saves time and resources, and ensures consistent printing conditions. By investing time and effort into PID tuning, you can significantly enhance the quality and reliability of your 3D prints.
Understanding the Components of PID Control
PID control is a popular method used in various industries, including 3D printing, to maintain accurate and stable control over a system’s output. It consists of three components: the Proportional (P), Integral (I), and Derivative (D) terms. Let’s explore each component in more detail:
- Proportional (P) Term: The Proportional term is directly proportional to the difference between the desired setpoint and the current output value. It provides immediate feedback to the system and helps stabilize the output by reducing the error. A higher proportional gain results in a more aggressive response, but it can also lead to overshoot or oscillations if set too high. On the other hand, a lower proportional gain provides a slower response but reduces the chances of overshooting.
- Integral (I) Term: The Integral term accounts for the accumulated error over time. It continuously sums up the error values and adjusts the output accordingly. This term helps eliminate any steady-state error and ensures that the system reaches and maintains the setpoint accurately. The Integral term is beneficial when dealing with offset errors or disturbances that accumulate over time, such as temperature drift in a 3D printer. However, if the Integral gain is set too high, it can cause the system to become more sensitive to small variations, leading to overshooting or instability.
- Derivative (D) Term: The Derivative term predicts the rate of change of the output and helps stabilize the system by reducing overshoot and oscillations. It assists in damping the system’s response by anticipating future changes. This term is particularly useful when the system has a slow response time or is prone to overshooting. However, if the Derivative gain is set too high, it can introduce noise or cause instability in the system.
The PID controller combines these three terms to provide a robust and adaptive control mechanism. The controller continuously measures the deviation between the setpoint and the actual output, calculates the contributions from the Proportional, Integral, and Derivative terms, and adjusts the output accordingly. By finding the right balance of the PID gains, the controller can achieve optimal performance and maintain stability in the system.
It’s important to note that the optimal PID values can vary depending on the specific system and application. In the context of 3D printing, the PID values may need to be adjusted to account for factors such as the size of the heating elements, thermal conductivity of the materials, and the printing environment. However, the general principles of Proportional, Integral, and Derivative control remain the same.
Understanding these fundamental components of PID control is crucial when it comes to fine-tuning the temperature control system of your 3D printer. In the next sections, we will guide you through the step-by-step process of performing PID tuning on your 3D printer to achieve optimal temperature control and improve print quality.
Step 1: Gathering the Required Tools and Software
Before you can begin the PID tuning process for your 3D printer, it’s important to gather the necessary tools and software. Here’s what you will need:
- Computer: You will need a computer to access and modify the firmware settings of your 3D printer. Ensure that your computer is compatible with the software you will be using for PID tuning.
- USB Cable: Most 3D printers have a USB port for establishing a connection with the computer. Make sure you have a compatible USB cable to establish communication between your computer and the printer.
- 3D Printer Firmware: The firmware is the software that controls the functioning of your 3D printer. Check the manufacturer’s website or documentation to determine the firmware used in your printer. Common firmware options include Marlin, Repetier, and Klipper.
- PID Tuning Software: There are various PID tuning software options available, such as Pronterface, Repetier-Host, or OctoPrint. Choose a software that is compatible with your 3D printer firmware and suits your preference in terms of user interface and functionality.
- Calibration Object: To evaluate the results of the PID tuning process, it’s helpful to have a calibration object or test print. This can be a simple model that highlights temperature-related issues, such as stringing, layer adhesion problems, or inconsistent extrusion.
- Notepad and Pen: Keeping track of the PID values during the tuning process is essential. Have a notepad and pen ready to jot down any changes you make and their corresponding results. This will help you track your progress and make adjustments as needed.
Ensure you have all these tools and software ready before proceeding to the next steps. It’s important to have the proper resources at hand to ensure a smooth and successful PID tuning process.
Once you have gathered the necessary tools and software, you are ready to move on to the next step: identifying the hotend and heated bed of your 3D printer.
Step 2: Identifying the Hotend and Heated Bed
Before you can begin the PID tuning process on your 3D printer, it’s important to identify the hotend and heated bed components. Understanding and distinguishing these two elements is crucial as they have separate temperature control settings.
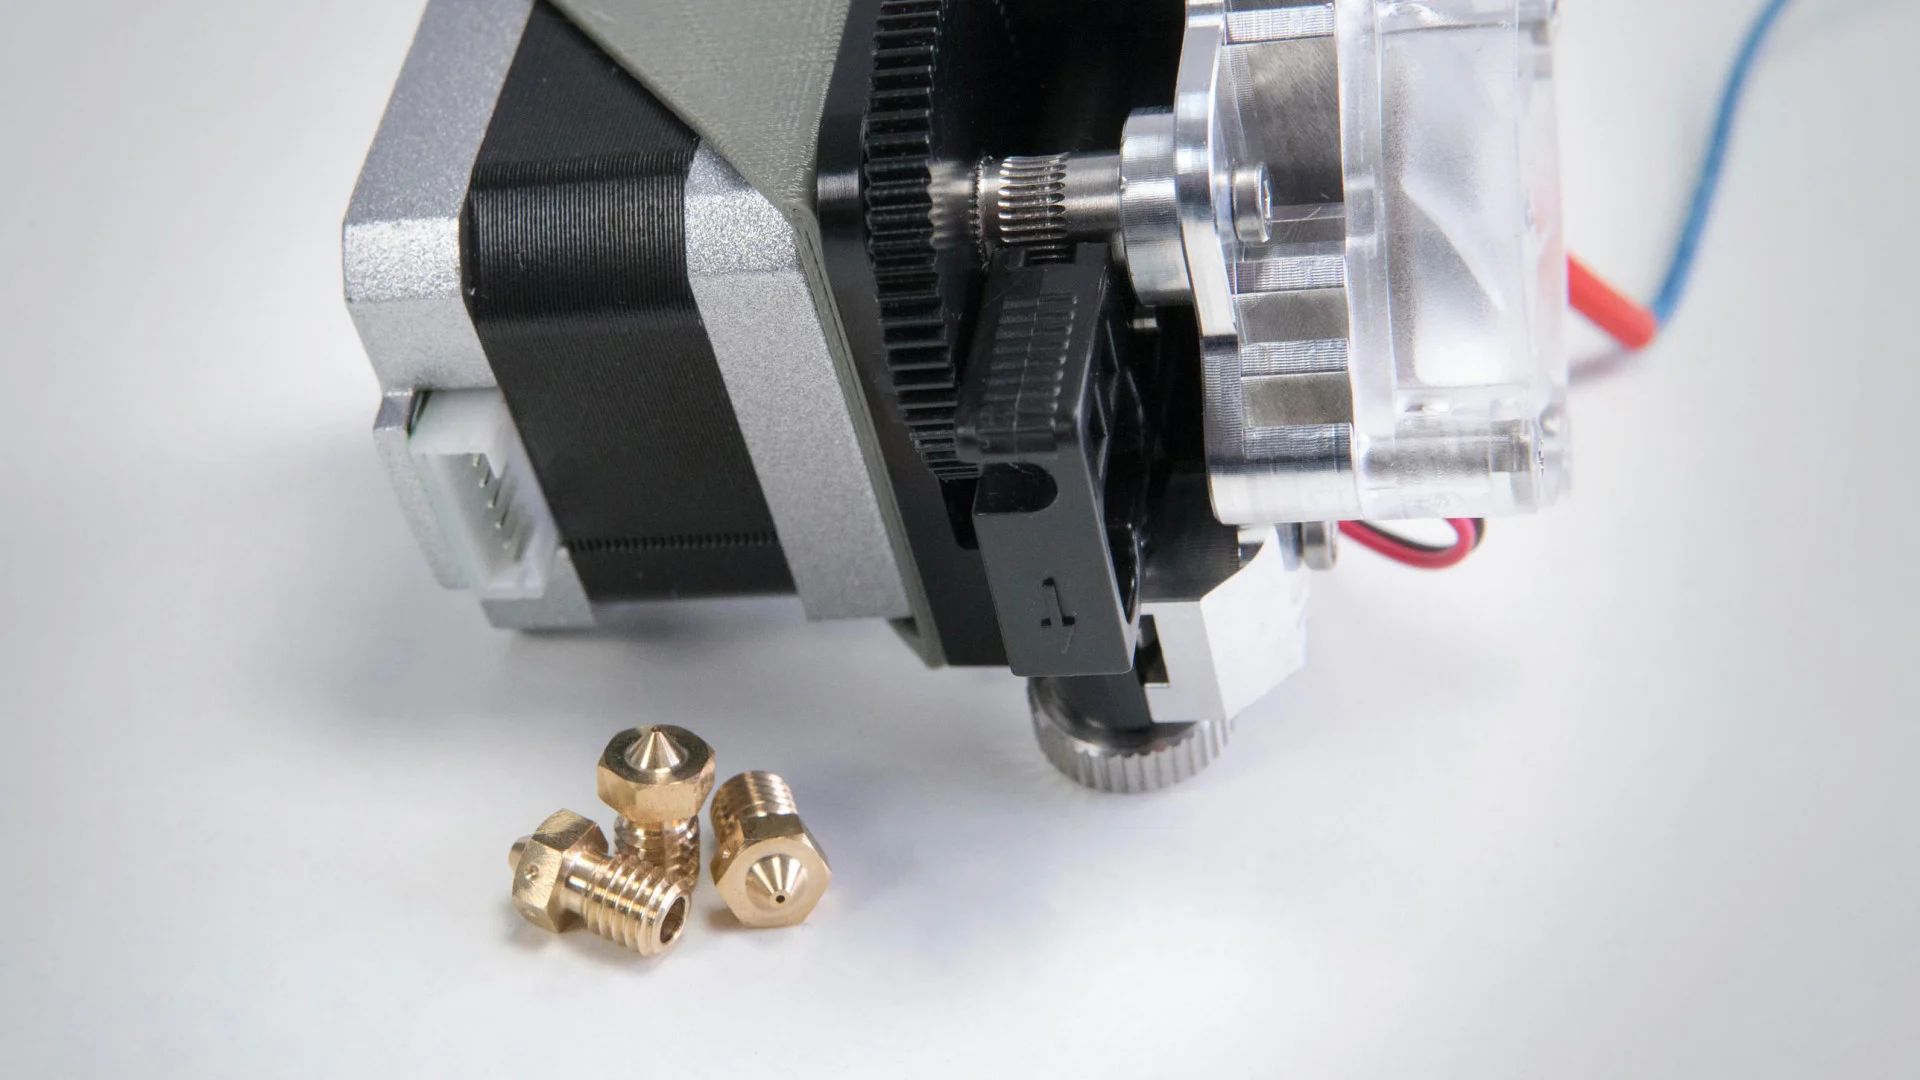
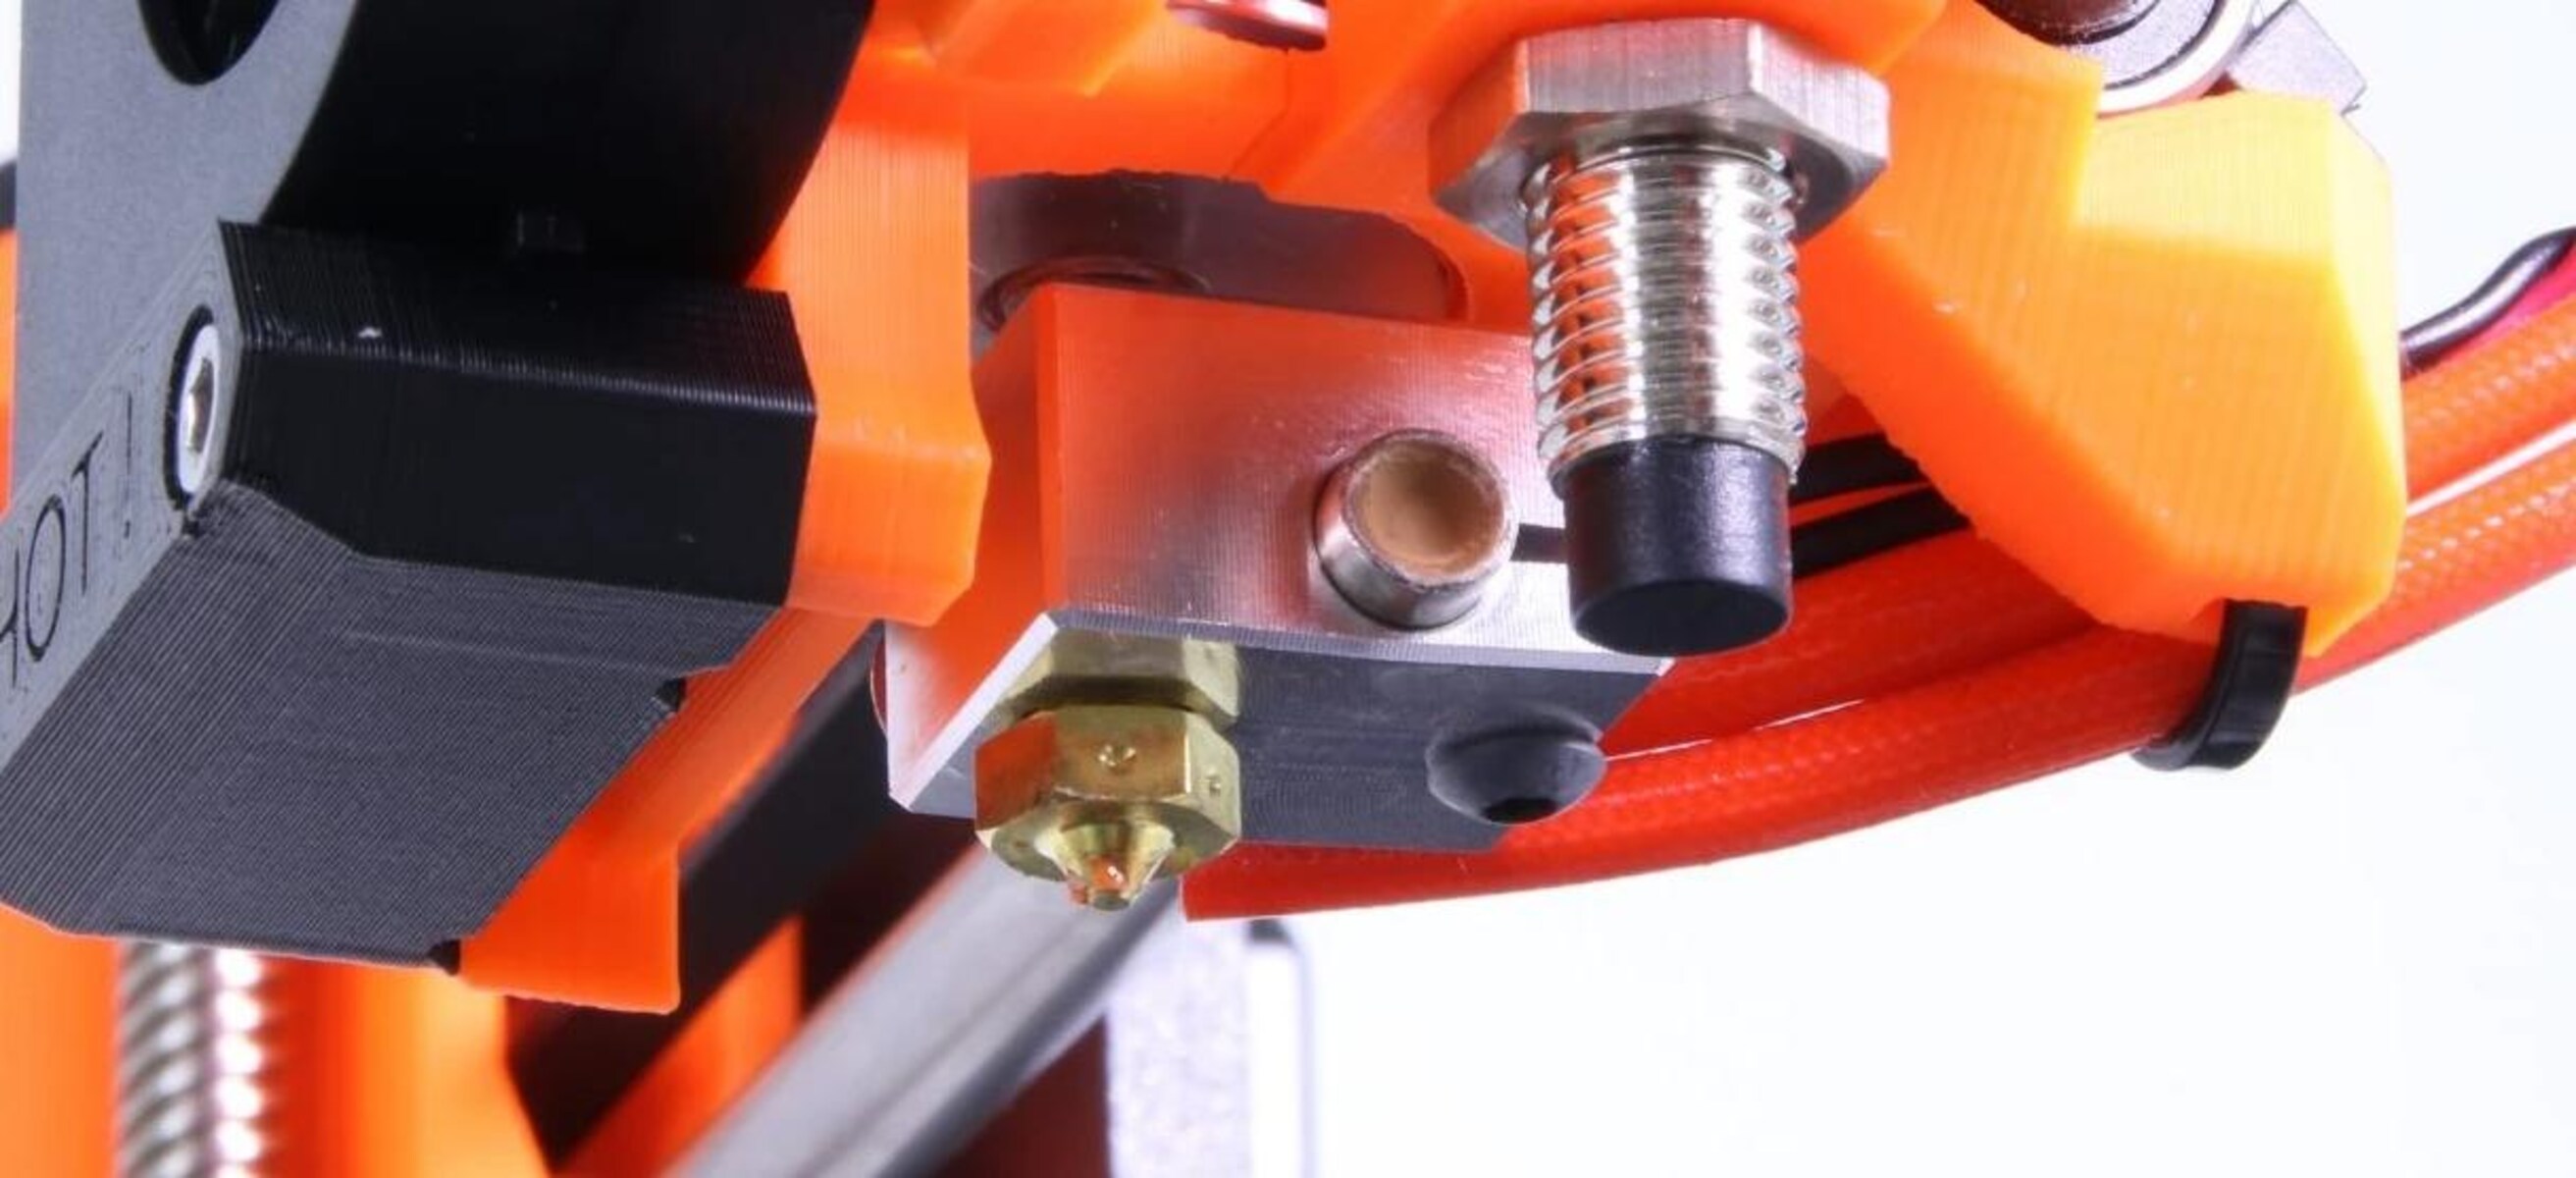
The hotend is the component responsible for melting and extruding the filament. It consists of a nozzle and a heating element, which heats the filament to its melting point. The hotend temperature directly affects the quality of the extruded filament and the overall print quality. It is important to identify the specific hotend used in your 3D printer, as different hotends may require different PID values to achieve optimal temperature control.
The heated bed, on the other hand, is the platform where the print adheres during the printing process. It provides a consistent and heated surface to prevent warping and improve bed adhesion. The heated bed temperature is critical in maintaining proper layer adhesion and preventing print failures. Like the hotend, the heated bed may require its own set of PID values for effective temperature control.
To identify the hotend and heated bed components, refer to your 3D printer’s documentation or manufacturer’s website. They will provide detailed information about the specific hotend model and heated bed used in your printer.
Once you have identified the hotend and heated bed, you can proceed with preparing your 3D printer for the PID tuning process. This involves ensuring that the printer is in proper working condition, the firmware settings are accessible, and any necessary safety precautions are taken.
Understanding and identifying the hotend and heated bed will allow you to focus on optimizing each component’s temperature control during the PID tuning process. With this knowledge, you’re ready to move on to the next step: preparing your 3D printer for PID tuning.
Step 3: Preparing the 3D Printer for PID Tuning
Before diving into the PID tuning process, it’s important to ensure that your 3D printer is properly prepared. Taking the time to prepare your printer will help you achieve accurate and reliable results. Here are the steps to follow:
- Ensure Proper Printer Maintenance: Before starting the PID tuning process, it’s recommended to perform regular printer maintenance. Clean the nozzle, check for any clogs or debris, and ensure proper lubrication of moving parts. A well-maintained printer will provide more accurate temperature readings and better overall performance.
- Calibrate the Thermistor: The thermistor is the component that measures the temperature in your printer. To ensure accurate readings, it’s important to calibrate the thermistor. This can be done by following the manufacturer’s instructions or using calibration techniques specific to your 3D printer model. Accurate temperature readings are crucial for effective PID tuning.
- Stabilize the Printer Environment: Temperature fluctuations in the printing environment can affect the accuracy of temperature readings. Ensure that the printer is in a stable environment, away from drafts or direct airflow. A stable environment will help maintain consistent temperature control during the PID tuning process.
- Disable Active Cooling: Disable any active cooling fans or features that could interfere with temperature readings during the PID tuning process. The goal is to have an accurate representation of the temperature without any external influences. This will ensure precise tuning of the PID parameters.
- Set Initial Temperature Settings: Set the initial temperature settings for both the hotend and the heated bed according to the manufacturer’s recommendations or the filament specifications you plan to use. This will provide a starting point for the PID tuning process and allow you to fine-tune the temperature control from there.
By preparing your 3D printer in advance, you set the foundation for a successful PID tuning process. Ensuring proper maintenance, calibrating the thermistor, stabilizing the printing environment, disabling active cooling, and setting initial temperature settings will help you achieve accurate and consistent temperature control throughout the tuning process.
With your 3D printer properly prepared, you’re ready to proceed to the next step: calibrating the hotend PID values.
Step 4: Calibrating the Hotend PID Values
Calibrating the hotend PID values is a crucial step in achieving precise temperature control for your 3D printer. This process involves fine-tuning the Proportional, Integral, and Derivative parameters specific to the hotend. Follow these steps to calibrate the hotend PID values:
- Preheat the Hotend: Start by preheating the hotend to the desired temperature for the filament you will be using. This temperature should be within the recommended range specified by the filament manufacturer. Allow the hotend to stabilize at this temperature before proceeding.
- Access the Firmware Settings: Connect your 3D printer to your computer using a USB cable and open the firmware settings using the PID tuning software of your choice. Locate the section in the firmware where the PID values for the hotend can be modified. This section is typically labeled as “Hotend PID” or similar.
- Disable Autotune: Some firmware may have an autotune feature for PID tuning. It’s recommended to disable this feature before manually calibrating the PID values to ensure more precise control.
- Select Incremental Adjustment: Begin by adjusting the Proportional (P) value. Start with a conservative increment, such as increasing or decreasing the value by 10%. Save the new value in the firmware settings and observe the temperature response of the hotend. If the temperature overshoots or oscillates, adjust the P value in smaller increments until the temperature stabilizes smoothly.
- Tune the Integral (I) and Derivative (D) Terms: Once the P value is optimized, you can proceed to fine-tune the Integral (I) and Derivative (D) terms. Follow a similar incremental adjustment process for these parameters, observing the temperature response and making small adjustments until the temperature stability is achieved without significant overshoot or oscillations.
- Save and Test: Once you have adjusted all the PID values, save the changes in the firmware settings and exit the PID tuning software. Test the hotend temperature stability by performing test prints or temperature ramp-up tests. Observe the print quality, as well as the temperature stability during the printing process.
It’s important to note that PID tuning may require multiple iterations and adjustments to achieve optimal results. Remember to document the changes you make and their corresponding effects to track your progress and revert to previous settings if needed.
With the hotend PID values calibrated, you’ve made significant progress in improving the temperature control of your 3D printer. Next, we’ll move on to calibrating the heated bed PID values for complete temperature optimization.
Step 5: Calibrating the Heated Bed PID Values
Calibrating the heated bed PID values is the next step in achieving precise temperature control for your 3D printer. This process involves fine-tuning the Proportional, Integral, and Derivative parameters specific to the heated bed. Follow these steps to calibrate the heated bed PID values:
- Preheat the Heated Bed: Start by preheating the heated bed to the desired temperature for the filament you will be using. This temperature should be within the recommended range specified by the filament manufacturer. Allow the heated bed to stabilize at this temperature before proceeding.
- Access the Firmware Settings: Connect your 3D printer to your computer using a USB cable and open the firmware settings using the PID tuning software you are using. Locate the section in the firmware where the PID values for the heated bed can be modified. This section is typically labeled as “Heated Bed PID” or similar.
- Disable Autotune: Just like in the hotend PID calibration, it’s recommended to disable any autotune feature for the heated bed PID tuning to ensure more precise control.
- Select Incremental Adjustment: Start by adjusting the Proportional (P) value for the heated bed. Begin with a conservative increment, such as increasing or decreasing the value by 10%. Save the new value in the firmware settings and observe the temperature response of the heated bed. Make adjustments in smaller increments if the temperature overshoots or oscillates, until the temperature stabilizes smoothly.
- Tune the Integral (I) and Derivative (D) Terms: Once the P value is optimized, continue fine-tuning the Integral (I) and Derivative (D) terms for the heated bed. Follow a similar incremental adjustment process as before, observing the temperature response and making small adjustments until the temperature stability is achieved without significant overshoot or oscillations.
- Save and Test: After adjusting all the PID values for the heated bed, save the changes in the firmware settings and exit the PID tuning software. Test the heated bed temperature stability by performing test prints or temperature ramp-up tests. Monitor the temperature consistency during the printing process and ensure the heated bed maintains the desired temperature throughout.
Similar to the hotend PID tuning process, it’s important to document the changes made to the heated bed PID values and observe the effects of these adjustments on the temperature stability.
Remember that the optimal PID values for the heated bed may differ from those of the hotend due to varying thermal characteristics. Therefore, it’s essential to calibrate the heated bed PID settings individually to achieve optimal temperature control.
With the heated bed PID values calibrated, your 3D printer’s temperature control is now optimally fine-tuned. In the next step, we will focus on fine-tuning the PID values for further optimization of your 3D prints.
Step 6: Fine-Tuning the PID Values
After calibrating the hotend and heated bed PID values, the next step is fine-tuning the PID parameters for optimal temperature control. Fine-tuning allows you to make minor adjustments to further optimize the performance of your 3D printer. Follow these steps to fine-tune the PID values:
- Test Prints: Start by performing test prints using different filament types and print settings. This will help you evaluate the print quality and identify any temperature-related issues.
- Observation and Analysis: During the test prints, closely monitor the temperature behavior and examine the quality of the printed objects. Look for signs of temperature fluctuations, under-extrusion, over-extrusion, or any other temperature-related defects. Take note of any specific areas that may need improvement.
- Incremental Adjustments: Based on your observations and analysis, make small incremental adjustments to the PID values. Start by adjusting one parameter at a time, such as the Proportional (P) value, and monitor the impact on the temperature stability and print quality. Continue making small adjustments until you achieve the desired balance between temperature accuracy and stability.
- Iterative Approach: Fine-tuning PID values is an iterative process. Make gradual adjustments, test the results, and repeat until you achieve the best performance. Keep track of the adjustments made and document the corresponding improvements in print quality.
- Optimize for Different Filaments: Different filaments may have different temperature requirements. If you frequently switch between filaments, consider creating different profiles or presets for each filament type. Fine-tune the PID values for each filament to ensure accurate temperature control and optimal print quality.
It’s important to strike a balance between temperature accuracy and stability. Aim for precise temperature control while minimizing temperature fluctuations, overshoot, or oscillations. Remember that fine-tuning the PID values is an ongoing process, and adjustments may be necessary when changes are made to the printer, firmware, or filament.
By consistently fine-tuning the PID values and optimizing for different filament types, you can achieve excellent temperature control and enhance the overall performance and print quality of your 3D printer.
With the PID values fine-tuned, we’re ready to move on to the final step: verifying the results of the PID tuning process.
Step 7: Verifying the PID Tuning Results
After performing the PID tuning process and fine-tuning the PID values, it’s important to verify the results to ensure optimal temperature control. Here are the steps to verify the PID tuning results:
- Perform Test Prints: Print various models or objects using different filaments and print settings to evaluate the print quality. Pay attention to aspects such as layer adhesion, overhangs, bridging, and overall surface finish. Verify that the prints exhibit improved quality and consistency compared to before the PID tuning process.
- Check Temperature Stability: During the test prints, closely monitor the temperature stability of both the hotend and heated bed. Ensure that the temperatures remain within your desired range and show minimal fluctuations during the entire printing process.
- Inspect Filament Flow: Check the extrusion of the filament during the test prints. Look for signs of consistent and uniform extrusion across the layers. Verify that there are no instances of under-extrusion or over-extrusion that could affect the print quality and structural integrity.
- Evaluate Print Success Rate: Assess the success rate of your prints after the PID tuning process. Note any improvements in terms of failed prints, filament jams, and other temperature-related issues. A higher success rate indicates that the PID tuning has effectively optimized temperature control.
- Compare to Reference Prints: If you have reference prints from before the PID tuning process, compare them to the prints produced after tuning the PID values. Analyze the differences in print quality, surface finish, and overall accuracy. This will provide a direct comparison and help determine the effectiveness of the PID tuning process.
By verifying the results of the PID tuning process, you can ensure the effectiveness of the temperature control system on your 3D printer. The test prints, temperature stability, filament flow, print success rate, and comparison to reference prints will help you evaluate the improvements achieved through the PID tuning process.
If you are satisfied with the results, congratulations! You have successfully completed the PID tuning process and optimized your 3D printer’s temperature control. If you notice any areas for further improvement, you can revisit the previous steps and make additional adjustments to the PID values.
Remember, PID tuning is an ongoing process, and as you gain more experience and encounter different printing scenarios, you may need to revisit and refine your PID values accordingly. With consistent monitoring and adjustment, you can maintain optimal temperature control and achieve high-quality prints with your 3D printer.
Conclusion
PID tuning is a crucial process for optimizing the temperature control system of your 3D printer. By adjusting the Proportional, Integral, and Derivative parameters, you can achieve more accurate and stable temperature control, resulting in improved print quality and reduced print failures.
In this article, we explored the significance of PID tuning and its importance in 3D printing. We discussed the components of PID control, including the Proportional, Integral, and Derivative terms, and their roles in maintaining temperature stability. We also provided a step-by-step guide on performing PID tuning for your 3D printer.
We started by gathering the required tools and software, followed by identifying the hotend and heated bed components. Then, we prepared the 3D printer for PID tuning by ensuring proper maintenance, calibrating the thermistor, and stabilizing the printer environment. We then moved on to calibrating the hotend and heated bed PID values, fine-tuning the PID values, and verifying the results through test prints and evaluations.
Keep in mind that PID tuning is an iterative process, and it may require multiple adjustments to achieve optimal results. The key is to carefully observe the temperature behavior, print quality, and make gradual adjustments to the PID values. Tracking your progress and documenting the changes made will help you understand the impact of the adjustments on your 3D prints.
With effective PID tuning, you can achieve stable and accurate temperature control, minimize print failures, and enhance the overall print quality of your 3D printer. Remember to periodically revisit and refine your PID values as needed, especially when changing filaments or making modifications to the printer setup.
Now that you have a solid understanding of PID tuning and the steps involved, you are ready to unleash the full potential of your 3D printer and embark on your printing journey with confidence. Happy printing!