Introduction
Welcome to the world of 3D printing, a revolutionary technology that has captured the imaginations of designers, artists, engineers, and hobbyists alike. As you venture into the realm of 3D printing, you will come across various terms and concepts that may seem unfamiliar at first. One such term is PID, which stands for Proportional-Integral-Derivative.
PID is an important aspect of 3D printing that plays a crucial role in achieving precise and consistent results. Understanding how PID works and how to properly tune it is essential for optimizing your 3D printing experience.
In this article, we will delve into the world of PID in 3D printing, exploring what it is, how it works, and why it is important. We will also discuss the process of PID tuning and common issues that may arise. By the end of this article, you will have a solid understanding of PID and how it contributes to the success of your 3D prints.
So, let’s dive in and unravel the mysteries of PID in 3D printing.
What is PID?
PID is an acronym for Proportional-Integral-Derivative, which is a feedback control algorithm commonly used in various fields, including 3D printing. PID control helps maintain the stability and accuracy of a system by continuously adjusting its parameters based on feedback from sensors or other sources.
The PID algorithm consists of three main components: proportional, integral, and derivative. Each component contributes to the overall control of the system in a unique way.
The proportional component (P) takes into account the difference between the desired and actual values to determine the output. It operates on the principle that as the difference increases, the output should be adjusted proportionally. This component provides a rapid response but can lead to overshooting or undershooting the desired value.
The integral component (I) takes into account the accumulated error over time. It continuously adjusts the output based on the historical error to eliminate steady-state errors. This component is particularly useful when there are external disturbances or systematic biases affecting the system.
The derivative component (D) takes into account the rate of change of the error. It helps anticipate and counteract sudden changes by adjusting the output accordingly. This component provides stability and reduces overshoot or undershoot, improving the overall response of the system.
By combining these three components, the PID algorithm effectively maintains the desired value by continuously adjusting and correcting the system’s output in real-time.
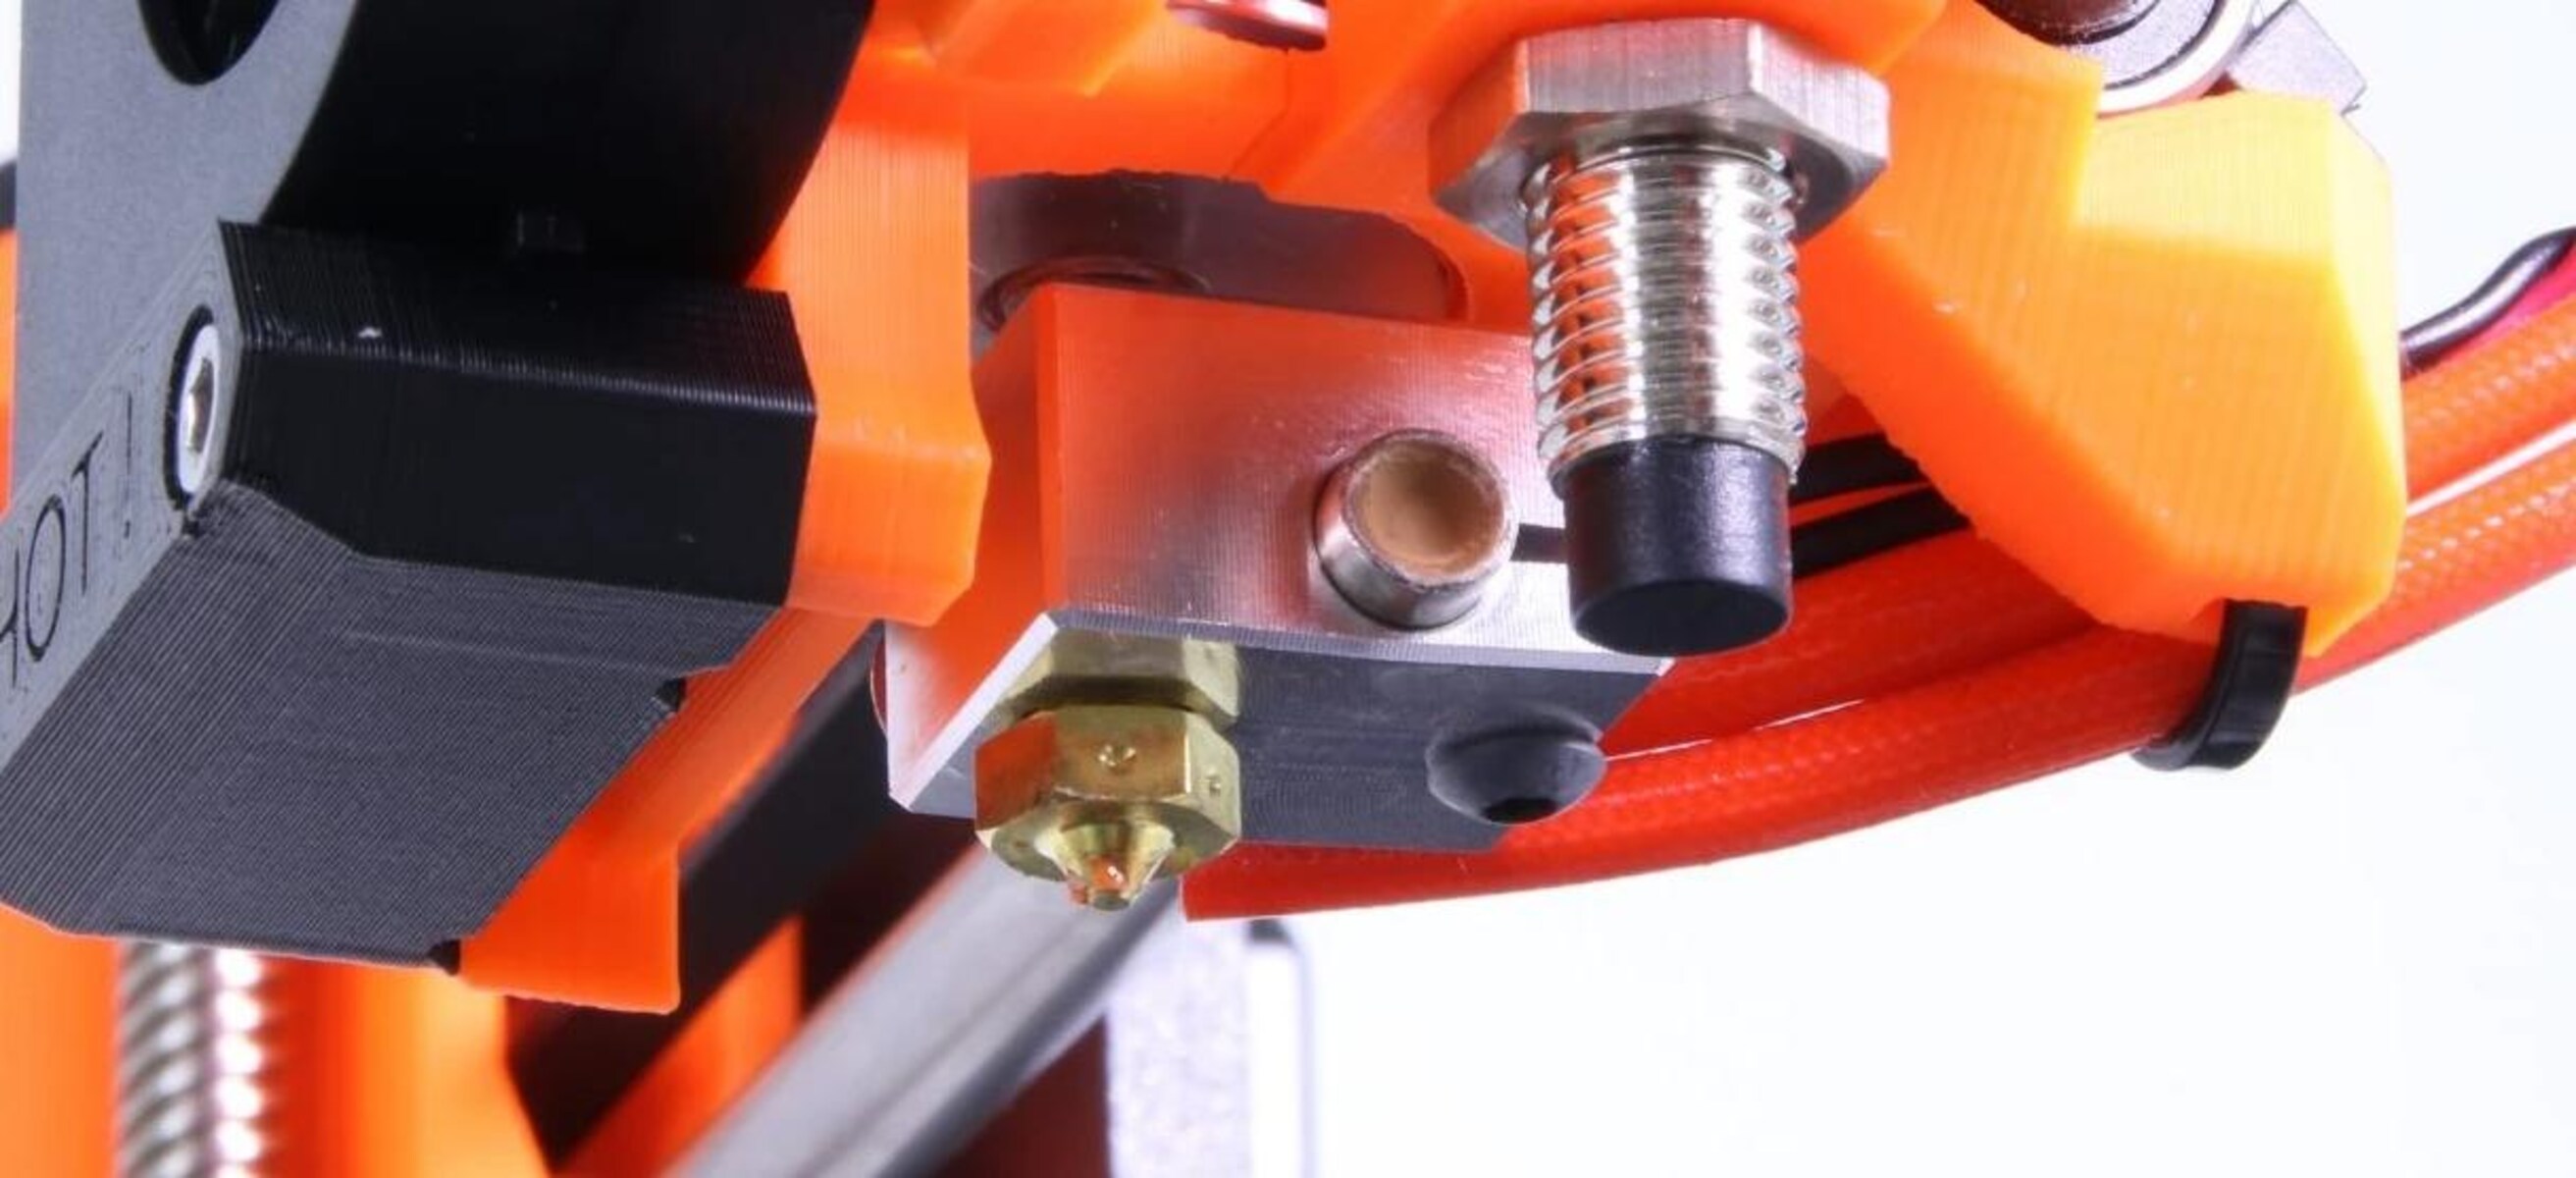
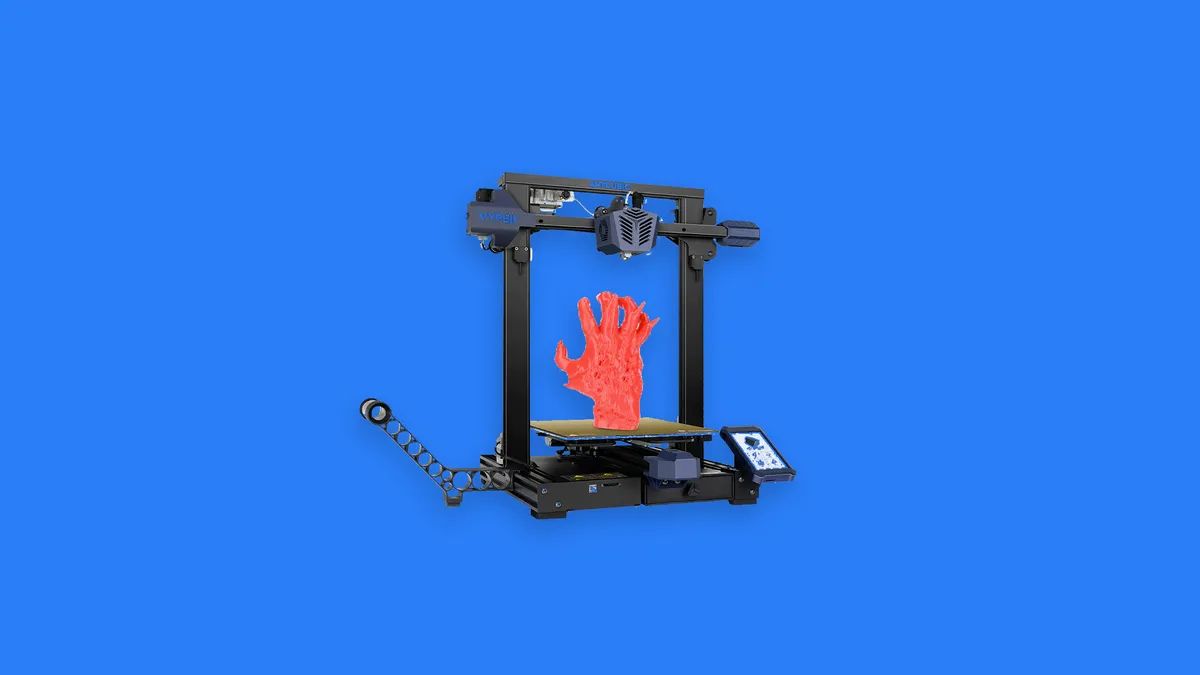
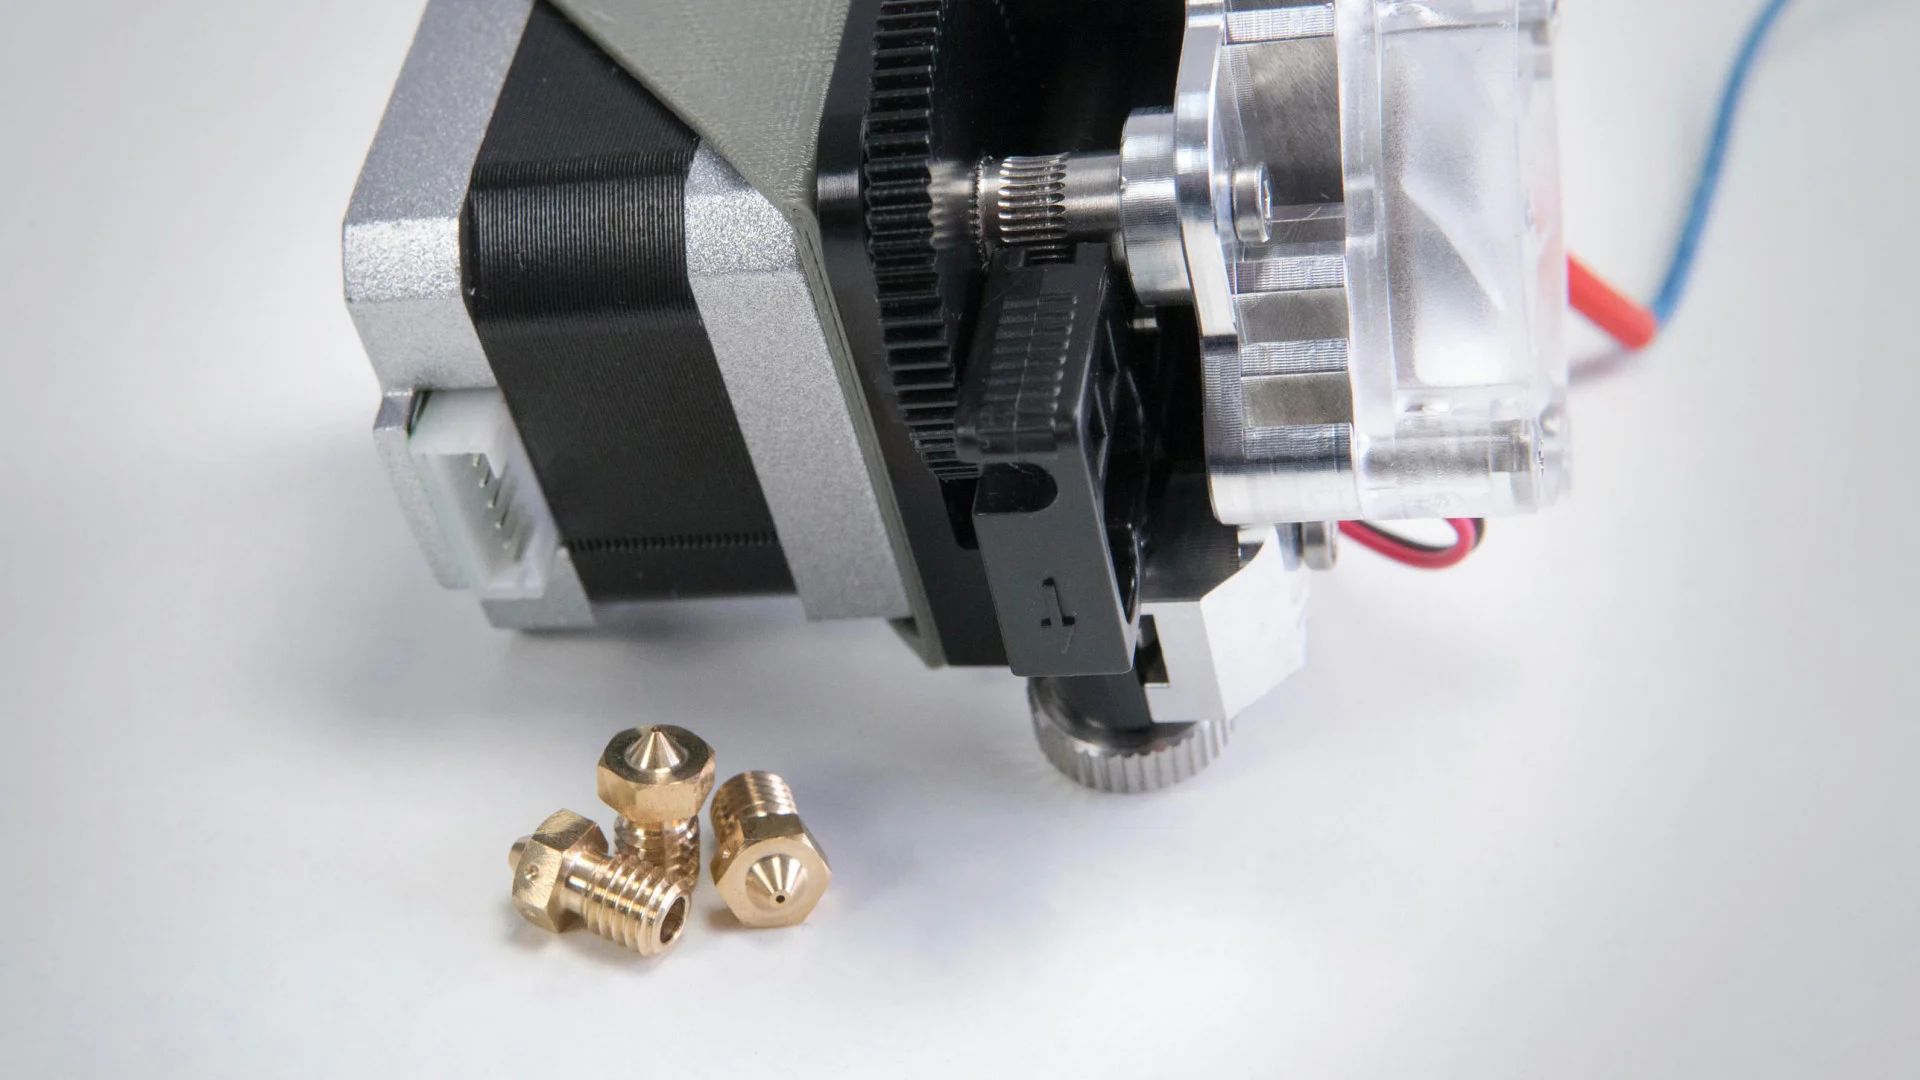
In the context of 3D printing, PID control is typically used to regulate the temperature of the print nozzle or the heated bed. By maintaining a stable and accurate temperature, the printer can produce consistent and high-quality prints.
Now that we have a basic understanding of PID and its components, let’s explore how it works in the context of 3D printing.
How does PID work in 3D printing?
In 3D printing, PID control is primarily used to regulate the temperature of the print nozzle or the heated bed. Maintaining a stable temperature is crucial for successful prints, as it ensures proper melting and adhesion of the filament to create accurate and solid layers.
When the printer’s temperature control system is configured with PID, it constantly monitors the actual temperature through a temperature sensor. It then compares this value to the desired target temperature and calculates the error, which is the difference between the two.
The PID algorithm takes this error value as input and determines the appropriate output to adjust the temperature. The proportional component (P) acts immediately and in proportion to the error, increasing or decreasing the output accordingly. This helps the temperature quickly approach the target value.
The integral component (I) takes into account the accumulation of errors over time. It continuously adjusts the output to eliminate any steady-state error. For example, if there is a constant discrepancy between the desired and actual temperatures, the integral component will gradually increase or decrease the output to compensate for this offset.
The derivative component (D) considers the rate of change of the error and adjusts the output accordingly. This helps counteract sudden fluctuations or disturbances that may affect the temperature stability. By reacting to the error rate, the derivative component prevents overshooting or undershooting the target temperature, resulting in a more precise control system.
By combining these three components in the PID control algorithm, the 3D printer can continuously monitor and adjust the temperature to maintain it at the desired target value. This ensures that the filament is melted consistently, minimizing the risk of print defects like underextrusion or uneven layers.
It’s important to note that each 3D printer may have its own specific PID settings, as different printers and filaments require different temperature control characteristics. Properly calibrating the PID settings for your specific printer and filament combination is crucial to achieve optimal print quality and reliability.
Now that we understand how PID works in 3D printing, let’s delve into the importance of PID tuning.
The importance of PID tuning in 3D printing
PID tuning is a crucial step in optimizing the performance and print quality of your 3D printer. While the default PID settings provided by the manufacturer may work well for general use, fine-tuning the PID parameters specifically for your printer and filament combination can yield significant improvements.
Accurate and precise temperature control is vital in 3D printing, as it directly affects the melting and flow characteristics of the filament. With improper PID settings, you may experience issues such as inconsistent extrusion, poor adhesion between layers, or even failed prints.
By performing PID tuning, you can achieve the following benefits:
- Improved temperature stability: PID tuning helps minimize temperature fluctuations, ensuring a consistent and stable temperature during the entire printing process. This leads to better quality prints with fewer errors.
- Reduced print defects: With proper PID settings, you can reduce the likelihood of common issues like underextrusion, stringing, or warping. This results in cleaner and more accurate prints.
- Enhanced filament compatibility: Different filaments have different temperature requirements, and PID tuning allows you to find the optimal settings for each filament type. This expands the range of materials you can successfully print with.
- Time and material savings: By optimizing the temperature control system through PID tuning, you can minimize print failures and the need for reprints, saving both time and filament material.
PID tuning involves adjusting the P, I, and D parameters to find the optimal balance for your specific printer and filament combination. This process is often iterative, requiring multiple test prints and adjustments to achieve the desired results.
There are various methods to perform PID tuning, including manual adjustment, firmware-based autotuning, or using third-party software tools. The specific approach will depend on your printer’s firmware capabilities and your personal preference.
Remember, PID tuning is not a one-time process. As you change filaments, upgrade your printer, or make other modifications, it may be necessary to revisit the PID settings and make adjustments accordingly.
Now that we understand the importance of PID tuning, let’s explore the process of performing PID tuning in 3D printing.
How to perform PID tuning in 3D printing
Performing PID tuning in 3D printing involves adjusting the Proportional-Integral-Derivative (PID) parameters to optimize the temperature control system. While the process may vary depending on your specific printer and firmware, here are some general steps to guide you through the PID tuning process:
- Identify the PID parameters: Check your printer’s documentation or firmware settings to determine the PID parameters (P, I, and D values) that are currently set.
- Backup current settings: Before making any changes, it’s crucial to back up your current PID settings. This allows you to revert to the original values if needed.
- Prepare for PID tuning: Heat up your printer’s hotend or heated bed to the desired target temperature for the filament you will be using during the tuning process. Ensure that the temperature remains stable during the entire process.
- Enable PID autotuning: Check if your printer firmware has built-in PID autotuning capabilities. If available, follow the instructions provided to enable and initiate the autotuning process. The firmware will adjust the PID parameters automatically based on the detected system response.
- Manual PID tuning: If your printer does not have autotuning capabilities, you’ll need to manually adjust the PID parameters. Start by increasing or decreasing one parameter at a time (e.g., P value) by a small increment (e.g., 10%). Observe the printer’s response and the temperature stability.
- Iterative testing and adjustment: Print a simple test model that can highlight temperature-related issues, such as a temperature tower or a calibration cube. Evaluate the print quality and consistency, noting any improvements or issues encountered. Based on the results, adjust the PID parameters further and repeat the process until you achieve satisfactory results.
- Record the optimal PID settings: Once you have found the PID values that provide stable temperature control and high print quality, record these settings for future reference. Make sure to update your printer’s firmware configuration with the new PID values.
Keep in mind that PID tuning is an iterative process that may require multiple adjustments and test prints. Patience and thorough evaluation of each change are key to finding the optimal PID settings for your specific printer and filament combination.
Additionally, it is important to document your PID tuning process and settings for future reference. As you switch filaments or encounter different printing scenarios, you can use this documented information as a starting point for adjusting the PID parameters.
Now that you have a clear understanding of how to perform PID tuning, let’s discuss some common issues related to PID in 3D printing.
Common issues related to PID in 3D printing
While PID control is essential for maintaining stable and accurate temperatures in 3D printing, there are some common issues that you may encounter during the PID tuning process or while using PID-controlled temperature systems. Understanding these issues can help you troubleshoot and resolve temperature-related problems in your prints. Here are a few common issues related to PID in 3D printing:
- Overshooting or undershooting the target temperature: If your print nozzle or heated bed temperature consistently overshoots or undershoots the target value, it may indicate an issue with the PID parameters. Adjusting the proportional component (P) can help reduce overshooting or undershooting, while increasing the integral component (I) can help eliminate steady-state errors.
- Slow response time: A slow response time to fluctuations in the target temperature can result in print quality issues. Increasing the derivative component (D) can help improve the response time and reduce temperature oscillations.
- Inconsistent temperature control: If you notice temperature fluctuations or variations throughout the print, it may be due to inadequate PID tuning. Adjusting the PID parameters and performing iterative testing can help achieve a more consistent temperature control system.
- Temperature lag: Temperature lag occurs when the actual temperature lags behind the target temperature. It can lead to issues like inconsistent extrusion or poor layer adhesion. Increasing the proportional component (P) can help reduce temperature lag and improve printing performance.
- Incompatibility with different filaments: Different filaments have varying temperature requirements for optimal printing. If you frequently switch between different filaments, it is essential to re-calibrate the PID parameters to ensure the best temperature control for each filament type.
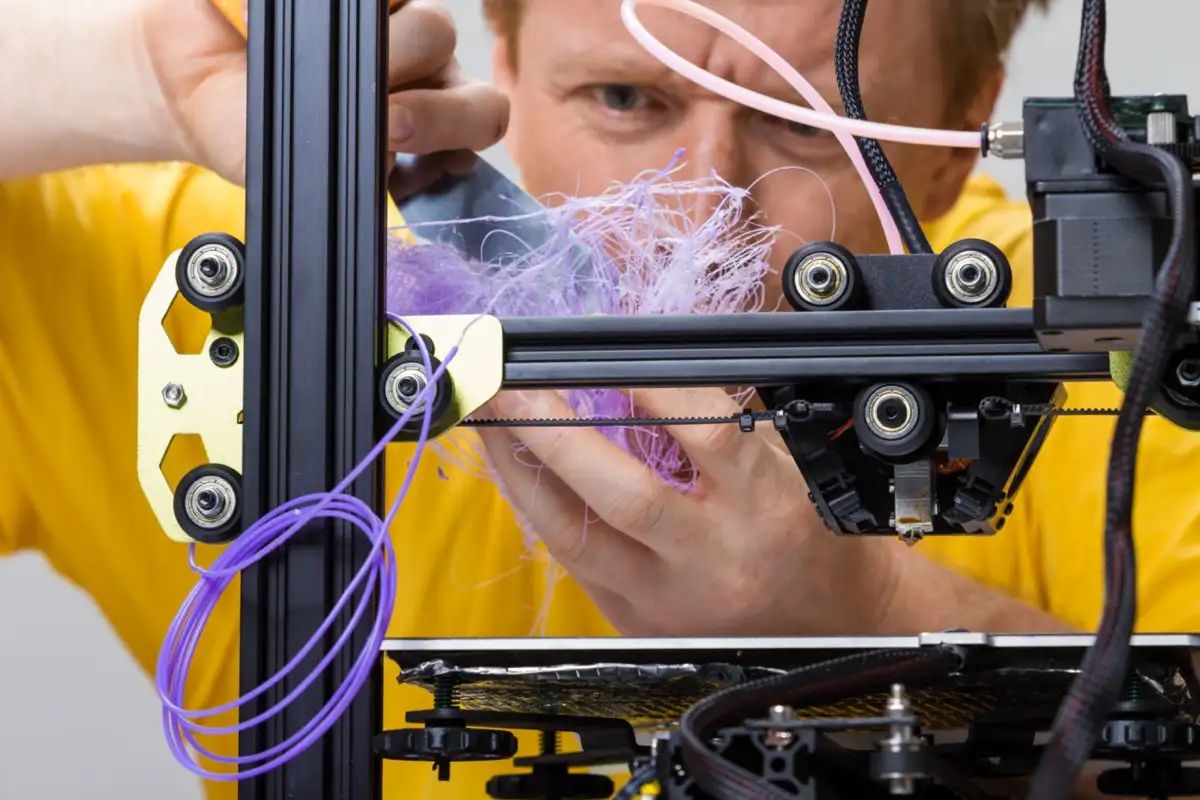
- Print defects caused by temperature fluctuations: Temperature fluctuations during printing can result in defects like stringing, warping, or underextrusion. By achieving precise temperature control through proper PID tuning, you can minimize these print defects and improve the overall print quality.
Remember that resolving these issues may require adjustments to the PID parameters and further testing. It’s important to be patient during the tuning process and carefully evaluate the impact of each change on your prints.
Now that we have discussed common PID-related issues, let’s conclude our exploration of PID in 3D printing.
Conclusion
PID control is a fundamental aspect of 3D printing that ensures precise and stable temperature control, ultimately leading to high-quality prints. By understanding the principles of PID and performing proper PID tuning, you can optimize your 3D printing experience and achieve consistent and reliable results.
In this article, we explored what PID is and how it works in the context of 3D printing. We discussed the importance of PID tuning and the benefits it brings to print quality, filament compatibility, and time/material savings. We also outlined the steps involved in performing PID tuning, whether through autotuning or manual adjustment.
Additionally, we highlighted common issues that can arise with PID control and provided insights into troubleshooting temperature-related print defects. By addressing these issues and achieving optimal PID settings, you can overcome temperature fluctuations, temperature lag, and inconsistent extrusion, among other problems.
As you continue your 3D printing journey, remember that PID tuning is an ongoing process. Factors such as filament changes, printer upgrades, and environmental conditions may require revisiting and readjustment of the PID parameters for optimal performance.
By mastering PID control and tuning in 3D printing, you have the necessary tools to unlock the full potential of your printer, expand your material options, and produce high-quality prints with precision and consistency.
So, embrace the power of PID and embark on your quest for impeccable 3D prints!