Introduction
3D printing has revolutionized the manufacturing industry, allowing individuals and businesses to create intricate and customized objects with ease. One of the key factors that contribute to the success of 3D printing is the precise control of the printing process, especially when it comes to complex designs. In this regard, understanding the concept of retraction in 3D printing is crucial.
Retraction, in the context of 3D printing, refers to the process of pulling the filament back slightly when there is a need to move between different areas or when the extruder is not actively depositing material. This retraction prevents oozing, stringing, and other printing defects, resulting in cleaner and more accurate prints.
Retraction is an essential technique in 3D printing as it helps to minimize imperfections and maintain the integrity of the printed object. By retracting the filament, the printer prevents excess material from being deposited during non-printing moves, effectively reducing the chances of blobs, unwanted strings, or filament dragging.
In this article, we will delve into the details of retraction in 3D printing, exploring how it works, why it is important, and some common troubleshooting issues that may arise. Additionally, we will discuss best practices and settings for optimizing retraction to achieve high-quality and reliable prints.
What is Retraction 3D Printing?
Retraction in 3D printing is a technique used to prevent filament from oozing or stringing during non-printing moves. When the 3D printer’s extruder needs to move from one area of the print to another without depositing any material, it retracts the filament by pulling it back into the nozzle. This temporary retraction helps maintain the cleanliness and accuracy of the printed object.
During a non-printing move, if the filament were to continue extruding, it could result in materials drooping or elongating, leading to unwanted blobs or strings on the printed object. By retracting the filament, the extruder ensures that there is no unnecessary material deposition, reducing the risk of defects and improving the overall print quality.
The retraction process is typically controlled by the slicer software, which generates the G-code instructions for the 3D printer. These instructions specify the parameters for when and how much retraction should occur, based on factors such as travel distance, speed, and the specific characteristics of the filament being used.
Retraction distance refers to the amount of filament that is pulled back into the nozzle. It is measured in millimeters and can vary depending on the printer and filament settings. The retraction speed determines how quickly the filament is pulled back, while the retraction delay is the time the printer waits after retracting before moving to the next position.
Retraction is a critical aspect of 3D printing, especially when working with materials such as PLA, ABS, or PETG, which tend to be more prone to oozing and stringing. By properly configuring the retraction settings, users can achieve cleaner prints, sharper details, and reduce the need for post-processing or manual cleanup.
How Does Retraction Work?
Retraction in 3D printing involves the physical process of pulling the filament back into the nozzle to prevent unwanted material deposition. This process is controlled by the printer’s firmware and executed based on the instructions provided by the slicer software.
When the printer detects a non-printing move, such as a travel or repositioning, it initiates the retraction process. The extruder’s stepper motor is activated, causing the filament to retract by reversing the direction of the motor. This action pulls the filament back into the hot end, creating a gap between the nozzle and the filament.
As the filament is retracted, pressure in the hot end decreases, preventing any further extrusion. This effectively stops the flow of filament during the non-printing move, preventing issues such as oozing and stringing.
Once the non-printing move is complete and the extruder needs to resume depositing material, the filament is pushed forward again. This is known as “unretraction” or “de-retraction.” The filament is advanced to the original position, and the flow of material resumes, allowing the printing process to continue without interruption.
It is important to note that the retraction settings can vary depending on several factors, including the specific 3D printer model, filament type, and ambient temperature. Finding the optimal retraction distance, speed, and delay requires some experimentation and fine-tuning to achieve the best results for each printing setup.
Overall, the retraction process plays a crucial role in maintaining the print quality and reducing imperfections in 3D printed objects. By effectively managing the flow of filament during non-printing moves, retraction helps to prevent issues such as stringing, oozing, and blobs, resulting in cleaner and more precise prints.
Why is Retraction Important in 3D Printing?
Retraction plays a vital role in ensuring the quality and accuracy of 3D prints. Here are several reasons why retraction is important in the 3D printing process:
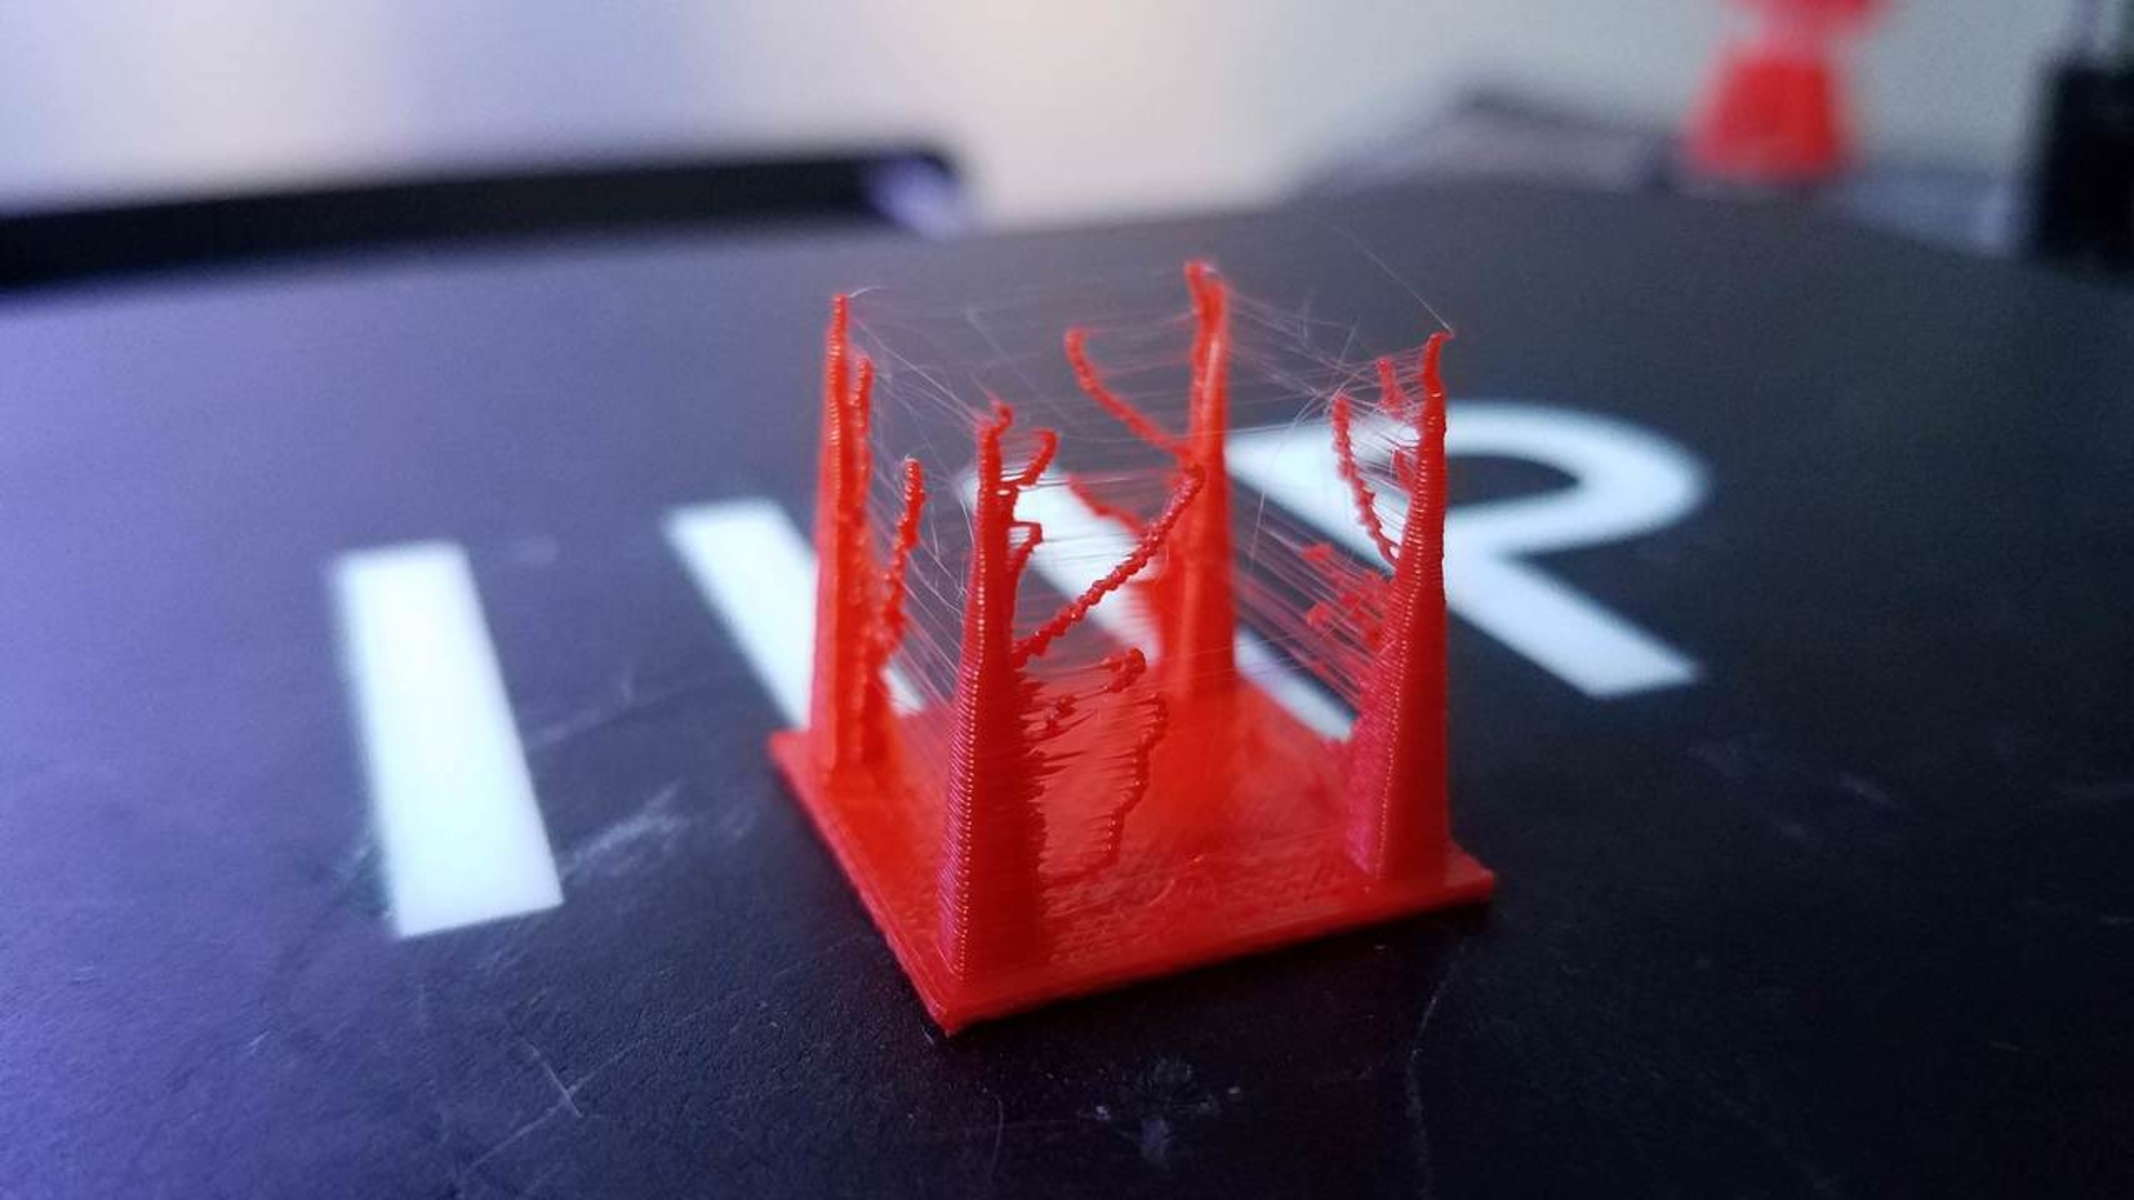
- Prevents Stringing: Stringing occurs when unwanted strands of filament are left behind during non-printing moves, resulting in messy and unappealing prints. By retracting the filament, these strings are minimized or eliminated, creating cleaner and more professional-looking objects.
- Reduces Oozing: Oozing refers to the unwanted flow of molten filament from the nozzle when it is not actively extruding. This can lead to excess material deposition, creating blobs and ruining the integrity of the print. Retraction helps to prevent oozing by stopping the flow of filament during non-printing moves.
- Maintains Print Accuracy: When the printer moves from one area of the print to another, any extrusion of filament can cause accidental marks or smudges on the object. By retracting the filament during these moves, precise positioning can be achieved without leaving unwanted traces on the print surface.
- Enables Printing of Overhangs and Bridges: Overhangs and bridges are challenging to print because gravity can cause filament to droop or sag. With retraction, filament is temporarily retracted, reducing the chances of filament dragging and improving the overall quality of overhangs and bridges.
- Reduces Post-Processing: By minimizing stringing, oozing, and other common printing defects through effective retraction, the need for post-processing, such as removing excess material or cleaning up imperfections, is significantly reduced. This saves time and effort, resulting in more efficient and streamlined printing workflows.
Ultimately, retraction is a vital technique that helps to improve the overall print quality, minimize defects, and ensure the accuracy and visual appeal of 3D printed objects. By implementing proper retraction settings, users can optimize their printing processes, reduce the occurrence of common issues, and achieve high-quality prints.
Common Issues and Troubleshooting with Retraction
While retraction is a valuable technique in 3D printing, it can sometimes lead to issues if not properly configured. Here are some common problems that can arise with retraction and troubleshooting tips to resolve them:
- Stringing: If you notice fine strands of filament between different parts of your print, it indicates stringing. To address this issue, you can increase the retraction distance and speed gradually. Experimenting with lower temperatures and enabling features like coasting and wiping can also help decrease stringing.
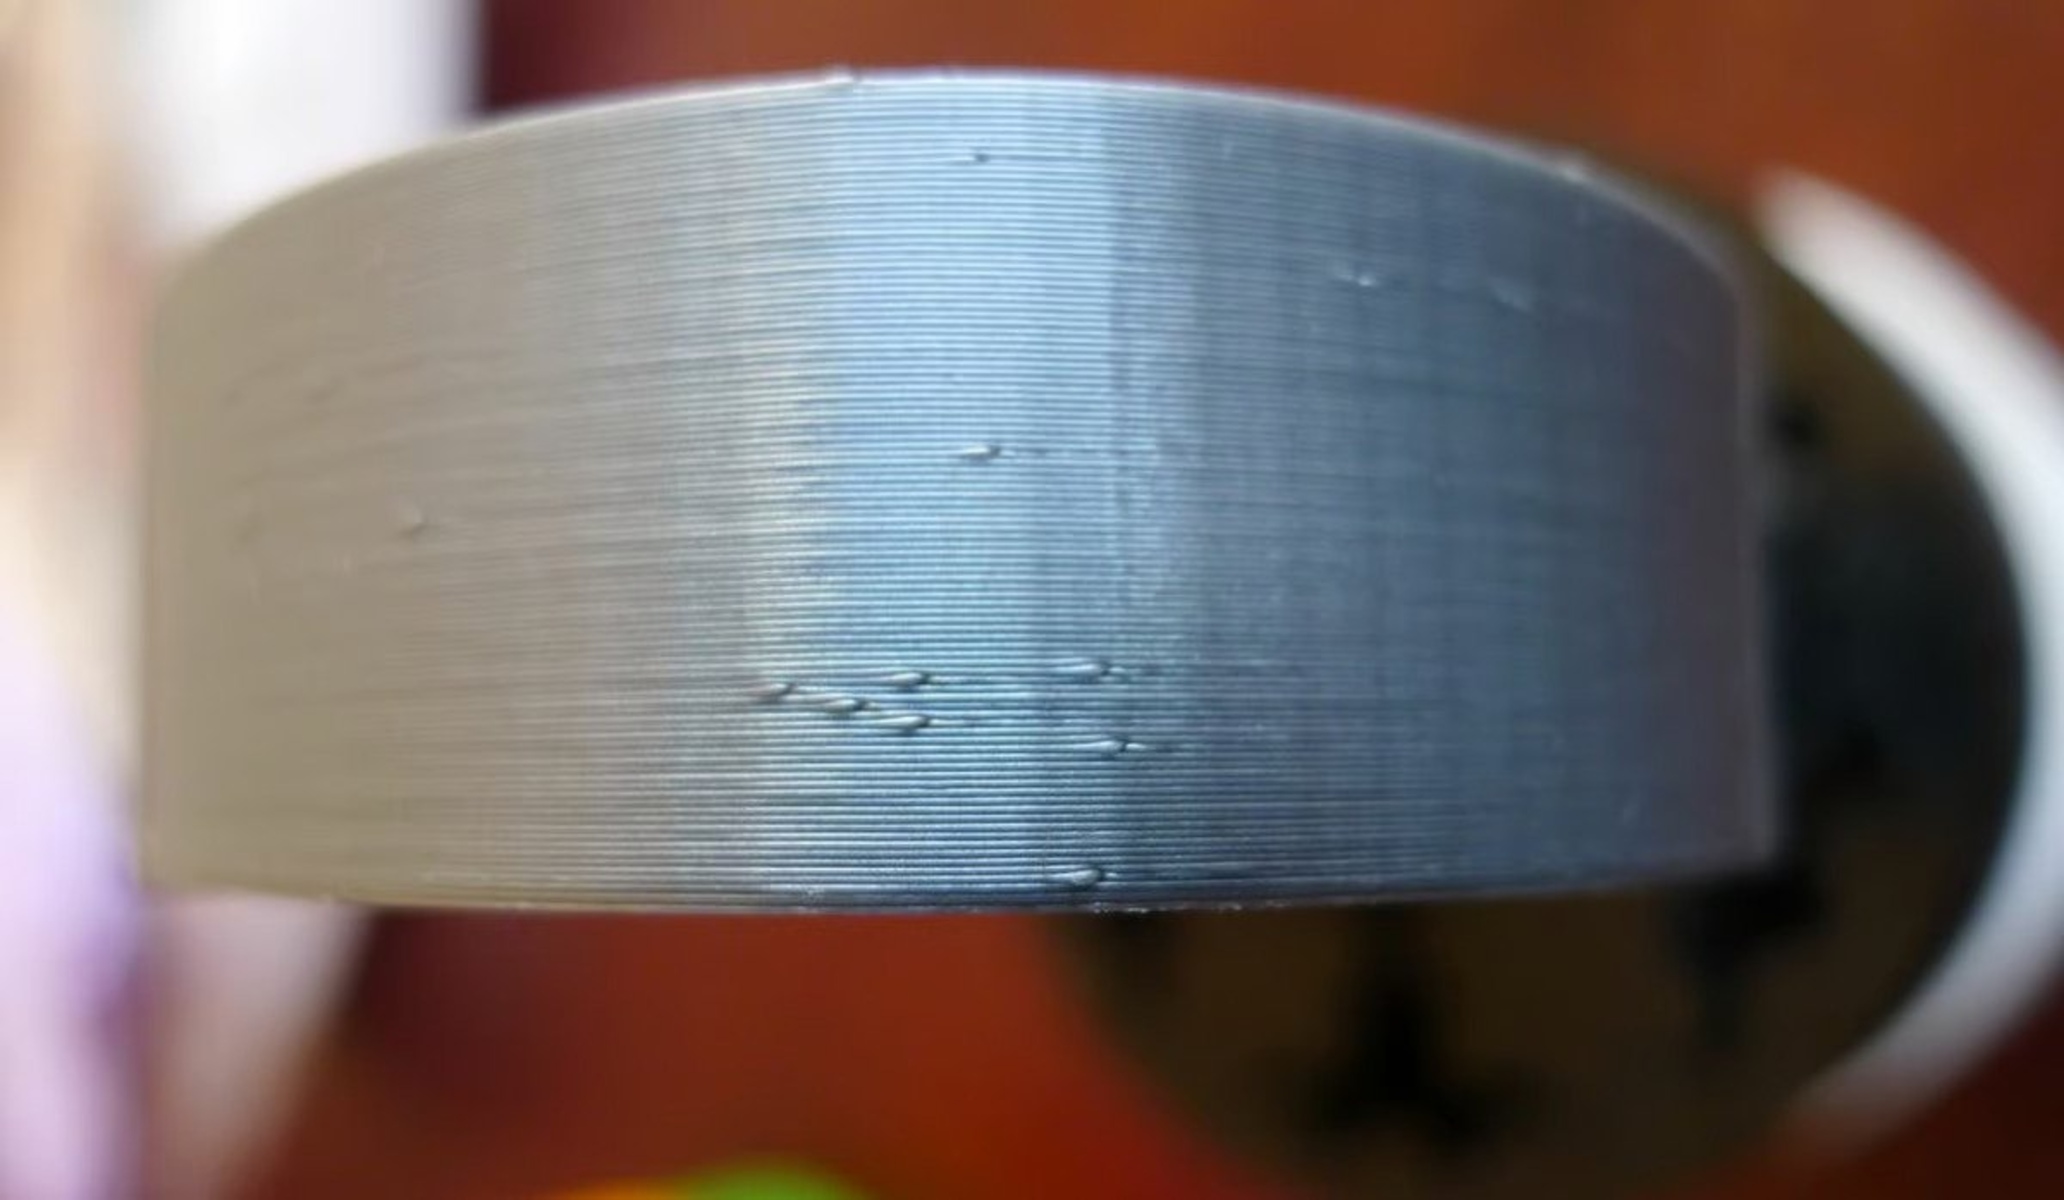
- Blobs and Zits: Blobs are excessive build-up of material, often seen as small bumps or irregularities on the surface of the print. Zits appear as small raised dots. These issues can be mitigated by adjusting the retraction distance and speed, as well as reducing the nozzle temperature. Additionally, optimizing the retraction settings during non-printing moves can reduce the occurrence of blobs and zits.
- Under-Extrusion: Under-extrusion occurs when the filament fails to flow properly, resulting in gaps or missing layers in the print. In some cases, insufficient retraction can be the culprit. To address under-extrusion, try increasing the retraction distance slightly and adjusting the extrusion multiplier to ensure the proper flow of filament.
- Clogging or Grinding: Retraction settings that are too aggressive can lead to filament clogging in the nozzle or excessive grinding of the filament by the extruder gear. If you experience clogging or grinding issues, try reducing the retraction distance and speed. Additionally, make sure that the filament is properly loaded and free from tangles or obstructions.
- Excessive Retraction Noise: If you notice loud clicking or grinding sounds during retraction, it might indicate that the retraction distance is set too high or the filament is encountering resistance. Lowering the retraction distance, checking for filament jams, and ensuring smooth filament feed can help reduce excessive noise.
It’s important to note that troubleshooting retraction issues may require a combination of adjustments to the retraction settings, temperature, print speed, and other relevant parameters. It may take some experimentation and fine-tuning to find the optimal configuration for your specific printer and filament combination.
By carefully addressing these common issues and making adjustments to the retraction settings, you can effectively troubleshoot problems related to retraction in 3D printing, resulting in improved print quality and a smoother printing experience.
Best Practices for Retraction Settings
Optimizing retraction settings is crucial to achieving high-quality prints in 3D printing. Here are some best practices to consider when configuring your retraction settings:
- Start with Default Values: Most slicer software comes with default retraction settings that are a good starting point. Begin with these values and make incremental adjustments based on your specific printer and filament combination.
- Gradually Adjust Retraction Distance: Begin by adjusting the retraction distance in small increments, such as 0.5 mm at a time. Too much retraction can lead to clogging or grinding, while too little can result in stringing and blobs. Find the sweet spot that minimizes stringing while avoiding any negative side effects.
- Tweak Retraction Speed: The speed at which the filament is retracted can also affect print quality. Experiment with different retraction speeds to find the optimal setting for your printer and filament. A faster retraction speed may reduce stringing, but too fast can cause filament skipping or other issues. Similarly, a slower retraction speed may minimize oozing, but if it’s too slow, it can cause blob formation.
- Consider Retraction Distance for Bowden Extruders: If your printer has a Bowden extruder setup (where the extruder motor is located remotely from the hot end), you may need a longer retraction distance to compensate for the increased distance between the two. Bowden extruders typically require more retraction to prevent oozing and stringing due to the additional filament travel distance.
- Account for Filament Type and Temperature: Different filament materials have unique characteristics, requiring specific retraction settings. For example, PLA generally requires less retraction compared to ABS or PETG. Additionally, adjusting the nozzle temperature can also have an impact on retraction performance. Higher temperatures may require more aggressive retraction settings to counteract oozing, while lower temperatures may need less retraction to prevent clogging.
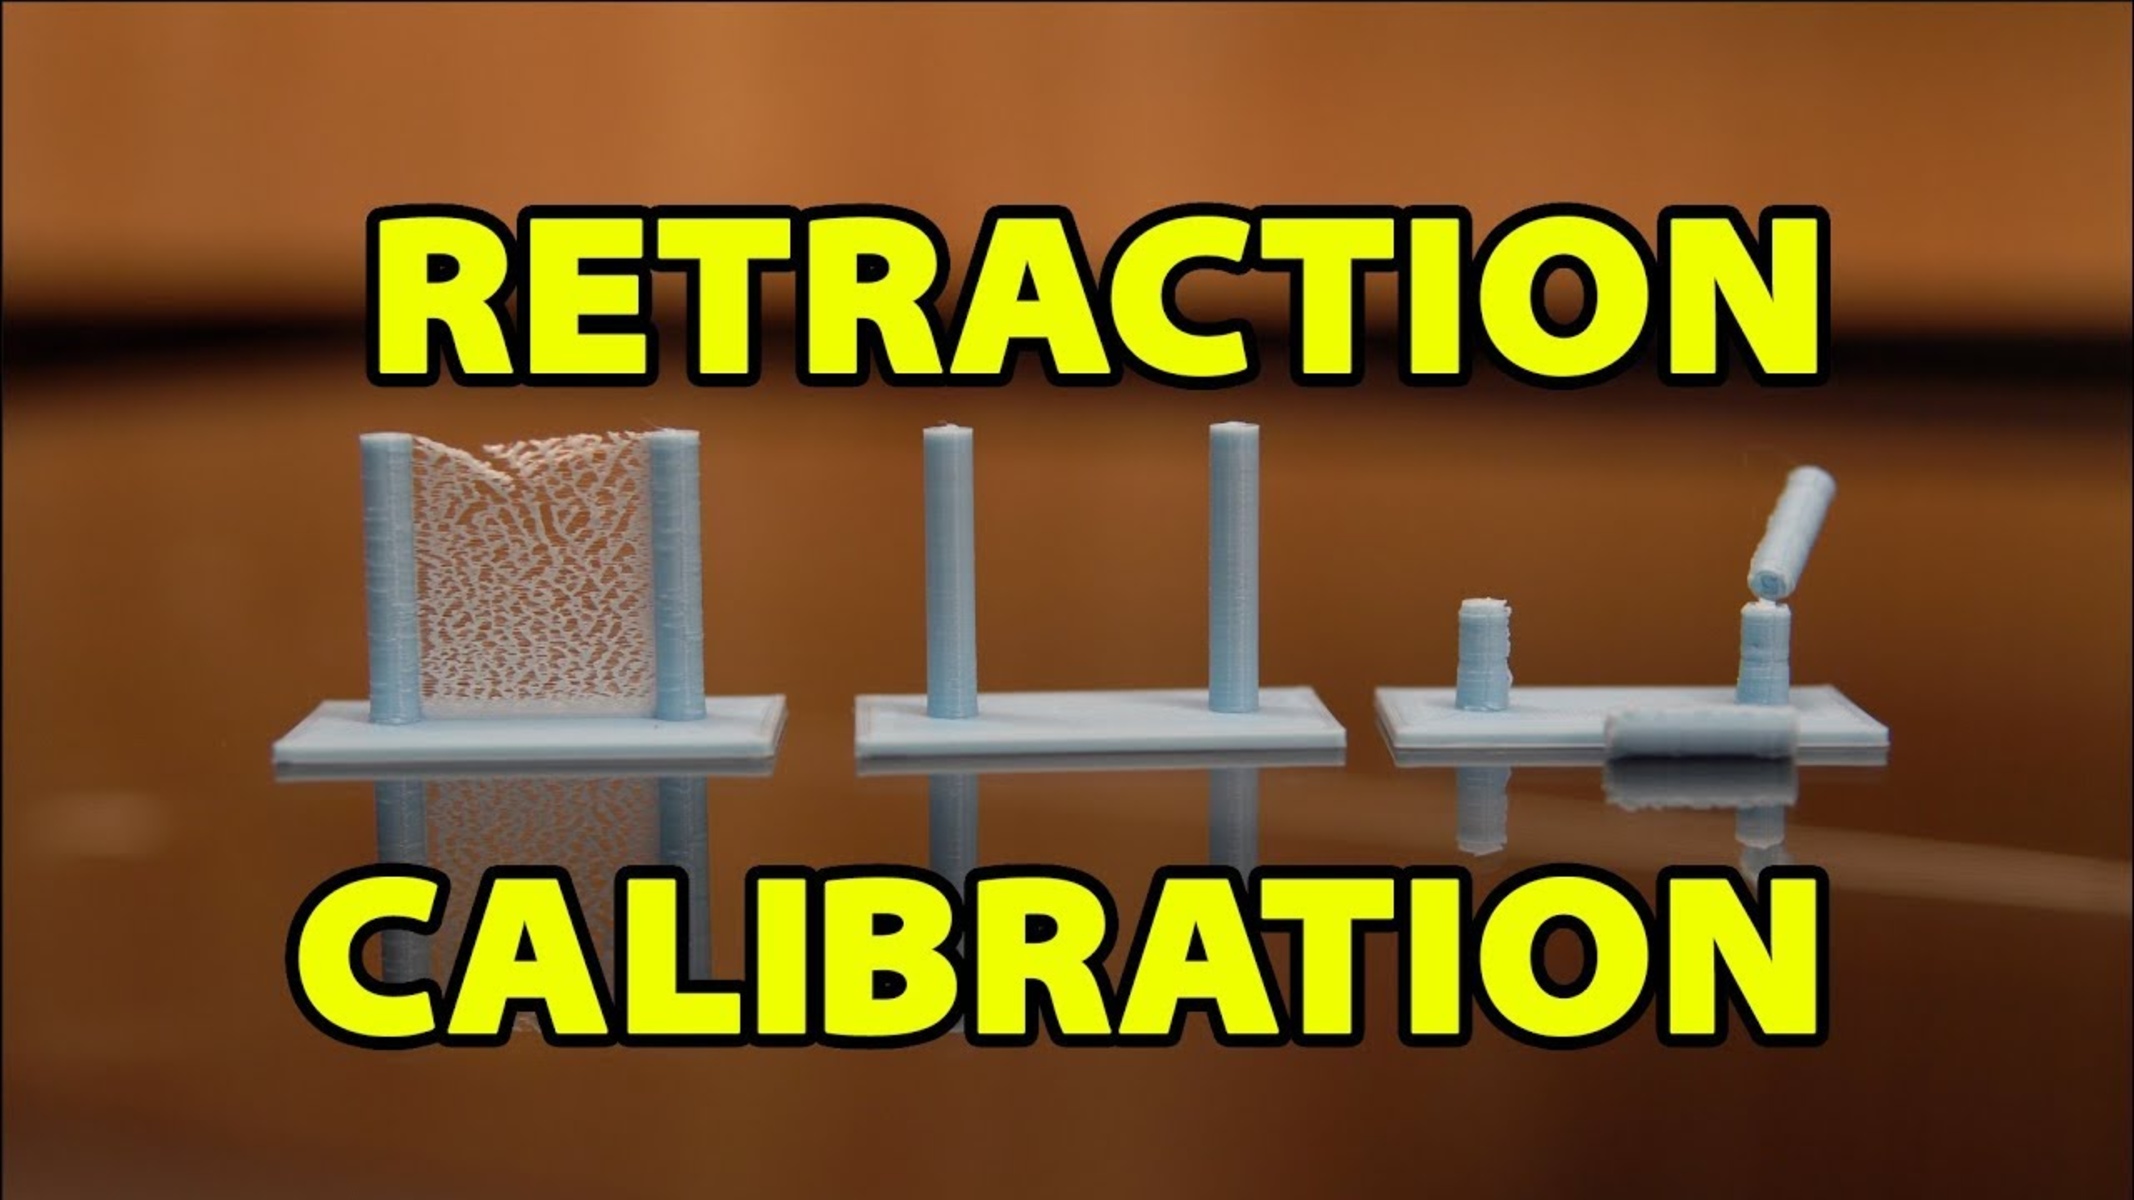
- Calibrate and Test: Conducting calibration prints, such as retraction test prints or temperature towers, can help determine the optimal retraction settings for your printer and filament combination. These test prints will provide visual cues to assess the effectiveness of the retraction settings and help identify any areas that require adjustment.
Remember that retraction settings can vary depending on the specific printer, filament, and other factors. It’s essential to take the time to experiment and fine-tune the retraction parameters to achieve the best results for your printing setup.
By following these best practices and being mindful of the individual characteristics of your printer and filament, you can optimize retraction settings to minimize stringing, oozing, and other printing defects, resulting in cleaner and more precise 3D prints.
Conclusion
Retraction is a fundamental technique in 3D printing that helps to prevent stringing, oozing, and other common printing defects. By retracting the filament during non-printing moves, users can achieve cleaner, more accurate, and visually appealing prints.
In this article, we have explored the concept of retraction in 3D printing, understanding how it works and why it is essential. We have discussed common issues that can arise with retraction and provided troubleshooting tips to address them effectively.
Moreover, we have shared best practices for configuring retraction settings, emphasizing the importance of incremental adjustments, considering filament type and temperature, and conducting calibration and test prints. These practices will help users optimize their retraction settings, resulting in improved print quality and reduced post-processing needs.
As 3D printing continues to advance and become more accessible, understanding and implementing proper retraction techniques will become increasingly important. By mastering retraction and its associated settings, users can unlock the full potential of their 3D printers, achieving high-quality prints with precision and reliability.
In conclusion, by implementing best practices, troubleshooting effectively, and fine-tuning retraction settings, users can harness the power of retraction to overcome common printing challenges and create exceptional 3D printed objects.