Introduction
Welcome to the fascinating world of 3D printing! In recent years, 3D printing technology has revolutionized various industries, allowing individuals and businesses to bring their creative ideas to life. And one of the popular options for getting started with 3D printing is the IIIP 3D Printer.
The IIIP 3D Printer is a versatile and affordable option that allows you to manufacture physical objects by building them layer by layer using a variety of materials. Whether you are a hobbyist, an artist, or an entrepreneur, having an IIIP 3D Printer opens up a realm of possibilities for creating customized items, prototypes, and even functional parts.
No matter if you are a beginner or have some experience with 3D printing, this article will guide you through the essential steps of using an IIIP 3D Printer. From setting up the printer to troubleshooting common issues, you will gain a solid foundation in operating your IIIP 3D Printer effectively.
Throughout this guide, we will explore various aspects including choosing the right materials, understanding the software, and preparing your designs for printing. We will also cover calibrating the printer, loading and changing filament, adjusting print settings, and troubleshooting any problems that may arise during the printing process.
It’s worth noting that while the IIIP 3D Printer provides an excellent entry point into the world of 3D printing, it does require some knowledge and hands-on experience to achieve optimal results. However, with a bit of practice and the right guidance, you will soon be creating amazing objects with your IIIP 3D Printer.
So, get ready to unlock your creativity and learn how to unleash the power of the IIIP 3D Printer. Let’s dive into the exciting world of 3D printing and discover the endless possibilities that await!
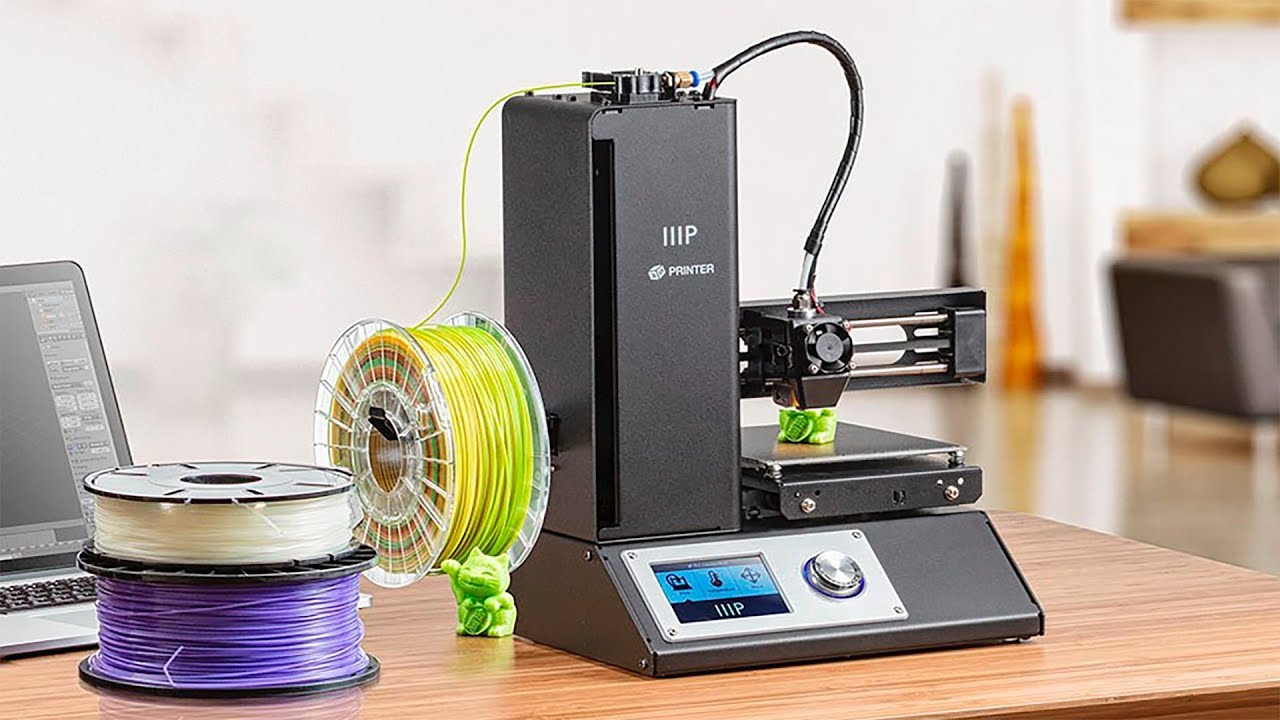
What is an IIIP 3D Printer?
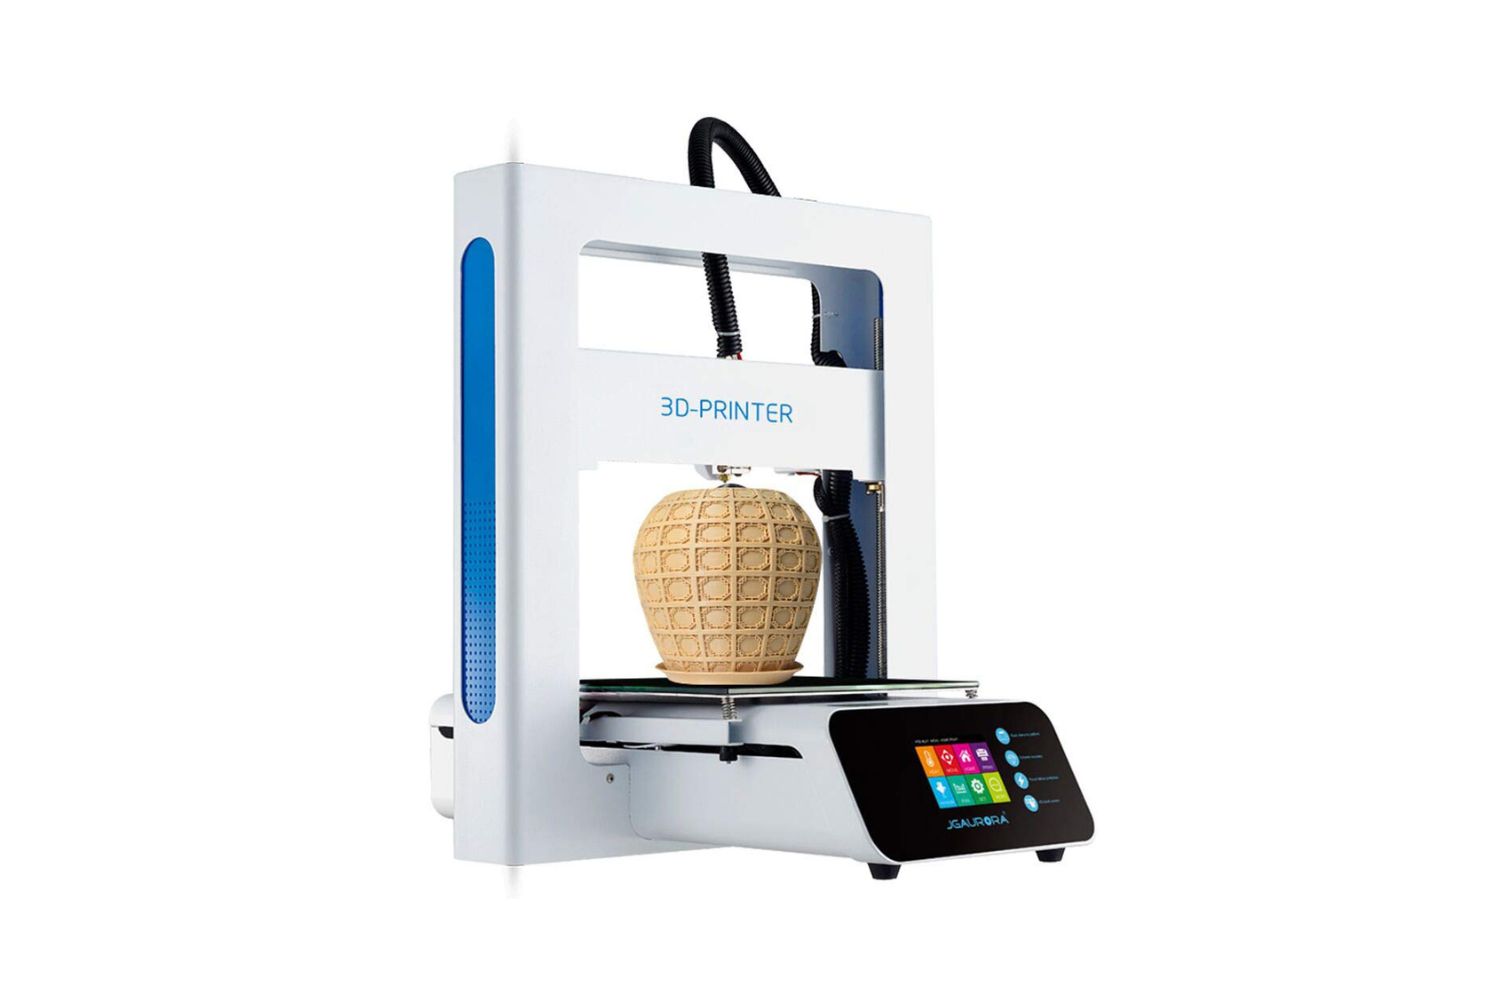
The IIIP 3D Printer is a type of desktop 3D printer that allows you to turn your digital designs into physical objects. It utilizes a process called additive manufacturing, which involves building objects layer by layer using a variety of materials, such as PLA (Polylactic Acid) or ABS (Acrylonitrile Butadiene Styrene) plastic. This technology has gained popularity due to its accessibility, affordability, and versatility.
The IIIP 3D Printer is equipped with a heated bed and a nozzle that moves in both the X and Y directions, allowing it to create complex shapes and intricate details. It operates by melting the chosen material and extruding it through the nozzle, which moves in a controlled manner according to the design instructions. As each layer is deposited and cooled, the printer gradually builds up the object from the bottom up, resulting in a three-dimensional piece that matches the original digital design.
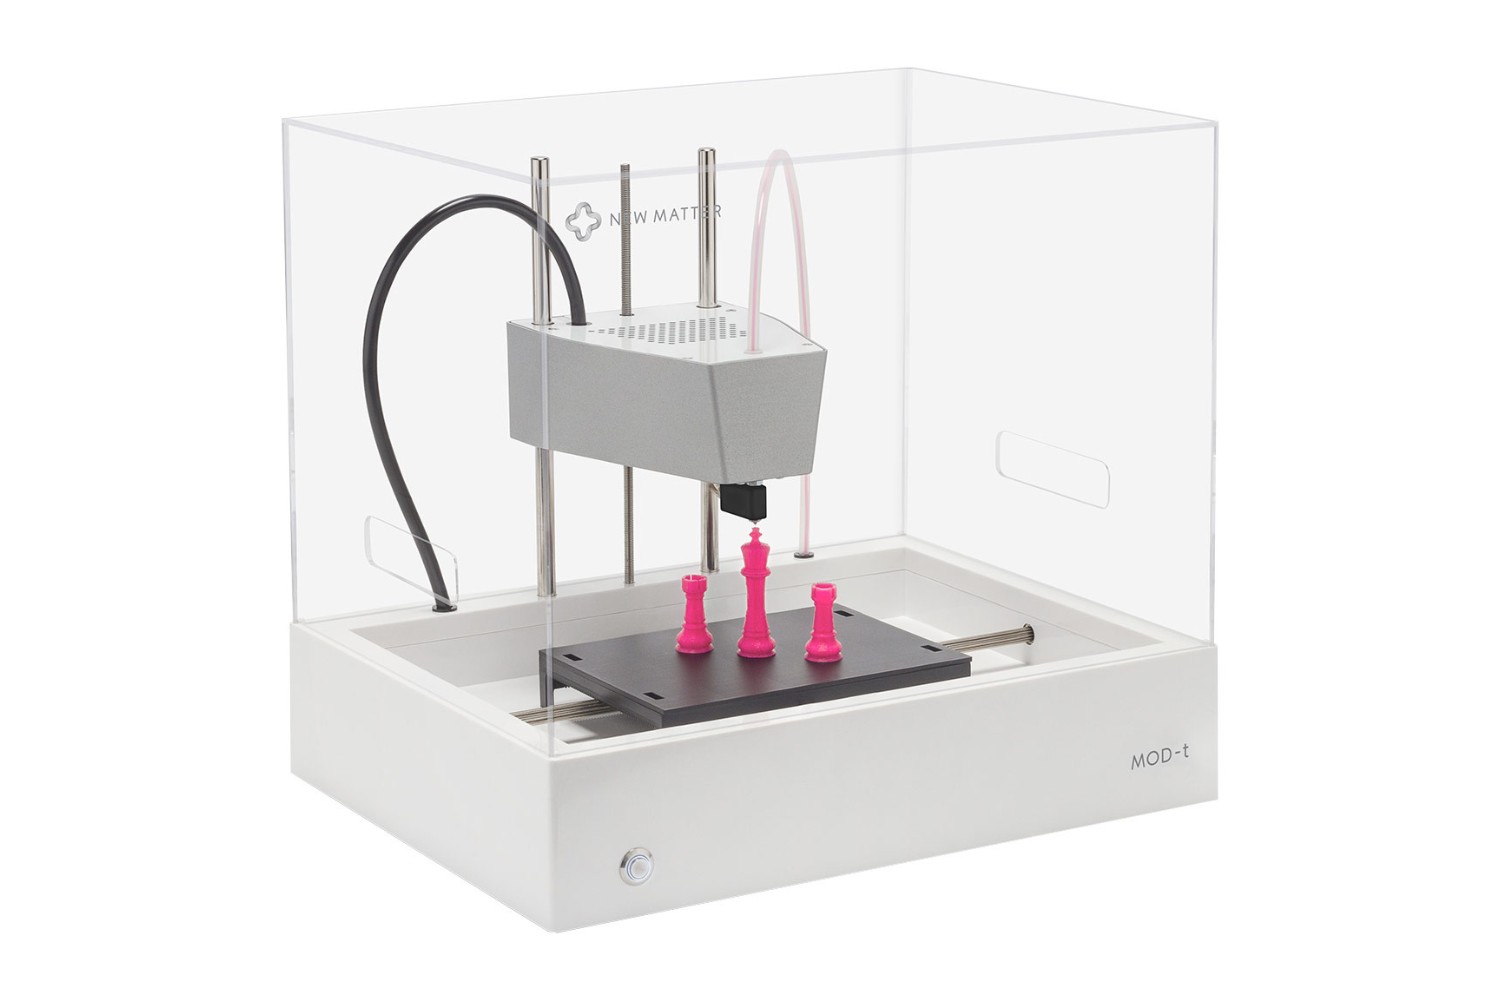
One of the advantages of the IIIP 3D Printer is its user-friendly design. It features a compact size that makes it suitable for home use or small-scale manufacturing. Additionally, it is equipped with intuitive controls and a user-friendly interface, making it accessible even to beginners in the world of 3D printing.
Another key benefit of the IIIP 3D Printer is its affordability. Compared to larger industrial-grade 3D printers, the IIIP 3D Printer offers a cost-effective solution for individuals and smaller businesses. This accessibility allows more people to explore the possibilities of 3D printing without breaking the bank.
The IIIP 3D Printer supports a wide range of materials, including PLA, ABS, and even specialty filaments like wood-filled, metal-filled, or flexible materials. This versatility gives users the flexibility to choose the material that best suits their project requirements and desired end result.
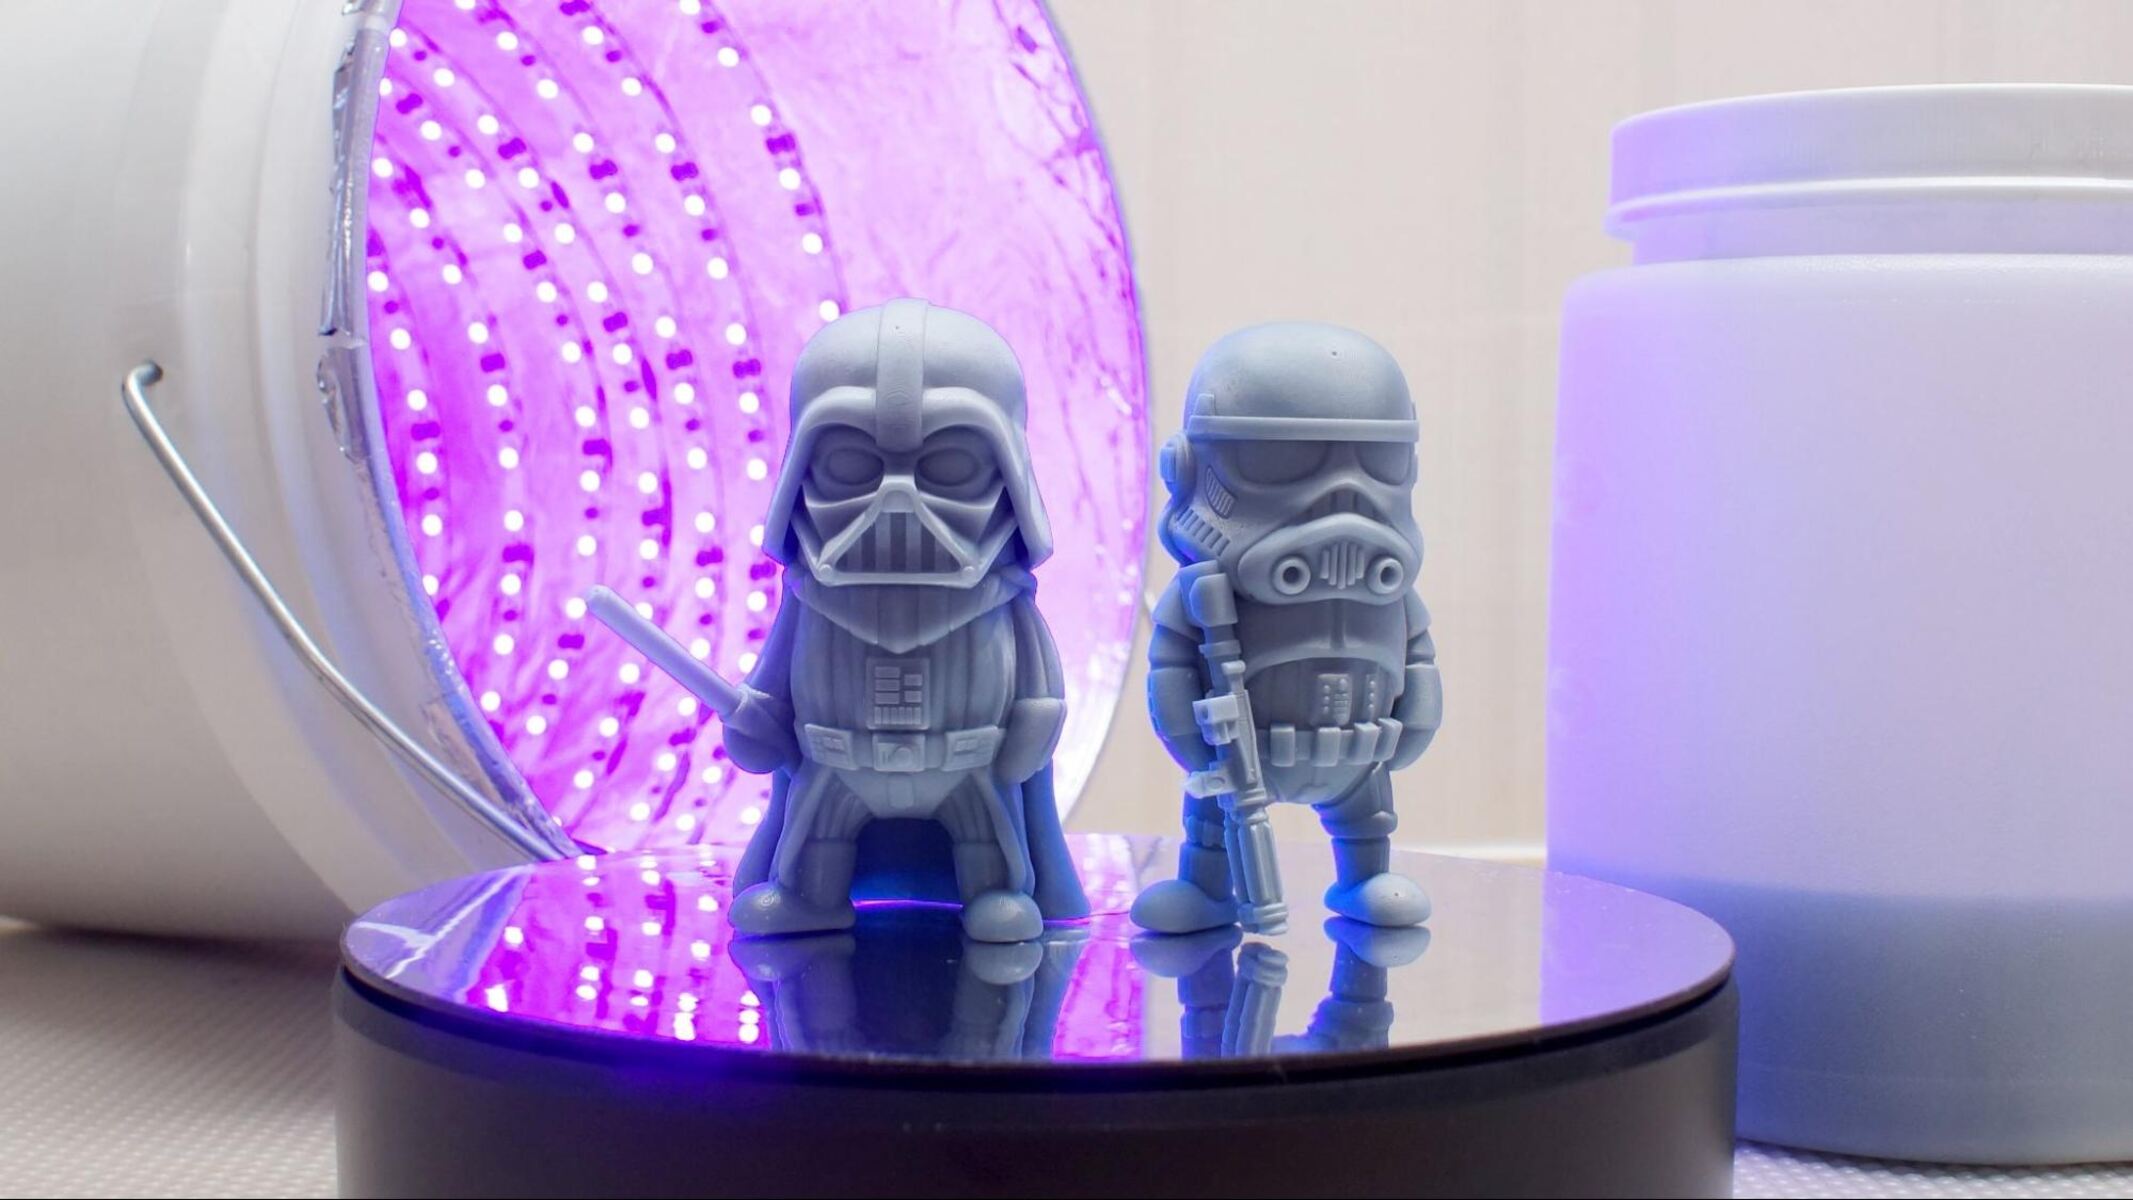
Whether you’re a hobbyist, an artist, a designer, or an entrepreneur, the IIIP 3D Printer provides a platform to unleash your creativity and bring your ideas to life. From creating personalized gifts and decorations to prototyping product designs, the possibilities are virtually endless.
Now that you have a better understanding of what an IIIP 3D Printer is, let’s dive into the process of setting up and using this remarkable technology to turn your digital dreams into tangible objects.
Choosing the Right Materials
When it comes to 3D printing with the IIIP 3D Printer, selecting the right materials is key to achieving the desired results. The type of material you choose will greatly impact the strength, flexibility, and appearance of your printed objects. Here are some factors to consider when choosing materials for your IIIP 3D Printer:
1. Filament type: The IIIP 3D Printer typically uses filament as the printing material. Filament comes in various types, such as PLA, ABS, PETG, and more. Each type has its own properties and characteristics. PLA, for example, is eco-friendly, easy to print with, and produces less odor compared to ABS. ABS, on the other hand, offers better durability and flexibility. Consider the specific requirements of your project and select a filament that best suits your needs.
2. Filament diameter: The IIIP 3D Printer supports specific filament diameters, typically either 1.75mm or 3mm. Make sure to check the specifications of your printer and choose the filament diameter that is compatible with it. Using the wrong filament size can result in unreliable prints or even damage to your printer.
3. Specialty filaments: In addition to standard filaments, the IIIP 3D Printer can often handle specialty filaments, such as wood-filled, metal-filled, or flexible materials. These specialty filaments allow you to create unique textures and characteristics in your prints. However, they may require additional settings and adjustments in the printer software, so be sure to familiarize yourself with the specific requirements of each filament.
4. Color options: Filament comes in a wide range of colors, allowing you to bring more vibrancy and creativity to your prints. Consider the aesthetics and purpose of your printed objects when selecting the color of your filament. Keep in mind that certain colors may require different temperature settings or printing speeds, so check the manufacturer’s recommendations for optimal results.
5. Quality and brand: The quality of the filament can greatly affect the overall print quality and reliability. It is recommended to choose filaments from reputable brands that have a good track record. These brands typically adhere to strict manufacturing standards, resulting in consistent filament quality and better printing results.
Remember, choosing the right materials for your IIIP 3D Printer is crucial for achieving the best possible prints. Take the time to research and experiment with different filaments to discover the ones that work best for your specific projects. With the right materials, you’ll be able to bring your creative visions to life with precision and quality.
Setting Up Your IIIP 3D Printer
Once you have your IIIP 3D Printer, the first step is to set it up properly to ensure smooth and successful printing. Here’s a step-by-step guide to help you get started:
1. Unboxing: Start by carefully unpacking your IIIP 3D Printer and removing all the accessories and components from the packaging. Take note of any included instruction manuals or guides, as they will provide valuable information specific to your printer model.
2. Assembly: Depending on the model, your IIIP 3D Printer may require some assembly. Follow the manufacturer’s instructions or user manual to properly assemble the printer. This may involve attaching the print bed, aligning the components, or connecting cables. Take your time and ensure everything is securely in place.
3. Leveling the print bed: Proper leveling of the print bed is crucial for successful prints. Check the manufacturer’s instructions on how to level the print bed for your specific IIIP 3D Printer model. This usually involves adjusting the bed’s corners or using a built-in leveling feature in the printer. Take care to ensure the print bed is level to avoid issues with print quality and adhesion.
4. Power and connectivity: Connect your IIIP 3D Printer to a power source using the provided power cable. Some models may also require connecting to a computer via USB or using an SD card for file transfer. Check the specific instructions for your printer to establish the necessary connections.
5. Install slicing software: The IIIP 3D Printer requires slicing software to convert your 3D models into printable instructions. Install the recommended slicing software provided by the manufacturer or choose a popular third-party software compatible with your printer. Configure the settings according to your preferences and printer specifications.
6. Calibrating settings: Before printing your first object, it is important to calibrate your IIIP 3D Printer’s settings. This includes temperature settings, printing speed, layer height, and more. Consult the manufacturer’s instructions or user manual for guidance on optimal settings for your specific printer and chosen material.
7. Safety precautions: It is essential to consider safety precautions when using your IIIP 3D Printer. This includes ensuring proper ventilation in your workspace, avoiding touching hot components during printing, and keeping the printer away from flammable materials. Familiarize yourself with the safety guidelines provided by the manufacturer to ensure a safe printing environment.
8. test print: Once your IIIP 3D Printer is set up and calibrated, it’s a good practice to do a test print. Choose a small, simple model to test the printer’s functionality and settings. This will help you evaluate the print quality, identify any issues, and make necessary adjustments before diving into more complex prints.
By following these steps, you will be able to properly set up your IIIP 3D Printer and start your 3D printing journey with confidence. Take the time to familiarize yourself with the specific instructions provided by the manufacturer to ensure optimal performance and enjoy a seamless printing experience.
Understanding the Software
When it comes to operating your IIIP 3D Printer, understanding the software is crucial. The software serves as the bridge between your digital 3D designs and the physical objects that are printed. Here are the key elements to consider when it comes to understanding the software:
1. Slicing software: The primary software you’ll use with your IIIP 3D Printer is the slicing software. This software turns your 3D models into a series of instructions that the printer can understand. It slices your design into layers and calculates the necessary movements and settings for the printer. Popular slicing software programs include Ultimaker Cura, Simplify3D, and PrusaSlicer. Familiarize yourself with the specific features and capabilities of your chosen software to optimize your prints.
2. Importing and preparing models: To begin the printing process, you’ll need to import your 3D models into the slicing software. Most slicing software supports various file formats, such as STL or OBJ. Once imported, you can orient, scale, and position the model according to your desired specifications. Additionally, you can add supports for overhangs or complex geometries. Take the time to understand the software’s tools and capabilities for a smooth workflow.
3. Printer settings: The slicing software allows you to adjust the printer settings based on your IIIP 3D Printer’s specifications and the desired outcome. These settings include print speed, layer height, infill density, and temperature. The software may provide default settings, but it’s important to understand how each setting affects the final print quality and functionality. Experimentation and fine-tuning of the settings will help you achieve the desired results.
4. G-Code generation: Once you have finalized the model orientation and printer settings, the slicing software generates the G-Code, which contains the instructions for the printer. The G-Code consists of a series of commands that tell the printer how to move, extrude filament, and build the layers. It is important to ensure that the G-Code is compatible with your IIIP 3D Printer and that it matches the specific requirements and capabilities of your printer.
5. Previewing and analyzing: Many slicing software programs provide a preview feature that allows you to visualize the layers and examine how the print will look before initiating the printing process. This preview enables you to detect potential issues such as gaps, overhangs, or areas that require support structures. Use this feature to make adjustments and optimize your prints for better results.
6. Firmware updates: Keep in mind that your IIIP 3D Printer may require periodic firmware updates to enhance performance and compatibility. Manufacturer-provided software or firmware update tools can help ensure that your printer is running the latest version and has access to new features or improvements.
Taking the time to familiarize yourself with the software and its functionalities will greatly improve your overall 3D printing experience. Experiment with different settings, learn from each print, and leverage the software’s capabilities to create the best possible prints with your IIIP 3D Printer.
Preparing Your Design
Before you can start printing on your IIIP 3D Printer, it’s essential to properly prepare your 3D design. Taking the time to ensure your design is optimized for printing will result in better quality prints and a smoother printing process. Here are the key steps to prepare your design:
1. Design considerations: When creating or selecting a 3D design, keep in mind that certain geometries, overhangs, and intricate details may require additional support structures or adjustments to ensure successful printing. While the software can automatically generate supports, it’s beneficial to design your model with printability in mind. Consider adding support structures manually or modifying the design to minimize overhangs and improve stability.
2. File format and compatibility: Ensure that your 3D design is saved in a file format that is compatible with the slicing software and your IIIP 3D Printer. The most common file format used in 3D printing is the STL (Standard Triangle Language) format. This format represents the geometry of the design as a mesh of interconnected triangles. If your design is in a different file format, use conversion tools or export options in your modeling software to convert it to an STL file.
3. Scale and size: Determine the desired size and scale of your printed object. Take into consideration the build volume of your IIIP 3D Printer and ensure that your design fits within those limitations. Use the scaling tools in the slicing software to adjust the size of your design, but be cautious about scaling up too much, as it may result in a loss of detail.
4. Orientation: The orientation of your design within the build volume can affect print quality, strength, and the need for supports. Experiment with different orientations to find the best balance between aesthetics and functionality. In some cases, rotating the design can reduce the need for excessive support structures and improve print quality for overhangs or fine details.
5. Checking for errors: Use the slicing software’s analysis tools to identify potential issues with your design. These tools can detect problems like non-manifold geometry, intersecting surfaces, or gaps. Addressing these issues before printing can prevent printing failures and improve the overall quality of your prints.
6. Adding supports: For designs with overhangs or complex geometries, it may be necessary to add support structures to ensure the object’s stability during printing. Use the support generation tools in the slicing software to automatically generate supports or manually add them where needed. Be mindful of their placement to minimize post-processing efforts and achieve clean and accurate prints.
7. Export and import: Once you have prepared your design, export the optimized STL file from your modeling software. Import the file into the slicing software and ensure that it is correctly positioned and oriented for printing. Review the model in the software’s preview mode to visualize how the final print will look and identify any remaining issues that need to be addressed.
By following these steps and preparing your design properly, you can maximize the printability and quality of your objects on the IIIP 3D Printer. Take the time to experiment, learn from each print, and refine your design preparation process to achieve the best possible results.
Calibrating the Printer
Calibrating your IIIP 3D Printer is an essential step to ensure optimal print quality and accuracy. Proper calibration helps you fine-tune the printer’s settings and ensure that it performs consistently. Here are the key aspects to consider when calibrating your IIIP 3D Printer:
1. Leveling the print bed: Leveling the print bed is crucial for proper first layer adhesion and overall print quality. Use the manufacturer’s recommended method for leveling the bed, which may involve adjusting the bed corners or using built-in leveling features. Regularly check and re-level the bed to maintain consistent printing performance.
2. Nozzle height: Setting the correct nozzle height ensures that the filament is properly extruded onto the print bed. The optimal nozzle height may vary depending on your specific IIIP 3D Printer model and chosen material. Adjust the nozzle height using the recommended method provided by the manufacturer to achieve the desired first layer thickness.
3. Extruder calibration: Accurate extruder calibration is essential for precise filament extrusion. It ensures that the printer accurately measures and controls the amount of filament being fed through the nozzle. Follow the manufacturer’s instructions to calibrate the extruder steps/mm or flow rate to ensure that the printer extrudes the correct amount of filament for accurate 3D prints.
4. Bed temperature: Proper bed temperature is crucial for good adhesion between the first layer and the print bed. Experiment with different bed temperatures, as recommended by filament manufacturers, to find the optimal temperature for your specific materials. Adjust the bed temperature based on factors such as ambient temperature and print speed to achieve successful prints.
5. Nozzle temperature: Different materials require specific nozzle temperatures to ensure proper filament flow and layer adhesion. Refer to the filament manufacturer’s recommendations and adjust the nozzle temperature accordingly. Experiment with different temperature settings to find the ideal temperature for each filament type.
6. Retraction settings: Fine-tuning the retraction settings is crucial for reducing stringing and oozing during the printing process. Retraction refers to the action of pulling the filament back slightly to prevent molten filament from leaking when the nozzle moves between different print locations. Adjust the retraction distance and speed in your slicing software to minimize stringing and achieve cleaner, more precise prints.
7. Print speed and acceleration: Optimizing print speed and acceleration settings can significantly impact print quality and accuracy. Experiment with different speed and acceleration settings, balancing print time and quality, to find the optimal values for your IIIP 3D Printer. Consider adjusting these settings for different sections of a print to optimize for speed and detail as needed.
8. Fine-tuning specific materials: Each material has its own unique characteristics, such as shrinkage, melting point, and cooling requirements. Take the time to understand these properties and adjust the printer settings accordingly. This may involve tweaking temperature settings, retraction distances, and other parameters to achieve the best results with different materials.
Proper calibration is an ongoing process that may require periodic adjustments as you gain more experience and work with different materials. Maintain a calibration log to keep track of the settings you have tested and found to be successful. Regularly check and fine-tune these settings to ensure consistent and accurate prints on your IIIP 3D Printer.
Loading and Changing Filament
One of the essential tasks in operating your IIIP 3D Printer is loading and changing filament. Properly handling filament ensures a smooth printing process and helps maintain the integrity of your prints. Here is a step-by-step guide on how to load and change filament:
1. Heating the extruder: Before loading or changing filament, ensure that the extruder is heated to the appropriate temperature for the type of filament you are using. This allows the filament to melt and flow smoothly through the nozzle. Consult the filament manufacturer’s guidelines for the recommended extrusion temperature.
2. Unloading current filament (if applicable): If you are changing filament, start by unloading the current filament from the printer. This typically involves accessing the filament loading mechanism in the printer software or hardware and following the unloading instructions. The extruder will retract the filament, allowing you to safely remove it from the printer.
3. Preparing the new filament: Cut off the end of the new filament to create a clean, flat edge. This helps ensure a smooth transition and prevents any clogs or jams in the extruder. It’s also a good practice to straighten the filament to eliminate any kinks or twists that may interfere with the feeding process.
4. Loading the filament: With the extruder heated and the new filament prepared, feed the filament into the filament loading mechanism or filament runout sensor of your IIIP 3D Printer. Follow the manufacturer’s instructions to guide the filament through the correct path until it reaches the extruder assembly. Apply gentle pressure to assist the filament’s advance into the extruder while ensuring that it is properly seated and aligned.
5. Priming the extruder: Once the filament is securely in place, initiate the extrusion process to prime the extruder. This helps ensure that there are no air gaps or leftover material from the previous filament. Depending on your printer, you can manually extrude a small amount of filament or use the printer’s software to initiate a priming process. This ensures a clean and consistent flow of filament for printing.
6. Verifying filament flow: After loading the new filament, visually inspect the extrusion to verify a smooth and continuous flow. Ensure that the filament is coming out of the nozzle without any interruptions or irregularities. If you notice any issues, such as inconsistent flow or clogging, check the extrusion temperature and make any necessary adjustments.
7. Changing filament mid-print: If you need to change filament during a print job, pause the print at a convenient point. Follow the unloading process to remove the current filament, cut the new filament, and load it following the previous steps. Resume the print and ensure proper adhesion between the old and new layers by allowing them to fuse together adequately.
By following these steps, you can confidently load and change filament on your IIIP 3D Printer. Proper handling and correct filament feeding play a vital role in achieving consistent, high-quality prints. Take the time to familiarize yourself with the filament loading mechanism and follow the manufacturer’s guidelines for the best results.
Adjusting Print Settings
Adjusting print settings is a crucial part of achieving the desired print quality and accuracy on your IIIP 3D Printer. Fine-tuning these settings allows you to tailor the printing process to your specific requirements and optimize the results. Here are the key print settings to consider:
1. Layer height: Layer height refers to the thickness of each layer in your print. A smaller layer height generally results in smoother surfaces and higher detail but increases print time. Depending on your project’s needs, adjust the layer height in your slicing software to strike a balance between quality and print time.
2. Print speed: Print speed determines how fast the printer moves while extruding filament. Higher speeds shorten the print time but can compromise print quality by causing vibrations or inaccuracies. Experiment with different print speeds to find the optimal balance between speed and quality, considering the complexity of your design.
3. Infill density: Infill density refers to the internal structure of your print. Higher infill percentages result in stronger prints but increase material usage and print time. Lower infill percentages reduce material consumption but may affect the print’s strength. Adjust the infill density based on the object’s purpose and structural requirements.
4. Shell thickness: The shell thickness determines the number of outer walls or perimeters in your print. Increasing the shell thickness enhances print strength but also extends print time. Adjust this setting based on the desired strength and surface finish of the object.
5. Support structures: For designs with overhangs or complex geometries, support structures may be necessary to ensure print stability. Most slicing software offers automatic support generation, but additional adjustments may be required. Modify the support structure settings to optimize support placement and minimize post-processing efforts.
6. Raft or brim: A raft or brim is a base structure that helps with adhesion and prevents warping. Consider using a raft or brim when printing objects with small bases or when experiencing issues with bed adhesion. Adjust the raft or brim settings in your slicing software to ensure proper adhesion without compromising the object’s design.
7. Cooling settings: Cooling settings control the fan speed and duration during printing. Effective cooling minimizes warping and improves the print quality, especially for materials prone to heat-related issues. Adjust the cooling settings in your slicing software to optimize cooling based on the material being used and the intricacy of the design.
8. Retraction settings: Retraction settings control the amount and speed at which the filament is retracted to avoid stringing and oozing between print movements. Adjust the retraction distance, speed, and acceleration in your slicing software to minimize stringing and achieve cleaner prints.
By adjusting these print settings, you can fine-tune the performance of your IIIP 3D Printer and achieve the desired print outcomes. Keep in mind that each setting interacts with others, and finding the perfect balance can take some experimentation. Regularly evaluate and refine your settings based on the specific needs of your projects and the characteristics of the materials you are using.
Printing Your First Object
Printing your first object on your IIIP 3D Printer is an exciting moment that showcases the culmination of your preparation and settings adjustments. Here’s a step-by-step guide to help you successfully print your first object:
1. Select the design: Choose a simple design for your first print. Look for a model that doesn’t have complex geometries or overhangs to make the printing process smoother. Many online platforms offer a wide range of free, pre-designed objects that you can download and print.
2. Import the design into the slicing software: Open your chosen design in the slicing software of your IIIP 3D Printer. Orient the model and adjust the scale if needed. Ensure that all settings, such as layer height, print speed, and infill density, are appropriately configured for the object you’re printing.
3. Generate the G-Code: Once you’ve made all the necessary adjustments, generate the G-Code in the slicing software. The software will convert your design into a series of instructions that the IIIP 3D Printer can understand. Save the G-Code file to your computer or an SD card that can be inserted into the printer.
4. Preparing the printer: Ensure that the printer is clean and free from any dust or debris. Check that the print bed is level and clean, as adhesion is crucial for a successful print. Ensure that the filament spool is properly inserted and that there are no obstructions in the filament path. Some printers may also require heating the bed and nozzle to the appropriate temperatures for the specific filament you’re using.
5. Loading filament: Follow the previous instructions for loading filament into the printer. Carefully feed the filament into the extruder, following the proper path and ensuring it is securely seated. Prime the extruder to ensure smooth filament flow before starting the print.
6. Initiate the print: Transfer the G-Code file to the printer, either by connecting your computer or inserting the SD card. Start the print from the printer’s control panel or software interface. Monitor the initial layers to ensure proper adhesion and filament flow. Make any necessary adjustments to the print settings if you encounter any issues.
7. Observe and troubleshoot: During the print, keep an eye on the progress to ensure everything is going smoothly. Note any unusual sounds, vibrations, or problems that may arise. If you encounter any issues, consult the printer’s manual or online resources for troubleshooting steps.
8. Post-processing: Once the print is complete, let it cool down before attempting to remove it from the print bed. Some objects may require support removal or additional post-processing, such as sanding or painting, to achieve the desired finish. Use appropriate tools and techniques to clean the print, removing any excess support structures or imperfections.
Printing your first object is an exciting milestone in your 3D printing journey. Embrace the learning process and remember that practice and experimentation will improve your skills. With each print, you’ll gain a better understanding of your IIIP 3D Printer’s capabilities, settings, and how to optimize prints for different designs and materials.
Troubleshooting Common Issues
While 3D printing with your IIIP 3D Printer is an exciting and rewarding experience, it’s not uncommon to encounter some issues along the way. Knowing how to troubleshoot common problems can help you resolve issues and achieve better print results. Here are some common issues you may face and troubleshooting steps to consider:
1. Poor adhesion: If your print is not adhering properly to the print bed, ensure that the bed is clean and level. Consider using a layer of adhesive, such as painter’s tape or a specialized bed adhesive, to improve adhesion. Adjusting the bed temperature or using a raft or brim can also help enhance adhesion for certain prints.
2. Warping: Warping occurs when the printed object shrinks or lifts off the print bed during cooling. To mitigate warping, ensure that the print bed is properly heated and that the ambient temperature around the printer is controlled. Consider using an enclosure or draft shield to maintain a stable printing environment. Increasing the bed temperature or using a heated enclosure can also help prevent or reduce warping.
3. Stringing and oozing: Stringing and oozing refer to thin strands or blobs of filament that appear in unintended areas of the print. Adjust the retraction settings in your slicing software to reduce stringing. Increasing travel speed between print movements and adding a slight nozzle lift during travel can also help minimize stringing and oozing.
4. Layer adhesion: If your layers are not properly adhering to each other, check the print temperature and ensure it is within the recommended range for the filament you are using. Adjust the filament flow rate or extrusion multiplier to ensure consistent extrusion. Increasing the number of top and bottom layers can also improve layer adhesion.
5. Inconsistent extrusion: Inconsistent extrusion can result in gaps or under-extrusion in your prints. Check that the filament is properly loaded, and the extruder gears are clean and free from debris. Make sure the extruder’s tension or pressure on the filament is properly set. Adjust the extruder steps/mm or flow rate in your printer’s firmware or slicer software to improve extrusion consistency.
6. Filament jams: Filament jams occur when the filament gets stuck in the extruder, preventing proper flow. Check for any obstructions or partial clogs in the nozzle and clean them if necessary. Ensure that the filament path is clear of any tangles or kinks. Adjust the print temperature, retraction settings, or print speed to prevent filament jams during printing.
7. Layer shifting or misalignment: Layer shifting can occur when the print head moves unexpectedly during printing, resulting in misaligned layers. Check that all belts and pulleys are properly tightened and aligned. Ensure that the stepper motor drivers are correctly calibrated. Also, make sure the print bed and print head are properly secured and not loose.
8. Rough surfaces or artifacts: If your prints have rough or uneven surfaces, consider adjusting the print speed, layer height, or shell thickness settings. Increasing the print resolution or applying post-processing techniques, such as sanding or smoothing, can also help improve the surface finish of your prints.
Remember, troubleshooting is an iterative process, and it may require some trial and error to find the root cause of an issue. Keep track of the changes you make during troubleshooting to help determine the most effective solutions. By understanding and addressing common problems, you’ll be able to overcome challenges and achieve higher-quality prints with your IIIP 3D Printer.
Maintenance and Cleaning Tips
Maintaining and cleaning your IIIP 3D Printer is essential for keeping it in optimal condition and ensuring consistent, high-quality prints. Regular maintenance helps prevent issues and prolongs the lifespan of your printer. Here are some maintenance and cleaning tips to keep in mind:
1. Clean the print bed: The print bed should be kept clean to ensure proper adhesion and minimize print defects. Regularly remove any debris or adhesive residue from the print bed using a soft cloth or scraper. If necessary, use isopropyl alcohol to clean the bed surface effectively.
2. Lubricate moving parts: Lubricating the moving parts of your IIIP 3D Printer can minimize friction and ensure smooth operation. Refer to the manufacturer’s guidelines for the specific parts that require lubrication and use appropriate lubricants, such as lithium grease or silicone oil. Be careful not to over-lubricate to avoid attracting dust or compromising the print quality.
3. Check and tighten hardware: Regularly inspect and tighten any loose screws or bolts on your printer. The vibrations and movements during printing can cause hardware to loosen over time. Taking the time to check and tighten all the hardware keeps your printer stable and reduces the risk of misalignments or print failures.
4. Clean the extruder and nozzle: The extruder and nozzle can accumulate filament residue and debris, affecting extrusion and print quality. Safely heat the extruder to the filament’s melting temperature and carefully clean any excess filament with tweezers or a brush. Use a specialized nozzle cleaning needle to clear any clogs or residue from the nozzle opening.
5. Check and replace worn parts: Regularly inspect critical components, such as belts, pulleys, and bearings, for signs of wear and tear. If any parts are visibly damaged or worn, consider replacing them to maintain the printer’s performance. Follow the manufacturer’s guidelines or consult with a professional if you’re unsure about replacing specific parts.
6. Monitor and clean the cooling system: The cooling system, including the fans and heatsinks, helps regulate the temperature of your printer during operation. Regularly inspect the fans for debris and clean them if necessary. Ensure that the heatsinks are not obstructed by dust or filament residue, as this can negatively impact cooling efficiency.
7. Update firmware and software: Firmware and software updates often include bug fixes, new features, and improved performance. Stay updated with the latest firmware and software releases from the printer manufacturer. Follow the provided instructions to safely update the firmware and keep your printer running smoothly.
8. Store filament properly: Proper storage of filament preserves its quality and prevents moisture absorption. Keep filament in sealed containers or vacuum-sealed bags, away from direct sunlight and humidity. Consider using desiccant packs or filament dryers to maintain optimal filament conditions.
9. Keep a maintenance log: Maintain a log documenting your maintenance activities, including dates of cleaning, lubrication, and part replacements. This log serves as a reference and helps you keep track of the printer’s maintenance history. It can also be useful for troubleshooting and identifying patterns or potential issues over time.
By following these maintenance and cleaning tips, you can ensure the longevity and reliable performance of your IIIP 3D Printer. Regular maintenance reduces the risk of issues, improves print quality, and allows you to enjoy consistent and successful 3D printing experiences.
Conclusion
Congratulations on completing this comprehensive guide on using your IIIP 3D Printer! You’ve learned valuable insights about various aspects, from setting up the printer and understanding the software to troubleshooting common issues and performing routine maintenance. Armed with this knowledge, you’re well-equipped to embark on your 3D printing journey with confidence.
Remember that 3D printing is a continuous learning process. The more you experiment, practice, and explore different materials and designs, the more proficient you’ll become. Don’t be discouraged by initial challenges or setbacks; they are opportunities for growth and improvement.
As you progress, continue to refine your skills by fine-tuning print settings, exploring different materials, and advancing your knowledge of advanced techniques and features. Engage with online communities, forums, and resources to gain even more insights and exchange ideas with fellow 3D printing enthusiasts.
Keep up with regular maintenance and cleaning to ensure the longevity of your IIIP 3D Printer and consistent print quality over time. Regularly revisit the calibration and troubleshooting steps to maintain optimal performance and address any issues that may arise.
The world of 3D printing is vast and ever-evolving, offering endless possibilities for creativity, innovation, and problem-solving. Whether you’re using your IIIP 3D Printer for personal projects, artistic endeavors, or entrepreneurial ventures, embrace the opportunities it presents and unleash your imagination.
Remember, Rome wasn’t built in a day, and becoming proficient in 3D printing takes time and practice. Embrace the learning process, enjoy the journey, and let your IIIP 3D Printer unlock a world of endless possibilities.