Introduction
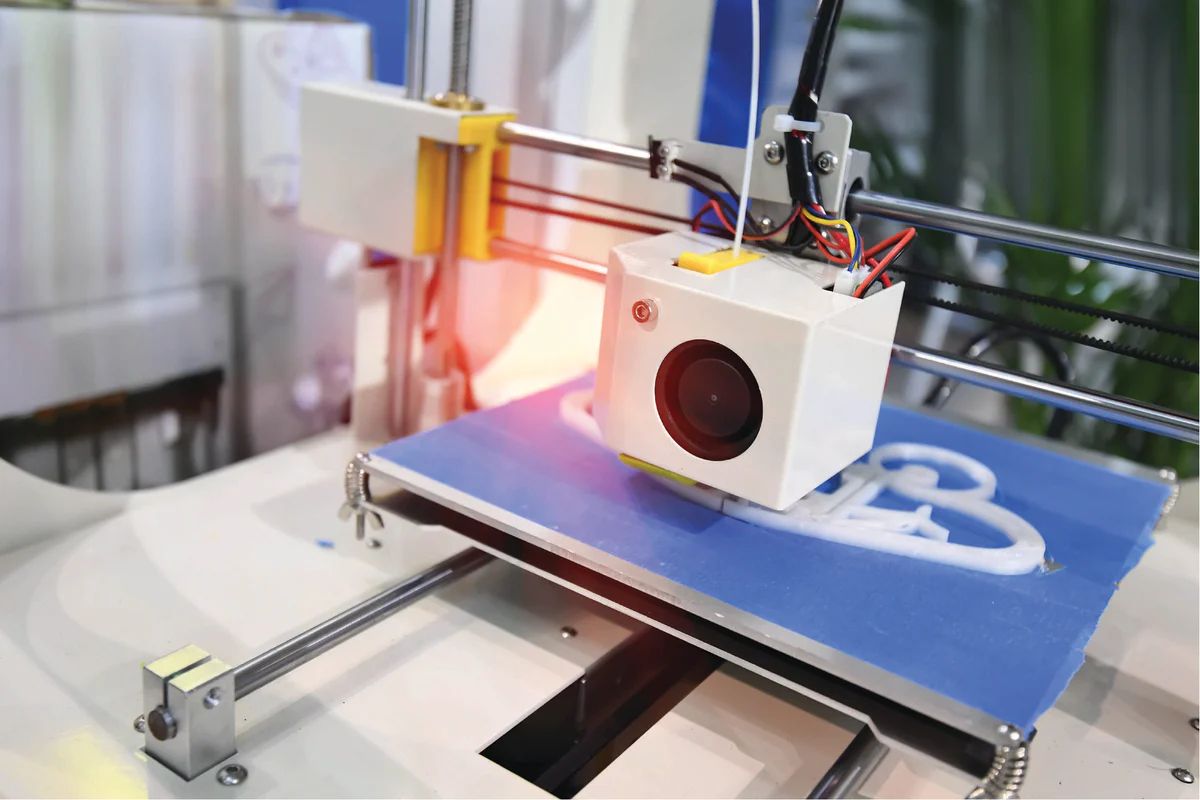
When it comes to 3D printing, achieving a successful print starts with a clean and properly prepared printer bed. One popular method of bed adhesion is using blue tape. Blue tape, also known as painter’s tape, is a versatile and affordable option for creating a suitable printing surface.
In this article, we will explore the benefits of using blue tape on a 3D printer bed, discuss the different types of blue tape available, provide step-by-step instructions on preparing and applying blue tape, and offer some helpful tips for effective use. Additionally, we will address common issues and troubleshooting techniques, as well as provide alternative options for bed adhesion.
Using blue tape can greatly improve the success rate of your 3D prints. It helps to create a level surface while providing adhesion for the filament to stick to during the printing process. By using blue tape, you can minimize warping, maintain print accuracy, and easily remove the printed object without damaging the bed surface.
Whether you are new to 3D printing or looking to improve your printing experience, using blue tape can be a game-changer. So let’s dive in and explore the world of blue tape for 3D printer beds!
Benefits of Using Blue Tape on a 3D Printer Bed
There are several advantages to using blue tape on a 3D printer bed. Let’s take a closer look at some of the key benefits:
- Improved Adhesion: One of the primary benefits of using blue tape is its ability to provide excellent adhesion for 3D prints. The rough surface texture of the tape allows the filament to adhere well, preventing warping and ensuring the print stays securely on the bed throughout the printing process.
- Easy Removal: Blue tape makes it easy to remove your prints once they are finished. Unlike some other bed adhesion methods that may require scraping or using solvents, you can simply peel off the blue tape, leaving a clean surface for your next print. This saves you time and effort in post-printing cleanup.
- Protection for the Printer Bed: Blue tape acts as a protective layer for the printer bed. It helps prevent scratches, residue buildup, and damage to the bed surface caused by heated filament during the printing process. This can extend the lifespan of your printer bed and reduce the need for frequent replacements or repairs.
- Versatile Compatibility: Blue tape is compatible with a wide range of filament materials such as PLA, ABS, PETG, and more. This versatility makes it a popular choice among 3D printing enthusiasts since it can be used for various projects without the need for specific adhesion products tailored to different filament types.
- Cost-Effective: Blue tape is an affordable option compared to some other bed adhesion methods. Since it is widely available at hardware stores and online retailers, you can easily purchase a roll at a reasonable price. This makes it a cost-effective solution, especially for those on a budget.
Overall, using blue tape on a 3D printer bed offers numerous benefits that can enhance your printing experience. It provides reliable adhesion, easy removal, protection for the bed surface, compatibility with different filaments, and affordability – all factors that contribute to successful and hassle-free 3D printing.
Types of Blue Tape
When it comes to using blue tape on a 3D printer bed, there are a few different types to choose from. Let’s explore the most common types of blue tape and their characteristics:
- Standard Blue Tape: Standard blue tape, often referred to as painter’s tape, is the most widely used type for 3D printing. It is readily available, affordable, and offers sufficient adhesive properties to hold prints securely to the bed. Standard blue tape typically has a moderate adhesion level, making it suitable for a variety of filament materials.
- High-Adhesion Blue Tape: High-adhesion blue tape is designed to provide a stronger hold on 3D prints compared to standard blue tape. It has a more aggressive adhesive backing that ensures better adhesion for challenging filaments, such as ABS or nylon, which tend to warp or detach easily. This type of blue tape is particularly useful for larger prints or prints with complex geometries where strong adhesion is crucial.
- Wide Blue Tape: Wide blue tape is a variation of standard blue tape that comes in wider widths, typically ranging from 2 to 3 inches. This wider size is beneficial when working on larger 3D prints, as it allows for better coverage and adherence to the printer bed. Wide blue tape is particularly useful for preventing edge lifting and maintaining full print adhesion.
- Heat-Resistant Blue Tape: Heat-resistant blue tape is specifically designed to withstand high temperatures. It is suitable for printers that operate at elevated temperatures, such as those using high-temperature filaments like ABS or PC (polycarbonate). Heat-resistant blue tape maintains its adhesion and integrity even under the heat generated during the printing process, preventing the tape from peeling or curling.
When selecting a type of blue tape for your 3D printer bed, consider the filament material you will be using, the size and complexity of your prints, and the operating temperature of your printer. Each type of blue tape has its own unique properties, so choose the one that best suits your specific printing needs. Experimentation and finding the right balance of adhesion and ease of removal may require some trial and error.
Remember, regardless of the type of blue tape you choose, ensure that the tape is aligned correctly on the printer bed, with no overlapping or gaps, for optimal adhesion and print quality.
Preparing the 3D Printer Bed for Blue Tape
Before applying blue tape to your 3D printer bed, it’s important to properly prepare the surface to ensure optimal adhesion and print quality. Follow these steps to prepare your printer bed for blue tape:
- Clean the Bed: Start by cleaning the bed surface thoroughly. Remove any dust, debris, or leftover adhesive residue from previous prints. Use isopropyl alcohol or a mild detergent to clean the bed. Be sure to dry the bed completely before proceeding to the next step.
- Level the Bed: It’s crucial to have a leveled printer bed to ensure even adhesion. Use the appropriate leveling procedure for your 3D printer model to make sure the bed is perfectly flat. This will help prevent issues like uneven prints or adhesion problems.
- Disable the Heatbed: If your printer has a heated bed, disable the heat during the preparation process. Blue tape adhesive may not stick as well to a warm surface, and excessive heat can cause the tape to lift or warp.
- Apply Surface Primer (Optional): Some users prefer to apply a thin layer of surface primer before applying blue tape. Surface primer, like a light coat of hairspray or a specialized bed adhesive, can further enhance the adhesion of the blue tape and improve print adhesion. This step is optional but can be beneficial for certain difficult-to-adhere materials.
By following these preparation steps, you will create an optimal surface for the blue tape to adhere to, resulting in better print adhesion and a higher success rate for your 3D prints.
Applying and Securing Blue Tape on the Bed
Once you have prepared the 3D printer bed, it’s time to apply and secure the blue tape. Follow these steps to properly apply blue tape on your printer bed:
- Measure and Cut: Measure the size of your printer bed and cut a piece of blue tape that is slightly larger than the bed dimensions. Make sure you have enough tape to cover the entire bed surface without any gaps.
- Peel and Align: Peel one edge of the blue tape backing and carefully align it with one edge of the printer bed. Ensure that the tape is straight and parallel to the bed edges.
- Smooth and Press: Slowly press down the blue tape, starting from the aligned edge and moving towards the opposite side. Use your fingers or a soft cloth to smooth out any air bubbles or wrinkles as you go. Apply even pressure to ensure the tape sticks securely to the bed.
- Trim Excess Tape: Once the blue tape is fully adhered to the bed, use a sharp knife or scissors to trim any excess tape that extends beyond the bed surface. This will create clean edges and prevent any interference with the print nozzle during the printing process.
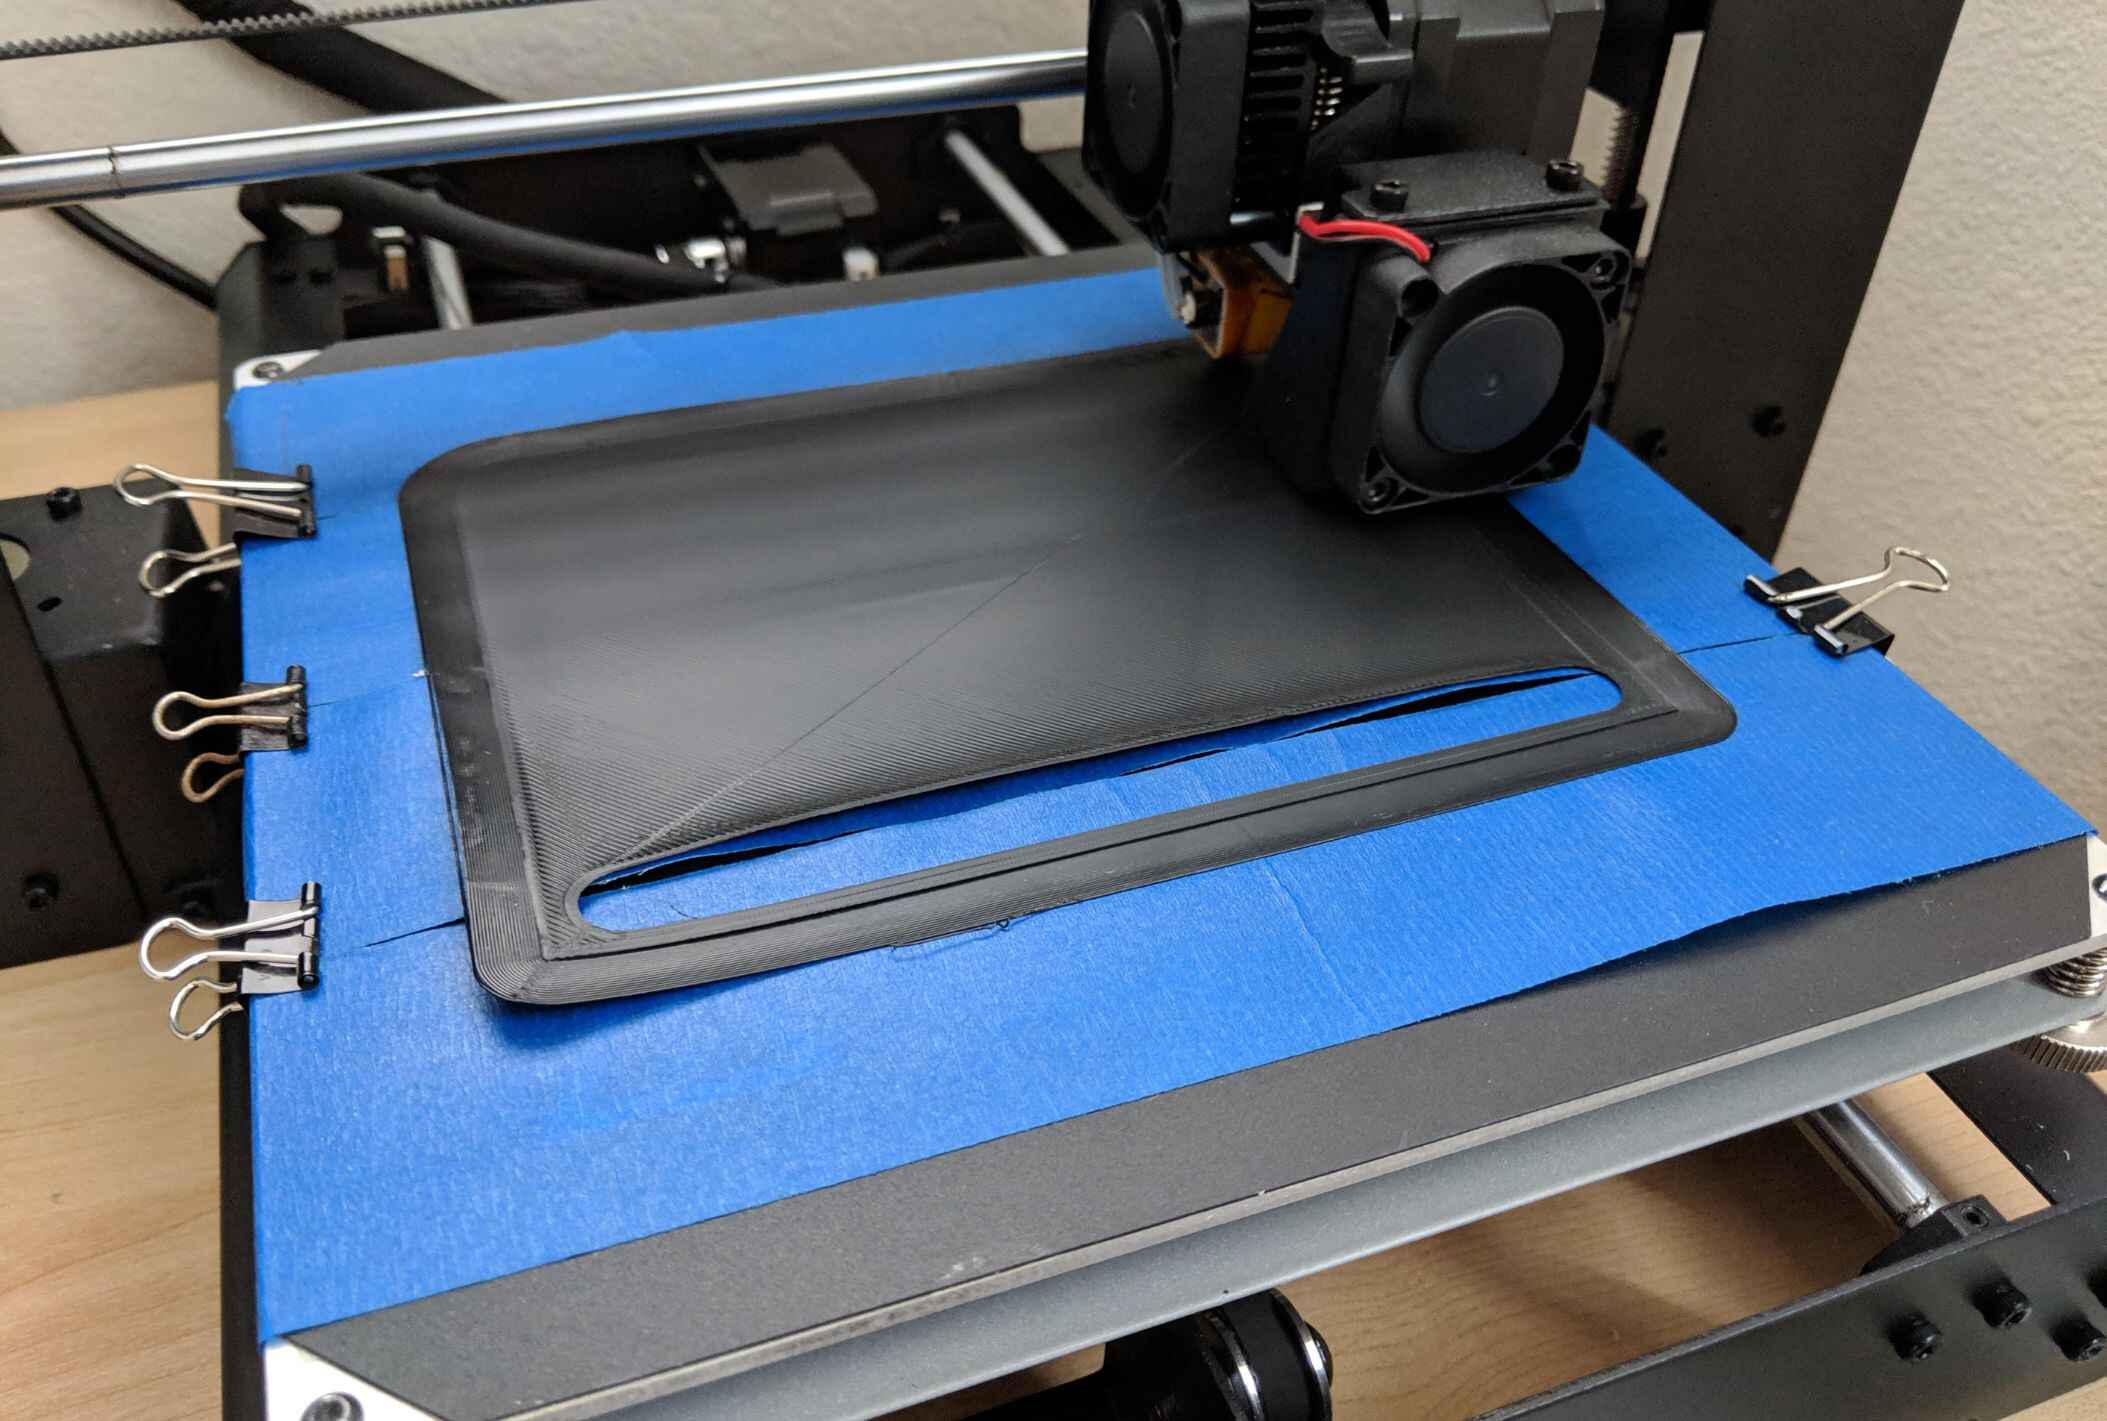
- Secure Edges: To prevent the blue tape from lifting or peeling during printing, it’s essential to secure the edges. Use binder clips or painter’s tape along the edges of the blue tape to keep it in place. Ensure that the clips or tape do not interfere with the movement of the print head.
By following these steps, you will secure the blue tape firmly onto the printer bed, ensuring proper adhesion and minimizing the chances of the tape coming loose during the printing process. Remember to reapply blue tape when necessary, especially if it starts to show signs of wear or loses its adhesive properties.
Tips for Effective Use of Blue Tape
To ensure the best results when using blue tape on your 3D printer bed, consider the following tips:
- Clean and Replace Regularly: Clean your blue tape surface after each print to remove any residual filament or debris. This will prevent contamination and ensure better adhesion for subsequent prints. If the blue tape becomes worn or loses its adhesive properties, replace it with a fresh piece.
- Optimal Bed Temperature: Adjust the bed temperature according to the filament manufacturer’s recommendations. Different filaments require different bed temperatures for optimal adhesion. Experiment with different temperatures to find the sweet spot for your specific filament.
- Bed Leveling: Properly level your printer bed before applying blue tape. A level bed ensures consistent adhesion across the entire print surface, reducing the chances of adhesion issues and print defects.
- Print Bed Adhesion Aids: For better adhesion, consider using additional adhesion aids in conjunction with blue tape. Hairspray, glue sticks, or specialized adhesion sprays can provide extra grip for challenging filaments or complex prints.
- Experiment with Print Speed and Extrusion: Adjusting print speed and extrusion settings can impact how well the filament adheres to the blue tape. Slower print speeds and accurate extrusion can improve adhesion and reduce the chances of print detachment during the printing process.
- Print with Rafts or Brims: In some cases, printing with rafts or brims can enhance bed adhesion. Rafts and brims create a wider surface area for the first layer of the print, increasing the contact between the print and the blue tape.
- Monitor and Address Lifting: During the print, keep an eye on the corners or edges of the print. If you notice any lifting or warping, you can mitigate it by using a craft knife to gently lift the edge of the affected area and applying a small amount of adhesive, such as glue or double-sided tape, to secure it back down.
Remember, each printer and filament combination may require some experimentation to achieve the perfect balance of settings and techniques. Don’t be afraid to try different methods and iterate on your process to optimize bed adhesion and print quality.
Common Issues and Troubleshooting with Blue Tape
While using blue tape on a 3D printer bed can provide excellent bed adhesion, there are some common issues that may arise. Here are a few common issues and troubleshooting tips:
- Lifting or Warping: If you experience lifting or warping of the printed object during the printing process, ensure that your bed is properly leveled. Additionally, double-check that the blue tape is securely adhered to the bed and that there are no air bubbles or wrinkles. You may also consider adjusting the bed temperature, slowing down the print speed, or using an adhesion aid to improve adhesion.
- Poor Adhesion: In some cases, the filament may not adhere well to the blue tape, resulting in poor adhesion. Make sure the blue tape surface is clean and free of debris. Double-check the bed temperature to ensure it is appropriate for the filament being used. You may also try applying an adhesive, such as hairspray or glue stick, for better adhesion.
- Tears or Damage to Blue Tape: If the blue tape tears or gets damaged during the print process, it may affect the print’s adhesion. Check that the blue tape is securely applied to the bed. If damage occurs, you can try patching the affected area with additional layers of blue tape. Alternatively, you can remove the damaged portion and replace it with fresh blue tape.
- Difficult Tape Removal: Removing the print from the blue tape without damaging the tape itself can sometimes be a challenge. To make removal easier, you can try heating the bed slightly to loosen the adhesion or apply a small amount of isopropyl alcohol to the tape to help release the print. Take care not to use excessive force, as this could cause the tape to tear or leave residue on the print.
- Uneven Bed Surface: If your printer bed has an uneven surface, it can cause issues with blue tape adhesion. Consider using a glass or aluminum build plate to provide a more level surface for the blue tape. However, be cautious when removing prints from these surfaces, as they may require additional adhesion aids.
Remember, troubleshooting requires patience and iterative adjustments. By systematically addressing the issues and experimenting with different techniques, you’ll be able to troubleshoot and resolve most bed adhesion problems associated with using blue tape on your 3D printer.
Alternatives to Blue Tape for 3D Printer Bed
Although blue tape is a popular and effective choice for bed adhesion in 3D printing, there are several alternatives that you can consider. Here are a few alternatives to blue tape for your 3D printer bed:
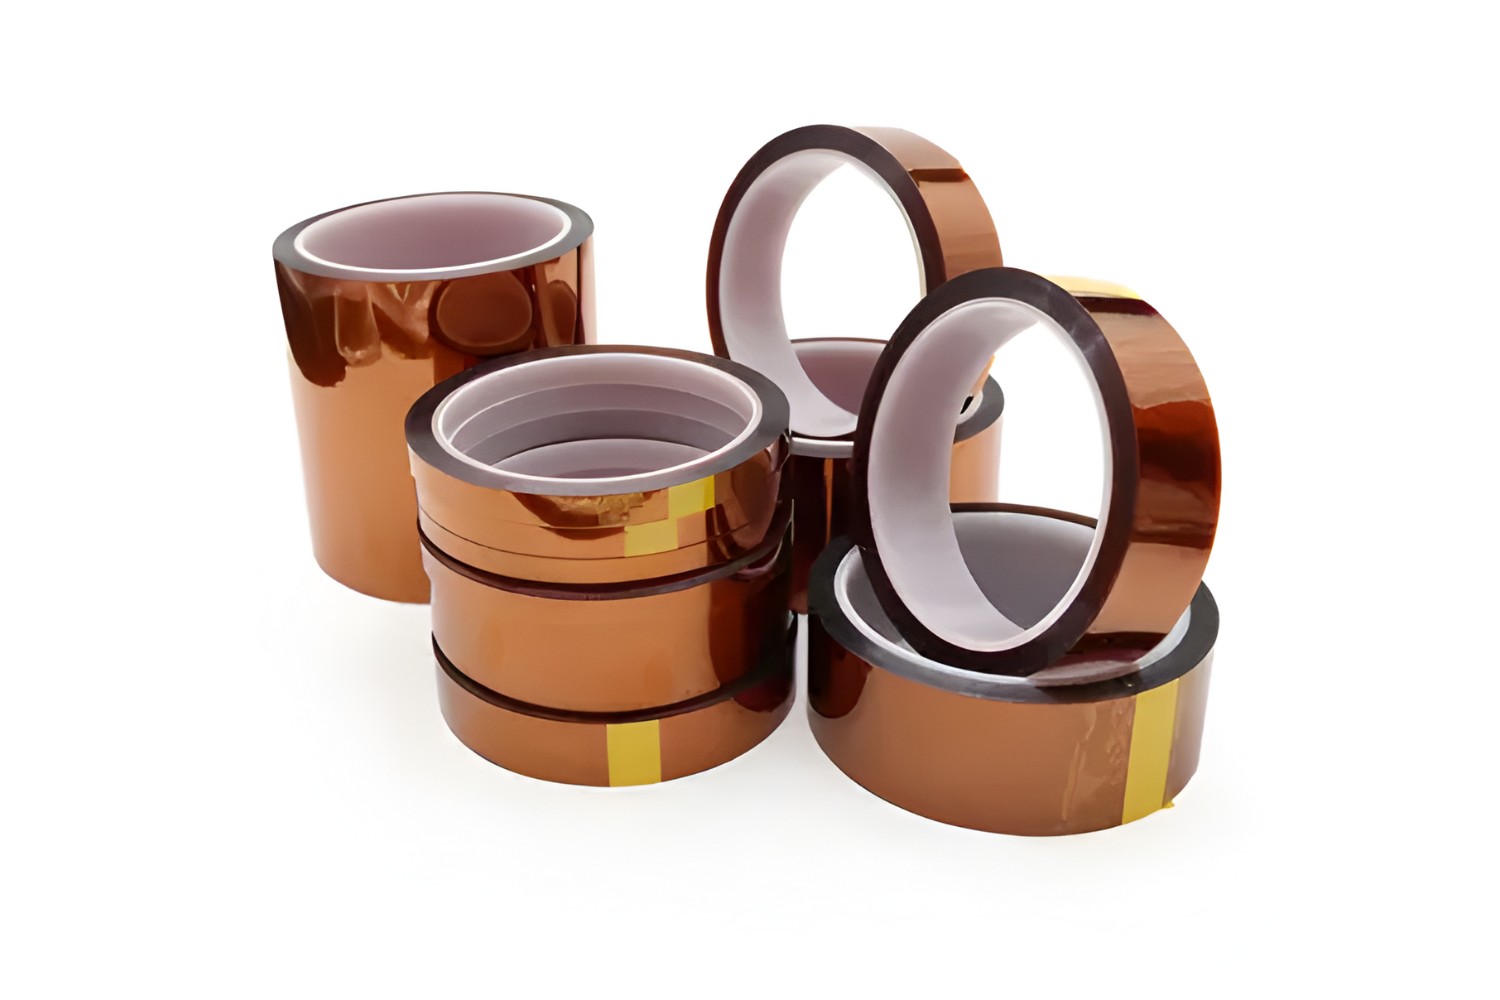
- Kapton Tape: Kapton tape, also known as polyimide tape, is a heat-resistant adhesive tape. It has excellent temperature resistance, making it suitable for high-temperature filaments. Kapton tape provides good adhesion and is known for its smooth surface, which can result in a smooth bottom layer on prints.
- PEI Sheets: PEI (Polyetherimide) sheets are a durable and heat-resistant option for bed adhesion. They provide excellent adhesion for a wide range of filaments and can withstand high temperatures without warping. PEI sheets offer a semi-permanent surface, allowing for easy print removal once cooled.
- Glass Beds: Glass beds provide a smooth and flat printing surface. They offer good adhesion for many filaments, especially when combined with adhesion aids like hairspray or glue stick. Prints often have a glossy finish when printed on glass beds, and the finished objects can be easily removed once the bed has cooled down.
- Magnetic Build Plates: Magnetic build plates consist of a flexible magnetic sheet and a removable build surface. They provide convenience when removing prints by allowing you to detach the build surface from the magnetic base. These plates often come with specialized textured surfaces that promote better adhesion.
- BuildTak Sheets: BuildTak is a durable and adhesive-backed printing surface designed for 3D printing. It offers great adhesion for a variety of filaments and is resistant to wear and tear. BuildTak sheets have a textured surface that helps to anchor the filament during the printing process.
Each alternative has its own advantages and considerations. When choosing an alternative to blue tape for your 3D printer bed, take into account factors such as the filament types you will be using, the desired print finish, and the level of convenience and ease of use. Experimenting with different options may be necessary to find the best alternative that suits your specific needs.
Conclusion
Using blue tape on a 3D printer bed can significantly improve the success rate of your prints by providing excellent adhesion, easy removal, and protection for the printer bed surface. Its versatility and cost-effectiveness make it a popular choice among 3D printing enthusiasts.
We explored the benefits of using blue tape, including improved adhesion, easy removal, protection for the printer bed, versatile compatibility with different filaments, and cost-effectiveness. We also discussed the different types of blue tape available, such as standard blue tape, high-adhesion blue tape, wide blue tape, and heat-resistant blue tape.
To effectively use blue tape, it’s important to properly prepare the 3D printer bed by cleaning it, leveling it, and disabling the heatbed if necessary. We also provided step-by-step instructions on how to apply and secure the blue tape on the bed, as well as shared tips for effective use, including maintaining a clean surface, optimizing bed temperature, and experimenting with print settings.
In addition to blue tape, we discussed alternatives for 3D printer bed adhesion, such as Kapton tape, PEI sheets, glass beds, magnetic build plates, and BuildTak sheets. Each alternative offers its own unique characteristics and may be suitable for different filament types and printing requirements.
By considering these tips and recommendations, you can enhance your bed adhesion techniques and achieve better results in your 3D printing projects. Remember, bed adhesion is a critical aspect of the printing process, and finding the right method for your specific needs may require some experimentation and adjustment.
So, whether you choose to stick with the tried-and-true blue tape or explore alternative options, the key is to find a bed adhesion solution that works best for you. Happy printing!