Introduction
3D printing technology has revolutionized the way we create prototypes, products, and even everyday objects. However, like any other technological process, it is not without its challenges. One of the common issues that 3D printer users encounter is a clogged nozzle.
A clogged nozzle can severely hinder the printing process, leading to poor print quality or even rendering the printer unusable. Therefore, it is crucial for 3D printer enthusiasts and professionals to understand how to effectively unclog a nozzle and get back to printing with precision and efficiency.
In this article, we will guide you through the steps to unclog a 3D printer nozzle. Whether you are a beginner or have experience with 3D printers, this comprehensive guide will help you tackle nozzle clogs and prevent them from occurring in the future.
Before we dive into the step-by-step process, let’s understand why a clogged nozzle is a prevalent issue in 3D printers.
Why is a clogged nozzle a common issue in 3D printers?
Clogged nozzles are a common problem faced by 3D printer users due to various factors. Understanding why clogs occur can help in preventing them and maintaining the smooth operation of your 3D printer. Here are a few reasons why nozzle clogs are prevalent:
- Residue and build-up: During the printing process, filament materials such as ABS or PLA pass through the nozzle and are heated to melting point. Over time, small bits of filament can accumulate, harden, or leave residue, blocking the nozzle’s opening. Additionally, dust particles or contaminants in the filament can contribute to clogs.
- Low-quality or impure filament: Using poor-quality or impure filament can significantly increase the chances of nozzle clogs. Inexpensive or substandard filament materials may contain impurities or inconsistent melting properties, causing them to stick or solidify in the nozzle.
- Incorrect temperature settings: Choosing the wrong temperature for the filament can lead to nozzle clogs. If the temperature is too low, the filament may not melt properly, resulting in blockages. Conversely, if the temperature is too high, the filament can become overly fluid, causing drips or leaks that can accumulate and cause clogs.
- Excessive retraction or filament retraction speed: Retraction is the process of pulling the filament back into the nozzle during non-printing movements. High retraction settings or fast retraction speed can create a vacuum effect and pull molten plastic into the cooler areas of the nozzle, leading to clogs.
- Irregular usage or long idle periods: Infrequent use or extended idle periods can contribute to nozzle clogs. When a 3D printer is left idle for extended periods, the filament inside the nozzle can cool and solidify, obstructing the nozzle’s opening when printing resumes.
Now that we have identified the common causes of nozzle clogs, it’s time to explore the signs that indicate your 3D printer nozzle is clogged.
Signs of a clogged 3D printer nozzle
Identifying the signs of a clogged 3D printer nozzle is crucial for prompt maintenance. By recognizing these indicators early on, you can prevent further damage to your printer and ensure high-quality prints. Here are some common signs of a clogged 3D printer nozzle:
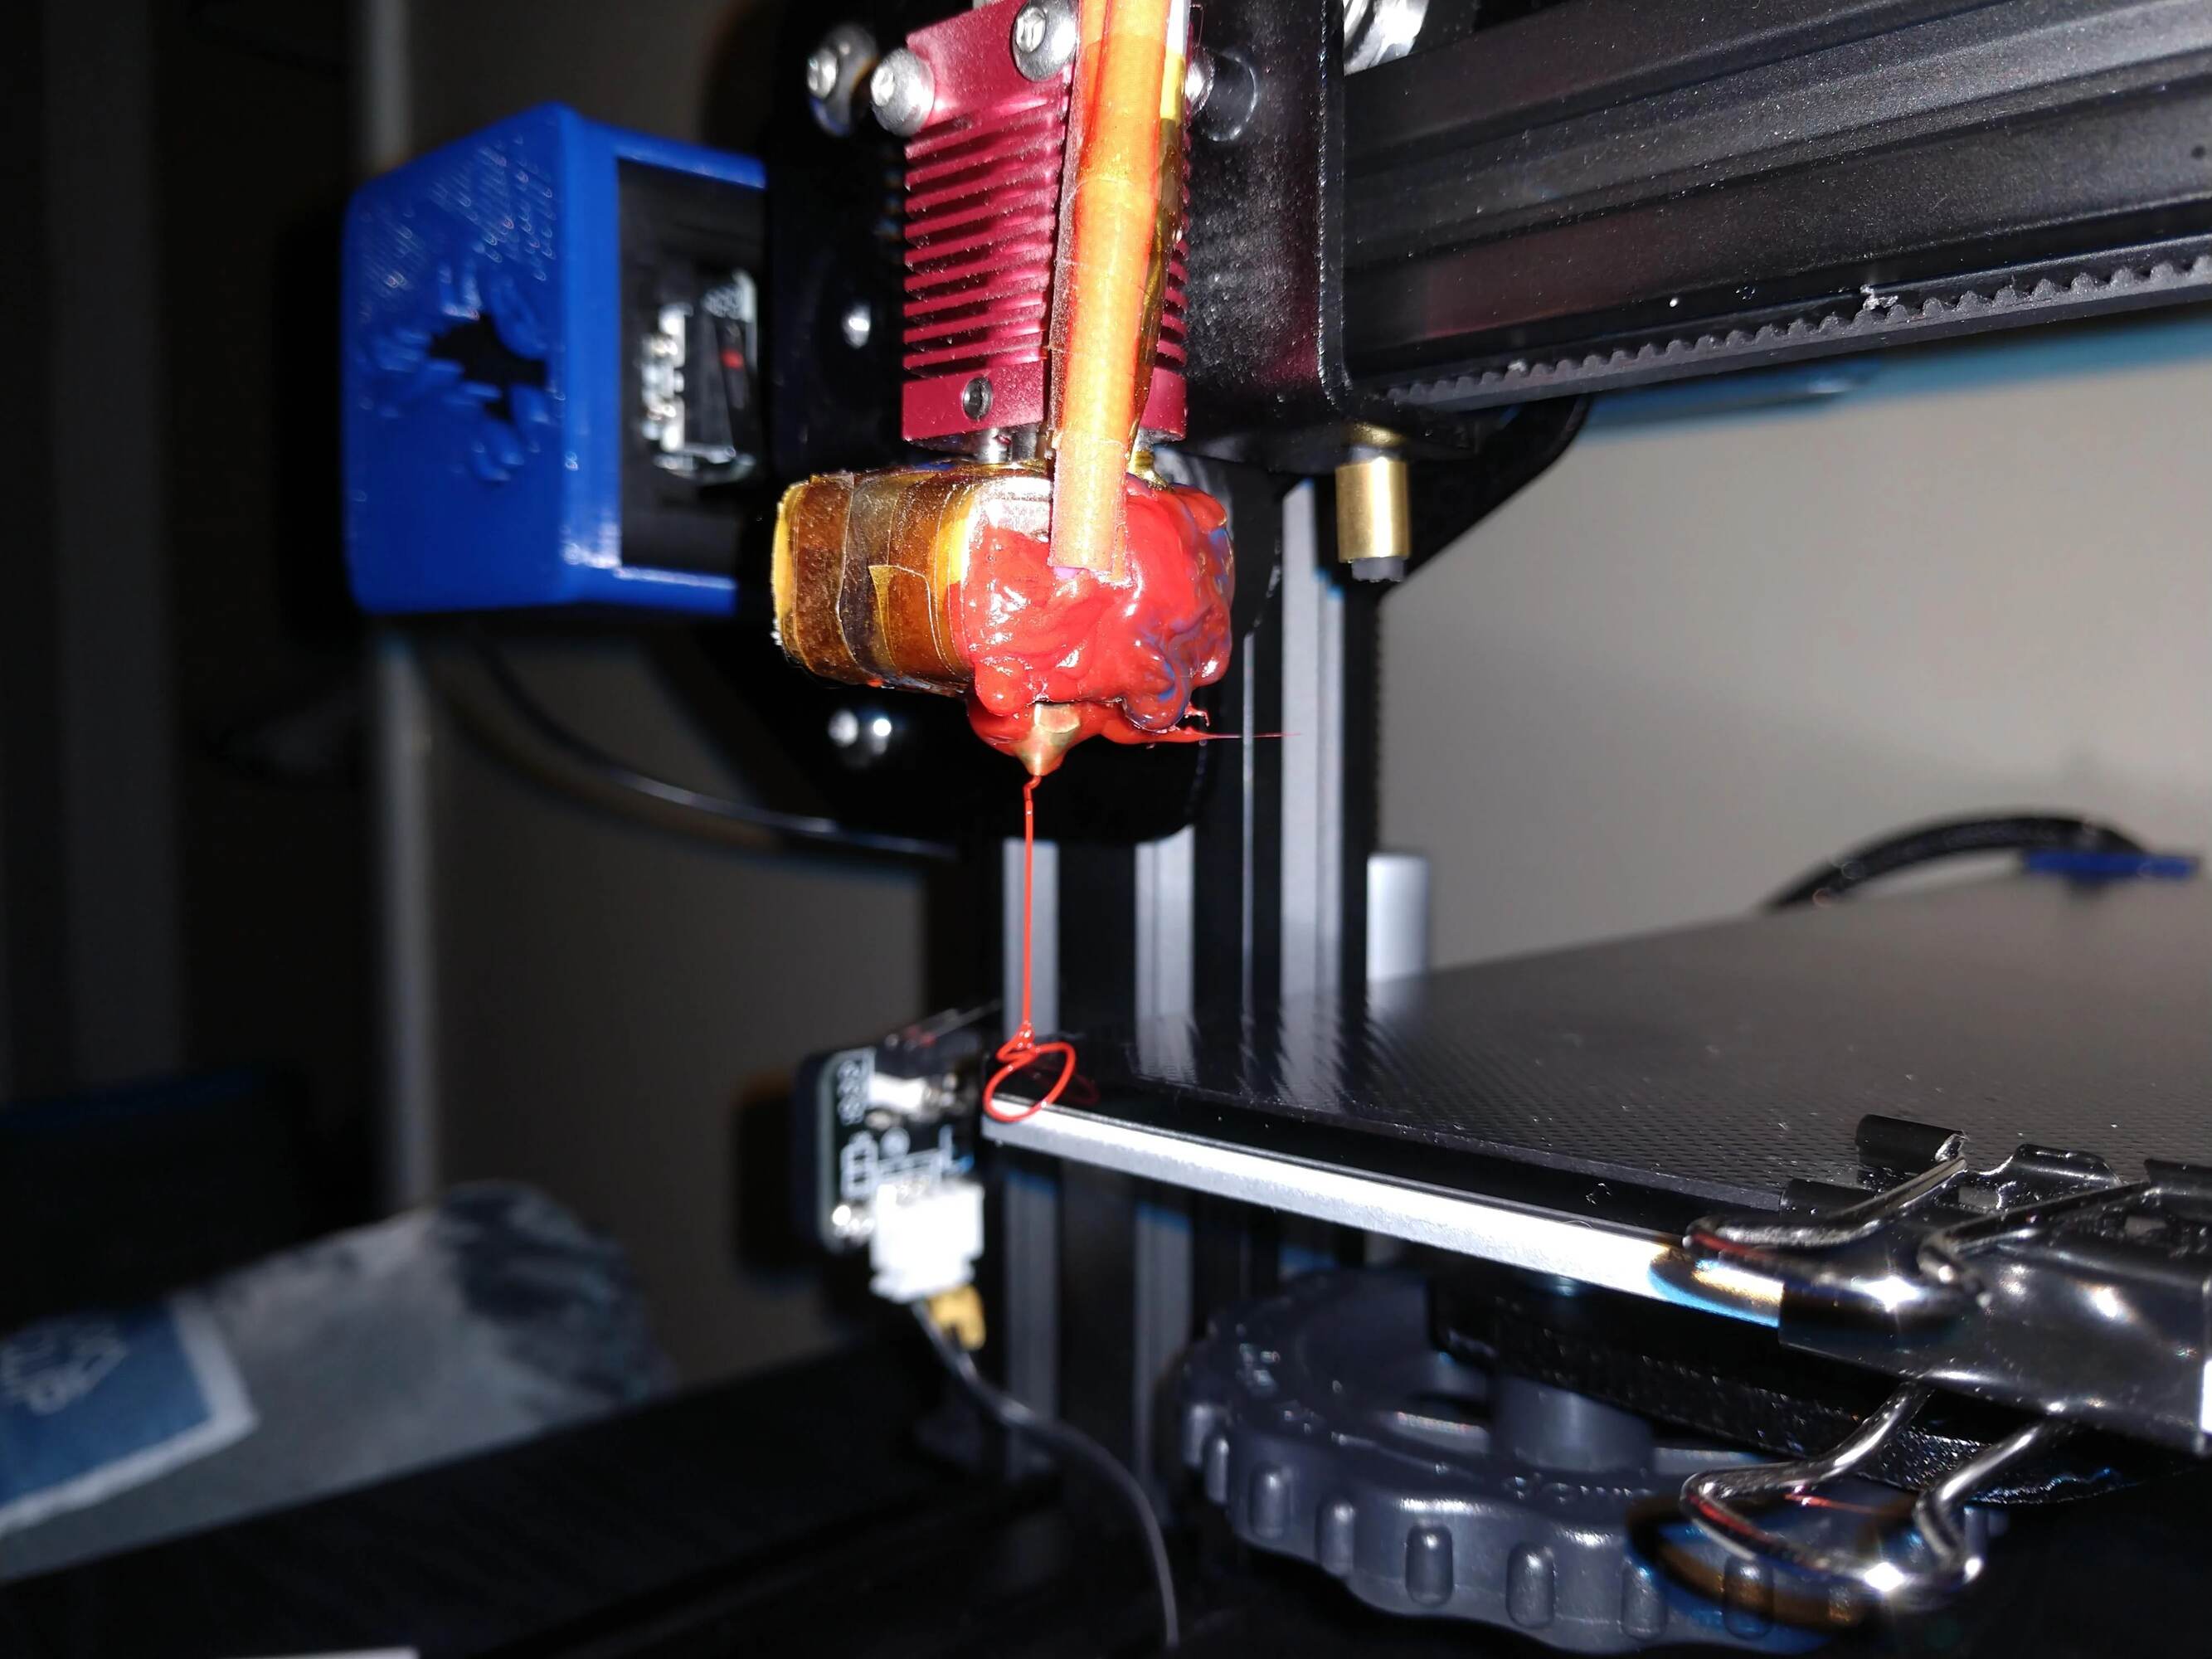
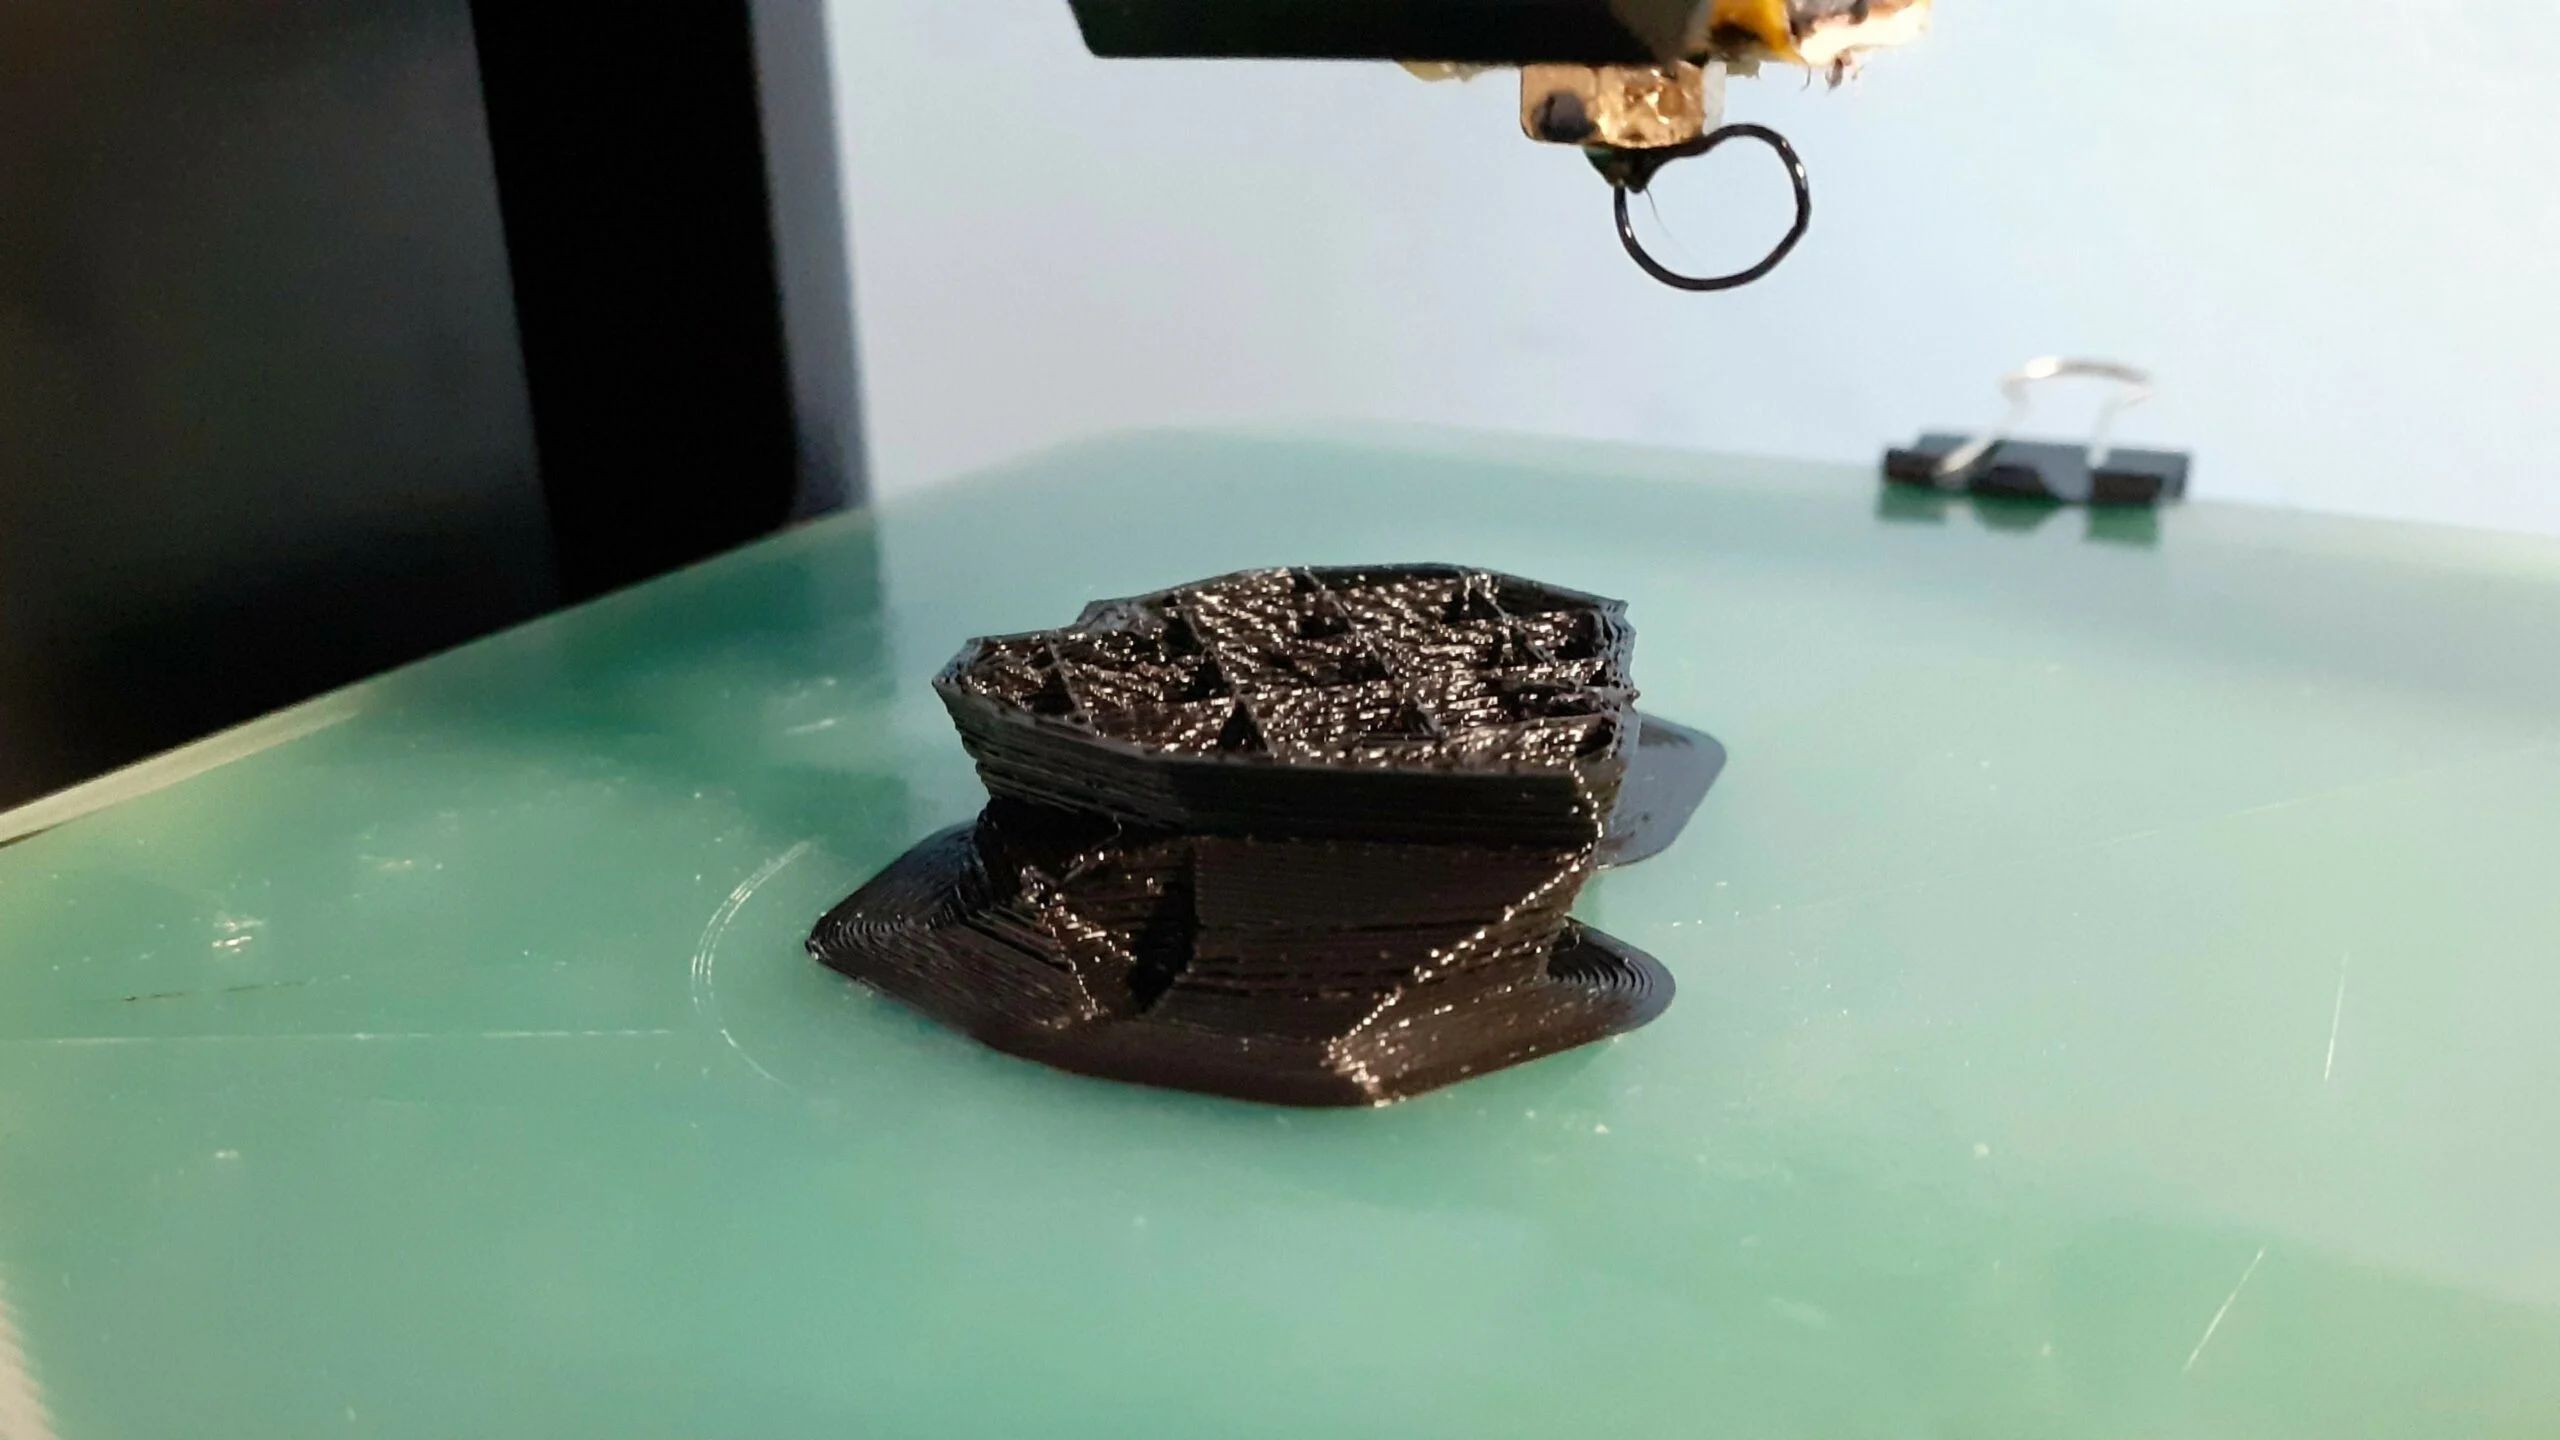
- Poor print quality: If you notice that your prints have gaps, inconsistent layers, or rough surfaces, it could be an indication of a clogged nozzle. Clogs disrupt the smooth flow of filament, leading to flawed print results.
- Extrusion problems: A clogged nozzle can affect the extrusion process. You may observe uneven or inconsistent extrusion, where the filament does not flow smoothly or extrudes in spurts rather than a continuous stream.
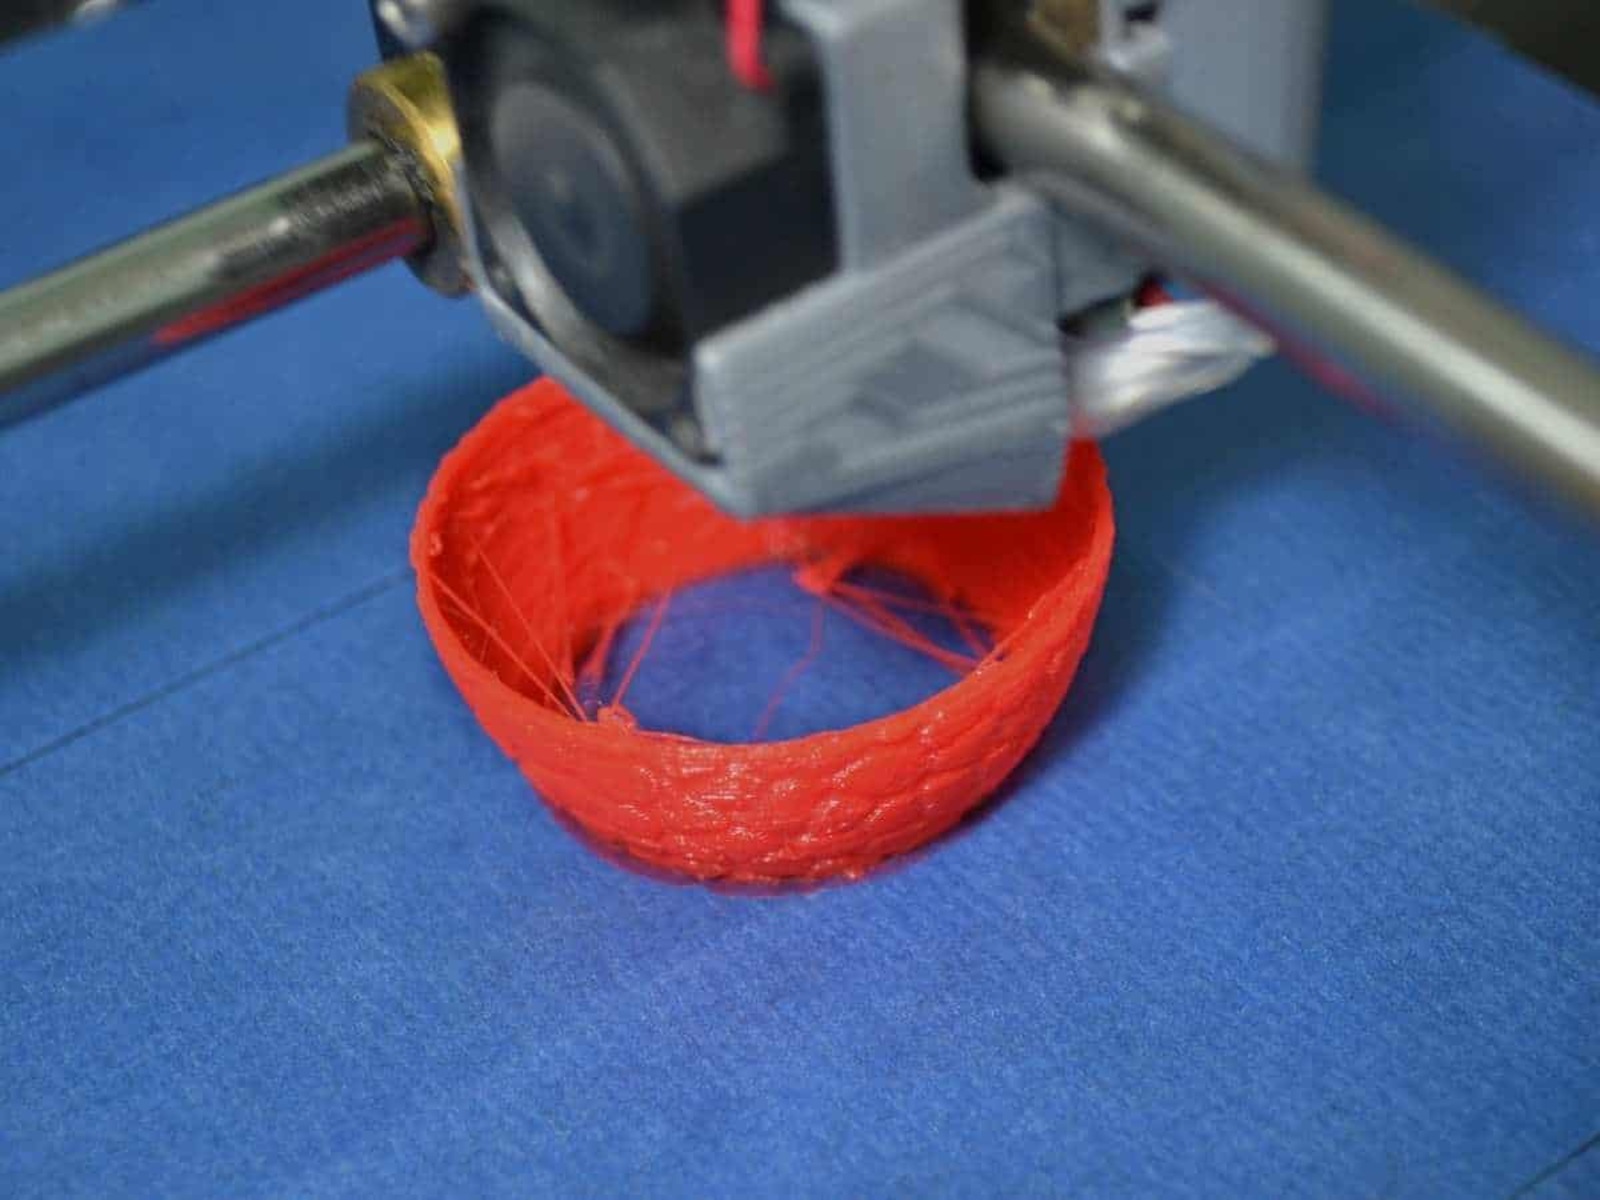
- Stringing or oozing: Clogs can cause filament to ooze or produce strings between printed parts. These strings are thin strands of molten plastic that result from an inconsistent flow of filament.
- Nozzle clicking or grinding sounds: If you hear clicking or grinding noises coming from the printer’s nozzle, it could be a sign of a clog. The extruder stepper motor struggles to push filament through the blocked nozzle, resulting in these distinct sounds.
- Failed or incomplete prints: A clogged nozzle can cause prints to fail or remain unfinished. The extruder may struggle to push the filament through the blockage, leading to incomplete layers or aborted print jobs.
It’s important to note that these signs can also be indicative of other printer issues, such as improper calibration or filament inconsistencies. However, if you encounter these problems repeatedly, it’s likely that a clogged nozzle is the culprit.
Now that we have identified the signs of a clogged 3D printer nozzle, let’s move on to the materials you will need to unclog it.
Materials needed for unclogging a 3D printer nozzle
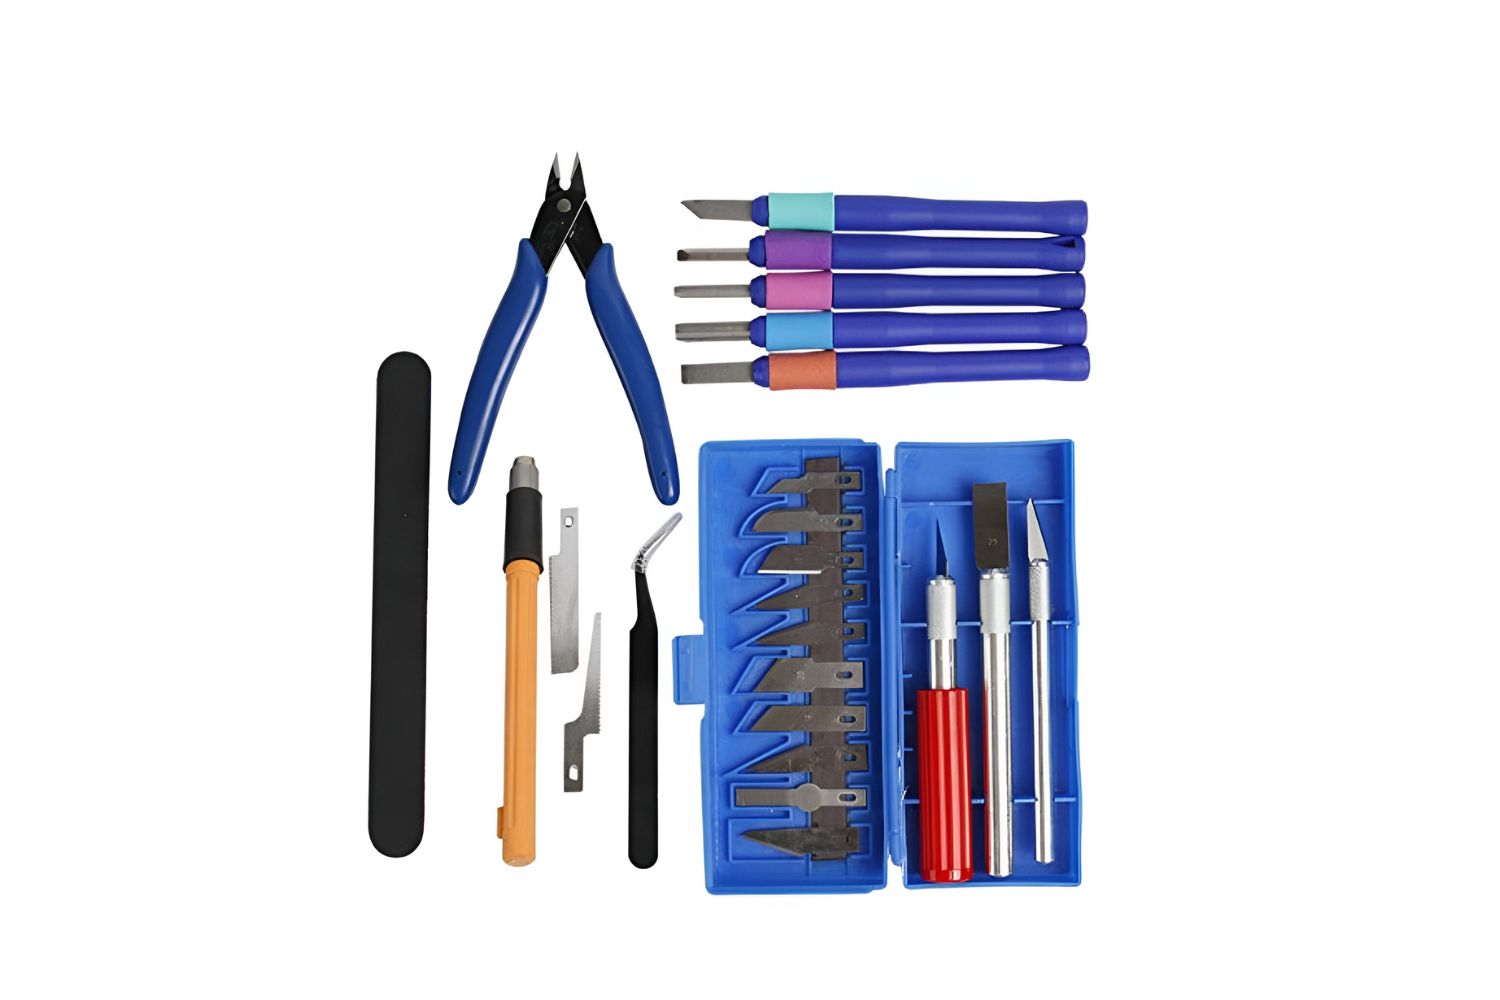
To effectively unclog a 3D printer nozzle, you will need a few essential materials. Gathering these items beforehand will ensure a smooth and efficient unclogging process. Here are the materials you will need:
- Cleaning filament: Cleaning filament is a specialized filament designed to remove debris and unclog nozzles. It has a higher melt temperature and is more effective at cleaning than regular filaments. Make sure to use the cleaning filament appropriate for your 3D printer’s nozzle size and filament type.
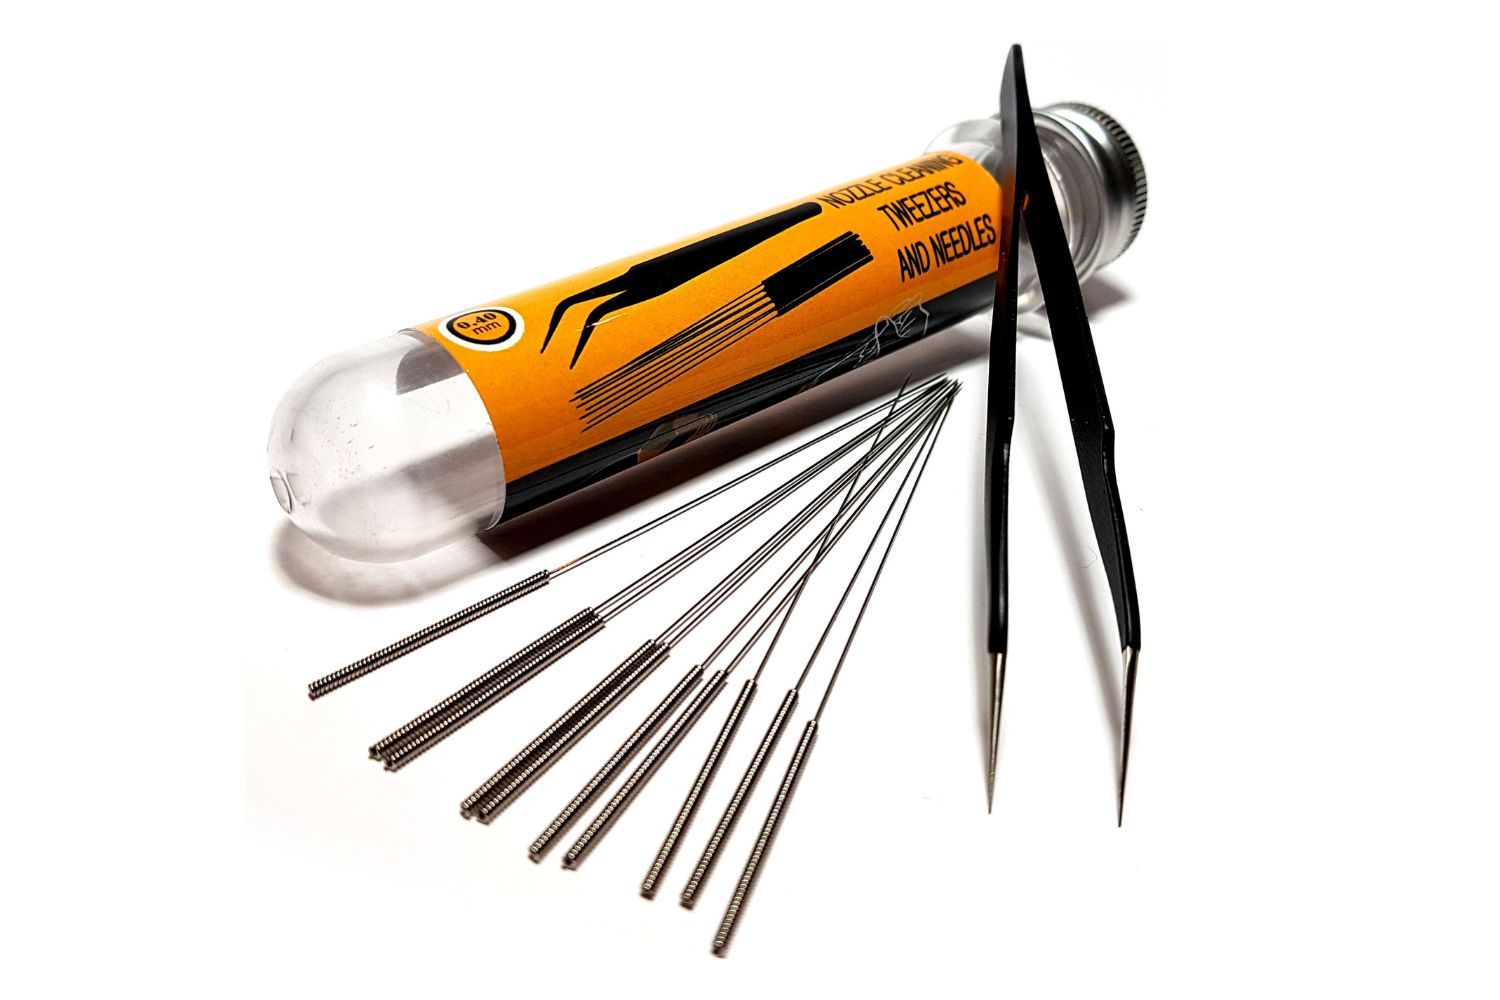
- Needle or wire: A thin needle or wire is useful for manually clearing the nozzle blockages. Choose a needle or wire with a diameter smaller than your nozzle opening. This will allow you to gently dislodge any hardened material or debris causing the clog.
- Tweezers or pliers: Tweezers or pliers will come in handy for safely removing chunks of filament or debris from the nozzle. Opt for heat-resistant and non-magnetic tools to avoid any damage to the printer’s components.
- Heat-resistant gloves: When working with a hot nozzle, it’s essential to protect your hands. Heat-resistant gloves will shield your skin from accidental burns and ensure your safety while handling the printer.
- Isopropyl alcohol or cleaning solution: Isopropyl alcohol or a suitable cleaning solution can help remove stubborn residue or filament buildup. It is particularly effective for cleaning the nozzle after manual unclogging to ensure optimal performance.
- Clean cloth or paper towels: Keep a clean cloth or paper towels nearby to wipe any excess filament or cleaning solution from the nozzle or printer components. This will help maintain cleanliness during and after the unclogging process.
By having these materials readily available, you will be well-prepared to unclog your 3D printer nozzle efficiently. Now that you have everything you need, let’s proceed to the step-by-step process of unclogging the nozzle.
Step 1: Removing the filament from the printer
Before you can begin the process of unclogging a 3D printer nozzle, it is important to remove the filament currently loaded in the printer. This will ensure that you have a clear path to access and clean the nozzle. Follow these steps to remove the filament:
- Preheat the printer: Start by preheating the printer’s nozzle to the temperature suitable for the filament you have loaded. This will make it easier to remove the filament and prevent any further clogs.
- Access the filament loading area: Locate the filament loading or extrusion area of your 3D printer. This is typically near the top or side of the printer, where the filament is fed into the nozzle.
- Unload the filament: Once the nozzle is preheated, access the filament loading mechanism and release the tension or grip on the filament. This will allow you to gently pull the filament out of the printer. Some printers may have a dedicated “Unload” or “Retract filament” option in their menu for easy unloading.
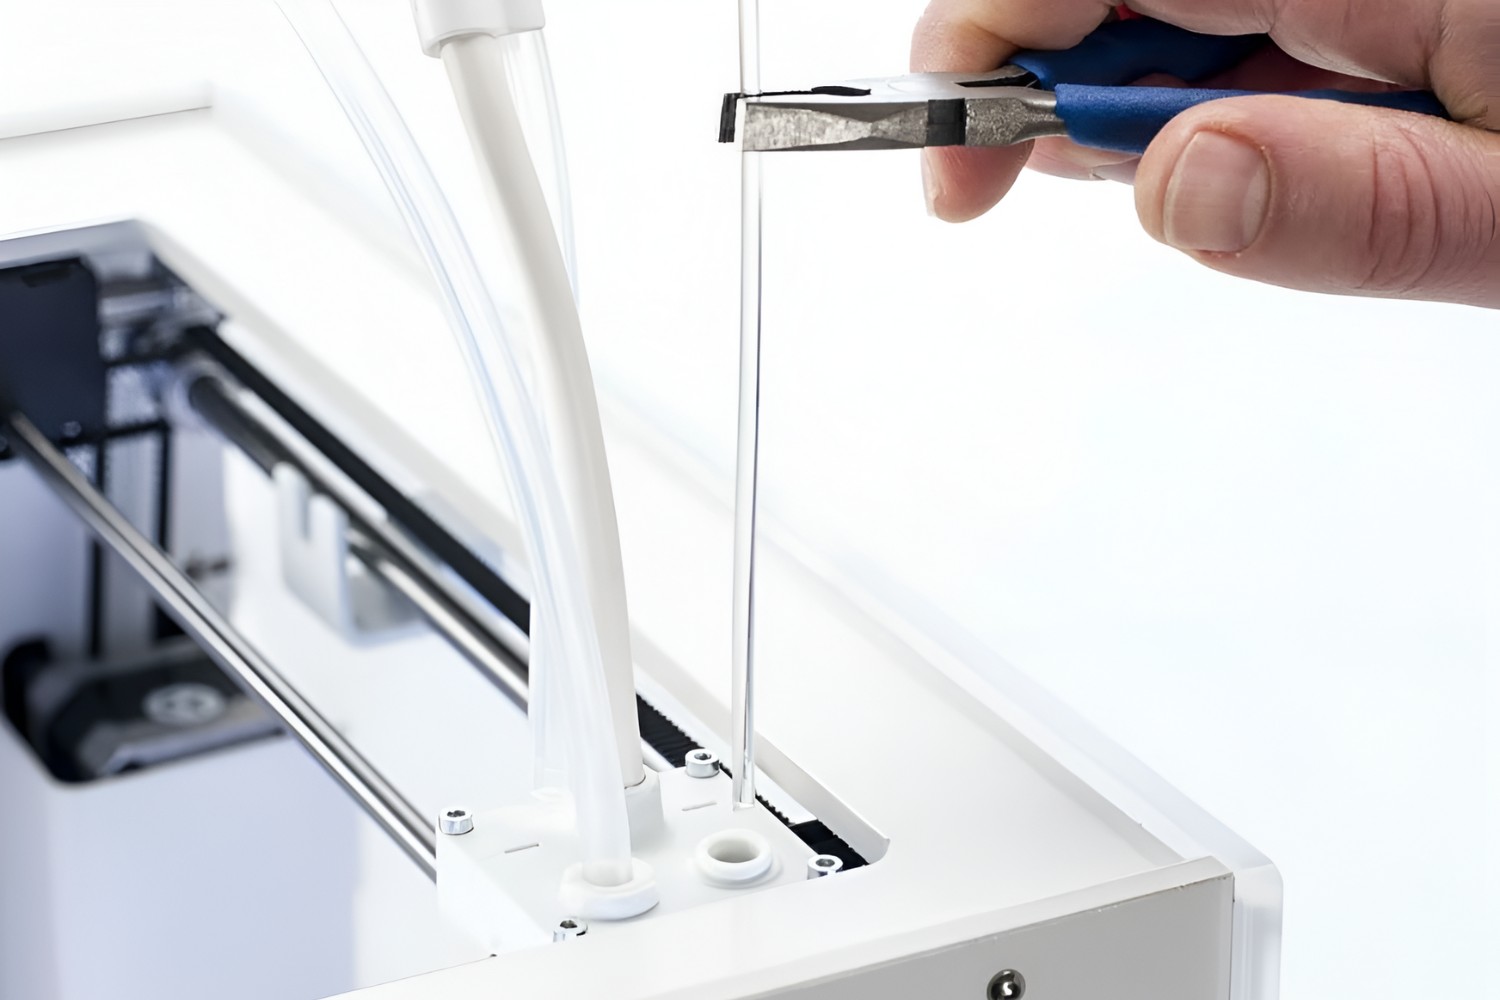
- Cut the filament: Once the filament is free from the printer, use a pair of scissors or a filament cutter to snip off the end of the filament. This will help prevent any residue or hardened material at the tip from causing further clogs.
- Store or discard the filament: Store the removed filament in a clean and dry place if you plan to reuse it. Alternatively, if the filament is damaged or unusable, discard it appropriately.
By removing the filament from the printer, you have cleared the way to access and address the clogged nozzle. Now, let’s move on to the next step: heating the nozzle.
Step 2: Heating the nozzle
Heating the nozzle is an essential step in the process of unclogging a 3D printer nozzle. By raising the temperature, you soften any residual filament or debris inside the nozzle, making it easier to remove the clog. Follow these steps to heat the nozzle:
- Power on the printer: Ensure that the printer is powered on and connected to a stable power source before proceeding.
- Access the temperature settings: Depending on your printer model, you will need to navigate through the printer’s control menu to access the temperature settings. Look for options related to nozzle temperature or extruder settings.
- Set the nozzle temperature: Set the nozzle temperature to a value that is appropriate for the filament type you typically use. Refer to the manufacturer’s guidelines for the recommended temperature range.
- Wait for the nozzle to heat: Allow the printer some time to reach the desired temperature. Most printers have an indicator or display that shows the current nozzle temperature. Wait until the temperature stabilizes and reaches the set value.
- Monitor the nozzle temperature: Keep an eye on the nozzle temperature throughout the unclogging process. If the printer has a standby mode or automatic temperature control feature, it may start to cool down after a period of inactivity. Ensure that the nozzle temperature remains within the required range for effective unclogging.
By heating the nozzle to the appropriate temperature, you ensure that any filament or debris obstructing the nozzle’s opening is softened and easier to remove. Once the nozzle is heated, we can move on to the next step: utilizing a cleaning filament.
Step 3: Utilizing a cleaning filament
Using a cleaning filament is an effective method to clear out any residual material or debris from a clogged 3D printer nozzle. Cleaning filaments are designed specifically for this purpose and can help restore the optimal flow of filament through the nozzle. Follow these steps to utilize a cleaning filament:
- Prepare the cleaning filament: Ensure that you have the appropriate cleaning filament compatible with your printer and nozzle size. Cut a small section of the filament, around 10-15 centimeters in length, for the unclogging process.
- Load the cleaning filament: Access the filament loading mechanism on your printer and insert one end of the cleaning filament into the inlet. Follow the usual loading procedure for your printer, gently pushing the filament until it reaches the nozzle.
- Extrude the cleaning filament: Once the cleaning filament is loaded, use the printer’s control menu to initiate the extrusion process. Gradually increase the extrusion speed until the cleaning filament starts to flow smoothly through the nozzle.
- Monitor the extrusion: Keep a close eye on the extrusion process to ensure that the cleaning filament is flowing evenly without any interruptions or unusual sounds. This helps to dislodge any blockages and clear the nozzle.
- Continue extruding: Continue extruding the cleaning filament until the extruded filament appears clean and free of any residual material or discoloration. This indicates that the clog has been successfully cleared.
- Unload the cleaning filament: Once the cleaning process is complete, retract or unload the cleaning filament from the printer using the same method you used earlier for removing the regular filament. Be careful not to introduce any new clogs during this step.
Utilizing a cleaning filament can be an effective way to remove any remaining debris and ensure a clear pathway for the filament. However, if the clog persists, you may need to proceed to the next step: manual unclogging using a needle or wire.
Step 4: Using a needle or wire to manually unclog the nozzle
If the cleaning filament did not completely unclog the 3D printer nozzle, the next step is to manually clear the blockage using a thin needle or wire. This method allows you to physically remove any stubborn material obstructing the nozzle. Follow these steps to manually unclog the nozzle:
- Ensure safety: Before proceeding, ensure that both the printer and the nozzle are at a safe temperature. Use heat-resistant gloves to protect your hands from any accidental burns.
- Locate the nozzle opening: Identify the small opening at the tip of the nozzle where the filament is extruded. This is the area where any clogs would be located.
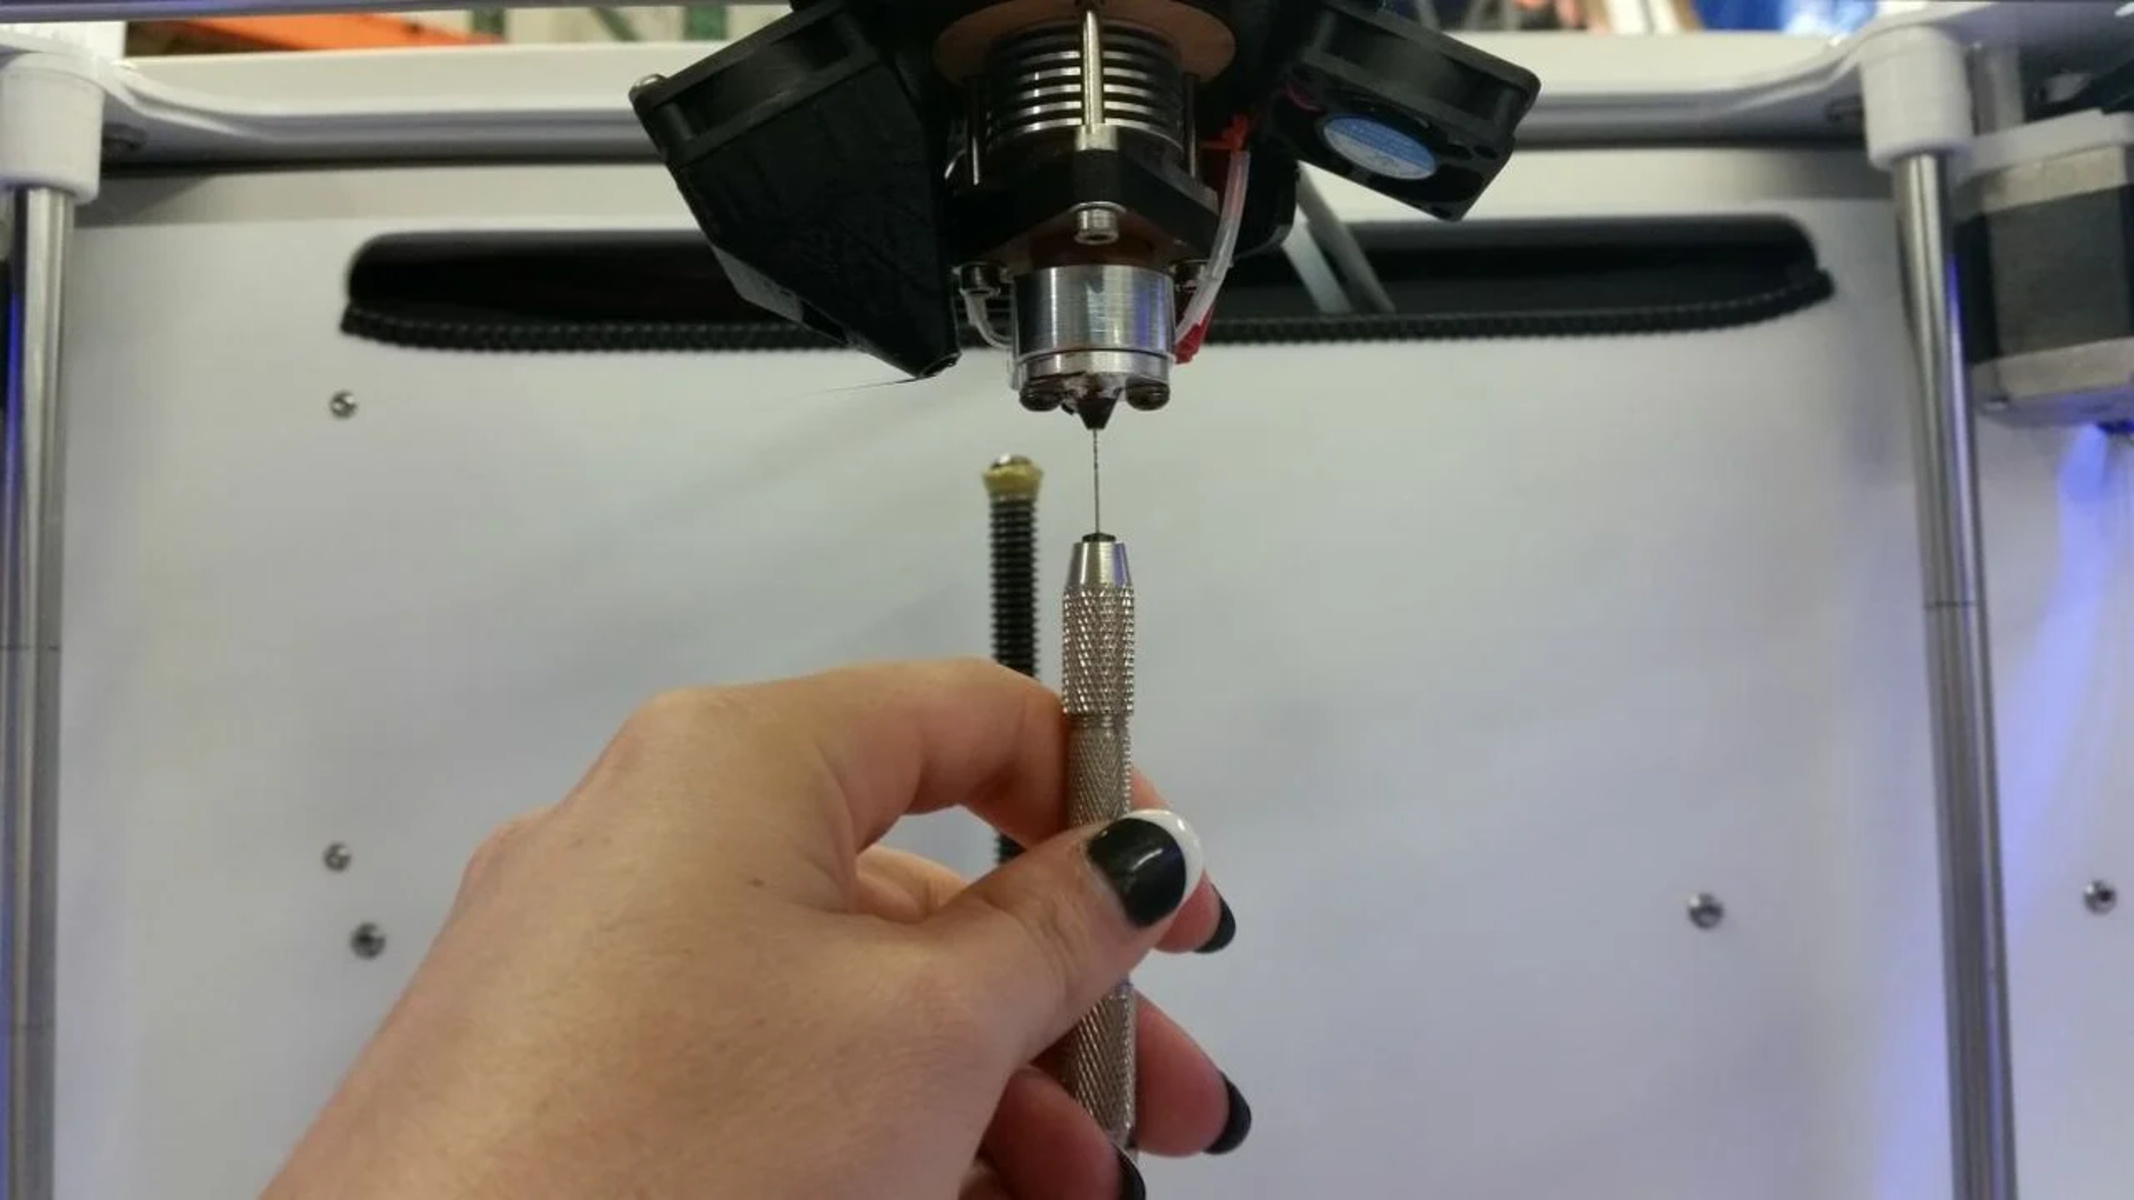
- Gently insert the needle or wire: Take a thin needle or wire, ideally one with a smaller diameter than the nozzle opening. Carefully insert it into the nozzle opening and gently maneuver it to dislodge the blockage.
- Apply gentle pressure: While the needle or wire is inserted into the nozzle, apply light and even pressure to push through the clog. Do not use excessive force, as you may damage the delicate components of the nozzle.
- Maneuver the needle or wire: Move the needle or wire in a circular or back-and-forth motion within the nozzle to help break up and remove any hardened material or debris. Be patient and take your time during this process.
- Remove the needle or wire: Once you believe the blockage has been cleared, carefully remove the needle or wire from the nozzle, ensuring that you do not introduce any new debris.
Manual unclogging can be a delicate process, so it’s important to exercise caution and avoid applying excessive force. If you are unable to clear the clog using this method or are not confident in doing so, it may be advisable to seek assistance from 3D printing professionals or refer to the manufacturer’s support resources.
Once the blockage is cleared, we can move on to the final step: cooling down the nozzle and reinserting the filament.
Step 5: Cooling down and reinserting the filament
After manually unclogging the 3D printer nozzle, it is crucial to cool down the nozzle before reinserting the filament. This prevents any residual heat from causing further complications and ensures a smooth and successful printing process. Follow these steps to cool down the nozzle and reinsert the filament:
- Cool down the nozzle: Allow the nozzle to cool down to a safe temperature. Refer to your printer’s specifications for the recommended cooling time, as it may vary depending on the printer model and nozzle material.
- Monitor the temperature: Keep an eye on the nozzle temperature using the printer’s display or temperature indicators to ensure it reaches a safe level before proceeding. Touching the nozzle with your fingers is not recommended, as it can still be hot even if it appears to have cooled down.
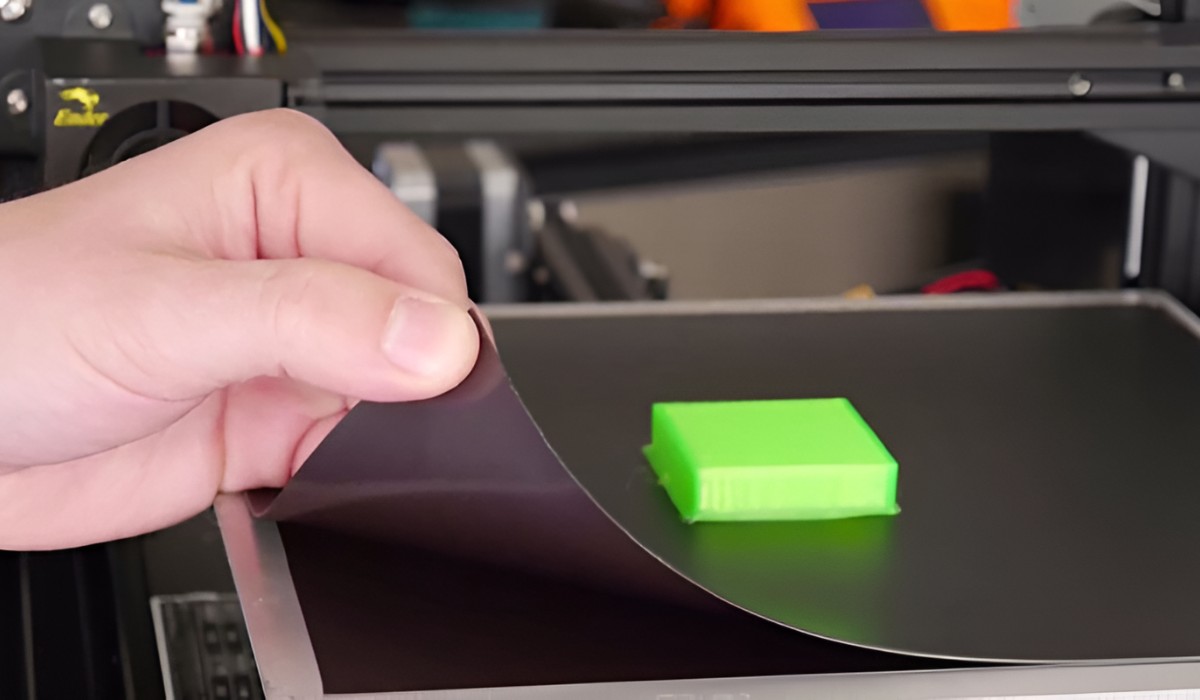
- Clean the nozzle: Once the nozzle has cooled down, use a clean cloth or paper towel to wipe away any remaining residue or debris on the exterior of the nozzle. This will help maintain a clean printing environment and prevent future clogs.
- Reinsert the filament: Take your prepared filament and feed it back into the printer’s filament loading mechanism. Follow the usual loading procedure for your printer, ensuring that the filament is inserted securely and reaches the nozzle.
- Perform a test extrusion: Once the filament is reinserted, perform a test extrusion to ensure that the filament is flowing smoothly through the nozzle. Monitor the extrusion to check for any irregularities or signs of a renewed clog.
- Resume printing: If the test extrusion is successful and the filament is flowing properly, you can now resume your printing tasks. Monitor the print job closely initially to ensure that there are no further issues with the nozzle.
By allowing the nozzle to cool down, cleaning it, and reinserting the filament properly, you have completed the final step in the unclogging process. Congratulations! Your 3D printer is now ready to produce high-quality prints once again.
Remember, preventive maintenance and regular cleaning can help minimize the occurrence of nozzle clogs. Keeping your printer clean and using high-quality filament can contribute to a smooth printing experience. If you encounter persistent nozzle clogs or other issues, it may be helpful to consult the manufacturer’s documentation or seek assistance from experienced 3D printing professionals.
Conclusion
Clogged nozzles are a common challenge faced by 3D printer users, but with the right knowledge and approach, they can be effectively resolved. In this comprehensive guide, we have explored the steps to unclog a 3D printer nozzle, from removing the filament to manually clearing the blockage using a needle or wire.
We have also discussed the reasons behind nozzle clogs, such as residue build-up, using low-quality filament, incorrect temperature settings, excessive retraction, and irregular usage. By understanding these causes, users can take preventive measures to minimize the chances of nozzle clogs occurring in the first place.
Recognizing the signs of a clogged nozzle, such as poor print quality, extrusion problems, stringing, nozzle clicking, or failed prints, is crucial for timely maintenance. By addressing clogs as soon as they are identified, users can prevent further damage to their printer and ensure consistent, high-quality prints.
Throughout the unclogging process, we have emphasized the importance of safety precautions and using the right materials, such as cleaning filament, needles or wires, heat-resistant gloves, and cleaning solutions. By following the step-by-step guide, users can effectively clear the nozzle and restore optimal functionality to their 3D printer.
Remember, regular maintenance and cleaning, along with the use of quality filament and proper temperature settings, can help prevent nozzle clogs in the future. It is also advisable to refer to the manufacturer’s guidelines and seek professional assistance if needed.
By gaining knowledge and experience in unclogging 3D printer nozzles, users can ensure a smooth printing experience and produce high-quality prints consistently. Embrace the challenges as learning opportunities, and enjoy the endless possibilities that 3D printing offers!