Introduction
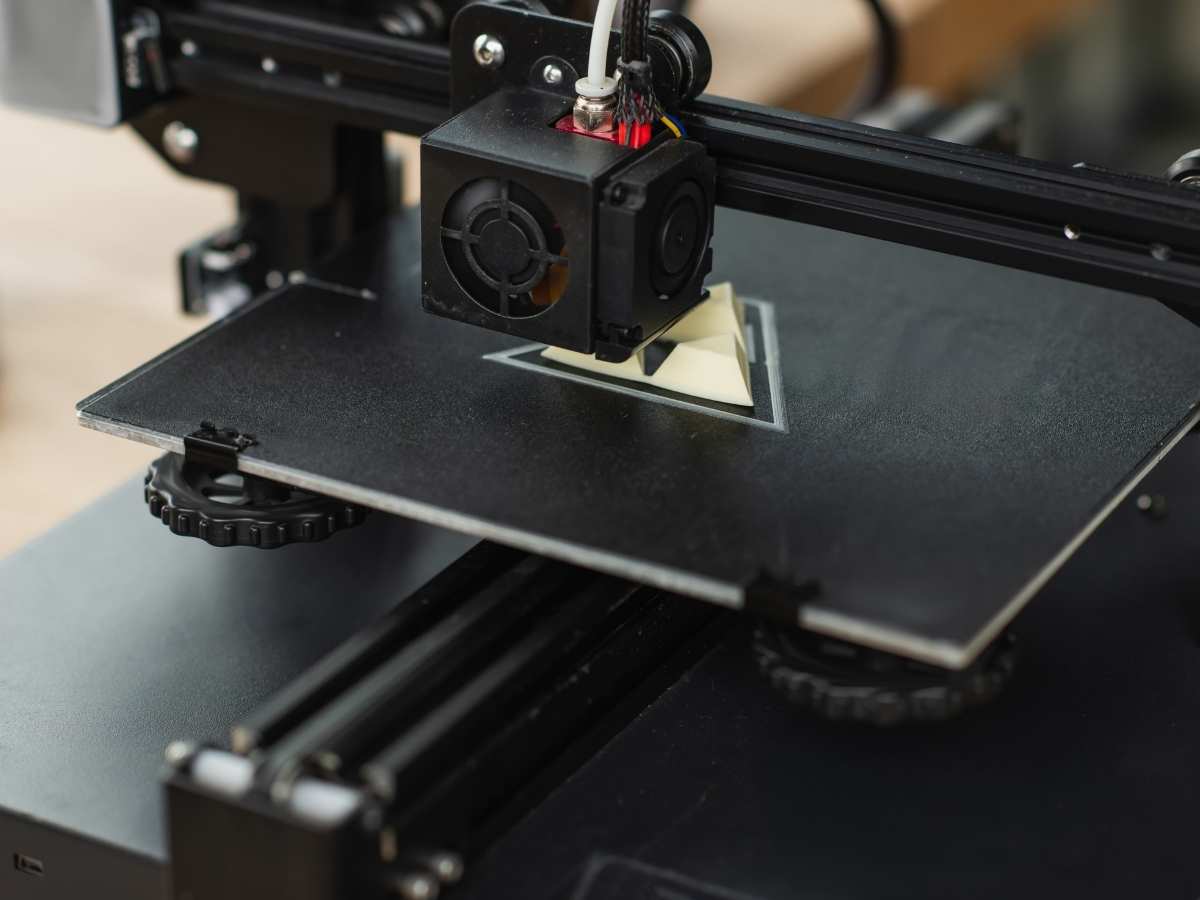
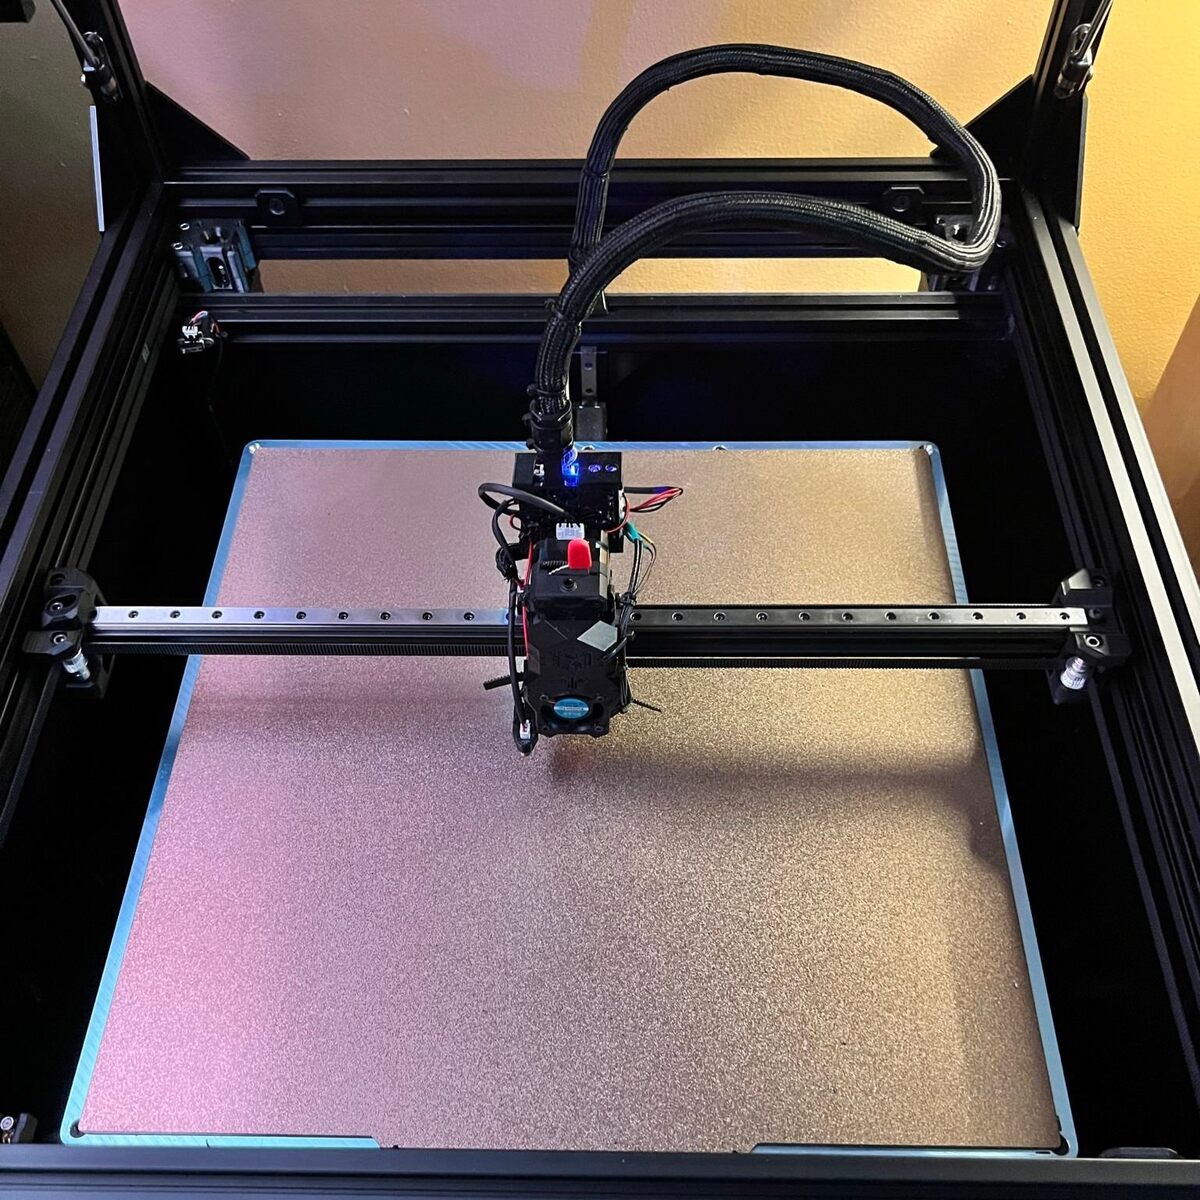
Welcome to the world of 3D printing! As a 3D printer user, you may have encountered a common issue known as clogging. This frustrating problem can occur when debris or filament residue accumulates in the printer’s nozzle, hindering the smooth flow of filament during the printing process. But fear not, because there’s a simple technique called Cold Pulling that can help alleviate this issue.
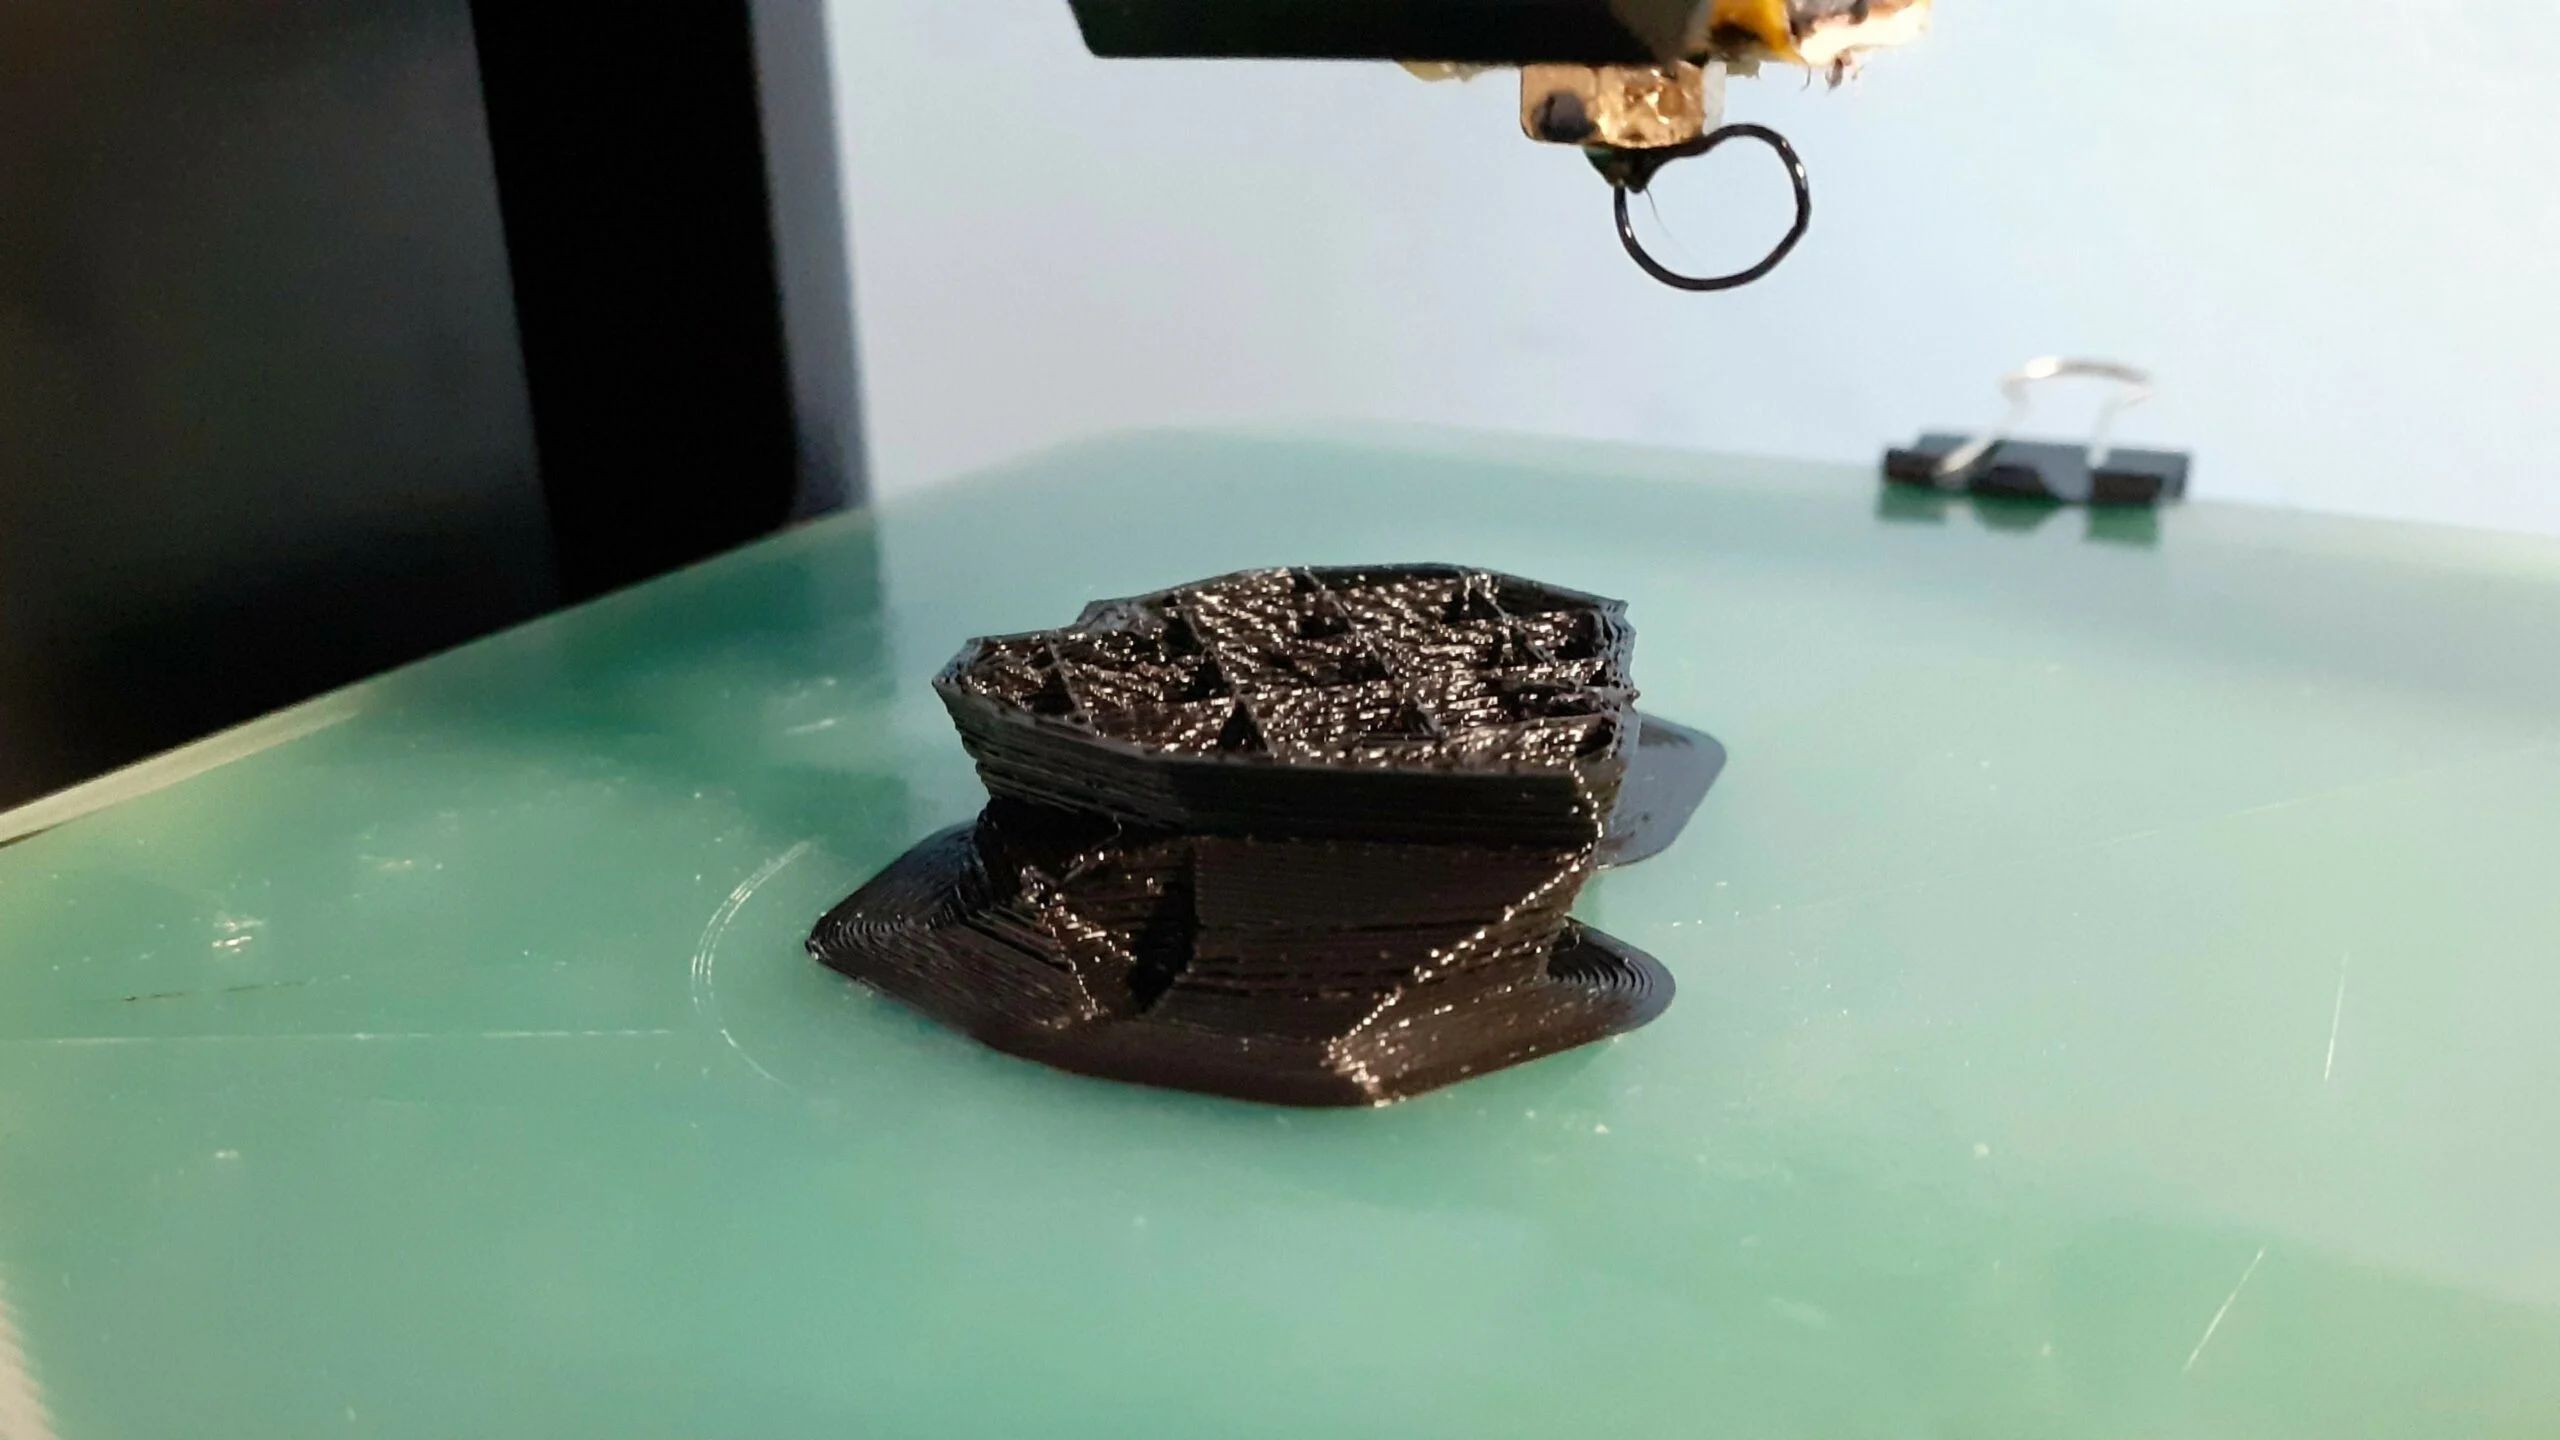
Cold Pulling, also known as Cold Filament Pull or Atomic Pull, is a technique used to unclog the nozzle of a 3D printer. It involves heating the nozzle to a certain temperature and quickly cooling it down by pulling a filament through it. This process helps remove any stuck debris or residue, ensuring a clean and smooth extrusion in the future.
So why should you use Cold Pulling? Well, a clogged nozzle can lead to failed prints, uneven extrusion, and even damage to the printer itself. By regularly performing Cold Pulls, you can prevent clogs from occurring and maintain the optimal performance of your 3D printer.
In this article, we will guide you through the process of performing a Cold Pull on your 3D printer. We’ll provide step-by-step instructions, tips, and troubleshooting techniques to help you get the best results. So, let’s dive in and learn how to effectively use Cold Pulling to keep your 3D printer running smoothly.
What is Cold Pulling?
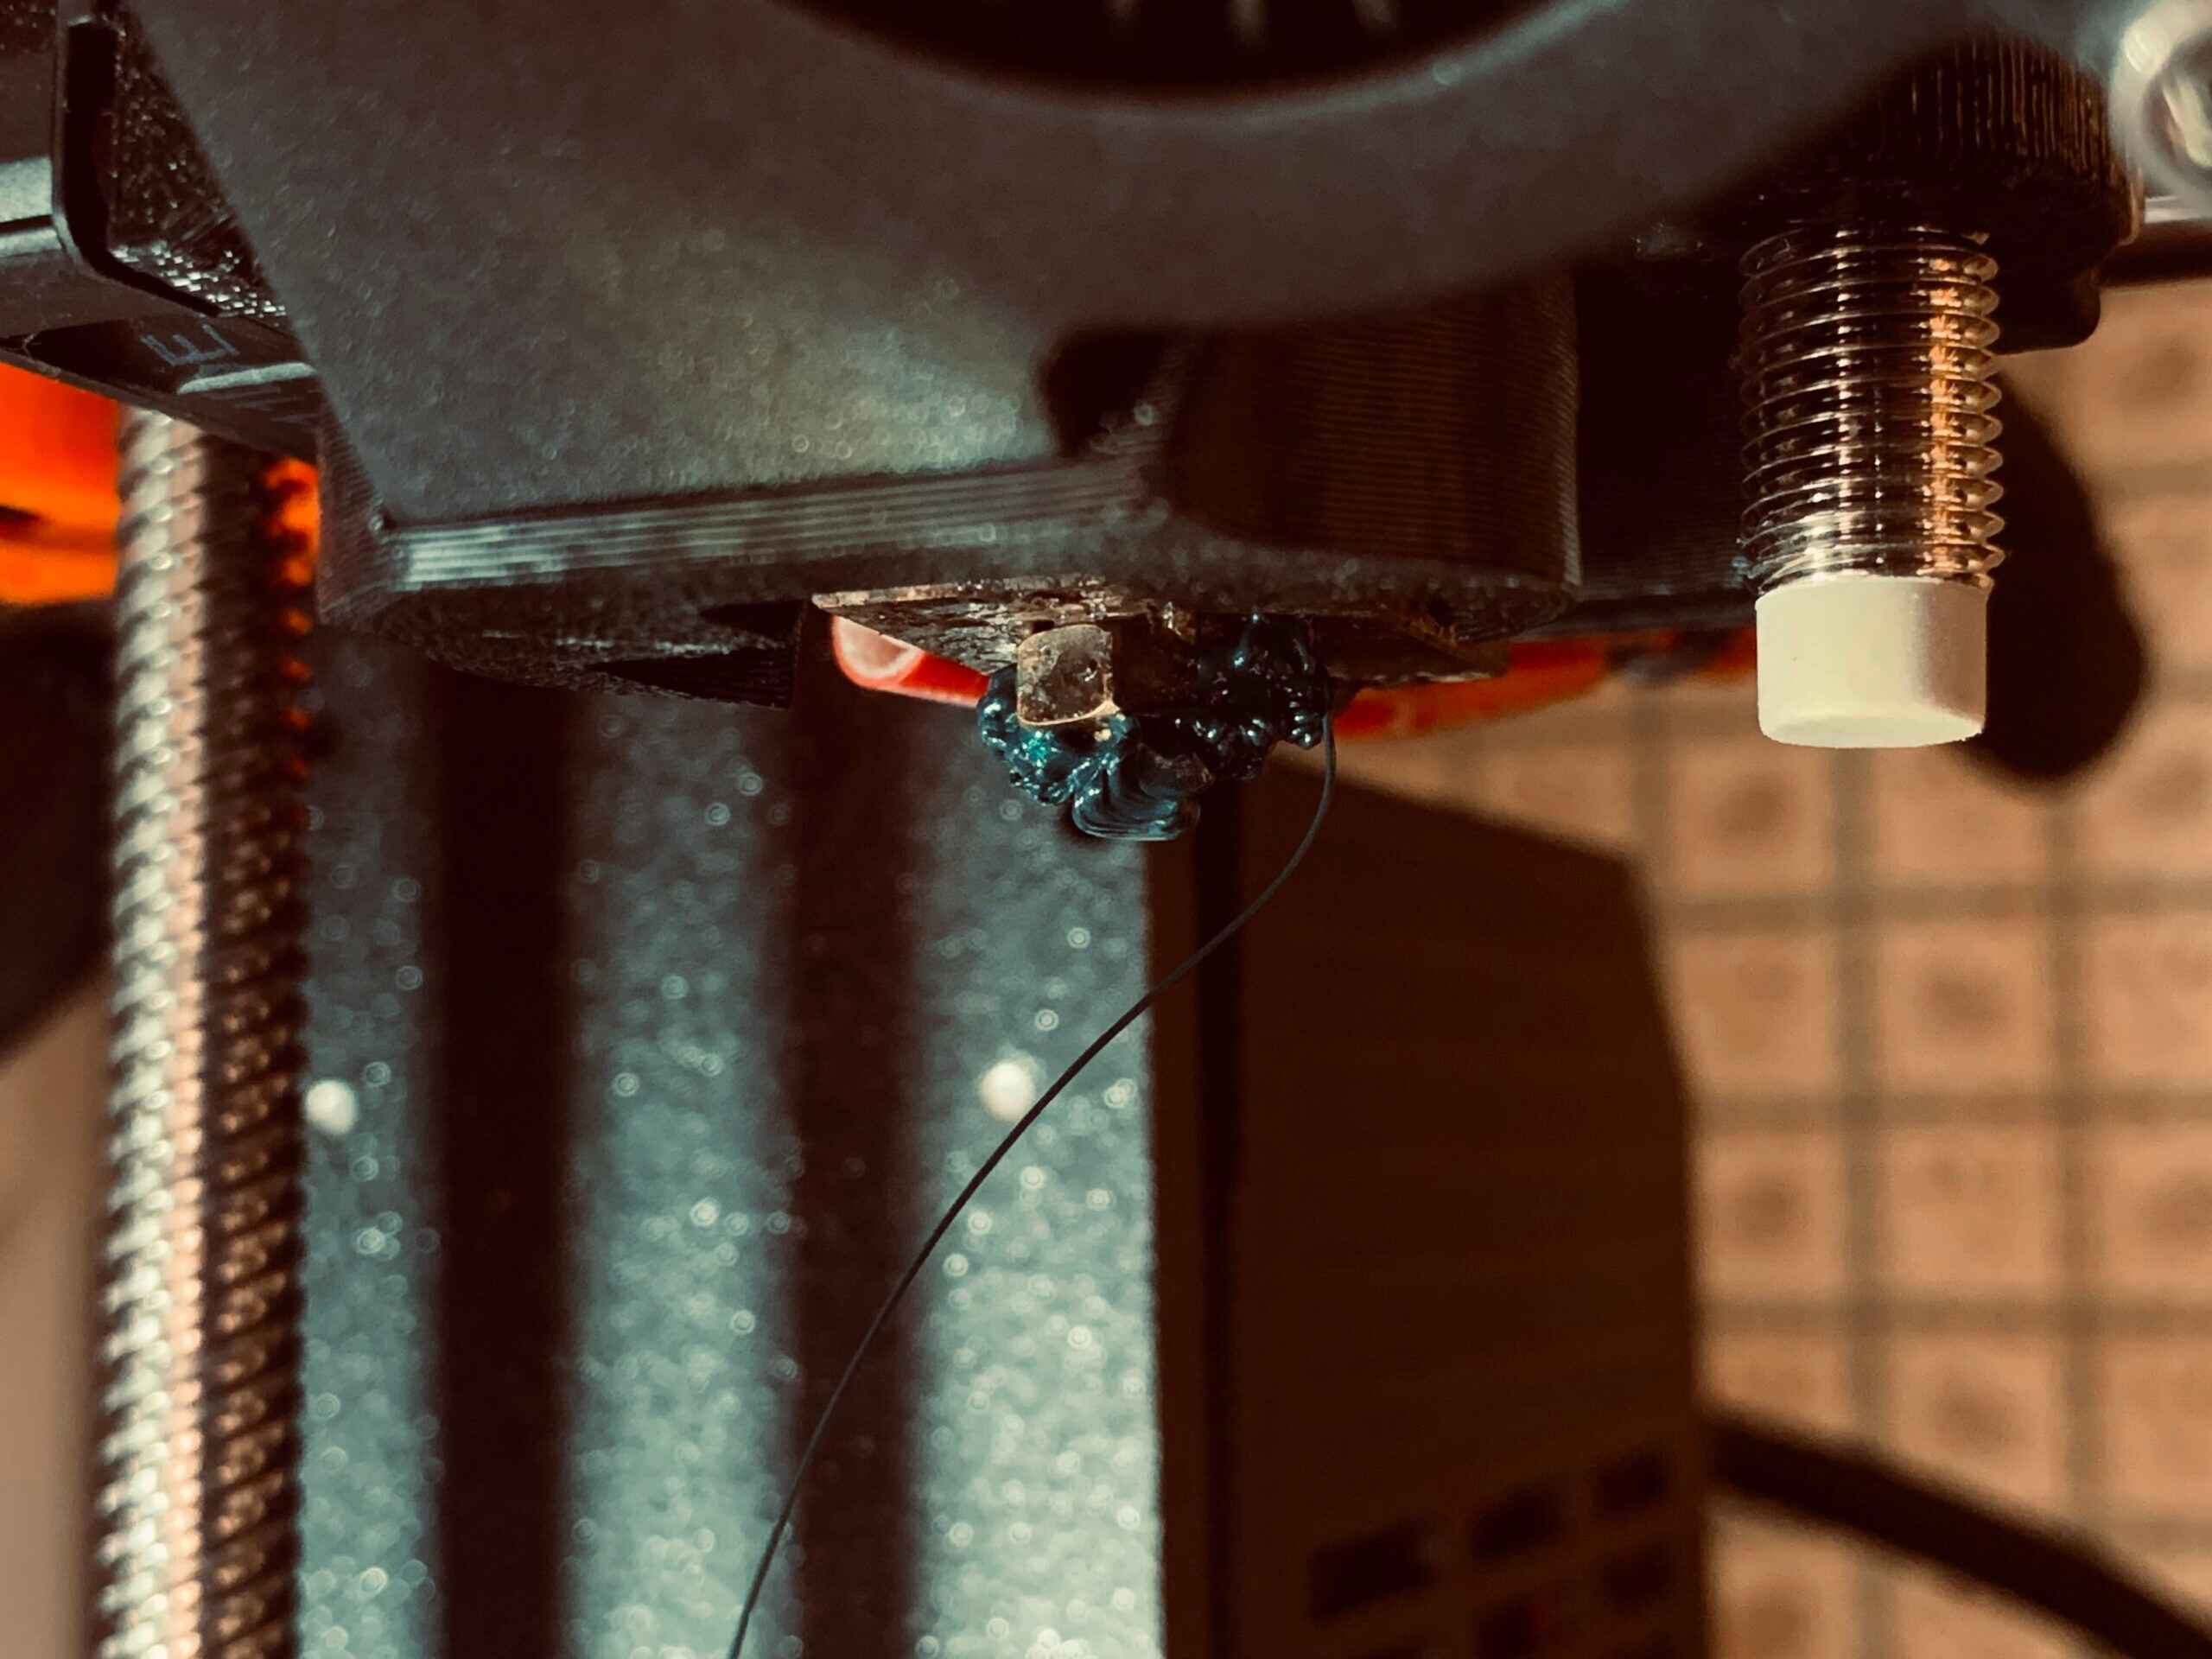
Cold Pulling is a technique commonly used in the world of 3D printing to resolve nozzle clogging issues. It involves heating the nozzle of the printer to a specific temperature and then rapidly cooling it down by pulling a filament through the nozzle.
The process of Cold Pulling is akin to pulling a piece of gum out of your hair. When the nozzle is heated, the filament inside becomes soft and pliable, allowing it to adhere to any debris or residue present. As the filament is pulled out, it takes along with it any blockages or contaminants that may be causing the nozzle to clog.
One of the main advantages of Cold Pulling is its simplicity and effectiveness. It doesn’t require any expensive or specialized equipment and can be done using the filament already loaded in your printer. By regularly performing Cold Pulls, you can prevent clogs from occurring and ensure the smooth flow of filament during your print jobs.
Additionally, Cold Pulling helps in maintaining the overall health of your 3D printer. Clogs in the nozzle can lead to inconsistent extrusion, failed prints, and even damage to the printer’s components. By removing any contaminants through Cold Pulling, you can ensure that your printer operates at its optimal performance and produces high-quality prints.
It is important to note that Cold Pulling is not a cure-all solution for every issue related to 3D printing. If you are experiencing consistent clogging or other problems, it may be necessary to explore other troubleshooting techniques or consult with a professional. However, as a preventive maintenance measure, Cold Pulling can be extremely beneficial and help prolong the lifespan of your 3D printer.
In the next section, we will explore how to prepare for a successful Cold Pull and ensure that you get the best results from this technique.
Why should you use Cold Pulling?
Cold Pulling is an essential technique for all 3D printer users, whether you’re a beginner or an experienced enthusiast. Here are a few reasons why you should incorporate Cold Pulling into your regular maintenance routine:
Prevent Clogs: One of the main benefits of Cold Pulling is its ability to prevent clogs in the 3D printer’s nozzle. Clogs can occur due to various reasons, such as debris buildup, filament residue, or a combination of both. By performing regular Cold Pulls, you can remove these blockages and ensure a smooth and uninterrupted flow of filament during your prints.
Maintain Print Quality: Clogs in the nozzle can lead to uneven extrusion, which can result in poor print quality. Cold Pulling helps to maintain consistent extrusion by removing any contaminants that may affect the flow of filament. This ensures that your prints turn out clean, precise, and of high quality.
Prolong Nozzle Lifespan: Continuous use of a clogged nozzle can put strain on the printer’s components, particularly the nozzle itself. By using Cold Pulling to keep your nozzle clean, you can help prolong its lifespan, saving you from the hassle and expense of having to replace it frequently.
Save Time and Money: Clogged nozzles can lead to failed prints, requiring you to start over and wasting time and filament. By preventing clogs through regular Cold Pulls, you can save time and money by avoiding print failures and minimizing material waste.
Prevent Print Head Damage: Severely clogged nozzles can lead to more serious problems, such as damage to the print head or other components of the printer. By using Cold Pulling as a preventive maintenance technique, you can reduce the risk of costly repairs and keep your printer running smoothly for longer.
As you can see, the benefits of Cold Pulling go beyond just resolving nozzle clogs. It is a valuable technique that helps maintain print quality, prolong the lifespan of your printer’s components, and ultimately save you time and money in the long run.
Next, we’ll discuss how to properly prepare for a Cold Pull to ensure successful results.
How to prepare for a Cold Pull
Before you embark on the Cold Pulling process, it is important to properly prepare to ensure optimal results. Here are the steps to follow:
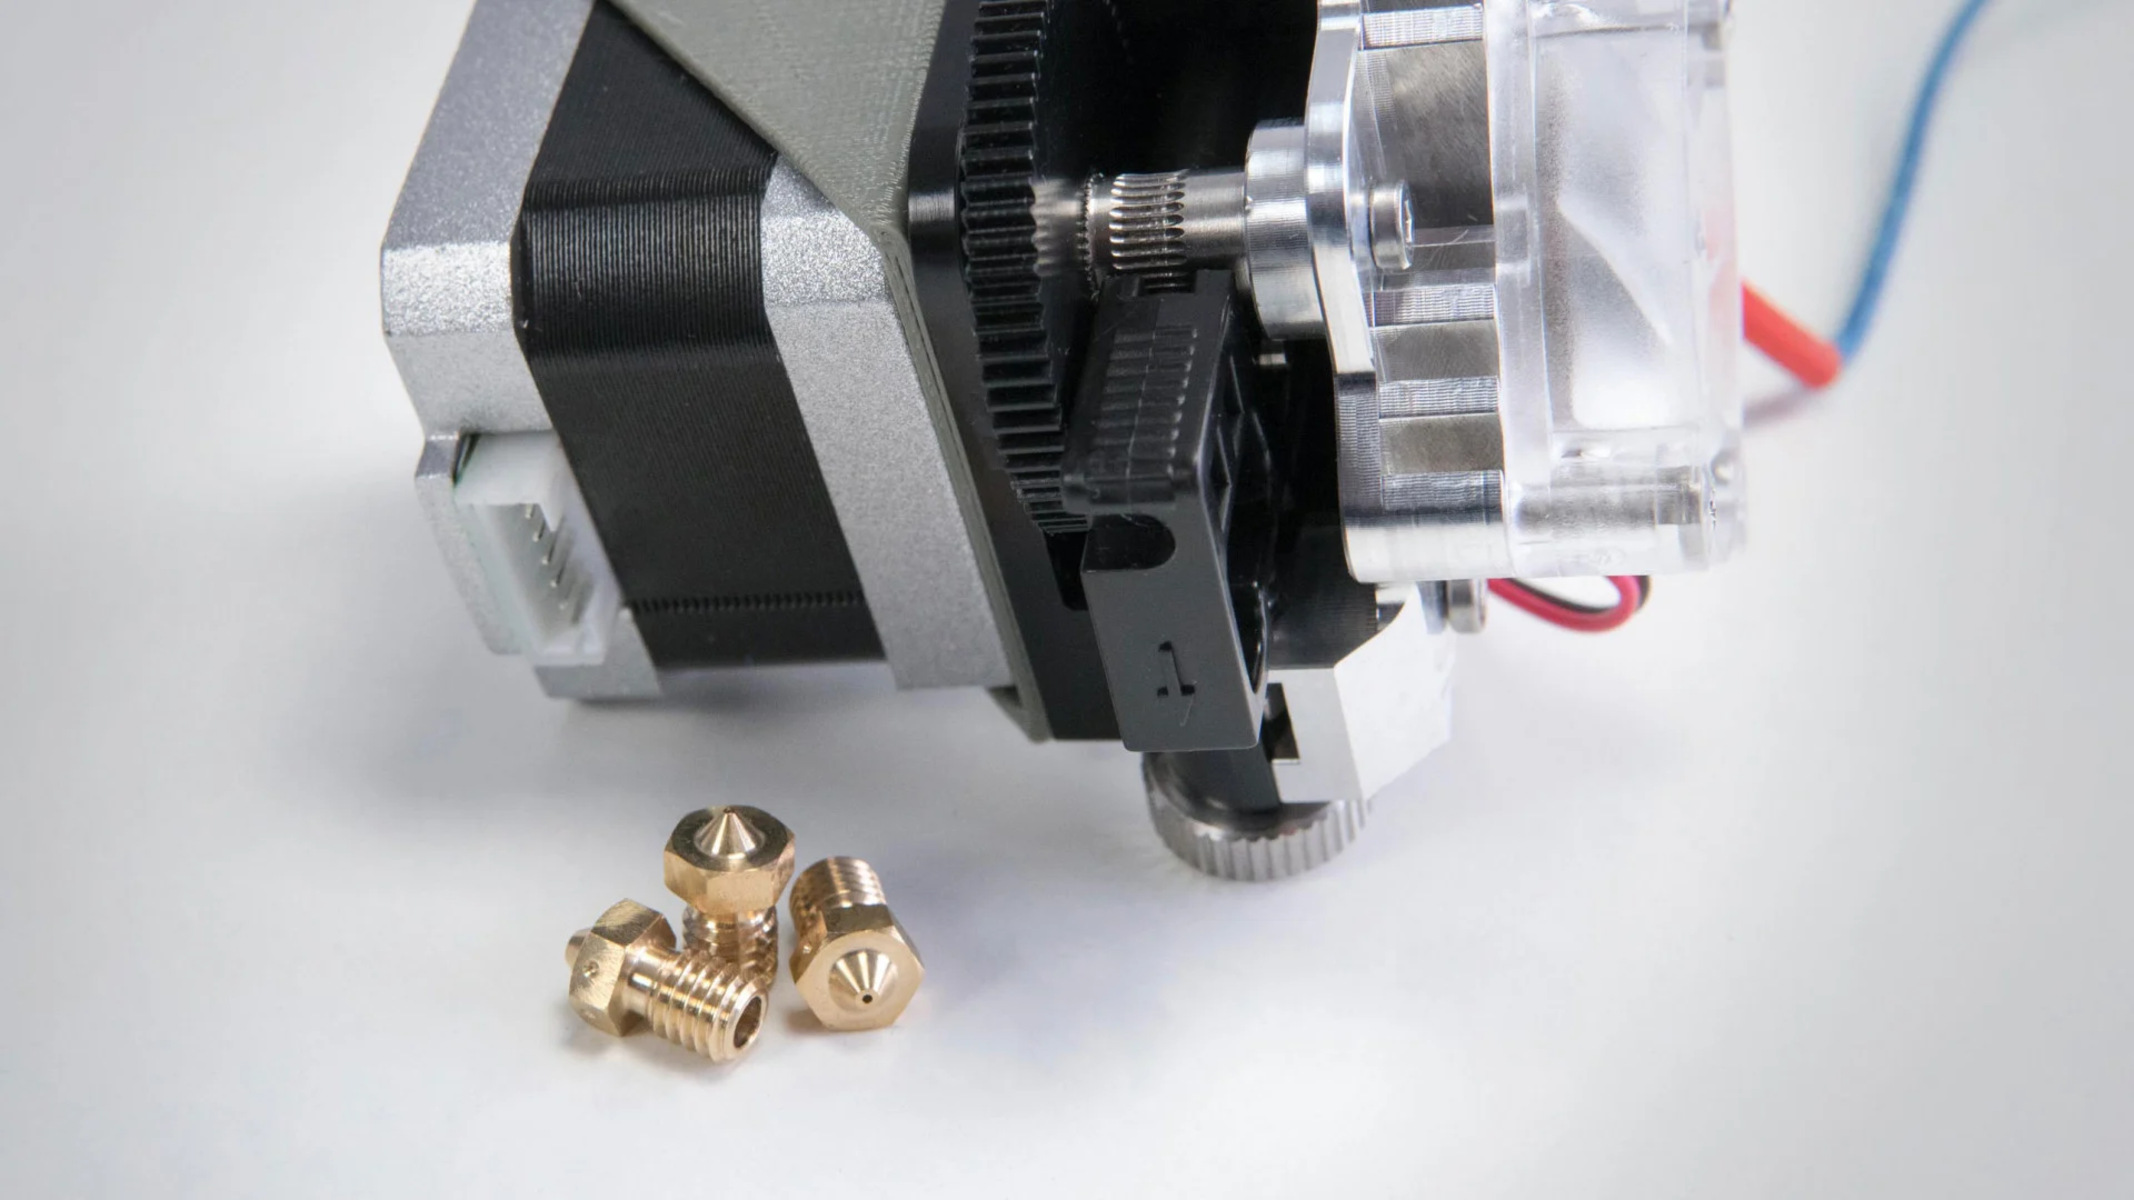
1. Heat up the nozzle: Start by heating up your 3D printer’s nozzle to a specific temperature recommended by the manufacturer. This temperature will typically be higher than the normal printing temperature, typically around 10-20 degrees Celsius (50-68 degrees Fahrenheit) higher.
2. Load the filament: Once the nozzle has reached the desired temperature, load the filament that you will be using for the Cold Pull. Ensure that the filament is clean and free from any debris or residue.
3. Prime the nozzle: Before performing the Cold Pull, it is important to prime the nozzle by extruding a small amount of filament. This will help remove any dirt or old filament that may be present in the nozzle.
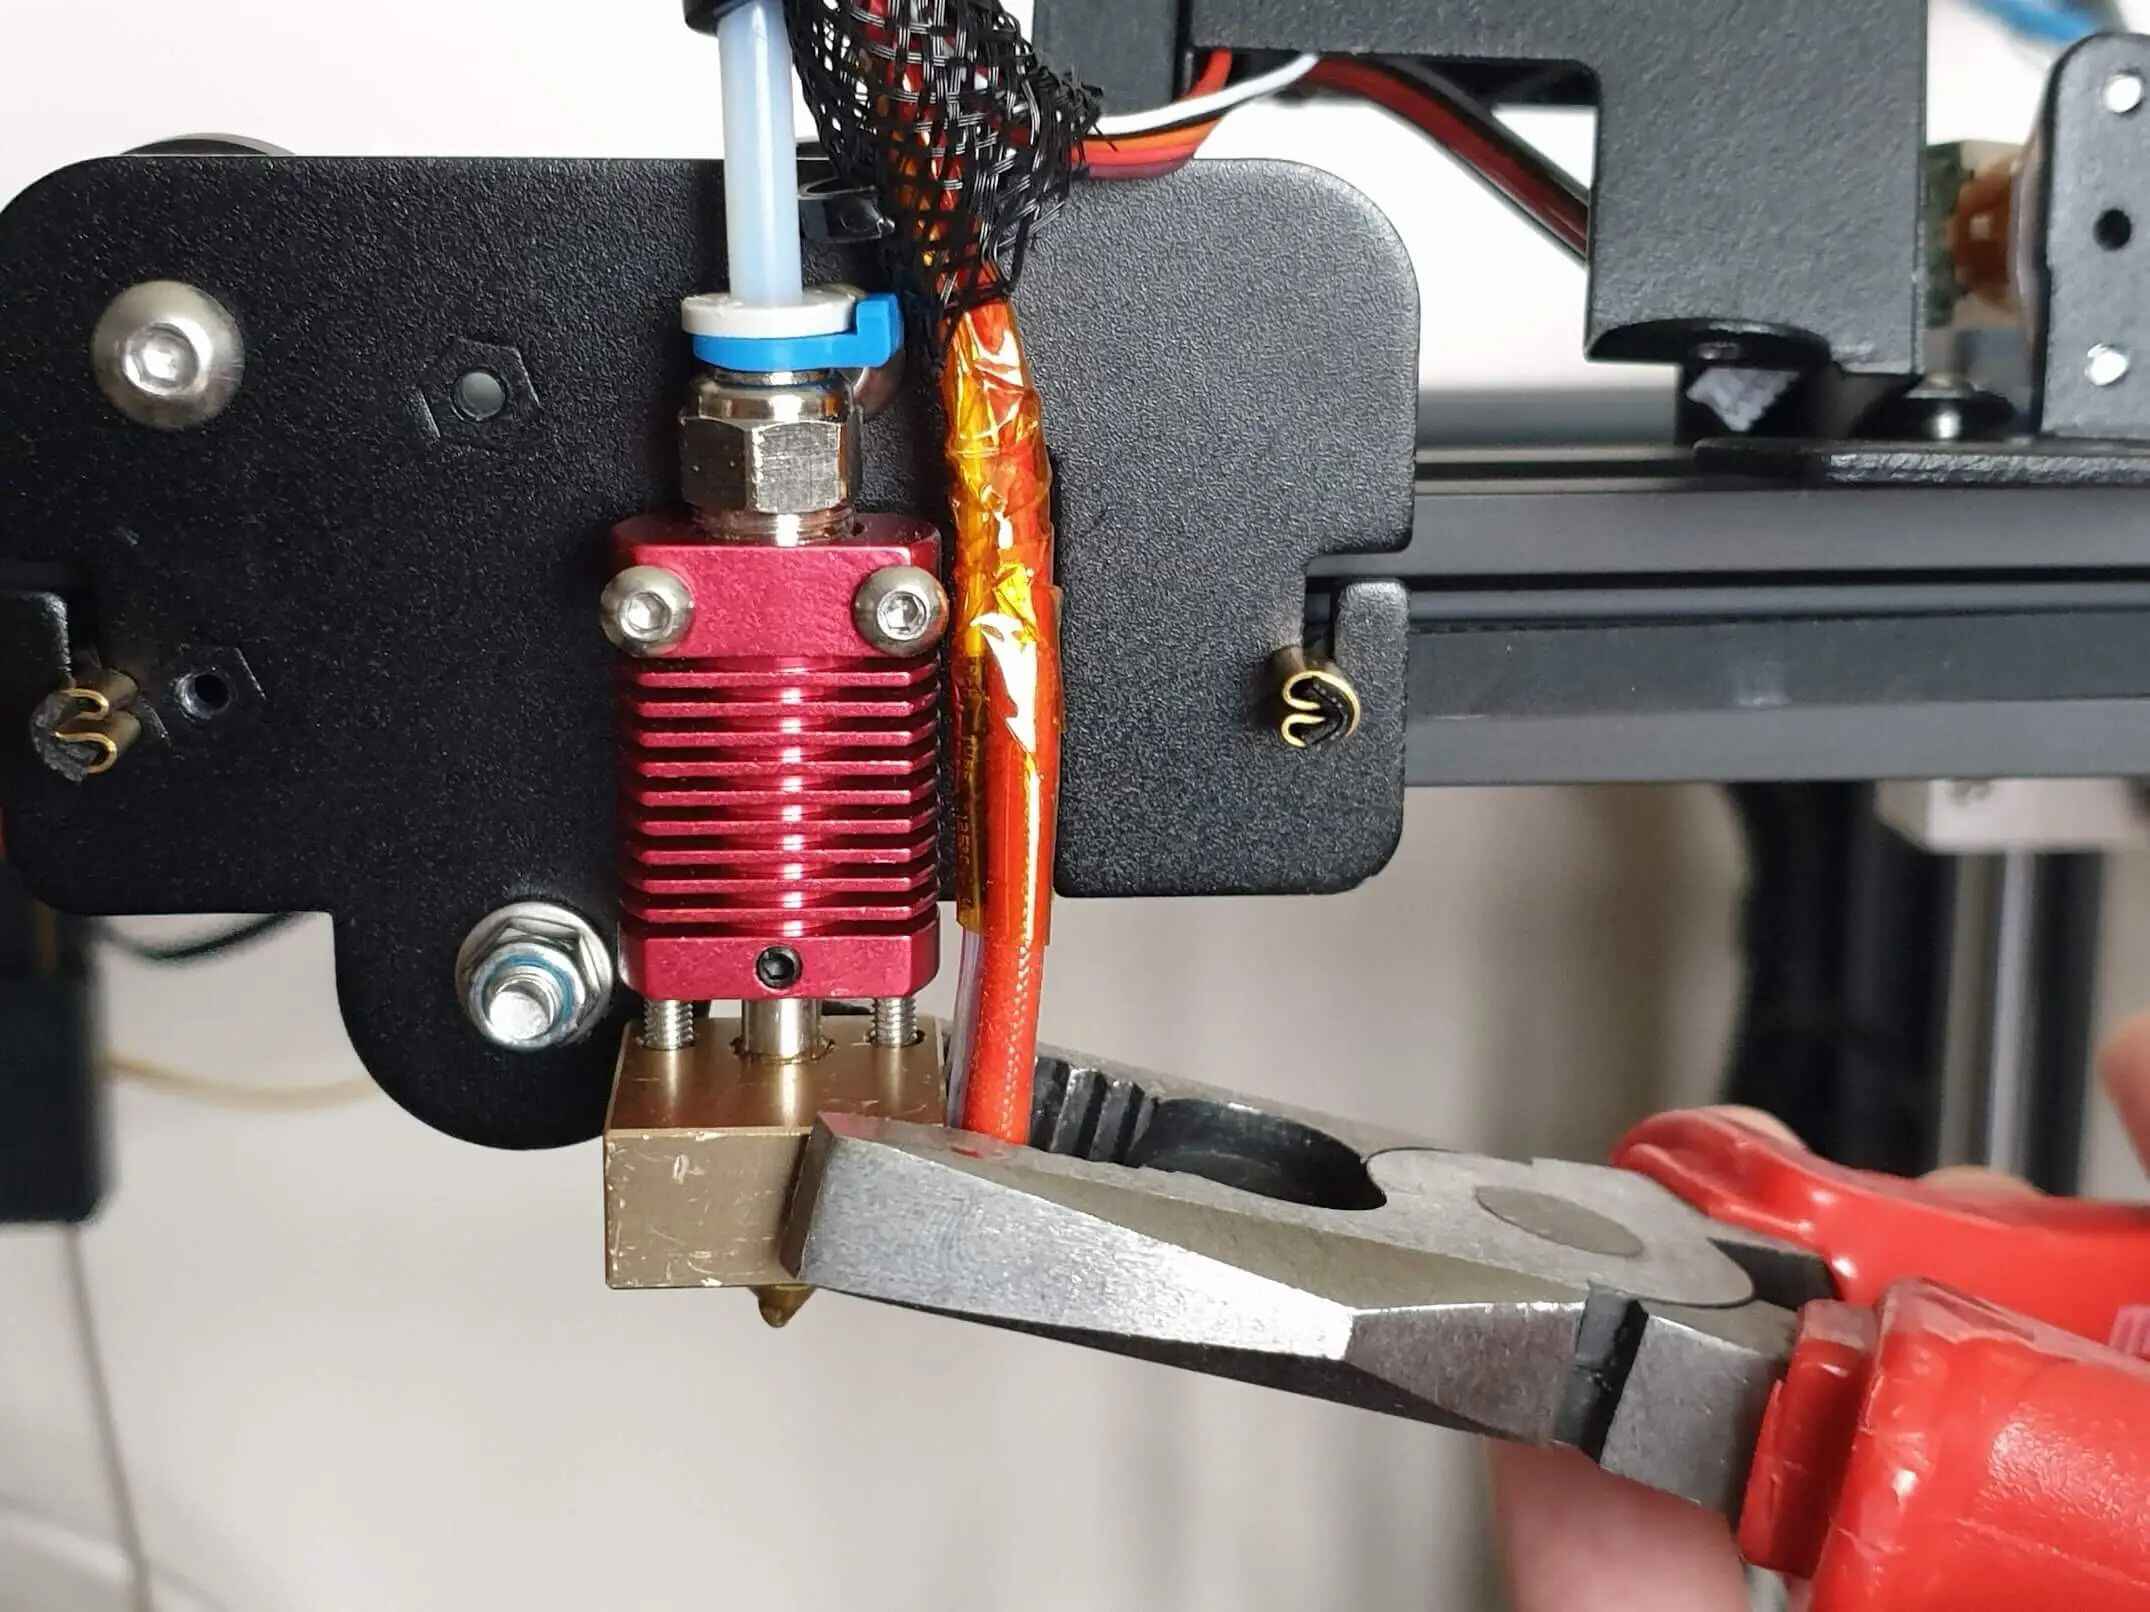
4. Cut the filament: Using a pair of scissors or a sharp blade, cut the filament at a point just above the nozzle. This will help ensure a clean and precise Cold Pull.
5. Set up a grip: Prepare a firm grip on the filament, either using a pair of pliers or by holding it securely with your fingers. This will enable you to exert a steady and controlled pulling force during the Cold Pull process.
6. Keep a container ready: Place a container or a trash bin nearby to collect any debris or residue that may be pulled out during the Cold Pull. This will help keep your workspace clean and prevent any unnecessary mess.
7. Prepare for multiple attempts: Cold Pulling may not be successful on the first attempt, especially if the nozzle is severely clogged. Be prepared to repeat the process multiple times until the desired results are achieved.
By following these steps, you can ensure that you are well-prepared for a successful Cold Pull. Now, let’s move on to the step-by-step process of Cold Pulling.
Step-by-step process of Cold Pulling
Performing a Cold Pull on your 3D printer involves a systematic and careful process. Follow these step-by-step instructions to execute a successful Cold Pull:
1. Heat the nozzle: Preheat your 3D printer’s nozzle to the recommended temperature. You can adjust the temperature settings in your printer’s software or control panel. Make sure the nozzle reaches the specified temperature before moving on to the next step.
2. Load the filament: Insert the filament that you will use for the Cold Pull into the printer’s filament input. Ensure that the filament is clean and free from any dust or debris.
3. Set the extrusion amount: Set the extrusion distance or the amount of filament that will be extruded during the Cold Pull. This can usually be adjusted in the printer’s software settings. Aim for a length of 20-30mm (0.8-1.2 inches) for a standard Cold Pull.
4. Prime the nozzle: Before starting the Cold Pull, prime the nozzle by extruding a small amount of filament, usually about 10mm (0.4 inches). This helps cleanse the nozzle and ensures a better grip on the filament during the pulling process.
5. Insert the filament: Once the nozzle is primed, insert the filament into the nozzle until it touches the hot end. Ensure that the filament is positioned securely and won’t slip or dislodge during the process.
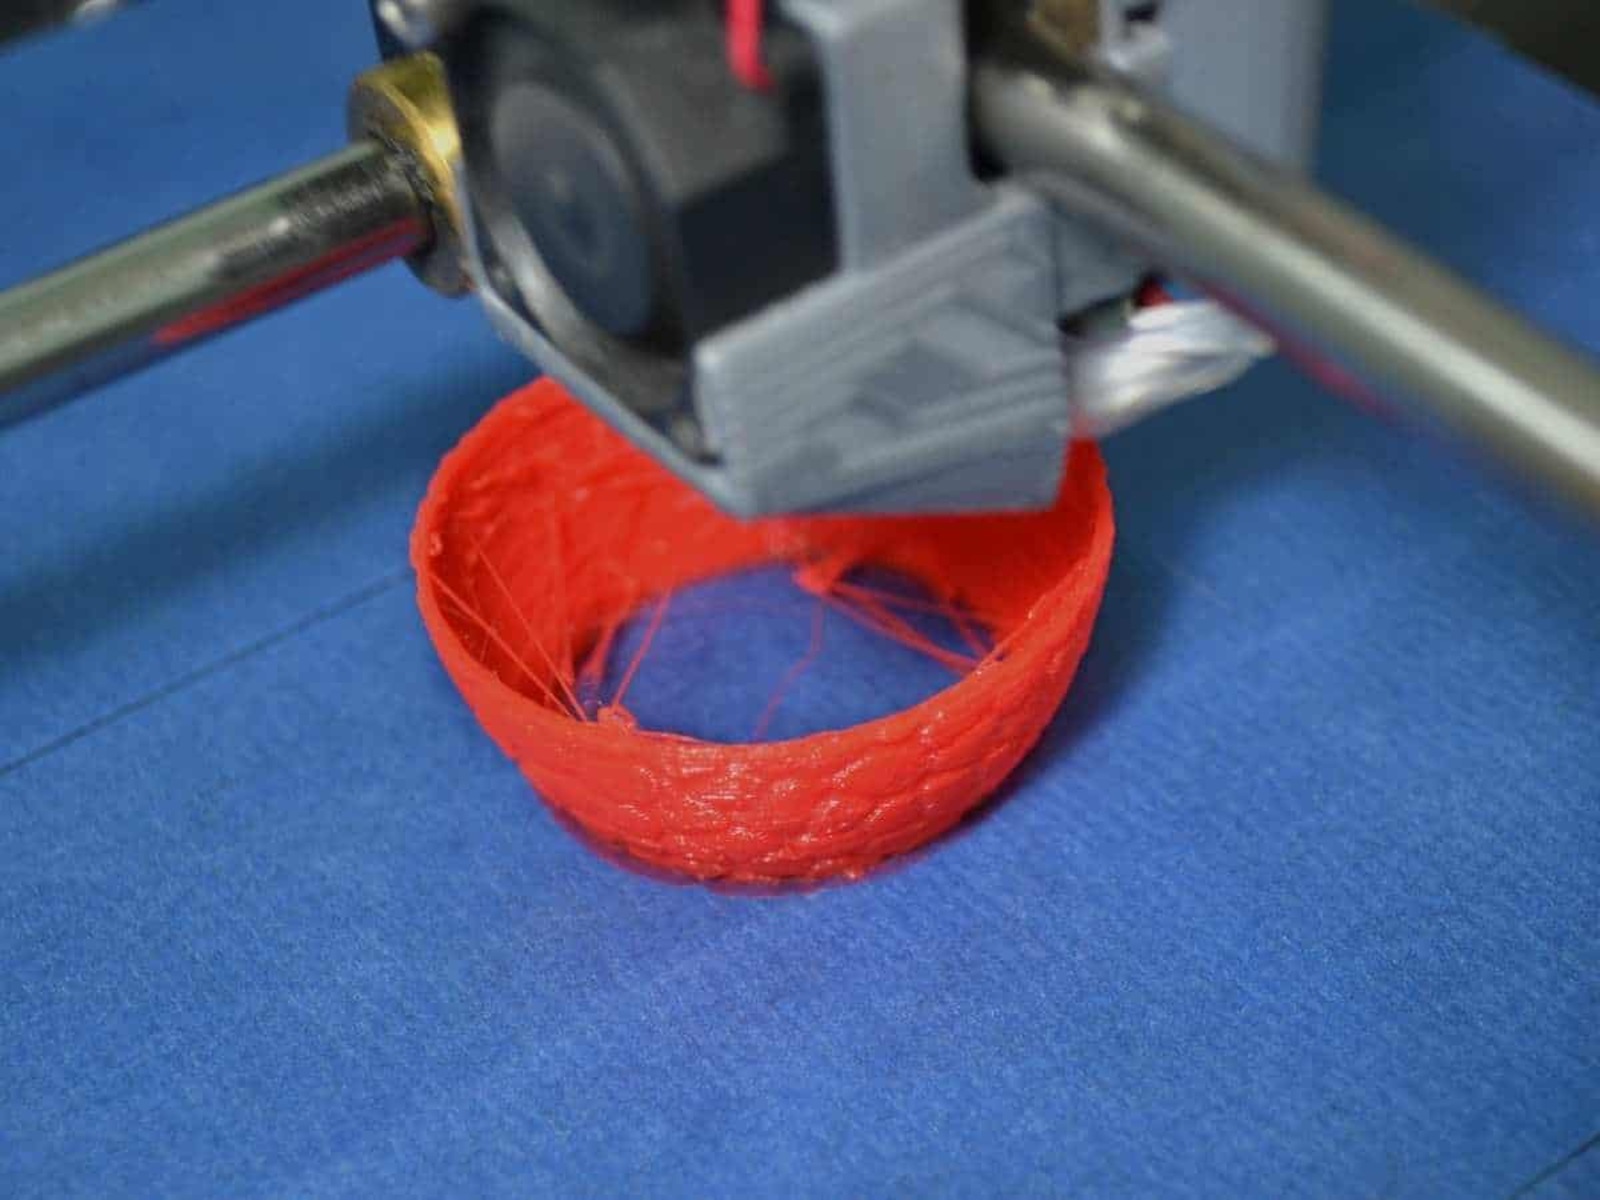
6. Perform the pull: With a firm grip on the filament, quickly and firmly pull the filament out of the nozzle while maintaining a steady and controlled motion. The goal is to create a sharp, quick, and forceful motion to help dislodge any debris or accumulated residue in the nozzle.
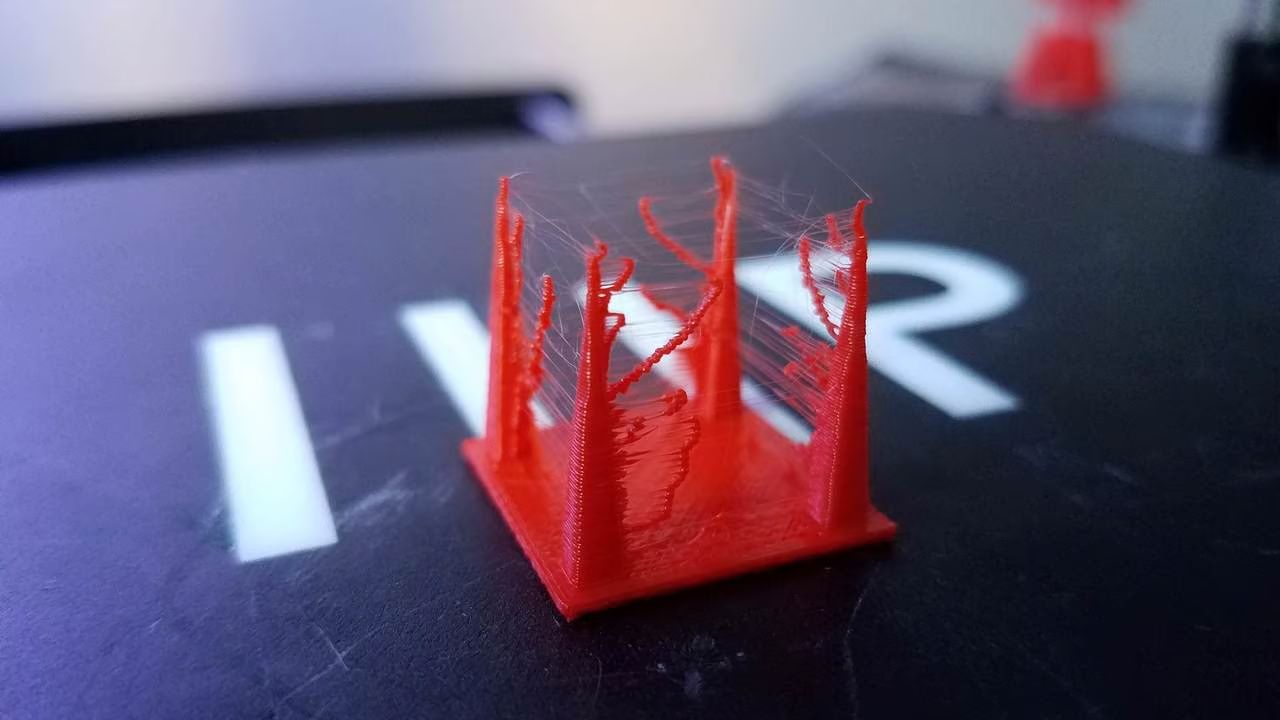
7. Inspect the filament: Examine the filament that has been pulled out for any signs of residue or debris. Ideally, the filament should come out clean and free from any contaminants. If you notice any debris, repeat the Cold Pull process until the filament appears clean.
8. Flush and cool the nozzle: After the successful Cold Pull, flush the nozzle with cool air or a cool-down cycle to quickly cool it down. This helps solidify any remaining filament and clears out the nozzle.
That’s it! You have successfully performed a Cold Pull on your 3D printer. By following these steps, you can effectively unclog the nozzle and ensure smooth and reliable printing in the future.
Next, we’ll share some tips and tricks to help you achieve the best results with your Cold Pulling technique.
Tips and Tricks for a successful Cold Pull
To maximize the effectiveness of your Cold Pulling technique, consider the following tips and tricks:
1. Perform regular maintenance: Incorporate Cold Pulling into your regular maintenance routine, even if you’re not experiencing any clogging issues. This preventive measure can help prevent future clogs and ensure the longevity of your 3D printer.
2. Use the correct filament temperature: Make sure to heat the nozzle to the recommended temperature for the specific filament you are using. Different filaments have different temperature requirements, and using the correct temperature will improve the efficiency of the Cold Pull.
3. Adjust the extrusion amount: Experiment with the extrusion distance or amount to find the sweet spot for your printer. Sometimes, a slightly longer or shorter extrusion length can yield better results in dislodging any debris or residue within the nozzle.
4. Optimize the pulling motion: When performing the Cold Pull, use a quick and forceful pulling motion to create a strong suction effect. Avoid a slow or hesitant pull, as it may not exert enough force to remove the clogs effectively.
5. Use clean and high-quality filament: Ensure that the filament you use for the Cold Pull is clean and free from debris. Using low-quality or contaminated filament can introduce additional issues or clogs into the nozzle.
6. Practice patience and persistence: Cold Pulling may require multiple attempts, especially if the nozzle is severely clogged. Don’t get discouraged if you don’t achieve immediate success. Be patient, persistent, and willing to repeat the process until the desired results are achieved.
7. Maintain a clean workspace: Keep your workspace clean and free of dust or other contaminants that could potentially affect the Cold Pulling process. This helps ensure a clean and successful extraction of any residue or debris.
8. Regularly inspect the nozzle: After performing a Cold Pull, take a close look at the nozzle to check for any signs of remaining residue or debris. If you notice any residue, perform additional Cold Pulls until the nozzle is completely clean.
By following these tips and tricks, you can improve the success rate of your Cold Pulling technique and keep your 3D printer running smoothly. Remember, prevention is key, so incorporating regular Cold Pulls into your maintenance routine will help you avoid clogs and achieve high-quality prints.
In the next section, we’ll provide some troubleshooting techniques for common issues you may encounter during the Cold Pulling process.
Troubleshooting common issues during Cold Pulling
While Cold Pulling is generally an effective technique for resolving nozzle clogs, you may encounter some common issues along the way. Here are a few troubleshooting techniques to help address these issues:
1. Filament not fully pulling out: If the filament doesn’t fully come out during the Cold Pull, it may indicate that the clog is still present. Repeat the Cold Pull process multiple times, ensuring that you are using the correct temperature and performing a forceful pulling motion.
2. Filament breaks during pulling: If the filament breaks during the pulling process, it could be due to excessive force or a weak spot in the filament. Check the filament for any weak points or try reducing the pulling force to prevent breakage.
3. Residue remaining in the nozzle: If you notice residue or debris remaining in the nozzle after a Cold Pull, it indicates that the clog was not fully cleared. Repeat the Cold Pull process, adjusting the temperature or extrusion length if necessary, until the nozzle appears clean.
4. Inconsistent pulls: If the Cold Pulls are inconsistent, with some successful and others not, it could be due to uneven heating or cooling of the nozzle. Ensure that the nozzle is heated evenly and cooled down rapidly to create consistent results.
5. Nozzle clogging again quickly: If you find that the nozzle gets clogged again shortly after a successful Cold Pull, it could indicate a larger underlying issue with the printer. Consider checking other components of the printer, such as the extruder or the filament path, for any potential problems.
6. Excessive force required: If you need excessive force to perform a Cold Pull, it may indicate a very stubborn or severe clog. In such cases, you may need to explore more advanced cleaning techniques or consider seeking professional assistance.
7. Uneven filament extraction: If the filament is not being pulled evenly during the Cold Pull, it may indicate a misalignment or obstruction in the filament path. Check the feeder mechanism and filament guide to ensure proper alignment and smooth filament movement.
8. Nozzle damage: If you notice any signs of nozzle damage during or after Cold Pulling, such as deformities or scratches, it’s essential to stop the process immediately. Continued use of a damaged nozzle can lead to further problems. Replace the damaged nozzle and proceed with the Cold Pull process on the new nozzle.
If you encounter any of these issues during the Cold Pulling process, it’s important to remain patient and persistent. Try the troubleshooting techniques mentioned above, and don’t hesitate to reach out for assistance from experienced individuals or professionals if needed.
Now that you are equipped with troubleshooting techniques, you can overcome any challenges that may arise during your Cold Pulling journey.
Finally, let’s summarize the key takeaways from this article.
Conclusion
Cold Pulling is a valuable technique for resolving nozzle clogs and maintaining the optimal performance of your 3D printer. By regularly performing Cold Pulls, you can prevent clogs, maintain print quality, prolong the lifespan of your printer’s components, and save time and money in the long run.
In this article, we covered the importance of Cold Pulling and why it should be a part of your regular maintenance routine. We discussed the step-by-step process of Cold Pulling, provided tips and tricks for a successful Cold Pull, and shared troubleshooting techniques for common issues that may arise during the process.
Remember to properly prepare for a Cold Pull by heating the nozzle, loading clean filament, and priming the nozzle. Follow the step-by-step process, ensuring a firm grip and a forceful pulling motion. Be patient and persistent, and don’t hesitate to repeat the Cold Pull process as needed to achieve desired results.
If you encounter any issues during Cold Pulling, troubleshoot by adjusting temperature, extrusion length, or pulling force. Keep your workspace clean, inspect the nozzle for residue, and address any nozzle or filament damage promptly.
By incorporating regular Cold Pulling into your maintenance routine, you can ensure a clog-free nozzle, consistent extrusion, and high-quality prints. This preventive measure will help you enjoy a smoother 3D printing experience and prolong the lifespan of your printer.
Thank you for exploring the world of Cold Pulling with us. We hope this article has provided valuable insights and guidance for your 3D printing journey. Happy printing!