Introduction
3D printing has revolutionized various industries, enabling the creation of intricate and customized objects with ease. One key component of a 3D printer is the extruder, which plays a crucial role in feeding and melting the filament to create the desired print. However, sometimes users may encounter an issue where the material begins to clump around the extruder. This clumping can lead to poor print quality, failed prints, and even damage to the printer itself.
Understanding why material clumping occurs around the extruder is essential in troubleshooting and resolving the issue. In this article, we will delve into the various causes of material clumping and provide helpful tips to prevent it from happening.
By identifying and addressing the root causes, you can ensure smooth and successful 3D printing experiences. So, let’s unravel the reasons behind material clumping around the extruder and explore the steps you can take to keep your printer running smoothly.
What is the extruder in a 3D printer?
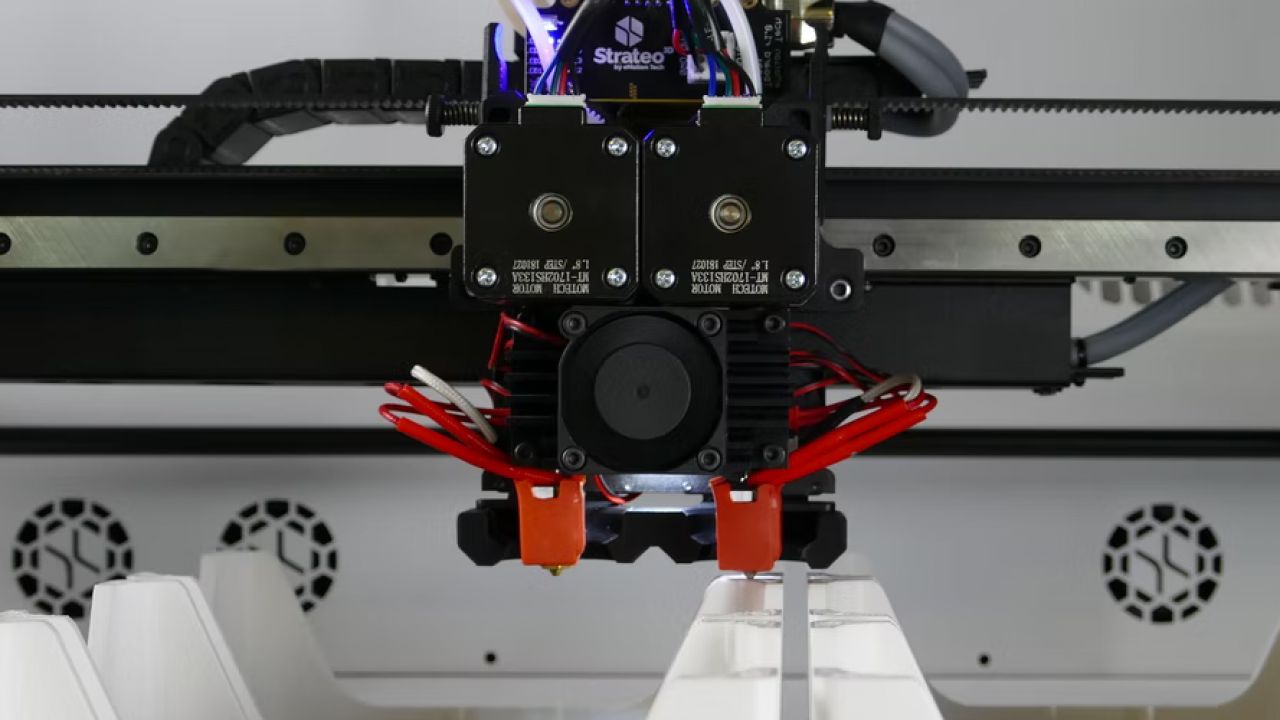
The extruder is a fundamental component of a 3D printer that is responsible for pushing filament into the hot end where it is melted and deposited onto the print bed or existing layers to build objects layer by layer. It consists of a motor, a gear mechanism, and a heating element. The motor drives the gear, which grips the filament and feeds it into the hot end.
Hot ends typically consist of a nozzle, through which the molten filament is extruded, and a heating block that raises the temperature to melt the filament. The filament is typically made of plastic, such as PLA or ABS, and is available in various diameters ranging from 1.75mm to 3mm.
The extruder plays a critical role in ensuring precise filament feeding and a smooth flow of molten material. It needs to be properly calibrated to achieve optimal performance. Any issues with the extruder, such as material clumping, can significantly affect the print quality and overall performance of the 3D printer.
Understanding the function and importance of the extruder is essential in troubleshooting material clumping issues and ensuring successful 3D printing outcomes. In the following sections, we will explore the causes of material clumping around the extruder and provide practical tips to address and prevent this issue.
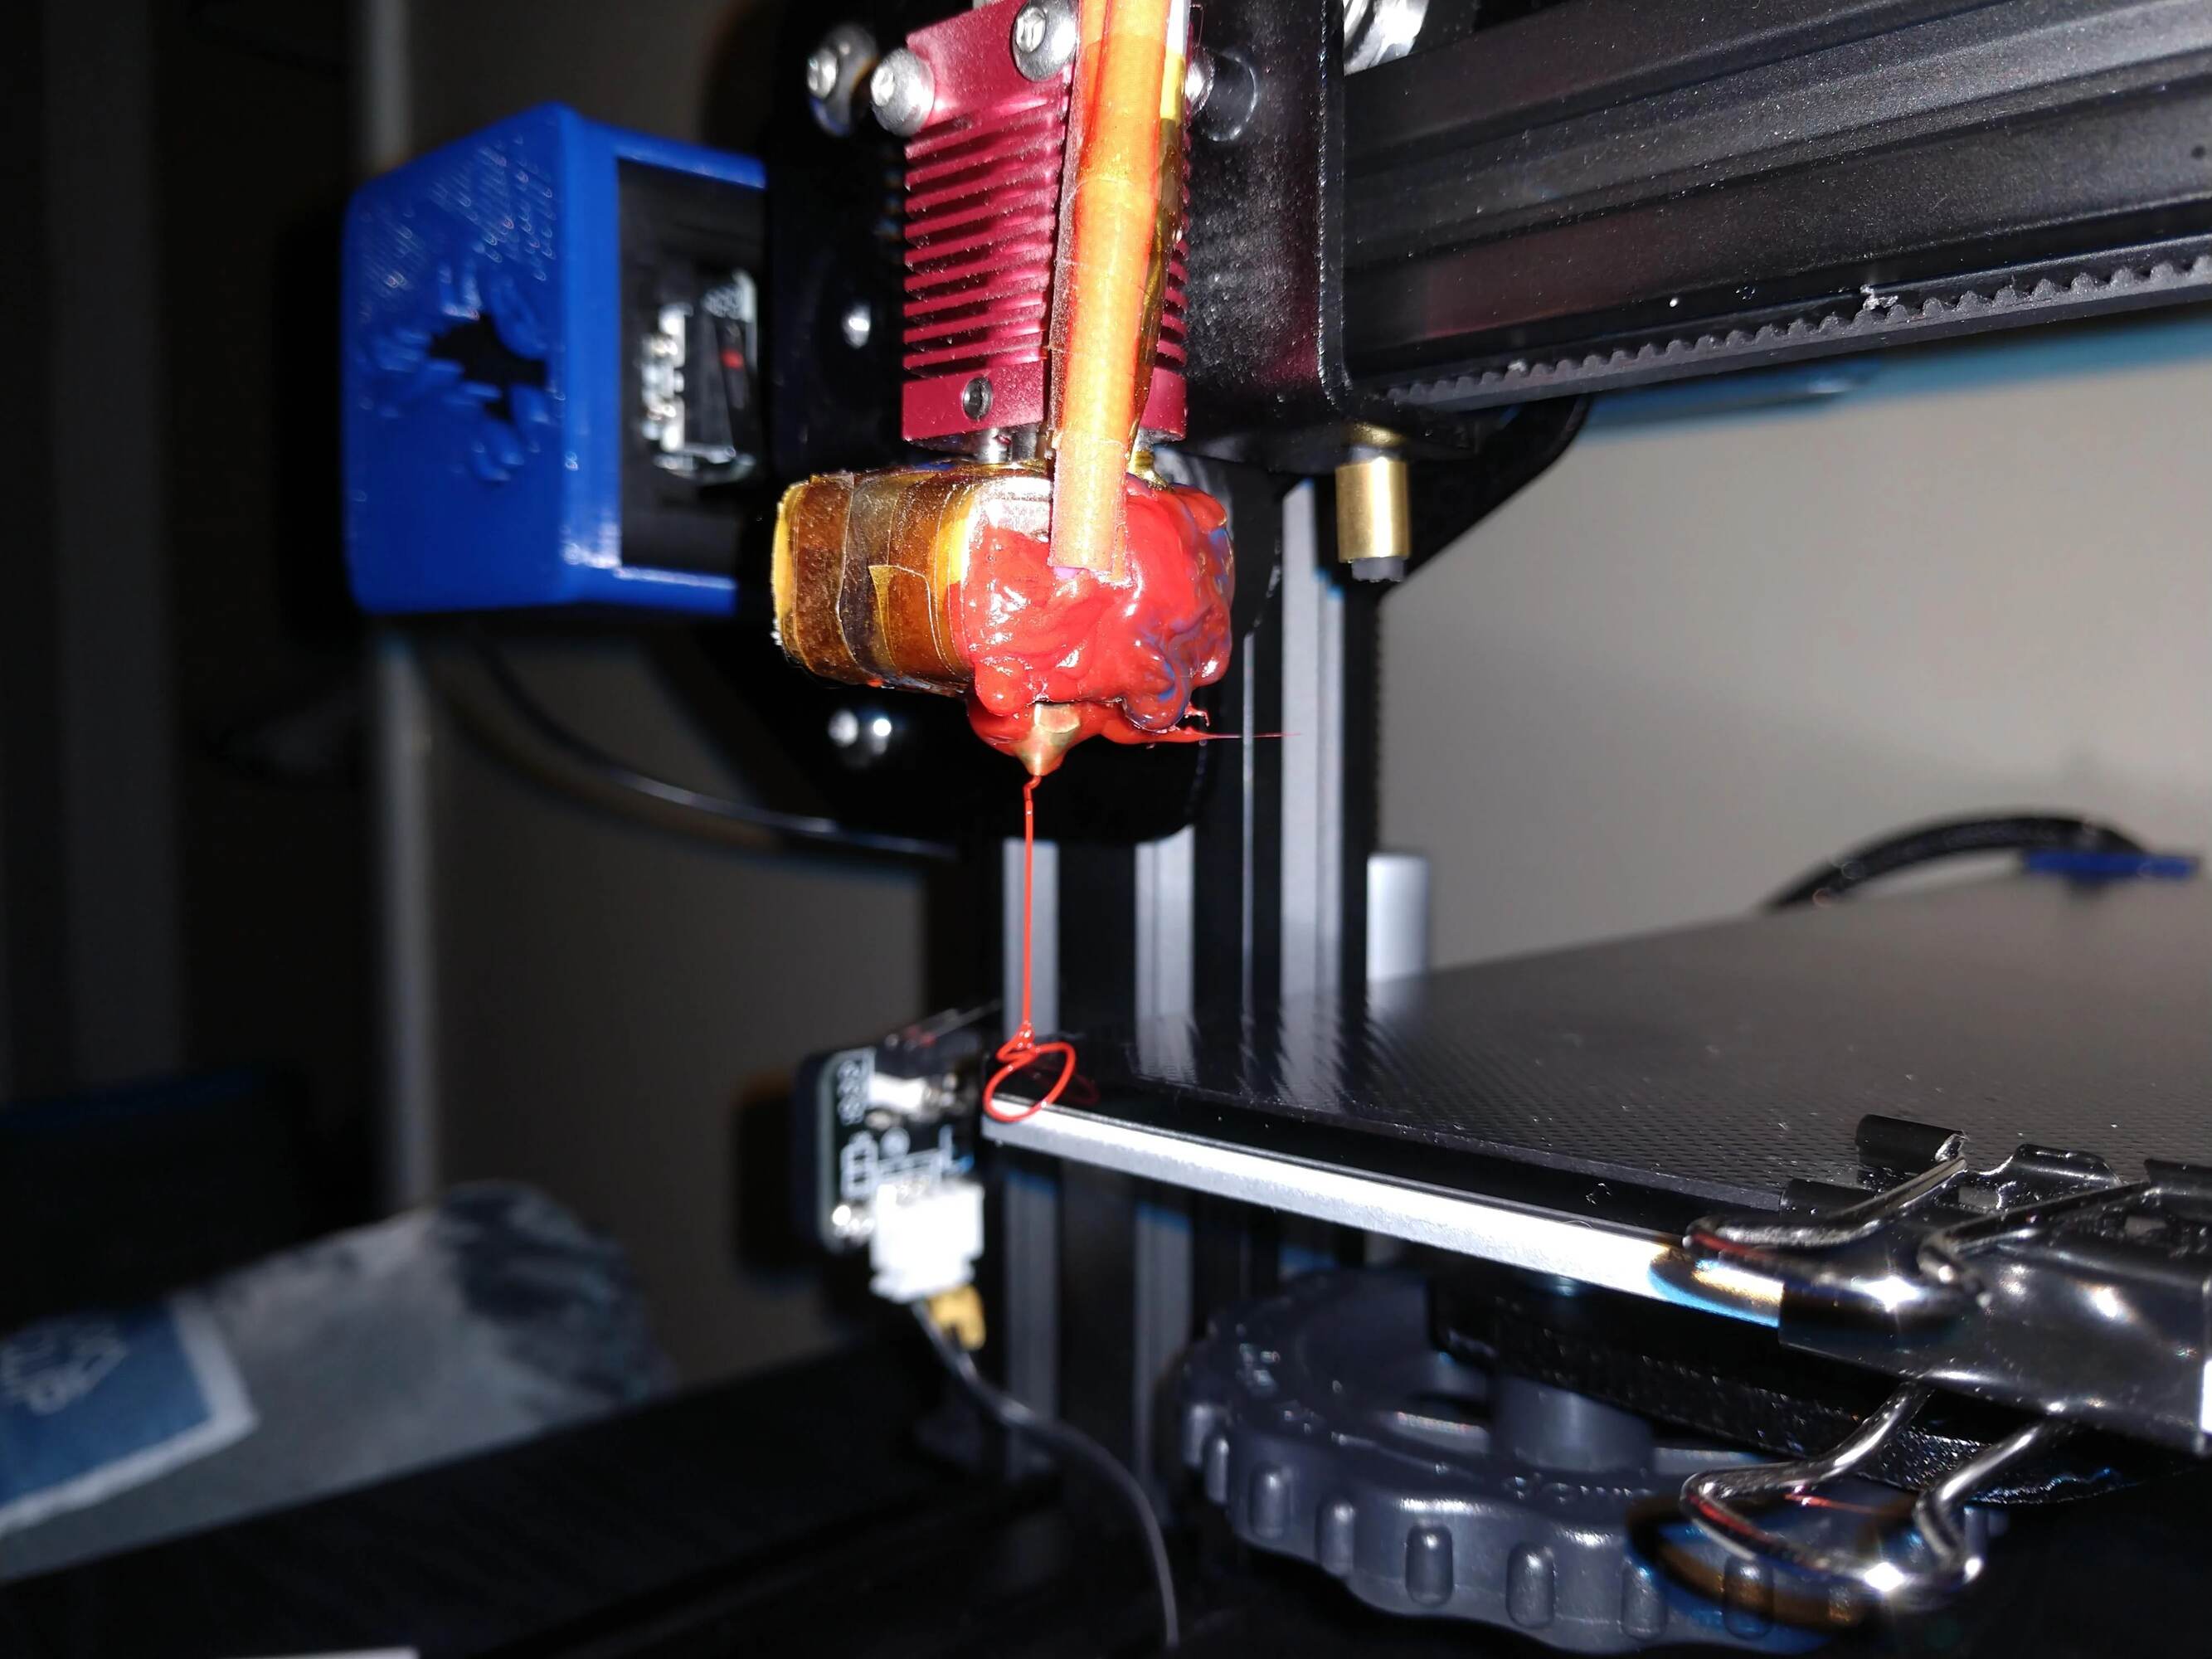
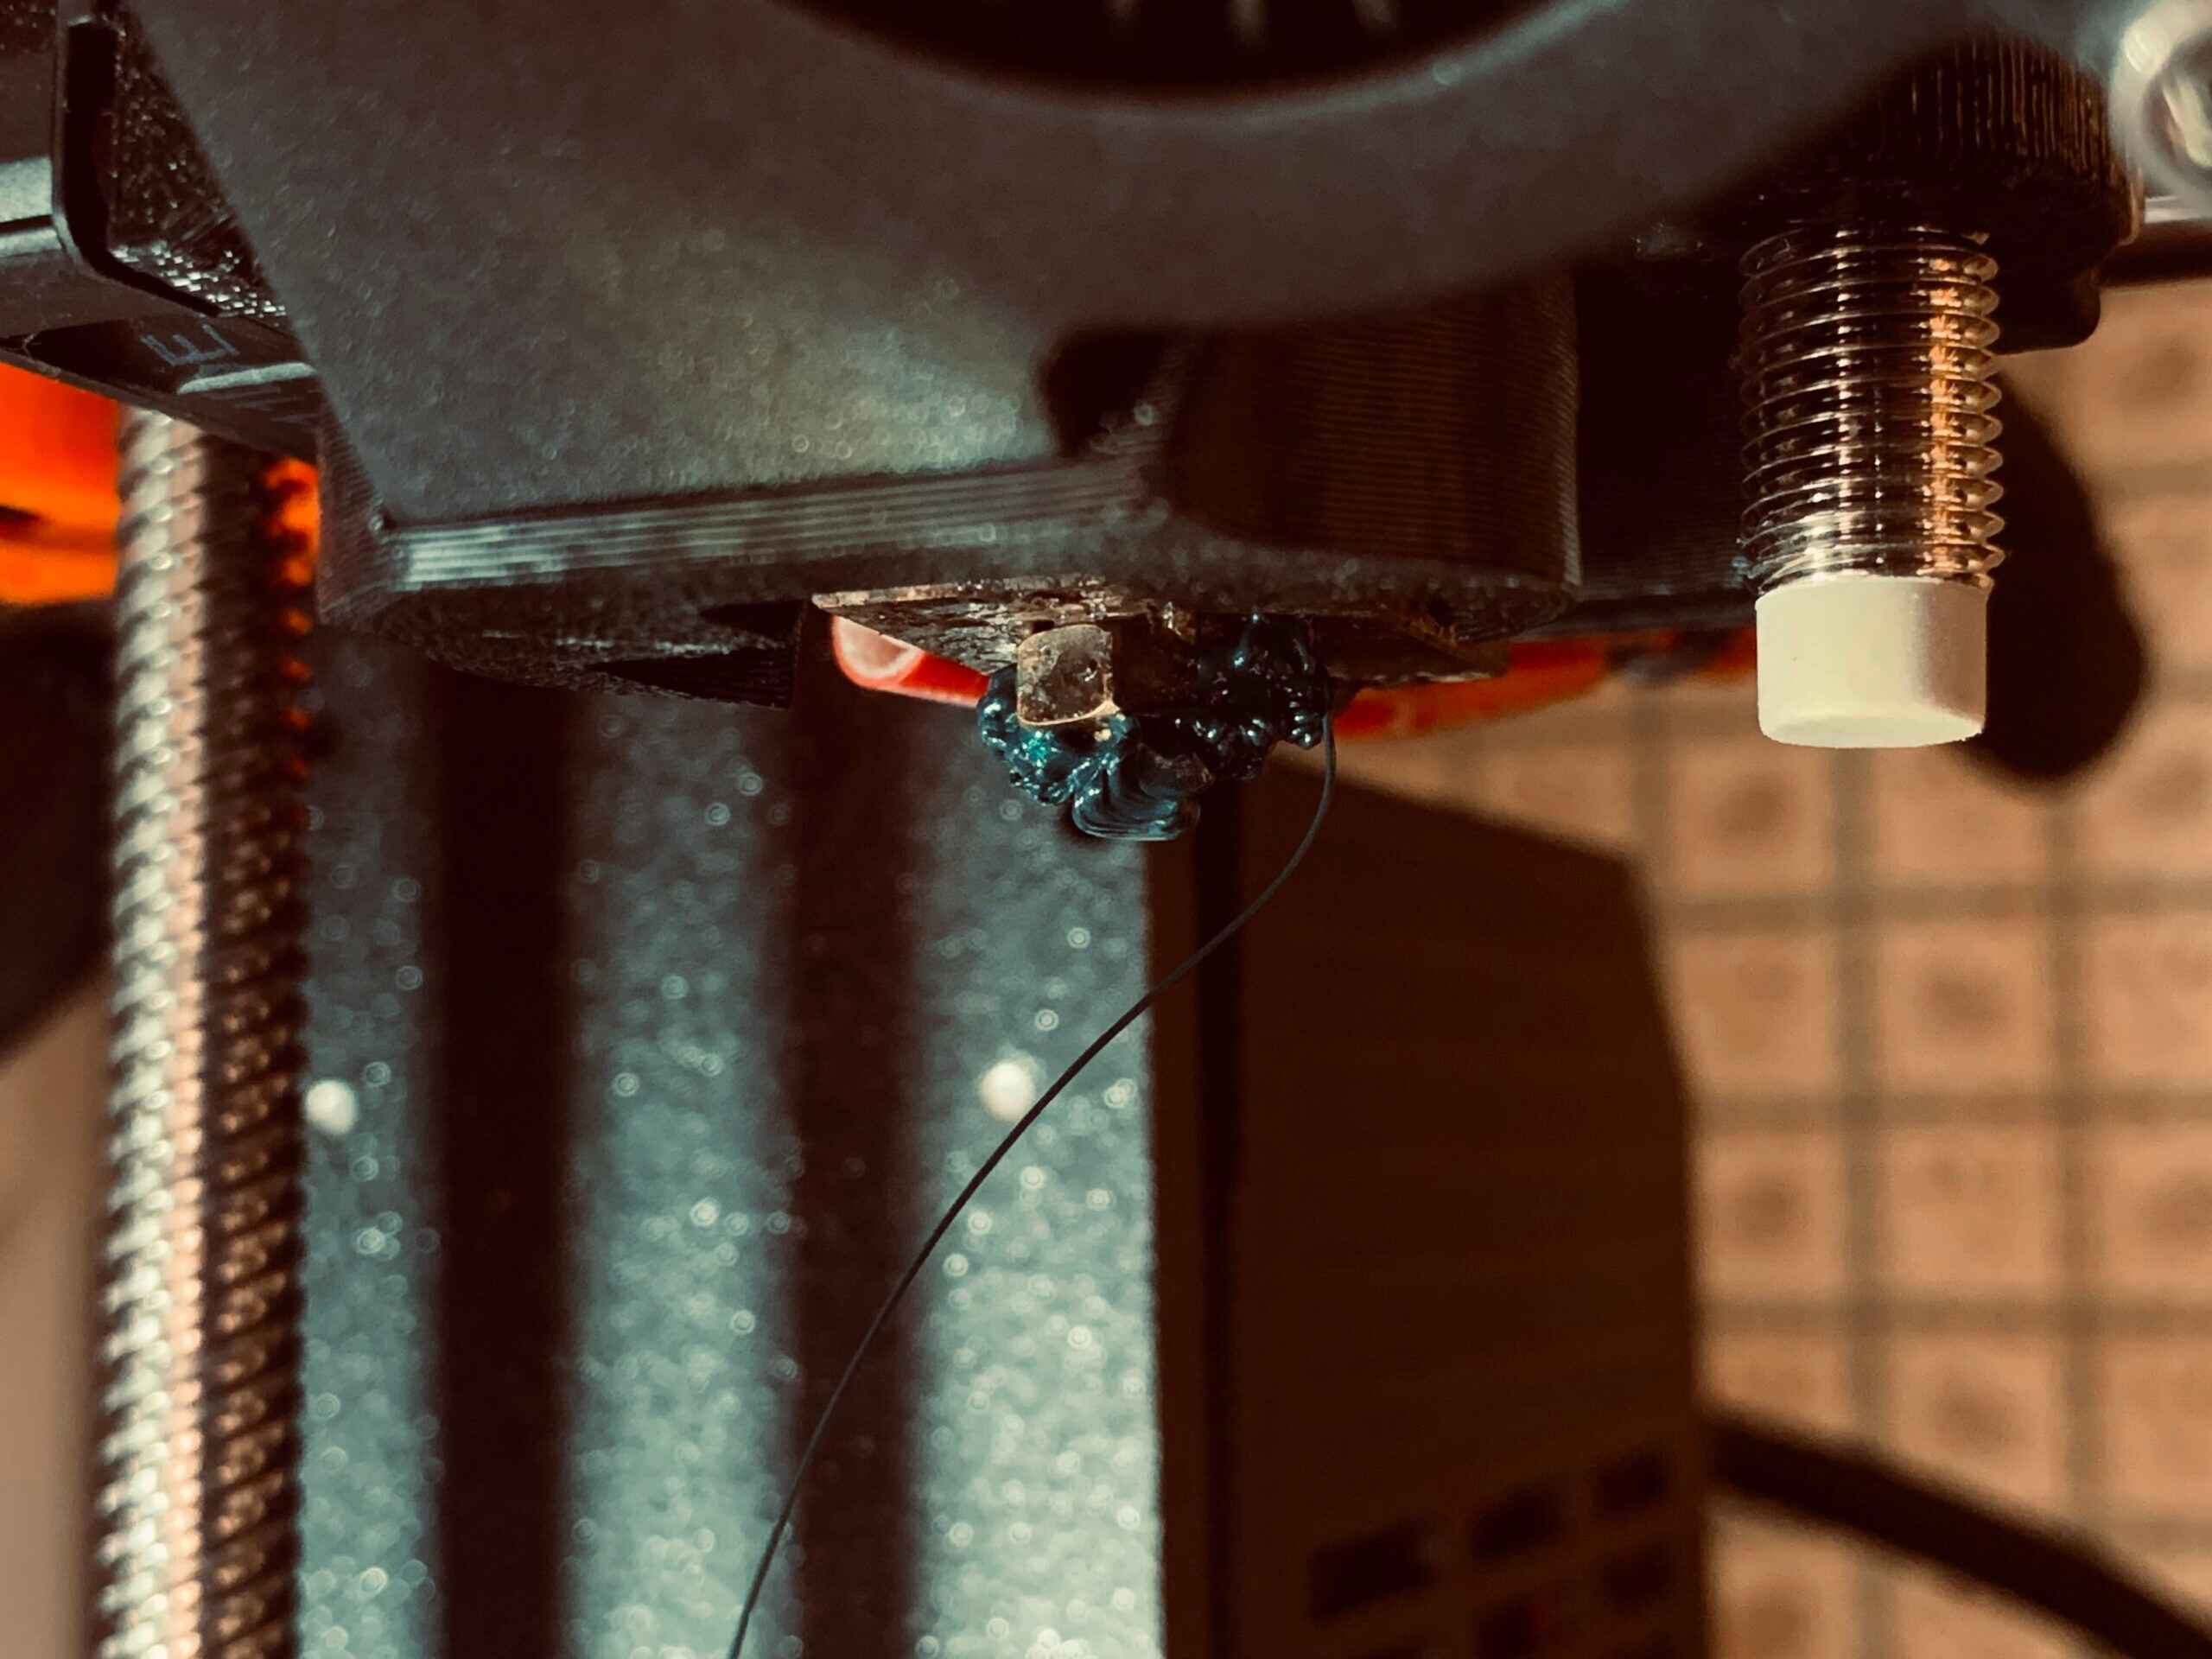
What does clumping around the extruder mean?
When we refer to clumping around the extruder in a 3D printer, we are describing a situation where the filament accumulates or forms clumps in the vicinity of the extruder. This clumping can occur at various stages of the printing process, including during filament loading, filament feeding, or even while the printer is idle.
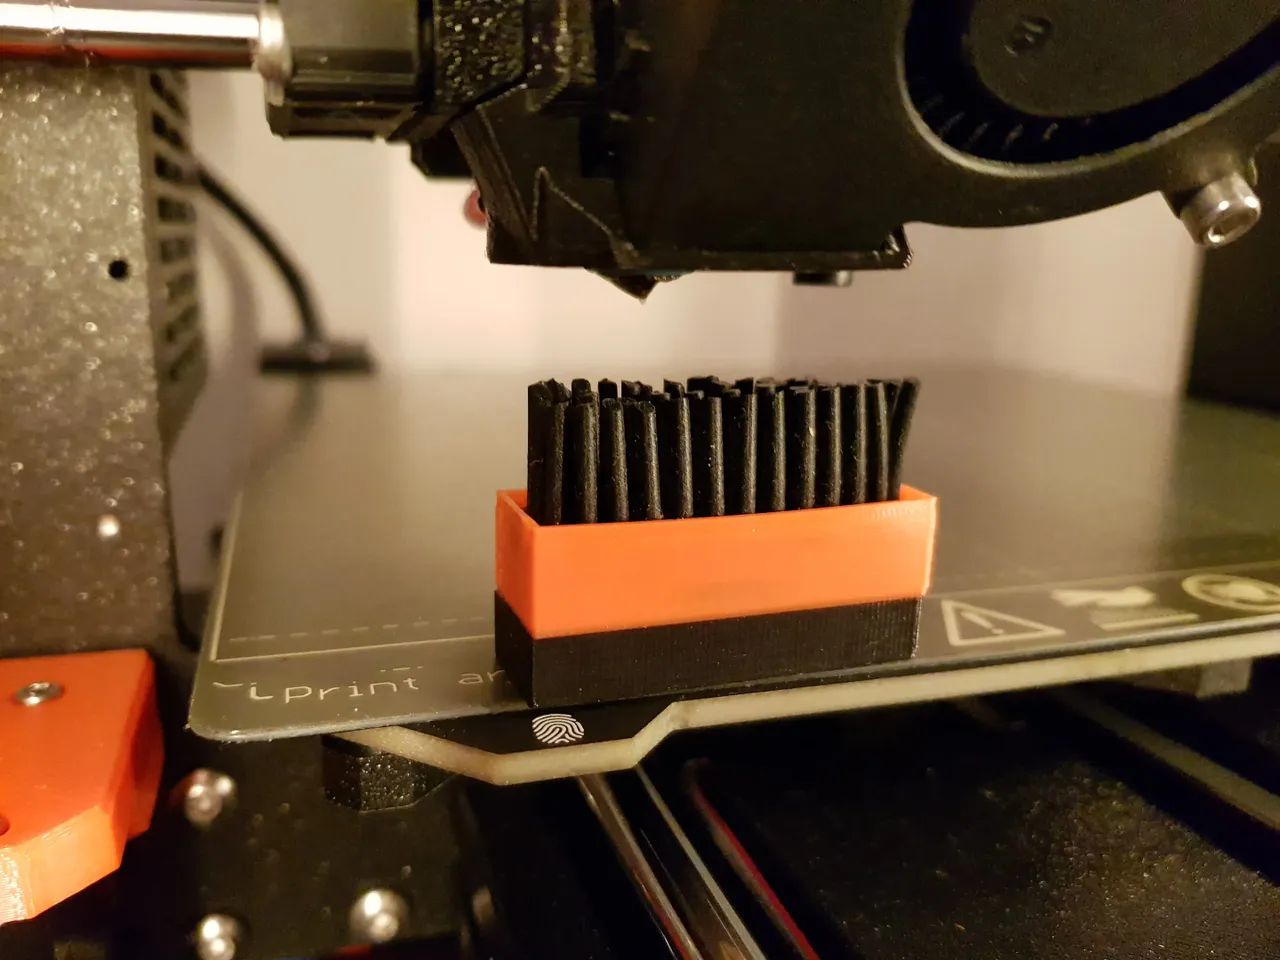
Clumping around the extruder can manifest in different ways, such as filament buildup, stringing, or blobs of molten material. It can lead to several issues that negatively impact the print quality and consistency. These issues may include clogged nozzles, inconsistent extrusion, filament grinding, and even extruder motor skipping or stalling.
When material clumps around the extruder, it interrupts the smooth flow of filament and can cause irregularities in the printed object. It can result in under-extrusion or over-extrusion, leading to improper layer adhesion, gaps in the printed part, or rough surface finishes. Additionally, excessive clumping can also increase the risk of nozzle clogs and potential damage to the printer components.
Identifying material clumping around the extruder is crucial for maintaining optimal 3D printing performance and print quality. By addressing the root causes, users can prevent or alleviate material clumping issues, ensuring a seamless and successful printing process.
Causes of material clumping around the extruder
Material clumping around the extruder in a 3D printer can be attributed to several factors. Understanding these causes is essential in troubleshooting and resolving the issue. Let’s explore the primary reasons why material may clump around the extruder:
- Incorrect filament feed rate: If the filament feed rate is too fast or too slow, it can lead to material clumping. A high feed rate can overwhelm the extruder, causing it to struggle and accumulate material, while a low feed rate may result in insufficient filament melting or poor extrusion.
- Clogging or obstructions in the nozzle: Nozzle clogs or obstructions can disrupt the smooth flow of the filament. When the filament cannot pass through the nozzle freely, it can build up and clump around the extruder, causing printing issues.
- Inconsistent heating of the extruder: If there are temperature fluctuations or inconsistencies in the extruder’s heating, it can lead to uneven melting of the filament. This can result in material clumping around the extruder.
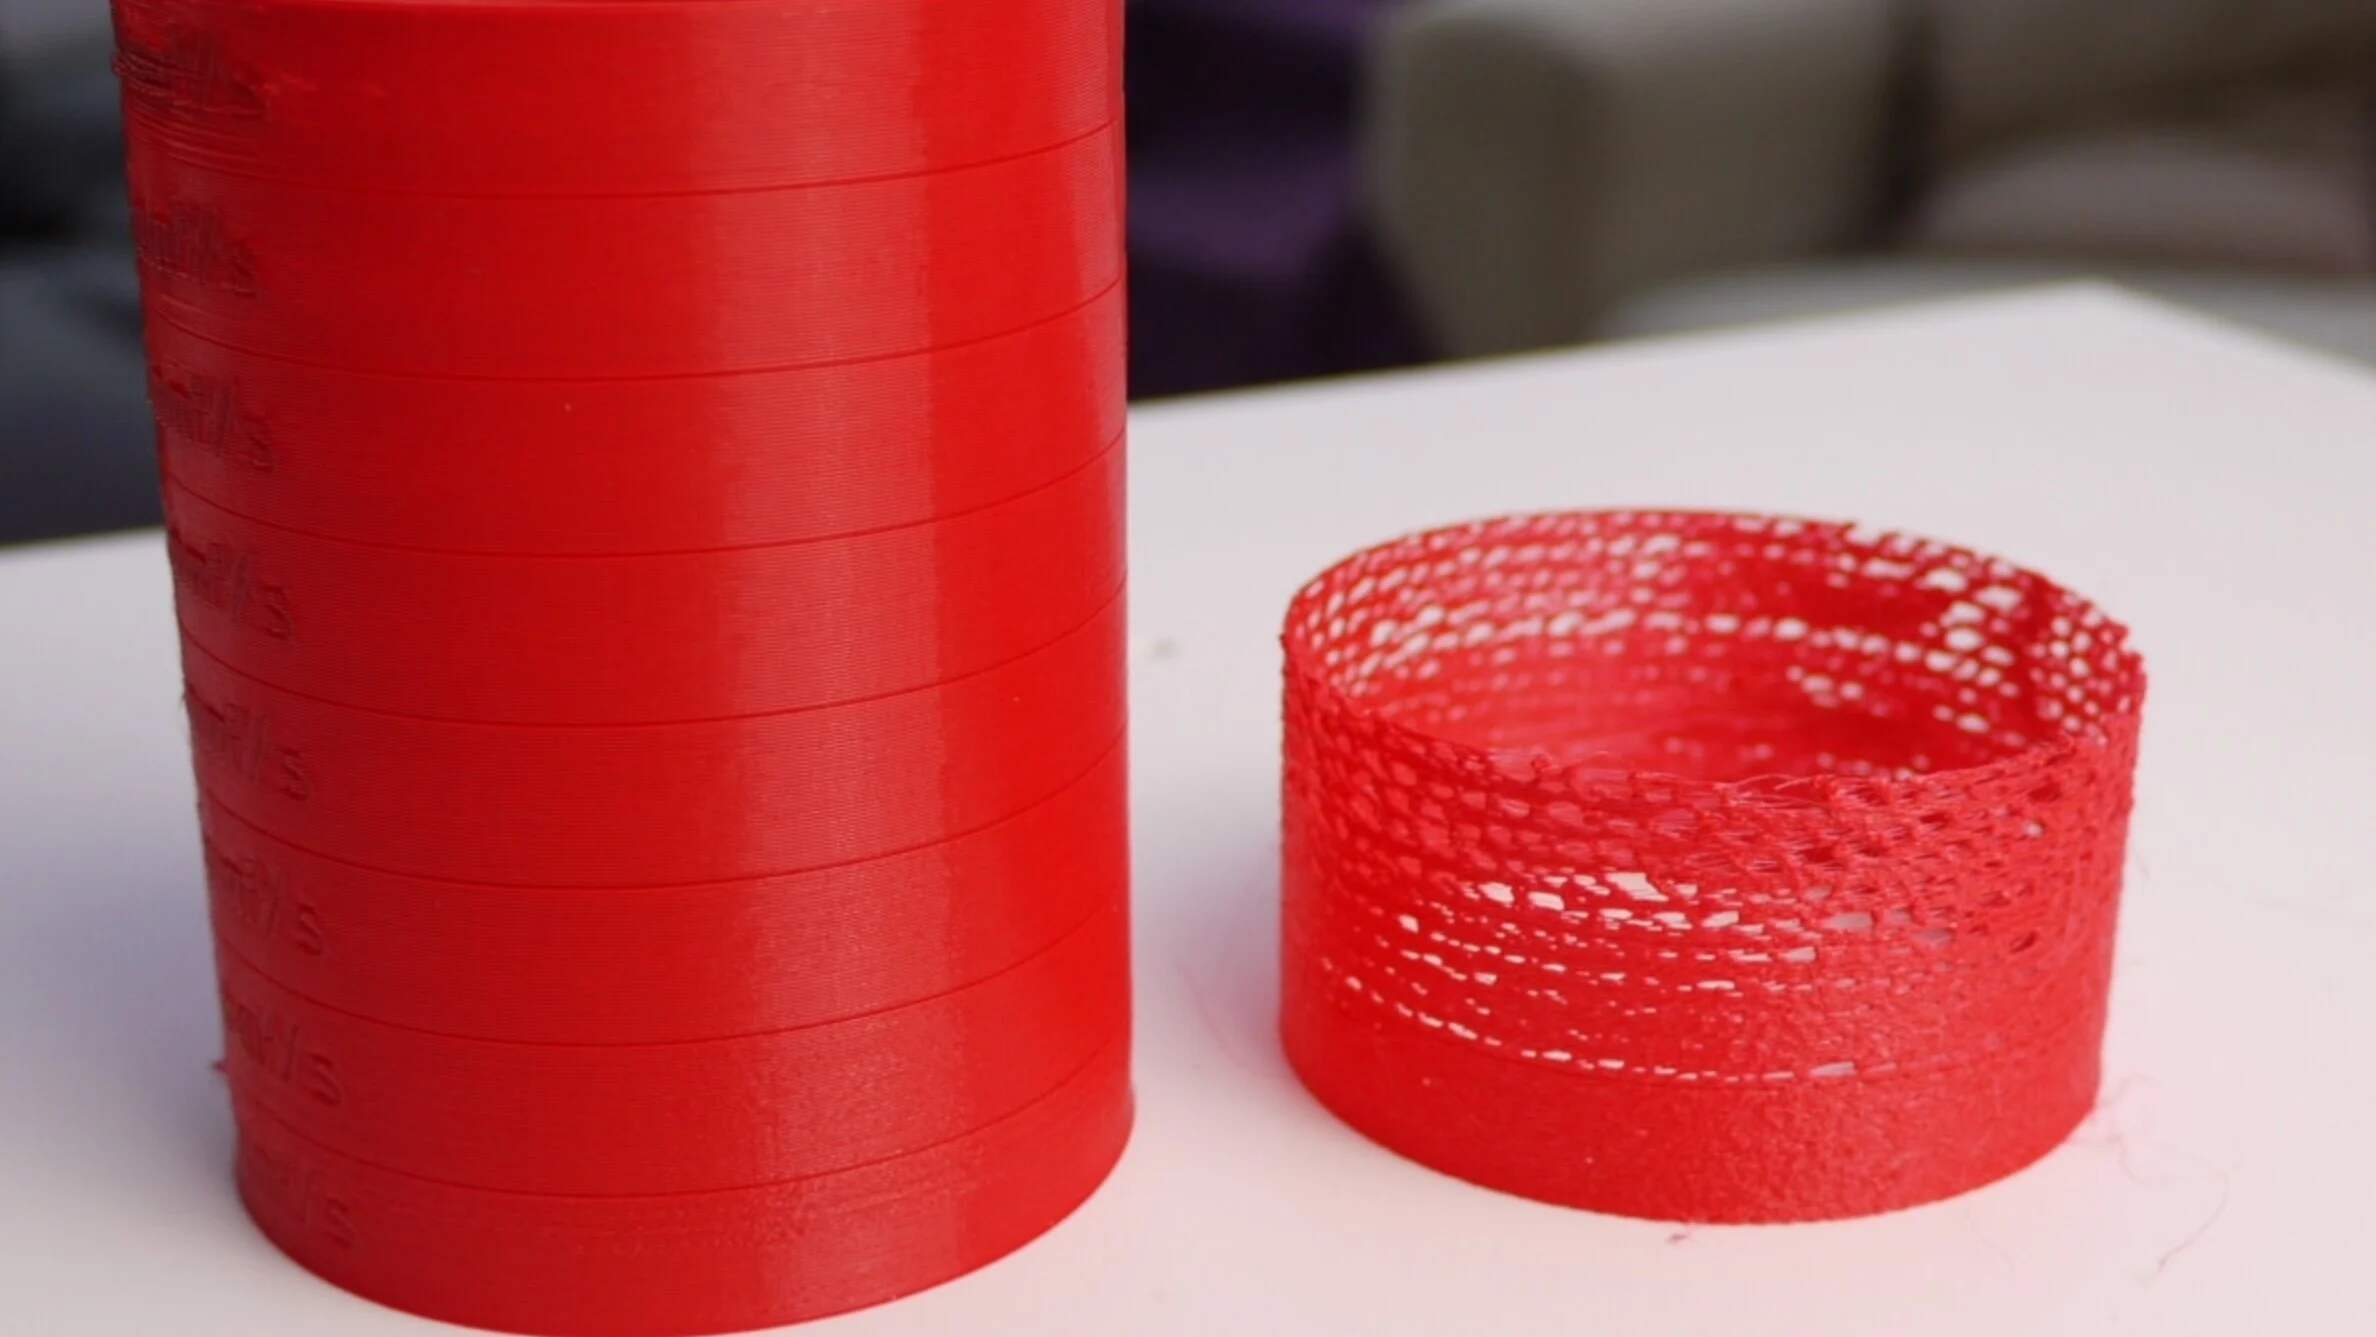
- Poor filament quality or moisture absorption: Low-quality filament or filament that has absorbed moisture can contribute to material clumping. Moisture absorption can cause the filament to become brittle or unevenly melted, leading to clumping issues.
- Improper printer calibration: If the printer is not properly calibrated, it can affect the extruder’s performance, leading to material clumping. Calibration issues such as incorrect bed leveling or improperly set nozzle height can disrupt the filament flow.
Identifying the specific cause of material clumping will help you take the necessary steps to resolve the issue. In the following sections, we will provide practical tips to prevent material clumping around the extruder and ensure smoother 3D printing experiences.
Incorrect filament feed rate
One of the common causes of material clumping around the extruder in a 3D printer is an incorrect filament feed rate. The feed rate refers to the speed at which the filament is pushed into the extruder. If the feed rate is too fast or too slow, it can lead to clumping issues.
When the feed rate is too fast, the extruder may struggle to keep up with the filament flow, causing it to accumulate and clump around the extruder. This can result in uneven extrusion and poor print quality. On the other hand, if the feed rate is too slow, insufficient filament melting and extrusion may occur, leading to similar clumping problems.
To address this issue, it is crucial to find the optimal feed rate for your specific printer and filament combination. Start by adjusting the feed rate settings in your printer’s software or firmware. Incrementally increase or decrease the feed rate and observe the extruder’s performance and the quality of the printed object.
It is recommended to refer to the manufacturer’s guidelines or consult with experienced 3D printing enthusiasts to determine the appropriate feed rate settings. Additionally, consider factors such as the filament diameter, nozzle size, and desired print speed when adjusting the feed rate.
By finding the correct feed rate for your printer and filament combination, you can ensure the smooth flow of filament, preventing material clumping around the extruder and improving the overall print quality.
Clogging or obstructions in the nozzle
Clogging or obstructions in the nozzle of a 3D printer can be a major contributor to material clumping around the extruder. A clogged nozzle prevents the smooth flow of filament, causing it to build up, clump, or even stop extruding altogether.
There are several reasons why a nozzle can become clogged or obstructed. One common cause is filament residue or debris that accumulates over time. This can happen if the printer has been running for a while without proper maintenance or if low-quality or contaminated filament is used.
To address nozzle clogs or obstructions, you can follow these steps:
- Clean the nozzle: Heat the nozzle to the appropriate temperature and carefully remove any filament residue or debris using a small brush or needle. Be cautious not to damage the nozzle or other printer components during the cleaning process.
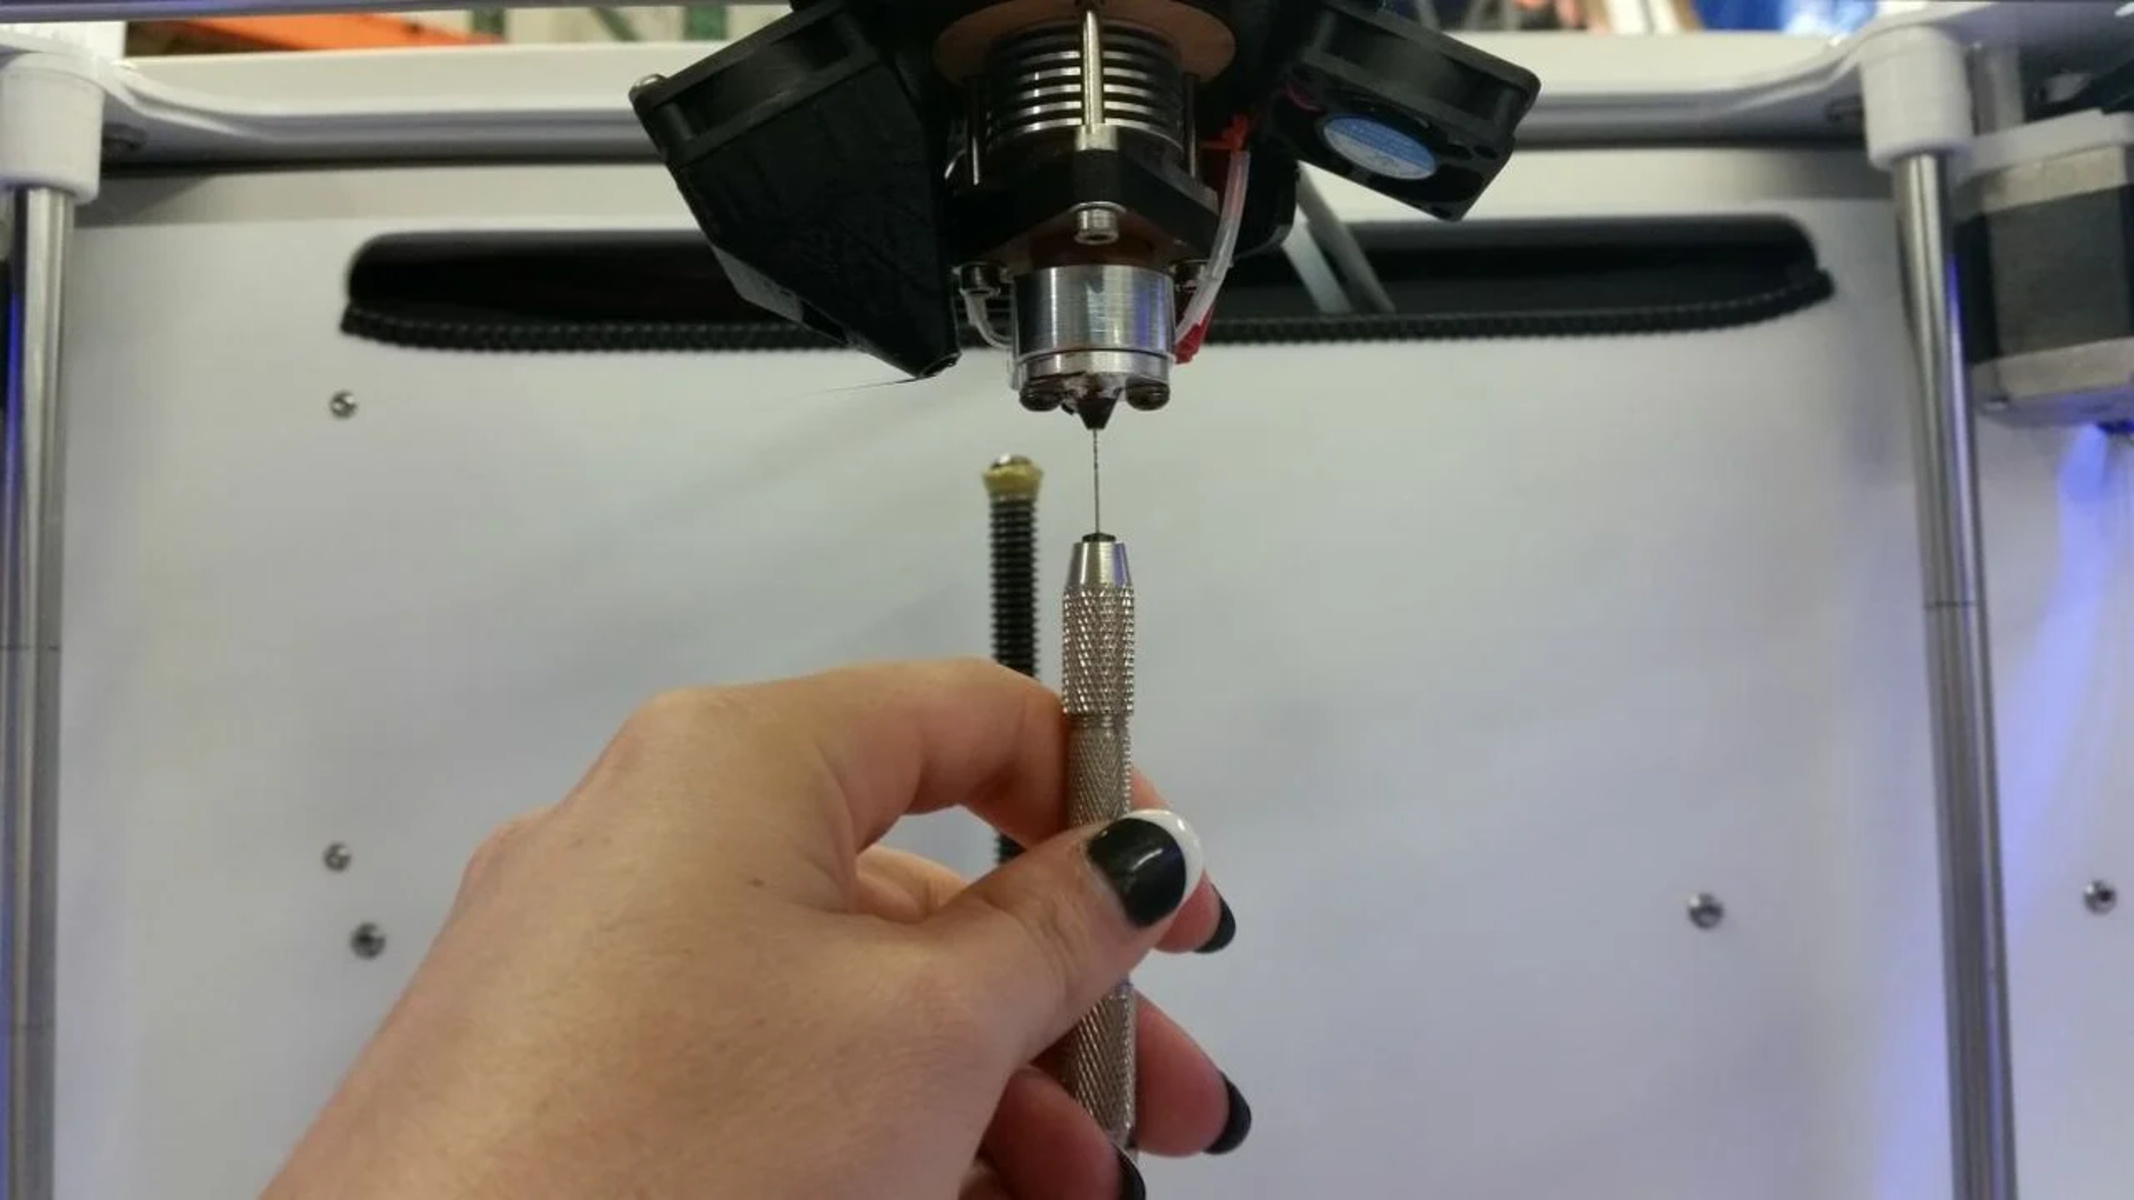
- Atomic pull or cold pull: If the clog is stubborn, you can perform an atomic pull or cold pull. Heat the nozzle to a high temperature, then gradually cool it down while gently pulling the filament out. This technique can help dislodge any lodged particles and clear the nozzle.
- Inspect and replace the nozzle: If cleaning and atomic pulls do not resolve the clogging issue, it may be necessary to replace the nozzle. Nozzles can wear out or get damaged over time, affecting the filament flow. Ensure you select the correct nozzle size and install it properly.
Regularly cleaning the nozzle and ensuring its unobstructed function can significantly reduce the chances of material clumping around the extruder. Remember to perform routine maintenance and use high-quality filament to minimize the risk of nozzle clogs or obstructions.
Inconsistent heating of the extruder
Inconsistent heating of the extruder can contribute to material clumping around the extruder in a 3D printer. The extruder needs to maintain a stable and consistent temperature to melt the filament properly for smooth extrusion. Temperature fluctuations or inconsistencies can lead to uneven melting and clumping of the material.
There are a few factors that can cause inconsistent heating of the extruder:
- Heating element issues: If the heating element in the extruder has malfunctioned or is deteriorating, it may not heat up the filament evenly. This can result in intermittent or inconsistent heating, leading to material clumping.
- Poor thermistor calibration: The thermistor is responsible for measuring the extruder’s temperature. If the thermistor is not calibrated correctly or is faulty, it can provide inaccurate temperature readings. This can lead to improper heating and, consequently, material clumping.
- Inadequate cooling: In some cases, inadequate cooling of the extruder can cause temperature fluctuations. If the extruder is not properly cooled, the heat can radiate or transfer inconsistently, leading to uneven heating of the filament.
To prevent inconsistent heating of the extruder, follow these steps:
- Check and calibrate the thermistor: Ensure that the thermistor is properly calibrated and functioning accurately. If necessary, refer to your printer’s manual or consult with the manufacturer to perform the calibration correctly.
- Inspect the heating element: Check the heating element for any visible signs of damage or deterioration. If you suspect an issue with the heating element, it may be necessary to replace it. Consult with the manufacturer or a professional technician for proper replacement.
- Improve cooling: If inadequate cooling is causing temperature fluctuations, consider implementing cooling enhancements such as adding a fan or improving the printer’s ventilation. This can help dissipate heat more effectively and maintain consistent extruder temperatures.
By addressing inconsistent heating issues, you can ensure proper melting and extrusion of the filament, reducing the chances of material clumping around the extruder.
Poor filament quality or moisture absorption
Poor filament quality or filament that has absorbed moisture can contribute to material clumping around the extruder in a 3D printer. The quality and composition of the filament play a crucial role in its meltability and flow properties.
If the filament quality is subpar, it may contain impurities or inconsistencies that can affect its behavior during the printing process. This can lead to uneven melting, filament irregularities, and eventual clumping around the extruder.
Additionally, filament that has absorbed moisture can cause issues. 3D printing filaments, especially hygroscopic materials like PLA, can absorb moisture from the air over time. Moisture present in the filament can cause it to become brittle, degrade its quality, and result in clumping around the extruder.
To prevent poor filament quality and moisture-related issues, consider the following tips:
- Invest in high-quality filament: Choose reputable filament manufacturers that produce consistent and reliable products. Look for filaments that undergo rigorous quality control to ensure optimal performance.
- Store filament properly: Store filament in airtight containers or resealable bags with desiccant packs to prevent moisture absorption. This will help maintain the filament’s quality and reduce the chances of clumping.
- Dry filament if necessary: If you suspect that your filament has absorbed moisture, you can dry it using a dedicated filament dryer or by placing it in a low-temperature oven for a specific period. Consult the filament manufacturer’s guidelines for the correct drying temperature and duration.
By using high-quality filament and properly managing its storage and moisture content, you can minimize the risk of material clumping around the extruder and ensure smoother 3D printing experiences.
Improper printer calibration
Improper printer calibration can be a contributing factor to material clumping around the extruder in a 3D printer. Calibration involves adjusting various settings and parameters to ensure precise and accurate printing. If the printer is not calibrated correctly, it can result in issues such as filament flow problems and material clumping.
Several calibration aspects can affect the extruder’s performance and filament flow:
- Bed leveling: Proper bed leveling is vital for ensuring the correct distance between the nozzle and the print bed. If the bed is not level, the nozzle may be too close or too far from the bed, leading to improper filament flow and clumping around the extruder.
- Nozzle height: The nozzle height needs to be properly adjusted to achieve optimal filament flow. If the nozzle is too high or too low, it can cause issues such as poor adhesion or filament buildup around the extruder.
- Print speed and flow rate: Incorrect print speed or flow rate settings can result in issues with filament flow. If the speed or flow rate is too high, the extruder may struggle to keep up, causing material clumping. If these settings are too low, it can lead to under-extrusion and poor print quality.
To ensure proper printer calibration and prevent material clumping, consider the following tips:
- Perform regular bed leveling: Regularly check and adjust the bed leveling to ensure the proper distance between the nozzle and the print bed.
- Set the correct nozzle height: Adjust the nozzle height to the recommended position. This ensures proper filament flow and prevents filament buildup around the extruder.
- Calibrate print speed and flow rate: Experiment with different print speeds and flow rates to find the optimal settings for your printer and filament combination. Fine-tuning these settings can help prevent filament clumping.
Proper printer calibration is essential to achieve optimal performance and prevent issues such as material clumping. Taking the time to calibrate your printer correctly will result in better print quality and successful 3D printing outcomes.
Tips to prevent material clumping around the extruder
To ensure smooth 3D printing and prevent material clumping around the extruder, it is essential to take proactive measures. Here are some helpful tips to prevent material clumping and maintain optimal printing performance:
- Check and adjust the filament feed rate: Find the optimal feed rate for your specific printer and filament combination. Adjust the feed rate settings to ensure a consistent and appropriate flow of filament into the extruder.
- Clean the nozzle and remove obstructions: Regularly clean the nozzle to prevent clogs and obstructions. Use a small brush or needle to remove any filament residue or debris that may hinder the smooth flow of filament.
- Ensure proper heating of the extruder: Monitor and maintain a stable and consistent temperature in the extruder. Address any heating issues, such as a malfunctioning heating element or poor thermistor calibration, to prevent uneven melting and material clumping.
- Store filament properly and avoid moisture absorption: Store filament in airtight containers or resealable bags with desiccant packs to prevent moisture absorption. Moisture can lead to filament degradation and clumping around the extruder.
- Calibrate the printer settings and bed leveling: Regularly calibrate and adjust printer settings such as print speed, flow rate, bed leveling, and nozzle height. Proper printer calibration ensures optimal filament flow and prevents issues like material clumping.
By following these tips and taking proactive measures, you can significantly reduce the chances of material clumping around the extruder. This will help you achieve better print quality, prevent clogs, and maintain the overall performance and longevity of your 3D printer.
Check and adjust the filament feed rate
The filament feed rate plays a crucial role in ensuring the proper flow of filament into the extruder. An incorrect feed rate can lead to material clumping around the extruder in a 3D printer, resulting in poor print quality and failed prints.
To prevent material clumping, it is important to check and adjust the filament feed rate. Here are some steps you can take:
- Refer to manufacturer guidelines: Consult the manufacturer’s guidelines or documentation for recommended feed rates for your specific filament and printer model. These guidelines can provide a starting point for the optimal feed rate.
- Create test prints: Experiment with different feed rates by printing small test objects using a range of feed rate settings. Analyze the results to determine the feed rate that produces the best print quality without any material clumping.
- Make incremental adjustments: Gradually increase or decrease the feed rate setting on your printer’s software or firmware. Monitor the extruder’s performance and the quality of the printed object after each adjustment to find the optimal feed rate.
- Consider filament diameter and nozzle size: The filament diameter and nozzle size of your printer can affect the feed rate. Adjust the feed rate accordingly, taking into consideration these factors to achieve optimal filament flow.
- Observe filament flow during printing: During the printing process, keep an eye on the flow of filament. Look for any signs of under-extrusion or over-extrusion, as this may indicate that the feed rate needs adjustment. If the flow is not consistent and smooth, make further adjustments to the feed rate settings.
By checking and adjusting the filament feed rate, you can ensure a proper and consistent flow of filament into the extruder. This helps prevent material clumping and results in better print quality and successful 3D prints.
Clean the nozzle and remove obstructions
Clogs and obstructions in the nozzle can cause material clumping around the extruder in a 3D printer, leading to printing issues and poor print quality. Regularly cleaning the nozzle and removing any obstructions is essential for maintaining smooth filament flow and preventing material buildup.
Here are some steps to clean the nozzle and remove obstructions:
- Heat the nozzle: Begin by heating the nozzle to the appropriate temperature according to the filament type being used. This softens the filament, making it easier to remove any residual material.
- Remove filament residue: Once the nozzle is heated, carefully remove any filament residue or debris that may be obstructing the nozzle opening. You can use a small brush, needle, or specialized cleaning tools to gently clean the inside of the nozzle.
- Perform atomic pulls: If a clog is persistent or difficult to remove, you can perform an atomic pull, also known as a cold pull. Heat the nozzle to the upper end of the filament’s recommended temperature range, then cool it down to a lower temperature. When the nozzle reaches this lower temperature, gently apply pulling force to remove any trapped filament or debris.
- Inspect for stubborn clogs: If the nozzle remains clogged even after cleaning attempts, it might require more thorough cleaning or unclogging methods. There are various techniques available, such as using specialized cleaning filaments or employing chemical solvents. However, caution must be exercised when using such methods to avoid damaging the nozzle.
- Prevent future clogs: To minimize the chances of nozzle clogs and obstructions, ensure high-quality filament is used, and avoid printing with low-quality or contaminated filaments. Additionally, regularly perform routine maintenance and cleaning of the printer to prevent debris accumulation inside the nozzle.
By regularly cleaning the nozzle and removing obstructions, you can maintain proper filament flow and prevent material clumping around the extruder. This ensures better print quality and successful 3D prints.
Ensure proper heating of the extruder
Proper heating of the extruder is crucial for achieving optimal filament melting and preventing material clumping around the extruder in a 3D printer. Inconsistent or inadequate heating can lead to uneven melting, filament irregularities, and ultimately result in poor print quality.
Here are some steps to ensure proper heating of the extruder:
- Monitor temperature consistency: Frequently check the temperature readings on your printer’s display or software to ensure it remains stable and consistent. Temperature fluctuations can cause uneven melting and clumping of the filament.
- Verify heating element functionality: Check the heating element of the extruder to ensure it is functioning as intended. A malfunctioning or deteriorating heating element may not provide sufficient heat, leading to inconsistent melting and material clumping.
- Calibrate the thermistor: The thermistor measures the temperature of the extruder. If the thermistor is not calibrated correctly or is faulty, it can provide inaccurate temperature readings. Follow the manufacturer’s guidelines or consult the printer’s manual to properly calibrate the thermistor.
- Ensure adequate cooling: While proper heating is essential, equally important is adequate cooling. The extruder should be properly cooled to ensure the heat is transferred and regulated effectively. Insufficient cooling can result in inconsistent heating and potential material clumping.
- Consider an enclosure: If you frequently encounter temperature variations due to external factors, such as drafts or ambient temperature changes, using an enclosure around the printer can help maintain a more stable and controlled environment for the extruder.
By ensuring proper heating of the extruder, you can facilitate consistent filament melting and flow. This reduces the risk of material clumping and promotes better print quality in your 3D printing projects.
Store filament properly and avoid moisture absorption
The proper storage of filament and preventing moisture absorption are essential to prevent material clumping around the extruder in a 3D printer. Filament quality and moisture content play a significant role in filament behavior during printing.
Here are some tips to store filament properly and avoid moisture absorption:
- Use airtight storage containers: Store filament in airtight containers or resealable bags to minimize exposure to air and moisture. Make sure the containers are suitable for filament storage and can maintain a dry environment.
- Add desiccant packs: Place desiccant packs, such as silica gel packets or dedicated filament storage desiccants, inside the storage containers to absorb any moisture that may be present. This helps to keep the filament dry and avoids clumping caused by moisture absorption.
- Avoid humidity-prone environments: Store filament in a cool, dry area away from direct sunlight and high humidity. Excessive moisture in the air can be absorbed by the filament, leading to degraded quality and clumping when extruded.
- Re-dry filament if necessary: If you suspect that your filament has absorbed moisture, you can re-dry it using a dedicated filament dryer or by placing it in a low-temperature oven for a specific duration. Follow the filament manufacturer’s guidelines for proper drying temperature and time.
- Monitor filament quality: Regularly inspect the filament for signs of moisture damage or degradation. Look for discoloration, brittleness, or unusual texture changes, as these can indicate moisture absorption. Replace any filament that shows signs of moisture damage.
By storing filament properly and preventing moisture absorption, you can preserve the quality of the filament and minimize the risk of material clumping around the extruder. This ensures smoother 3D printing processes and better-printed outcomes.
Calibrate the printer settings and bed leveling
Proper calibration of printer settings and bed leveling is vital to prevent material clumping around the extruder in a 3D printer. Calibration ensures that the printer operates optimally and promotes consistent filament flow, leading to improved print quality.
Here are some steps to calibrate the printer settings and bed leveling:
- Check bed leveling: Ensure that the print bed is leveled correctly. Adjust the leveling knobs or screws as necessary to achieve a uniform distance between the nozzle and the bed. Proper bed leveling prevents issues such as uneven extrusion and filament clumping.
- Calibrate nozzle height: Set the nozzle height to the appropriate distance from the print bed. This helps establish the correct first layer height and promotes proper filament adhesion. Adjust the leveling knobs or adjust the printer’s software settings for nozzle height calibration.
- Verify print speed and flow rate: Experiment with different print speeds and flow rates to find the optimal settings. Adjusting the print speed and flow rate affects filament flow and helps prevent clumping. Find the balance that produces smooth and consistent extrusions.
- Perform test prints: Print a small test object to assess the printer’s performance and quality. Analyze the results for any issues such as under-extrusion, over-extrusion, or filament clumping. Adjust the printer settings accordingly to achieve the desired print outcome.
- Regularly recalibrate: Over time, printer settings and bed leveling may require recalibration. Routine recalibration helps maintain optimal performance. Additionally, calibrate the printer when changing filament types, nozzle sizes, or making significant modifications to the printer.
By calibrating the printer settings and bed leveling, you ensure proper filament flow and prevent material clumping around the extruder. This leads to more consistent and high-quality 3D prints.
Conclusion
Material clumping around the extruder in a 3D printer can be a frustrating issue that hinders print quality and creates obstacles in the printing process. However, by understanding the causes and implementing preventive measures, you can minimize or even eliminate material clumping and achieve better printing results.
Throughout this article, we have discussed various factors that contribute to material clumping, including incorrect filament feed rate, clogging or obstructions in the nozzle, inconsistent heating of the extruder, poor filament quality, and improper printer calibration. By addressing these factors and following the tips provided, you can mitigate the risk of material clumping and improve the overall performance of your 3D printer.
Regular maintenance and cleanliness of the printer, along with proper storage of filament to ensure it stays dry, are essential steps in preventing material clumping. Additionally, understanding and adjusting the filament feed rate, cleaning the nozzle, ensuring proper heating and printer calibration, can make a significant difference in preventing material clumping and achieving high-quality prints.
Remember, troubleshooting and resolving material clumping may require some trial and error, as different printers and filaments may have specific requirements. Experimentation, patience, and a keen eye for detail will help you find the optimal settings for your printer and filament combination.
By implementing the tips and techniques discussed in this article, you can overcome material clumping challenges and enjoy smoother 3D printing experiences with improved print quality.