Introduction
Welcome to the world of 3D printing, where creativity and technology converge to bring ideas to life. When it comes to 3D printing, there are various aspects to consider, from selecting the right materials to setting the optimal parameters. One crucial element in the 3D printing process is the use of a skirt.
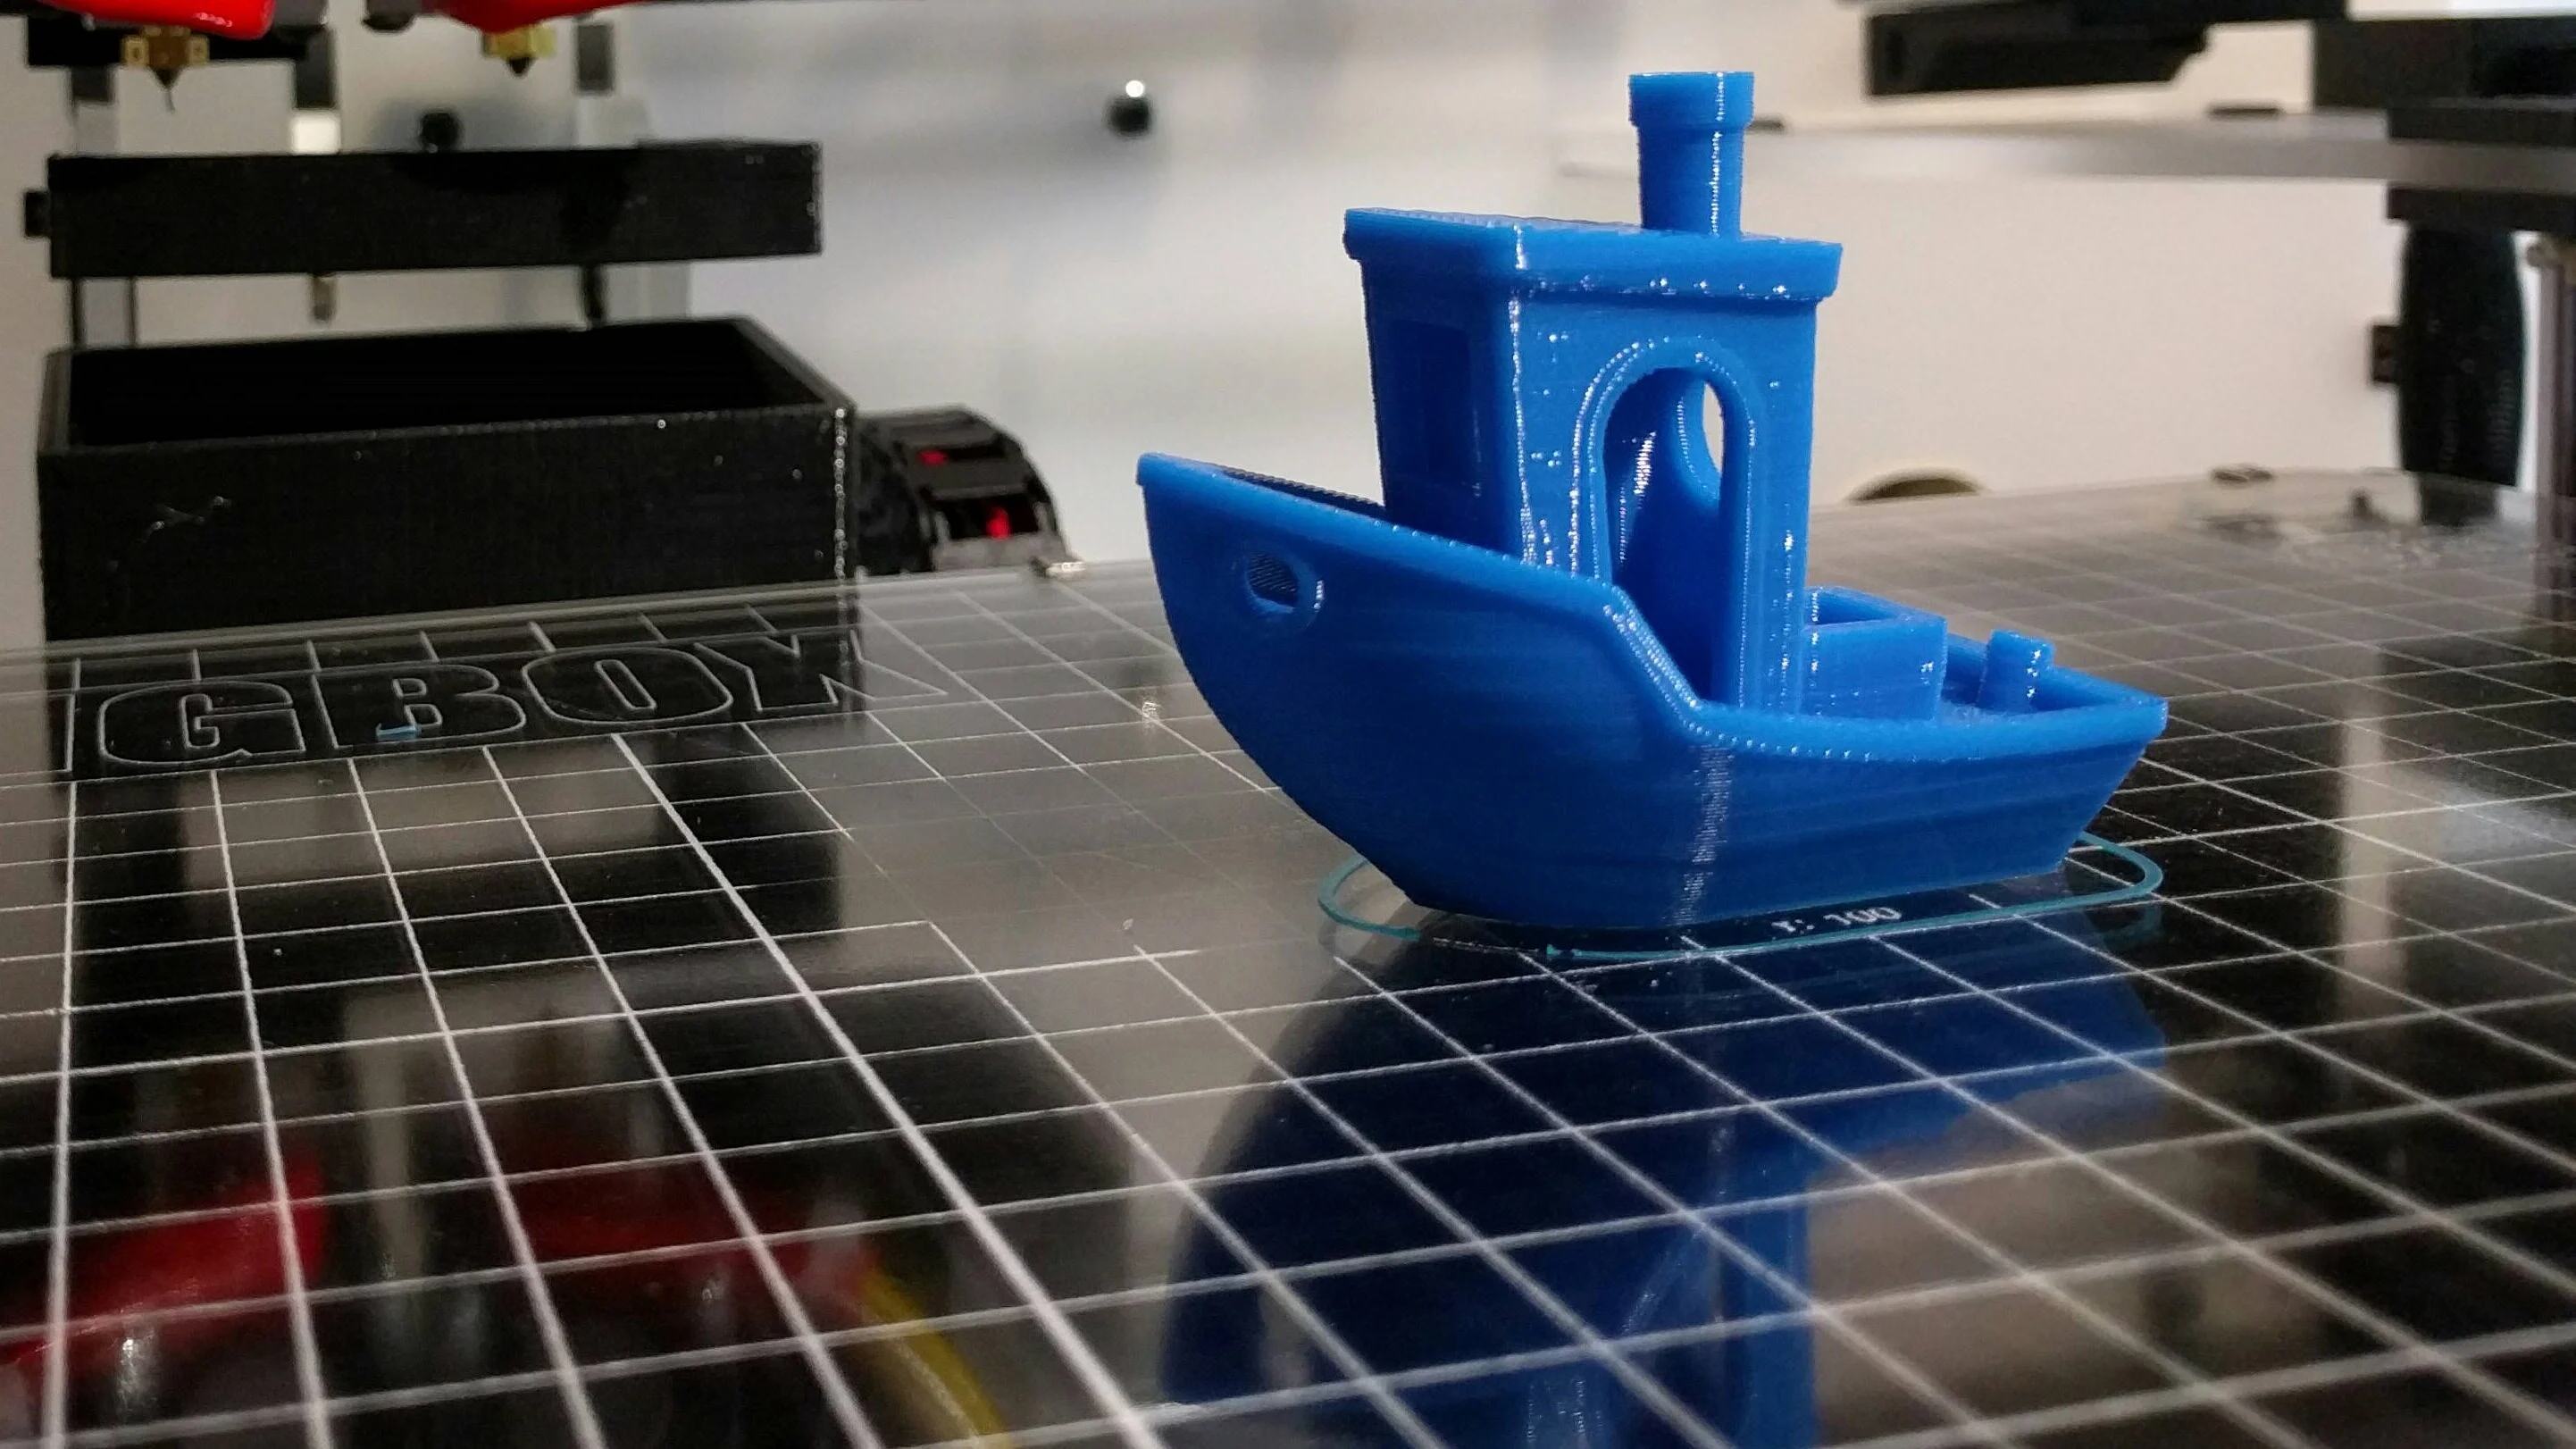
A skirt, in the context of 3D printing, refers to a thin outline of filament that is printed around the perimeter of the object before actual printing begins. It serves as an important preparatory step that helps ensure a successful print. Although it may seem like a small detail, the skirt plays a significant role in the overall printing process.
In this article, we will explore the purpose and benefits of using a skirt in 3D printing. We will also discuss how to set up a skirt in 3D printing software, provide commonly used parameters, and offer tips for using skirts effectively. Furthermore, we will address common troubleshooting issues related to skirts, helping you achieve optimal results in your 3D printing endeavors.
Whether you are a seasoned 3D printing enthusiast or just getting started, understanding the function of a skirt and how to utilize it effectively can significantly enhance your printing experience. So, let’s dive in and discover the world of skirts in 3D printing!
Definition of a Skirt in 3D Printing
In the realm of 3D printing, a skirt is a preliminary feature that is printed around the outer edges of the object, serving as a preparatory layer before the actual printing begins. It is typically a single layer of filament that is extruded in a thin line around the perimeter of the print.
The purpose of the skirt is multifaceted. Primarily, it functions as a calibration tool to ensure that the extruder is primed and properly flowing before the actual print starts. By printing a skirt, any potential issues such as clogs, inconsistent flow, or air bubbles in the filament can be identified and resolved before they affect the quality of the print.
Furthermore, the skirt also serves as a means to initiate filament flow and establish good adhesion between the print bed and the filament. As the extruder lays down the skirt, it helps to clear any residue or impurities that may be present on the nozzle, ensuring a clean and consistent flow of material.
Another important aspect of the skirt is its role in leveling the print bed. By printing a skirt around the object, it provides a visual indication of the levelness of the bed. If the skirt is properly adhered and well-formed, it suggests that the bed is leveled correctly. On the other hand, if the skirt is uneven or has gaps, it indicates that adjustments need to be made to achieve a level surface for successful printing.
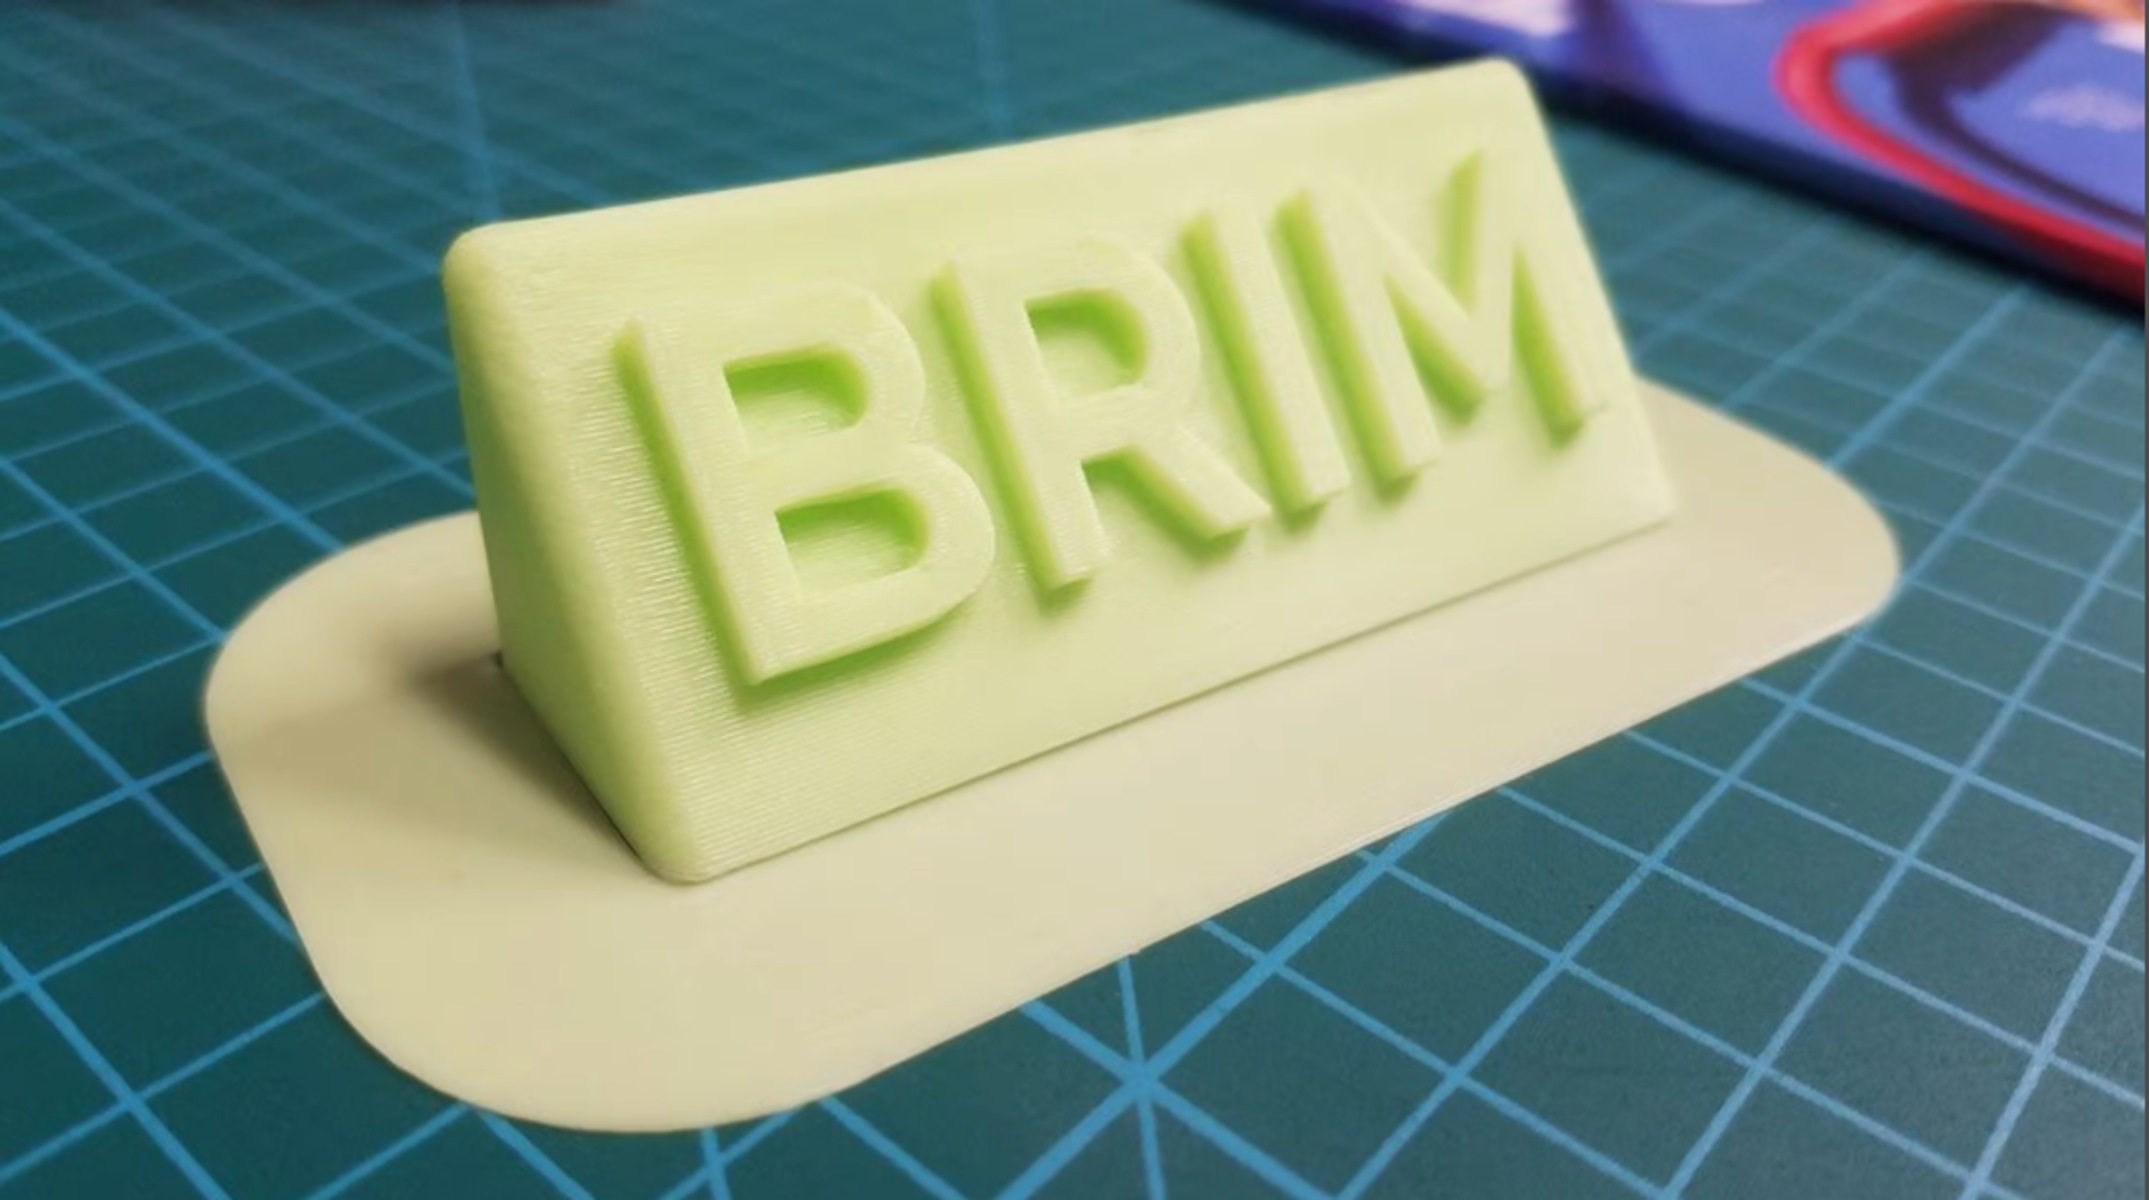
It is worth noting that the skirt is distinct from other features such as rafts or brims. While rafts and brims are additional structures that provide stability and adhesion to the print, a skirt is purely a calibration and priming tool that is removed once the print starts. Once the skirt has served its purpose and the extruder is reliably extruding filament, it is printed off to the side or wiped away, allowing the main print to take center stage.
Now that we have a clear understanding of what a skirt is and its function in 3D printing, let’s delve into the reasons why it is essential to utilize a skirt for successful prints.
Why is a Skirt Used?
A skirt is an indispensable component in the 3D printing process for several reasons. Let’s explore the main purposes of using a skirt:
1. Priming and Calibration: One of the primary reasons to use a skirt is to prime the extruder and ensure that the filament is flowing smoothly before the actual print begins. By printing a skirt, any inconsistencies, air bubbles, or clogs in the filament can be identified and addressed, preventing potential issues during the print. Additionally, the skirt also serves as a calibration tool to level the print bed and confirm proper nozzle height.
2. Cleaning the Nozzle: Filament residue or impurities may accumulate on the nozzle during preheating or previous prints. The skirt helps in cleaning the nozzle by extruding a small amount of filament before starting the print, ensuring a clean and debris-free nozzle for optimal print quality.
3. Adhesion and Bed Leveling: The skirt provides a foundation for good adhesion between the print bed and the filament. As the skirt is laid down, it helps in creating a reliable bond between the first layer of the print and the bed. Additionally, the skirt can serve as a visual indicator of bed leveling. If the skirt is uniform and well-formed, it indicates that the bed is properly leveled. On the contrary, if the skirt shows unevenness or gaps, it suggests that adjustments are needed to create a level printing surface.
4. Testing Print Settings: Printing a skirt allows you to assess and fine-tune certain print settings, such as nozzle temperature, filament flow rate, and extrusion width. By observing the skirt, you can make adjustments to ensure that the settings are optimized for the specific print and desired outcome.
5. Assessing Print Bed Adhesion: The skirt provides an opportunity to verify that the adhesion between the print bed and the filament is adequate. If the skirt does not adhere well or exhibits poor quality, it can signal potential adhesion issues that may cause the main print to fail. This allows for adjustments or the application of additional adhesion aids, such as a brim or a raft, to ensure a successful print.
By utilizing a skirt in the 3D printing process, you can address potential issues, calibrate your printer, and fine-tune settings, resulting in improved print quality and a higher chance of successful prints. Now that we understand the importance of using a skirt, let’s explore the benefits it offers in more detail.
Benefits of Using a Skirt
Using a skirt in the 3D printing process offers several benefits that contribute to the overall success and quality of your prints. Let’s explore these benefits:
1. Optimized Printing Conditions: The skirt allows you to prime the extruder and verify that the filament is flowing smoothly, ensuring optimal printing conditions from the start. By addressing any issues or inconsistencies early on, you can avoid print failures caused by filament clogs or poor extrusion.
2. Improved Bed Adhesion: The skirt helps establish a strong bond between the print bed and the filament. This ensures better adhesion for the first layer of your print, minimizing the risk of warping or detachment during the printing process. Good bed adhesion is crucial for achieving accurate and stable prints.
3. Enhanced Print Quality: By priming the extruder and cleaning the nozzle, the skirt ensures consistent filament flow and prevents any debris or residue from affecting the print quality. This results in cleaner, smoother prints with improved surface finish and finer details.
4. Calibration and Leveling: The skirt serves as a calibration tool, allowing you to confirm that the print bed is properly leveled and the nozzle height is correctly set. This ensures that the first layer of your print is accurately deposited and facilitates a successful print from the outset.
5. Troubleshooting and Fine-tuning: The skirt provides a valuable opportunity to identify and address potential issues before they impact the main print. By observing the skirt’s adherence, consistency, and overall quality, you can detect problems such as improper bed leveling or inadequate filament flow. This information enables you to make necessary adjustments and optimize your print settings for better results.
6. Time and Material Savings: Although the skirt is a small part of the printing process, it can save time and material in the long run. By addressing issues and refining settings through the use of a skirt, you can reduce the instances of failed prints, which can consume both time and filament. This leads to a more efficient and cost-effective 3D printing workflow.
Overall, using a skirt in your 3D printing workflow provides numerous benefits. It helps optimize printing conditions, ensures proper bed adhesion, improves print quality, aids in calibration and troubleshooting, and ultimately saves time and material. Now, let’s explore how to set up a skirt in your 3D printing software.
How to Set Up a Skirt in 3D Printing Software
Setting up a skirt in your 3D printing software is a straightforward process. While the exact steps may vary depending on the software you are using, the general procedure remains the same. Here’s a general guide on how to set up a skirt:
- Open your 3D printing software and load the 3D model you want to print.
- Navigate to the settings or configuration section of the software. This is where you can adjust various parameters for your print.
- Locate the section or tab that covers the printer settings and look for options related to the skirt or brim.
- Enable the skirt feature by checking the appropriate box or toggle switch. This will activate the skirt for your print.
- Adjust the parameters of the skirt to your desired specifications. This may include the number of skirt lines, distance from the print, and skirt height. These parameters can be adjusted based on the specific requirements of your print.
- Save your settings and proceed to prepare your print for slicing and exporting the G-code.
- Once the G-code is generated, transfer it to your 3D printer using your preferred method (e.g., SD card, USB connection).
- Load the filament and ensure that the print bed is properly leveled.
- Start the print. The printer will first lay down the skirt, ensuring proper priming and calibration, before moving on to the main print.
Remember to consult the documentation or user manual provided with your 3D printing software for detailed instructions specific to your software. Additionally, experimenting with different skirt settings, such as the number of lines or distance, can help you optimize the skirt for your specific prints.
Now that you know how to set up a skirt in your 3D printing software, let’s explore some commonly used parameters for configuring a skirt.
Common Parameters for Configuring a Skirt
Configuring the parameters of a skirt allows you to customize its behavior and optimize it for your specific prints. While the exact options may vary depending on your 3D printing software, here are some common parameters you can adjust:
1. Number of Skirt Lines: This parameter determines how many lines of filament will be printed in the skirt. Increasing the number of lines can provide better priming and calibration, but it may also increase printing time and material usage.
2. Distance from Print: The distance between the skirt lines and the actual print can be adjusted in millimeters or as a percentage of the print’s dimensions. This parameter determines how close or far the skirt is from the main print. It is generally recommended to set a small distance to ensure proper priming and bed adhesion.
3. Skirt Height: This parameter defines the height or number of layers for the skirt. It determines how tall the skirt will be in relation to the first layer of the print. A greater skirt height can help with priming and leveling the print bed, but it may also increase printing time and material usage.
4. Skirt Offset: The skirt offset allows you to adjust the positioning of the skirt relative to the model. This parameter can be useful to create a gap between the skirt and the print or to position the skirt more towards the center or edges of the print bed, depending on your requirements.
5. Print Speed: The speed at which the skirt is printed can be set independently of the main print speed. Adjusting the skirt printing speed can help fine-tune the extrusion and adhesion, ensuring optimal performance during calibration and priming.
6. Skirt Extrusion Width or Thickness: This parameter determines the width or thickness of the filament lines in the skirt. Adjusting the extrusion width can help optimize the adhesion of the skirt to the print bed and ensure consistent filament flow during priming.
These are just some of the common parameters you can adjust when configuring a skirt. It’s important to explore and experiment with these settings to find the optimal combination for your specific needs and printer capabilities.
Now that you are familiar with the parameters for configuring a skirt, let’s move on to some tips for using skirts effectively in your 3D printing projects.
Tips for Using Skirts Effectively
Using skirts in your 3D printing workflow can greatly improve the quality and success rate of your prints. Here are some tips to help you use skirts effectively:
1. Adjust Skirt Parameters: Take the time to experiment with different skirt parameters, such as the number of lines, distance from the print, and skirt height. Adjusting these parameters can help optimize the skirt for your specific prints and improve priming, bed adhesion, and calibration.
2. Use a Brim for Challenging Prints: If you are printing a complex or large object that may have difficulty adhering to the print bed, consider using a brim in addition to a skirt. A brim provides a larger surface area for better adhesion and stability, especially for prints with a small base.
3. Review Skirt Adhesion and Quality: Pay attention to the adhesion and quality of the skirt as it is being printed. Ensure that the skirt adheres well to the print bed and has consistent lines. Any issues with the skirt can indicate potential issues with the main print, allowing you to address them early on.
4. Evaluate Skirt Removal: After the skirt is printed and the main print begins, evaluate whether it is necessary to remove the skirt manually or let the print remove it naturally. In some cases, removing the skirt manually can ensure a clean start for the main print and prevent any interference or unintended contact between the skirt and the model.
5. Clean the Nozzle Between Prints: As the skirt is being printed, it helps to clean the nozzle from any residual filament or debris. However, it is still advisable to clean the nozzle between different prints to ensure consistent extrusion and prevent any contamination that may affect print quality.
6. Learn from Skirt Observations: Take the time to observe the skirt closely and note any patterns or irregularities. This can provide valuable insights into potential issues with bed leveling, nozzle height, filament flow, or other settings. Use this information to fine-tune your printer and optimize the settings for future prints.
By implementing these tips, you can maximize the benefits of using skirts in your 3D printing workflow. Skirts can improve the success rate of your prints, increase adhesion, and help troubleshoot potential issues before they affect the main print.
Now that we have covered tips for using skirts effectively, let’s address some common issues or troubleshooting measures related to skirts in 3D printing.
Troubleshooting Issues with Skirts
While skirts are generally a helpful component in the 3D printing process, occasional issues may arise that require troubleshooting. Here are some common issues with skirts and their potential solutions:
1. Skirt Not Adhering Properly: If the skirt does not adhere well to the print bed or exhibits poor quality, it may indicate adhesion issues. Ensure that the print bed is clean and properly leveled. Increase the skirt height or adjust the skirt extrusion width to improve adherence. If necessary, apply additional adhesion aids such as a brim or glue stick to enhance adhesion.
2. Gaps or Inconsistencies in the Skirt: If the skirt has gaps or inconsistencies in its lines, it may be a sign of improper filament flow or extrusion. Check for any clogs or blockages in the nozzle, clean the nozzle if needed, and ensure that the filament is feeding properly. Adjust the flow rate or nozzle temperature to optimize filament flow and prevent any interruptions or inconsistencies in the skirt lines.
3. Skirt Too Close to the Print: If the skirt is printed too close to the actual print, it may cause interference or accidental contact, leading to imperfections in the model. Increase the distance of the skirt from the print in the software settings to create a gap between the two. This will help avoid unintended interaction and ensure cleaner prints.
4. Excessive Skirt Material Usage: If the skirt consumes a significant amount of filament and you want to conserve material, you can adjust the number of skirt lines or reduce the skirt height. This will help reduce the amount of filament used for the skirt while still providing the necessary priming and calibration benefits.
5. Skirt Takes Too Long to Print: In some cases, the skirt may add unnecessary printing time, especially for larger prints or those with multiple skirt lines. Consider reducing the number of skirt lines, adjusting the skirt printing speed, or even disabling the skirt if it is not crucial for your particular print. This can help save time without significantly impacting the quality of the final print.
6. Skirt Interferes with Supports or Surrounding Objects: If the skirt intersects with supports, structures, or other entities in the print area, it may cause issues during printing or removal. Adjust the skirt offset or the positioning of the supports to create enough space between them and the skirt, ensuring smooth and hassle-free printing.
By addressing these troubleshooting issues, you can overcome common challenges related to skirts and ensure smoother, more successful 3D prints. Remember to always observe the skirt during printing and make adjustments as needed to achieve optimal results.
Now that we have explored troubleshooting measures for skirt-related issues, let’s conclude our discussion on the purpose and usage of skirts in 3D printing.
Conclusion
In conclusion, a skirt is an essential component in the world of 3D printing. It serves as a calibration tool, ensuring proper priming and calibration of the extruder, as well as establishing good bed adhesion for successful prints. By printing a skirt, you can detect and address potential issues early on, resulting in improved print quality and a higher success rate.
Setting up a skirt in your 3D printing software is a straightforward process, and adjusting the parameters can help customize the skirt for your specific prints. By experimenting with different settings and observing the skirt closely, you can maximize its benefits and troubleshoot any potential issues that may arise.
Skirts offer numerous advantages, including optimized printing conditions, improved bed adhesion, enhanced print quality, and the ability to calibrate and fine-tune your printer. Additionally, skirts can save time and material by minimizing failed prints and allowing for efficient troubleshooting.
As you continue your 3D printing journey, keep in mind the importance of skirts and their role in achieving successful prints. Utilize the tips and troubleshooting measures discussed in this article to effectively employ skirts and overcome any challenges you may encounter.
Now armed with a deeper understanding of the purpose, benefits, configuration, troubleshooting, and effective utilization of skirts, you are well-equipped to embark on your 3D printing projects with confidence and achieve impressive results!