Introduction
Welcome to the world of 3D printing! It’s an exciting field with endless possibilities, and one of the key tools that make it all happen is a slicer. If you’re new to 3D printing, you may be wondering what exactly a slicer is and why it’s essential. In this article, we’ll explore the ins and outs of slicers in 3D printing, their functionality, and how to choose the right one for your needs.
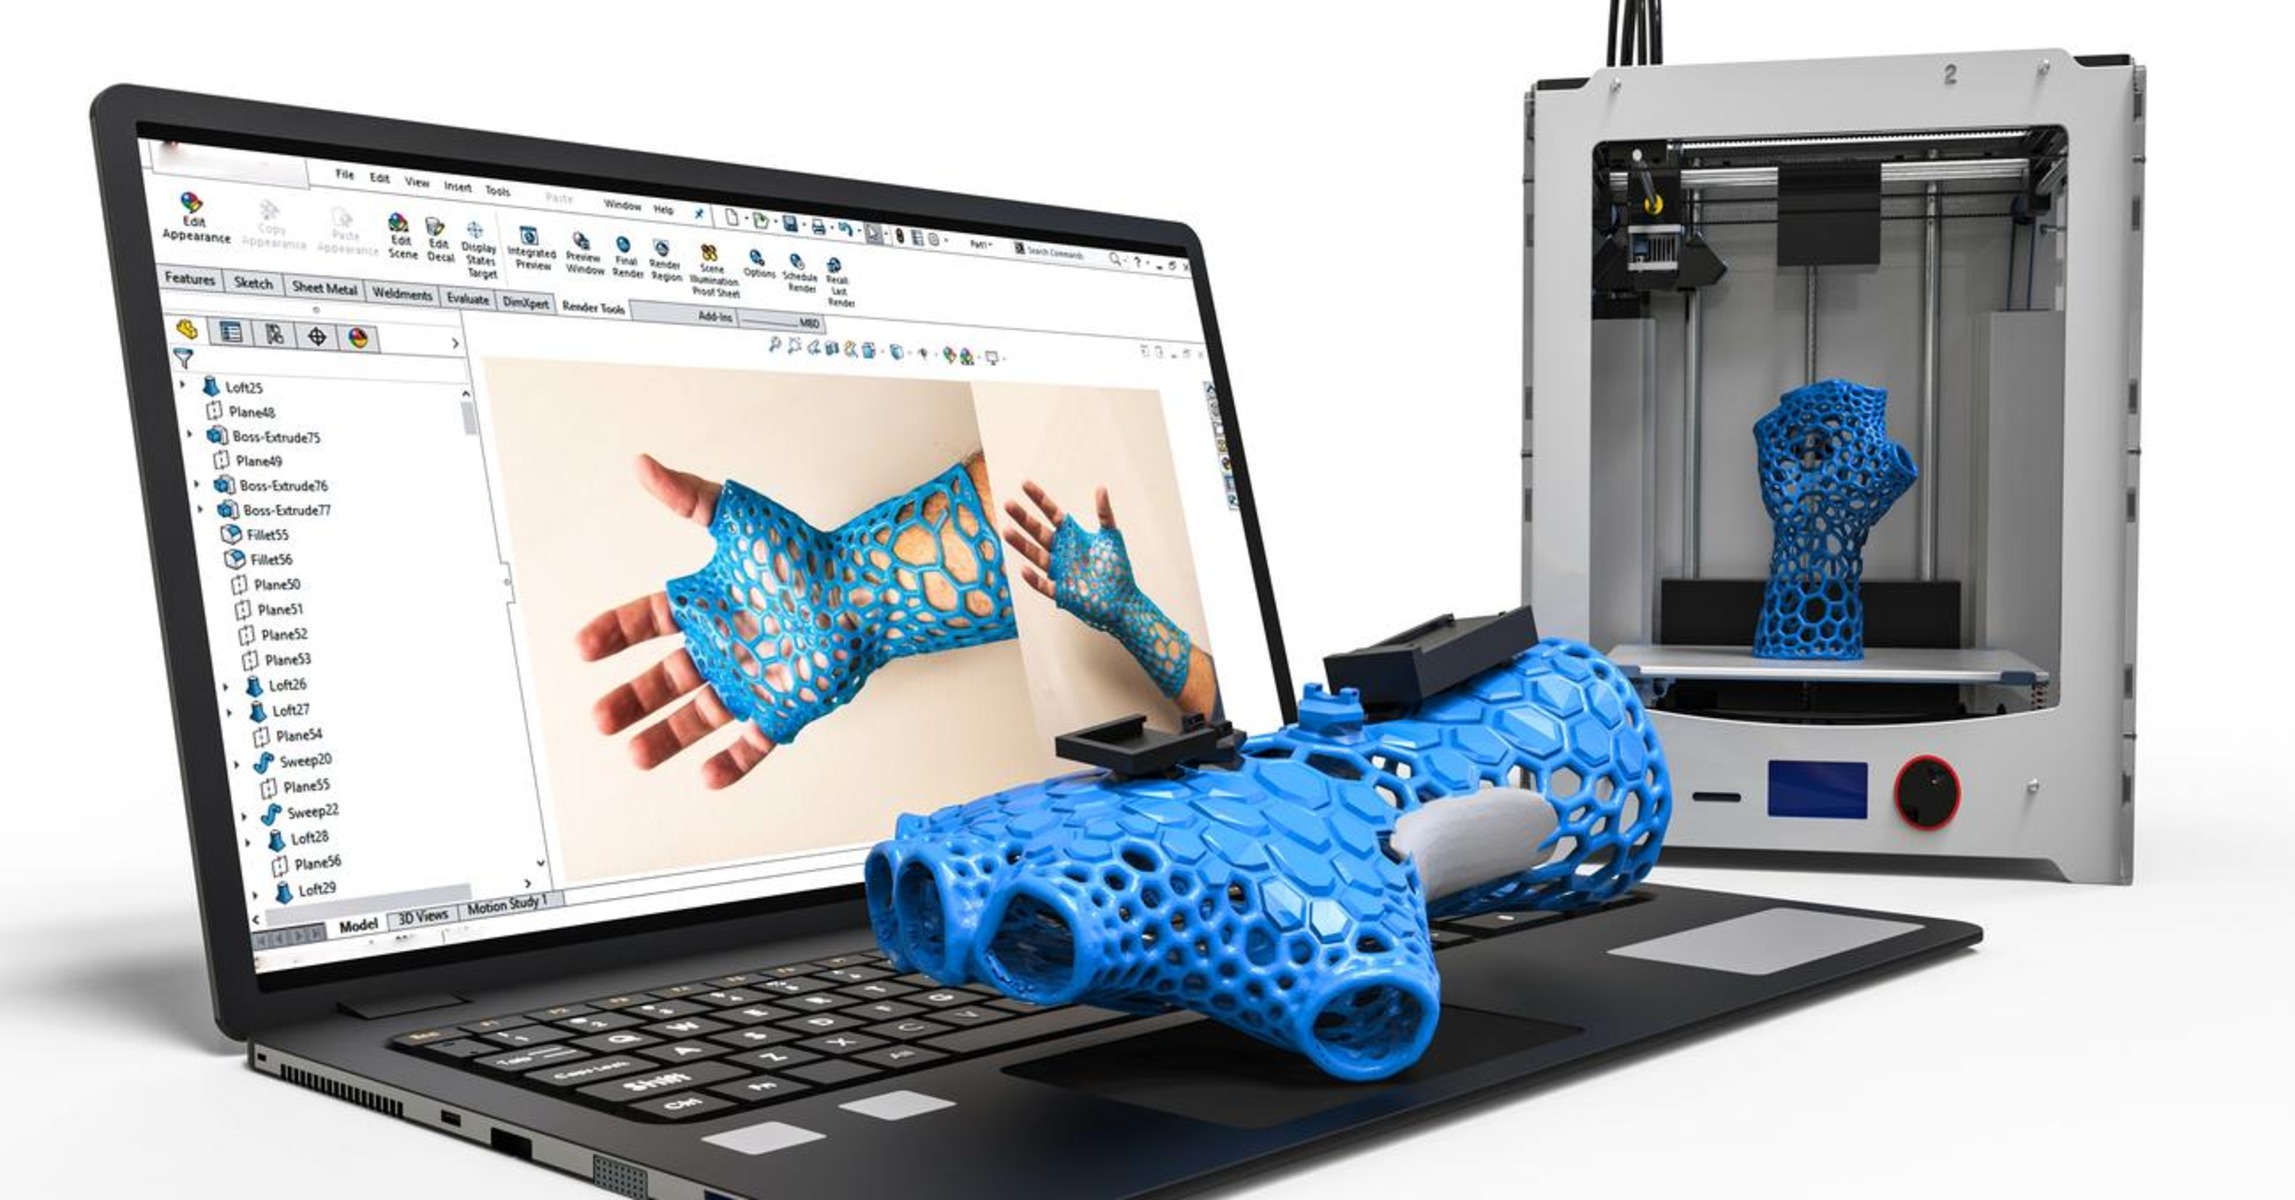
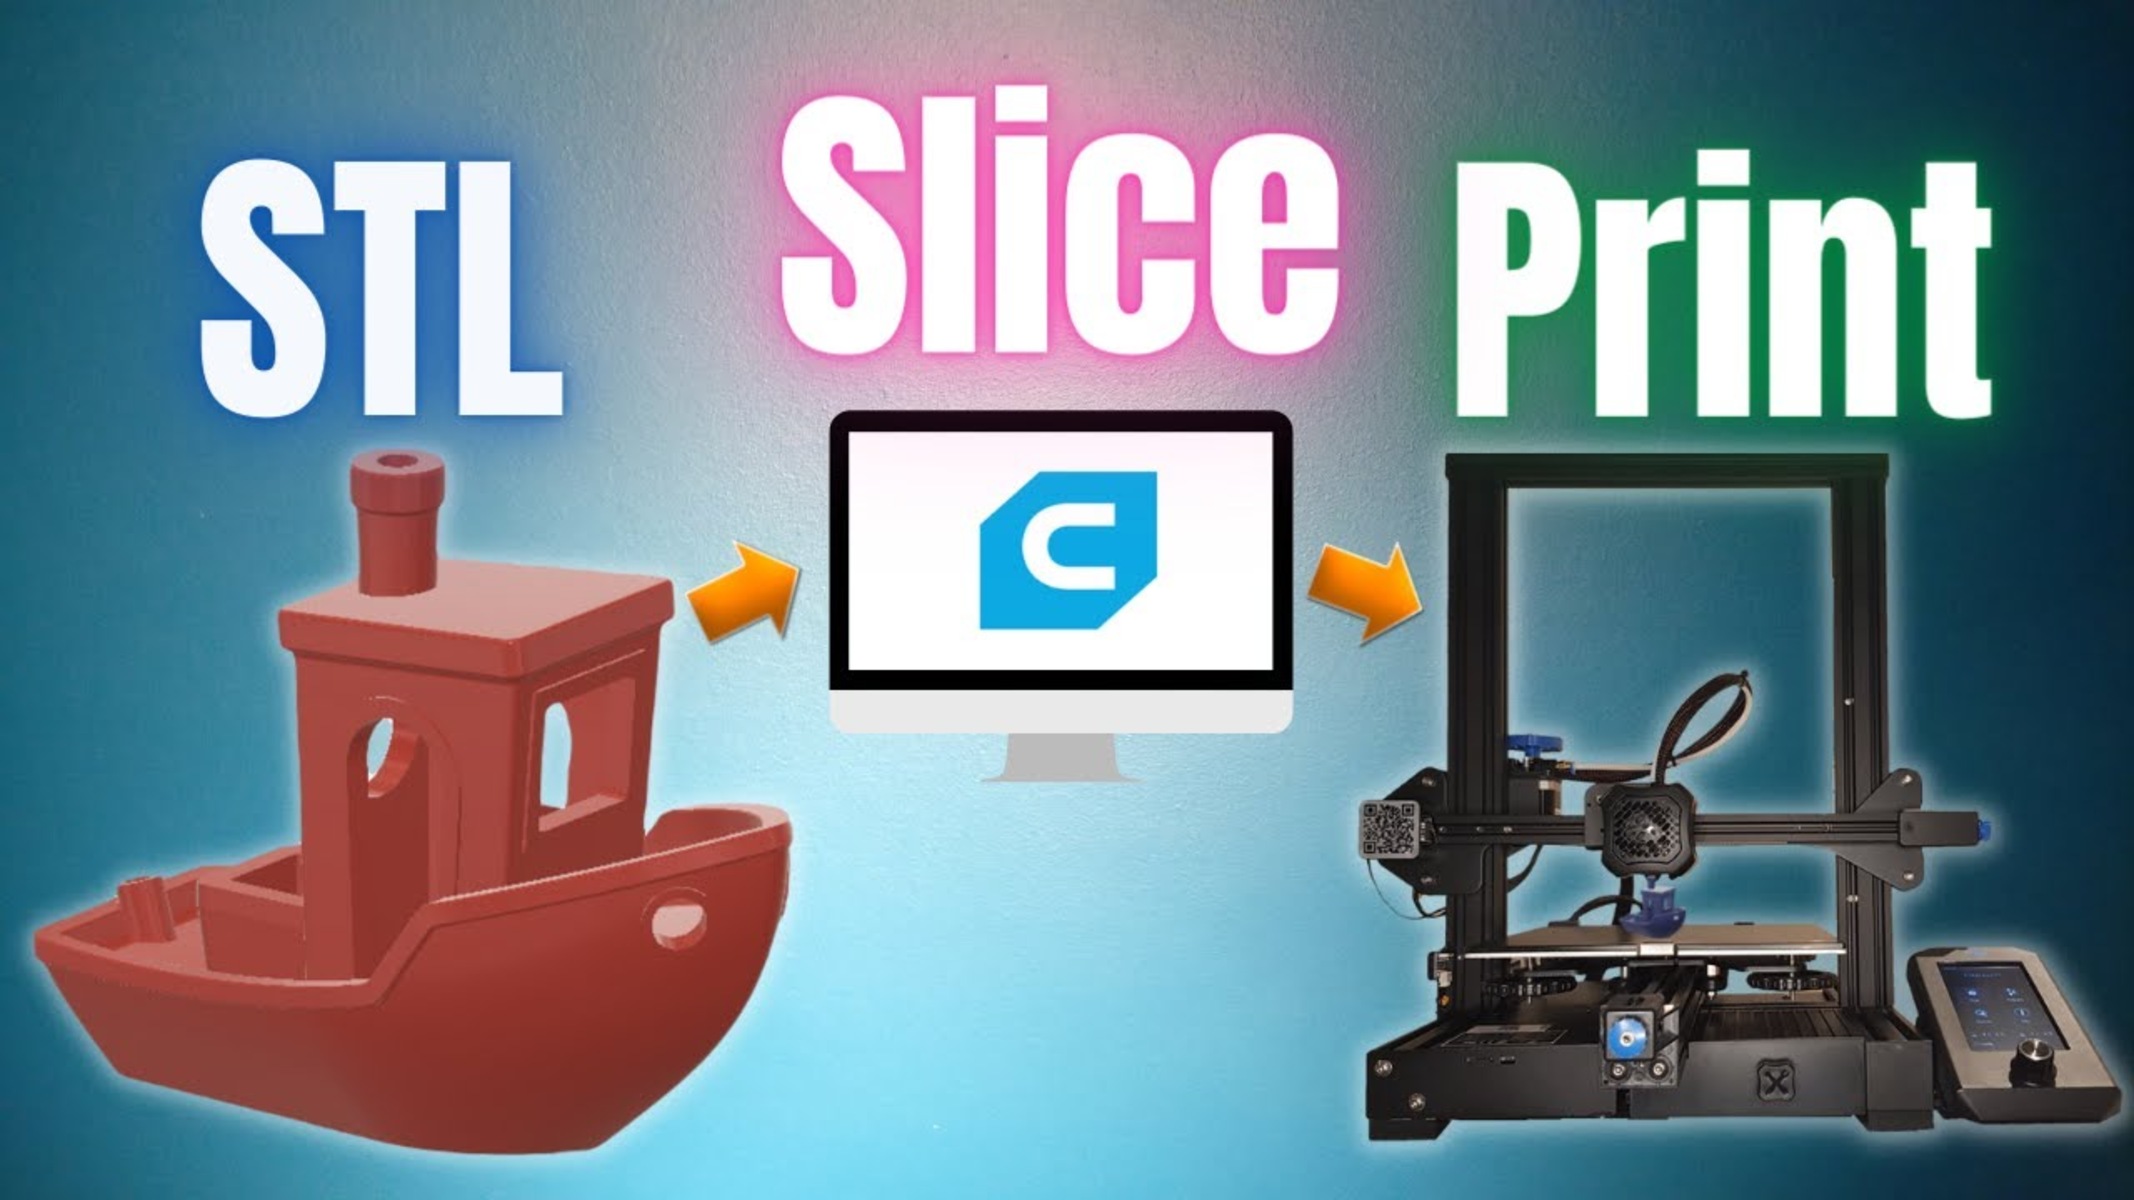
A slicer is a crucial software component in the 3D printing workflow. It takes your 3D model, chops it into thin layers, and generates the instructions for the 3D printer to recreate each layer. Essentially, it converts the digital design into a set of instructions that the printer can understand and execute.
But why do we need a slicer? Can’t the 3D printer simply print the object directly from the 3D model? Well, not quite. The printer needs to know how to construct each layer, including the specific path and the amount of material to deposit. This is where the slicer comes in, breaking down the model into a series of layers and generating the necessary information to build each layer.
Using a slicer offers several advantages. Firstly, it allows for customization and control over the 3D printing process. You can adjust parameters such as layer height, infill density, support structures, and print speed. These settings enable you to achieve the desired level of detail, strength, and time efficiency for your print.
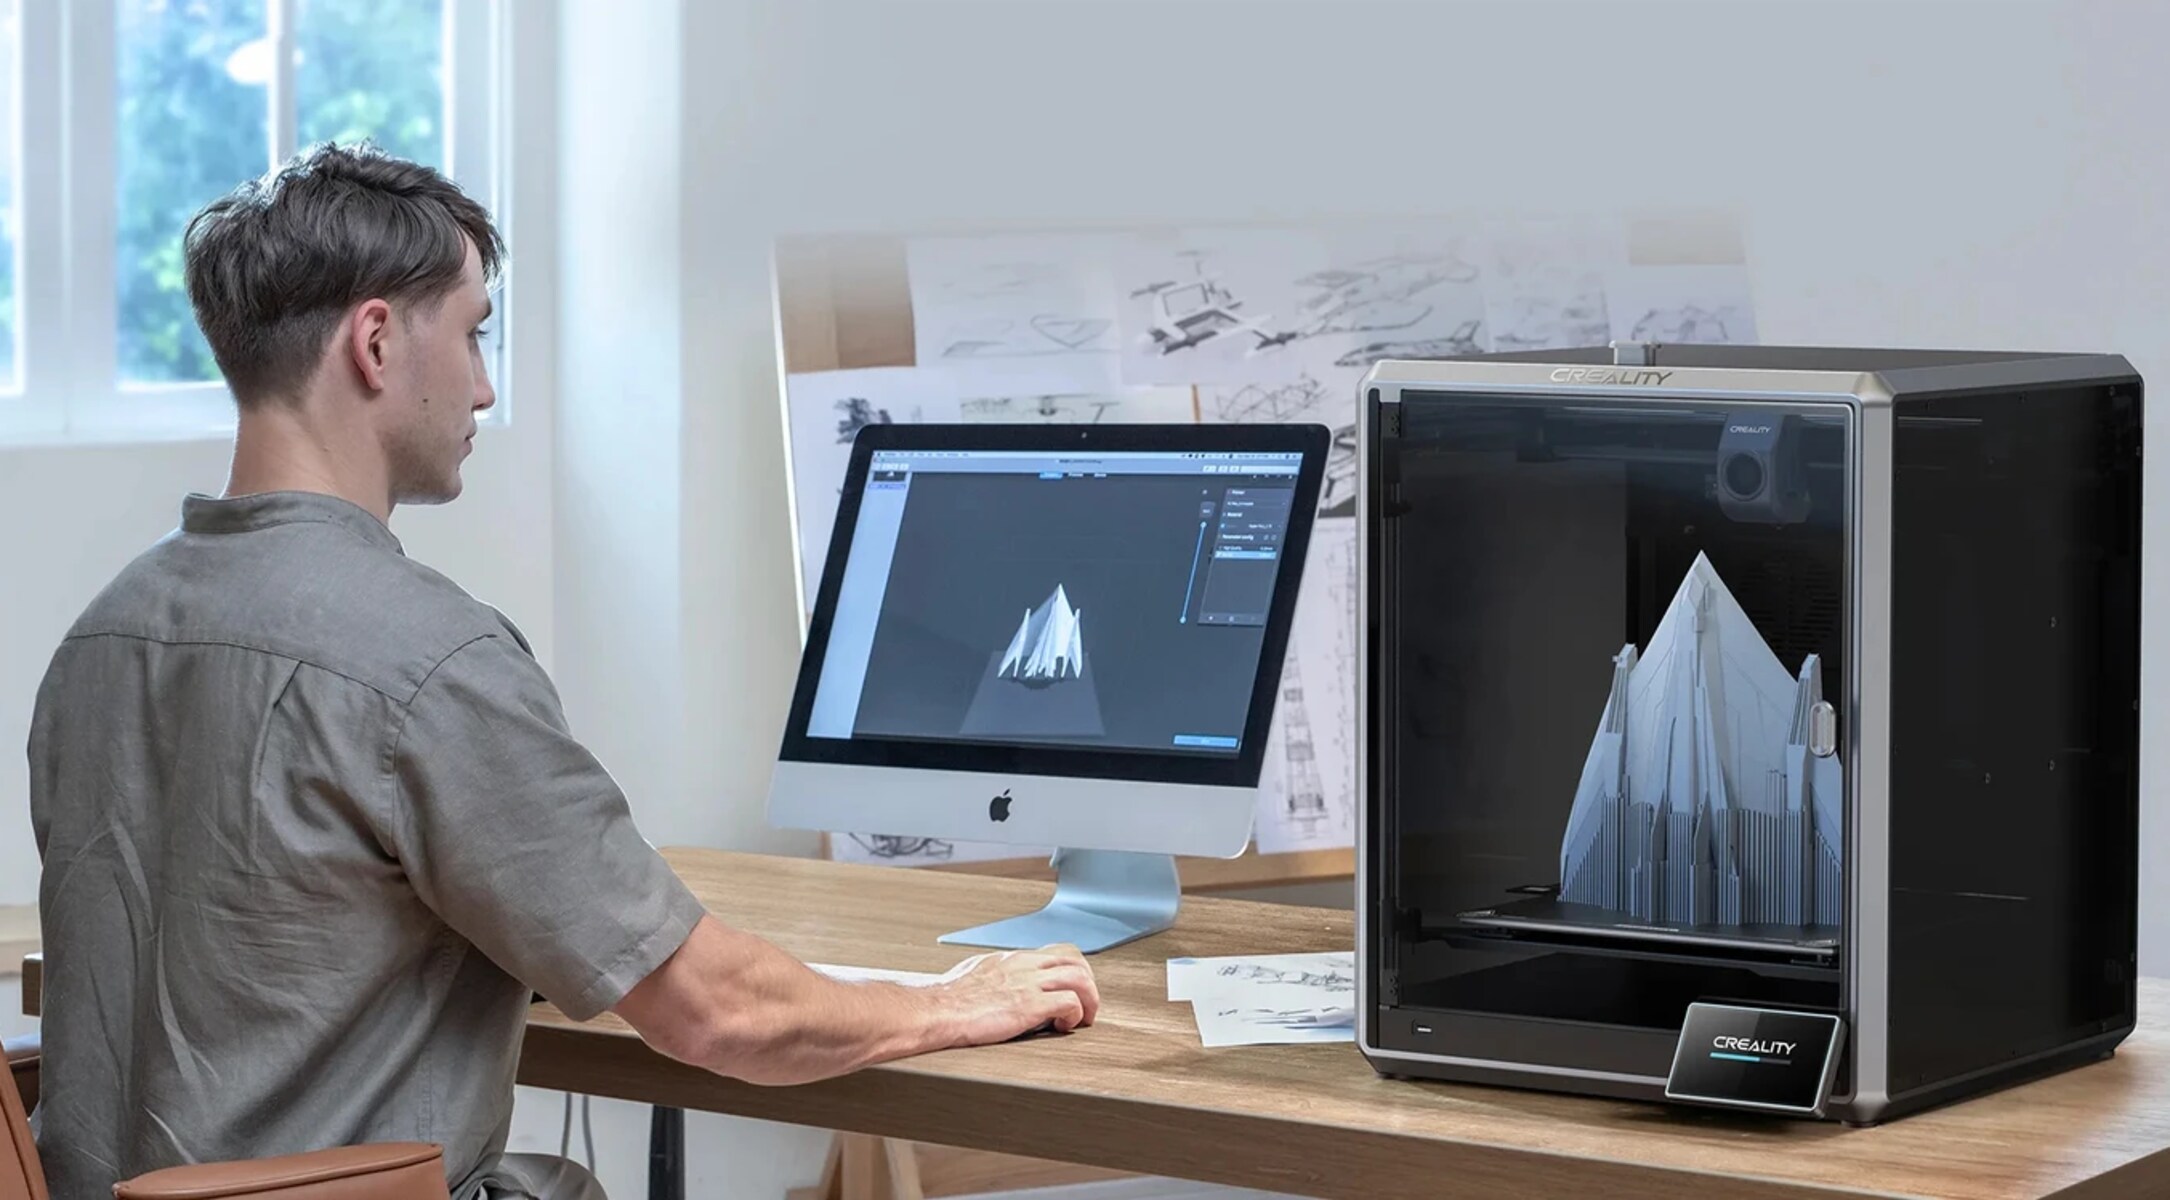
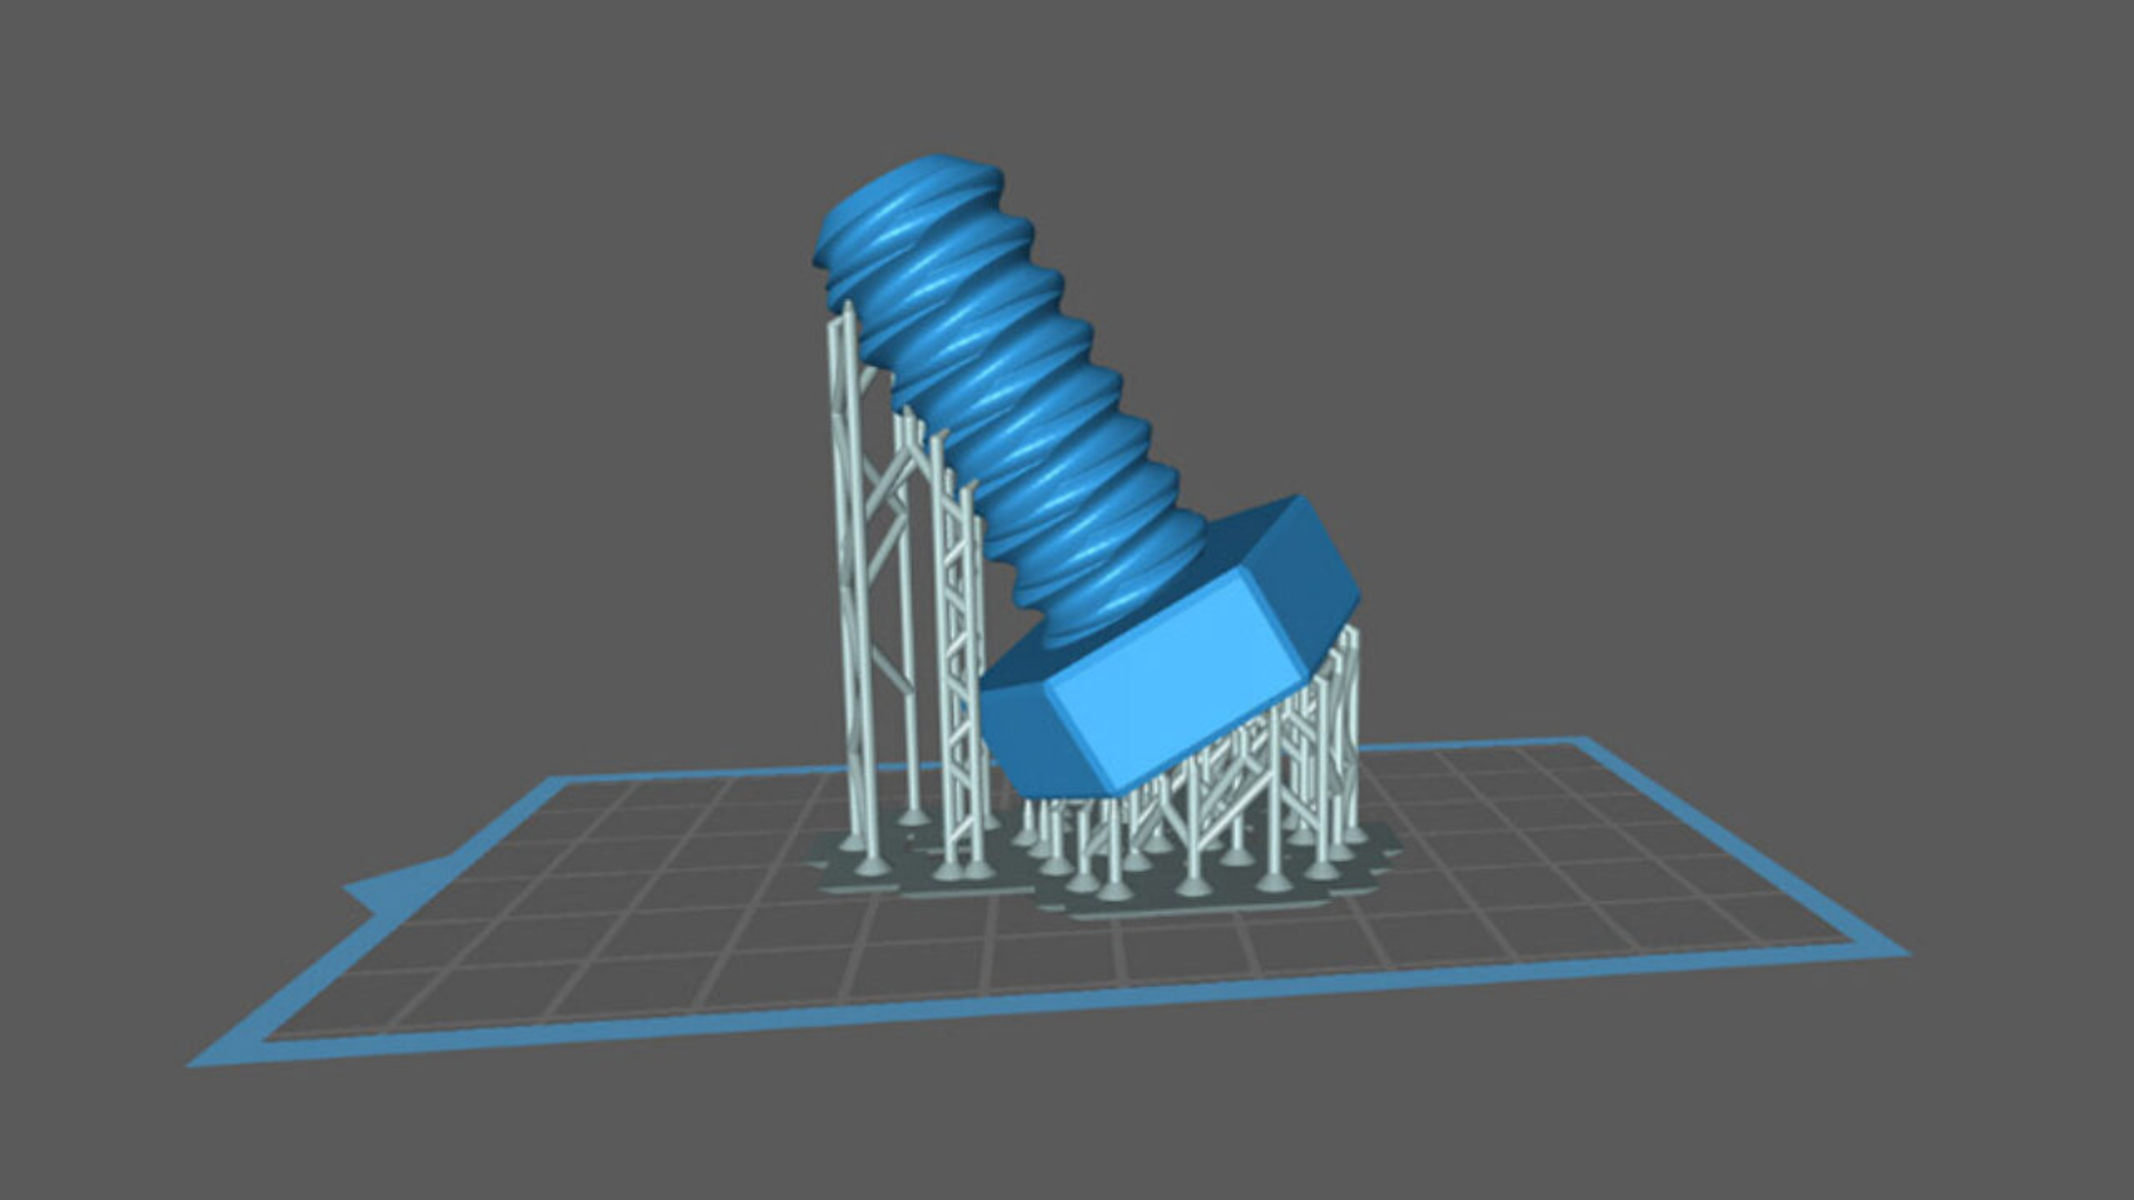
Secondly, a slicer provides preview functionality, allowing you to visualize your print before initiating the actual printing process. This can be incredibly useful in identifying and resolving potential issues, such as overhangs or areas that may require supports.
Lastly, a slicer opens up the possibility of using different materials and printers for your designs. Each printer and material combination may have specific requirements and limitations, and the slicer software can adapt the design accordingly. It ensures that the 3D printer receives the appropriate instructions to create a successful print, tailored to the specific capabilities of your machine.
Now that we have a basic understanding of what a slicer is and why it’s important, let’s delve deeper into how slicers work and the key features to look for when choosing one.
What is Slicer in 3D Printing?
If you’ve just started exploring the world of 3D printing, you may have come across the term “slicer” and wondered what it actually means. In simple terms, a slicer is a software program that takes a 3D model and slices it into thin layers, generating the necessary instructions for a 3D printer to create a physical object. It plays a crucial role in converting your digital design into a tangible, three-dimensional object.
Think of a slicer as a translator between your 3D model and the 3D printer. It breaks down your model into a series of individual layers, similar to the slices of bread in a loaf. Each layer corresponds to a specific thickness, determined by the layer height set in the slicer software. The slicer then generates a set of instructions for the printer, detailing how to construct each layer. This includes the path the print head should follow, the amount of material to deposit, and any necessary support structures.
A good slicer provides numerous options and settings that allow you to customize the printing process according to your specific needs and preferences. For example, you can adjust the layer height to achieve a balance between print speed and fine detail. Thicker layers result in faster prints, but with reduced detail, while thinner layers offer finer resolution at the cost of increased print time. Additionally, you can control parameters such as infill density, which determines the internal structure of the print, and print speed, which affects the overall printing time.
In addition to generating the print instructions, slicers also offer features such as preview functionality and automatic support generation. Preview mode allows you to visualize your print before starting the actual printing process. This helps you to identify any potential issues, such as overhangs or areas that may require supports. By previewing your print, you can make necessary adjustments or add supports to ensure a successful and high-quality outcome.
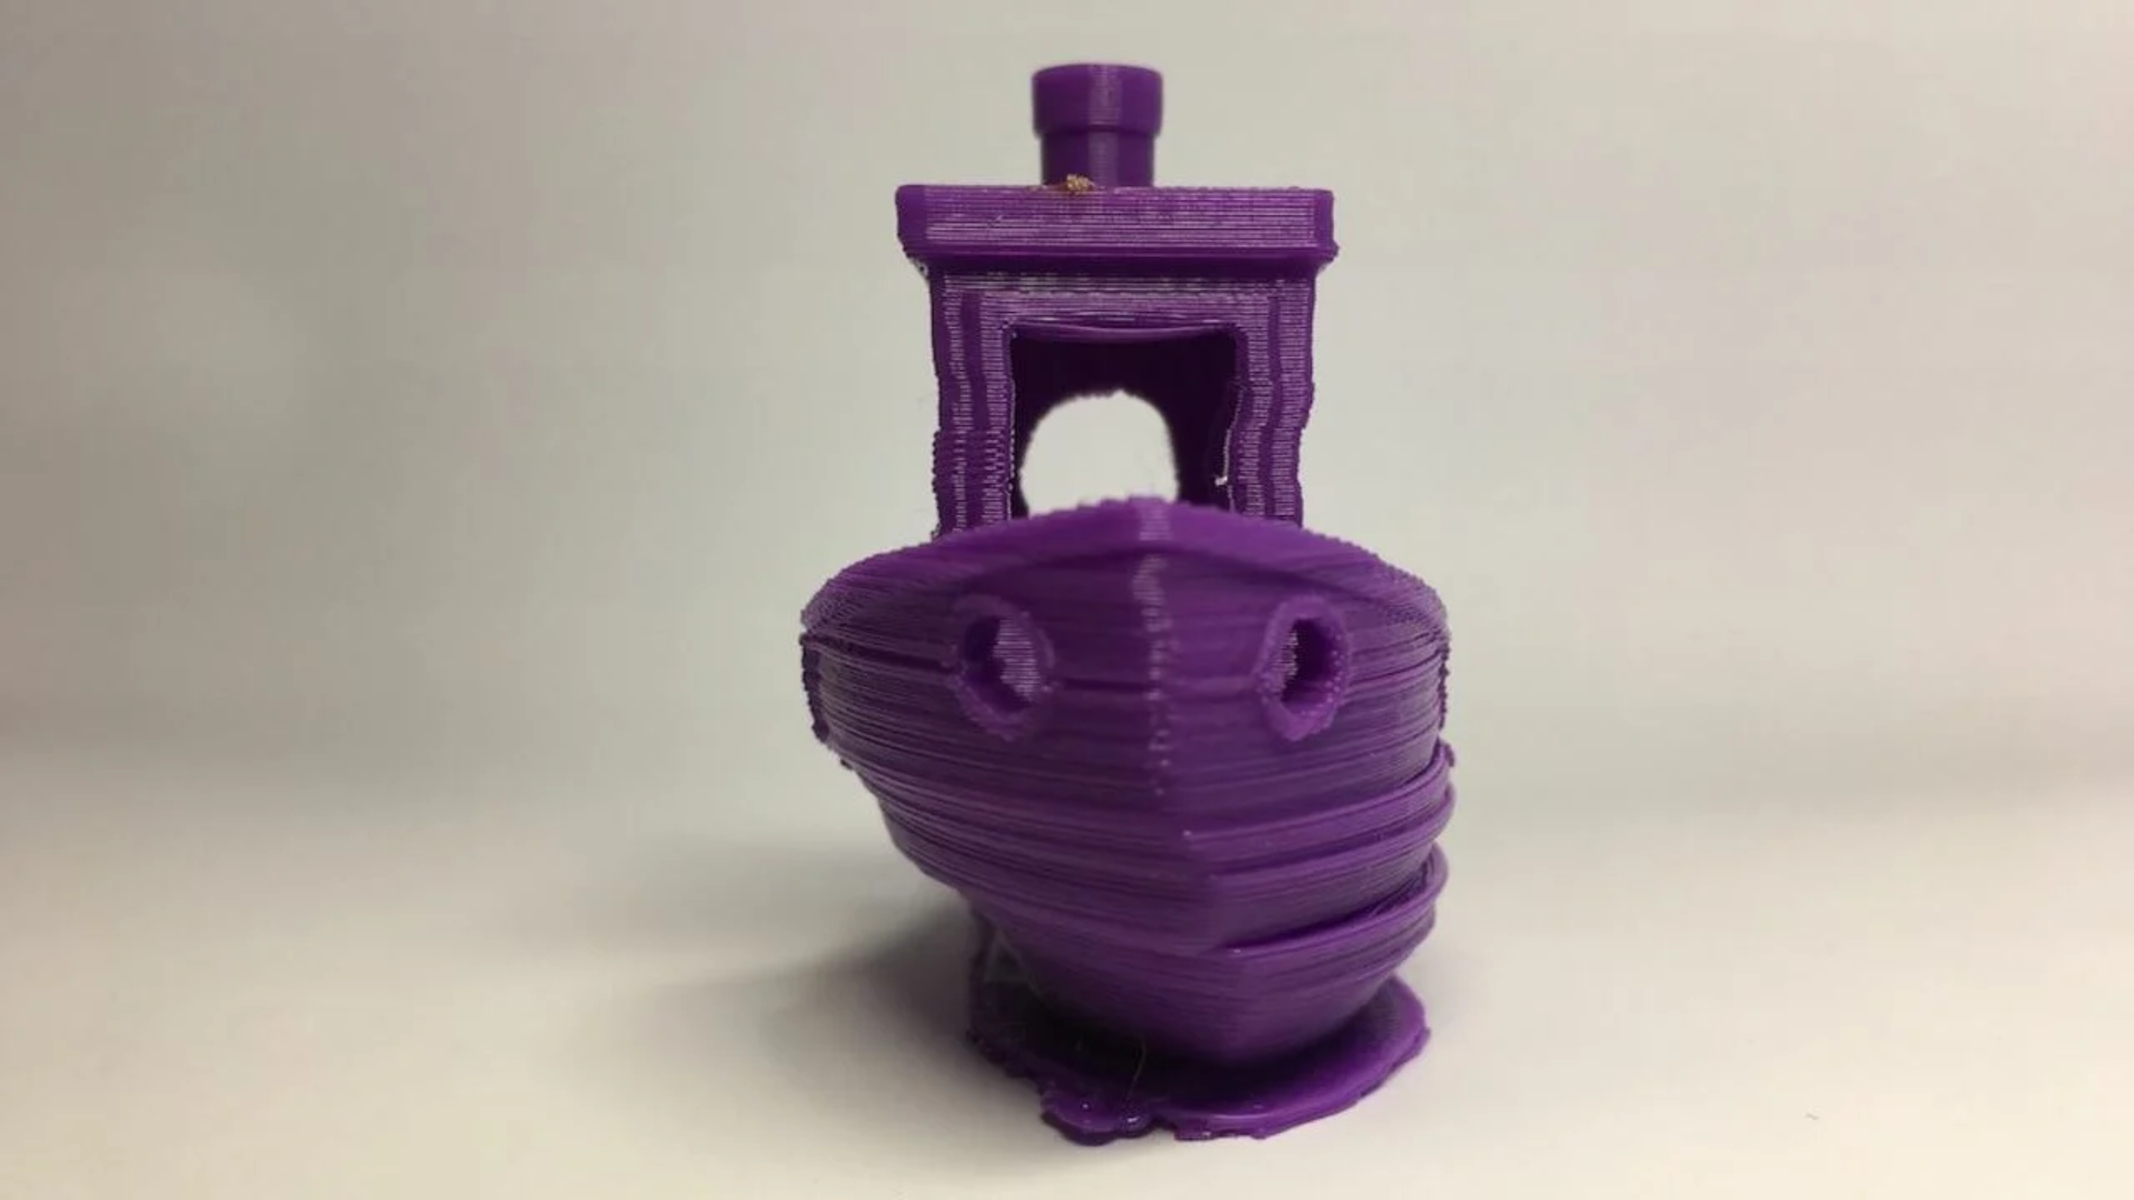
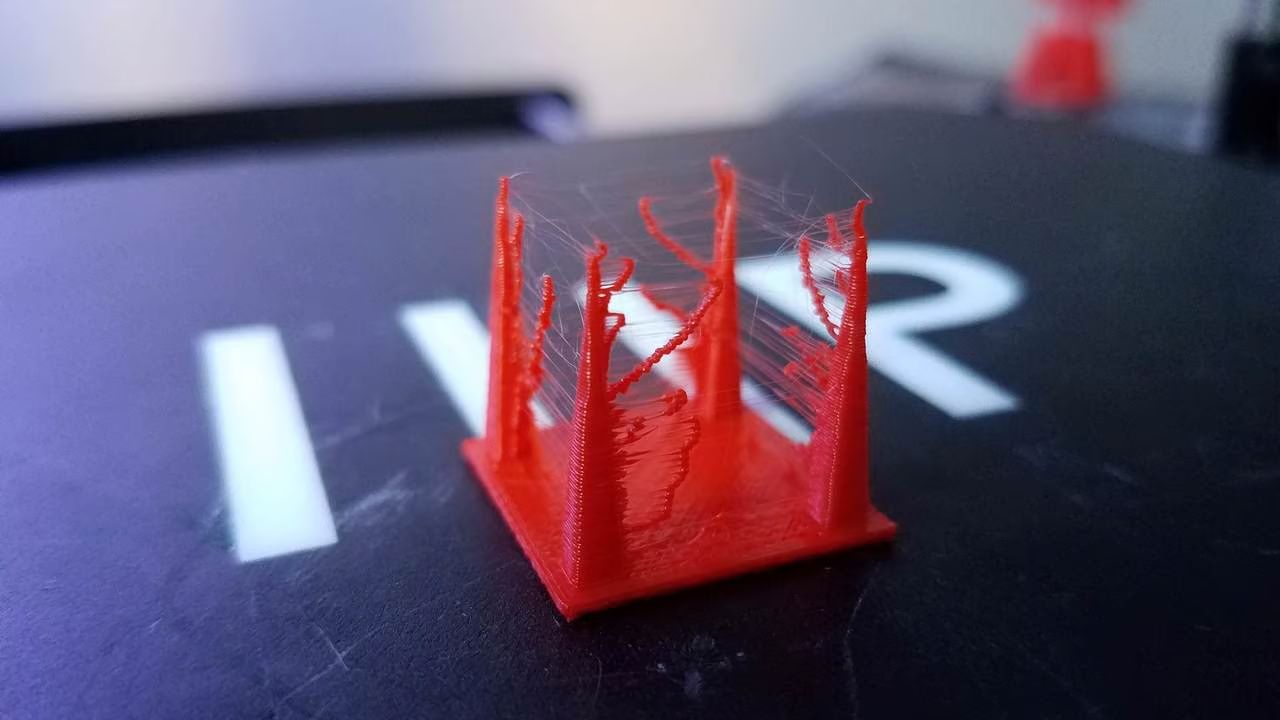
Slicers also provide support generation tools that automatically add support structures where needed. Support structures are temporary structures that help to stabilize overhanging parts during the printing process. They can be easily removed or dissolved after printing. The ability to generate supports automatically saves time and effort, especially for complex models with intricate geometry.
Overall, a slicer is an essential component in the 3D printing workflow. It takes your digital design and transforms it into a series of instructions that a 3D printer can understand and execute. By customizing various settings and utilizing the preview and support generation features, you can optimize your prints and achieve the desired level of detail and quality.
How does Slicer work?
Now that we understand the basic concept of what a slicer is in 3D printing, let’s explore how it actually works. The process can be broken down into a few key steps, each playing a crucial role in converting a digital model into a physical object.
Firstly, the slicer software takes your 3D model and analyzes its geometry. It examines the vertices, edges, and surfaces of the model to understand its structure and complexity. This analysis is essential for determining how the model should be sliced and built layer by layer.
Next, the slicer allows you to specify various settings to customize the print. These settings include the layer height, print speed, infill density, and support structures, among others. Each setting affects different aspects of the print, such as the level of detail, strength, and overall print time. By adjusting these parameters, you can tailor the print to meet your specific requirements.
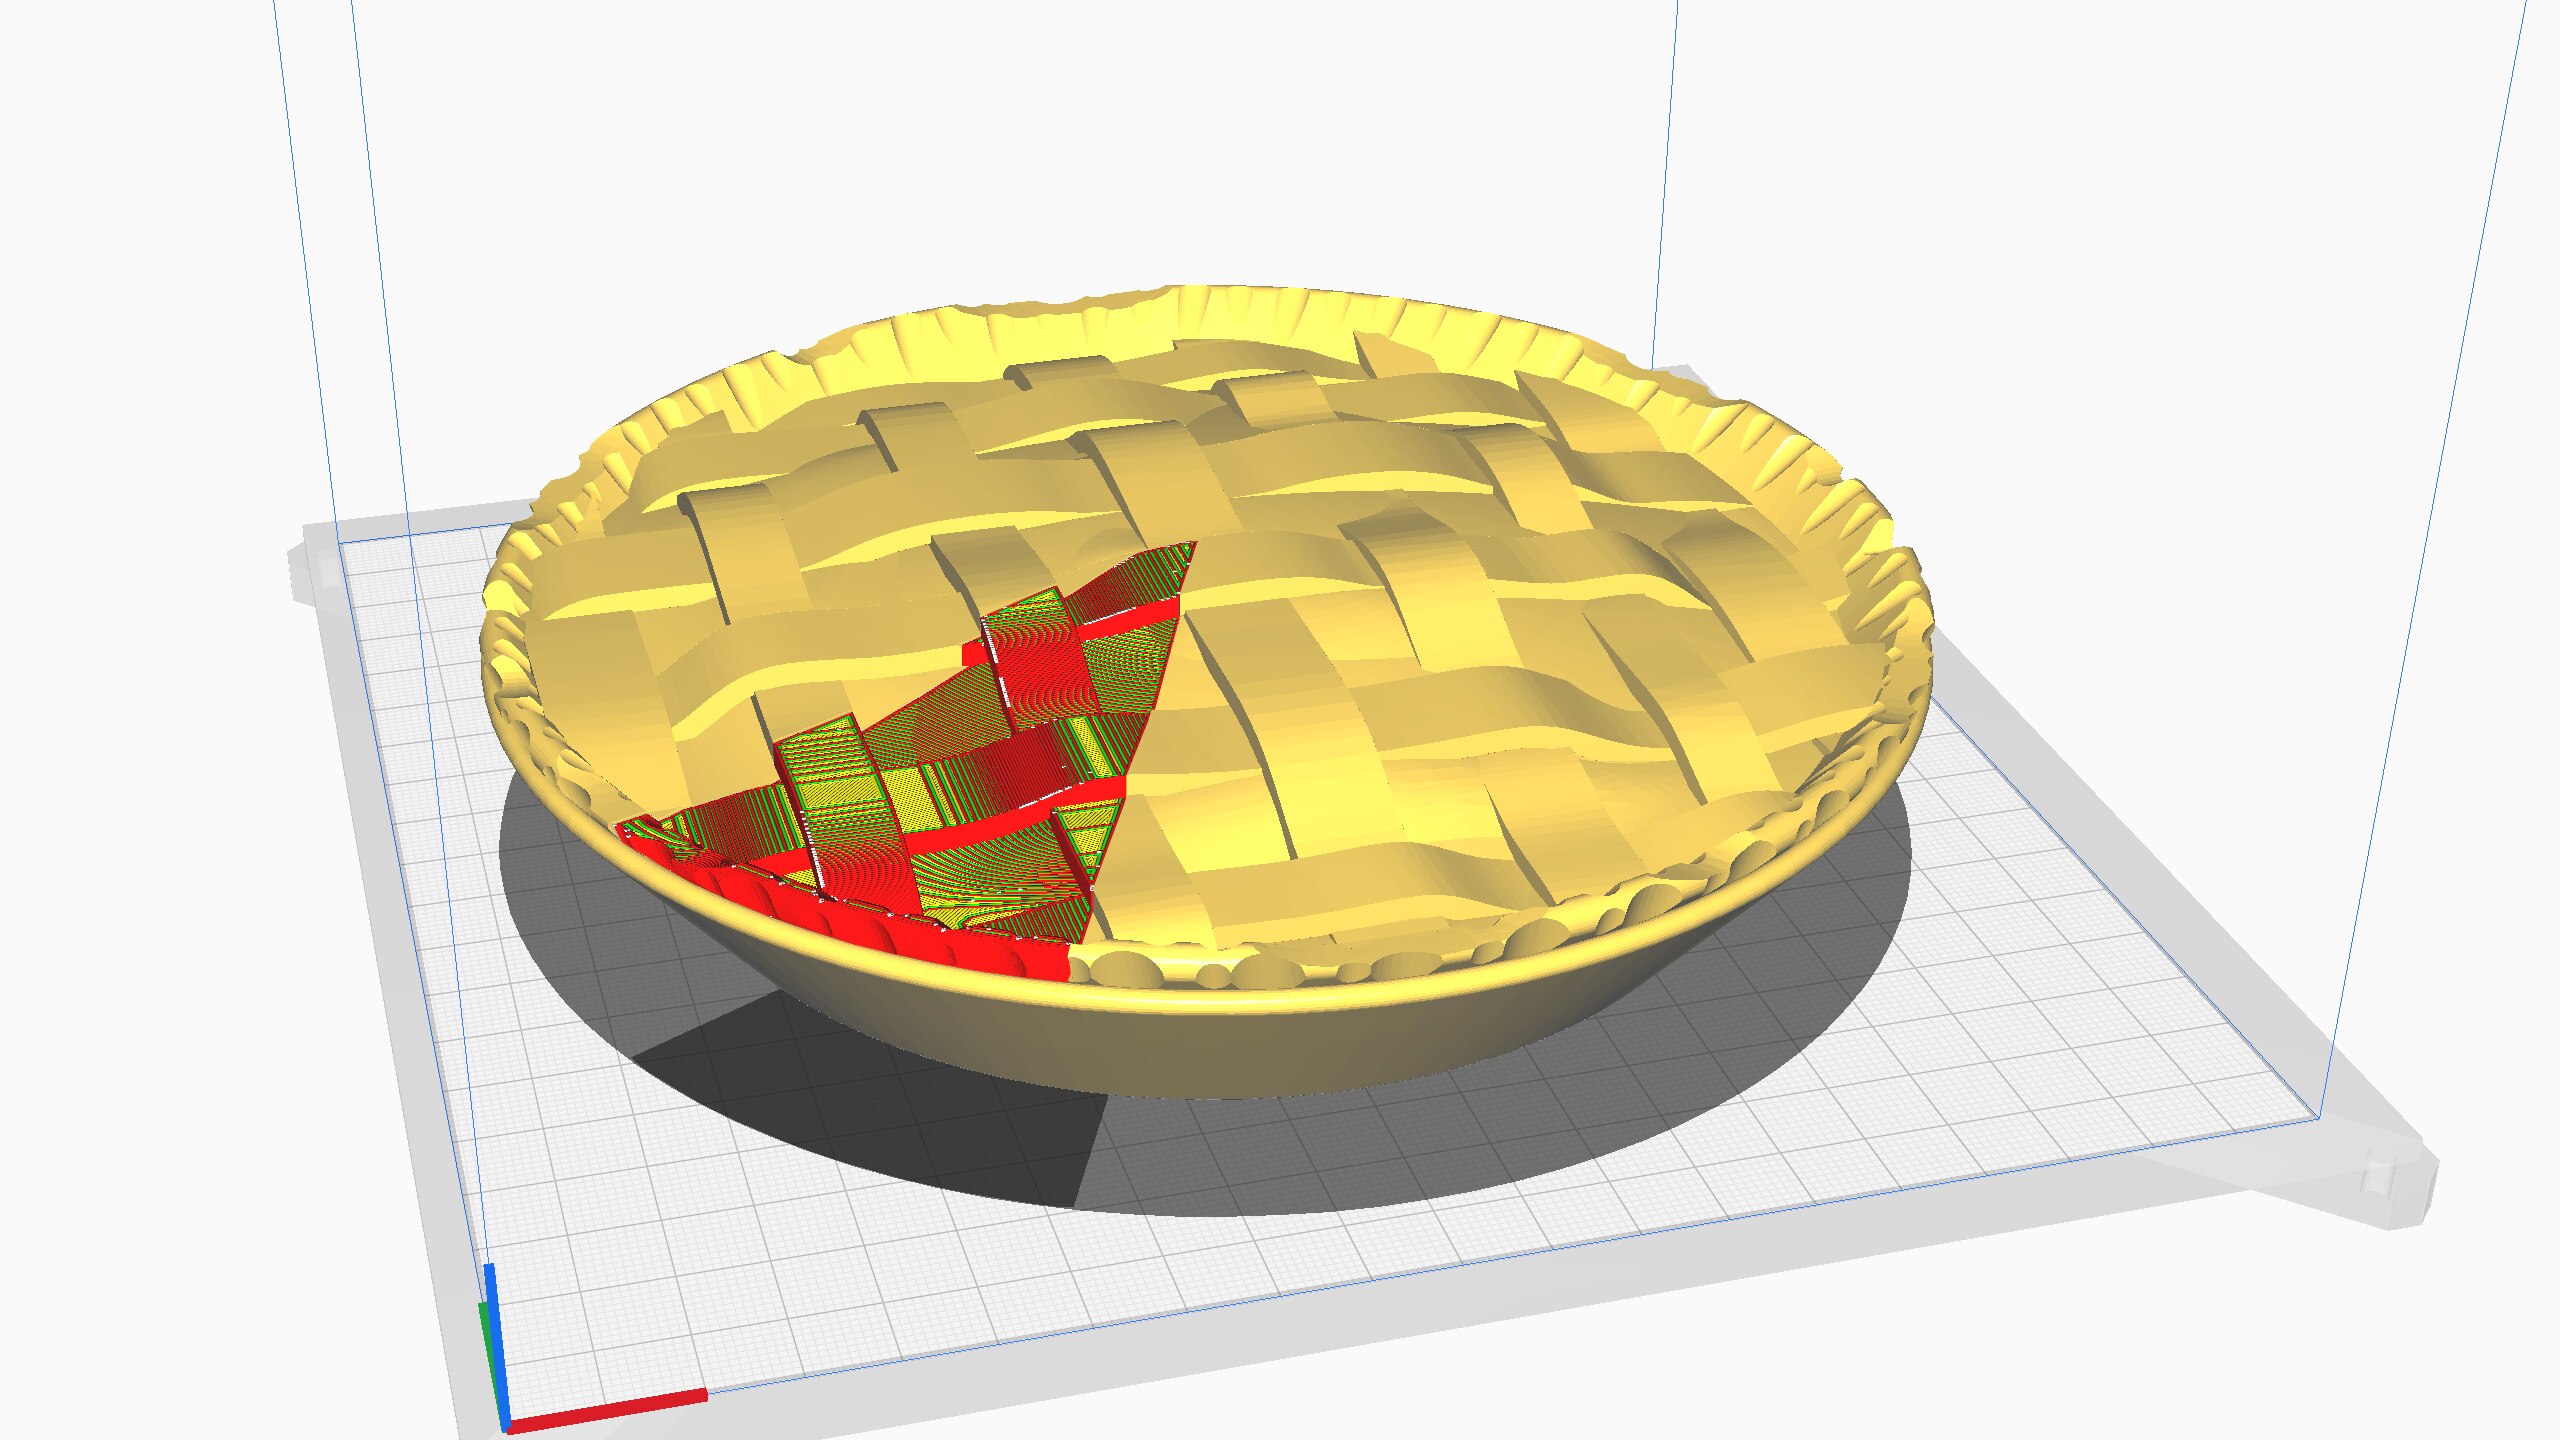
Once the settings are defined, the slicer begins the slicing process. It divides the 3D model into a series of individual layers, much like the cross-sections of an object. The number of layers is determined by the thickness specified in the layer height setting. Thinner layers result in finer detail but longer print times, while thicker layers speed up the printing process but sacrifice detail.
For each layer, the slicer generates the necessary instructions for the 3D printer to recreate that specific slice of the model. These instructions include the path that the print head should follow, the amount of material to deposit, and any support structures that may be required. The paths are typically defined using G-code, a common language understood by most 3D printers.
With all the slicing parameters and instructions in place, the sliced files are ready to be transferred to the 3D printer. This can be done through various means, such as USB, SD card, or wireless connectivity, depending on the printer and slicer software being used.
Once the sliced files are received by the 3D printer, it executes the instructions layer by layer, gradually building up the object. The printer follows the defined path, depositing the material in precise locations based on the slicer”s instructions. Support structures, if generated, provide stability for overhanging parts and are later removed or dissolved.
Throughout the printing process, the slicer offers real-time monitoring and control over the print. This allows you to track the progress, pause or cancel the print if necessary, and make adjustments to the print settings on the fly.
In summary, a slicer software takes a 3D model, analyzes its geometry, applies user-defined settings, slices the model into individual layers, and generates the instructions for the 3D printer to build the object layer by layer. By understanding how a slicer works, you can optimize your prints and achieve the desired results for your 3D printing projects.
Key Features of Slicer
When choosing a slicer for your 3D printing needs, it’s important to consider the key features that the software offers. These features can greatly influence the quality, customization, and overall printing experience. Let’s explore some of the key features to look for in a slicer:
- Layer Thickness: The ability to adjust the layer thickness allows you to customize the level of detail in your prints. Thinner layers result in finer resolution but longer print times, while thicker layers can speed up the printing process but sacrifice some detail.
- Infill Density: Infill refers to the internal structure of the print. The infill density determines the percentage of the interior that is solid versus empty space. Being able to adjust the infill density allows you to balance strength and material usage.
- Support Generation: Complex designs or overhanging parts may require support structures during printing. Look for a slicer that offers automatic support generation, making it easier to create stable prints without the need for manual support placement.
- Printing Speed: The ability to control the print speed helps optimize the balance between quality and time. Some slicers allow you to adjust the speed for different parts of the print, such as outer walls or infill, providing greater control over the final outcome.
- Preview Mode: A slicer with a preview mode allows you to visualize the print before initiating the actual printing process. You can identify potential issues, such as overhangs or areas that require supports, and make necessary adjustments before printing.
- Multiple Material Support: If you plan to print with different types of materials or colors, ensure that the slicer supports multiple materials. This feature allows you to assign different settings and properties to each material, resulting in prints with varying characteristics.
- Customizable Print Settings: Look for a slicer that provides a wide range of customizable print settings. This includes parameters like temperature, fan speed, and print bed adhesion options. Having control over these settings allows for greater flexibility and customization.
- Intuitive User Interface: A user-friendly and intuitive interface makes the process of slicing and adjusting print settings seamless and straightforward. Look for a slicer that provides a clear and organized interface so that you can easily navigate and access the necessary features.
- Active Development and Community Support: Slicer software is constantly evolving, with updates and improvements being released frequently. Choose a slicer that has an active development team and a strong community of users. This ensures access to regular updates, bug fixes, and a wealth of resources and support.
Remember, the key features you prioritize may vary depending on your specific needs and projects. By exploring different slicer options and considering these features, you can find the perfect slicer that suits your 3D printing requirements and helps you achieve high-quality and customized prints.
Choosing the Right Slicer for Your Needs
With numerous slicer options available in the market, selecting the right one for your 3D printing needs can be a daunting task. However, considering a few key factors can help you make an informed decision. Here are some important considerations when choosing the right slicer:
Compatibility: Ensure that the slicer software is compatible with your 3D printer. Some slicers are specifically designed to work seamlessly with certain printer brands or models, while others offer more universal compatibility. Check the slicer’s specifications or manufacturer’s website to see if your printer is supported.
User Experience: Consider the user experience and ease of use of the slicer software. Look for a slicer with a straightforward and intuitive interface that allows you to navigate and access its various features effortlessly. Reading user reviews and tutorials can give you valuable insights into the user experience of different slicers.
Feature Set: Evaluate the features and capabilities of the slicer. Assess whether it offers the necessary functions such as customizable print settings, support generation, layer thickness adjustment, and preview mode. Consider the specific requirements of your projects and choose a slicer that provides the features you need.
Performance and Reliability: Research the slicer’s performance and reliability. Check for reviews and feedback from other users to see if the slicer consistently delivers high-quality prints. Look for a slicer that minimizes print failures and provides reliable and accurate results.
Community and Support: Consider the strength of the slicer’s community and the availability of support. Look for a slicer with an active user community, as this can provide valuable resources, tips, and troubleshooting assistance. Additionally, check if the slicer has an active development team that provides regular updates and bug fixes.
Personal Preferences and Workflow: Think about your own preferences and workflow. Consider whether the slicer aligns with your preferred software environment, such as operating system compatibility. If you have specific requirements or workflows, such as multi-material printing or complex support structures, ensure that the slicer can accommodate them.
Price: Lastly, consider the pricing structure of the slicer. Some slicers offer free versions with limited functionality, while others require a one-time purchase or offer subscription plans. Take into account your budget and the value provided by the slicer, ultimately choosing one that offers the best balance of features and affordability for your needs.
By carefully considering these factors, you can narrow down your options and choose the right slicer for your 3D printing projects. Remember, what works for one person may not work for another, so take the time to evaluate and experiment with different slicers to find the one that suits your preferences and goals best.
Tips for Using Slicer Effectively
Using a slicer effectively is key to achieving successful and high-quality 3D prints. Here are some valuable tips to help you make the most of your slicer and optimize your printing experience:
- Calibrate Your Printer: Before diving into slicing, ensure that your 3D printer is properly calibrated. Accurate printer calibration ensures that the slicer’s instructions are executed correctly, resulting in precise and dimensionally accurate prints.
- Familiarize Yourself with Slicer Settings: Take the time to thoroughly explore and understand the various settings and options that your slicer offers. Each parameter can impact the final print, so make sure to experiment and find the optimal settings for your specific requirements.
- Manage Printing Speed: Adjusting the printing speed can affect the quality of your print. While faster speeds can reduce overall printing time, slower speeds often produce better detail. Strike a balance based on your priorities and the specific needs of your project.
- Use Raft or Brim for Adhesion: If you encounter issues with print bed adhesion, consider using a raft or brim. A raft is a base layer that provides extra support, while a brim adds a thin extension around the model. Both improve adhesion and reduce the chance of warping or lifting during printing.
- Optimize Infill Density: Adjust the infill density to achieve the desired level of strength for your print. Higher densities result in stronger prints, but also increase material usage and printing time. For objects that require structural integrity, higher infill densities are recommended.
- Utilize Support Structures: When printing intricate or overhanging designs, enable support structures in your slicer. They provide stability during printing and can be easily removed afterward. Choose the appropriate support settings and generate them automatically to simplify the process.
- Preview Your Print: Make use of the preview mode in your slicer to visually inspect your model before printing. This helps identify potential issues, such as gaps, overhangs, or missing parts. Previewing allows you to spot and rectify any problems before starting the actual print.
- Experiment with Different Slicers: Don’t be afraid to try out different slicer software to find the one that best suits your needs. Each slicer has its own strengths and weaknesses, so exploring multiple options will help you determine which one aligns most with your workflow and requirements.
- Stay Updated: Keep your slicer software up to date to benefit from the latest features, improvements, and bug fixes. Regularly check for updates from the slicer developer and install them to ensure optimal performance and stability.
- Learn from the Community: Engage with the slicer’s user community to learn new techniques, troubleshoot issues, and gain insights from experienced users. Online forums, social media groups, and dedicated websites are excellent resources for expanding your knowledge and enhancing your slicer proficiency.
By following these tips, you can harness the full potential of your slicer software and improve the quality and efficiency of your 3D prints. Remember, practice and experimentation are key factors in mastering the art of slicing, so don’t be afraid to explore and learn from your experiences.
Common Slicer Settings
When using a slicer for 3D printing, understanding and adjusting the various settings can greatly impact the outcome of your prints. Here are some common slicer settings that you should become familiar with:
- Layer Height: This setting determines the thickness of each individual layer in your print. Thinner layers result in finer detail, while thicker layers can speed up the printing process. Strike a balance based on your desired level of quality and print time.
- Infill Density: Infill refers to the interior structure of your print. The infill density setting controls the amount of material that fills the inside of your object. Lower densities, such as 10-20%, can save time and material, while higher densities provide stronger prints. Adjust this setting based on the structural requirements of your design.
- Print Speed: The print speed setting defines how fast the print head moves during the printing process. Faster speeds can reduce overall print time, but may sacrifice detail and precision. Slower speeds can improve quality but extend the print duration. Experiment with different speeds to find the optimal balance for your prints.
- Support Structures: Support structures are temporary structures that are printed alongside your object to stabilize overhanging or complex parts. The support structure setting determines whether supports are generated automatically or manually. Adjust the support density and pattern to ensure sufficient support while minimizing post-processing cleanup.
- Print Temperature: Different materials require specific temperatures to achieve optimal print quality. The print temperature setting controls the temperature of the extruder nozzle during the printing process. Refer to the material manufacturer’s recommendations and adjust the temperature accordingly to achieve good adhesion and print quality.
- Print Bed Adhesion: Ensuring proper adhesion between the first layer of your print and the print bed is crucial. The print bed adhesion setting offers options such as a skirt, brim, or raft to improve adhesion. Experiment with different options to find the one that works best for your printer and material combination.
- Retraction: Retraction refers to the process of pulling back the filament from the nozzle to prevent stringing and oozing during travel moves. The retraction settings control the distance and speed at which the filament is retracted. Adjust these settings to minimize stringing and achieve cleaner, more precise prints.
- Fan Speed: The fan speed setting controls the speed at which the cooling fan operates. Cooling is essential to solidify the molten filament quickly and improve print quality, especially for small details and overhangs. Adjust the fan speed based on the material and the specific requirements of your print.
Remember, these are just some of the common settings found in slicers, and the available options may vary depending on the software you are using. Understanding and experimenting with these settings will help you achieve the desired print results and fine-tune your prints to your specific requirements.
Slicer Software Comparison
There are several slicer software options available for 3D printing, each with its own set of features, capabilities, and user experiences. Let’s compare a few popular slicer software options to help you make an informed decision:
1. Ultimaker Cura
Ultimaker Cura is a widely-used open-source slicer software known for its user-friendly interface and extensive community support. It offers a range of advanced settings, such as customizable supports, infill patterns, and print profiles. Cura is compatible with various 3D printers and allows for easy integration and management of multiple materials and print profiles.
2. PrusaSlicer
Developed by Prusa Research, PrusaSlicer is another popular open-source slicer software. It offers a rich feature set, including advanced support structures, variable layer height, and a customizable user interface. PrusaSlicer is specifically optimized for Prusa 3D printers, ensuring seamless integration and optimal printing performance.
3. Simplify3D
Simplify3D is a commercial slicer software that provides powerful customization options and high print quality. It offers advanced features like multi-material printing, variable layer heights, and efficient support generation. Simplify3D also supports a wide range of 3D printers, making it a versatile choice for many users.
4. Slic3r
Slic3r is an open-source slicer software known for its flexibility and robust feature set. It offers various customization options for infill patterns, support structures, and print settings. With a large user community, Slic3r benefits from continual development and updates, ensuring compatibility with a wide range of 3D printers.
5. PrusaSlicer
Developed by MatterHackers, MatterControl is a slicer software that combines slicing capabilities with integrated printer management. It offers a user-friendly interface, incorporating features such as model repair and customization tools. MatterControl supports a range of 3D printers and provides a convenient all-in-one solution for slicing and printing.
When deciding on a slicer software, consider your specific needs, the compatibility with your 3D printer, the user interface, available features, and the level of community support. It’s also helpful to experiment with different slicers to find the one that aligns best with your workflow and delivers the desired results for your 3D printing projects.
Conclusion
In conclusion, a slicer is a crucial software component in the 3D printing workflow. It takes your 3D model and converts it into a series of instructions that a 3D printer can understand and execute. By utilizing a slicer effectively, you can achieve high-quality, customized prints with improved efficiency and control.
When choosing a slicer, consider factors such as compatibility with your 3D printer, user experience, available features, performance, community support, and personal preferences. Each slicer offers its own unique set of features and benefits, so it’s important to find one that aligns with your specific needs and goals.
Key features to look for in a slicer include the ability to adjust layer height, control infill density, generate support structures, customize print settings, and provide a preview mode. These features allow you to optimize your prints and achieve the desired level of detail, strength, and time efficiency.
Additionally, familiarize yourself with common slicer settings such as layer height, infill density, print speed, support structures, print temperature, print bed adhesion, retraction, and fan speed. Understanding and adjusting these settings based on your specific requirements will greatly impact the quality and success of your prints.
Finally, experiment with different slicers, engage with the user community, and stay updated with the latest developments and improvements in slicer software. Through practice, research, and a hands-on approach, you can enhance your slicing skills and fully harness the potential of 3D printing.
Now armed with this knowledge, you can confidently navigate the world of slicers and unleash your creativity through 3D printing.