Introduction
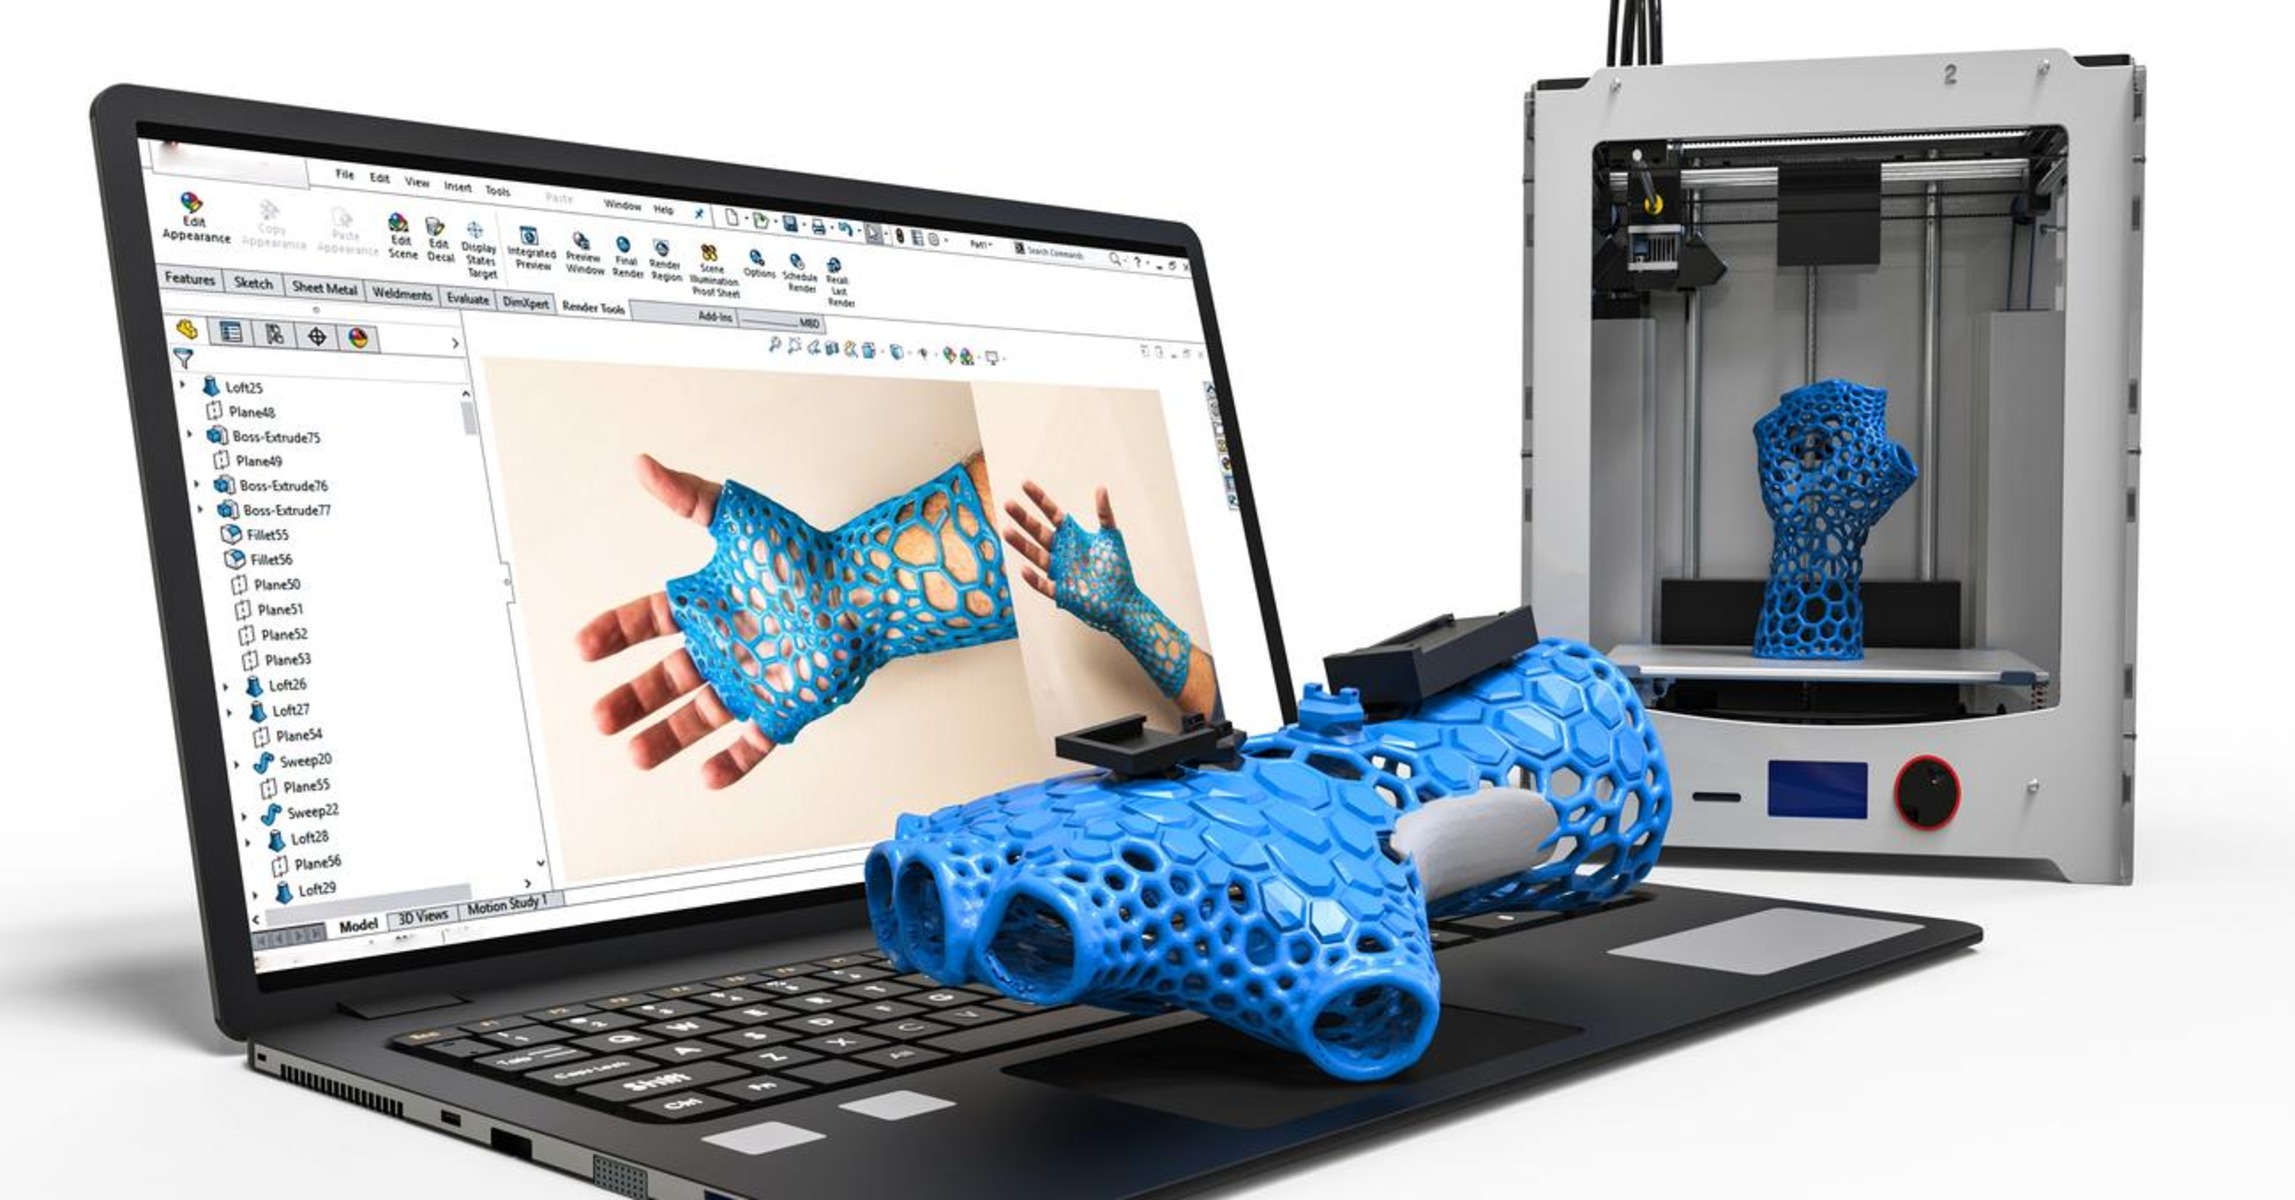
A 3D printer slicer is a crucial component in the 3D printing process, responsible for translating digital designs into instructions that the 3D printer can understand. Without a slicer, the raw 3D model would be meaningless to the printer, but with the help of this software, the printer can precisely build the desired object layer by layer.
In recent years, 3D printing technology has made significant advancements, and as a result, the demand for 3D printer slicers has increased. These software tools have become essential for both professionals and hobbyists in the field of 3D printing. Understanding what a 3D printer slicer is and how it works is vital for anyone looking to get involved in this exciting technology.
In this article, we will delve into the world of 3D printer slicers, exploring their functionality, key features, and popular software options available. Whether you’re a beginner or an experienced user, this guide will provide you with the necessary knowledge to choose the right slicer and make the most of its capabilities.
So, let’s get started by diving into the world of 3D printer slicers and uncovering the magic behind their operation.
What is a 3D Printer Slicer?
A 3D printer slicer is a software tool that acts as a virtual translator between your 3D design and the 3D printer. It takes the digital model of an object, slices it into thin layers, and generates a set of instructions known as G-code, which the 3D printer uses to create the physical object.
The slicer plays a critical role in the 3D printing process by determining how the model will be printed, including layer height, print speed, infill density, support structures, and more. It analyzes the geometry of the digital model and calculates the optimal path for the printer nozzle to follow, ensuring smooth and accurate 3D printing.
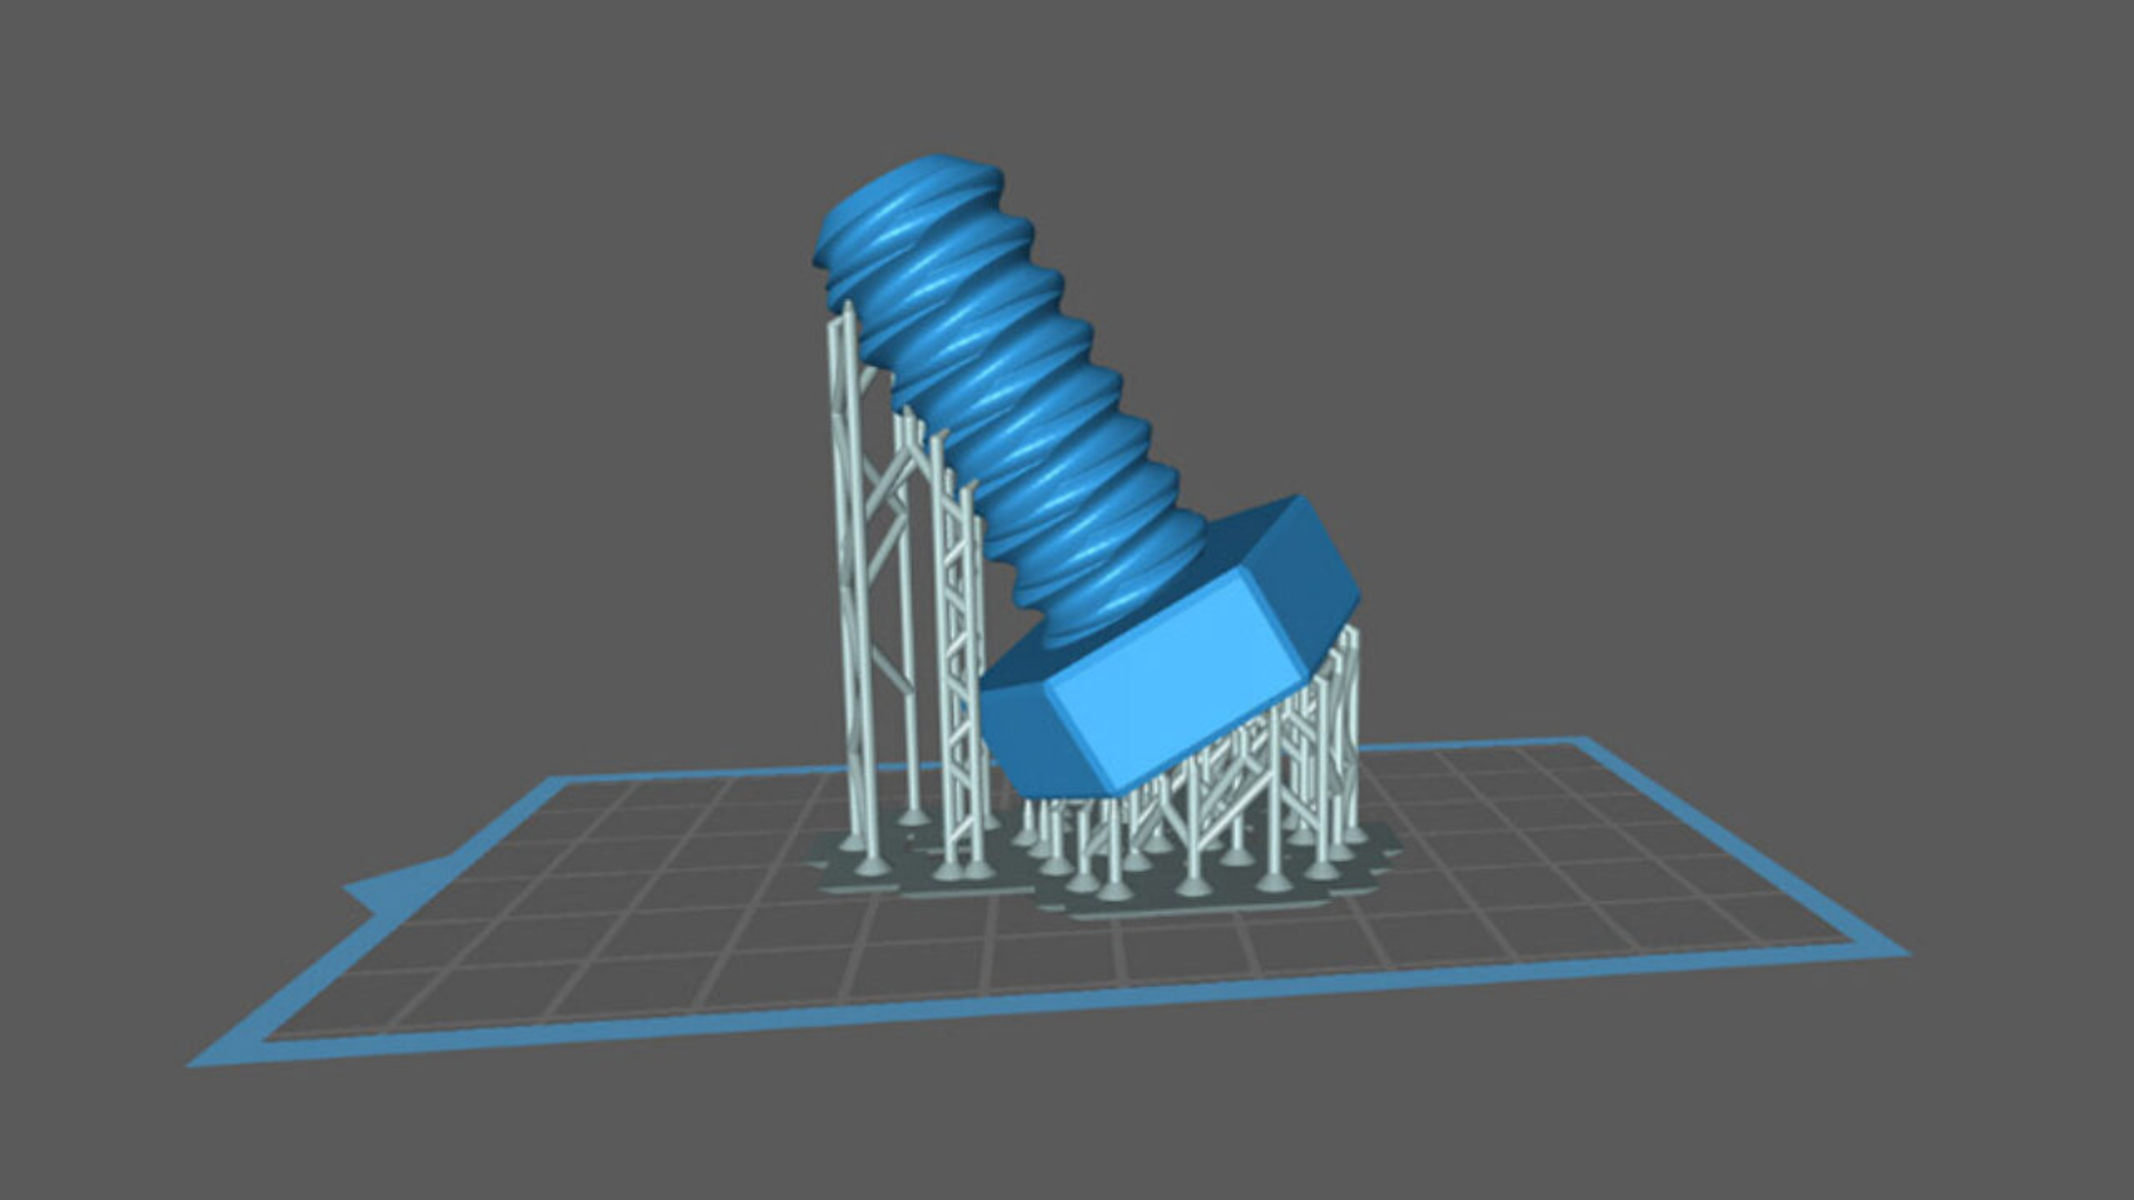
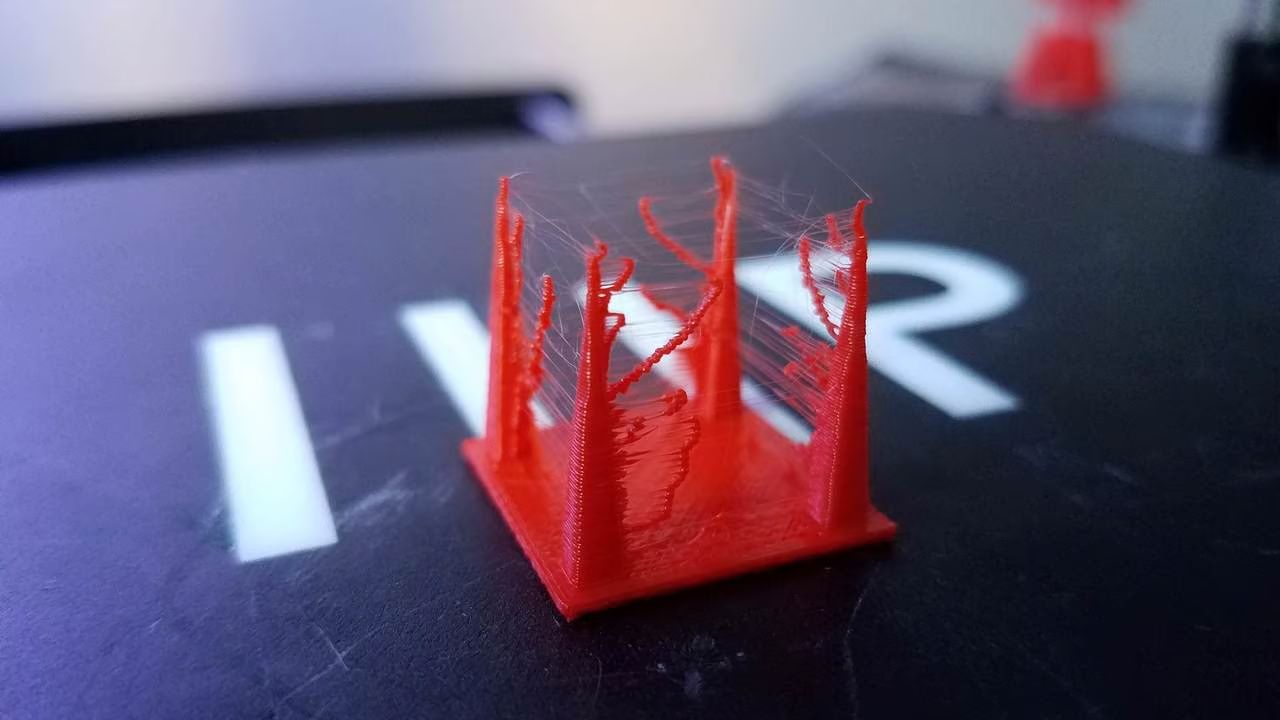
One of the essential functions of the slicer is generating support structures. These are temporary structures that provide support to overhanging or complex sections of the object during printing. The slicer analyzes the design and adds support structures where necessary to ensure the successful creation of intricate models.
Additionally, the slicer allows you to customize various printing parameters to achieve the desired output. You can adjust the layer thickness, infill density, print speed, and other settings according to your specific requirements. This flexibility enables you to optimize the balance between print quality and printing time, making 3D printing an efficient and versatile manufacturing process.
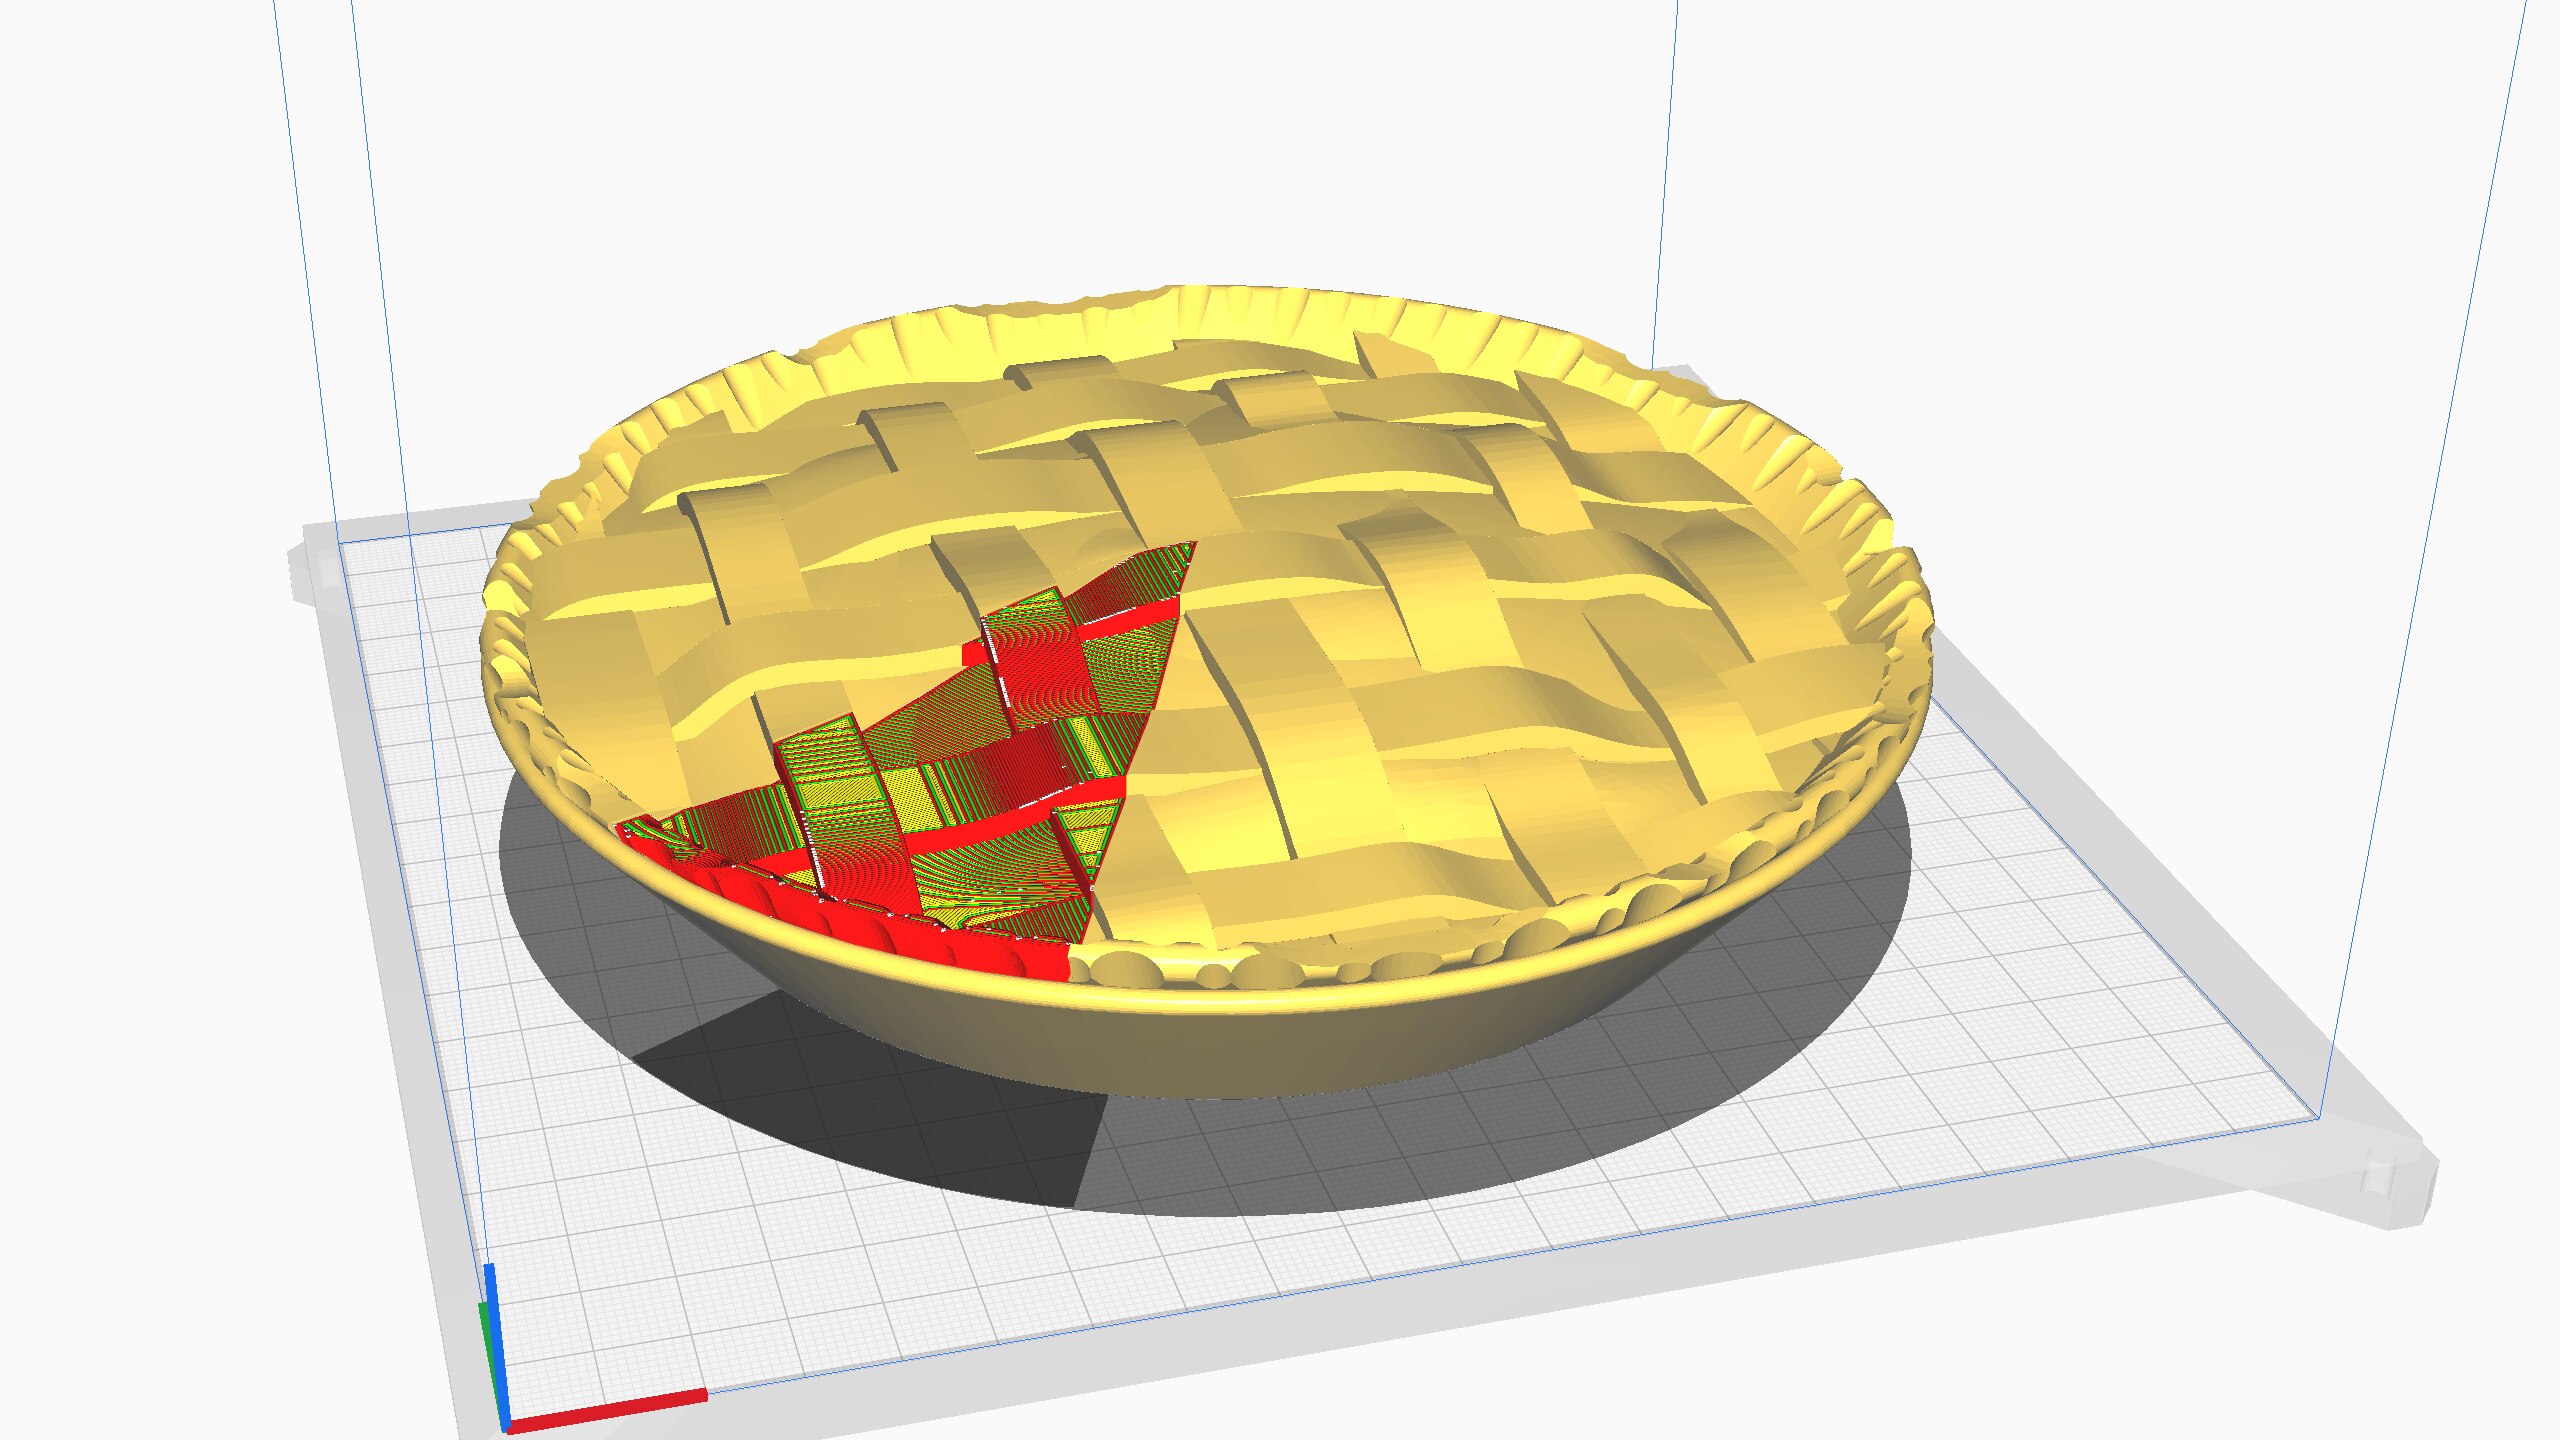
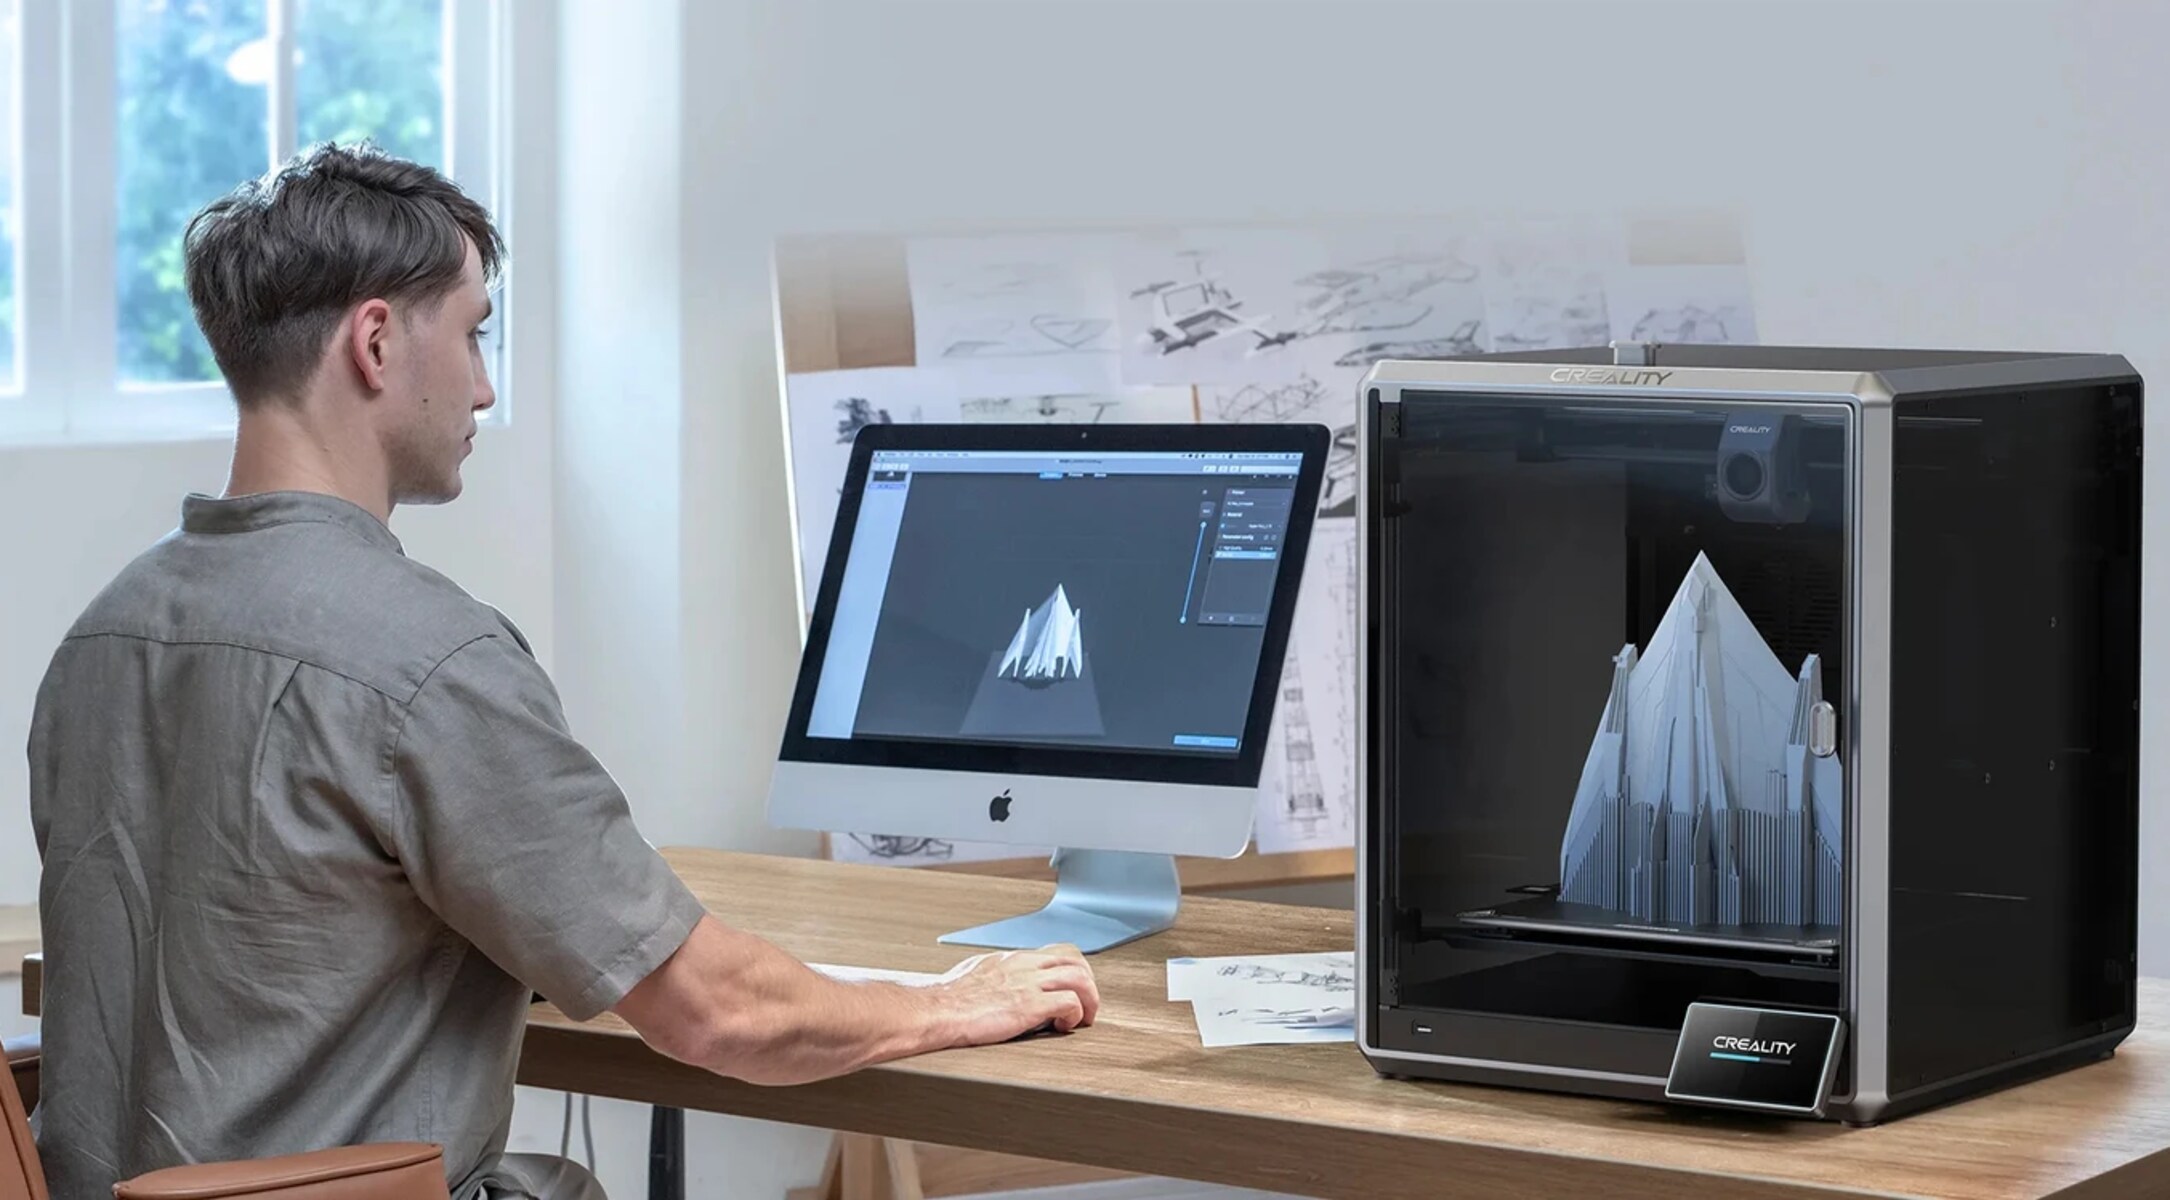
Another important aspect of 3D slicers is their ability to preview the sliced model before initiating the print. This feature allows you to visualize the layers and identify any potential issues, such as gaps, overlaps, or excessive use of support structures. Being able to preview the G-code helps in troubleshooting and fine-tuning the settings before committing to the actual print.
In summary, a 3D printer slicer acts as the bridge between your digital 3D design and the physical object. It processes the design, slices it into manageable layers, generates the necessary instructions, and provides the control and customization options needed for a successful 3D print.
How does a 3D Printer Slicer Work?
Understanding the inner workings of a 3D printer slicer is essential to grasp its functionality and make the most of this vital software tool in the 3D printing process. Let’s take a closer look at the step-by-step process of how a 3D printer slicer works:
- Importing the 3D Model: The slicer software begins by importing the 3D model file in a compatible format, such as STL or OBJ. This digital model represents the object you want to print.
- Slicing the Model: Once the model is imported, the slicer slices it into layers by dividing it along the Z-axis. The layer thickness can be adjusted based on your preferences and the requirements of the print.
- Generating the G-Code: After the slicing process, the slicer generates the G-code instructions for the 3D printer. G-code is a machine-readable language that tells the printer precisely how to move, extrude material, and construct the object layer by layer.
- Configuring Print Settings: The slicer allows you to configure various print settings, such as layer height, print speed, infill density, support structures, and more. These settings determine the overall quality and characteristics of the print.
- Previewing the Sliced Model: Before initiating the print, the slicer often provides a visual preview of the sliced model. This preview allows you to inspect the individual layers, identify any potential issues, and make adjustments if necessary.
- Exporting the G-Code: Once the settings are finalized, the slicer exports the G-code file, which contains all the instructions needed for the 3D printer to create the object. This file is typically saved on an SD card or transferred directly to the printer.
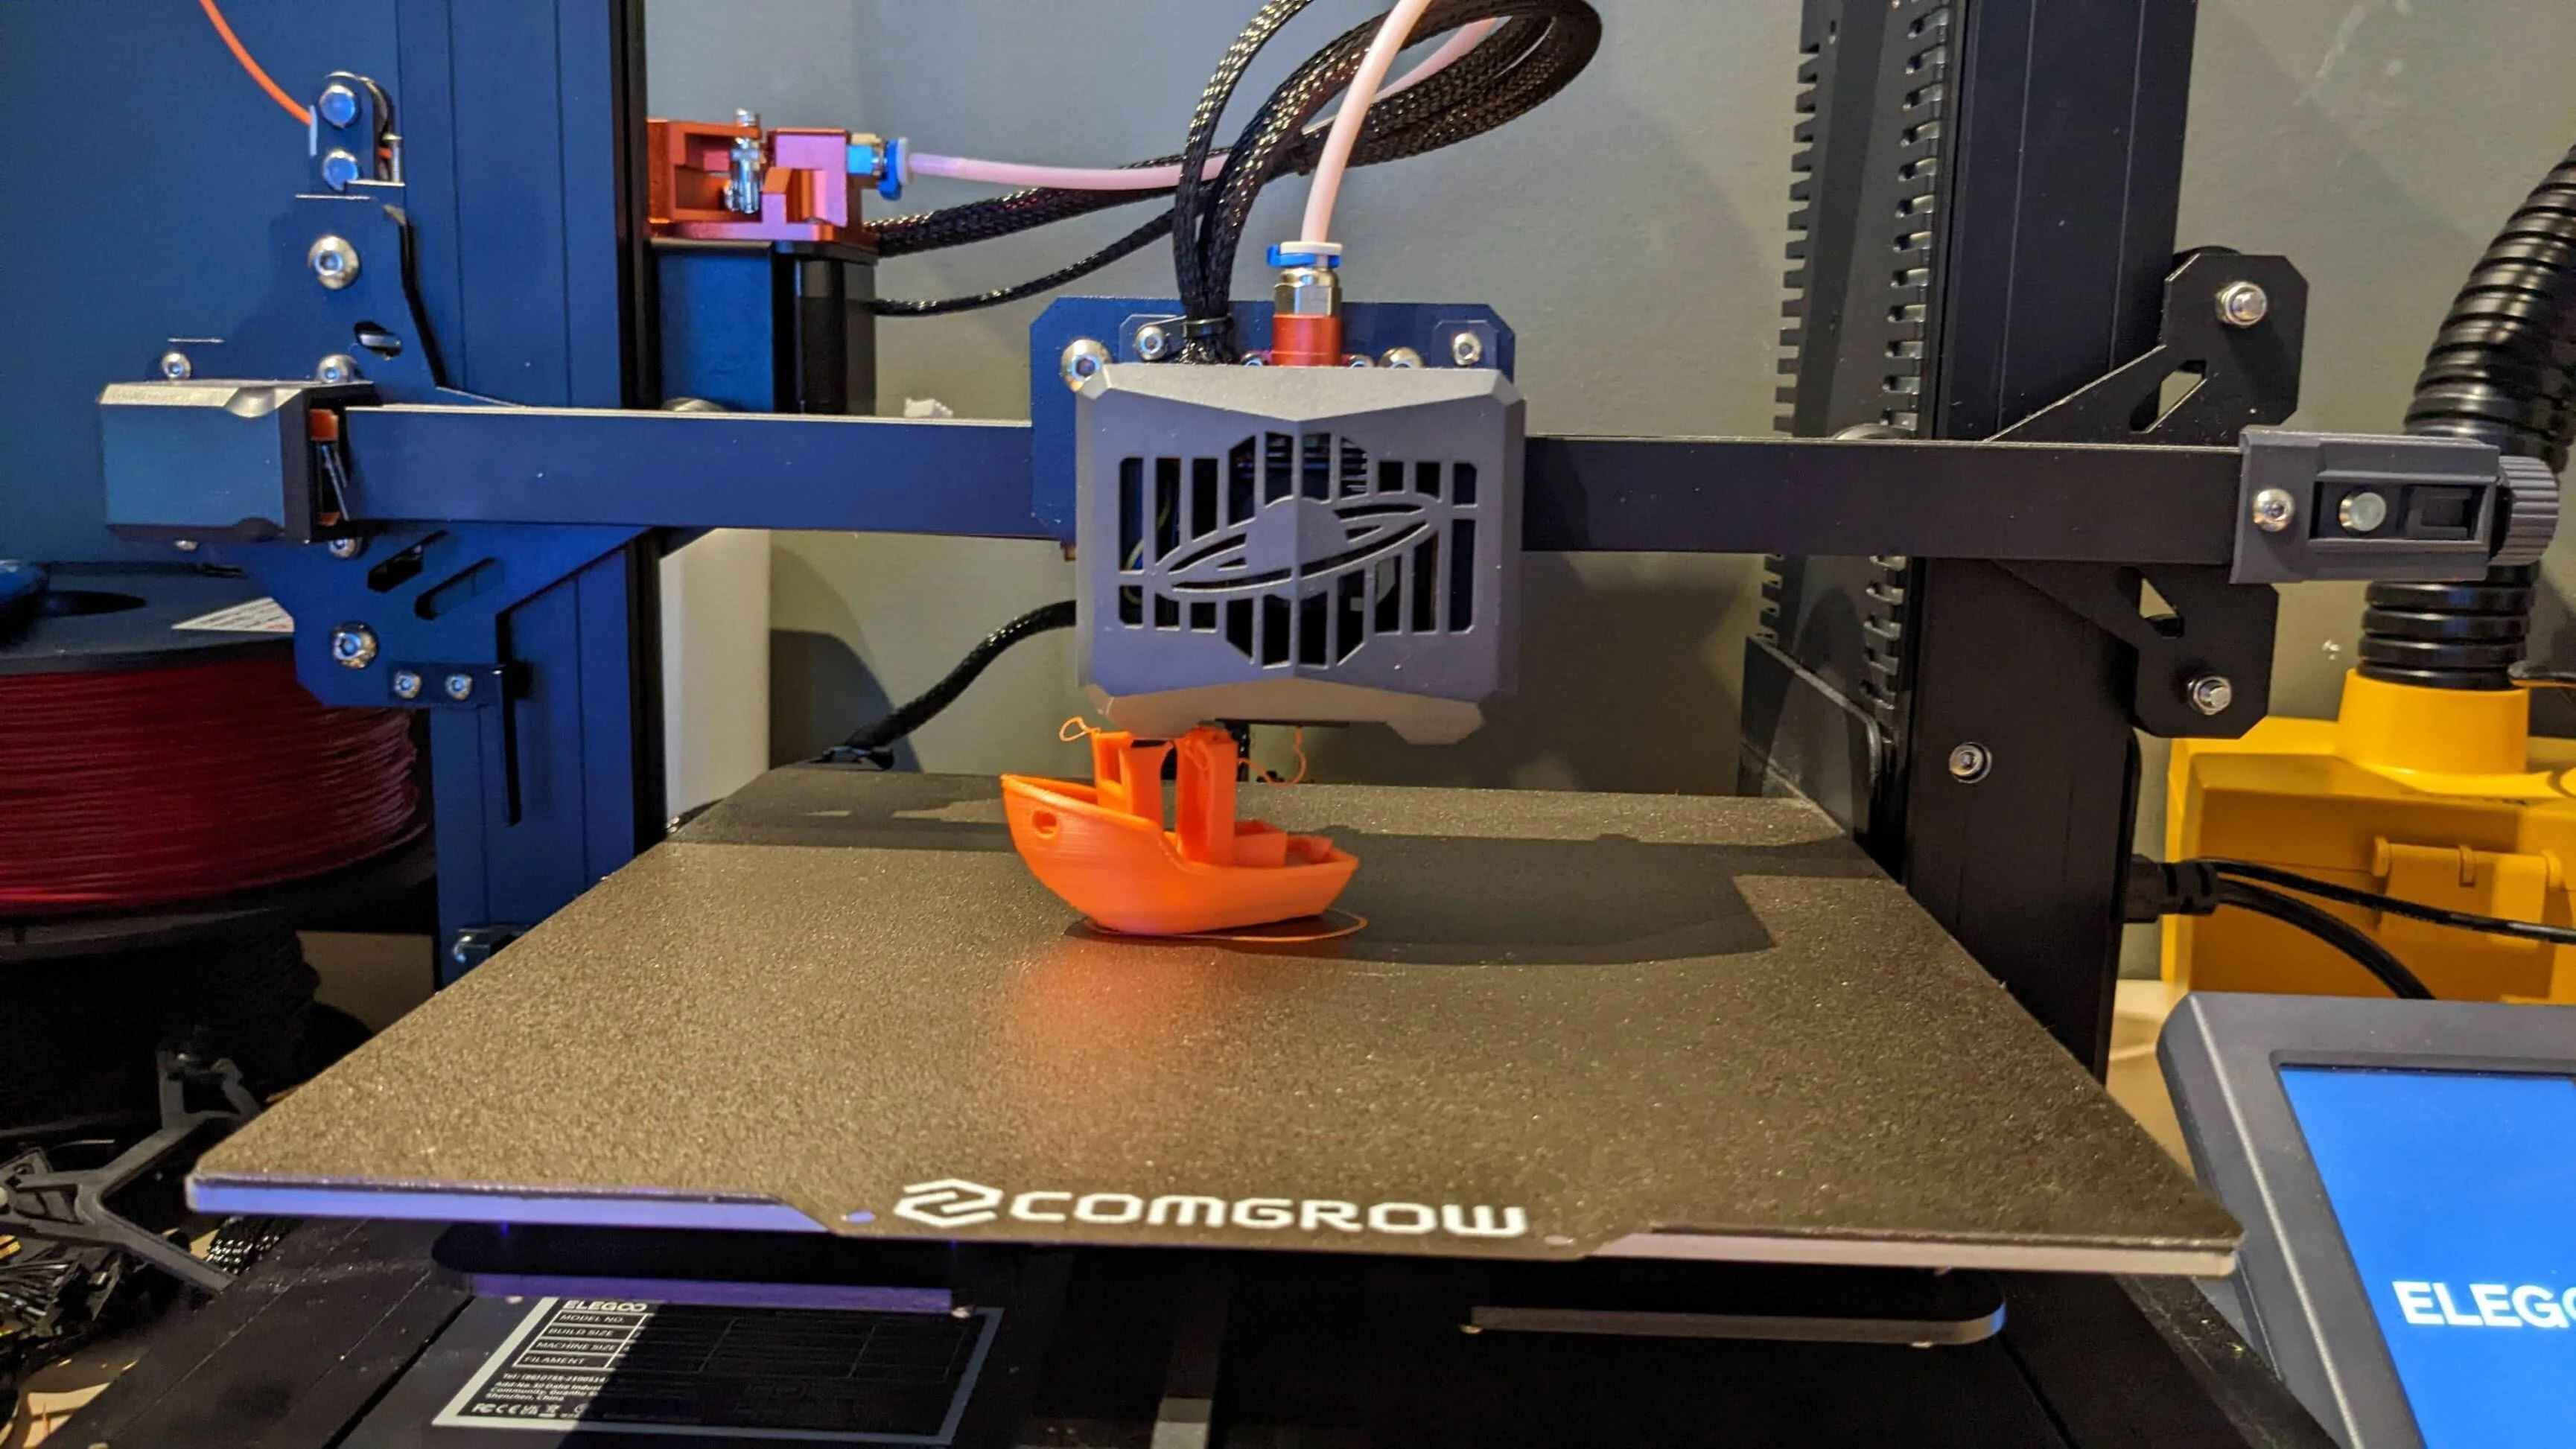
- Printing the Object: With the G-code file loaded, the 3D printer initializes the print. The printer follows the instructions from the slicer, heating the filament, moving the print head, and extruding material layer by layer until the object is fully formed.
By following this step-by-step process, a 3D printer slicer not only converts your digital design into a physical object but also allows for customization and optimization of the printing process to achieve the desired results.
Key Features of a 3D Printer Slicer
When selecting a 3D printer slicer for your 3D printing projects, it’s important to consider the key features that can greatly enhance your printing experience and enable you to achieve high-quality results. Below are some of the essential features to look for in a 3D printer slicer:
- Slicing Capability: A good slicer should have advanced slicing algorithms that can accurately slice even complex models into precise layers. It should handle varying layer thicknesses, intricate geometries, and different slicing patterns with ease.
- Customization Options: The slicer should provide a wide range of customization options, allowing you to adjust various parameters such as layer height, print speed, infill density, support structures, and more. Customization options are crucial for optimizing print quality and printing time according to your specific requirements.
- Support Generation: Look for a slicer that has efficient support generation capabilities. Generating support structures is essential, especially for prints with overhangs or complex geometries. The slicer should generate reliable supports that are easy to remove and do not damage the printed object.
- Preview and Simulation: A slicer should offer a preview or simulation feature that allows you to visualize the sliced model before initiating the print. This feature helps in identifying errors, gaps, or other issues in the model and allows you to make necessary adjustments before printing.
- Multiple Filament Compatibility: Ensure that the slicer supports a wide range of filament materials. Different filaments require varying print settings, such as temperature and cooling, and a slicer that allows for easy configuration of these settings is essential for working with different materials.
- Printer Compatibility: Check if the slicer supports your specific 3D printer model. Not all slicers are compatible with all printers, as they might have different firmware or communication protocols. Ensure that the slicer you choose is designed to work seamlessly with your printer.
- Intuitive User Interface: A user-friendly interface is important for an efficient workflow. Look for a slicer that has a well-designed interface, easy-to-understand menus, and clear icons. This will make it easier for beginners to navigate through the software and for experienced users to quickly access advanced settings.
These are just a few of the key features to consider when selecting a 3D printer slicer. Depending on your specific needs and preferences, there may be additional features that you find important, such as multi-material printing support, auto-bed leveling, or integration with cloud-based printing services.
By choosing a slicer with these features, you can elevate your 3D printing experience and achieve impressive results with your 3D printer.
Popular 3D Printer Slicer Software
There are several 3D printer slicer software options available in the market, each offering unique features and capabilities. Here are some of the most popular 3D printer slicers used by professionals and enthusiasts:
- Ultimaker Cura: Ultimaker Cura is a user-friendly slicer that supports a wide range of 3D printers. It offers advanced slicing features, customization options, and a straightforward interface. Cura also provides a 3D preview and simulation tool, making it popular among beginners and experts alike.
- PrusaSlicer: Developed by Prusa Research, PrusaSlicer is known for its reliability and compatibility with Prusa printers. It offers various advanced features, including customizable support structures, multi-material printing, and intricate print parameter control. PrusaSlicer is highly regarded for its ability to generate high-quality prints.
- Simplify3D: Simplify3D is a powerful slicer software that offers extensive customization options and advanced features. It supports a wide range of 3D printers and provides highly detailed control over slicing parameters. Simplify3D also offers a visual preview, allowing users to detect and fix any issues before printing.
- Repetier-Host: Repetier-Host is a versatile slicer that supports multiple printers and provides a user-friendly interface. It offers advanced settings for optimal customization, including layer height, print speed, and infill density. Repetier-Host also includes a preview feature for visualizing the sliced model.
- Slic3r: Slic3r is an open-source slicer software known for its extensive customization options and support for various printers. It offers advanced features like adaptive layer thickness, custom infill patterns, and variable layer heights. Slic3r also provides a comprehensive preview mode for analyzing the sliced model.
- KISSlicer: KISSlicer focuses on simplicity and ease of use while providing excellent slicing performance. It offers advanced infill patterns, automated support generation, and the ability to customize extrusion settings. KISSlicer is known for its fast and reliable slicing algorithms.
These are just a few examples of popular 3D printer slicers, each with its own strengths and unique features. It’s important to research, explore, and try out different slicers to find the one that best suits your specific needs, printer compatibility, and personal preferences.
Always remember to check for regular updates and community support when choosing a slicer, as they contribute to improving functionality and resolving any issues that may arise during the slicing process.
Choosing the Right 3D Printer Slicer for Your Needs
Choosing the right 3D printer slicer is crucial to ensure optimal results and a smooth printing experience. Here are some factors to consider when selecting a slicer that meets your specific requirements:
- Compatibility: Verify that the slicer is compatible with your 3D printer model and firmware. Some slicers are specifically designed to work with certain printers, while others have broader compatibility. Ensure that the slicer supports the file format of your 3D models as well.
- User-Friendliness: Consider the ease of use and user interface of the slicer. Look for a slicer that offers an intuitive interface, clear menus, and easy-to-understand settings. This is especially important for beginners who may be less familiar with the 3D printing process.
- Features and Customization: Assess the features and customization options offered by the slicer. Consider the slicing capabilities, ability to generate support structures, preview and simulation features, and the extent of customization available for print settings. Choose a slicer that aligns with your desired level of control and functionality.
- Community and Support: Research the community around the slicer and the availability of support resources. A strong community can provide valuable assistance, troubleshooting tips, and access to user-generated content like printer profiles and plugins. Having community support can greatly enhance your experience with the slicer.
- Updates and Development: Check the frequency of updates and the development activity behind the slicer. Tthe technology of 3D printing is evolving rapidly, and using a slicer that is regularly updated ensures compatibility with new printer models and incorporates enhancements and bug fixes to improve the overall workflow.
- Reviews and Recommendations: Read reviews and seek recommendations from other 3D printing enthusiasts or professionals. Their insights and experiences can provide valuable information about the reliability, performance, and user satisfaction of different slicers.
Remember that the “right” slicer for you ultimately depends on your specific needs, preferences, and level of expertise in 3D printing. Consider the features that are most important to you and align them with the capabilities of the slicer options available.
Don’t be afraid to experiment with different slicers and workflows to find the combination that works best for your projects. It’s also possible to use multiple slicers for different types of prints or to achieve specific effects. The key is finding the slicer that provides the features, user experience, and support that aligns with your goals in 3D printing.
Tips for Using a 3D Printer Slicer Effectively
To make the most out of your 3D printer slicer and achieve optimal printing results, consider implementing the following tips:
- Understand Slicer Settings: Familiarize yourself with the various settings and options available in the slicer. Take the time to understand how each parameter affects the printing process and the final output. Experiment with different settings to find the optimal combination for your specific prints.
- Utilize Preview and Simulation: Take advantage of the preview or simulation feature offered by the slicer. This allows you to visualize the sliced model and identify any potential issues before initiating the print. Check for gaps, overlaps, or excessive support structures that may affect the quality of the print.
- Optimize Support Structures: If your print requires support structures, optimize their placement and density. Use the slicer’s support generation tools to strategically add supports only where necessary, reducing the amount of material used and making post-print removal easier.
- Consider Print Orientation: Experiment with different print orientations to find the optimal position for your model. Adjusting the orientation can affect print quality, strength, and the need for support structures. Find the orientation that minimizes the need for support while maximizing the overall print quality.
- Check Layer Adhesion: Pay attention to the slicer’s recommended print settings for proper layer adhesion. Adjust factors such as extrusion temperature, cooling, and print speed to ensure strong adhesion between layers. Poor layer adhesion can result in weak and brittle prints.
- Tweak Infill Density: Experiment with different infill densities to find the right balance between strength and material usage. Higher infill densities result in stronger prints but require more material and longer print times. Adjust the infill density based on the desired print application and structural requirements.
- Use Variable Layer Heights: Some slicers offer the ability to adjust layer height throughout the print. Utilize this feature to optimize printing time and quality. Use thicker layers for areas with less detail and finer layers for intricate portions, achieving a balance between speed and detail.
- Keep Firmware and Slicer Updated: Ensure that both your 3D printer’s firmware and slicer software are updated to the latest versions. This ensures compatibility, stability, and access to new features and improvements offered by the developers.
- Learn from Others: Engage with the 3D printing community and learn from others’ experiences. Join forums, social media groups, or online communities dedicated to 3D printing to share knowledge, ask questions, and gain insights from experienced users.
By implementing these tips, you can maximize the capabilities of your 3D printer slicer and achieve high-quality prints efficiently and effectively.
Conclusion
3D printer slicers play a crucial role in the 3D printing process, bridging the gap between digital designs and physical objects. These software tools translate complex models into precise instructions that enable 3D printers to create intricate objects layer by layer.
In this article, we explored the concept of a 3D printer slicer, understanding its functionality and how it works. We also discussed the key features to look for when choosing a slicer and explored some popular slicer software options available in the market.
When selecting a slicer, consider factors such as compatibility with your 3D printer, user-friendliness, available customization options, and community support. Gathering insights from reviews and recommendations can also help in making an informed decision.
To effectively use a 3D printer slicer, it’s important to familiarize yourself with its settings, utilize the preview or simulation feature, optimize support structures, and experiment with different print orientations and infill densities. Staying updated with slicer and firmware advancements, as well as learning from the 3D printing community, can also enhance your printing experience.
In conclusion, a 3D printer slicer is a powerful tool that empowers you to bring your digital designs to life with precision and accuracy. By understanding how slicers work, selecting the right one for your needs, and using it effectively, you can unlock the full potential of 3D printing and create remarkable objects with confidence.