Introduction
Have you ever wondered why your 3D printer seems to make a clicking noise while it’s operating? You’re not alone. Many people who are new to 3D printing or even experienced users may be concerned when they hear unusual sounds coming from their printer. But, fear not! In most cases, a clicking noise is actually quite normal, and understanding the reasons behind it can help you troubleshoot and resolve any issues that may arise.
Before we dive into the different reasons why your 3D printer might be making a clicking noise, it’s important to note that not all clicking sounds are the same. The specific noise and its intensity may vary depending on the make and model of your printer, as well as the specific issue causing the sound. Therefore, it’s always a good idea to familiarize yourself with your printer’s manual and consult the manufacturer’s troubleshooting resources for your specific model.
Now, let’s explore some of the common reasons why your 3D printer may be making a clicking noise:
Reasons for Clicking Noise
When your 3D printer produces a clicking noise, it usually indicates an issue that requires attention. Understanding the possible reasons behind this sound can help you identify and address the problem effectively. Here are some common causes of a clicking noise in a 3D printer:
- Filament Jam: One of the most common culprits for a clicking noise is a filament jam. If the filament is not feeding smoothly through the extruder, it can cause a clogging or blockage. This can result in the extruder motor clicking as it tries to push the filament through. Clearing the jam and ensuring the filament path is clear can resolve this issue.
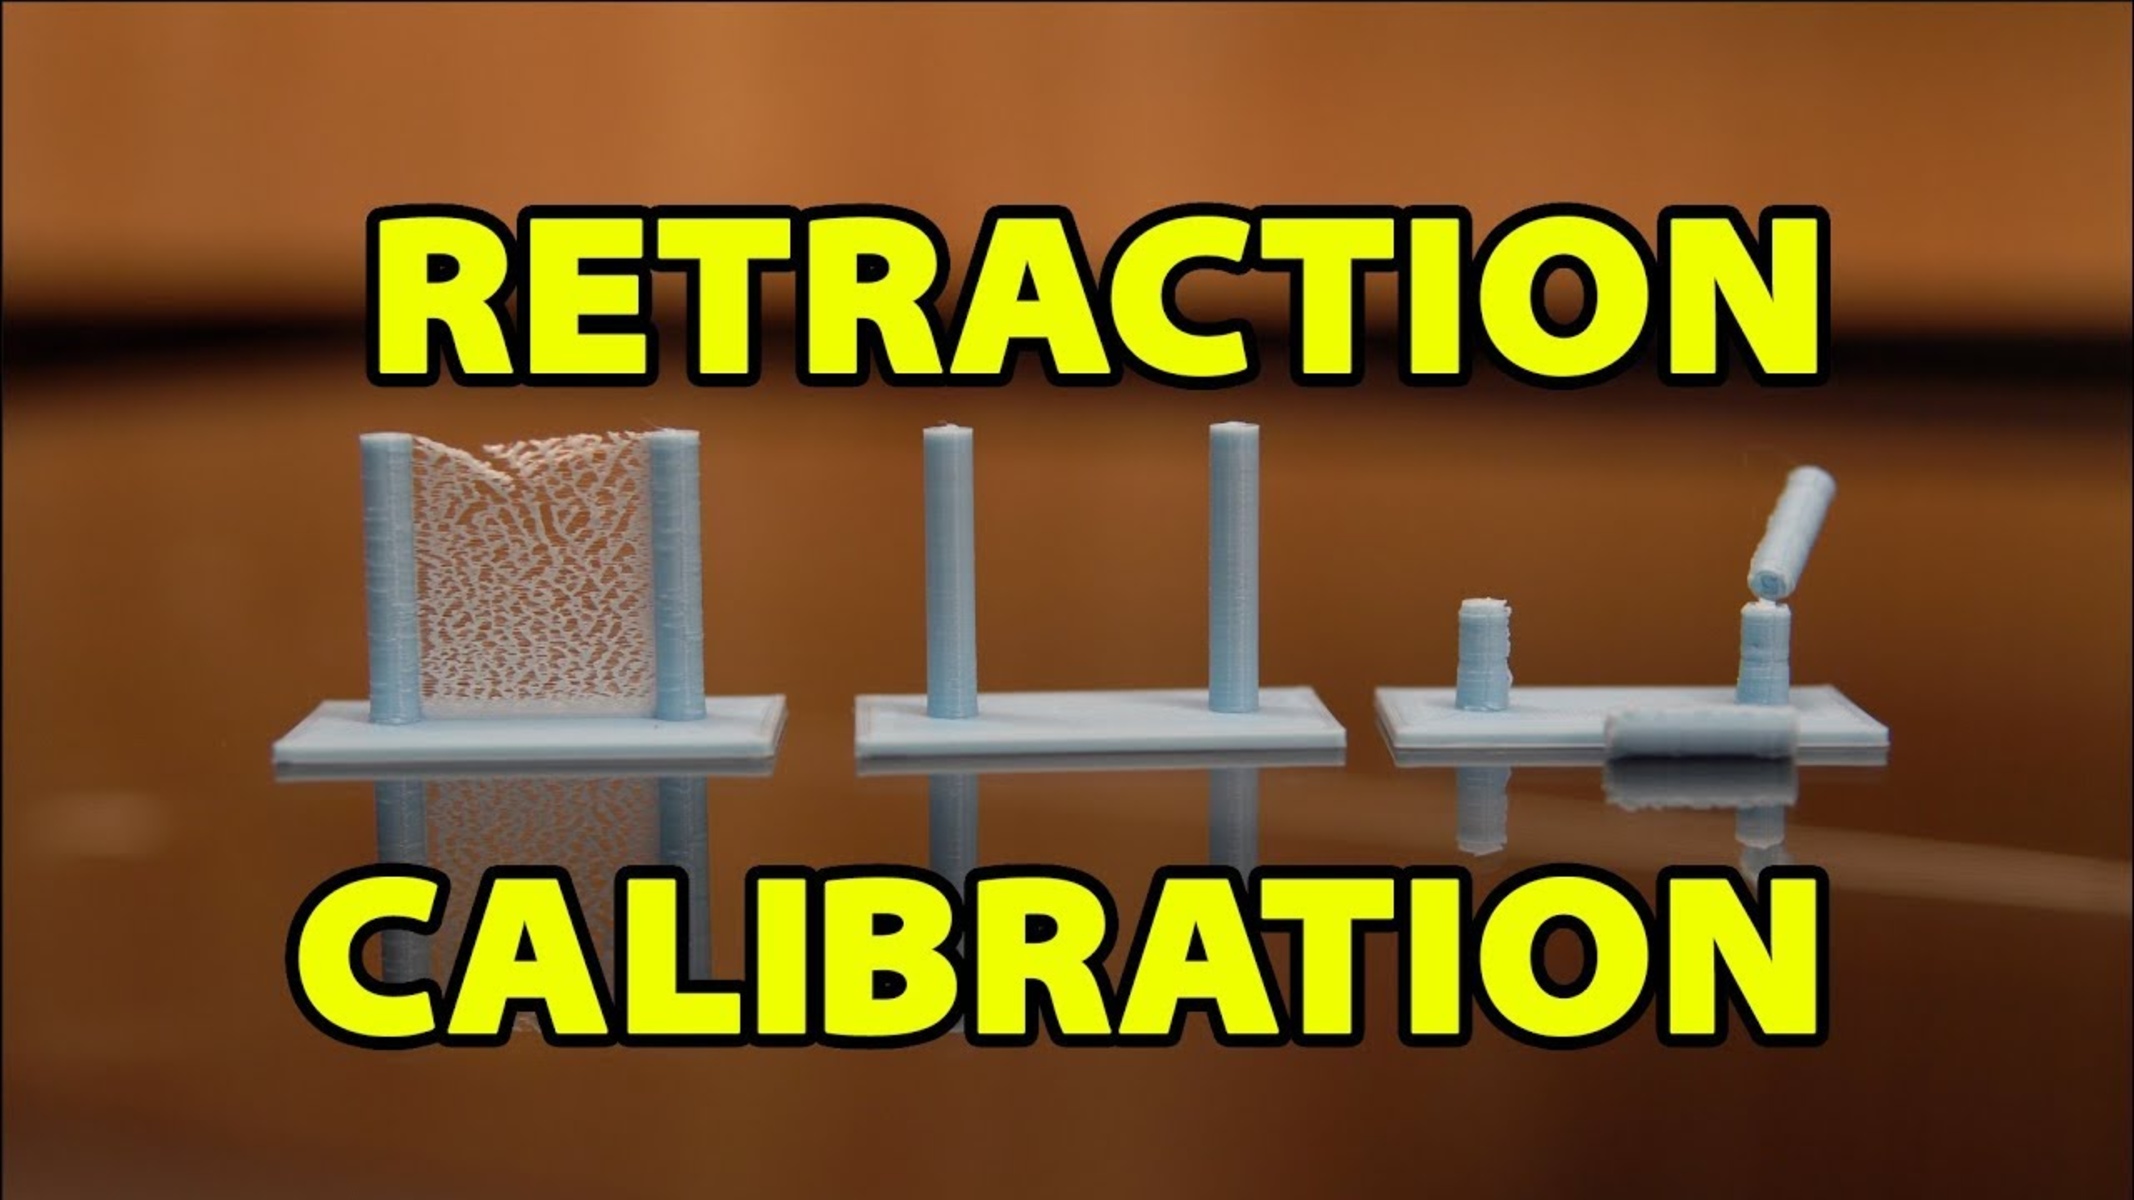
- Z-Axis Issues: Another potential cause of clicking noise is a problem with the Z-axis movement. If the Z-axis is not calibrated correctly or there is a mechanical issue with the lead screw or motor, it can lead to uneven movement or binding. This can manifest as a clicking sound as the motor struggles to move smoothly.
- Loose Belt or Pulley: Loose belts or pulleys can cause clicking noises during printing. If the belts are not properly tensioned or the pulleys are loose, it can result in skipped steps or misalignment of the printer’s components. Checking and tightening the belts and pulleys can help eliminate this source of noise.
- Extruder Problems: Issues with the extruder assembly can also lead to clicking sounds. A worn or damaged extruder gear, a loose hobbed bolt, or a misaligned extruder can cause the motor to click as it struggles to grip and feed the filament correctly. Inspecting and maintaining the extruder assembly can help resolve these problems.
- Stepper Motor Issues: Clicking noises may also be caused by problems with the stepper motors. Damaged or faulty stepper motors can result in irregular movements or skipped steps, leading to clicking sounds during printing. If you suspect an issue with the stepper motors, it may be necessary to replace or repair them.
- Print Bed Leveling: A poorly leveled print bed can contribute to clicking noises. If the print bed is not leveled correctly, it can cause the nozzle to hit the bed, resulting in a clicking sound. Ensuring proper bed leveling is essential for achieving successful prints and minimizing noise.
- Fan Malfunction: Faulty or worn-out cooling fans can produce clicking sounds. If the fans are not running smoothly or are obstructed, they may make clicking noises as they spin. Checking the fans and cleaning or replacing them if necessary can help resolve this issue.
By understanding these potential causes of clicking noises in your 3D printer, you can take the necessary steps to diagnose and address the problem. Remember to consult your printer’s manual or seek assistance from the manufacturer if you need specific troubleshooting guidance for your particular model.
Filament Jam
A filament jam is one of the most common reasons for a clicking noise in a 3D printer. It occurs when the filament gets stuck or clogged, preventing its smooth flow through the extruder. This can lead to irregular movements and skipping steps, resulting in a distinct clicking sound.
There are several factors that can contribute to a filament jam. One common cause is a dirty or partially blocked nozzle. Over time, residue from previous prints or impurities in the filament can accumulate and hinder the flow of filament. Regular maintenance, such as cleaning the nozzle or using filament filters, can help prevent this issue.
Another cause of filament jam is improper filament loading or tension. If the filament is not properly aligned or the tension is too tight, it can create resistance and cause the extruder motor to click. Ensuring that the filament spool is properly mounted and guiding the filament into the extruder at the correct angle can help alleviate this problem.
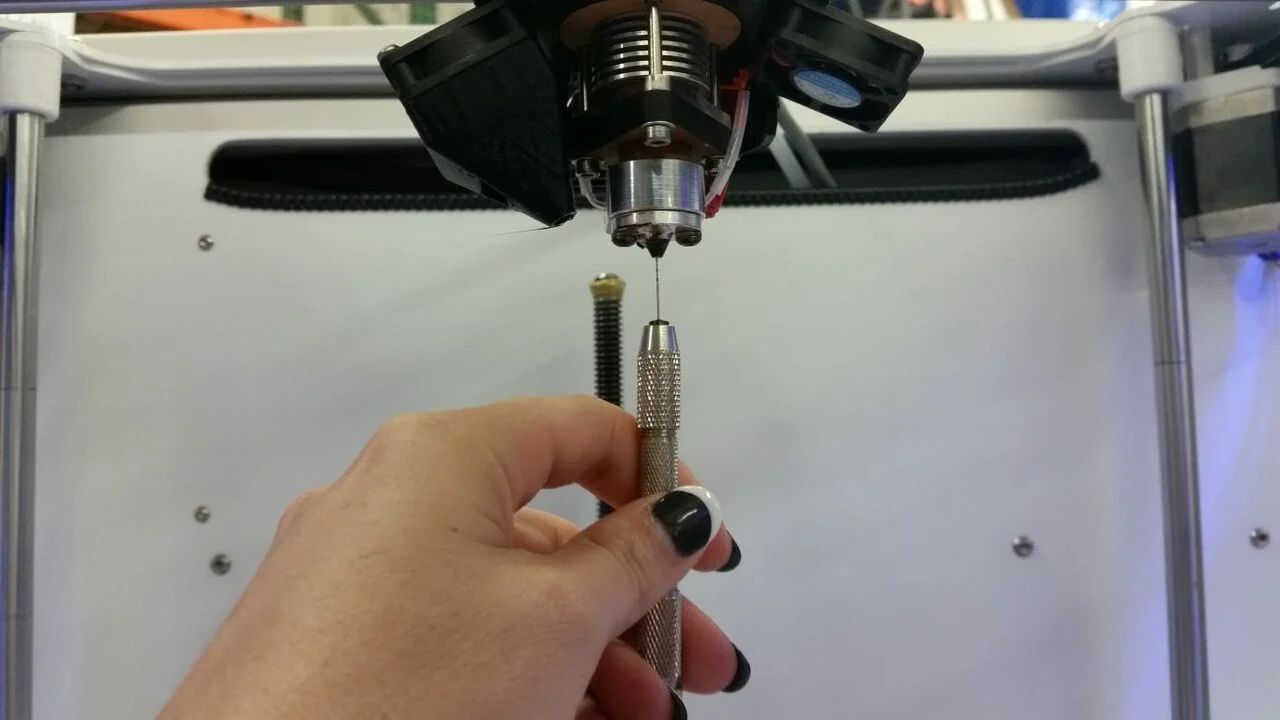
When encountering a filament jam, it is important to stop the printing process and investigate the issue. Begin by checking the filament path for any visible obstructions or tangles. If you notice any blockage or tangled filament, gently remove it using a pair of tweezers or a filament guide tube. Exercise caution not to damage the extruder or the filament itself.
If the filament jam is persistent or recurring, it may be necessary to further troubleshoot the extruder assembly. This can involve disassembling the extruder, inspecting the gears, and cleaning or replacing any worn or damaged parts. Pay attention to the alignment of the gears and the tension of the filament during reassembly.
Regular maintenance and proper filament handling can significantly reduce the chances of a filament jam. Remember to use high-quality filament, store it properly, and keep your printer’s extruder clean. By taking these precautions, you can minimize the occurrence of filament jams and alleviate the associated clicking noise.
Z-Axis Issues
A clicking noise in a 3D printer can also be attributed to problems with the Z-axis movement. The Z-axis is responsible for the vertical movement of the printer’s print bed or nozzle. When there are issues with the Z-axis, it can result in uneven movement or binding, causing the motor to click.
One common cause of Z-axis issues is improper calibration. If the Z-axis is not leveled or adjusted correctly, it can lead to misalignment and inconsistent movement. This can cause the motor to click as it attempts to move the bed or nozzle to the desired position. Proper calibration and leveling of the Z-axis are crucial for achieving accurate prints and avoiding unnecessary noise.
Mechanical problems within the Z-axis system can also be responsible for the clicking noise. This can include worn-out or misaligned lead screws, damaged stepper motors, or loose couplings. Any inconsistencies in the Z-axis components can result in jerky movements and clicking sounds during operation.
To troubleshoot Z-axis issues, start by checking the leveling of the print bed. Make sure it is parallel to the nozzle and appropriately adjusted. Refer to your printer’s manual for specific instructions on leveling the bed.
If the bed is properly leveled but the clicking noise persists, inspect the Z-axis components. Look for signs of wear or damage on the lead screw, stepper motor, or couplings. If any parts appear faulty, consider replacing or repairing them. Proper lubrication of the lead screw can also help ensure smooth movement.
Additionally, check for any obstructions or debris that may be hindering the Z-axis movement. Clear away any debris and ensure that the bed and its supporting components can move without any restrictions.
If you’re unsure about how to troubleshoot Z-axis issues or if the clicking noise continues, consult your printer’s manufacturer for further assistance. They may be able to provide more specific guidance or recommend solutions tailored to your particular printer model.
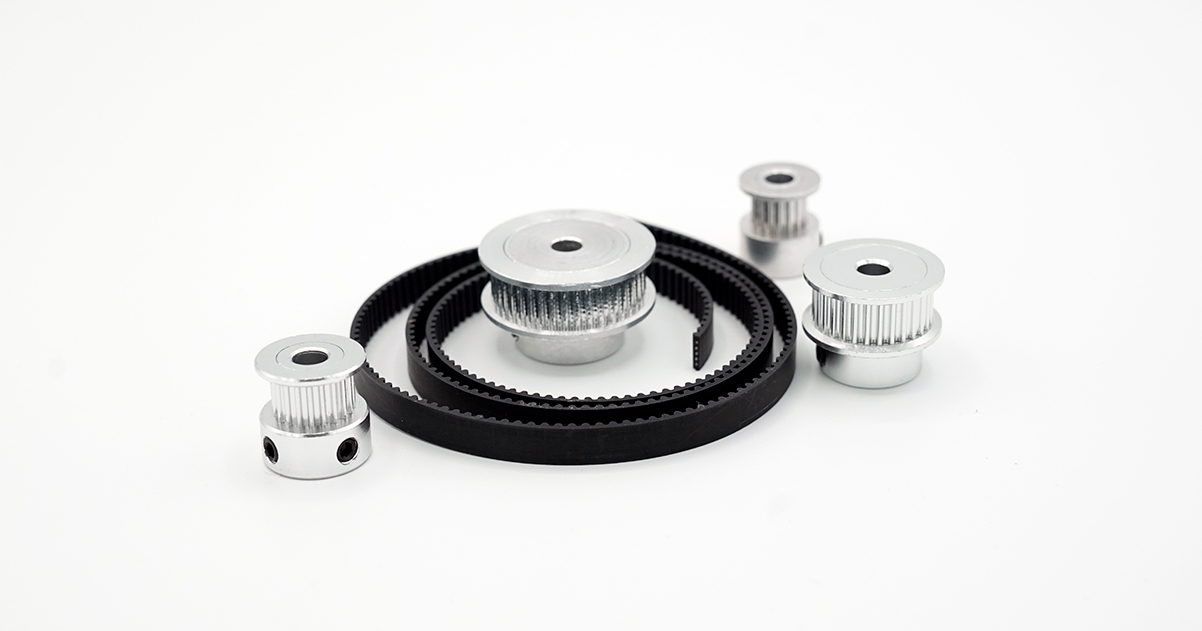
Loose Belt or Pulley
A clicking noise in a 3D printer can be attributed to loose belts or pulleys. Belts and pulleys are crucial components of a printer’s motion system, responsible for transferring rotational motion from the stepper motors to the various axes. When they are loose or improperly tensioned, it can result in skipped steps and misalignment, causing a distinct clicking sound.
One of the main causes of loose belts is regular wear and tear over time. As the printer is used, the belts can stretch, resulting in decreased tension. Additionally, if the belts are not properly tightened during assembly or maintenance, they may become loose and cause clicking noises during operation.
Pulleys can also contribute to clicking sounds if they are not securely fastened. Loose pulleys can create irregular movements and misalignment in the printer’s motion system, leading to clicking noises as the motor struggles to maintain proper synchronization.
If you suspect loose belts or pulleys are causing the clicking noise, start by visually inspecting the belts and pulleys. Check for any signs of looseness, such as visible slack in the belts or pulleys that can be easily moved or adjusted by hand. If you notice any loose components, carefully tighten them, following the manufacturer’s guidelines for your specific printer model.
It is important to strike a balance when tensioning the belts. They should be tight enough to prevent slipping and skipping steps, but not so tight that they strain the motor or cause unnecessary friction. Consult your printer’s manual for specific instructions on how to properly tension the belts.
In addition to tightening the belts, ensure that the pulleys are fastened securely to their respective shafts. Loose pulleys can cause misalignment and clicking sounds. Use the appropriate tools to tighten the pulley set screws, ensuring that they are snug and do not slip during operation.
Regular maintenance and periodic checks on the belt tension and pulley tightness can help prevent loose components and clicking noises. Be mindful of the recommended maintenance intervals in your printer’s manual and perform necessary adjustments to maintain optimal performance.
If adjusting the belts and pulleys does not resolve the clicking noise, it may be necessary to seek assistance from the printer’s manufacturer or consult with experienced 3D printing enthusiasts who can offer additional insights and troubleshooting suggestions.
Extruder Problems
A clicking noise in a 3D printer can indicate various issues with the extruder assembly. The extruder is responsible for feeding and melting the filament, allowing it to be deposited onto the print bed. Problems with the extruder can result in clicking noises during printing.
One common cause of extruder-related clicking noises is a worn or damaged extruder gear. The extruder gear is responsible for gripping the filament and pushing it into the hot end for melting. Over time, the teeth on the gear can become worn or damaged, leading to improper filament gripping and causing the motor to click as it struggles to feed the filament.
Another potential issue is a loose or misaligned hobbed bolt, which is responsible for gripping and pushing the filament into the extruder. If the hobbed bolt is loose, it may not grip the filament properly, resulting in clicking sounds as the motor attempts to push the filament through.
Misalignment of the extruder assembly can also contribute to clicking noises. If the extruder components, such as the idler arm or tensioning spring, are not positioned correctly, it can cause resistance and clicking sounds during operation. Ensuring proper alignment of the extruder assembly is important for smooth filament feeding and preventing unnecessary noise.
To address extruder-related clicking noises, start by inspecting the extruder gear. If the gear appears worn or damaged, consider replacing it with a new one. Additionally, check the tension of the hobbed bolt and ensure that it is gripping the filament securely. Tightening or adjusting the hobbed bolt may be necessary to alleviate clicking noises caused by filament slipping.
Inspect the overall alignment of the extruder assembly. Verify that the idler arm is properly positioned and that the tensioning spring provides adequate pressure on the filament. Correct any alignment issues, making sure all extruder components are securely fastened and in the proper orientation.
Regular maintenance of the extruder assembly is essential for preventing issues that can lead to clicking noises. Keep the extruder clean and periodically inspect for any signs of wear or damage to the gear or other components. Lubrication of moving parts, such as the idler arm, can also help maintain smooth operation.
If the extruder problems and associated clicking noises persist, consult your printer’s manual for specific troubleshooting steps or seek assistance from the manufacturer. They may be able to provide further guidance on identifying and addressing extruder-related issues.
Stepper Motor Issues
A clicking noise in a 3D printer can also be caused by problems with the stepper motors. Stepper motors are responsible for precise and controlled movements in the printer’s motion system. When these motors encounter issues, such as damage or misalignment, it can result in irregular movements and clicking sounds during operation.
One common cause of stepper motor-related clicking noises is damaged or faulty motors. Over time, stepper motors can wear out or sustain damage, leading to skipping steps or inconsistent movements. This can result in the motor clicking as it struggles to maintain proper synchronization.
Misalignment of the stepper motor can also contribute to clicking sounds. If the motor shaft is not properly aligned with the components it drives, it can cause uneven movements and clicking noises. It is important to ensure that the motor is securely fastened and aligned with the corresponding parts of the printer’s motion system.
When dealing with stepper motor issues, start by visually inspecting the motor for any signs of damage or misalignment. Look for loose connections, bent shafts, or any other visible abnormalities. If you suspect a faulty motor, consider replacing it with a new one that matches the specifications of your printer.
Ensure that the motor is securely mounted and properly aligned with its corresponding components. Check for any loose screws or fasteners and tighten them as needed. Align the motor shaft with the gears or pulleys it interfaces with, making sure they are in proper engagement.
If your printer allows for stepper motor calibration, follow the manufacturer’s instructions to calibrate the motor’s step count and current settings. This can help ensure accurate movements and minimize the occurrence of clicking noises during printing.
If you are unsure about how to troubleshoot stepper motor issues or if the clicking noise persists, it may be necessary to seek assistance from the printer’s manufacturer or consult with experienced 3D printing enthusiasts for further guidance. They can provide additional insights and specific troubleshooting steps tailored to your printer model.
Print Bed Leveling
Print bed leveling is a critical factor in achieving successful 3D prints, and improper leveling can contribute to clicking noises during printing. When the print bed is not properly leveled, the nozzle may come into contact with the bed, causing a clicking sound as the motor tries to maintain a consistent distance.
One common cause of print bed leveling issues is the presence of an uneven or warped bed surface. This can occur due to temperature fluctuations, improper assembly, or regular wear and tear. When the bed is not flat, it becomes challenging to achieve a consistent nozzle-to-bed distance, leading to clicking noises during printing.
To address print bed leveling issues, start by ensuring that the printer is placed on a stable and level surface. Use a leveling tool, such as a bubble level, to confirm that the printer itself is not tilting or sloping. This will provide a good base for accurate bed leveling.
Next, follow the manufacturer’s instructions for your specific printer model to calibrate the print bed. This typically involves adjusting the bed’s leveling screws or using an automated bed leveling system, if available. Take your time with this step, making small adjustments until the nozzle is at the desired distance from the bed across all areas.
Consider using a piece of paper or a feeler gauge to help determine the proper nozzle-to-bed distance. You should feel a slight resistance when moving the paper between the nozzle and the bed, but it shouldn’t be too loose or too tight.
Perform a test print to ensure that the clicking noise has been resolved. If the clicking noise persists, recheck the bed leveling and make any necessary adjustments. Repeat this process until the desired results are achieved.
Regularly check the print bed for any signs of warping or damage. If you notice any issues, consult the manufacturer’s recommendations for bed maintenance or consider replacing the bed surface if necessary. A flat and level print bed is crucial for achieving high-quality prints and minimizing clicking noises.
Remember that print bed leveling is an ongoing process, as environmental factors or printer usage can affect its stability over time. Periodically check and adjust the leveling to ensure optimal printing performance and reduce the likelihood of clicking noises during your 3D printing projects.
Fan Malfunction
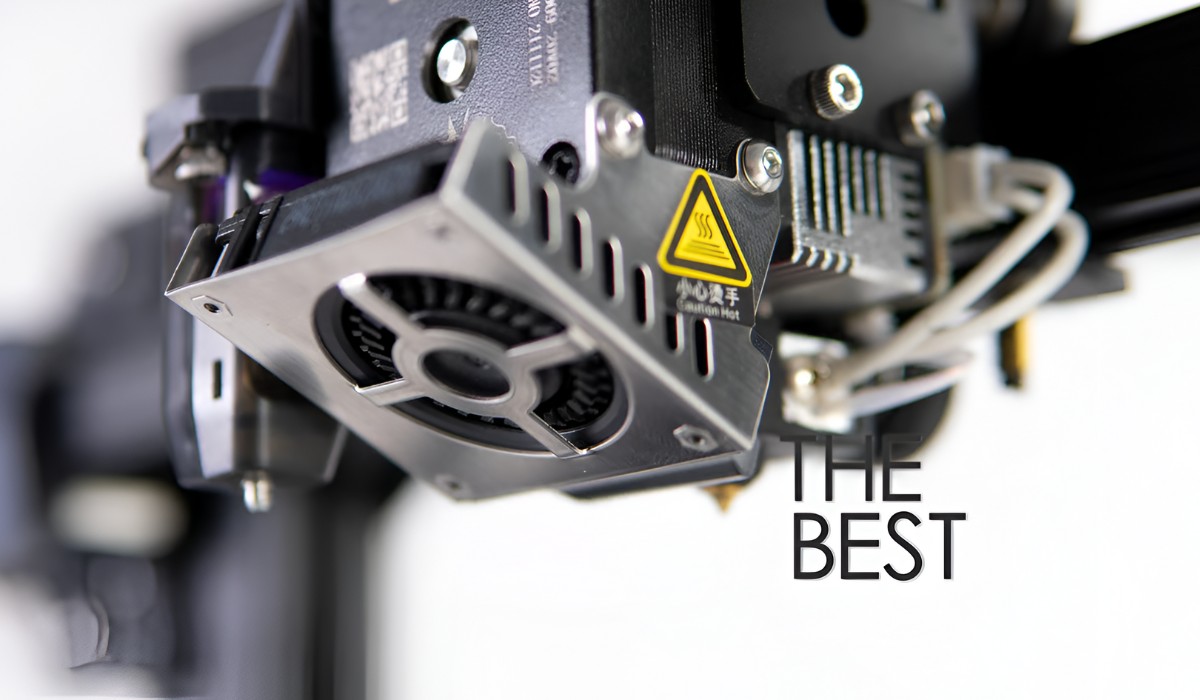
A clicking noise in a 3D printer could be attributed to a malfunctioning cooling fan. 3D printers commonly utilize cooling fans to regulate the temperature of various components during printing. If a fan is faulty or worn out, it can produce clicking sounds as it spins or encounters obstructions.
Fans can malfunction due to several reasons. Over time, dust and debris can accumulate on the fan blades, causing imbalances or restricted airflow. This can lead to the fan producing clicking noises as it struggles to rotate smoothly. Additionally, fan bearings may wear out or become damaged, resulting in a clicking or grinding sound when the fan is in operation.
To address fan-related clicking noises, begin by examining the fans visually. Check for any signs of obstruction, such as debris or tangled wires, and clear them away carefully. Use compressed air or a soft brush to remove dust and dirt from the fan blades, ensuring smooth rotation.
If the fan noise persists, it may be necessary to replace the fan with a new one. Locate the faulty fan and obtain a compatible replacement from the printer’s manufacturer or a trusted supplier. Follow the manufacturer’s instructions or consult online resources for guidance on replacing the fan in your specific printer model.
Regular maintenance of the fan can help prevent issues. Periodically inspect the fans for any signs of wear or damage and clean them accordingly. Lubricating the fan bearings, if applicable, can also help ensure smooth and quiet operation.
If you are uncertain whether the fan is the source of the clicking noise, you can conduct a simple test. Temporarily disconnect the fan from its power source and try printing a small test object. If the clicking noise disappears, it indicates that the fan was indeed the cause. However, note that running the printer without a functioning cooling fan may lead to overheating, so it is essential to address the fan issue promptly.
If the clicking noise persists or you encounter any difficulties with replacing the fan, consider reaching out to the printer’s manufacturer for further assistance. They will be able to provide specific guidance or recommend authorized service centers that can help resolve the fan malfunction.
Troubleshooting Clicking Noise
When facing a clicking noise from your 3D printer, it is crucial to troubleshoot the issue to identify the underlying cause and take appropriate corrective measures. Here are some general troubleshooting steps to help resolve the clicking noise:
- Check for loose screws and connections: Inspect all components of the printer, including belts, pulleys, extruder assembly, and stepper motors, for any loose screws or connections. Tighten them as needed to ensure proper alignment and stability.
- Inspect for obstructions: Examine the filament path and other critical areas of the printer for any debris, tangled filament, or other foreign objects that may be obstructing the smooth movement of components. Clear away any obstructions carefully.
- Review print settings: Verify that your print settings are appropriate for the filament type and printer model you are using. Incorrect settings, such as excessive print speed or incorrect layer height, can cause issues leading to clicking noises. Adjust the settings as necessary.
- Perform a filament change: If a filament jam is suspected, unload the current filament from the printer and inspect it for any signs of issues, such as knots, bends, or excessive residue. Consider changing the filament and reloading it correctly to ensure smooth feeding.
- Relevel the print bed: Double-check the leveling of the print bed to ensure it is flat and evenly aligned. Use the appropriate leveling method for your printer, such as manual adjustments or automatic bed leveling, to achieve the proper nozzle-to-bed distance.
- Update firmware and software: Keeping your printer’s firmware and slicing software up to date can resolve compatibility issues and improve overall performance. Check for any available updates and install them accordingly.
- Consult online resources and support forums: If the clicking noise persists despite your troubleshooting efforts, consider seeking guidance from online resources and support forums. Other experienced 3D printing enthusiasts may have encountered similar issues and can provide helpful insights or specific suggestions tailored to your printer model.
Remember, each printer model may have specific troubleshooting steps, so referring to your printer’s manual and manufacturer’s resources is essential. Following proper maintenance procedures and frequently performing routine checks can help prevent clicking noises and ensure smooth and reliable 3D prints.
Conclusion
Clicking noises in a 3D printer can be concerning, but they are often a sign of an underlying issue that can be addressed and resolved. By understanding the common causes of clicking noises and following proper troubleshooting steps, you can effectively diagnose and fix the problem.
From filament jams and Z-axis issues to loose belts or pulleys, extruder problems, stepper motor malfunctions, print bed leveling, and fan malfunctions, a thorough examination of these potential sources can help pinpoint the root cause of the clicking noise.
Regular maintenance, such as cleaning, lubrication, and proper alignment, can go a long way in preventing these issues and reducing the likelihood of clicking noises. Additionally, following proper filament handling procedures and reviewing print settings can minimize the risk of obstructions and other problems that may lead to clicking noises.
Remember to always refer to your printer’s manual and consult the manufacturer’s resources for specific instructions and guidance tailored to your printer model. Seeking assistance from online forums and experienced 3D printing enthusiasts can also provide valuable insights and troubleshooting tips.
By addressing the underlying issues causing the clicking noise, you can ensure the smooth operation of your 3D printer and achieve high-quality prints. So, don’t let the clicking noise discourage you; put your troubleshooting skills to work and get back to creating amazing prints with confidence.