Introduction
Belts play a crucial role in the functioning of a 3D printer. They are responsible for transferring power and movement to various components of the machine, ensuring precise and accurate printing. However, finding the right balance for belt tension is essential for optimal performance.
Having the belts too tight can lead to increased strain on the printer’s components and decrease their lifespan. On the other hand, loose belts may result in less accurate prints with poor dimensional accuracy. Therefore, understanding how tight belts should be on a 3D printer is essential for achieving high-quality prints.
In this article, we will dive into the importance of proper belt tension and explore the factors to consider when determining the right tightness level. We will also discuss the recommended belt tension levels for different types of printers and cover the signs of both over-tightened and loose belts. Additionally, we will provide methods to adjust belt tension and share some useful tips for achieving the ideal tightness.
Whether you are a seasoned 3D printing enthusiast or a beginner, understanding and maintaining the correct belt tension is crucial for achieving accurate and consistent prints. By following the guidelines outlined in this article, you can ensure that your belts are properly tensioned, resulting in improved print quality and overall performance of your 3D printer.
Importance of Belt Tension
Proper belt tension is vital for the smooth operation and overall performance of a 3D printer. It directly affects the accuracy, precision, and quality of the prints produced. Ensuring the correct tension in the belts is essential for several reasons:
- Print Quality: The tension of the belts directly impacts the positional accuracy of the printer’s various axes. When the belts are properly tensioned, they prevent backlash, slippage, and wobbling, resulting in sharper and more precise prints. This is especially crucial for complex models with intricate details or fine features.
- Belt Lifespan: Over-tightening or under-tightening the belts can lead to premature wear and tear. Too much tension can strain the belts, causing them to stretch, deform, or even snap. On the other hand, loose belts can result in unnecessary stress on the printer’s components, particularly the pulleys and motors. By maintaining the correct tension, you can prolong the lifespan of the belts and reduce the need for frequent replacements.
- Noise Reduction: A properly tensioned belt reduces vibrations and noise during printing. Excessive belt tension can create unnecessary friction and generate unwanted sounds, which can disrupt the printing process and be distracting. By achieving the optimal tightness, you can minimize noise and enjoy a quieter printing experience.
- Consistency and Repeatability: Belts with consistent and appropriate tension ensure that the movements of the printer are consistent across different print jobs. This leads to greater repeatability, allowing you to reproduce the same print multiple times with minimal variation in quality. This is particularly important for those working on large-scale projects or producing multiple copies of the same model.
- Overall Printer Performance: The proper tension of belts contributes to the overall performance and reliability of the 3D printer. When belts are correctly tensioned, they ensure that the printer’s carriage moves smoothly and accurately along the designated paths. This ultimately leads to improved mechanical stability, reducing the chances of print failures or errors.
As you can see, maintaining the correct belt tension is crucial for achieving high-quality prints, prolonging the lifespan of the belts, reducing noise, ensuring consistency, and optimizing the overall performance of your 3D printer. Now, let’s explore the factors to consider when determining the appropriate tightness level for your printer’s belts.
Factors to Consider for Belt Tension
When determining the proper tension for the belts on your 3D printer, it’s important to take various factors into consideration. These factors include:
- Belt Material: Different types of belts, such as GT2, toothed belts, or steel-reinforced belts, have varying requirements for tension. Each material has its own elasticity and strength properties, which influence the ideal tension level. It’s crucial to refer to the manufacturer’s guidelines or documentation for recommended tension ranges based on belt material.
- Printer Design: The design and mechanical configuration of your 3D printer can also impact the ideal belt tension. Some printers may have specific requirements based on their construction and components. Consult your printer’s manual or manufacturer for any specific guidelines related to tension.
- Print Speed and Acceleration: Higher print speeds and accelerations can put additional strain on the belts. If you typically print at faster speeds or use high acceleration settings, you may need to adjust the tension accordingly. Increased tension helps minimize belt vibrations and backlash that can occur during rapid movements.
- Belt Length and Pulley Size: The length of the belt and the size of the pulleys also impact the tension requirements. Longer belts may require slightly higher tension to compensate for potential sagging, while smaller pulleys may require lower tension to prevent excessive strain.
- Belt Alignment: Proper alignment of the belts is crucial for achieving optimal tension. Misalignment can cause uneven tension distribution and lead to print inconsistencies. Ensure that the belts are aligned parallel to the guide rails and pulleys, and there are no twists or kinks in the belts.
- Experience and Trial: Achieving the perfect belt tension often requires some trial and error. As you gain experience with your 3D printer, you will develop a better sense of the appropriate tension level. Don’t hesitate to make small adjustments and observe the effects on print quality and performance.
Considering these factors will help you determine the ideal belt tension for your specific 3D printer. It’s important to remember that finding the perfect tension is a balancing act between too loose and too tight, and may require some experimentation. Now, let’s move on to the recommended belt tension levels for different types of printers.
Recommended Belt Tension Levels
The recommended belt tension levels for 3D printers can vary depending on the specific printer model, belt material, and desired printing characteristics. However, as a general guideline, most printers benefit from a moderate level of belt tension. The following tension ranges are commonly recommended:
- GT2 Belts: If your 3D printer uses GT2 belts, a typical tension range is between 6-8 pounds of force (26.7-35.6 Newtons). This range provides enough tension to prevent slippage while still allowing smooth movement along the axes. Remember to evenly distribute the tension across all belts in the system.
- Toothed Belts: For printers with toothed belts, the recommended tension is generally in the range of 2-4 pounds of force (8.9-17.8 Newtons). This range helps maintain accuracy and prevents belt skipping or jumping during rapid movements.
- Steel-Reinforced Belts: Steel-reinforced belts, often used in high-performance printers, require higher tension levels. The recommended tension for these belts is typically around 8-10 pounds of force (35.6-44.5 Newtons). This increased tension ensures minimal stretching and provides excellent precision and stability.
It’s important to note that these tension ranges are general recommendations, and you should always refer to your printer’s specific guidelines. Some printers may have their own tension recommendations based on their mechanical design, belt material, or other factors.
Additionally, keep in mind that the tension levels may vary depending on the specific application or desired print quality. For example, if you’re working on highly detailed or intricate prints, you might consider slightly increasing the tension to ensure precise movements and minimize any potential backlash.
Regularly monitoring and adjusting the belt tension is also recommended. Over time, belts may stretch or wear, requiring adjustments to maintain the optimal tension levels. Remember to follow proper procedures and guidelines provided by the manufacturer to ensure safe and effective belt tension adjustment.
Now that we’ve discussed the recommended tension levels, let’s explore the signs that indicate over-tightened or loose belts on a 3D printer.
Signs of Over-Tightened Belts
While it’s important to have proper belt tension on a 3D printer, over-tightening the belts can lead to various issues. By being aware of the signs of over-tightened belts, you can ensure that you maintain the optimal tension level. Some common signs of over-tightened belts include:
- Excessive Noise: Over-tightened belts can cause increased vibrations and noise during printing. If you notice a significant increase in noise levels, such as squeaking or grinding sounds, it may indicate that your belts are too tight.
- Poor Print Quality: Over-tightened belts can negatively affect print quality. If you observe inconsistent layer adhesion, excessive ringing or ghosting, or distortion in the printed objects, it may be a sign that the belts are exerting too much tension.
- Excessive Wear or Damage: Constantly operating with over-tightened belts can lead to premature wear and tear. Check the belts regularly for any signs of stretching, fraying, or damage. If you notice a significant deterioration in the condition of the belts, it may indicate excessive tension.
- Increased Motor Heat: Over-tightened belts can put additional strain on the motors, causing them to heat up more than usual. If you notice that your motors are running excessively hot, it could be a result of excessive tension in the belts.
- Difficulty in Movement: Over-tightened belts can restrict the movement of the printer’s components, particularly the carriage. If you experience any difficulties in manual movement or notice excessive resistance when moving the printer by hand, it may be an indication of over-tightened belts.
If you encounter any of these signs, it’s essential to address the issue promptly by adjusting the belt tension. Loosening the belts slightly can alleviate the strain and restore optimal performance.
Now that we’ve covered the signs of over-tightened belts, let’s move on to discussing the signs of loose belts and how to address them.
Signs of Loose Belts
Loose belts on a 3D printer can lead to various issues that compromise print quality and overall performance. It’s important to be able to identify the signs of loose belts so that you can take corrective action. Here are some common signs to look out for:
- Lack of Accuracy: Loose belts can result in inaccurate movements of the printer’s components. If you notice that prints are not aligning properly or there is a noticeable shift in dimensions, it may indicate that the belts are too loose.
- Belt Slip: During fast or sudden movements, loose belts may slip over the pulleys. This can lead to inconsistent print quality, rendering certain sections of the print inaccurate or incomplete.
- Loud Clicking or Skipping Sounds: When belts are too loose, you may hear clicking or skipping sounds, especially during rapid movements or changes in direction. This noise is caused by the belts slipping on the pulleys, indicating the need for tension adjustment.
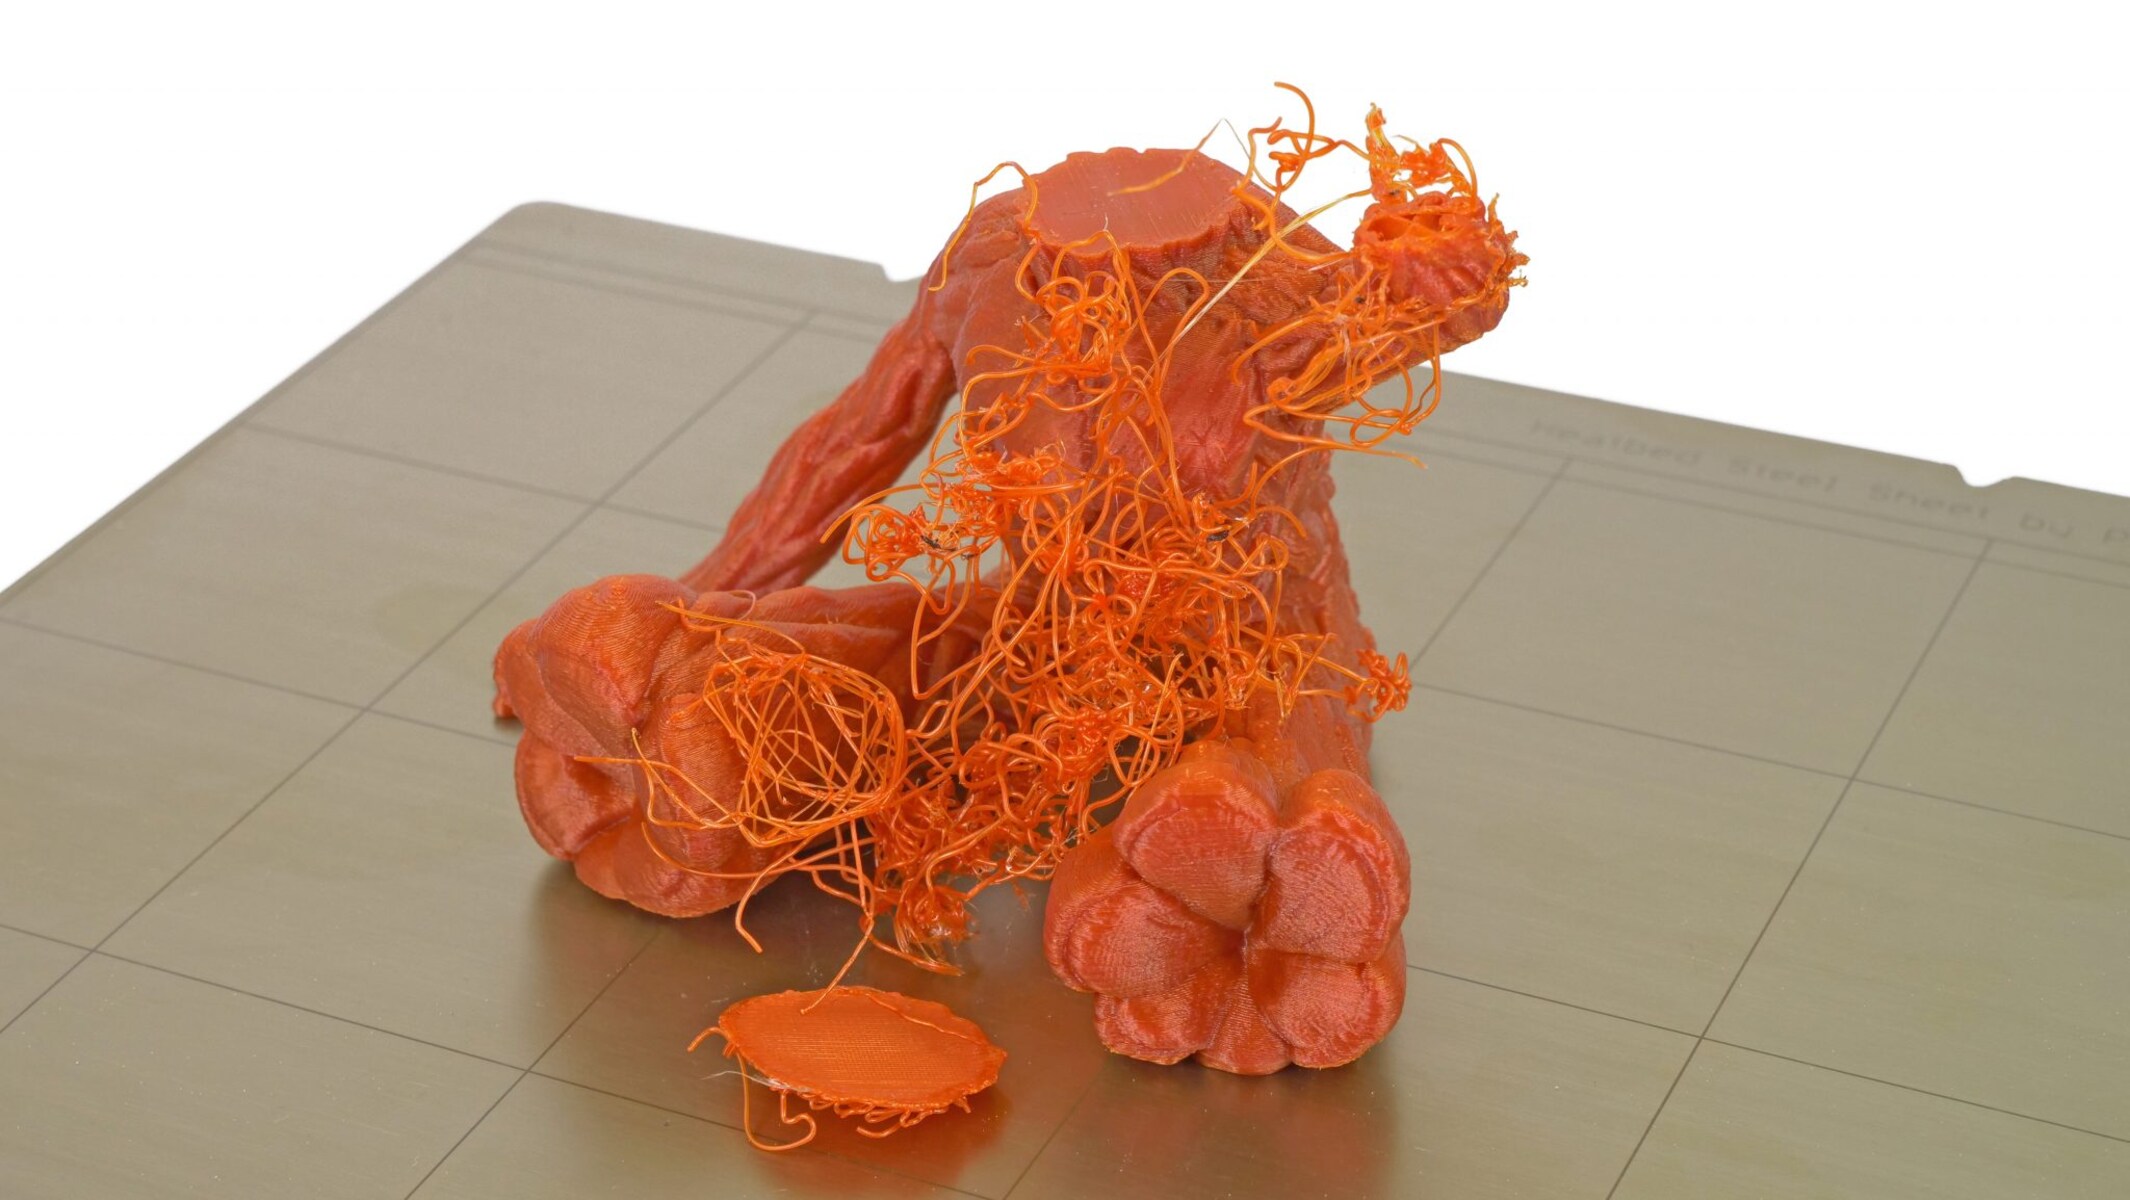
- Print Artefacts: Loose belts can produce visible artifacts on printed objects. These can include wavy or irregular patterns on the surfaces, inconsistent layer adhesion, or ghosting effects. If you observe such anomalies, it may be due to the belts not maintaining proper tension.
- Belt Sagging: Visually inspect the belts during the printer’s operation. If you notice significant sagging or drooping in the belts, it indicates that they are too loose and not providing sufficient tension.
If you encounter any of these signs, it is crucial to adjust the belt tension to restore proper performance. Increasing the tension slightly can help alleviate the issues associated with loose belts.
Regularly checking and maintaining the tension of your printer’s belts is essential for achieving high-quality prints and optimal performance. Now, let’s explore the methods to adjust belt tension and ensure proper tightness.
Methods to Adjust Belt Tension
Adjusting the belt tension on a 3D printer is a crucial maintenance task that can greatly impact the overall performance and print quality. There are several methods you can use to achieve the desired belt tension:
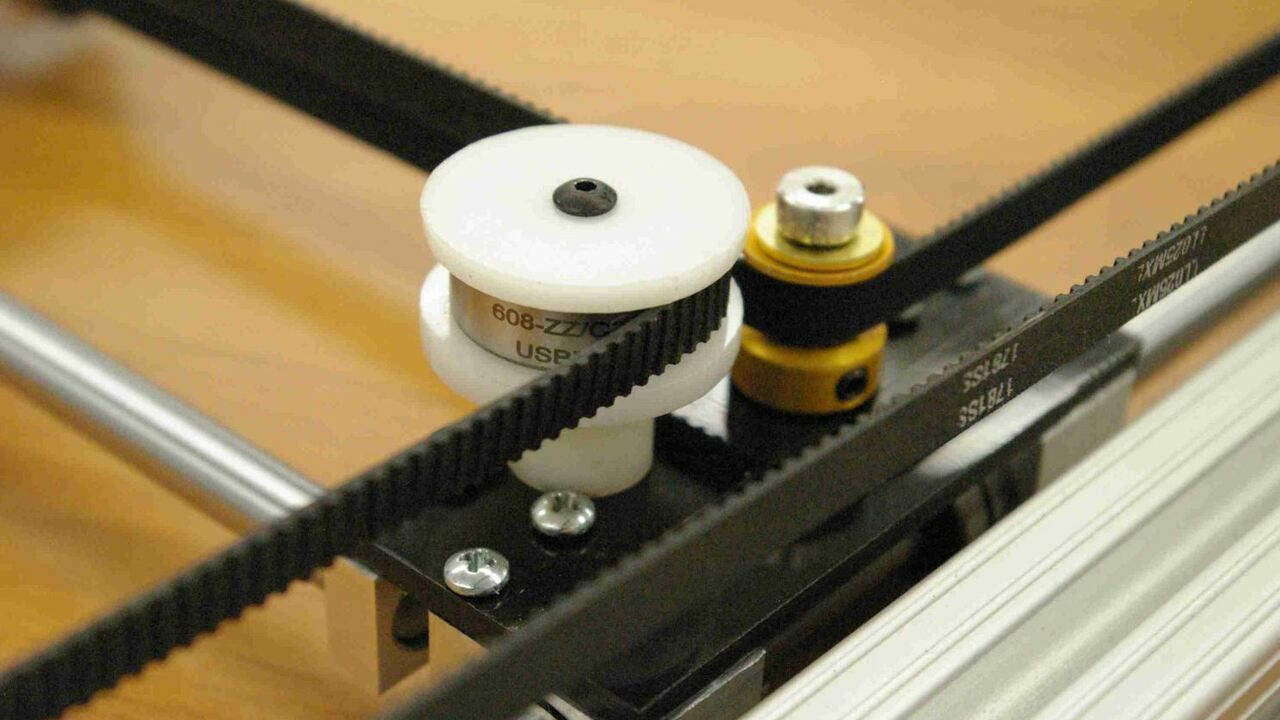
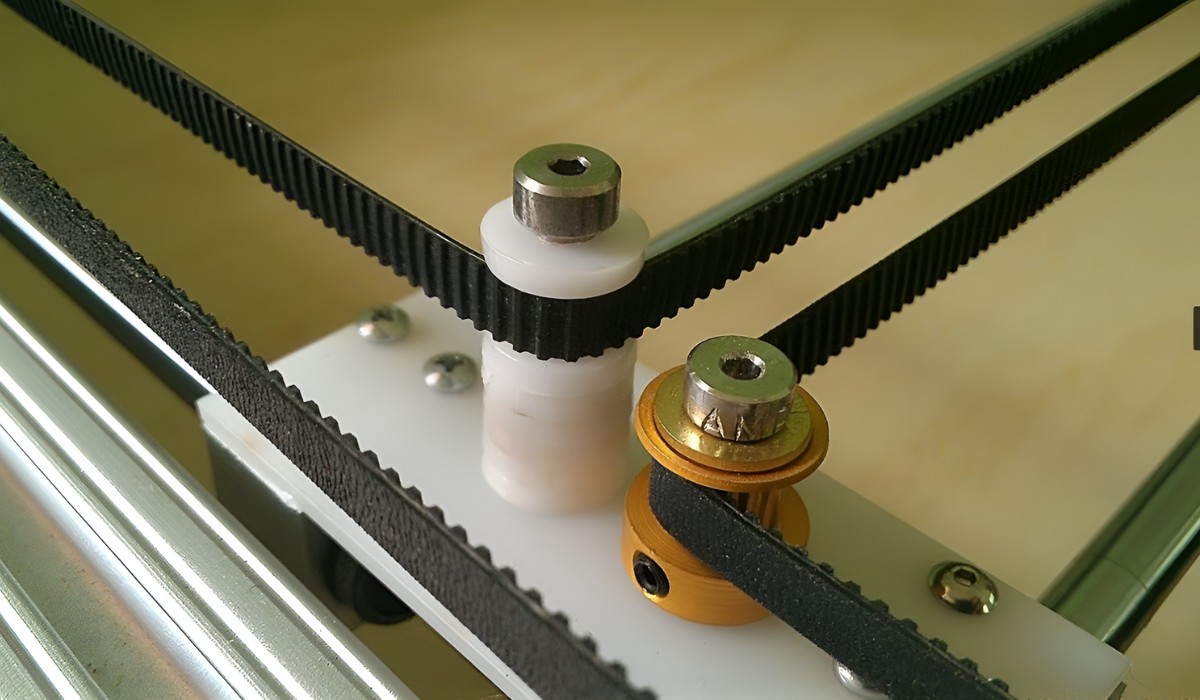
- Tensioning Screws or Bolts: Many 3D printers come equipped with tensioning screws or bolts that allow you to adjust the tension of the belts. These screws or bolts are usually located near the motor or pulley, and tightening or loosening them can increase or decrease the tension respectively. Refer to your printer’s manual or documentation for specific instructions on using these tensioning mechanisms.
- Belt Tensioners: Some printers feature built-in belt tensioners that provide a more convenient and precise method of adjusting belt tension. These tensioners allow you to easily increase or decrease the tightness of the belts by rotating or sliding a component specifically designed for tension adjustment. Consult your printer’s manual or manufacturer for guidance on utilizing these tensioners effectively.
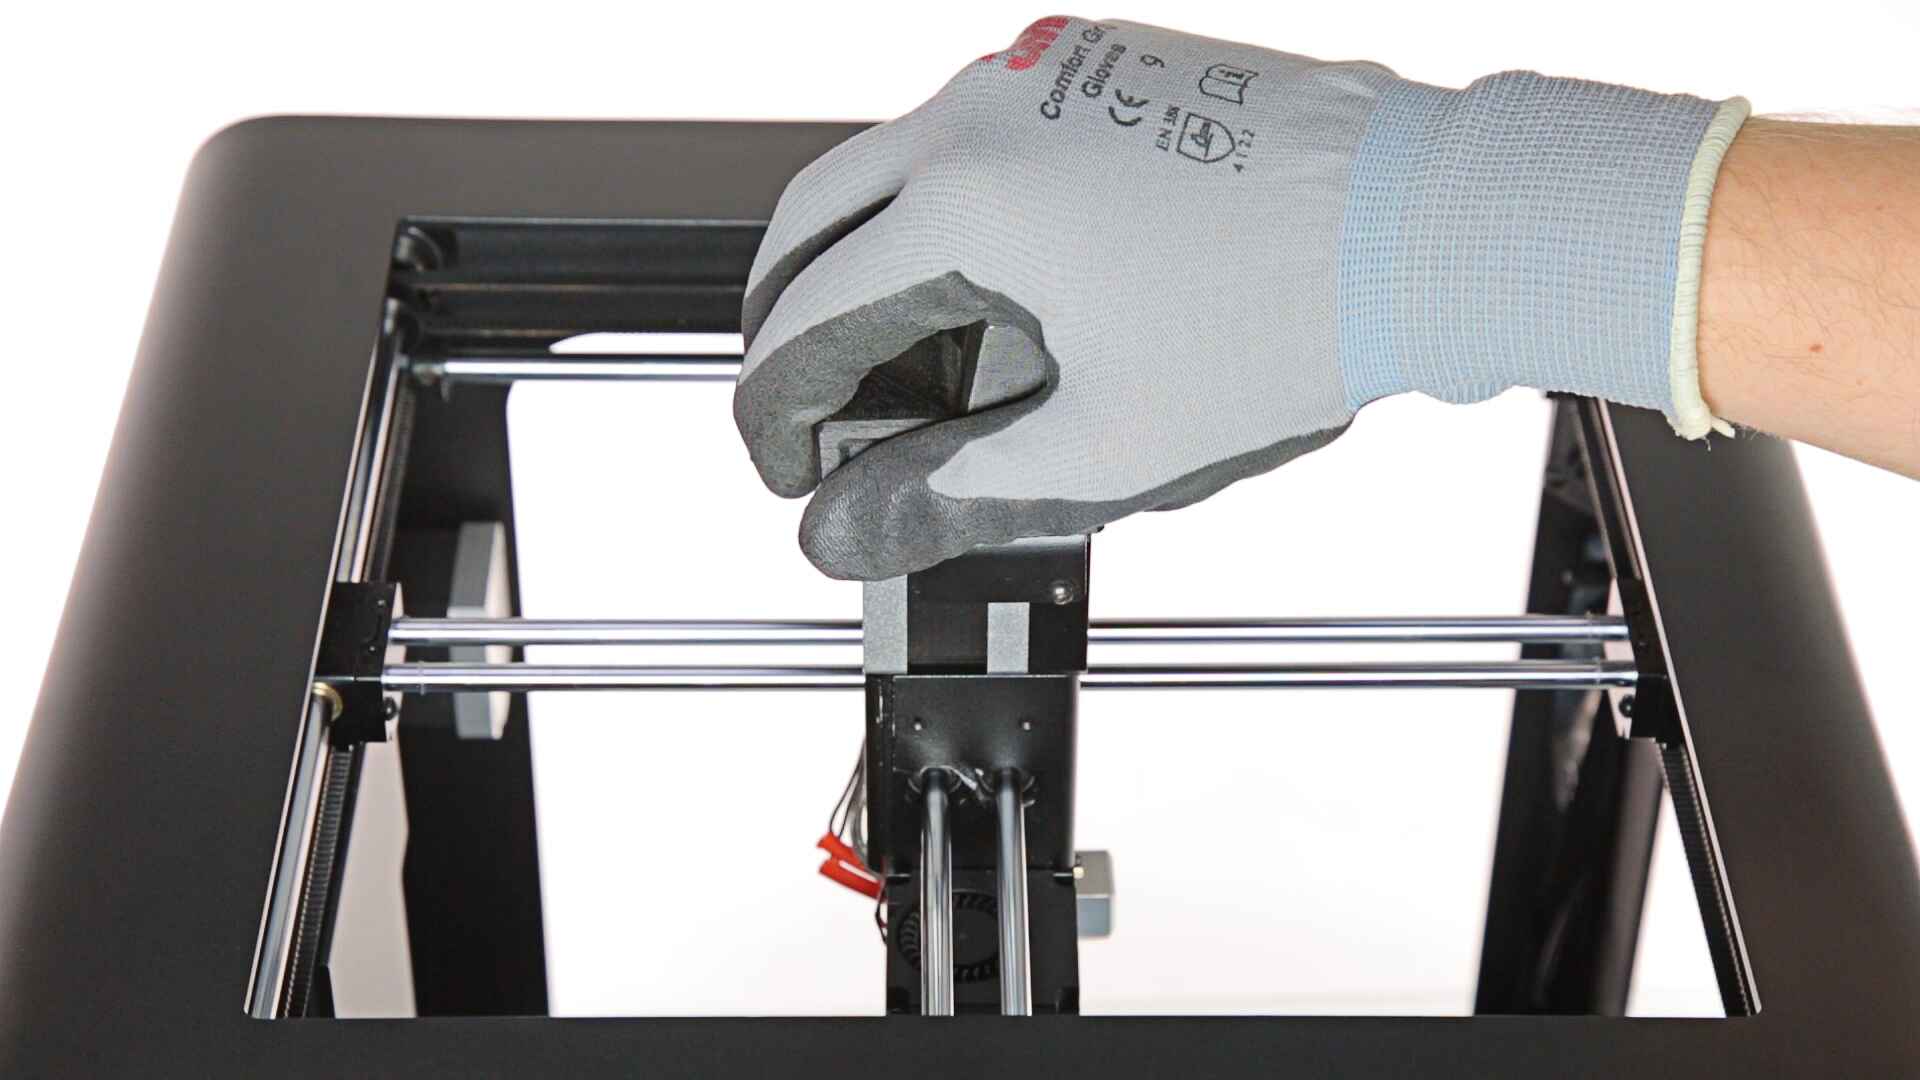
- Manual Adjustment: If your printer does not have built-in tensioning mechanisms, you can manually adjust the tension by loosening or tightening the belts directly. This can be done by loosening the screws or bolts holding the motor or pulley in place, adjusting the belt tightness, and then retightening the screws or bolts. It may be necessary to repeat this process while checking the tension with each adjustment until the desired tightness is achieved.
- Tensioning Tools: If you want a more precise and consistent method of adjusting belt tension, you can use tensioning tools specifically designed for 3D printer belts. These tools can measure the tension force applied to the belts, allowing you to achieve accurate and consistent tension across all belts. This method is particularly useful when you require precise tension levels for specific print jobs or materials.
Regardless of the method you choose, it’s important to make incremental adjustments to the belt tension. Avoid making drastic changes all at once, as this can lead to over-tightening or loosening the belts. Gradually tighten or loosen the belts while checking the tension and observing the effects on print quality and performance.
Remember to refer to your printer’s manual or manufacturer’s guidelines for specific instructions on adjusting belt tension, as the process can vary depending on the printer model and design.
Now that we’ve discussed the different methods of adjusting belt tension, let’s explore some helpful tips for achieving and maintaining the proper tightness.
Tips for Achieving Proper Belt Tension
Proper belt tension is key to ensuring optimal performance and print quality on your 3D printer. Here are some helpful tips to achieve and maintain the proper tightness:
- Refer to Manufacturer Guidelines: Consult your printer’s manual or manufacturer’s guidelines for specific recommendations on belt tension. They may provide specific tension ranges or instructions for your printer model.
- Check Regularly: Regularly inspect the belts for any signs of wear, stretching, or damage. Check for any irregularities in print quality that may indicate improper tension.
- Balance Tension: Ensure that the tension is evenly distributed across all belts within the printer’s system. Uneven tension can lead to print inconsistencies and skewed movements.
- Make Incremental Adjustments: When adjusting the belt tension, make small, gradual adjustments at a time. Test the print quality and performance after each adjustment to assess the effects.
- Observe Print Artifacts: Pay attention to any anomalies in the printed objects, such as wavy patterns, ghosting, or layer inconsistencies. These may indicate either over-tightened or loose belts.
- Use Tensioning Tools: Consider investing in tensioning tools designed specifically for 3D printer belts. These tools can provide accurate tension measurements and ensure consistent tightness across all belts.
- Document Tension Levels: Keep a record of the tension levels that work best for your printer in different scenarios. This can serve as a reference point and help you achieve consistent results for future prints.
- Perform Regular Maintenance: In addition to adjusting belt tension, regularly maintain other aspects of your printer, such as lubricating the moving components, checking pulley alignment, and cleaning the belts. Well-maintained printers perform better and require less frequent belt adjustments.
- Seek Community Support: Participate in online forums or communities dedicated to 3D printing. Engaging with experienced users can provide valuable insights and tips on achieving proper belt tension.
By following these tips, you can ensure that your 3D printer has the correct belt tension for optimal performance and high-quality prints.
Now that we’ve explored the tips for achieving proper belt tension, let’s summarize the key points we’ve discussed in this article.
Conclusion
Proper belt tension is a critical aspect of maintaining the performance and print quality of your 3D printer. Balancing the tightness of the belts ensures precise movements, reduces print inconsistencies, and prolongs the lifespan of the belts. By considering factors such as belt material, printer design, print speed, and belt alignment, you can determine the optimal tension range for your specific printer.
Over-tightened belts can result in excessive strain, noise, and poor print quality, while loose belts can lead to inaccurate prints and diminished performance. It’s important to be aware of the signs of both over-tightened and loose belts, such as noise, poor print quality, excessive wear, or difficulty in movement.
Adjusting belt tension can be done through tensioning screws, belt tensioners, manual adjustment, or the use of specialized tensioning tools. Incremental adjustments and regular maintenance are key to achieving and maintaining the proper belt tension. Seeking support from the 3D printing community can also provide valuable insights and tips.
By implementing the recommended tension levels, regularly checking and adjusting belt tension, and following the tips outlined in this article, you can achieve optimal belt tension for your 3D printer. This will result in improved print quality, accuracy, and overall performance.
Remember, finding the right balance in belt tension may require some trial and error, as every printer is different. Be patient, observe the effects of adjustments on print quality, and document your findings for future reference.
With proper belt tension, you can unleash the full potential of your 3D printer and enjoy consistent, accurate, and high-quality prints.