Introduction
Welcome to the world of DIY 3D printing! If you’re someone who loves to tinker with electronics and has a passion for creating, building your own 3D printer using a 3D pen can be a thrilling and rewarding experience. Not only will you have the satisfaction of crafting a custom machine, but you’ll also gain a deeper understanding of the technology behind 3D printing.
Building a 3D printer out of a 3D pen may sound like a complex task, but with the right guidance and a bit of patience, it’s a project that anyone with a basic knowledge of electronics can undertake. In this article, we will take you through the step-by-step process of constructing your own 3D printer using a 3D pen and some readily available materials.
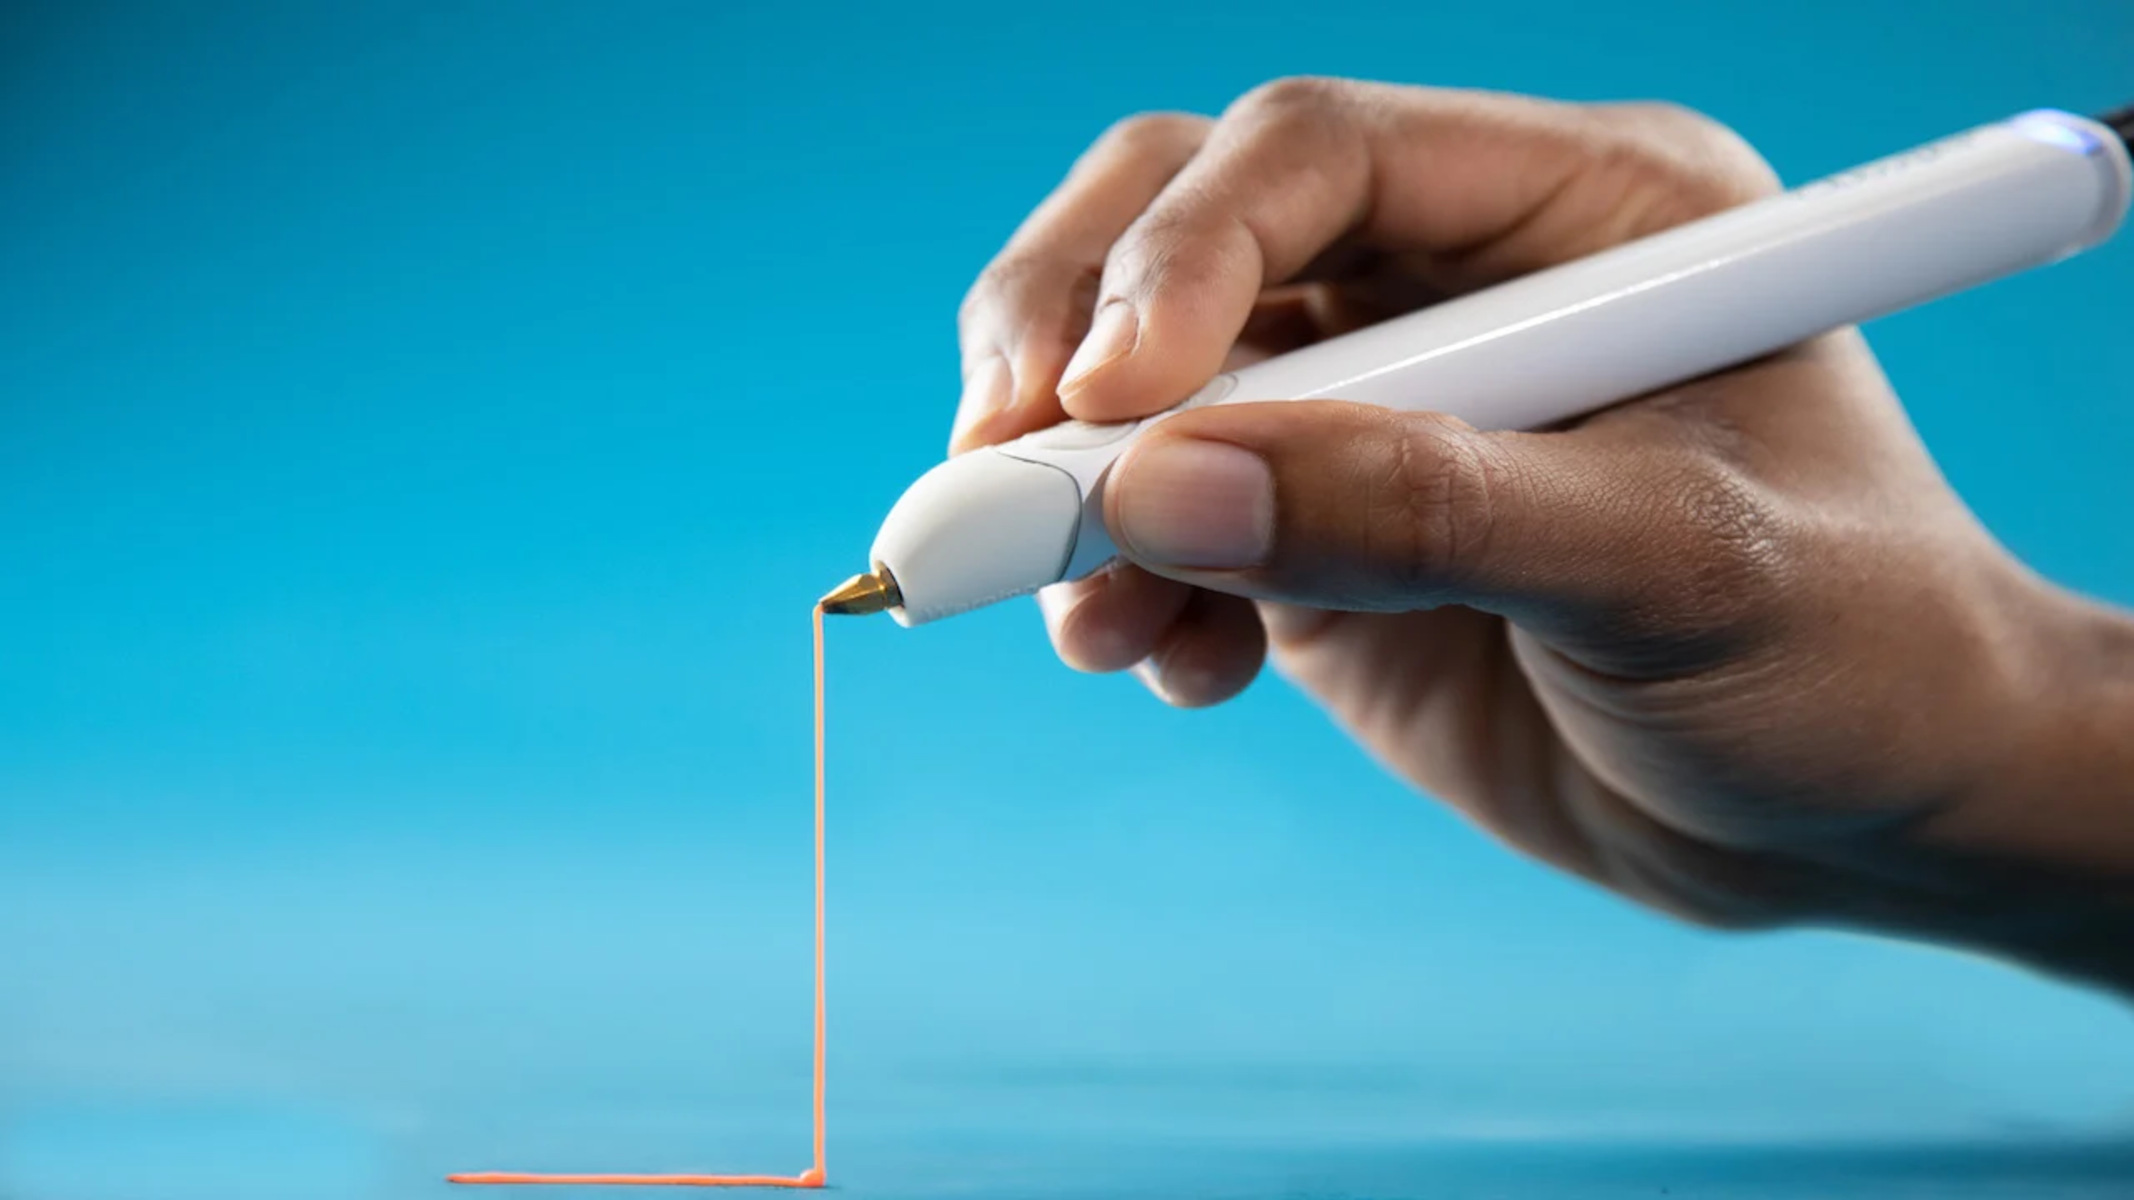
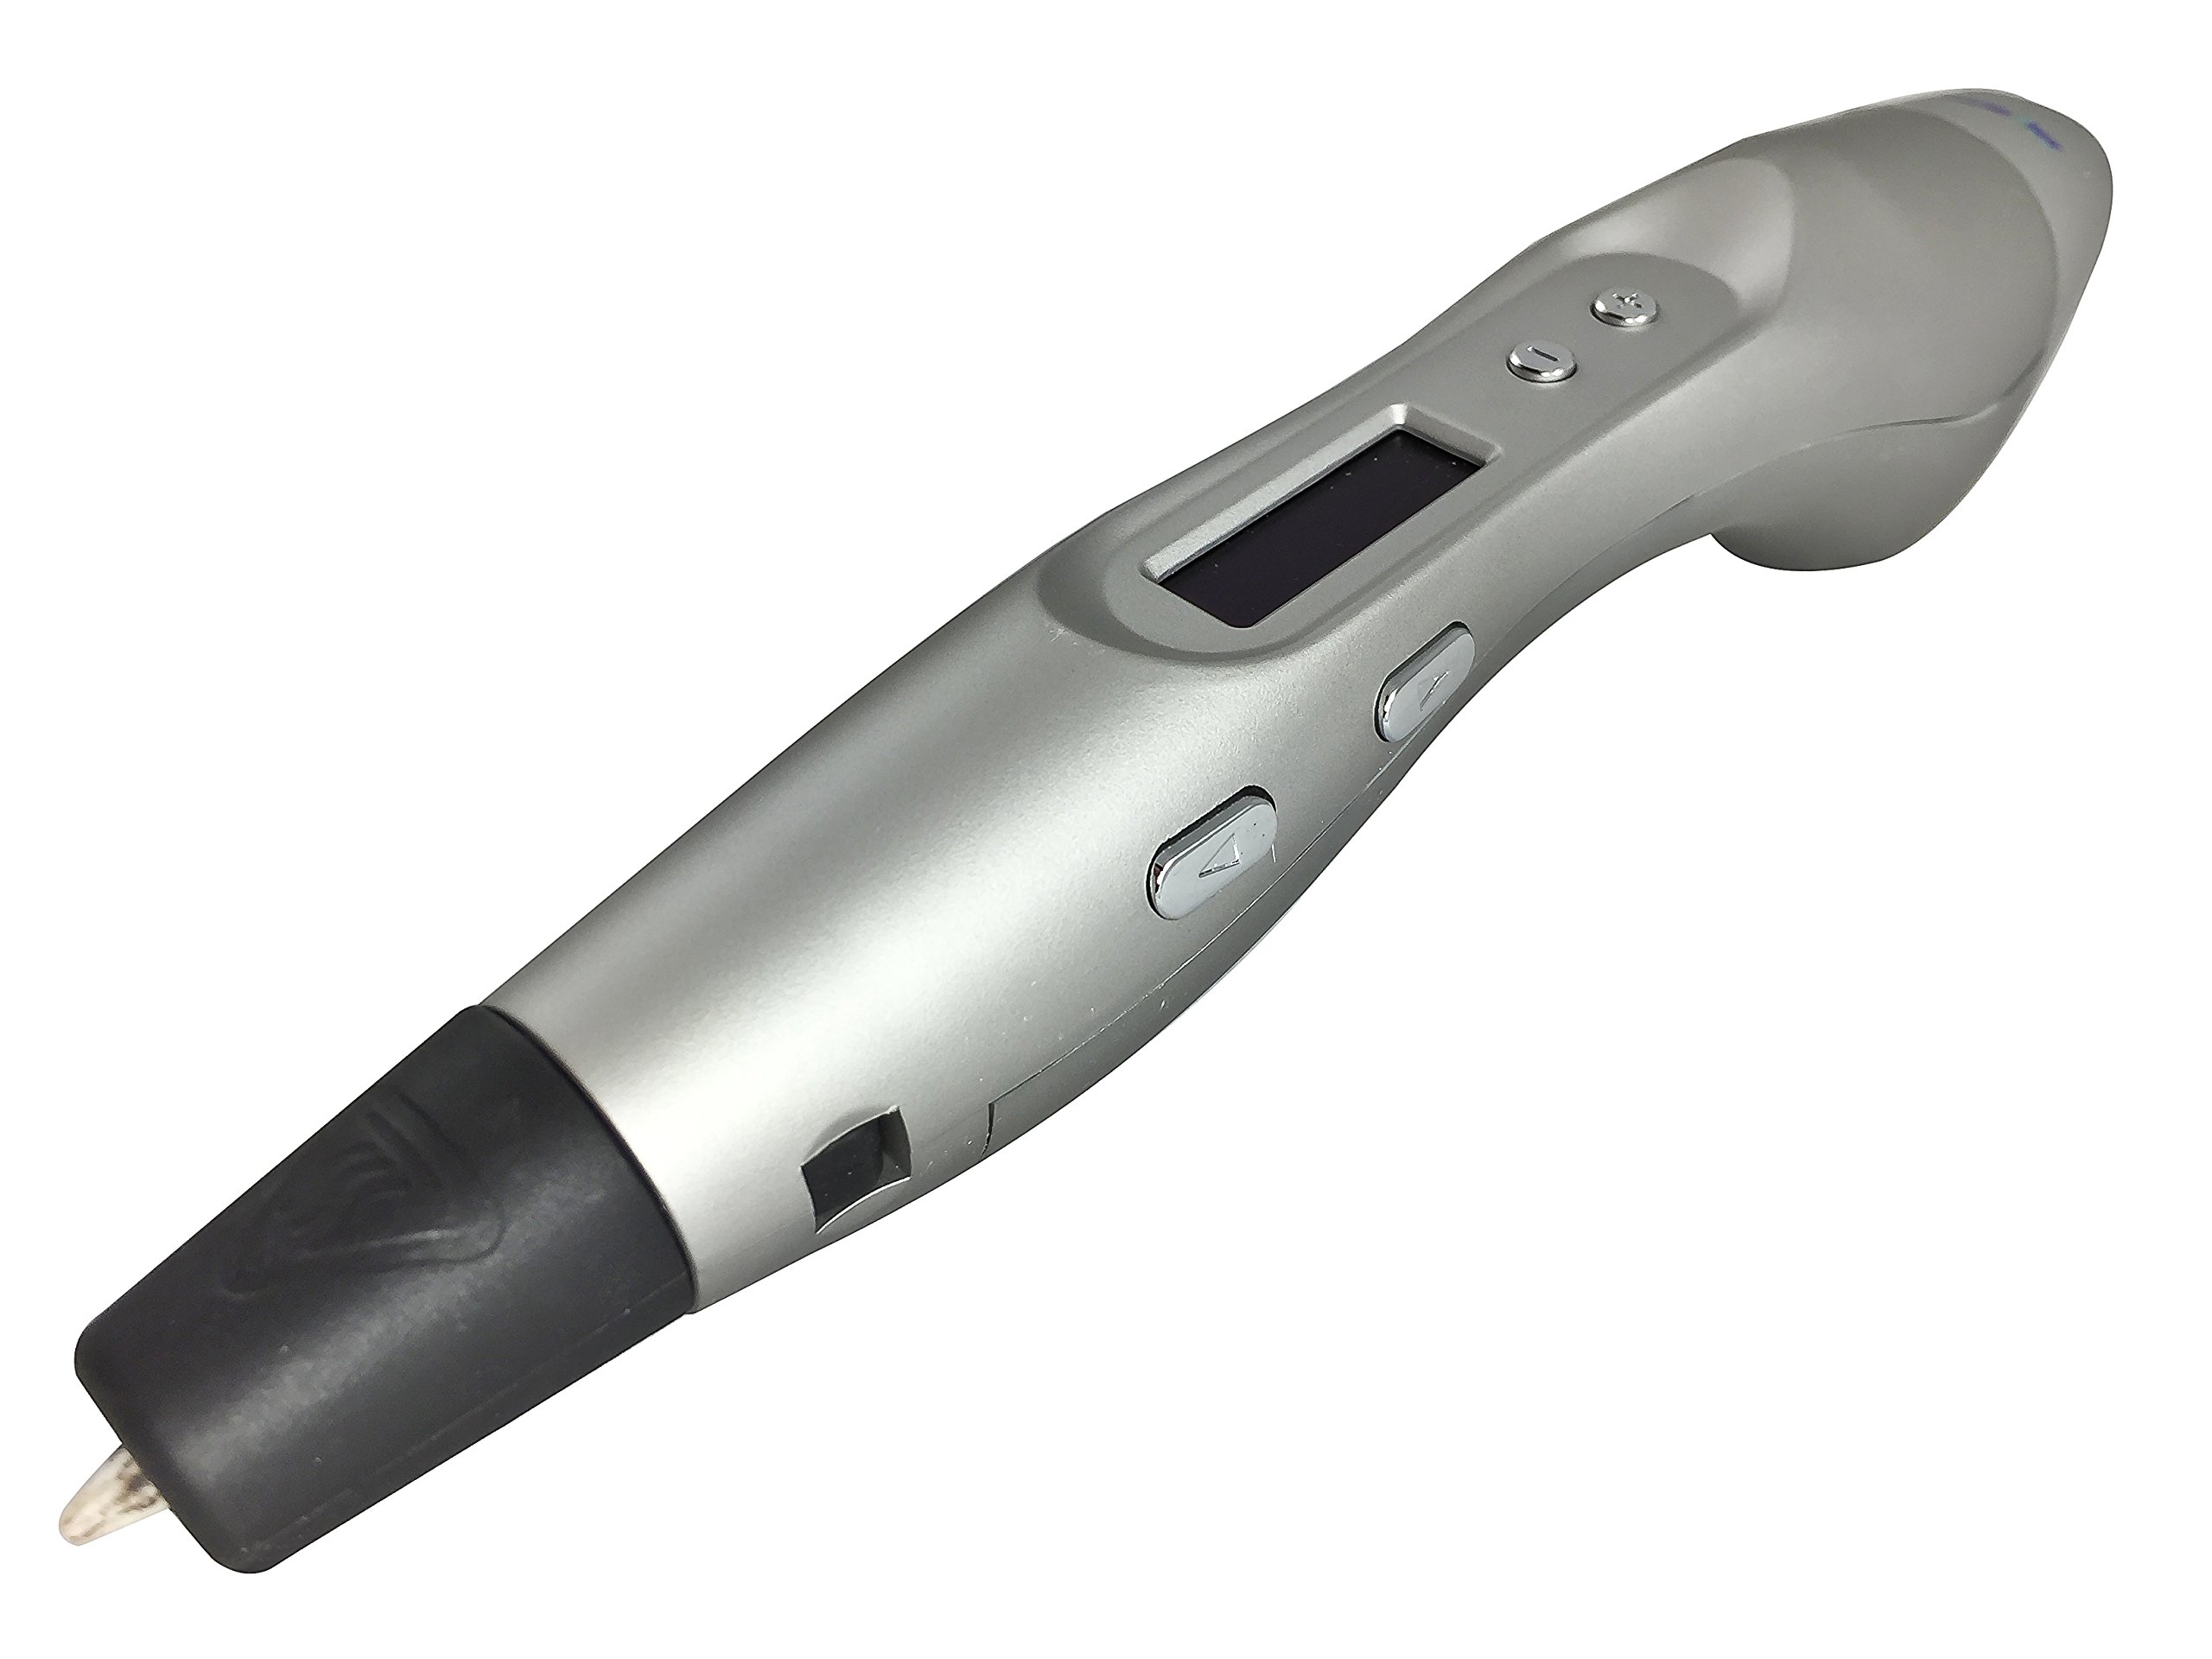
Understanding the basics of a 3D pen is crucial when embarking on this project. A 3D pen is a handheld device that allows you to create three-dimensional objects by extruding heated plastic through a nozzle. It works in a similar way to a handheld 3D printer, albeit on a smaller scale. By understanding the principles behind a 3D pen, you’ll be better equipped to modify and adapt it into a fully functional 3D printer.
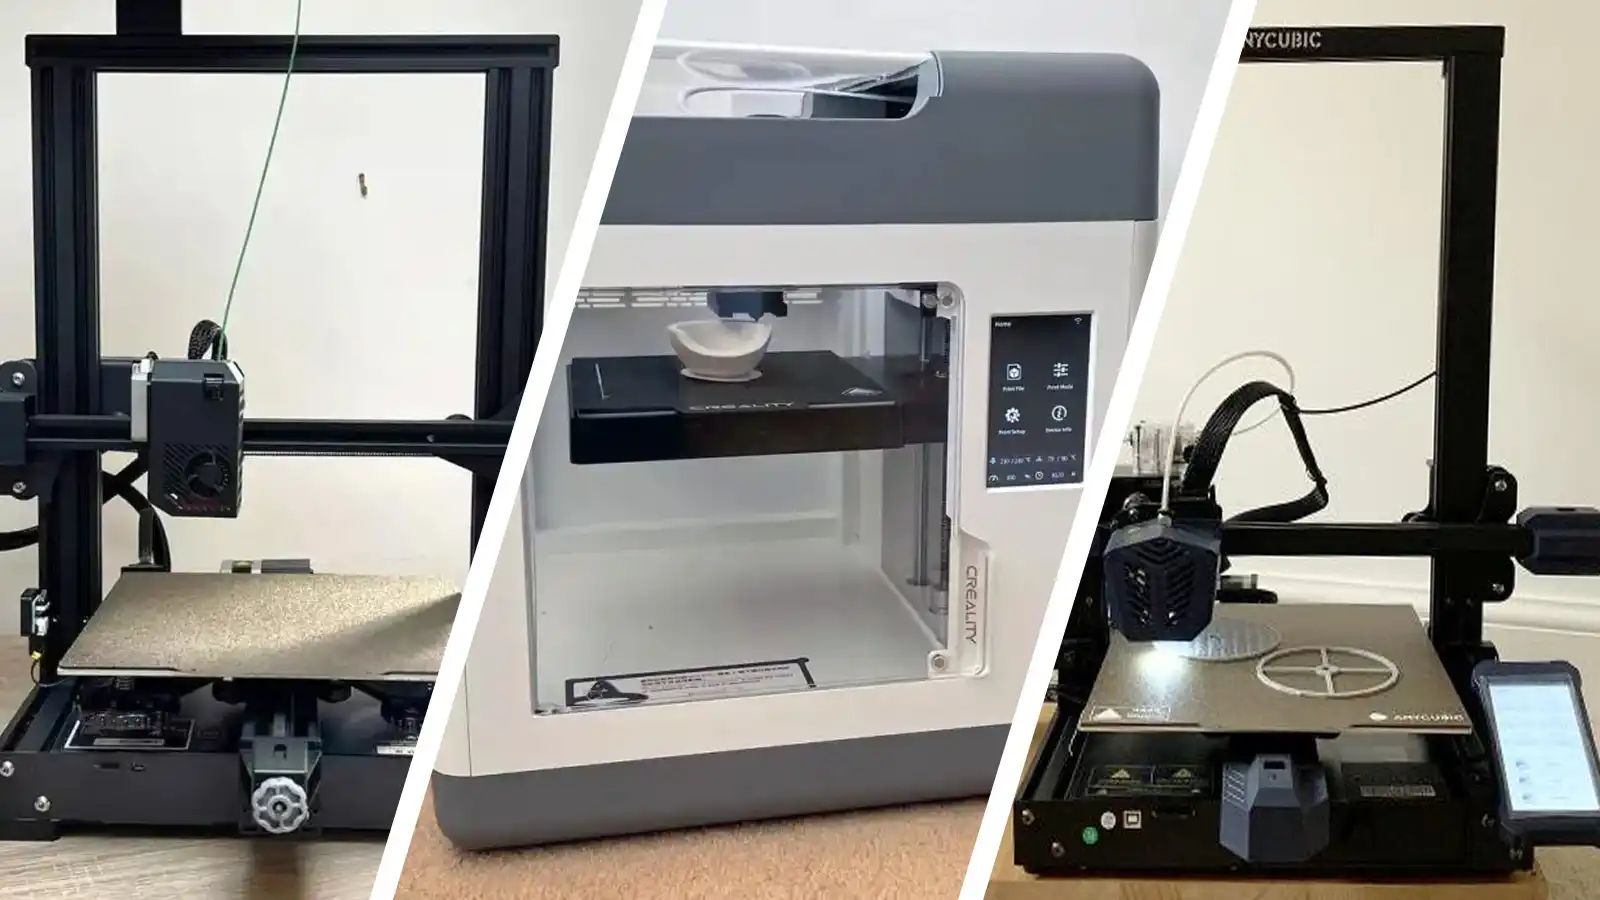
Before diving into the nitty-gritty of building a 3D printer, it’s important to familiarize yourself with the components of a typical 3D printer. These include the frame, motors, belts, pulleys, extruder, and control board. Each of these components plays a critical role in the functioning of a 3D printer and understanding their functionality will give you a solid foundation to work with.
Now that you have a basic understanding of the 3D pen and the components of a 3D printer, let’s move on to the tools and materials you’ll need for this project. Gathering the necessary equipment before starting will save you time and ensure a smooth construction process. We’ll cover all the essential tools and materials in the next section to get you fully prepared.
Understanding the Basics of a 3D Pen
Before embarking on the journey of building a 3D printer out of a 3D pen, it’s essential to have a solid understanding of how a 3D pen works. A 3D pen is a remarkable device that allows you to unleash your creativity by creating three-dimensional objects with plastic filament.
A 3D pen consists of three main components: a heating element, a nozzle, and a feeding mechanism. The heating element heats the plastic filament, usually made of ABS or PLA, to a molten state. The filament is then extruded through the nozzle, similar to how hot glue comes out of a glue gun. The feeding mechanism controls the flow of filament and allows you to adjust the speed at which it is extruded.
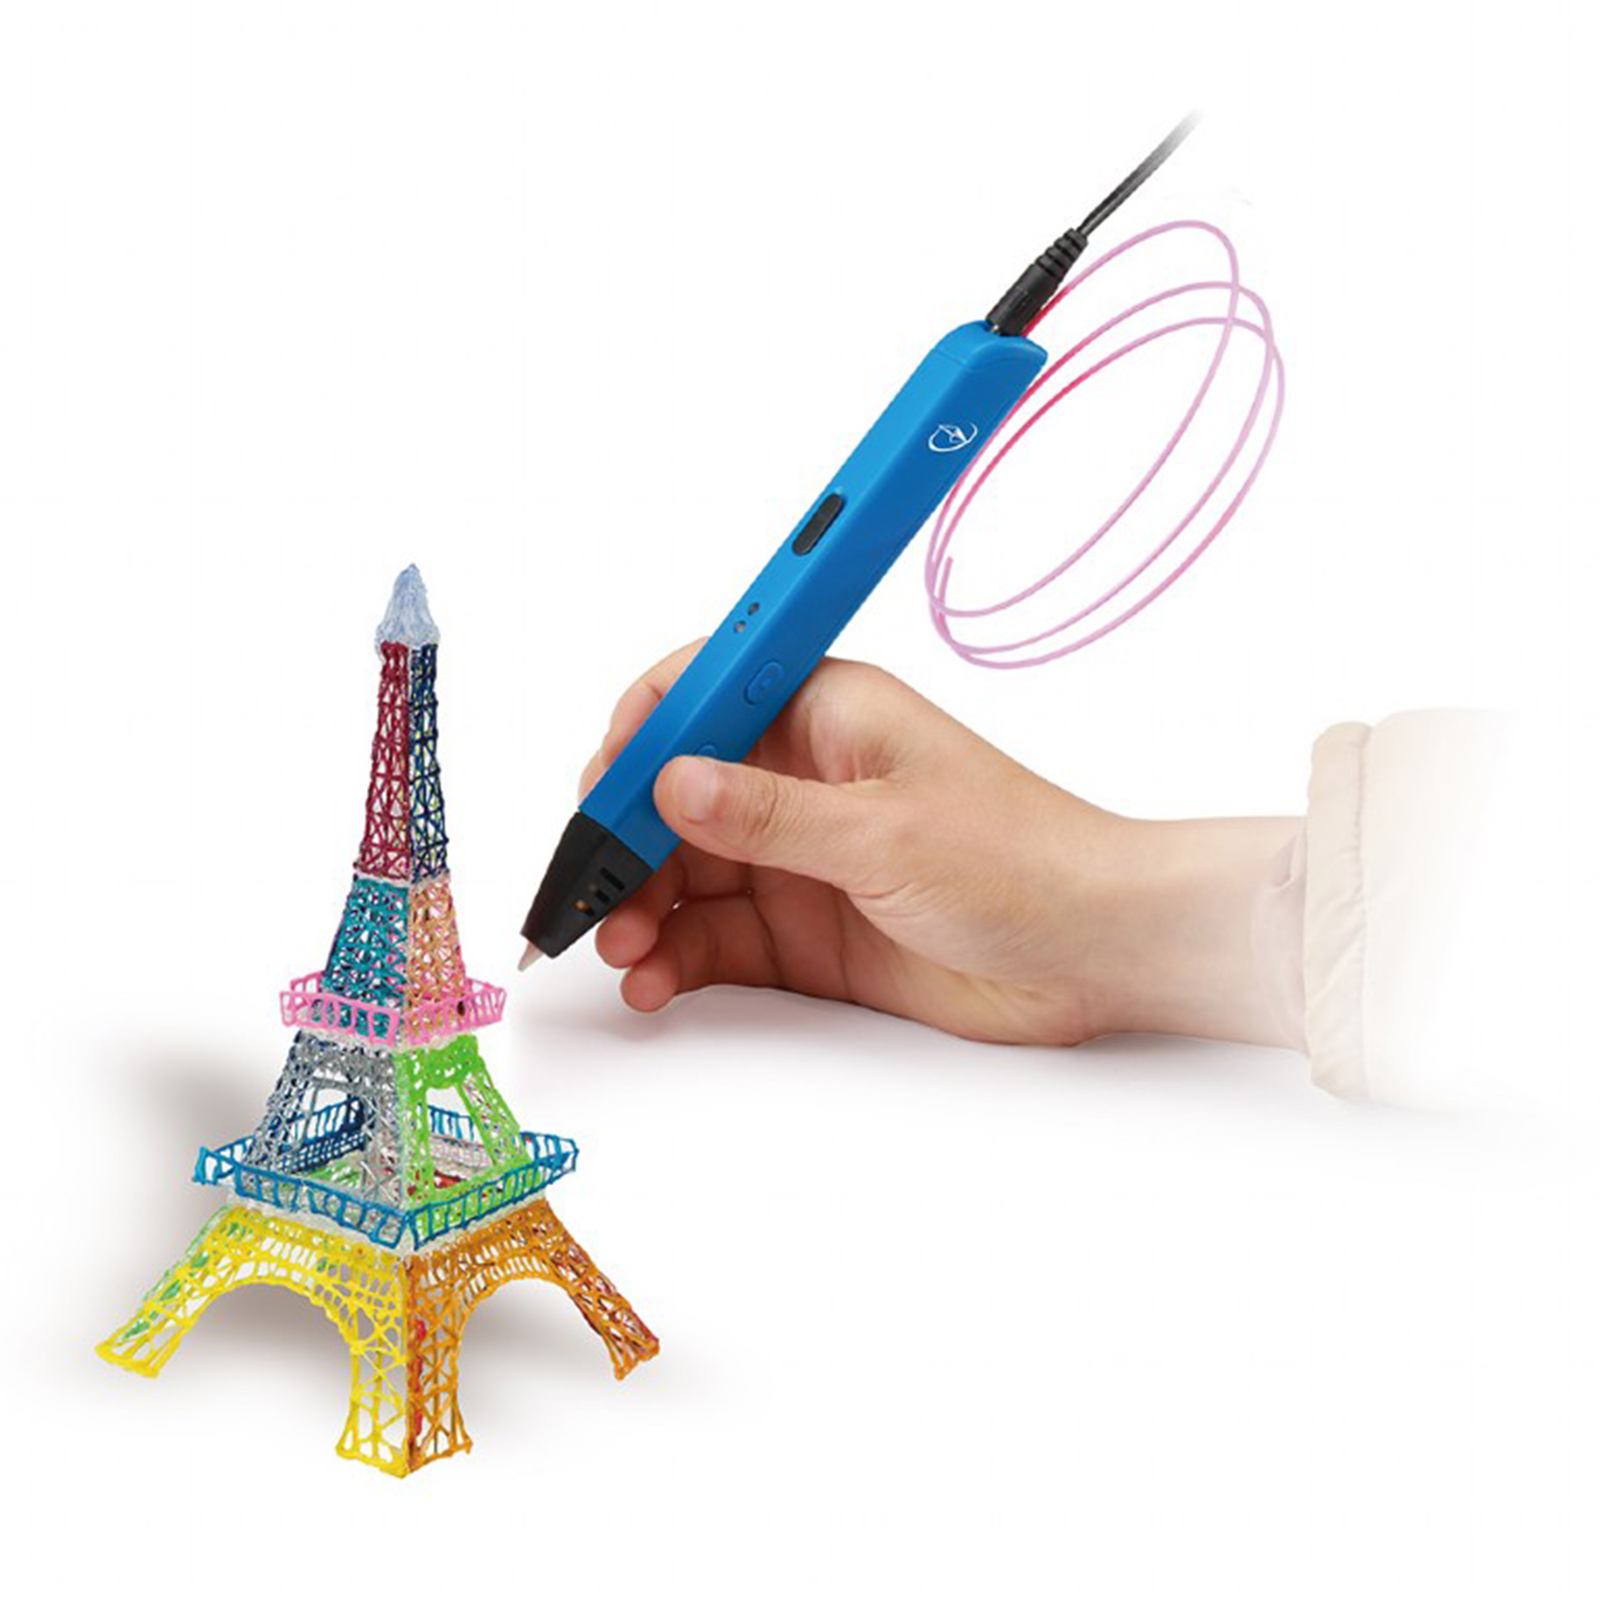
Using a 3D pen is similar to drawing with a regular pen or pencil. As you move the pen, molten plastic is deposited, allowing you to build up layers and create three-dimensional shapes. The plastic quickly solidifies, making it possible to build complex structures and intricate designs.
One of the key skills to master when using a 3D pen is controlling the speed and flow of the filament. By varying the speed and pressure applied to the pen, you can create thinner or thicker lines, giving your creations more depth and dimension. It’s important to practice and experiment with different techniques to achieve the desired results.
When working with a 3D pen, it’s essential to consider factors such as temperature settings and filament type. Each type of filament has its own melting point, and adjusting the temperature accordingly is crucial to ensure smooth extrusion. Additionally, some 3D pens come with temperature control settings that allow you to fine-tune the heat, giving you more control over the flow of the filament.
As with any creative endeavor, patience and practice are key when using a 3D pen. It may take some time to become comfortable with manipulating the pen and creating precise shapes, but with dedication and perseverance, your skills will improve.
Now that you have a good understanding of how a 3D pen works, you’re ready to dive deeper into the components of a 3D printer and begin your journey towards building your very own 3D printer using a 3D pen.
Exploring the Components of a 3D Printer
Before embarking on the process of building a 3D printer using a 3D pen, it’s crucial to familiarize yourself with the various components that make up a typical 3D printer. Having a solid understanding of these components will enable you to modify and adapt the 3D pen into a functional printer.
1. Frame: The frame of a 3D printer provides the structure and support for the entire machine. It is usually made of sturdy materials like aluminum or steel and should be rigid enough to prevent any vibrations or wobbling during the printing process. The frame also houses other components such as the motors, belts, and control board.
2. Motors: Motors are at the core of a 3D printer’s movement system. Stepper motors are commonly used as they allow for precise control and positioning. These motors drive the movement of the print head along the X, Y, and Z axes, allowing for the layer-by-layer construction of objects.
3. Belts and Pulleys: Belts and pulleys form the mechanical system that translates the motion of the motors into linear movement. Timing belts, commonly used in 3D printers, provide precise and synchronized movement. Pulleys mounted on the motor shafts and connected to the belts ensure smooth and accurate motion.
4. Extruder: The extruder is responsible for melting the filament and depositing it onto the print bed. It consists of a hot end with a heating element and a nozzle through which the molten plastic is extruded. The extruder also includes a cooling system to solidify the plastic quickly after deposition.
5. Control Board: The control board is the brain of the 3D printer, responsible for interpreting commands and coordinating the movements of the motors and extruder. It receives instructions from the computer or other input devices and controls the timing, speed, and temperature during the printing process.
6. Power Supply: A 3D printer requires a reliable power supply to provide the necessary voltage and current to run the various components. It’s important to ensure that the power supply matches the requirements of the printer and provides adequate power for smooth and uninterrupted operation.
Understanding the role of each component will give you a comprehensive overview of how a 3D printer functions. This knowledge will be invaluable when it comes to modifying and adapting the 3D pen into a fully functional printer. In the next section, we’ll discuss the tools and materials you’ll need to build your own 3D printer using a 3D pen.
Gathering the Necessary Tools and Materials
Before diving into the exciting process of building your own 3D printer using a 3D pen, it’s important to gather all the necessary tools and materials. Having everything prepared will save you time and ensure a smooth construction process. Here’s a list of essential items you’ll need:
1. 3D Pen: The core component of this project is, of course, a 3D pen. Choose a high-quality pen that provides precise control over temperature and filament flow. Look for a pen that allows for filament compatibility with the most common types, such as ABS and PLA.
2. 3D Printer Kit: To convert a 3D pen into a 3D printer, you’ll need a 3D printer kit. These kits usually include the necessary mechanical components like the frame, motors, belts, and pulleys. Make sure to choose a kit that is compatible with your 3D pen and provides clear assembly instructions.
3. Filament: Don’t forget to stock up on filament for your 3D printer. PLA filament is a popular choice due to its ease of use and environmentally friendly properties. ABS filament is known for its durability and flexibility. Experimenting with different filament types will allow you to achieve different results in your prints.
4. Tools: You’ll need a set of basic tools to assemble your 3D printer. This may include screwdrivers, pliers, Allen wrenches, and a soldering iron if the kit requires any soldering. It’s important to have the right tools on hand to ensure a smooth and accurate assembly process.
5. Power Supply: Verify the power requirements of your 3D printer kit and ensure you have a compatible power supply. Typically, these kits require a 12V power supply, but it’s essential to double-check the specifications before purchasing one. Safety should be a priority, so look for a power supply that is certified and meets all necessary regulations.
6. Safety Equipment: As with any DIY project, it’s important to prioritize safety. Have safety goggles, gloves, and a clean and well-ventilated workspace to protect yourself during the assembly process. Additionally, follow all the safety guidelines provided by the manufacturer of your 3D printer kit.
Once you have gathered all the necessary tools and materials, you’re ready to embark on the exciting journey of building your own 3D printer! In the next section, we’ll guide you through a step-by-step process to help you assemble your 3D printer using a 3D pen.
Step-by-Step Guide to Building a 3D Printer
Now that you have gathered all the necessary tools and materials, it’s time to dive into the exciting process of building your own 3D printer using a 3D pen. Follow this step-by-step guide to ensure a successful assembly:
Step 1: Familiarize Yourself with the Instructions: Thoroughly read and understand the assembly instructions provided with your 3D printer kit. This will give you a clear understanding of the process and help you avoid any potential mistakes.
Step 2: Prepare Your Workspace: Set up a clean and well-lit workspace with ample room to assemble the printer. Keep all the necessary tools and materials within reach to ensure a smooth and efficient assembly process.
Step 3: Assemble the Frame: Start by assembling the frame according to the instructions. Connect the frame pieces together using screws or bolts, ensuring a sturdy and stable structure. Take your time to align the parts correctly for a precise assembly.
Step 4: Install the Motors and Belts: Mount the stepper motors onto the designated locations on the frame. Connect the belts to the pulleys and motors, ensuring they are properly tensioned. Check that the belts move smoothly without any obstructions.
Step 5: Install the Extruder: Attach the extruder to the designated mount on the frame. Connect the extruder’s cables to the control board according to the instructions. Ensure the extruder is aligned with the print bed and moves freely along the X and Y axes.
Step 6: Connect the Wiring: Follow the wiring diagram provided with your 3D printer kit to connect all the necessary cables to the control board. Take your time to double-check the connections and ensure they are secure. Proper wiring is crucial for the printer’s functionality.
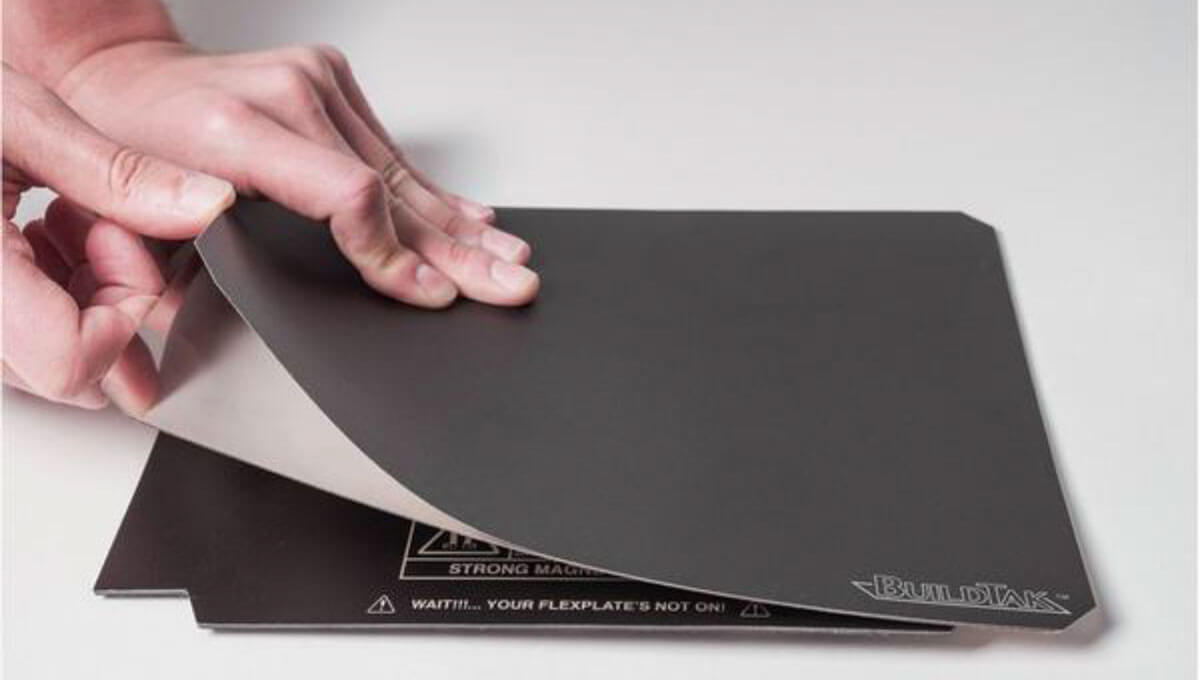
Step 7: Install the Print Bed: Attach the print bed to the frame, ensuring it is level and stable. Adjust the print bed’s position and height so that it is parallel to the X and Y axes. A level print bed is essential for successful prints.
Step 8: Calibrate and Test: Once the assembly is complete, it’s time to calibrate and test your 3D printer. Follow the calibration procedures provided in the instructions to ensure proper leveling of the print bed and accurate movement of the print head along all axes. Test the printer by running a test print to verify its functionality.
Step 9: Learn and Iterate: As with any new technology, there may be a learning curve involved in operating your 3D printer. Be prepared to experiment, learn from your mistakes, and iterate on your designs. Join online communities and forums to seek advice, share your experiences, and stay up to date with the latest developments in 3D printing.
By following these step-by-step instructions, you’ll be well on your way to building your very own 3D printer. Enjoy the process, be patient, and don’t hesitate to reach out for assistance if needed. Now that you have a functioning 3D printer, it’s time to explore the exciting world of 3D printing and bring your ideas to life!
Testing and Troubleshooting
After assembling your 3D printer, it’s important to thoroughly test its functionality and address any potential issues that may arise. This section will guide you through the testing process and provide troubleshooting tips to help you tackle common problems:
1. Testing the Movement: Before running any prints, verify that the printer’s movement is smooth and accurate. Use the manual controls on the printer’s control interface to move the print head along each axis. Ensure that it moves without any jerks or resistance and that it reaches all the desired positions accurately.
2. Calibrating the Print Bed: Proper calibration of the print bed is crucial for successful prints. Level the print bed using the calibration feature or manually adjust the corners to ensure an even and parallel surface. Test the bed leveling by printing a small test object and checking for consistent adhesion across the entire surface.
3. Filament Loading and Extrusion: Load filament into the extruder and verify that it feeds smoothly without any obstructions. Pay attention to the flow rate and adjust it as needed. Ensure that the filament is properly heated to the recommended temperature for the filament type being used.
4. Test Prints: Begin with simple test prints to verify the printer’s capabilities and fine-tune settings. Start with basic shapes like cubes or calibration models to check for accurate dimensions and layer adhesion. Gradually progress to more complex prints as you gain confidence in your printer’s performance.
5. Troubleshooting Issues: If you encounter issues during the testing phase, there are several common problems you may encounter:
- Warped Prints: This can be caused by poor bed adhesion or incorrect bed leveling. Double-check the bed leveling and experiment with different adhesion methods, such as using a heated bed or applying a thin layer of adhesive.
- Layer Shifts: If you notice that layers are not aligning properly, it could indicate a mechanical issue. Check for loose belts, improper tension, or obstruction in the movement system. Ensure that all screws and connections are tight.
- Under/Over Extrusion: Inconsistent filament flow can result in under or over extrusion. Adjust the extruder’s temperature and flow rate to achieve the desired filament flow. Additionally, ensure the nozzle is not clogged and clean it if necessary.
- Poor Print Quality: If your prints are not coming out with the desired quality, consider adjusting print settings such as layer height, print speed, and cooling. Experiment with different settings to find the optimal configuration for your prints.
By closely observing and troubleshooting these common issues, you’ll be able to fine-tune your printer’s performance and achieve high-quality prints consistently.
Remember, 3D printing is a continuous learning process. Don’t get discouraged if you face challenges along the way. Stay enthusiastic, seek assistance from online communities and resources, and keep experimenting with different settings and techniques. With time and practice, you’ll become proficient in operating your homemade 3D printer.
Conclusion
Congratulations on successfully building your very own 3D printer using a 3D pen! By understanding the basics of a 3D pen, exploring the components of a 3D printer, and following the step-by-step guide, you’ve embarked on an exciting journey into the world of 3D printing.
Building a 3D printer out of a 3D pen not only gives you the satisfaction of creating something unique, but it also provides you with a deeper understanding of the technology behind 3D printing. You’ve learned about the intricacies of a 3D pen, the components of a 3D printer, and how to calibrate and test your machine for optimal performance.
Keep in mind that 3D printing is a continuous learning process. As you gain more experience, don’t hesitate to experiment with different filaments, print settings, and designs. Join online communities and forums to connect with fellow enthusiasts, share your knowledge, and stay up to date with the latest advancements in the world of 3D printing.
Remember to prioritize safety throughout your 3D printing journey. Always follow proper safety guidelines, such as wearing protective gear and working in a well-ventilated area. Additionally, be patient and persistent when troubleshooting any issues that may arise. By staying curious and proactive, you’ll continue to enhance your skills and produce amazing creations with your homemade 3D printer.
Now that you’re equipped with the knowledge and skills to build and operate your 3D printer, it’s time to let your imagination soar. Discover the limitless possibilities of 3D printing as you bring your ideas to life and create tangible objects from your imagination.
Enjoy your newfound skill as a 3D printer builder and enthusiast. Embrace the creativity, problem-solving, and joy that come with this exciting hobby. Happy printing!


