Introduction
Welcome to this guide on how to level the bed of your Ender 3 3D printer. Bed leveling is a critical step in the 3D printing process that ensures proper adhesion and accurate printing. It involves adjusting the height of the print bed so that it is perfectly aligned with the printer’s nozzle. By doing so, you can avoid issues such as uneven prints, warping, and poor layer adhesion.
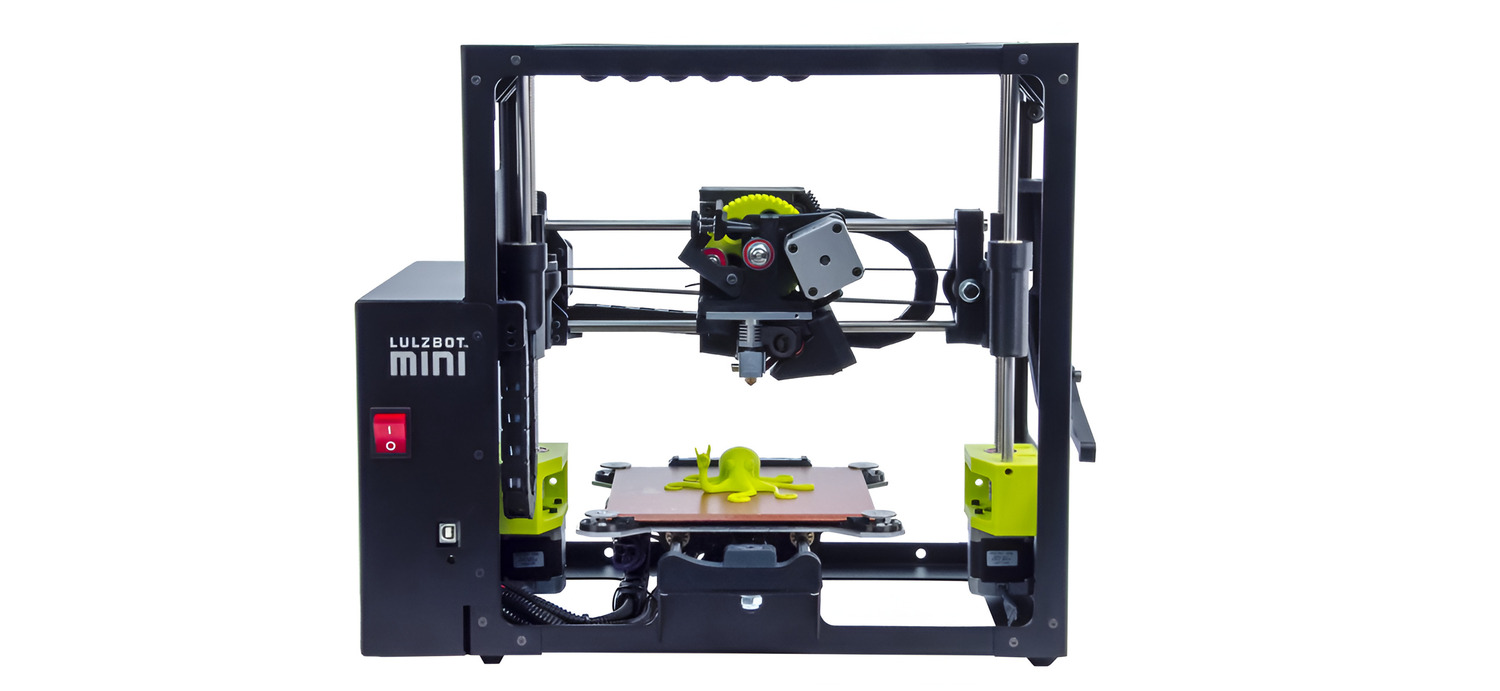
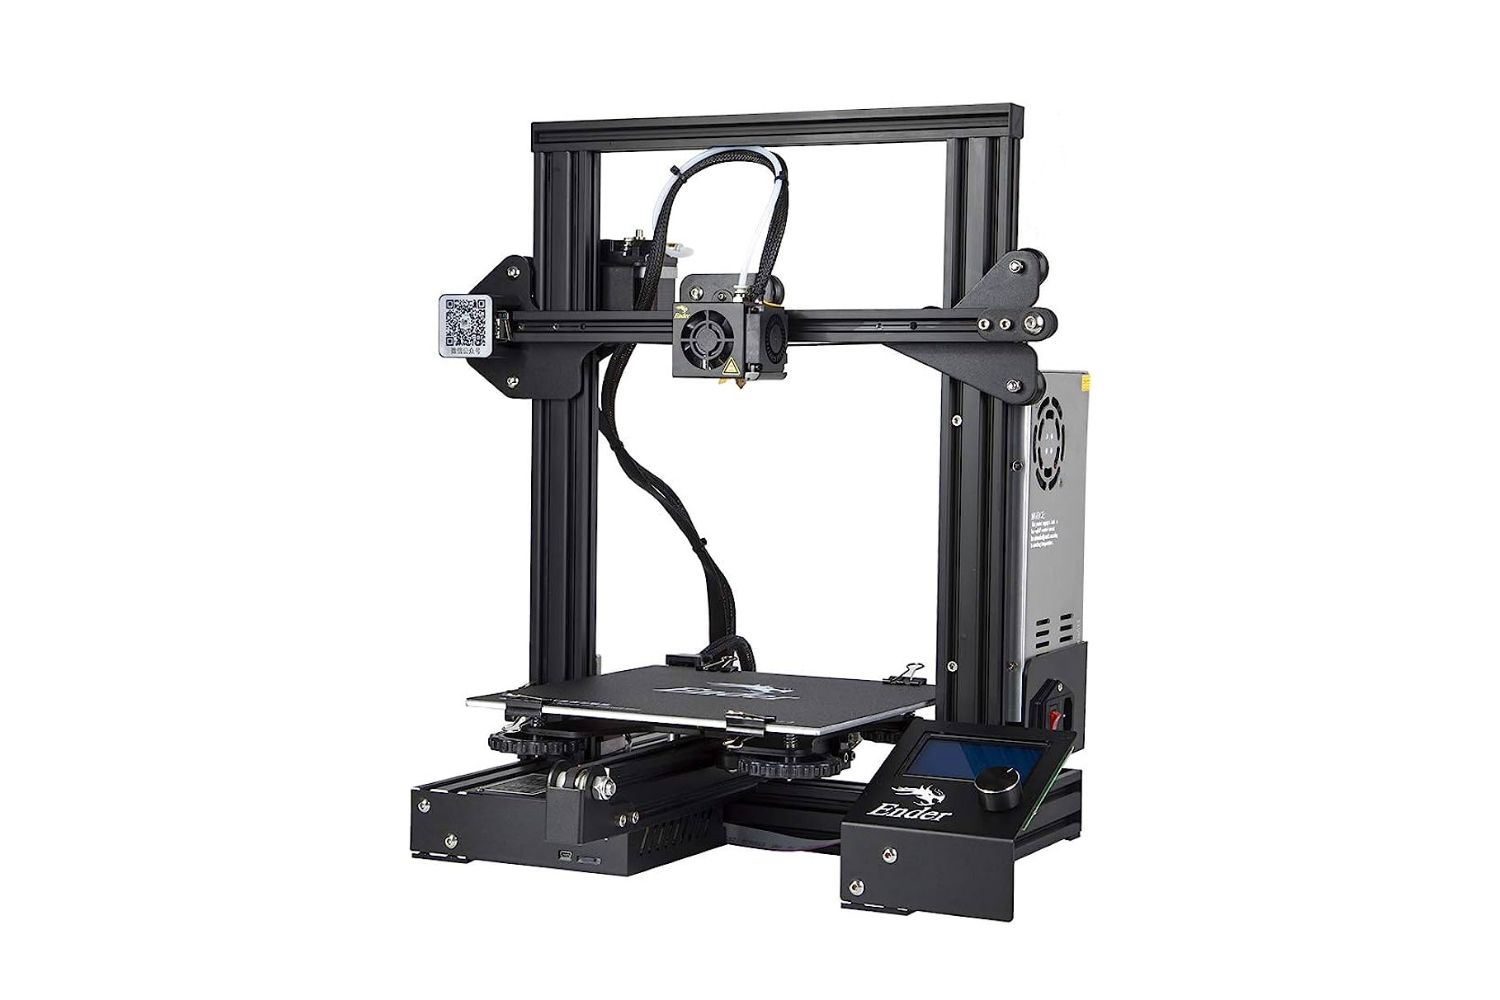
Bed leveling is particularly important for the Ender 3, a popular and affordable 3D printer that is widely used by hobbyists, enthusiasts, and professionals alike. While the Ender 3 offers an excellent print quality, it requires regular bed leveling to maintain consistent results.
In this guide, we will walk you through the step-by-step process of leveling the bed on your Ender 3 3D printer. We will provide detailed instructions, along with tips and tricks to ensure that you achieve the best possible results.
Before we begin, it is important to note that bed leveling is not a one-time process. It should be done regularly, especially if you move or transport your printer, or if you notice any issues with your prints. By maintaining a level bed, you can optimize print quality, reduce print failures, and save time and filament.
Now, let’s gather the necessary tools and get started!
Why is bed leveling important?
Bed leveling is a crucial step in the 3D printing process for several reasons. Let’s delve into why it is so important:
- Ensures proper adhesion: When the bed is level, the first layer of the print adheres evenly and firmly to the build surface. This prevents the print from shifting or peeling during the printing process, resulting in a successful and well-formed print.
- Avoids uneven prints: A level bed ensures that the nozzle is at a consistent distance from the print surface throughout the entire build area. This helps to prevent variations in layer height, resulting in smooth and precise prints with uniform layer adhesion.
- Reduces warping and curling: Proper bed leveling helps to minimize warping and curling of the printed object, especially for larger or complex prints. When the bed is level, the layers cool down evenly, reducing the chances of the edges lifting or warping.
- Improves print quality: By having a level bed, the printer can achieve accurate layer heights and print dimensions. This leads to better overall print quality, with sharper details and smoother surfaces.
- Prevents nozzle crashes: If the bed is not properly leveled, the print nozzle may come into contact with the build surface or be too far away from it. This can cause nozzle crashes, obstruction or damage to the print nozzle, resulting in failed prints and potential damage to the printer.
- Optimizes print speed and settings: A level bed allows for more efficient printing, as the printer can operate at its optimal speed and settings. When the bed is properly leveled, the printer does not need to compensate for uneven surfaces, leading to faster and more reliable prints.
As you can see, bed leveling plays a crucial role in achieving successful and high-quality 3D prints. It ensures proper adhesion, reduces the chances of print failures, and optimizes the printing process. Now that we understand the importance of bed leveling, let’s move on to the tools you will need for this task.
Tools you will need
Before you start leveling the bed of your Ender 3 3D printer, it’s important to gather the necessary tools. Having the right tools will make the process easier and more efficient. Here are the essential tools you will need:
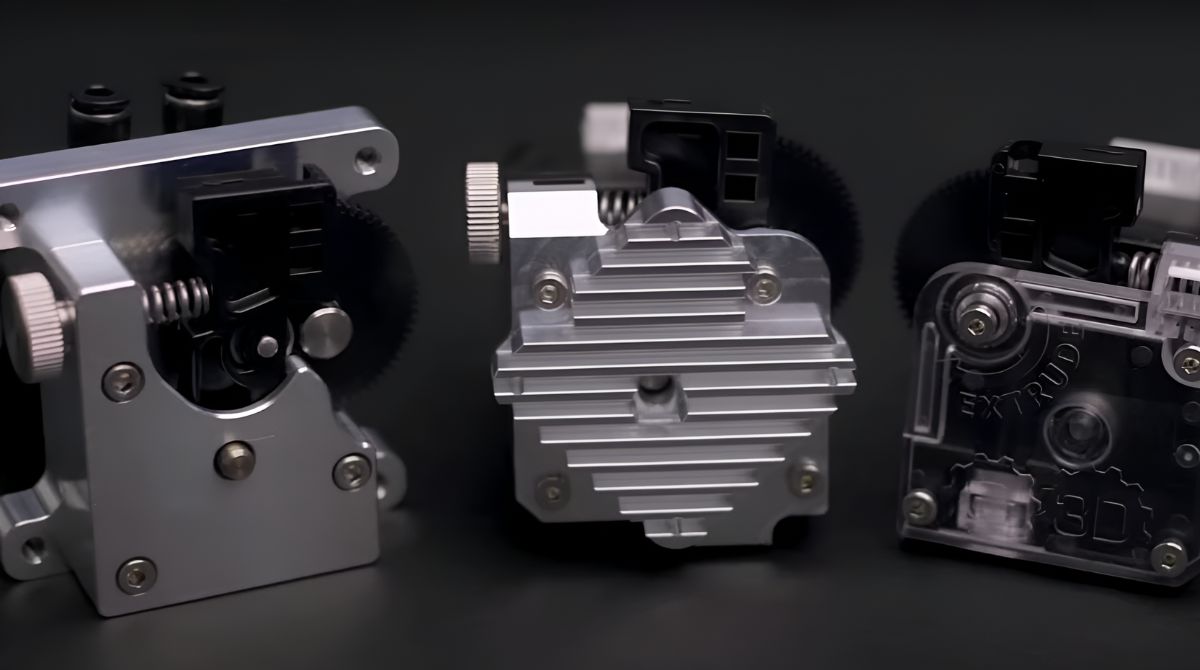
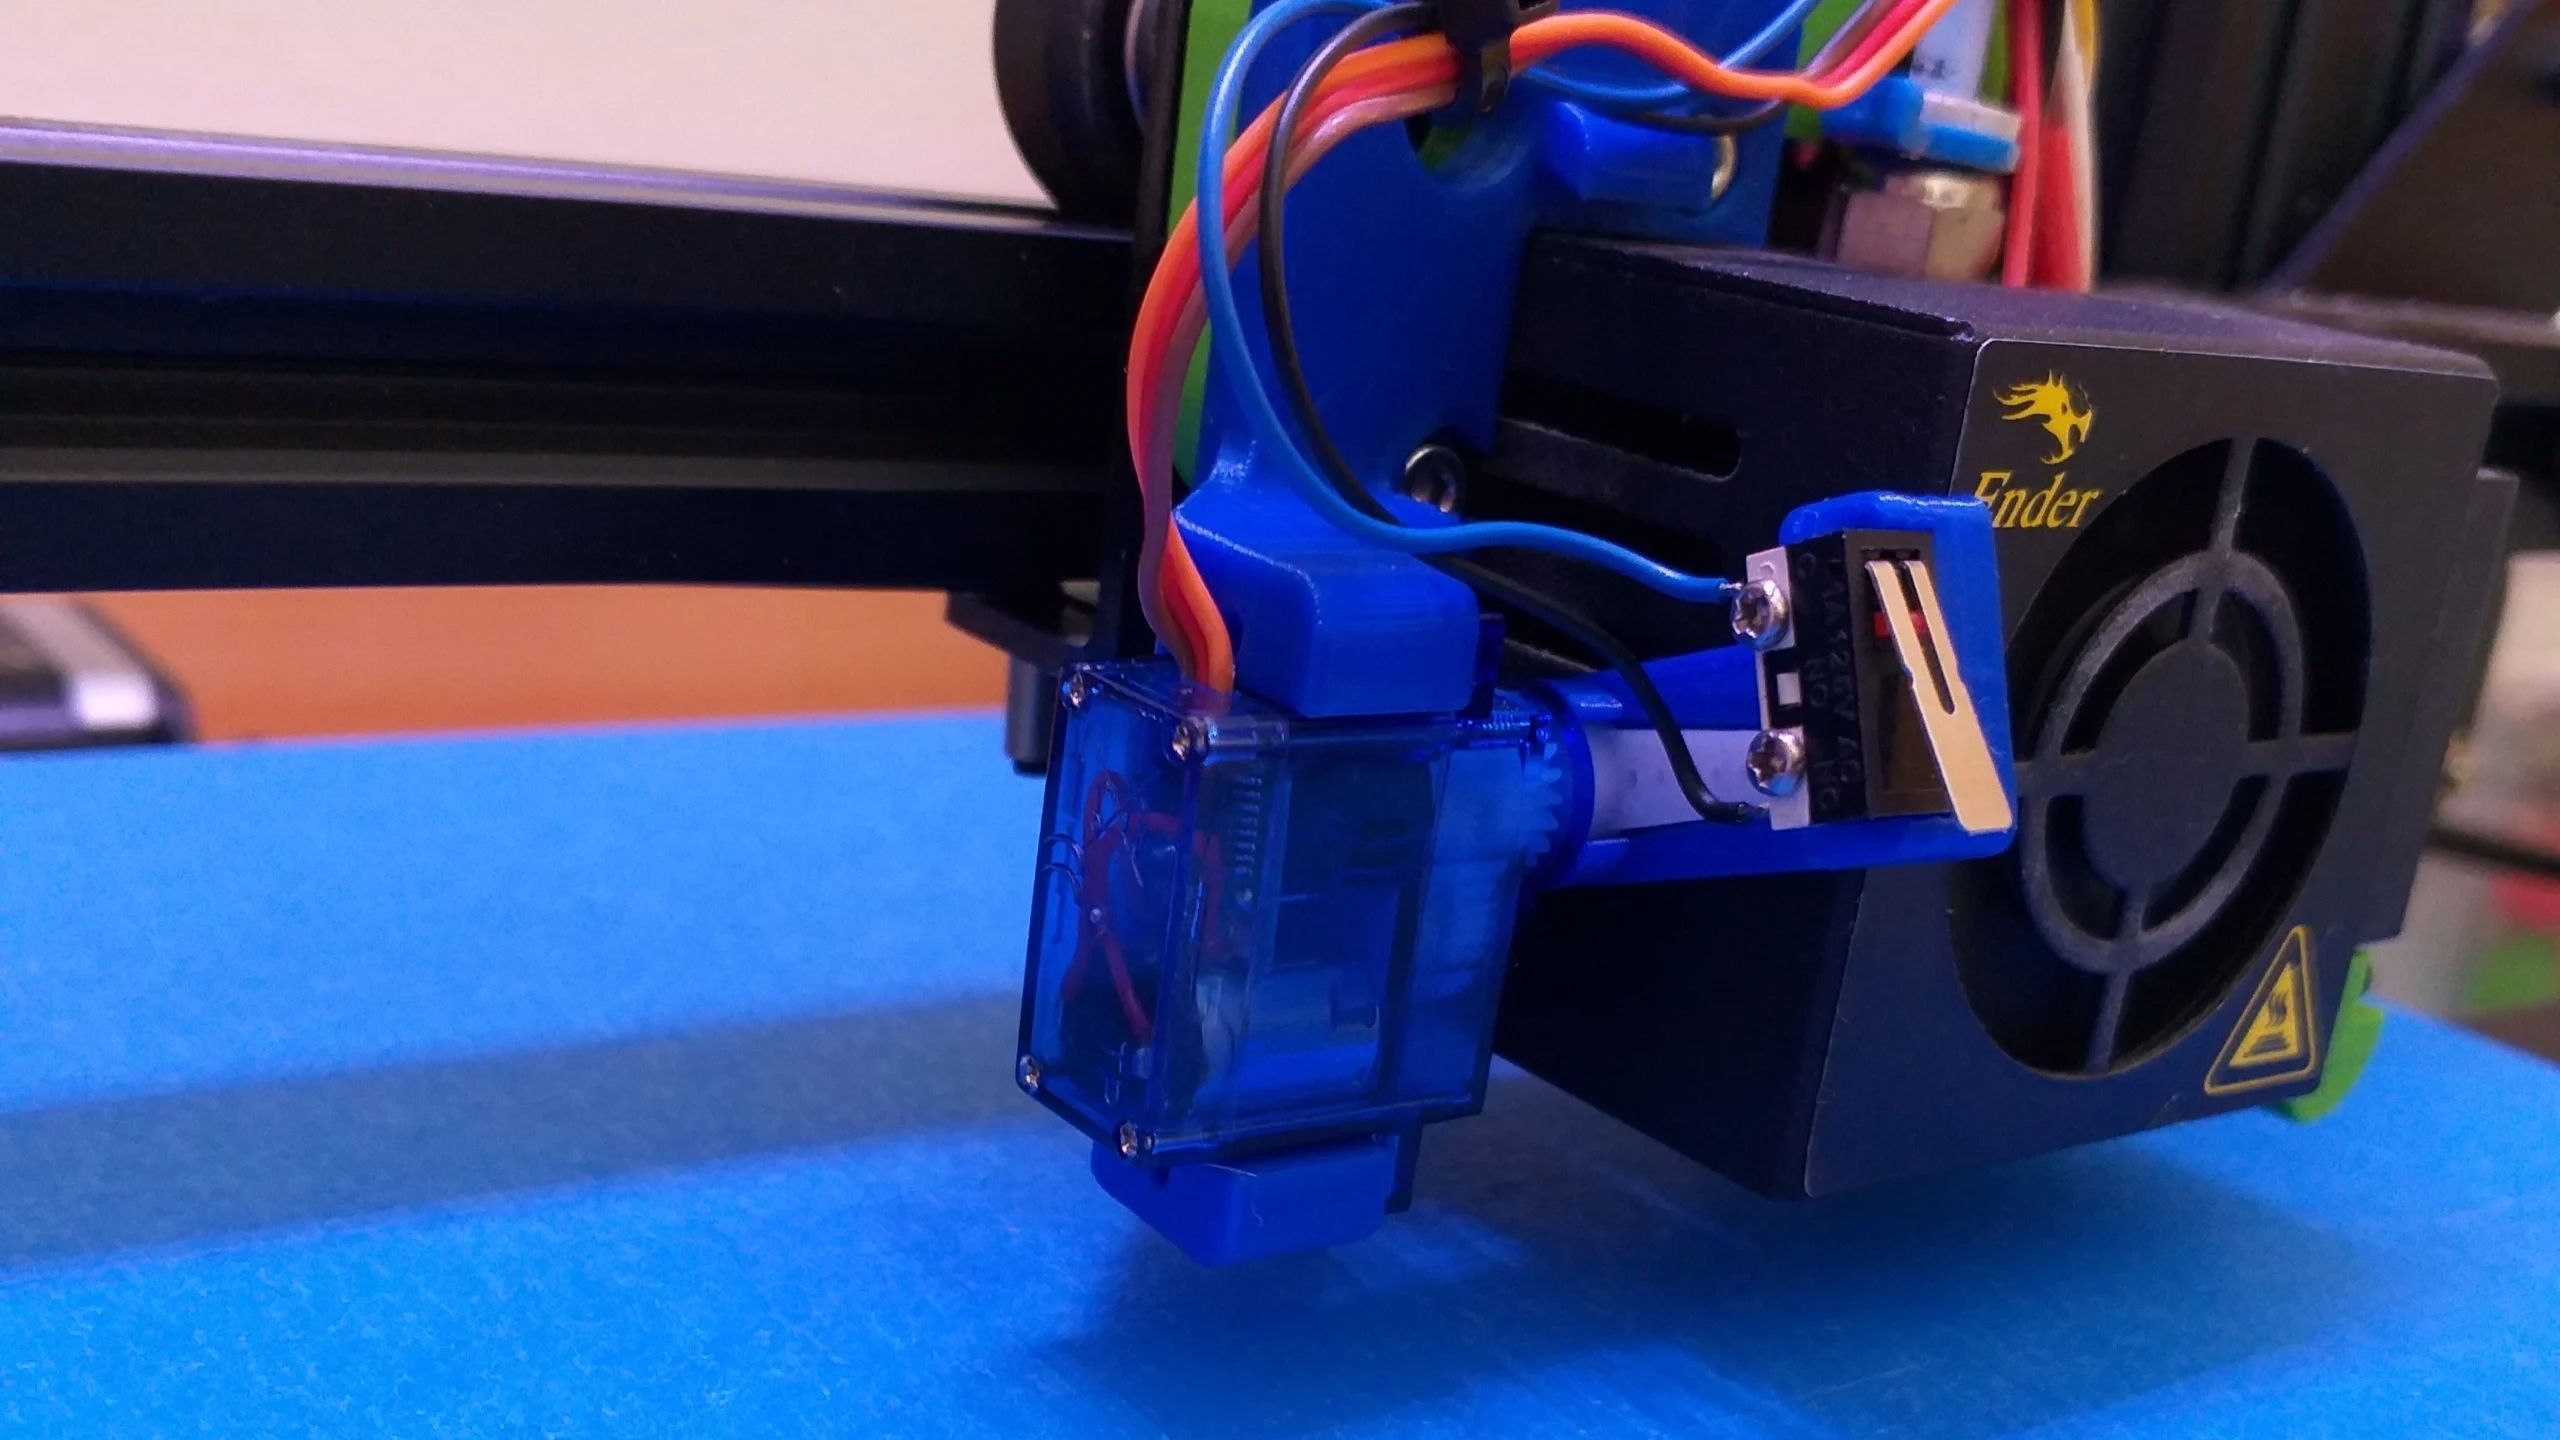
- Hex Wrenches: The Ender 3 typically comes with hex wrenches included. These small tools are used to adjust various components of the printer, including the bed leveling knobs.
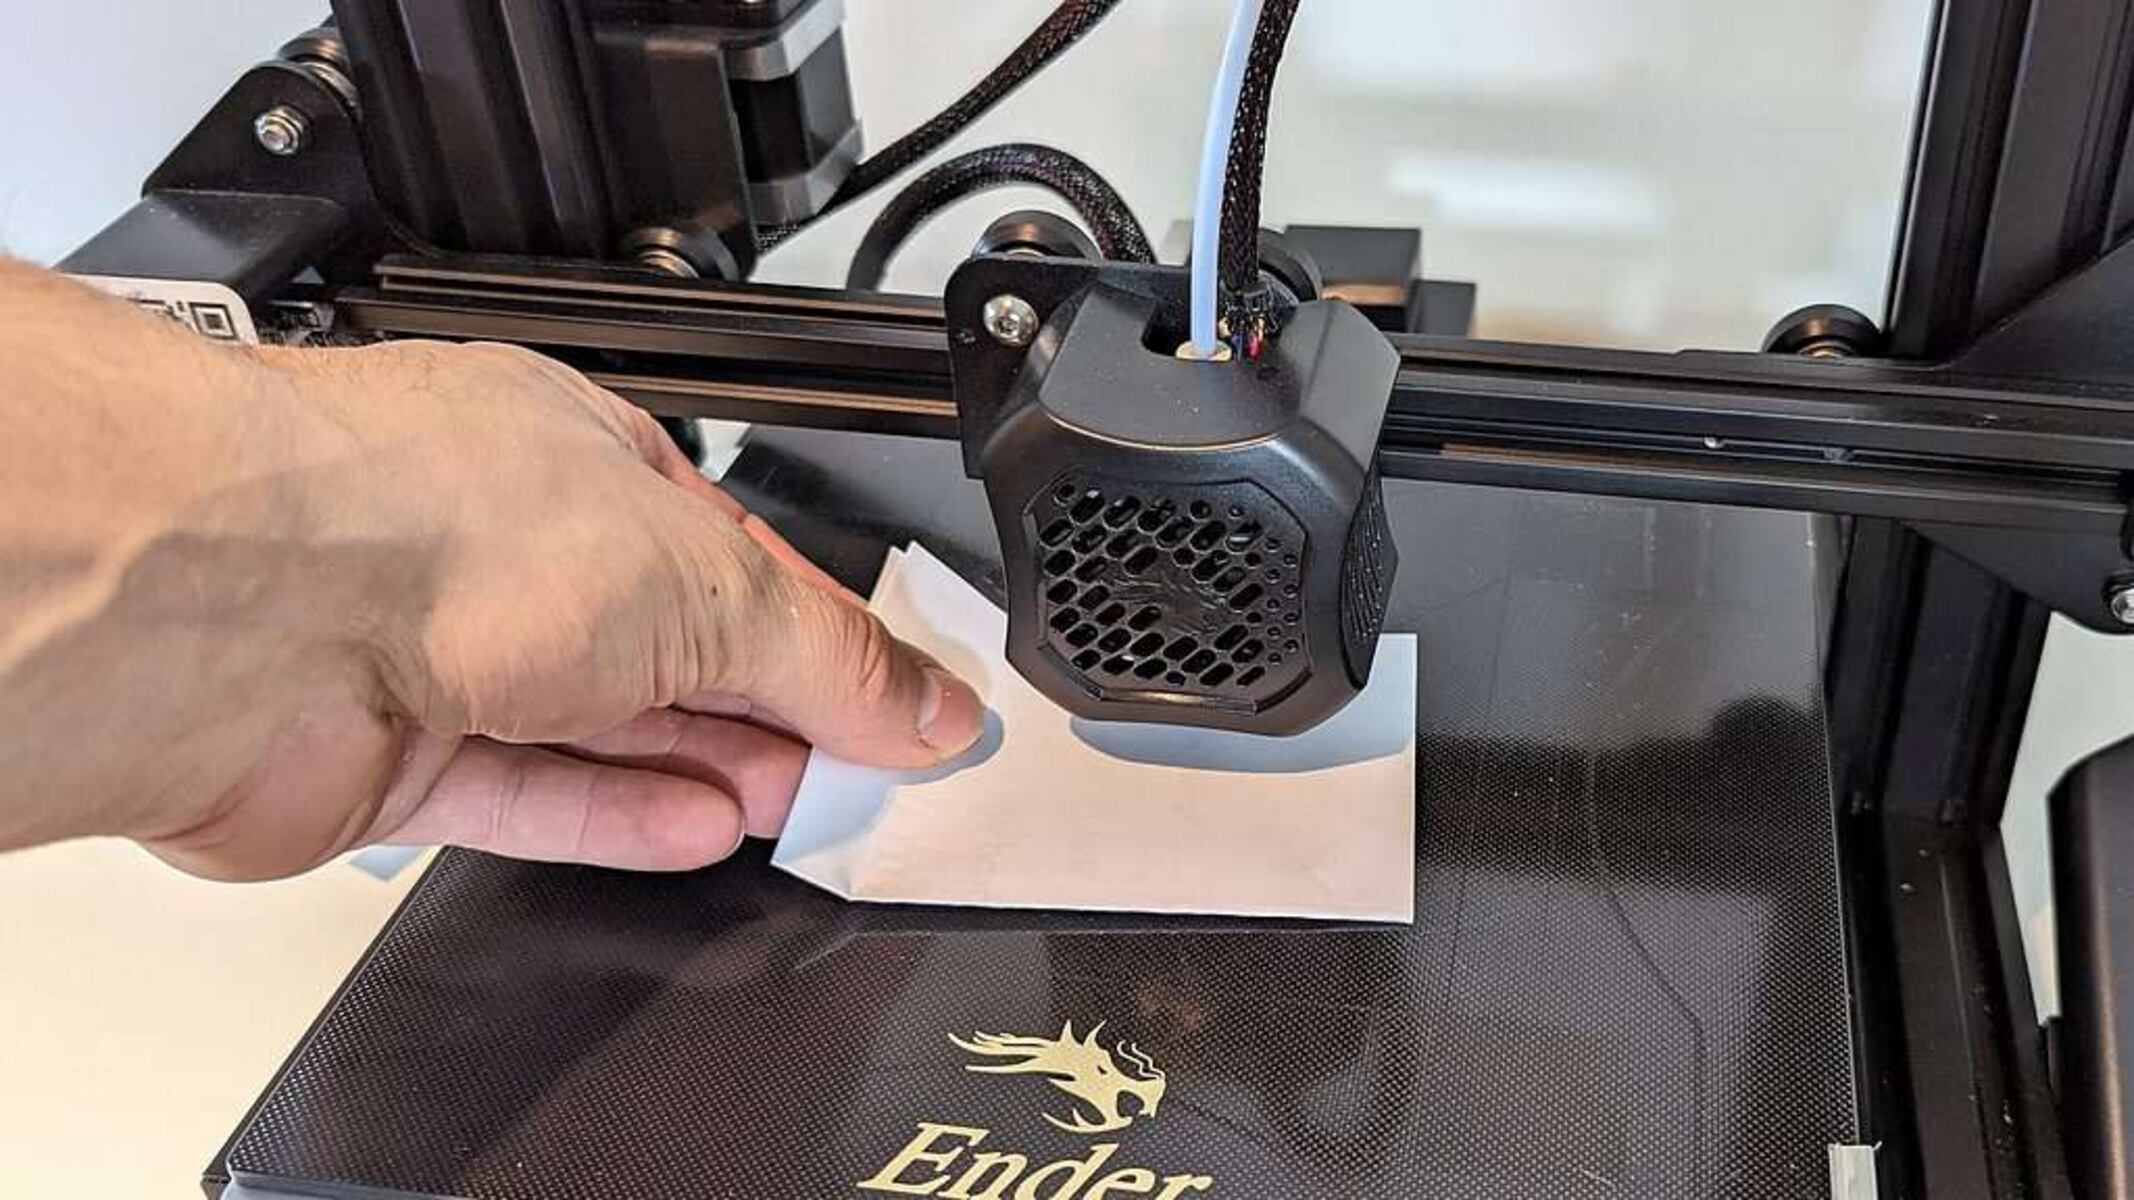
- Bed Leveling Assistants: Some Ender 3 users find it helpful to use bed leveling assistants, such as a piece of paper or a feeler gauge. These thin, flat tools can be used to measure the gap between the nozzle and the print bed, ensuring that it is the correct distance for proper leveling.
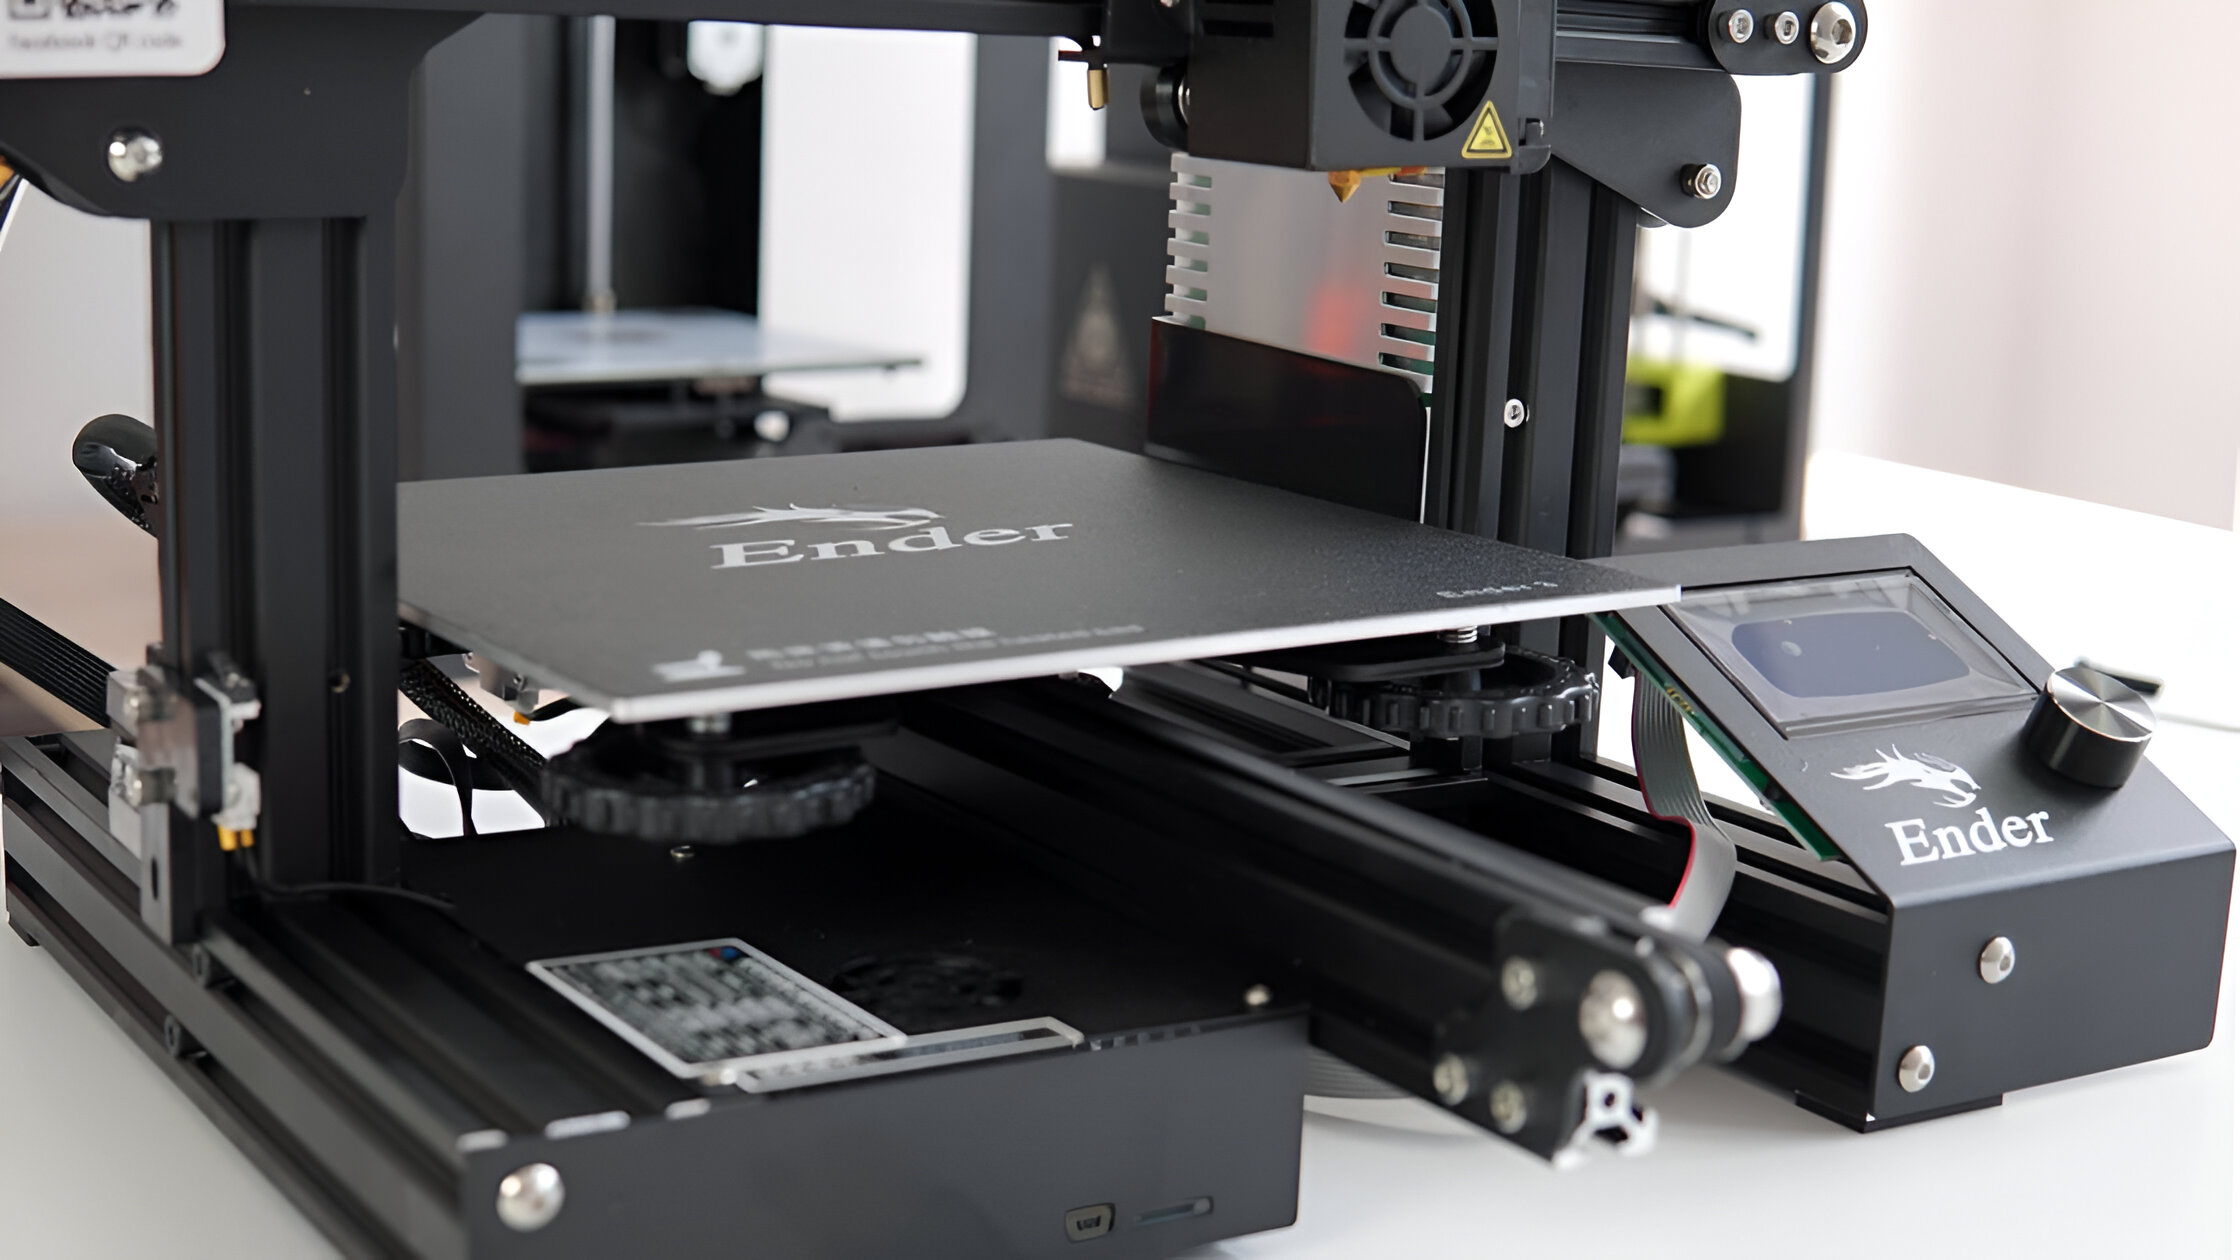
- Leveling Knobs: The Ender 3 may come with manual bed leveling knobs, or you may have upgraded your printer with these knobs. These knobs allow for easy adjustment of the bed height, making it easier to achieve an even and level bed.
- Small Bubble Level: While not necessary, a small bubble level can be useful for ensuring that the printer itself is on a level surface. This ensures that the bed leveling process starts from a stable and accurate base.
- Print Bed Surface Adhesive: Depending on your print bed surface, you may need to apply an adhesive such as tape, gluestick, or a specialized bed adhesive. This helps to improve bed adhesion and prevent prints from detaching during the printing process.
- Computer or Smartphone: Having a computer or smartphone nearby is handy for accessing any leveling guides or videos, as well as making adjustments to your printer’s settings if needed.
By having these tools ready before you start the bed leveling process, you’ll be well-prepared and equipped to tackle the task efficiently. Now that you have the necessary tools, let’s move on to the step-by-step process of leveling the bed on your Ender 3 3D printer.
Step 1: Preparation
Before we begin the bed leveling process, it’s important to ensure that your Ender 3 3D printer is ready and prepared for the task. This includes a few key steps:
- Warm up the printer: Start by turning on your Ender 3 and allowing it to warm up. This ensures that all components, including the print bed, are at the proper temperature for accurate bed leveling.
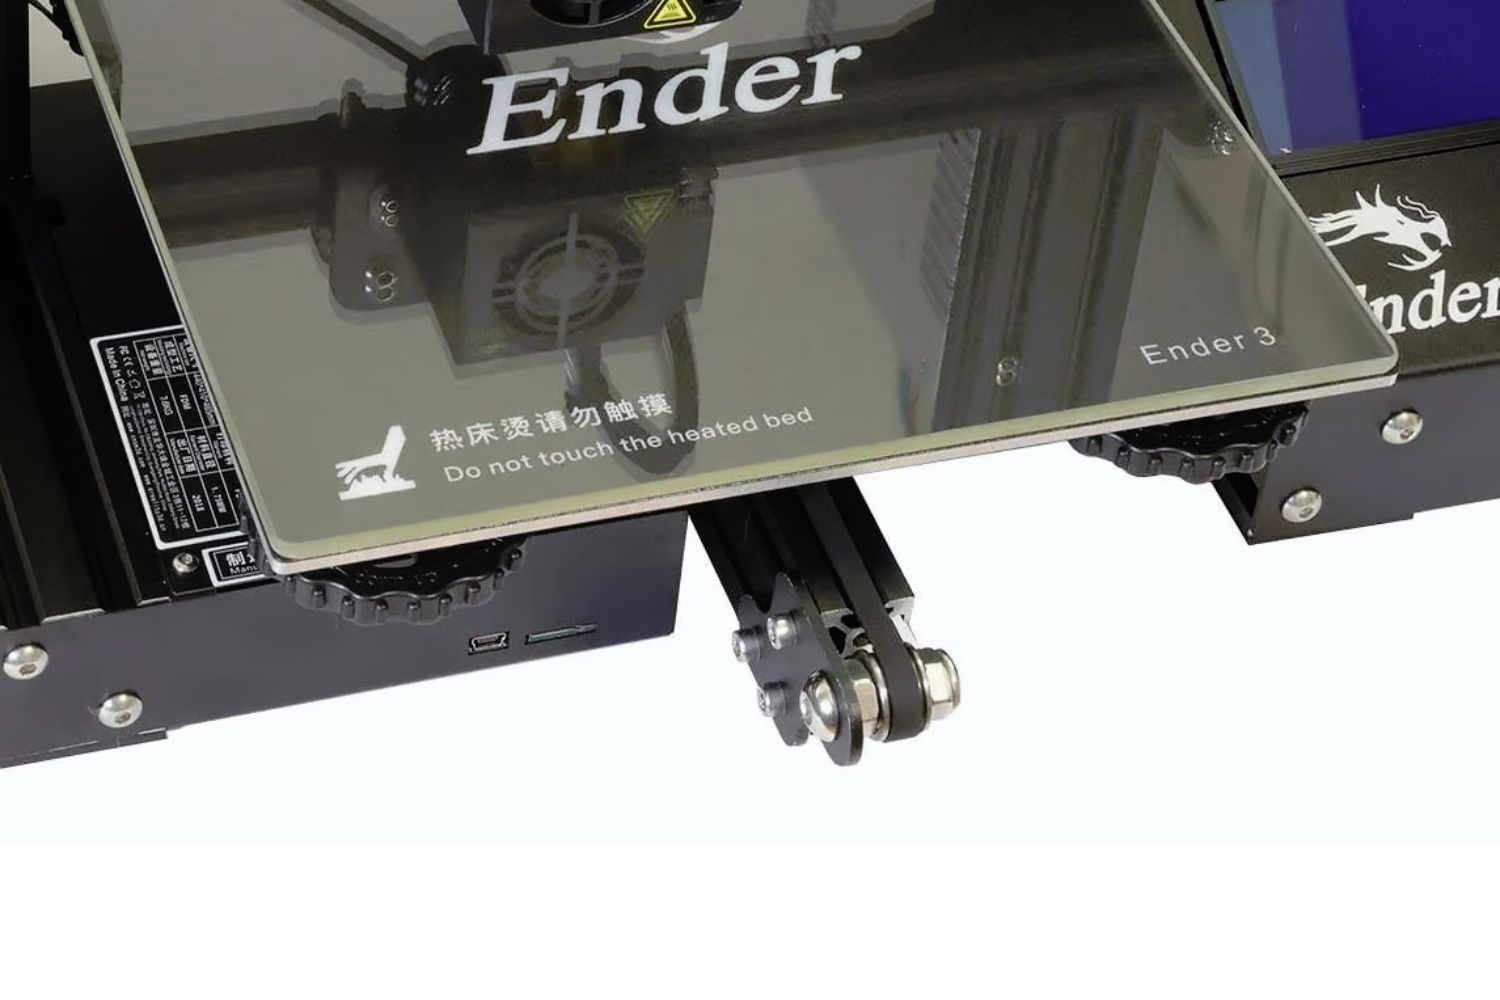
- Check the print bed: Take a moment to inspect the print bed for any debris, leftover prints, or adhesives. Ensure that the bed surface is clean and free from any obstacles that could interfere with the leveling process.
- Home the printer: Use the printer’s control panel or software to home the printer, which will move the print head to its start position. This allows for a consistent starting point for the bed leveling process.
- Disable the stepper motors: Once the printer is homed, disable the stepper motors. This prevents the bed and print head from moving inadvertently during the bed leveling process.
- Position the leveling knobs: If your Ender 3 has manual leveling knobs, adjust them to a mid-point position. This will provide you with sufficient room for adjustment in both directions during the leveling process.
With these preparation steps completed, you are now ready to begin the actual bed leveling process. The next section will guide you through leveling the bed’s four corners.
Step 2: Leveling the bed’s four corners
Now that you have prepared your Ender 3 3D printer, it’s time to start leveling the bed. This step focuses on leveling the bed’s four corners. Follow these steps:
- Position the nozzle: Move the print head to one corner of the bed, using the control panel or software. Make sure the nozzle is just above the bed, but not touching it.
- Adjust the leveling knob: Use the appropriate leveling knob for that corner to adjust the height of the bed. Rotate the knob clockwise to raise the bed or counterclockwise to lower it. The goal is to achieve a small gap between the nozzle and the bed, about the thickness of a sheet of paper.
- Check the level: Once you have made the adjustments, use a bed leveling assistant, such as a piece of paper or feeler gauge, to check the gap between the nozzle and the bed. Gently slide the paper or gauge between the nozzle and bed. You should feel a slight resistance as the nozzle lightly grips the paper.
- Repeat for the other corners: Move the print head to each of the remaining three corners and repeat the previous steps. Adjust the leveling knobs as needed to achieve the same small gap between the nozzle and the bed in each corner.
- Recheck all corners: After leveling all four corners, go back to each corner and recheck the level. Make any necessary adjustments to ensure consistency across all corners.
By following these steps, you will have successfully leveled the bed’s four corners. However, it’s important to note that this is just the first step in the bed leveling process. In the next section, we will cover how to check the center of the bed and make any necessary adjustments.
Step 3: Checking the bed’s center
Once you have leveled the four corners of the bed on your Ender 3 3D printer, it’s time to move on to checking the center of the bed. This step ensures that the entire bed is leveled and ready for printing. Follow these steps:
- Position the nozzle: Move the print head to the center of the bed, using the control panel or software. Make sure the nozzle is just above the bed, but not touching it.
- Check the level: Use your bed leveling assistant, such as a piece of paper or feeler gauge, to check the gap between the nozzle and the bed in the center. Again, aim for a small gap, similar to the thickness of a sheet of paper.
- Adjust the leveling knobs: If necessary, make small adjustments to the leveling knobs to achieve the desired gap in the center. Rotate the knobs clockwise to raise the bed or counterclockwise to lower it. Be mindful of making subtle adjustments, as small changes can have a noticeable impact.
- Recheck the level: After making adjustments, recheck the level in the center. Use the bed leveling assistant to ensure that the gap is consistent across the bed’s surface, including the center.
Checking and adjusting the bed’s center is an essential step to achieve a perfectly leveled bed. It helps to ensure that the entire printing surface is evenly calibrated, resulting in accurate and high-quality prints. With the center checked and leveled, it’s time to move on to the next step in the bed leveling process.
Step 4: Adjusting the bed leveling
After checking the level of the bed’s center on your Ender 3 3D printer, it’s time to make any necessary adjustments to achieve optimal bed leveling. This step involves fine-tuning the leveling knobs to ensure a consistent and balanced print bed. Follow these steps:
- Focus on problematic areas: Take note of any areas on the bed where the leveling may not be perfect. These areas may have a larger gap or tighter clearance than desired.
- Adjust the leveling knobs: Begin by focusing on the problematic areas. If there is a larger gap, use the corresponding leveling knob to lower the bed. If the clearance is tight, raise the bed by rotating the knob.
- Make incremental changes: As you adjust the leveling knobs, make small changes at a time. It’s important not to overcompensate, as drastic adjustments can lead to an uneven bed.
- Check and recheck: After each adjustment, use your bed leveling assistant to verify the levelness of the bed in the areas you just adjusted. Continue to fine-tune the leveling knobs until you achieve a consistent gap across the entire bed.
- Prioritize balance over perfection: While it’s ideal to have a perfectly level bed, it’s also important to find a balance. Avoid obsessing over achieving absolute perfection, as minute variations are tolerable and can be compensated for by software or through the use of a first-layer calibration print.
By following these steps and making incremental adjustments, you can achieve a well-leveled bed on your Ender 3 3D printer. Remember, bed leveling is a continuous process, so don’t hesitate to make further adjustments if needed. Once you are satisfied with the bed level, it’s time to move on to the next step: rechecking and fine-tuning the bed level.
Step 5: Rechecking and fine-tuning the bed level
After adjusting the bed leveling on your Ender 3 3D printer, it’s important to recheck and fine-tune the bed level to ensure optimal printing conditions. This step focuses on verifying the bed level and making any final adjustments if necessary. Follow these steps:
- Perform a final check: Move the print head to different areas of the bed and use your bed leveling assistant, such as a piece of paper or feeler gauge, to check the gap between the nozzle and the bed. Ensure consistent clearance throughout the entire bed.
- Make small adjustments: If you notice any areas that require slight leveling adjustments, use the corresponding leveling knob to make small changes. Remember to make incremental adjustments, as drastic changes can disrupt the overall bed level.
- Verify the level again: After each adjustment, recheck the level in the adjusted areas to confirm that the changes have effectively leveled the bed. Continue this process until you are satisfied with the overall bed level.
- Perform a test print: Once you have fine-tuned the bed level, it’s recommended to perform a test print. Choose a simple model or calibration print that encompasses the entire bed surface. This will help you evaluate the quality and consistency of the print across the bed.
- Review the print results: Examine the test print to assess its quality. Look for signs of even layer adhesion, uniform printing, and proper bed adhesion. If there are any issues, take note of the problem areas and make further adjustments if necessary.
By rechecking and fine-tuning the bed level, you can achieve a well-calibrated bed on your Ender 3 3D printer. Remember, bed leveling is an ongoing process, and it’s normal to make periodic adjustments as needed. With a properly leveled bed, you can now move forward to confidently start your 3D printing projects.
Step 6: Test print
Once you have completed the bed leveling process on your Ender 3 3D printer, it’s time to perform a test print. A test print allows you to verify that the bed level is properly calibrated and ensures that your future prints will have optimal quality. Follow these steps to perform a test print:
- Choose a test model: Select a simple test model that will enable you to assess the quality of the print. This can be a calibration cube, a Benchy boat, or any other print that you are familiar with.
- Prepare the printer and filament: Ensure that your Ender 3 is properly set up, with the filament loaded and the print bed clean and ready for printing.
- Set the printing parameters: Adjust the printing parameters, including layer height, print speed, and temperature, according to the recommendations for your chosen test model. These settings may vary depending on the filament type and specific requirements of the model.
- Start the print: Initiate the print from your slicing software or the printer’s control panel. Observe the printer as it begins the print process and note any signs of misalignment, inconsistent extrusion, or bed adhesion issues.
- Evaluate the print quality: Once the print is complete, carefully examine the resulting object. Look for crisp and well-defined details, even layer adhesion, and proper dimensional accuracy.
- Identify and address issues: If you notice any issues with the print quality, such as inconsistent layers, warping, or poor bed adhesion, take note of the problem areas. Refer back to the previous steps to identify potential causes and make the necessary adjustments to improve the print quality.
The test print serves as a valuable tool to validate the success of your bed leveling efforts. It allows you to fine-tune your printer settings, identify any areas that may require further adjustment, and ensure that your subsequent 3D prints will be of the highest quality possible.
Conclusion
Congratulations! You have successfully leveled the bed on your Ender 3 3D printer. Bed leveling is a crucial step that ensures proper adhesion, prevents print issues, and improves overall print quality. By following the step-by-step process outlined in this guide, you have taken the necessary measures to achieve a well-calibrated bed.
Remember that bed leveling is an ongoing process, and regular maintenance is key to consistent print performance. It is recommended to periodically recheck and adjust the bed level to account for any changes or shifts that may occur over time.
As you gain more experience with your Ender 3, you may find additional tips and techniques that work best for your specific printer setup and preferences. Feel free to experiment and fine-tune the process to suit your workflow and achieve the highest quality prints.
Now that you have a level bed, you can confidently embark on your 3D printing projects, knowing that your prints will have optimal bed adhesion, accurate layer heights, and uniform print quality. Enjoy the world of 3D printing and let your creativity take flight!