Introduction
When it comes to 3D printing, achieving high-quality prints with precise details and smooth finishes is the ultimate goal. However, even the most advanced 3D printers require fine-tuning to optimize performance and produce optimal results. In this guide, we will walk you through the essential steps to tune your 3D printer for optimal performance.
Whether you are a seasoned 3D printing enthusiast or a beginner venturing into the world of additive manufacturing, understanding the key factors that affect print quality is crucial. From choosing the right filament to calibrating extrusion and fine-tuning temperature settings, each aspect plays a vital role in achieving the best results.
By following these tuning techniques, you can address common issues such as uneven prints, stringing, layer adhesion problems, and inconsistent extrusion. With a bit of patience and experimentation, you can significantly improve the output of your 3D printer and unlock its full potential.
Before delving into the specific tuning steps, it is important to note that each 3D printer model may have slight variations in settings and procedures. Therefore, it is advisable to refer to your printer’s user manual or the manufacturer’s website for specific instructions tailored to your machine.
Now, let’s dive into the essential steps needed to tune your 3D printer and optimize its performance.
Choosing the Right Filament
The filament you use in your 3D printer can greatly impact the quality and durability of your prints. There are various types of filaments available, each with its own characteristics and best use cases. Here are some factors to consider when choosing the right filament:
- Material: PLA (Polylactic Acid) is the most commonly used filament, known for its ease of use and wide range of colors. ABS (Acrylonitrile Butadiene Styrene) is another popular choice, offering higher temperature resistance and improved strength. There are also filaments made from PETG, TPU, and more, each with unique properties suited for different applications.
- Quality: Ensure you are using high-quality filaments from reputable manufacturers. Inferior quality filaments can result in poor print quality, clogging, and inconsistent flow.
- Diameter: Check the diameter of the filament and ensure it is compatible with your printer’s extruder. Most printers use filament with a diameter of 1.75mm or 2.85mm.
- Recommended Settings: Different filaments require varying temperature and printing speed settings. Refer to the manufacturer’s guidelines or online resources to determine the optimal settings for the specific filament you are using.
- Specialty Filaments: Explore specialty filaments such as wood filament, metal-filled filament, or glow-in-the-dark filament to add unique characteristics to your prints.
Experimenting with different filaments can help you discover the materials that work best for your specific projects. Keep in mind that each filament may require adjustments to other printer settings, such as temperature and extrusion rate. Take notes and document the successful settings for future reference.
By choosing the right filament for your prints, you can ensure better adhesion, durability, and overall print quality. It is worth investing some time in understanding the characteristics of different filaments to achieve the desired results.
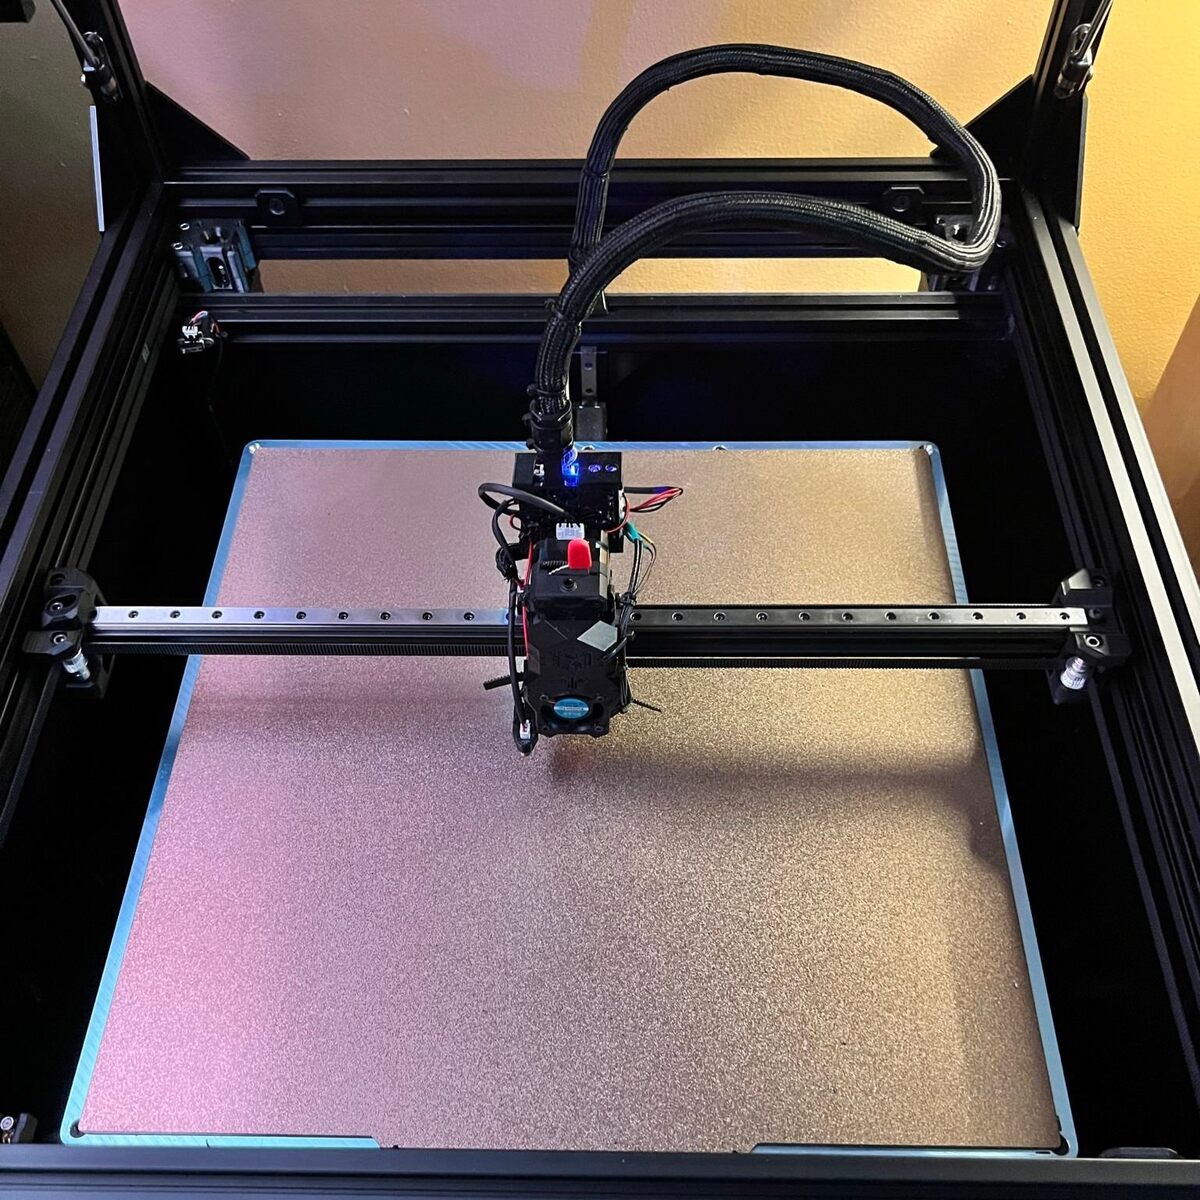
Leveling the Printer Bed
Properly leveling the printer bed is crucial for ensuring accurate and consistent prints. If the bed is not leveled correctly, it can result in uneven layer adhesion, warped prints, and nozzle collisions. Here are the steps to level your printer bed:
- Home the Printer: Start by homing the printer to bring the nozzle and bed to their initial positions.
- Disable Stepper Motors: Disable the stepper motors so that you can move the printhead and bed manually without any resistance.
- Use a Leveling Aid: Some printers come with built-in leveling aids such as automatic bed leveling sensors or visual aids like indicators or springs. Follow the instructions provided by your printer’s manufacturer to use these aids effectively.
- Manually Leveling: If your printer does not have automatic leveling features, you can manually level the bed using a sheet of paper or a feeler gauge. Adjust the bed height using the leveling screws or knobs until you achieve a slight resistance when sliding the paper between the nozzle and the bed. Repeat this process for each corner and the center of the bed.
- Check the Leveling: After adjusting the bed height, double-check the leveling by homing the printer and repeating the paper test. Fine-tune the bed height as needed until the paper slides smoothly with slight resistance.
- Repeat Regularly: Bed leveling may shift over time due to normal vibrations and use. It is important to periodically check and relevel the bed to maintain optimal print quality.
Properly leveled printer beds provide a solid foundation for successful prints, helping ensure consistent first layers and proper adhesion. Remember to recheck the bed level between prints, especially if you notice any issues with the initial layer or inconsistent printing.
By taking the time to level your printer bed correctly, you can minimize print failure and achieve more accurate and reliable prints.
Calibrating Extrusion
Calibrating the extrusion on your 3D printer is essential for ensuring accurate filament flow and avoiding issues like under-extrusion or over-extrusion. Here’s how you can calibrate the extrusion:
- Create a Calibration Model: Start by downloading or creating a calibration model. The most common model used for extrusion calibration is a single-walled cube.
- Print the Calibration Model: Slice and print the calibration model using your preferred slicer software. Ensure that you use the same filament, print speed, and temperature settings that you typically use for your prints.
- Measure the Wall Thickness: Once the print is complete, use a precision caliper to measure the wall thickness of the printed cube. Take multiple measurements at different points on the cube.
- Calculate the Extrusion Multiplier: Calculate the extrusion multiplier by dividing the desired wall thickness (typically set in your slicer software) by the average measured wall thickness. This will give you a value that you can input into your slicer settings as the extrusion multiplier.
- Test and Fine-Tune: Print another calibration model with the adjusted extrusion multiplier and measure the resulting wall thickness. Repeat the process of adjusting the extrusion multiplier until you achieve the desired wall thickness.
- Document the Settings: Once you have determined the extrusion multiplier that works best for your printer, filament, and slicer settings, make sure to document the settings for future reference.
Calibrating extrusion ensures that the printer is pushing out the correct amount of filament, resulting in accurate and dimensionally precise prints. Over time, it is a good practice to recheck and recalibrate the extrusion as filament characteristics may vary.
Remember, extrusion calibration may require some trial and error, and it is essential to be patient and persistent until you achieve optimal results. With the right extrusion settings, you can prevent issues such as weak or brittle prints, gaps in layers, or bulging walls.
Adjusting Print Speed and Layer Height
Print speed and layer height are critical variables that directly impact the quality and printing time of your 3D prints. By making adjustments to these settings, you can achieve the desired balance between print speed and print quality. Here’s how you can optimize your print speed and layer height:
- Default Settings: Begin by familiarizing yourself with your printer’s default settings for print speed and layer height. These values may vary depending on the printer model and filament used.
- Consider Print Object: Take into account the complexity and intricacy of the model you are printing. Small and detailed objects may require slower print speeds to ensure accuracy, while larger and simpler objects can be printed at higher speeds.
- Start with Lower Speeds: If you are unsure about the optimal print speed, start with a lower value and gradually increase it until you find the balance between speed and quality. This way, you can catch any potential issues early in the print process.
- Layer Height: Adjusting the layer height can also impact print quality. Smaller layer heights result in more detailed prints but take longer to complete. Conversely, larger layer heights can speed up the printing process but may sacrifice some fine details. Experiment with different layer heights and find the right balance for your project.
- Test and Evaluate: Print test models using different speed and layer height settings to evaluate the results. Inspect the surface finish, layer adhesion, and overall print quality. Consider the specific requirements of your project and make adjustments accordingly.
- Print Speed Considerations: Keep in mind that faster print speeds can cause issues like reduced accuracy, increased vibrations, and oozing. Adjusting other control parameters, such as acceleration and jerk settings, can help mitigate these issues at higher print speeds.
By taking the time to optimize your print speed and layer height settings, you can achieve faster print times without compromising the quality of your 3D prints. Remember to keep track of the settings that give you the best results for different types of prints, as it will save time and effort in the long run.
Fine-Tuning Temperature Settings
The temperature at which your 3D printer operates plays a crucial role in print quality and filament performance. Fine-tuning the temperature settings can help you achieve optimal results. Here are the steps to follow:
- Refer to Filament Guidelines: Start by checking the recommended temperature range provided by the filament manufacturer. This will give you a starting point for your temperature settings.
- Test Prints: Print a temperature tower or temperature calibration model that allows you to test a range of temperature settings. These models typically have different sections, each printed at a different temperature.
- Observe Print Quality: Examine the temperature calibration print to determine the optimal temperature for your filament. Look for characteristics such as stringing, layer adhesion, and surface finish.
- Adjust in Small Increments: Fine-tune the temperature in small increments, typically around 5°C, based on the results of your test prints. Repeat the test prints until you achieve the desired print quality.
- Document Optimal Settings: Once you have determined the best temperature settings for your filament, document the values for future reference. Different filaments may require different temperature settings, so having this information readily available will save time in the future.
In addition to fine-tuning the overall extruder temperature, it is also worth considering the temperature of the printer’s heated bed. Some filaments require a heated bed for better adhesion and prevention of warping. Adjust the bed temperature according to the specific filament’s recommendations.
Remember that temperature calibration may require some trial and error. Factors such as ambient temperature and humidity can also affect print quality, so it’s a good idea to monitor these conditions and make adjustments as needed.
By fine-tuning the temperature settings, you can achieve better print quality, reduce issues like stringing and warping, and optimize the performance of different filaments for your 3D printer.
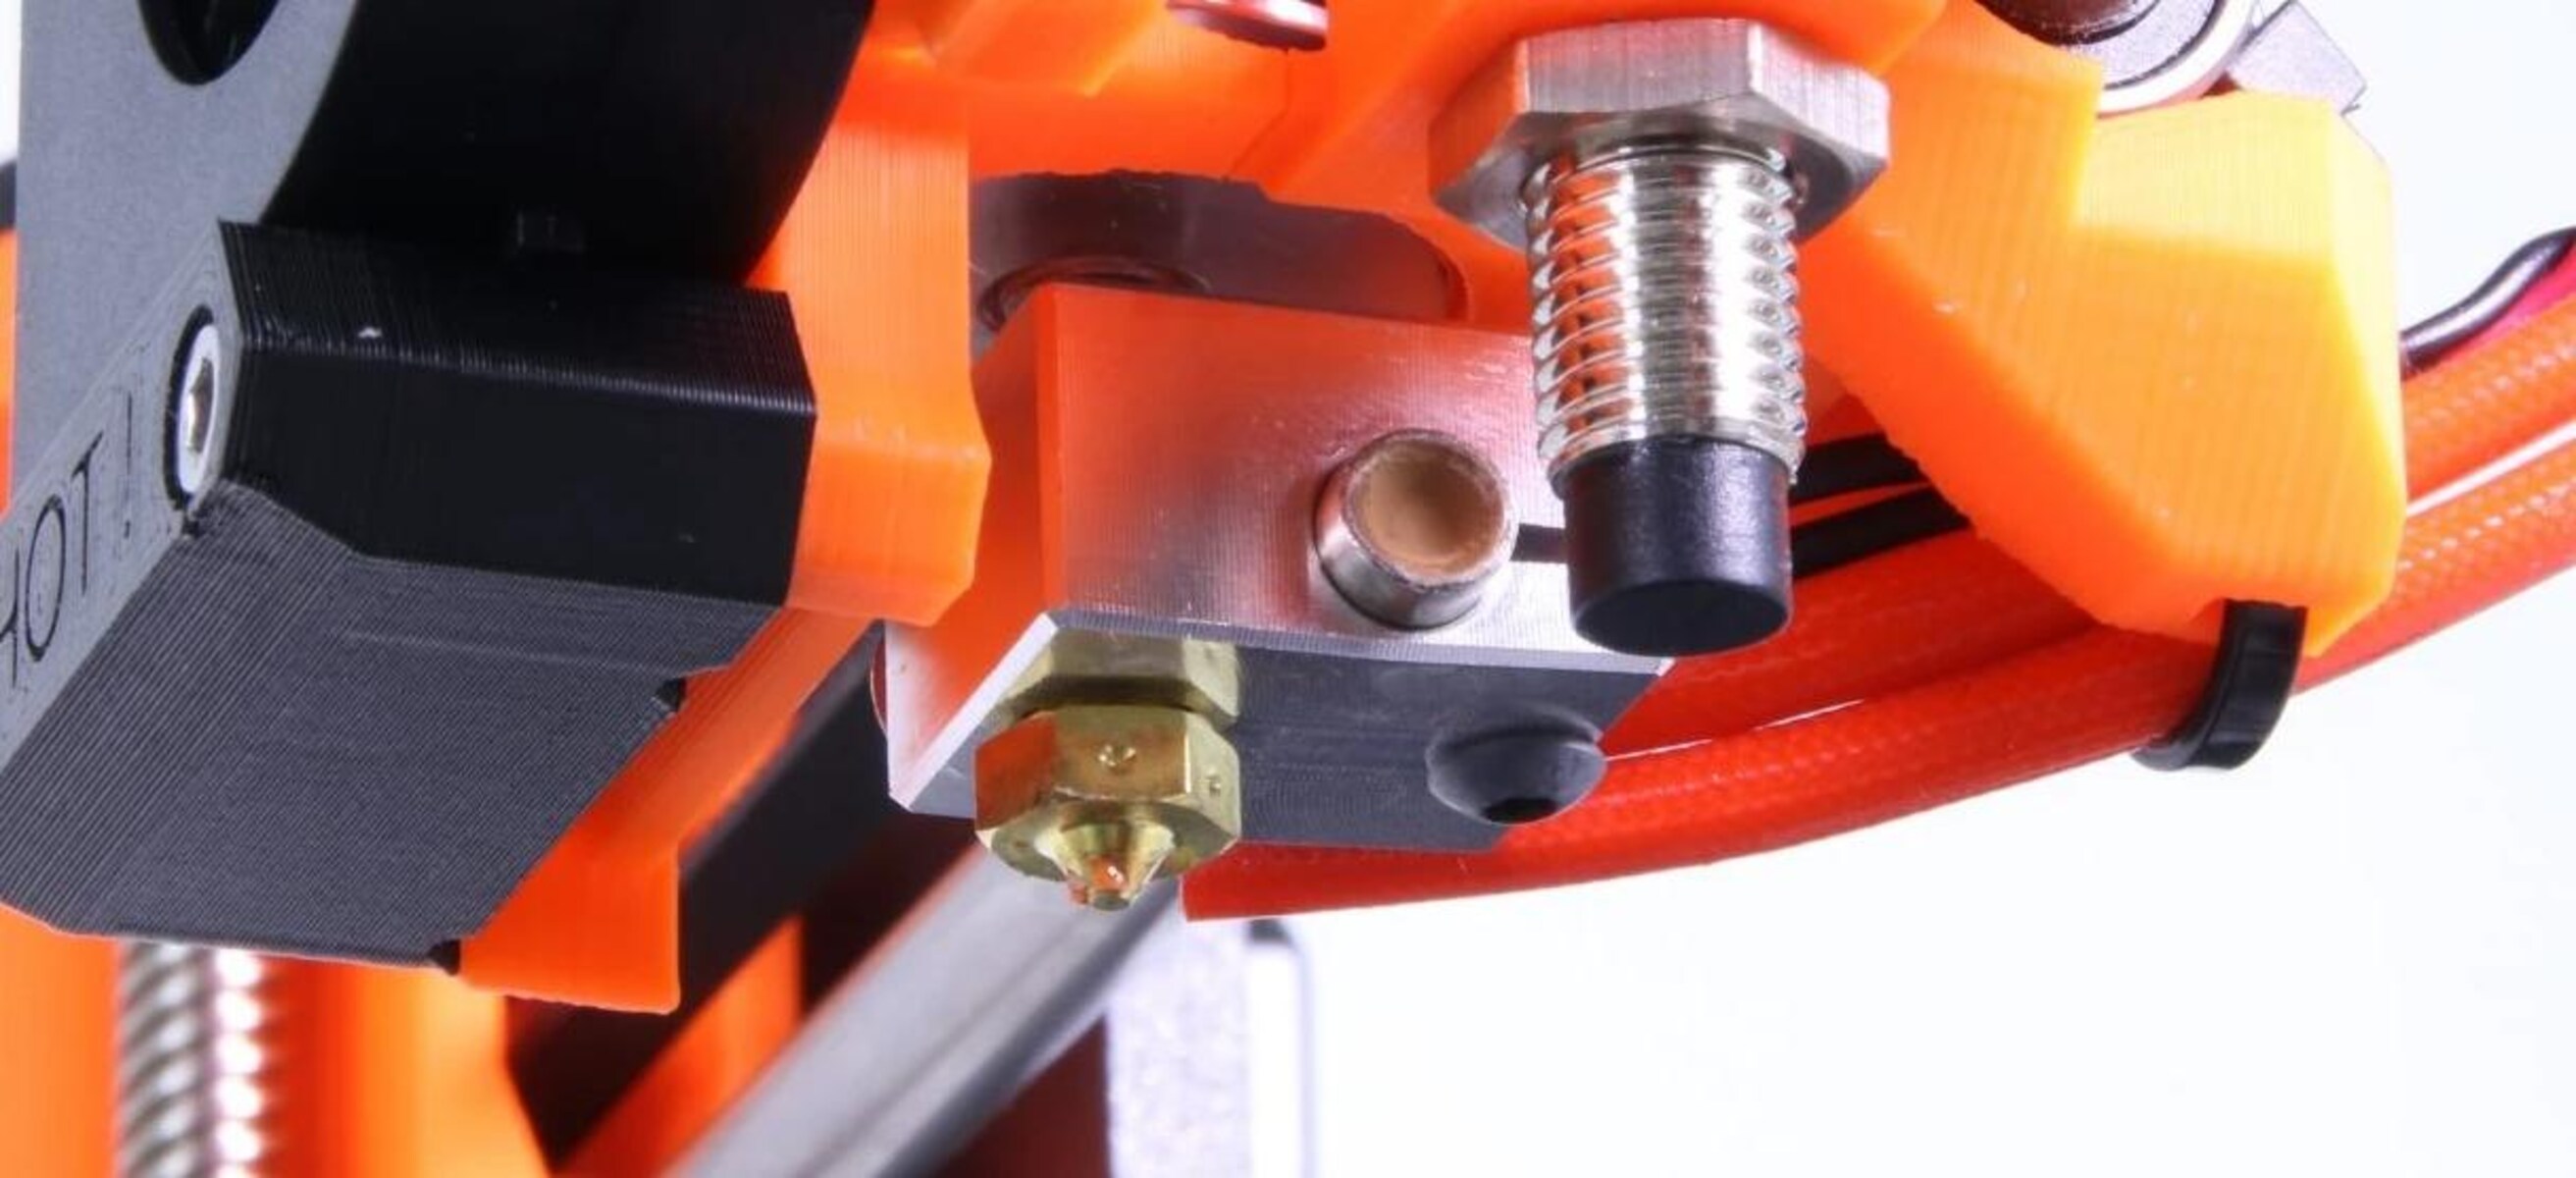
Checking and Cleaning Nozzles
Regularly checking and cleaning the nozzle of your 3D printer is crucial for maintaining optimal performance and print quality. Over time, the nozzle can become clogged with debris or filament residue, leading to issues like under-extrusion or uneven prints. Here’s how you can check and clean your printer’s nozzle:
- Heat the Nozzle: Ensure that your printer’s nozzle is heated to the recommended temperature for the filament you last used. This will soften any residue or clogs inside the nozzle.
- Remove Filament: Safely remove the filament from the printer, ensuring that the nozzle is clear of any material.
- Inspect the Nozzle: Visually inspect the nozzle for any visible debris or clogs. Use a magnifying glass if needed. Pay attention to the nozzle opening and the surrounding areas for any hardened or molten filament residue.
- Clean with a Needle or Nozzle Cleaning Tool: Gently insert a fine needle or a dedicated nozzle cleaning tool into the nozzle opening and carefully remove any obstructions. Be cautious not to scratch or damage the nozzle.
- Clean the Outside of the Nozzle: Use a soft cloth or cotton swab dipped in a cleaning solution to wipe the outside of the nozzle and remove any residue or buildup.
- Perform a “Cold Pull” or “Atomic Pull”: For more stubborn clogs, you can perform a “cold pull” or “atomic pull” method. Heat the nozzle to the recommended temperature, retract the filament slightly, and then quickly cool down the nozzle. This technique can help dislodge any leftover debris in the nozzle.
- Repeat if Necessary: If the nozzle is still not fully clean, repeat the cleaning process until it is completely clear.
Regular nozzle maintenance is crucial for preventing clogs, ensuring consistent filament flow, and improving print quality. It is recommended to check and clean the nozzle every few prints, especially if you notice any issues with extrusion or print quality.
Remember, each printer may have slightly different nozzle cleaning methods, so refer to your printer’s manual or manufacturer’s guidelines for specific instructions.
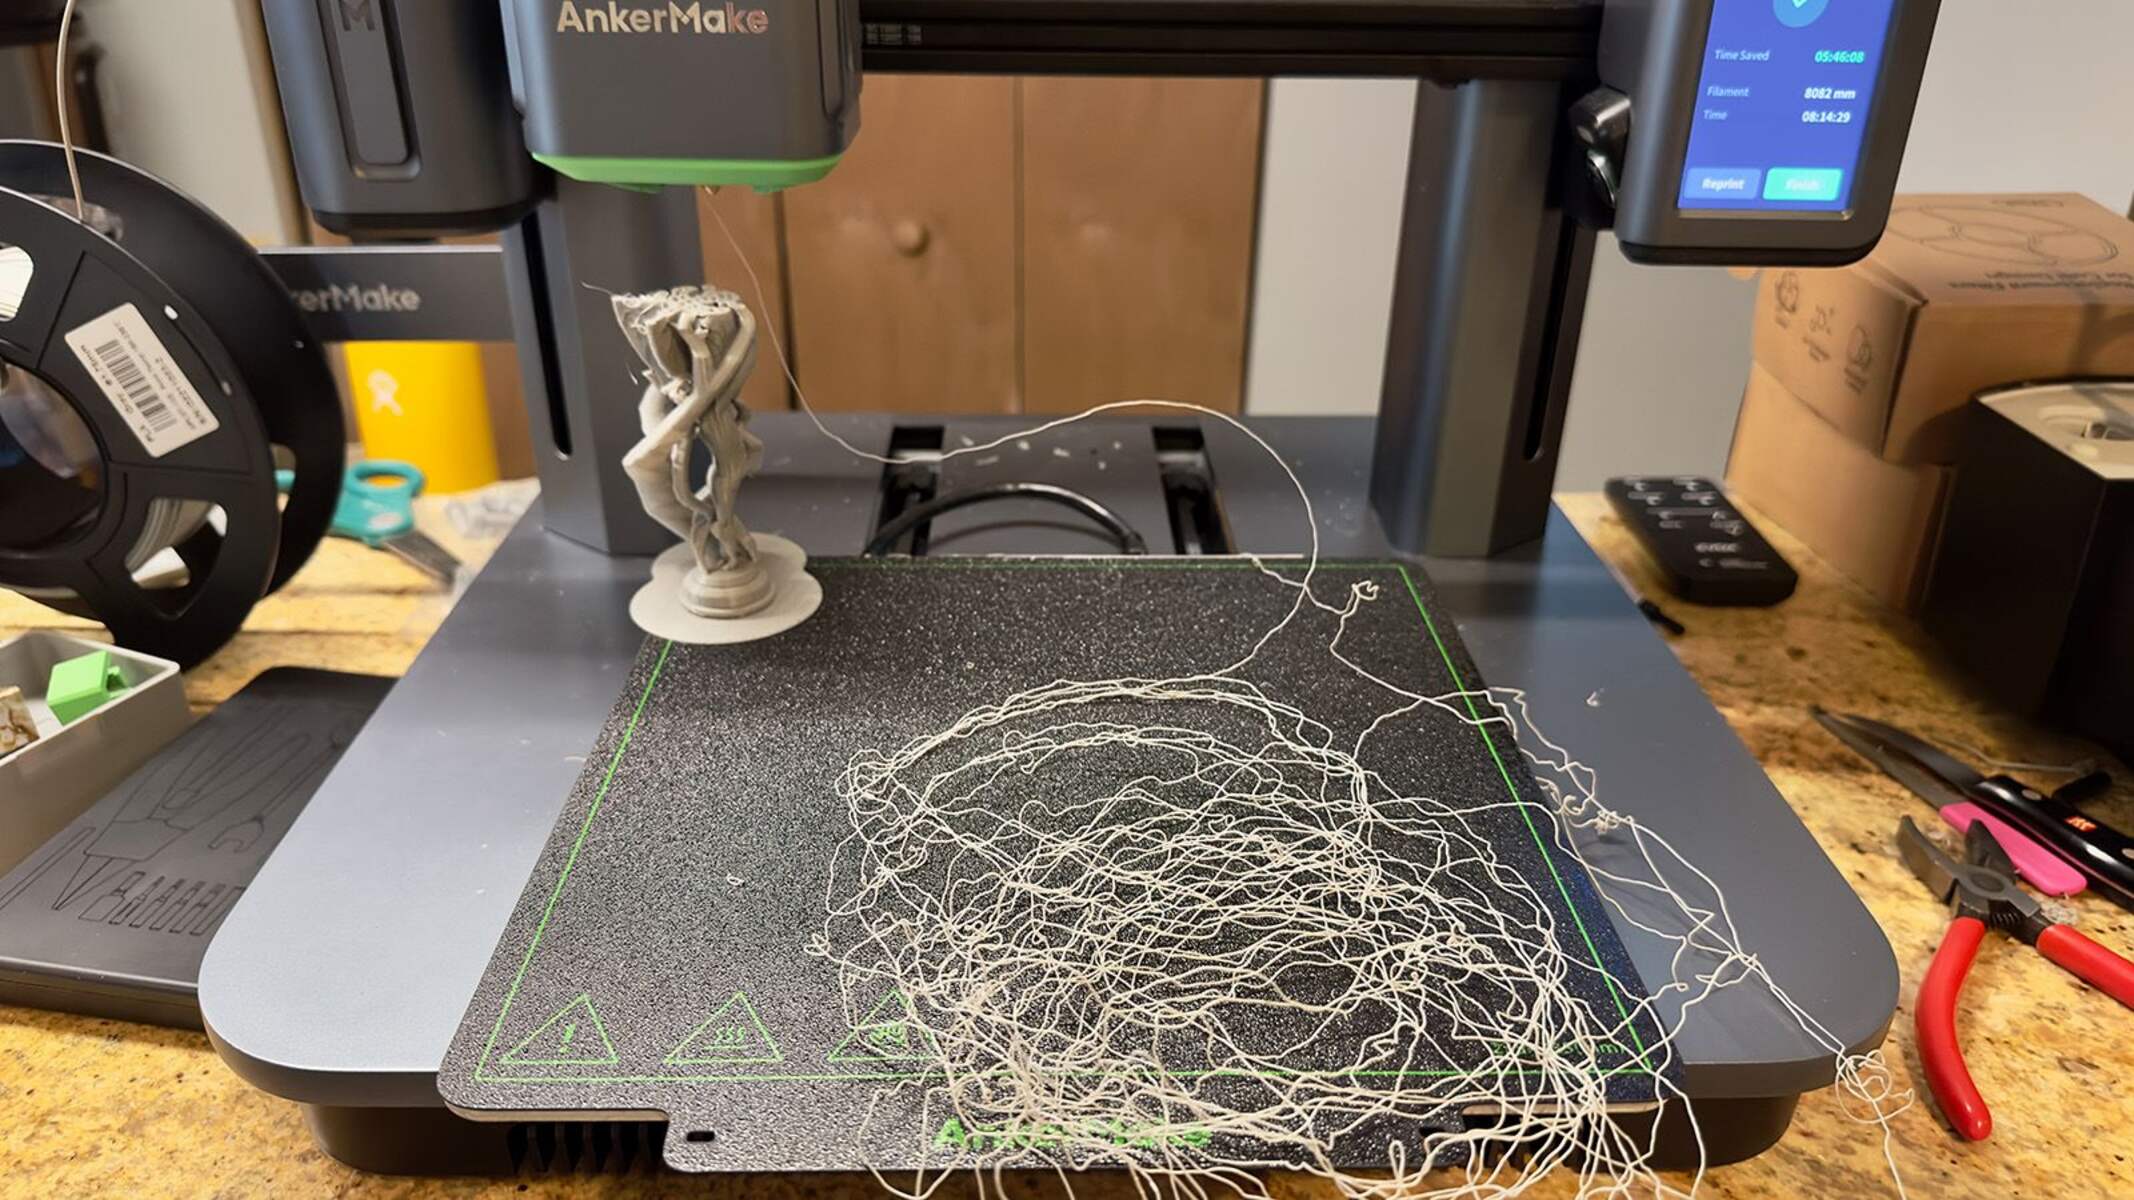
Troubleshooting Common Print Issues
Even with proper tuning and maintenance, occasional print issues may still arise. Understanding and troubleshooting these common problems are essential to achieve high-quality prints. Here are some of the most common print issues and potential solutions:
- Under-Extrusion: If your print has gaps or thin layers, it may indicate under-extrusion. Check the filament tension, nozzle clogs, and the extruder gear for any obstructions. Adjust the extrusion multiplier, increase the nozzle temperature, or check the filament diameter settings in the slicer software.
- Over-Extrusion: Over-extrusion results in bulging or uneven layers. Ensure the filament diameter is set correctly in the slicer software. Adjust the flow rate, lower the extrusion multiplier, or reduce the print temperature to mitigate over-extrusion.
- Stringing: Stringing occurs when thin strands of filament appear between different parts of the print. Check and adjust the retraction settings in your slicer software, lower the print temperature, or enable features like “coasting” to reduce stringing.
- Warping: Warping refers to the lifting or curling of the printed object’s corners or edges. Ensure that the printer’s heated bed is at the recommended temperature for the filament used. Use a suitable adhesive like glue stick, painter’s tape, or a heated bed adhesive to improve adhesion.
- Layer Shifting: Layer shifting happens when the printed layers are misaligned, resulting in a skewed object. Check the belt tension and make sure the pulleys are properly tightened. Verify that the stepper motor cables are securely connected. Adjust the acceleration and jerk settings in the printer’s firmware if needed.
- Excessive Noise or Vibrations: Unusual noises or excessive vibrations can indicate mechanical issues. Ensure that all screws and belts are properly tightened. Lubricate moving parts if necessary. Check for any loose parts or obstructions that may be causing the noise.
- Print Delamination: Delamination occurs when layers of the print fail to adhere properly to each other. Check the bed leveling, nozzle temperature, and print speed. Ensure the ambient temperature is within the recommended range for the filament being used. Consider adjusting the cooling fan speed to improve layer adhesion.
These are just a few examples of common print issues that you may encounter. Remember that troubleshooting often requires a process of elimination, adjusting one parameter at a time and retesting the print. Keeping a record of the settings you modify and their outcomes can help you pinpoint the source of the problem.
Additionally, online communities and forums dedicated to 3D printing can be valuable resources for troubleshooting specific issues and finding solutions.
Conclusion
Tuning your 3D printer is a continuous process that requires patience, experimentation, and a deep understanding of how different settings affect print quality. By following the steps outlined in this guide, you can optimize your printer’s performance and achieve exceptional results.
Start by choosing the right filament for your specific project, considering factors such as material, quality, and recommended settings. Leveling the printer bed ensures proper adhesion and prevents issues like warping and uneven prints.
Calibrating extrusion and adjusting print speed and layer height help fine-tune the printing process, ensuring accurate filament flow and balancing speed with quality. Temperature settings play a critical role, and fine-tuning them can prevent issues like under-extrusion or over-extrusion.
Regularly checking and cleaning the nozzle keeps it clear of debris and ensures consistent filament flow. Lastly, familiarize yourself with troubleshooting techniques to address common print issues that may arise.
Remember, 3D printing is a dynamic and evolving field, and there is always room for exploration and improvement. Keep experimenting, learning, and staying up-to-date with the latest developments in the 3D printing community.
Through dedication and continuous refinement, you will unlock the full potential of your 3D printer and achieve impressive prints that will bring your ideas to life.