What Is Jerk In 3D Printing
When it comes to 3D printing, precision and accuracy are key. One factor that significantly affects the print quality and smoothness of movements is jerk. Jerk refers to the sudden change in acceleration during the movement of the 3D printer’s extruder or printhead. It determines how quickly the printer changes direction or speed while printing. Understanding jerk and its impact on 3D printing is essential for achieving optimal print results.
In simpler terms, jerk is the rate at which the printer transitions from a stationary position to a moving state or vice versa. It influences the smoothness of the printer’s movements and can affect the overall print quality. If the jerk setting is too high, rapid changes in acceleration can cause vibrations and artifacts in the printed object’s surface. On the other hand, if the jerk setting is too low, the printer’s movements may appear sluggish and result in longer print times.
Controlling jerk is crucial in minimizing the negative effects of sudden changes in acceleration during printing. It helps eliminate issues such as ghosting, ringing, and overshooting of corners. By finding the optimal jerk setting, you can achieve smoother and more accurate prints with fewer visible imperfections.
Jerk settings can be adjusted within the 3D printing software or firmware. Most slicer software allows users to customize the jerk value based on their printer’s capabilities and specific needs. Typically, this setting is expressed in millimeters per second squared (mm/s²) or as a time duration in seconds for the extruder to reach maximum speed.
Finding the optimal jerk setting for your printer may require some trial and error. It’s recommended to start with a medium or default value and gradually adjust it to fine-tune the print quality. It’s important to note that the ideal jerk setting can vary depending on factors such as the printer model, type of filament, and specific print job requirements.
Different 3D printer models may have varying jerk capabilities and performance. Higher-end printers typically have more advanced control over jerk settings, allowing for smoother and more precise movements. However, even budget-friendly printers can achieve satisfactory results by carefully adjusting the jerk value.
Introduction
As 3D printing continues to gain popularity, enthusiasts and professionals are constantly seeking ways to improve the quality and efficiency of their prints. While factors such as layer resolution and print speed are often discussed, another important aspect that greatly impacts the output is the jerk setting.
Jerk, in the context of 3D printing, refers to the rate at which the printer’s extruder or printhead accelerates, decelerates, or changes direction. It determines how quickly the printer transitions from a stationary position to a moving state or vice versa. The jerk setting plays a significant role in the smoothness and precision of the printer’s movements during the printing process.
When the jerk setting is too high, the printer undergoes abrupt changes in acceleration, causing vibrations and resulting in visible defects on the printed object’s surface. These defects may appear as ringing, ghosting, or artifacts. On the other hand, if the jerk setting is too low, the printer’s movements can become sluggish, which may lead to longer print times and less efficient printing.
To achieve the best print quality, it is essential to find the optimal jerk setting for your specific printer and print job. This involves adjusting the jerk value within the 3D printing software or firmware. Most slicer software provides the flexibility to customize the jerk setting based on individual preferences and printer capabilities.
Finding the optimal jerk setting can be a trial-and-error process. It is recommended to start with a medium or default value and gradually adjust it while observing the print results. Careful adjustments can help eliminate common issues associated with jerk, such as ghosting and overshooting of corners, resulting in smoother and more precise prints.
It is worth noting that different 3D printer models may have varying jerk capabilities and performance. High-end printers often offer more advanced control over jerk settings, allowing for smoother and more accurate movements. However, even with budget-friendly printers, satisfactory results can be achieved by carefully fine-tuning the jerk value.
This article delves into the concept of jerk in 3D printing, its impact on print quality, and how to find the optimal jerk setting for your specific printer. By understanding and controlling jerk, you can enhance the overall printing experience and produce high-quality prints that meet your expectations.
Definition of Jerk
In the world of 3D printing, jerk refers to the rate at which the extruder or printhead accelerates, decelerates, or changes direction during the printing process. It is a fundamental parameter that affects the printer’s movements and determines how smoothly it transitions between different states.
The concept of jerk comes from physics, specifically the study of motion. In layman’s terms, jerk can be described as the change in acceleration over time. It represents the suddenness with which the printer accelerates or decelerates during its movements. In other words, jerk determines how quickly the printer changes speed or direction while printing an object.
Jerk is measured in units of acceleration over time, typically expressed as millimeters per second cubed (mm/s³) or as a time duration in seconds for the extruder to reach maximum speed. It is a critical parameter that affects the printer’s performance, print quality, and overall efficiency.
When the jerk setting is too high, the printer experiences rapid changes in acceleration, causing sudden shifts in speed and direction. This can lead to vibrations and instability in the printer’s movements, resulting in visible imperfections like ringing or ghosting on the printed object.
On the other hand, if the jerk setting is too low, the printer’s movements may become slow and sluggish. This can increase print times, reduce efficiency, and potentially result in under-extrusion, where the printer fails to deposit enough filament, leading to weak and low-quality prints.
Balancing the jerk setting is crucial to achieving smooth and precise movements during the printing process. By finding the optimal jerk value for your specific printer and print job, you can minimize issues like ghosting, ringing, and other motion-related artifacts, resulting in higher print quality and better overall performance.
Understanding the concept of jerk and its impact on 3D printing is essential for troubleshooting any motion-related issues and fine-tuning the printer’s performance. By optimizing the jerk setting, you can unlock the full potential of your 3D printer and unleash your creativity with high-quality prints.
How Jerk Affects 3D Printing
Jerk plays a significant role in the overall quality of 3D prints. It directly impacts the smoothness, accuracy, and speed of the printer’s movements during the printing process. Understanding how jerk affects 3D printing is crucial for achieving optimal print results.
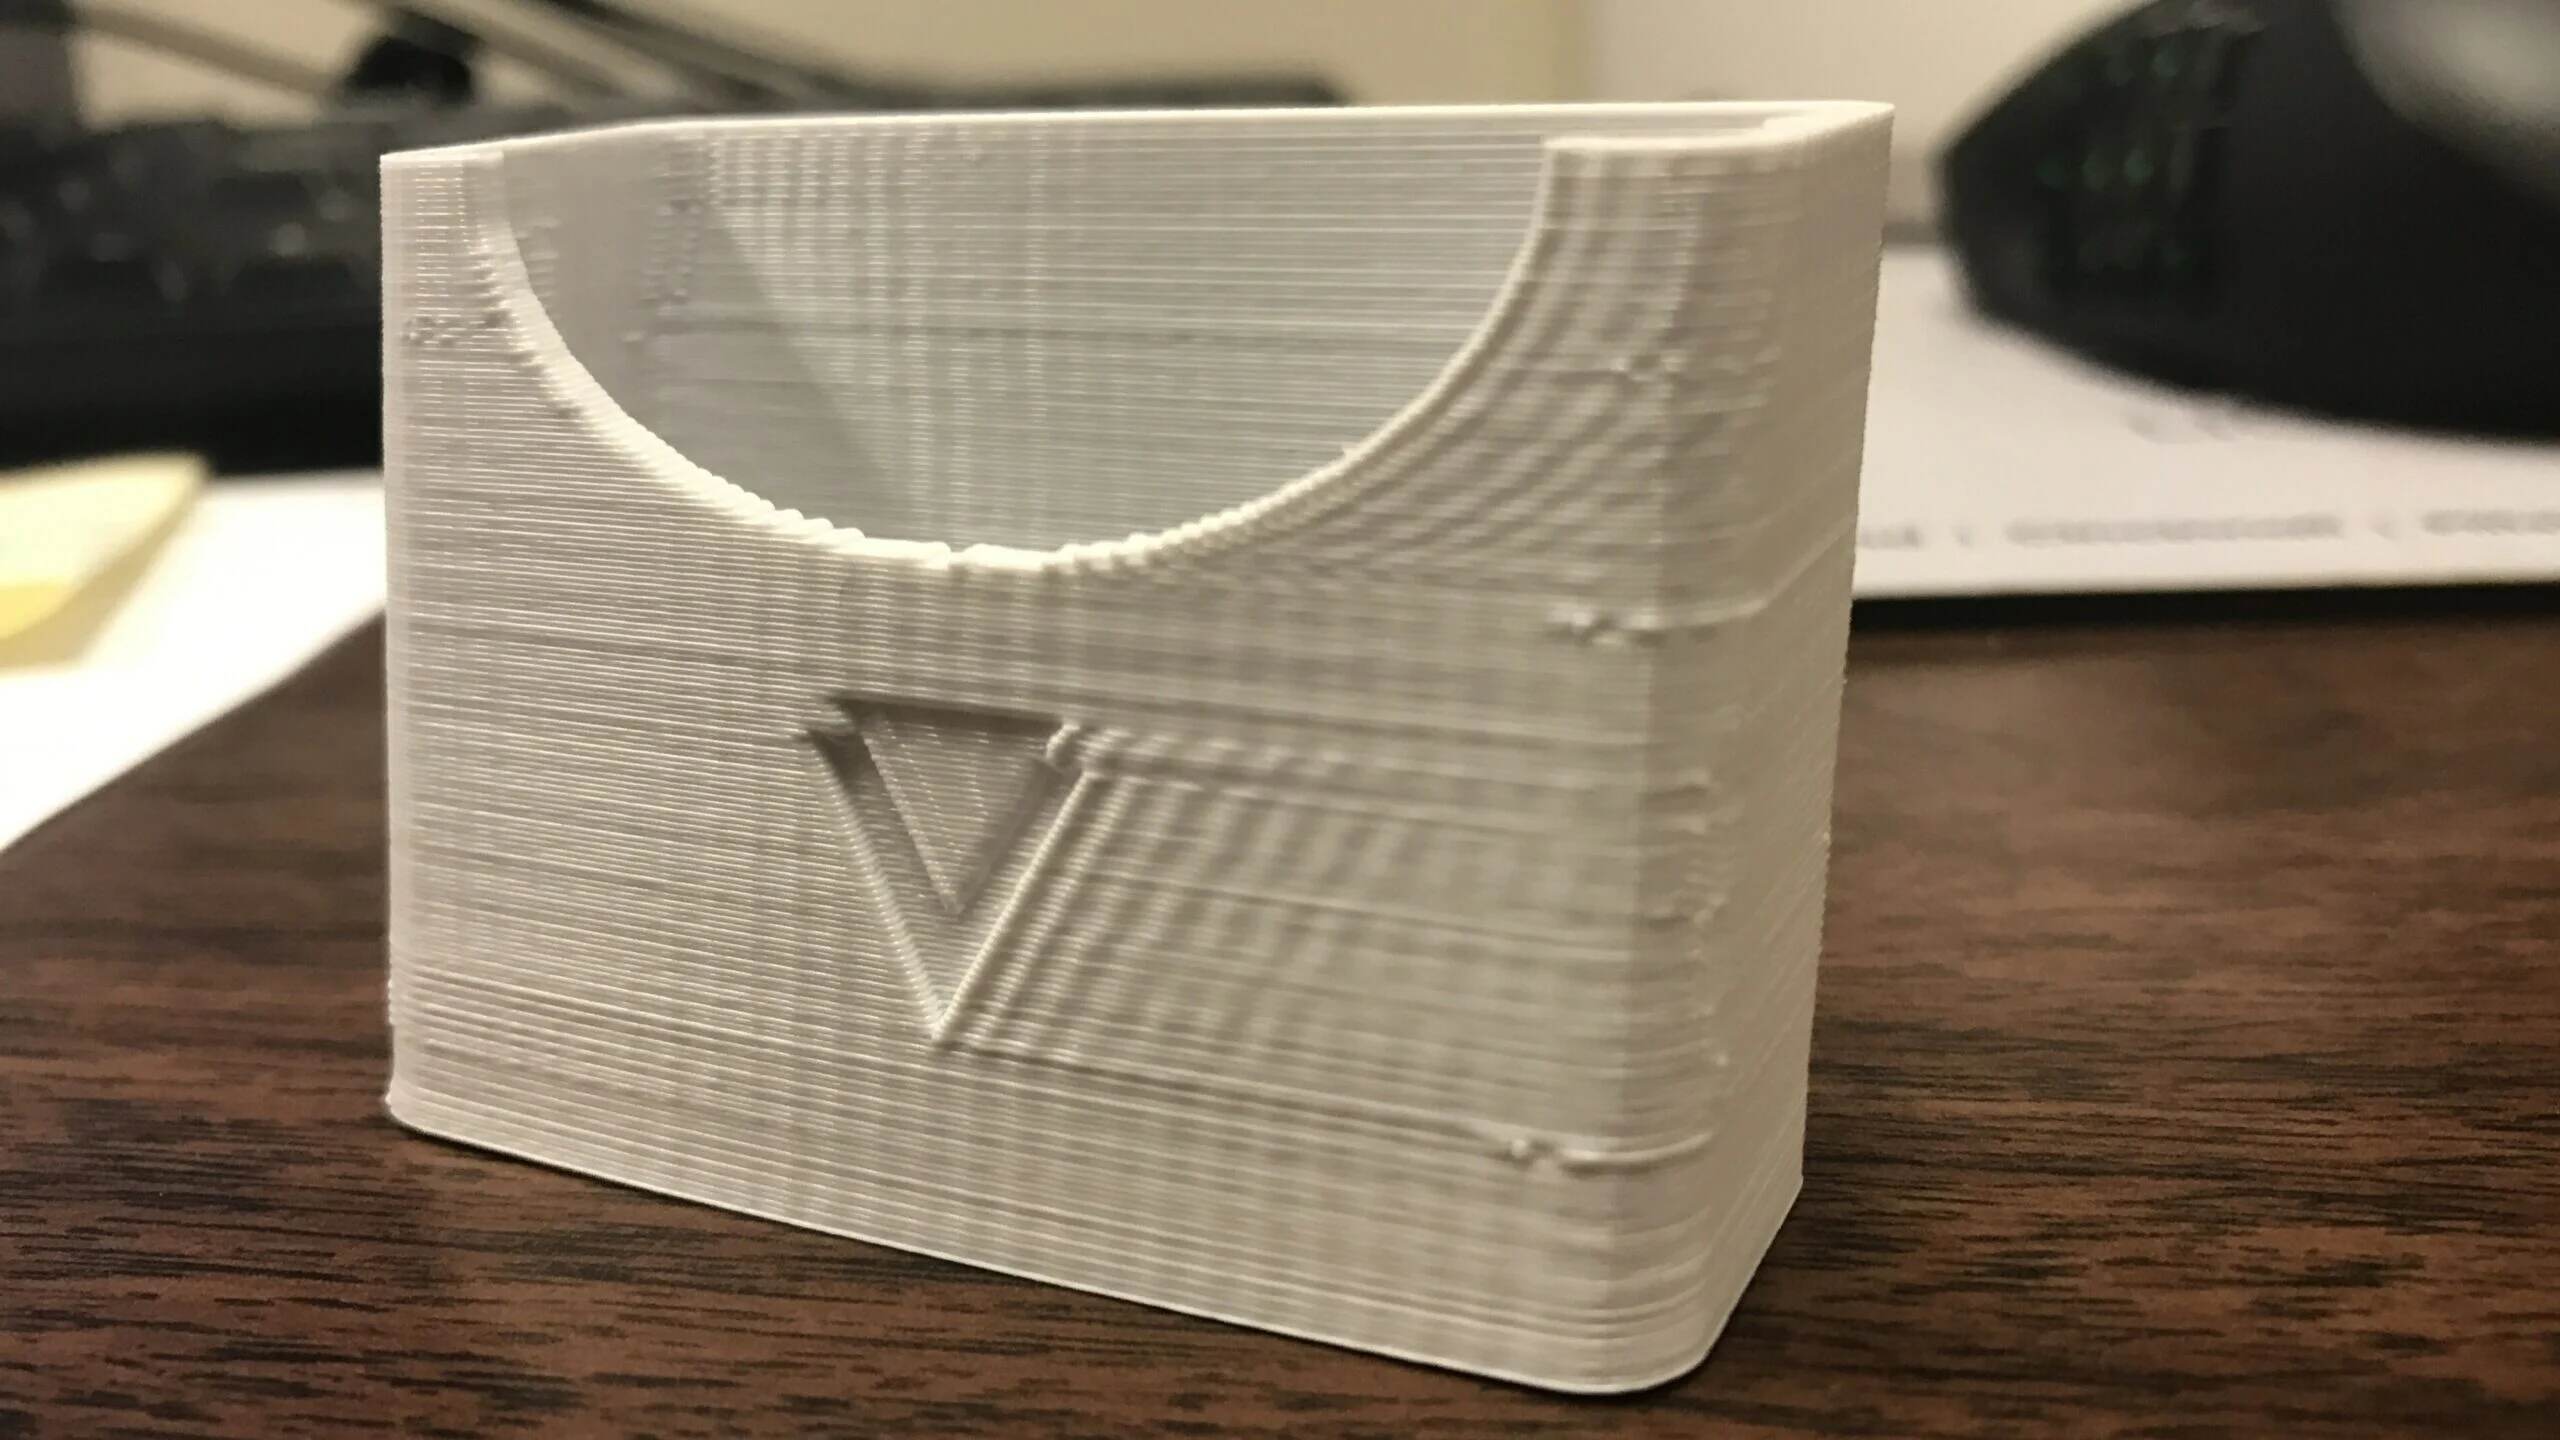
One of the main ways jerk impacts 3D printing is through the appearance of artifacts on the printed object’s surface. When the jerk setting is too high, rapid changes in acceleration can cause vibrations that result in imperfections such as ringing or ghosting. These artifacts can be seen as wavy or fuzzy lines around the corners and edges of the printed object. By fine-tuning the jerk setting, these artifacts can be minimized, resulting in cleaner and more detailed prints.
Jerk also affects the printer’s ability to accurately reproduce intricate details. High jerk values can lead to overshooting or undershooting of corners, resulting in rounded or jagged edges instead of sharp corners. Lowering the jerk setting can help mitigate these issues and ensure that the printer accurately follows the design specifications, resulting in precise and well-defined features on the print.
Print speed is another aspect influenced by jerk. If the jerk setting is too high, sudden changes in acceleration can cause the extruder to move too quickly, leading to filament slippage, under-extrusion, or misaligned layers. On the other hand, if the jerk value is set too low, the printer’s movements may become sluggish, resulting in longer print times. Finding the right balance of jerk is crucial to achieving faster print speeds without compromising the print quality.
Moreover, jerk affects the overall stability of the printer. High jerk settings can introduce additional mechanical stress on the printer’s components, potentially leading to wear and tear over time. It is important to consider the capabilities and limitations of your specific printer and adjust the jerk setting accordingly to maintain smooth and reliable operation.
By understanding and optimizing the jerk setting, you can achieve exceptional print quality, improve the accuracy of intricate details, minimize artifacts, and enhance the overall stability and efficiency of your 3D prints. It is a critical parameter to consider when fine-tuning your printer settings for the best possible results.
Jerk Settings in 3D Printing Software
To fine-tune the jerk setting in 3D printing, it is essential to understand how to access and modify this parameter within the 3D printing software or firmware. Most slicer software provides users with the flexibility to adjust the jerk value based on their specific printer’s capabilities and requirements.
Generally, the jerk setting can be found in the printer settings or advanced options of the slicing software. The exact location and terminology may vary depending on the software you are using. It is recommended to consult the software’s documentation or user guide for detailed instructions on accessing and modifying the jerk setting.
In some software, the jerk setting might be labeled as “Jerk” or “Max Jerk,” while others may refer to it as “Acceleration” or “Print Head Speed.” Regardless of the terminology, the concept revolves around controlling the printer’s acceleration and deceleration rates during movements.
When adjusting the jerk setting, it is important to strike a balance between print quality and speed. Higher jerk values can enable faster print speeds but may lead to artifacts and reduced accuracy. Lower jerk values, on the other hand, may result in more precise movements but slower overall print times. The optimal value depends on the specific printer model, filament type, and desired print quality.
It is advisable to start with the default or recommended jerk setting provided by the manufacturer or the slicer software. From there, you can experiment with different values to find the optimal jerk setting for your specific printer and print job. It is recommended to make small incremental changes to the jerk value and evaluate the print results after each adjustment.
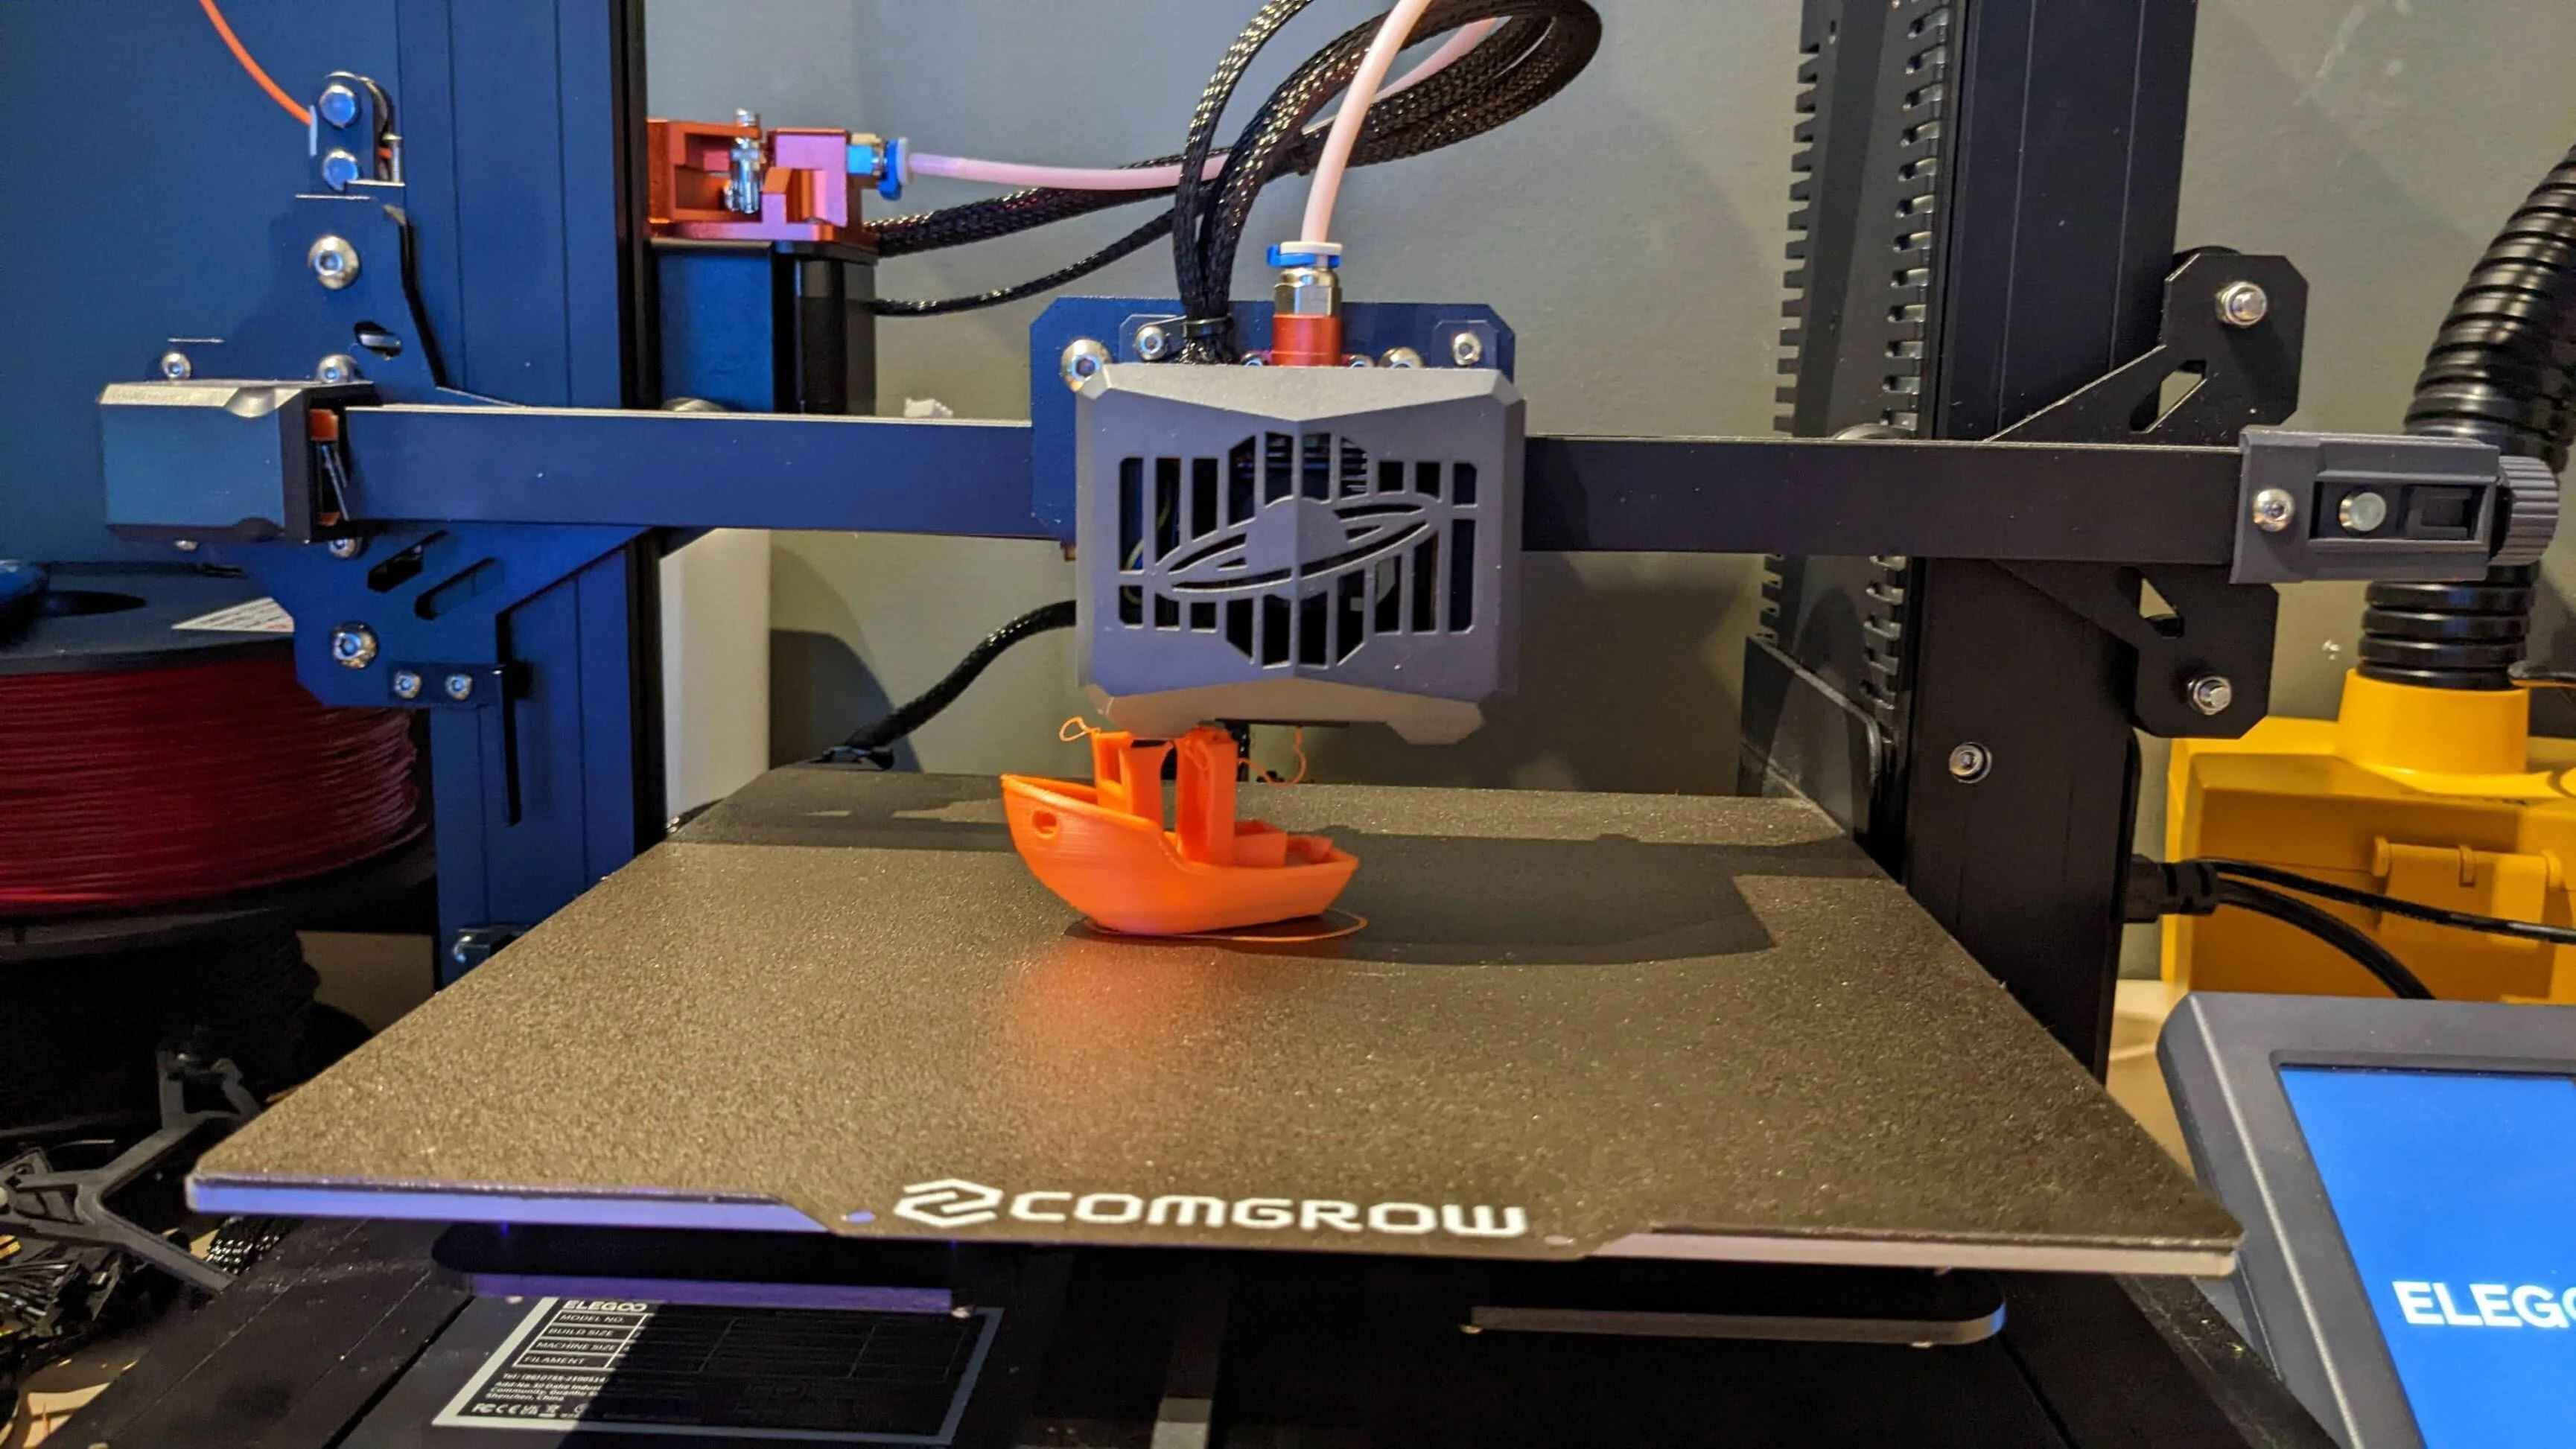
Remember that finding the perfect jerk setting often requires some trial and error. It is recommended to print a test object or calibration model that includes various types of movements, such as corners, circles, and straight lines. This will allow you to observe the effects of different jerk settings and assess the print quality, accuracy, and overall performance of your printer.
By understanding how to access and modify the jerk setting in your 3D printing software, you can gain greater control over the printer’s movements and achieve the desired balance between print quality and speed. Experimentation and fine-tuning of the jerk value will eventually lead to optimal results, producing high-quality prints with smooth, accurate, and artifact-free surfaces.
Finding the Optimal Jerk Setting
Finding the optimal jerk setting for your 3D printer involves a process of experimentation and fine-tuning. It requires adjusting the jerk value and assessing the print results to achieve the desired balance between print quality, speed, and overall performance.
To begin, start with the default or recommended jerk setting provided by the printer manufacturer or the slicing software. This value is typically a safe starting point and can provide a baseline for your adjustments. From there, you can make small incremental changes to the jerk value and evaluate the print results after each adjustment.
A useful approach is to print a test object or calibration model that includes different types of movements, such as corners, circles, and straight lines. This will allow you to observe how different jerk settings affect the print quality, accuracy, and overall performance of your printer.
Start by increasing the jerk value slightly and observe any changes in print quality. Look for signs of artifacts like ringing or ghosting on the printed object’s surface. If the prints show improved speed but suffer from visible imperfections, such as wavy lines or rounded corners, it indicates that the jerk setting is too high.
Conversely, if the jerk value is set too low, the printer’s movements may become sluggish, resulting in longer print times. Additionally, under-extrusion or misaligned layers may occur due to slow acceleration and deceleration rates. If you notice these issues, try increasing the jerk value gradually until you find a balance between print speed and quality.
As you make adjustments to the jerk setting, pay close attention to the print results and look for any improvements or issues. Remember that finding the optimal jerk setting is a iterative process that requires patience and testing. It is recommended to make small adjustments to the jerk value and print multiple test objects to evaluate the impact of each change.
Factors such as the printer model, filament type, and specific print job requirements can influence the ideal jerk setting. It’s important to take these factors into consideration and fine-tune the jerk value accordingly. Keep in mind that the optimal jerk setting may vary between different printers and even between different prints on the same printer.
By actively experimenting and fine-tuning the jerk setting, you can achieve smoother, more precise prints. Finding the optimal jerk value helps eliminate artifacts, improve print quality, and enhance the overall performance and efficiency of your 3D printer.
Jerk in Different 3D Printer Models
Jerk capabilities can vary among different 3D printer models. Higher-end printers often offer more advanced control over jerk settings, allowing for smoother and more precise movements. However, even budget-friendly 3D printers can achieve satisfactory results with careful adjustment of the jerk value.
The typical range of jerk values varies from printer to printer. Some printers may have more limited jerk ranges due to their mechanical design or firmware limitations, while others may have a wider range of adjustability. It is important to consult your printer’s documentation or manufacturer’s guidelines to understand the jerk capabilities of your specific model.
High-quality 3D printers that are specifically engineered for precision and accuracy may have more sophisticated motion systems. These printers typically have the ability to maintain higher speeds while still ensuring smooth movements. They can handle higher jerk values, allowing for faster print speeds without compromising on the print quality. These advanced printers are well-suited for intricate models and complex designs that require precise movements.
On the other hand, lower-priced or budget-friendly 3D printers may have more basic motion systems with limited jerk capabilities. They may have slower accelerations and decelerations compared to high-end models. This may result in lower maximum jerk values and potentially slower print speeds. However, with careful adjustment of the jerk setting, these printers can still produce satisfactory prints with reasonable quality.
It is worth noting that the performance of a 3D printer is influenced by various factors, including not just the jerk setting but also the overall mechanical design, firmware, software, and even the type of filament being used. Each printer model has its own unique characteristics, and understanding these nuances is crucial for optimizing print quality and performance.
Regardless of the printer model, achieving the optimal jerk setting is a process of experimentation and fine-tuning. By progressively adjusting the jerk value and observing the print results, you can determine the sweet spot that balances speed and quality for your specific printer. Remember that finding the right jerk setting may require some trial and error, and it’s essential to be patient and methodical in your approach.
With proper calibration and adjustments, even lower-priced 3D printers can deliver impressive results. By understanding the jerk capabilities of your printer and strategically adjusting the jerk value, you can maximize the performance and produce high-quality prints that meet your standards, regardless of the printer model you are using.
Conclusion
Jerk is a crucial parameter that significantly affects the quality, accuracy, and efficiency of 3D printing. By controlling the rate of acceleration and deceleration during printer movements, the jerk setting plays a vital role in minimizing artifacts, achieving smoother prints, and improving overall performance.
Understanding the concept of jerk and its impact on 3D printing allows you to fine-tune this parameter to meet your specific printer’s capabilities and print job requirements. By striking the right balance, you can achieve faster print speeds without compromising on print quality, resulting in high-quality prints with smooth surfaces and precise details.
Finding the optimal jerk setting often involves experimentation and careful adjustment. Starting with default or recommended values and gradually making small changes while observing the print results allows you to determine the sweet spot that provides the best balance of speed and quality for your specific printer model and filament.
It’s worth noting that different 3D printer models may have varying jerk capabilities, with high-end printers offering more advanced control and smoother movements. However, even budget-friendly printers can deliver satisfactory results by understanding their jerk limitations and making appropriate adjustments.
In conclusion, by understanding and optimizing the jerk setting, you can unlock the full potential of your 3D printer, produce high-quality prints, and enhance the overall printing experience. Experimentation, patience, and a systematic approach are key to finding the optimal jerk value that caters to your specific needs and delivers exceptional print results.