Introduction
Dealing with a stuck filament in your 3D printer can be a frustrating experience. It can halt your printing projects and potentially damage your printer if not addressed promptly and correctly. However, with the right knowledge and tools, you can easily remove the stuck filament and get your printer back up and running.
In this guide, we will walk you through the step-by-step process of removing filament if it’s stuck in a 3D printer. We will cover everything from heating the nozzle to clearing the filament path and cleaning the nozzle. Additionally, we will provide troubleshooting tips to address common issues that may arise during the filament removal process.
Before we dive into the steps, it’s important to note that the specific methods may vary depending on the type and model of your 3D printer. Therefore, always consult your printer’s user manual or manufacturer’s guidelines for any specific instructions or precautions.
Now, let’s get started and learn how to effectively and safely remove a stuck filament from your 3D printer!
Understanding the Problem
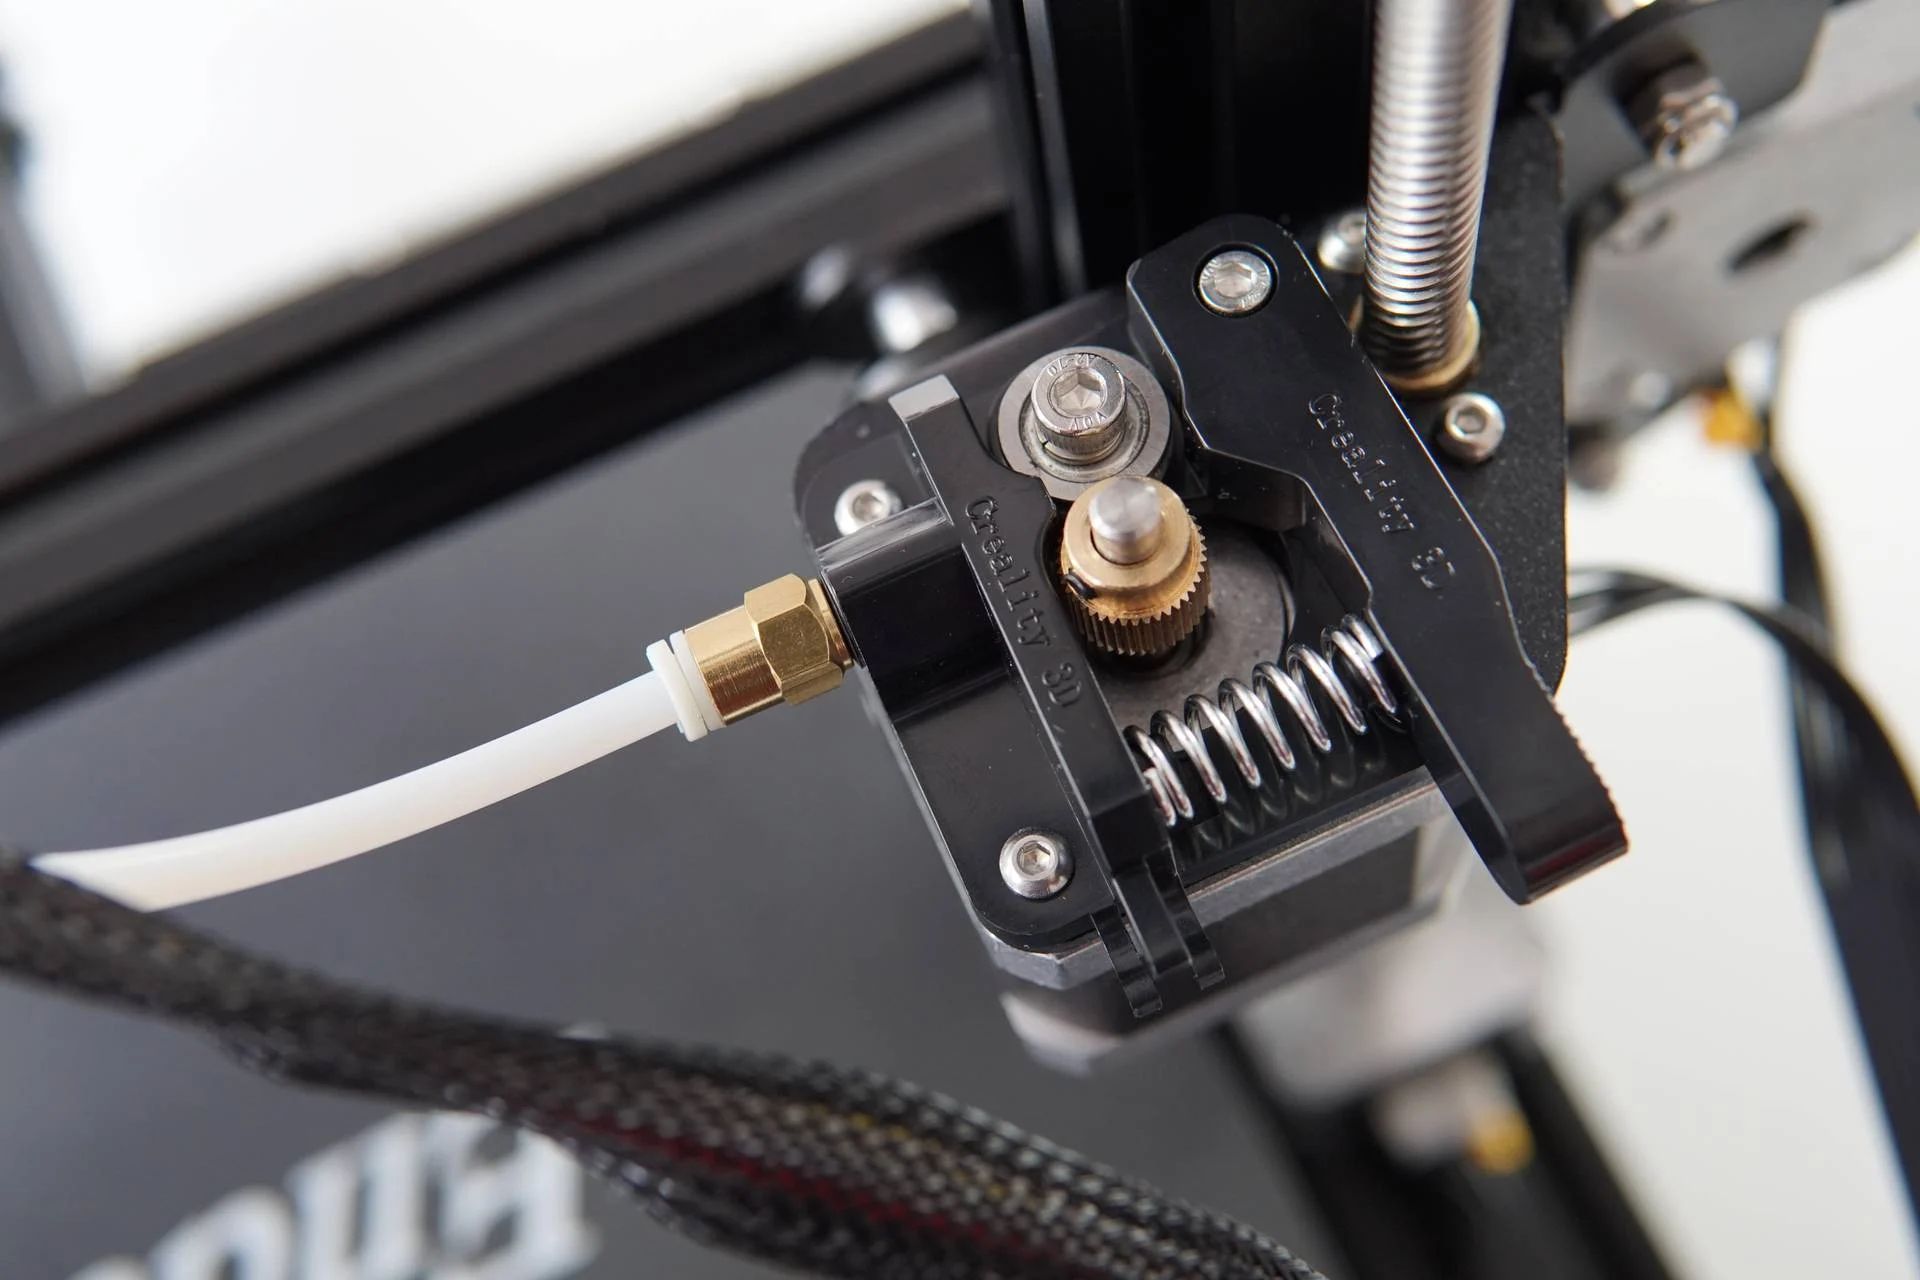
When filament gets stuck in a 3D printer, it typically occurs in one of two places: the extruder or the nozzle. The extruder is responsible for pushing the filament into the hot end, while the nozzle is where the filament is melted and deposited onto the build plate. Understanding the causes of filament jams in these areas is crucial in effectively resolving the issue.
One common cause of a filament jam in the extruder is improper filament loading. If the filament is not inserted correctly or if there are any obstructions in the filament path, it can lead to a blockage. Additionally, a worn-out or faulty extruder gear can struggle to grip the filament properly, causing it to slip or jam.
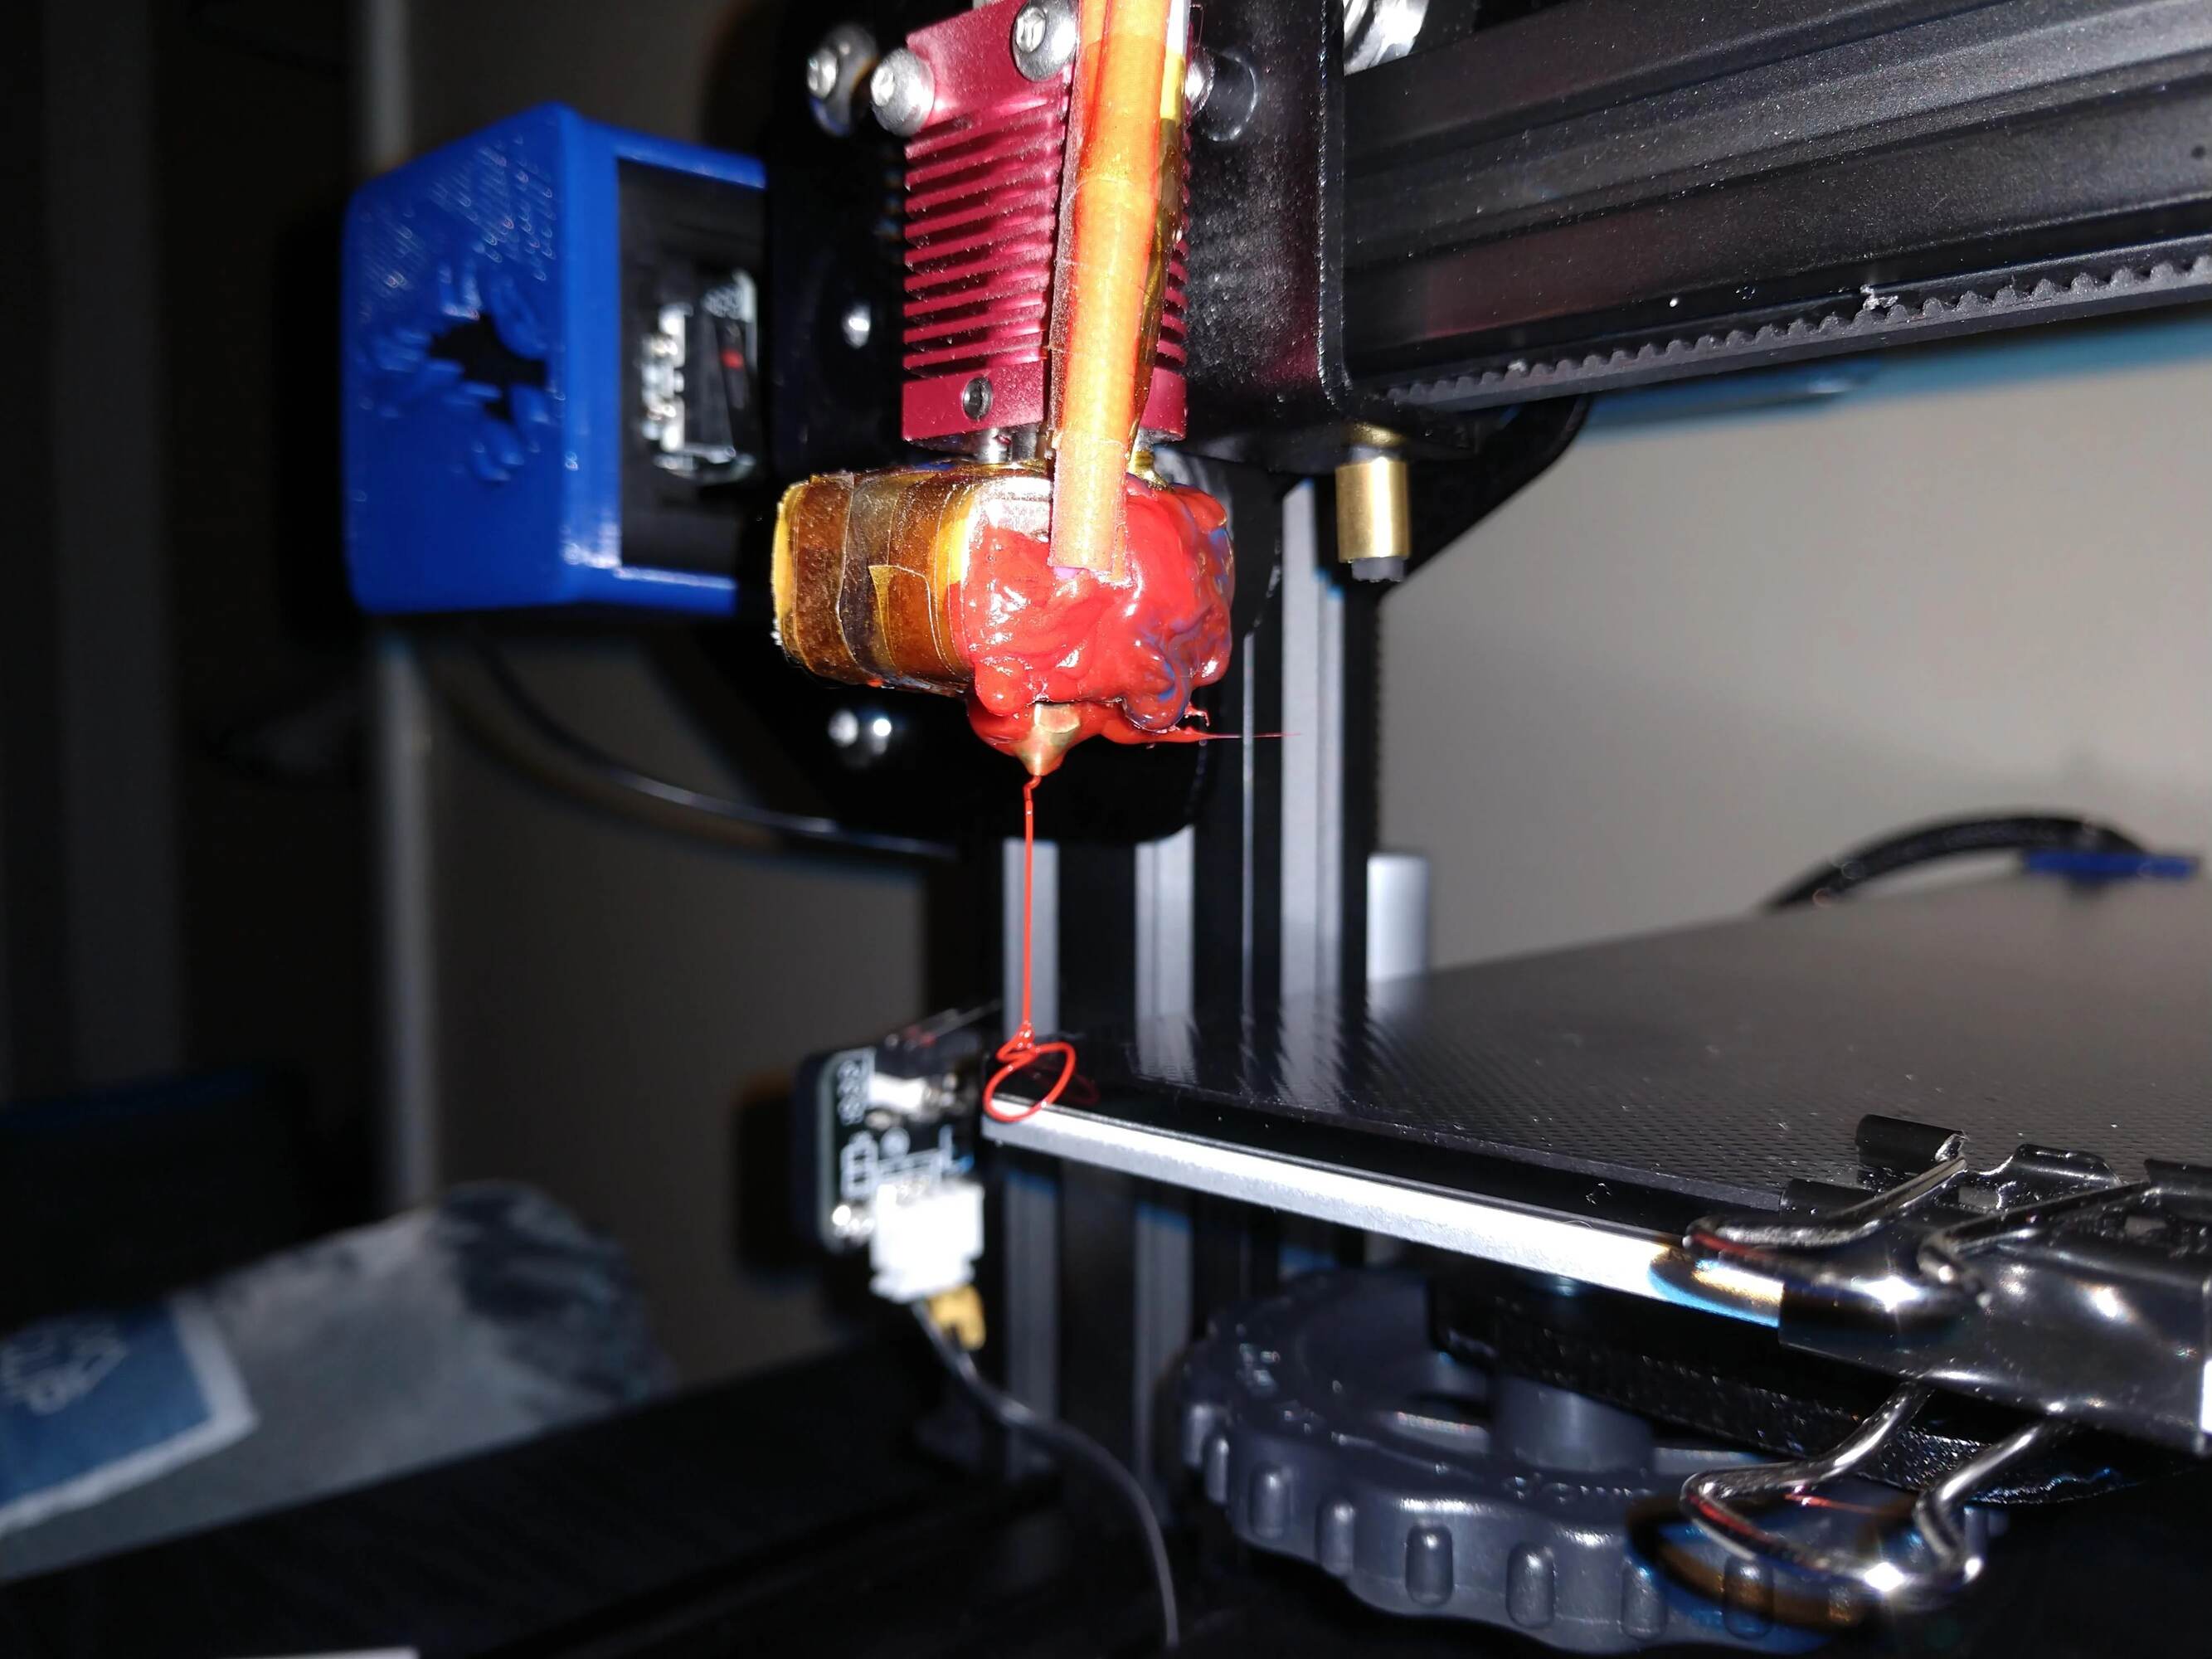
On the other hand, a clogged or partially blocked nozzle is often the result of accumulated debris or burnt filament. Over time, residue from previous prints or impurities in the filament can build up inside the nozzle, restricting the smooth flow of filament. This can lead to under-extrusion or complete blockage, hindering the printing process.
Not only can a stuck filament impact your current print, but it can also lead to detrimental effects on your 3D printer. Excessive force applied to remove the filament can potentially damage the extruder, Bowden tube, or the hot end assembly. It is essential to approach the problem with caution and follow the correct procedures to avoid any further damage.
By understanding the common causes and potential consequences of filament jams, you can take appropriate steps to prevent them and confidently address the issue when it arises. In the following sections, we will outline the tools and materials you will need and guide you through the process of removing a stuck filament from your 3D printer.
Tools and Materials Needed
Before you start removing a stuck filament from your 3D printer, there are a few essential tools and materials you should have on hand:
- Heat-resistant gloves: These will protect your hands from accidental burns and ensure your safety while working with the hot components of the printer.
- Needle nose pliers or tweezers: These tools will help you grip and remove the stuck filament from the extruder or the nozzle.
- Allen wrenches or screwdrivers: Depending on your printer’s design, you may need these tools to access and disassemble certain components for easier filament removal.
- Isopropyl alcohol: This is useful for cleaning the nozzle and removing any residue or debris that may be causing the blockage.
- Lint-free cloth or paper towels: These will come in handy for wiping down and cleaning various parts of the printer during the filament removal process.
- Wire cutters: If your filament is stuck in the Bowden tube, wire cutters may be necessary to cut the filament so you can remove it.
- Replacement nozzle and/or Bowden tube (optional): In some cases, the filament may be difficult to remove due to a damaged or worn-out nozzle or Bowden tube. Having replacements on hand can be helpful if you need to replace any components.
It is important to note that the specific tools and materials required may vary depending on your 3D printer model and manufacturer’s recommendations. Always consult your printer’s user manual or manufacturer’s guidelines for any specific tools or materials they recommend for filament removal.
By having these tools and materials ready, you’ll be well-equipped to tackle a stuck filament in your 3D printer. With the next section, we’ll dive into the step-by-step process of removing the filament from the extruder.
Step 1: Heating the Nozzle
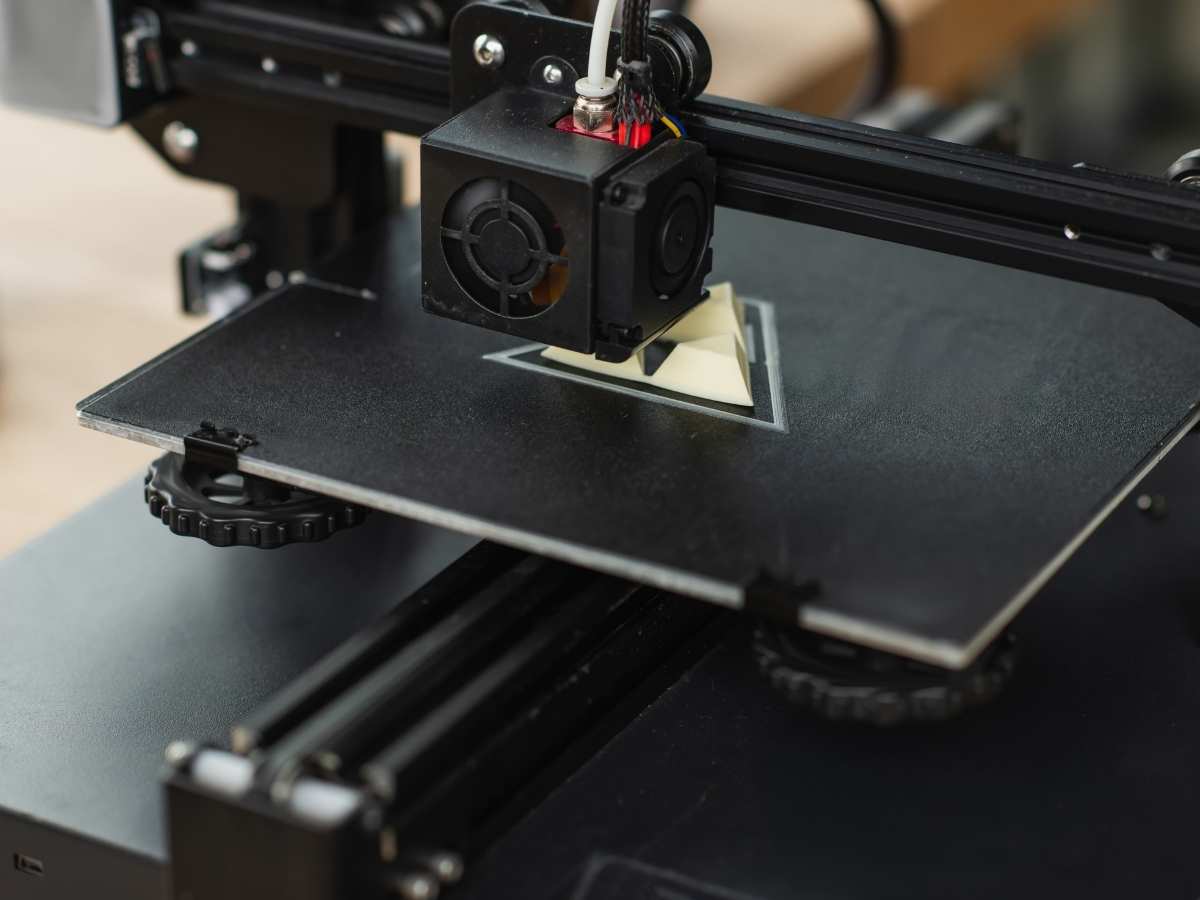
The first step in removing a stuck filament from your 3D printer is to heat the nozzle. Heating up the nozzle will soften the filament, making it easier to remove.
Here’s how you can heat the nozzle:
- Ensure that your 3D printer is turned on and properly connected.
- Access the printer’s control panel or interface and navigate to the “Preheat” or “Heat” option.
- Select the appropriate temperature for the type of filament you are using. Refer to the filament manufacturer’s guidelines for the recommended temperatures.
- Allow the nozzle to heat up to the desired temperature. This typically takes a few minutes, depending on your printer.
- During the heating process, it is recommended to wear heat-resistant gloves to protect your hands from accidental burns.
Once the nozzle has reached the desired temperature, you are ready to proceed to the next step of removing the filament from the extruder.
Heating the nozzle is an important initial step as it softens the filament and makes it easier to work with. However, always exercise caution when working with hot components to avoid any injuries.
In the following steps, we will guide you through the process of removing the filament from the extruder, clearing the filament path, and addressing any potential issues that may arise along the way.
Step 2: Removing Filament From the Extruder
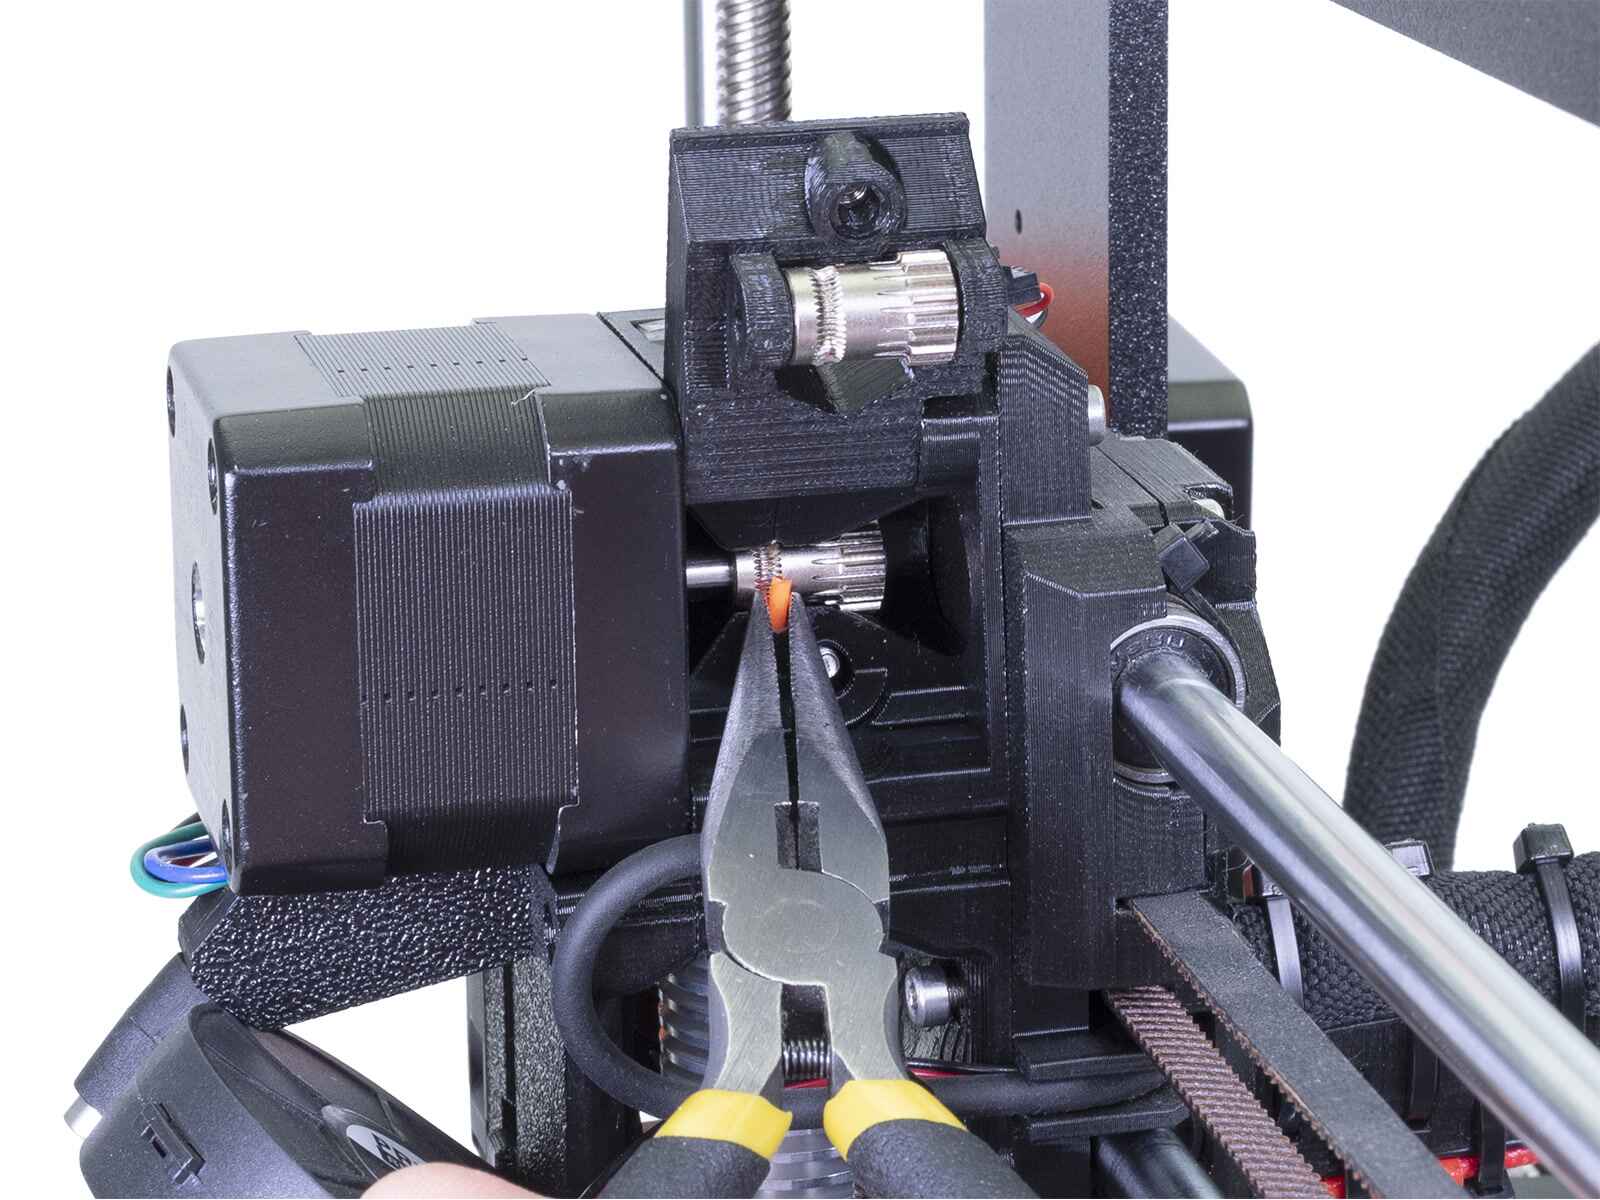
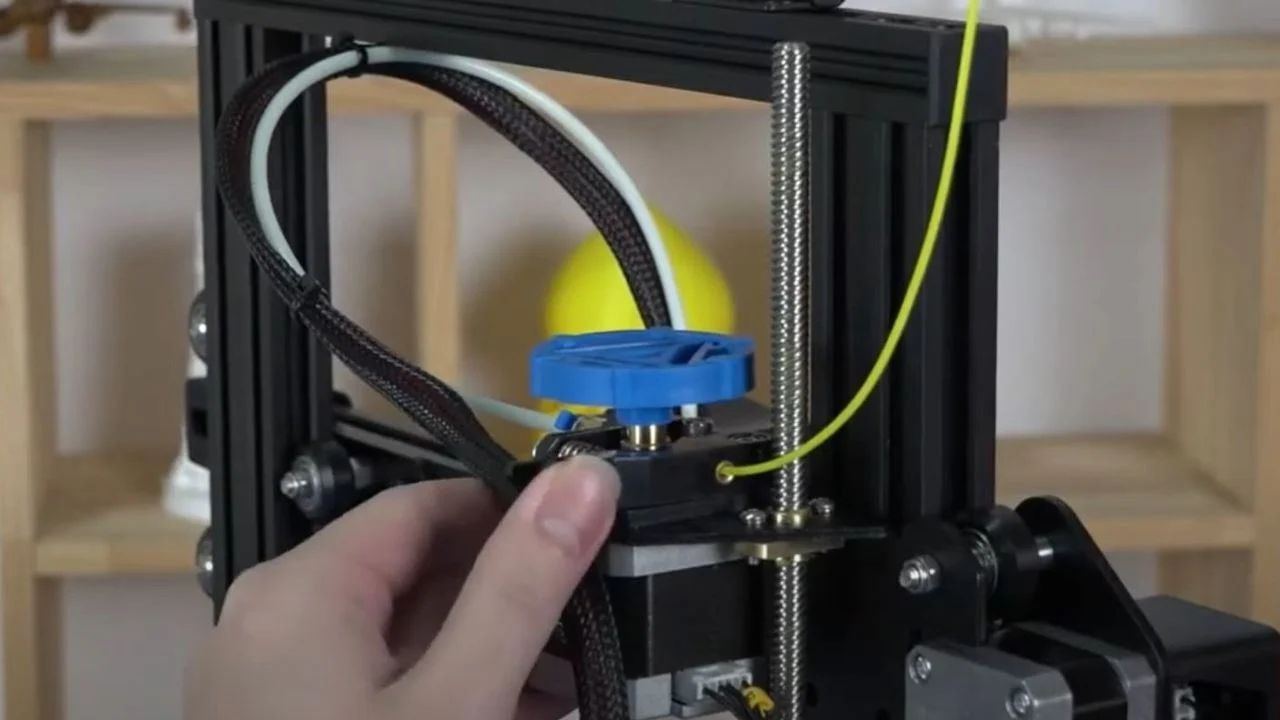
Once you have heated the nozzle, it’s time to remove the stuck filament from the extruder. This step involves manually retracting the filament and gently pulling it out from the extruder assembly.
- Ensure that the nozzle is still heated to the desired temperature.
- If your printer has a filament loading/unloading option in the control panel, use it to retract the filament. If not, carefully push the filament manually or use the printer’s software to retract the filament.
- While retracting the filament, carefully pull it out of the extruder at a slow and steady pace. Avoid applying excessive force, as this can cause the filament to break or damage the extruder assembly.
- If the filament is stuck and difficult to remove, you can use needle nose pliers or tweezers to grip the filament closer to the extruder assembly for better control while pulling it out.
- If the filament breaks during the removal process, retract the filament again and repeat the process until you have successfully removed the entire length of the stuck filament.
- Once the filament is fully removed, visually inspect the extruder assembly and the filament path to ensure there are no remaining pieces or obstructions.
Remember to always be cautious and take your time while removing the filament from the extruder. Rushing or using excessive force can result in unintentional damage to your 3D printer.
In the next step, we will focus on clearing the filament path to ensure there are no obstructions that could hinder the smooth flow of filament during future prints.
Step 3: Clearing the Filament Path
After removing the stuck filament from the extruder, it’s important to clear the filament path to ensure there are no remaining obstructions that could cause future filament jams or blockages. This step involves checking the Bowden tube (if applicable) and ensuring there are no debris or filament remnants that could hinder the smooth flow of filament.
- If your 3D printer has a Bowden tube, start by disconnecting it from both ends – the extruder and the hot end assembly.
- Inspect the Bowden tube for any filament residue or debris. If there are any, use a wire cutter to carefully cut away the section with the blockage.
- If the Bowden tube is clear, you can use compressed air or a cleaning brush to remove any remaining particles or dust that may have accumulated inside.
- If your printer does not have a Bowden tube, skip to the next step.
With the Bowden tube inspected and cleared (if applicable), it’s time to move on to cleaning the nozzle to remove any residue or burnt filament that may be blocking the filament flow.
In the next step, we will guide you through the process of cleaning the nozzle to ensure optimal filament flow and quality prints.
Step 4: Removing Filament From the Bowden Tube
If your 3D printer utilizes a Bowden tube, it’s important to ensure that it is clear of any stuck filament. In this step, we will guide you through the process of removing filament from the Bowden tube.
- Start by disconnecting the Bowden tube from both ends – the extruder and the hot end assembly. Refer to your printer’s manual for specific instructions on how to disconnect the Bowden tube.
- Once the Bowden tube is disconnected, visually inspect it for any visible blockages or filament remnants.
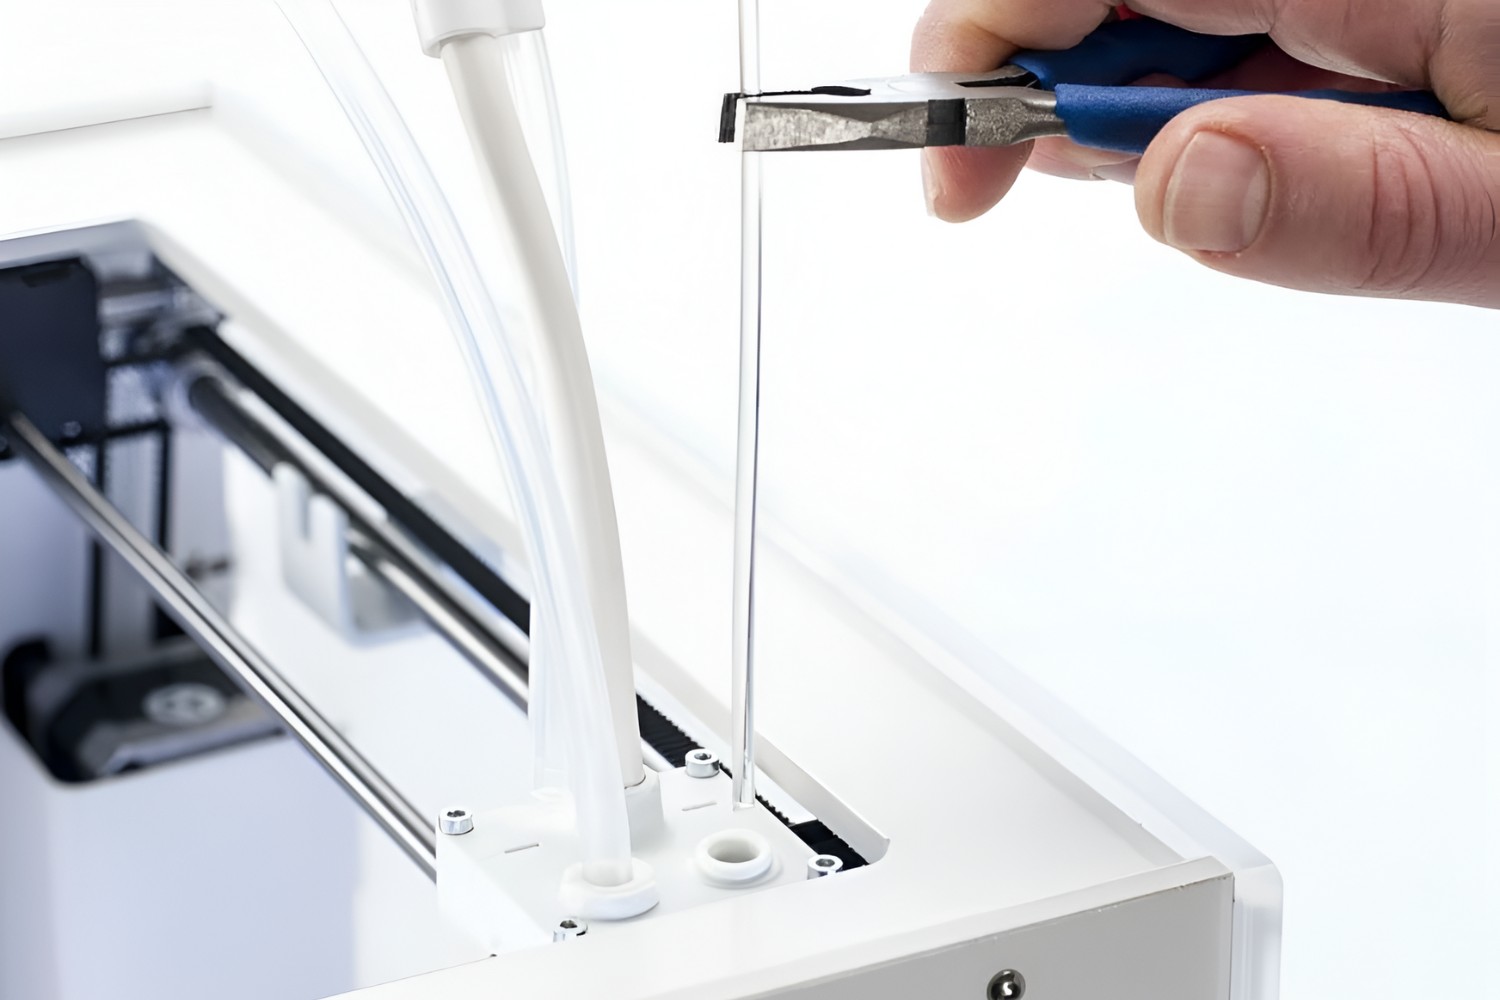
- If you can see any filament stuck inside the Bowden tube, carefully push it out from the extruder end using a long, thin object such as a wire or an unclogging tool specifically designed for this purpose.
- If you are unable to push the filament out, you may need to cut the Bowden tube to remove the stuck filament. Use wire cutters to make a clean cut at the point where the filament is stuck.
- After removing the filament, make sure to reattach the Bowden tube securely to both the extruder and hot end assembly, ensuring a proper and snug fit.
Clearing the Bowden tube from any stuck filament is crucial for maintaining smooth filament flow and preventing future printing issues. With the Bowden tube cleared, we can now move on to cleaning the nozzle in the next step.
Step 5: Cleaning the Nozzle
After removing the filament from the extruder and clearing the Bowden tube (if applicable), it’s time to clean the nozzle. Cleaning the nozzle is important to remove any residue, burnt filament, or debris that may be causing blockages and hindering the smooth flow of filament during printing.
- First, ensure that the nozzle is still heated to the recommended temperature for the specific filament you are using. Refer to the filament manufacturer’s guidelines for the appropriate temperature.
- If your printer has a “clean nozzle” or “purge nozzle” function in the control panel, utilize that feature. This will help purge any remaining residue or filament within the nozzle. Follow the instructions provided by your printer’s manufacturer for this process.
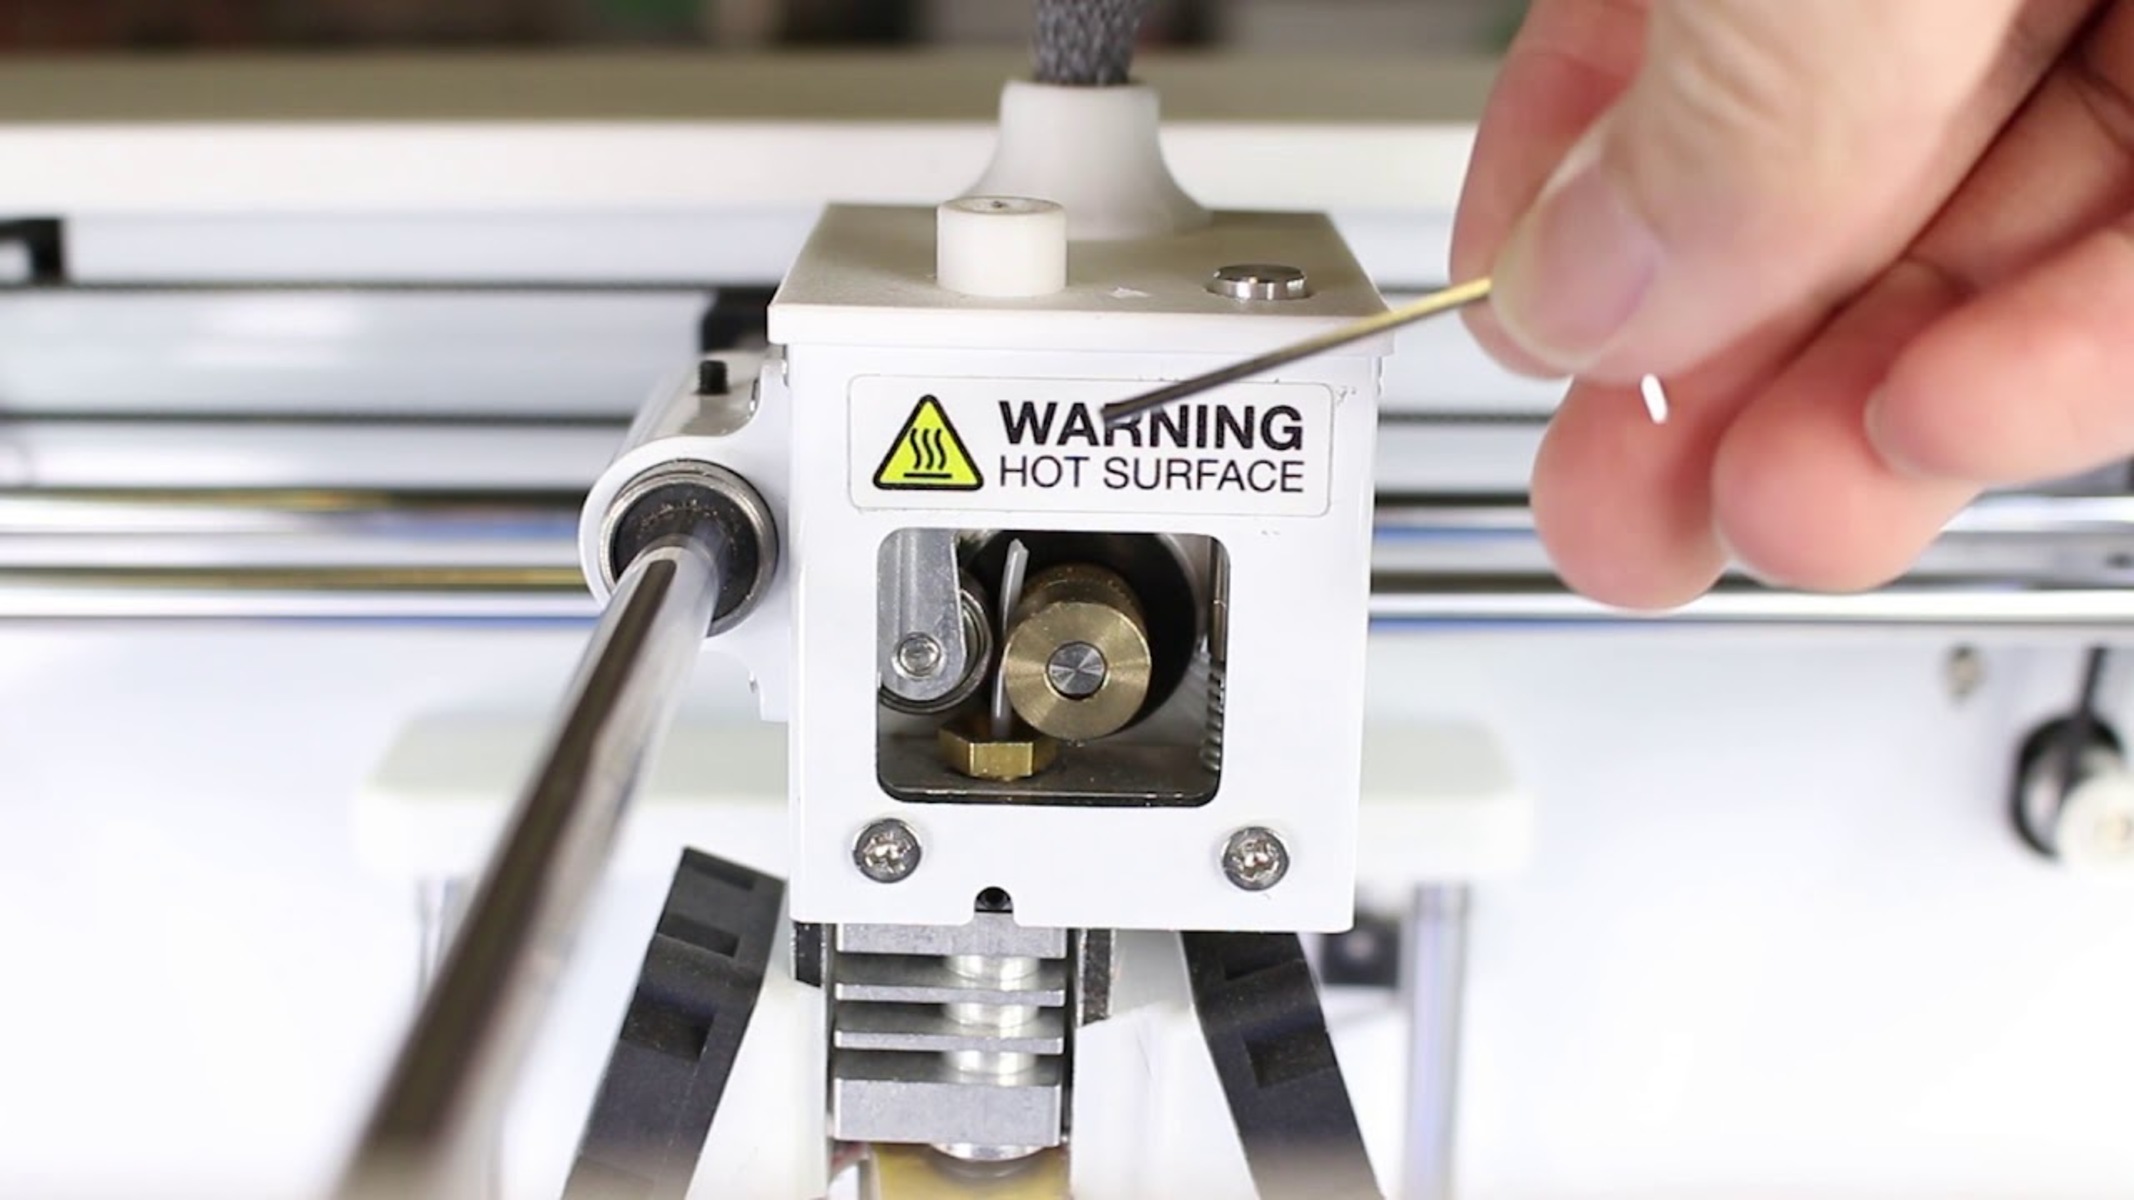
- If your printer does not have a built-in nozzle cleaning function, you can manually clean the nozzle using a cleaning filament or a thin piece of wire such as a guitar string or sewing needle.
- With the nozzle still heated, carefully insert the cleaning filament or wire into the nozzle’s opening. Gently move it back and forth to help dislodge any obstructions and clean the inner walls of the nozzle.
- Repeat the process a few times, removing the cleaning filament or wire and inspecting it for any residue or debris. If necessary, use a lint-free cloth or paper towel to wipe away any remaining residue.
- Once the nozzle is clean, allow it to cool down before moving on to the next steps.
Cleaning the nozzle is essential for maintaining optimal printer performance and ensuring high-quality prints. By removing any blockages or residue, you can prevent future filament jams and clogs.
In the next step, we will provide some troubleshooting tips that can help you address common issues that may arise during the filament removal process.
Step 6: Troubleshooting Tips
Even with following the previous steps, you may encounter some challenges during the filament removal process. In this section, we will provide you with some troubleshooting tips to help you overcome common issues that may arise.
1. Filament Breaks During Removal: If the filament keeps breaking as you try to remove it, it could be due to a knot or tangle in the spool. Carefully untangle the filament and ensure it is feeding smoothly into the extruder.
2. Excessive Resistance When Removing Filament: If you encounter excessive resistance while pulling the filament, it could indicate a serious blockage. In this case, it is best to disassemble the hot end and nozzle assembly for a thorough cleaning.
3. Filament Still Not Coming Out: If the filament is still not coming out after following the previous steps, try applying gentle pressure to the filament as you retract it. This additional force can help dislodge any stubborn blockages.
4. Excessive Filament Residue: If you notice a significant amount of filament residue or debris during the cleaning process, it may be necessary to replace the nozzle or perform a more thorough cleaning using specialized cleaning solutions or tools.
5. Future Prevention: To prevent filament jams in the future, be sure to properly load the filament, keep the filament path clear, and regularly clean the nozzle to avoid any build-up. Additionally, using high-quality filament and maintaining optimal printer settings can help reduce the risk of filament-related issues.
If you are still experiencing difficulties or if the filament removal process has caused damage to your 3D printer, it is advisable to consult with the manufacturer’s support or seek professional assistance.
By troubleshooting and addressing any issues that arise during the filament removal process, you can ensure the continued smooth operation of your 3D printer.
Conclusion
Dealing with a stuck filament in your 3D printer can be frustrating, but with the correct knowledge and steps, you can successfully remove it and get back to printing. By understanding the problem, having the right tools and materials, and following the step-by-step process, you can effectively remove the stuck filament and prevent future issues.
In this guide, we discussed the importance of heating the nozzle, removing filament from the extruder, clearing the filament path, and cleaning the nozzle to ensure smooth filament flow. We also provided troubleshooting tips to help address common challenges that may arise during the filament removal process.
Remember to always consult your printer’s user manual or manufacturer’s guidelines for specific instructions or precautions. And most importantly, approach the filament removal process with caution and patience to avoid any damage to your 3D printer.
With the information and steps outlined in this guide, you are now equipped to confidently remove a stuck filament from your 3D printer. So the next time you encounter this issue, don’t panic – follow the steps and get your printer back up and running in no time!