Introduction
Welcome to the world of 3D printing! If you’re new to this fascinating technology, one of the first things you’ll need to learn is how to feed filament into your 3D printer. Filament is the material that is melted and extruded to create the physical object layer by layer. Without proper filament feeding, your prints may not turn out as expected.
In this guide, we will walk you through the step-by-step process of feeding filament into a 3D printer. Whether you have a desktop FDM (Fused Deposition Modeling) printer or a large industrial machine, the principles remain the same. By following these instructions, you’ll be well on your way to creating amazing 3D prints.
Before we dive into the specifics, it is important to note that every 3D printer is slightly different. While the basic steps are similar, it is best to refer to your printer’s manufacturer documentation for any specific instructions or requirements. With that said, let’s begin!
Preparing the Filament
Before you can start feeding filament into your 3D printer, you need to make sure it is properly prepared. Here are the steps to follow:
- Unpack and untangle: If your filament came sealed in a package, carefully remove it and untangle any knots or twists. It is important to have a smooth, straight filament for optimal printing.
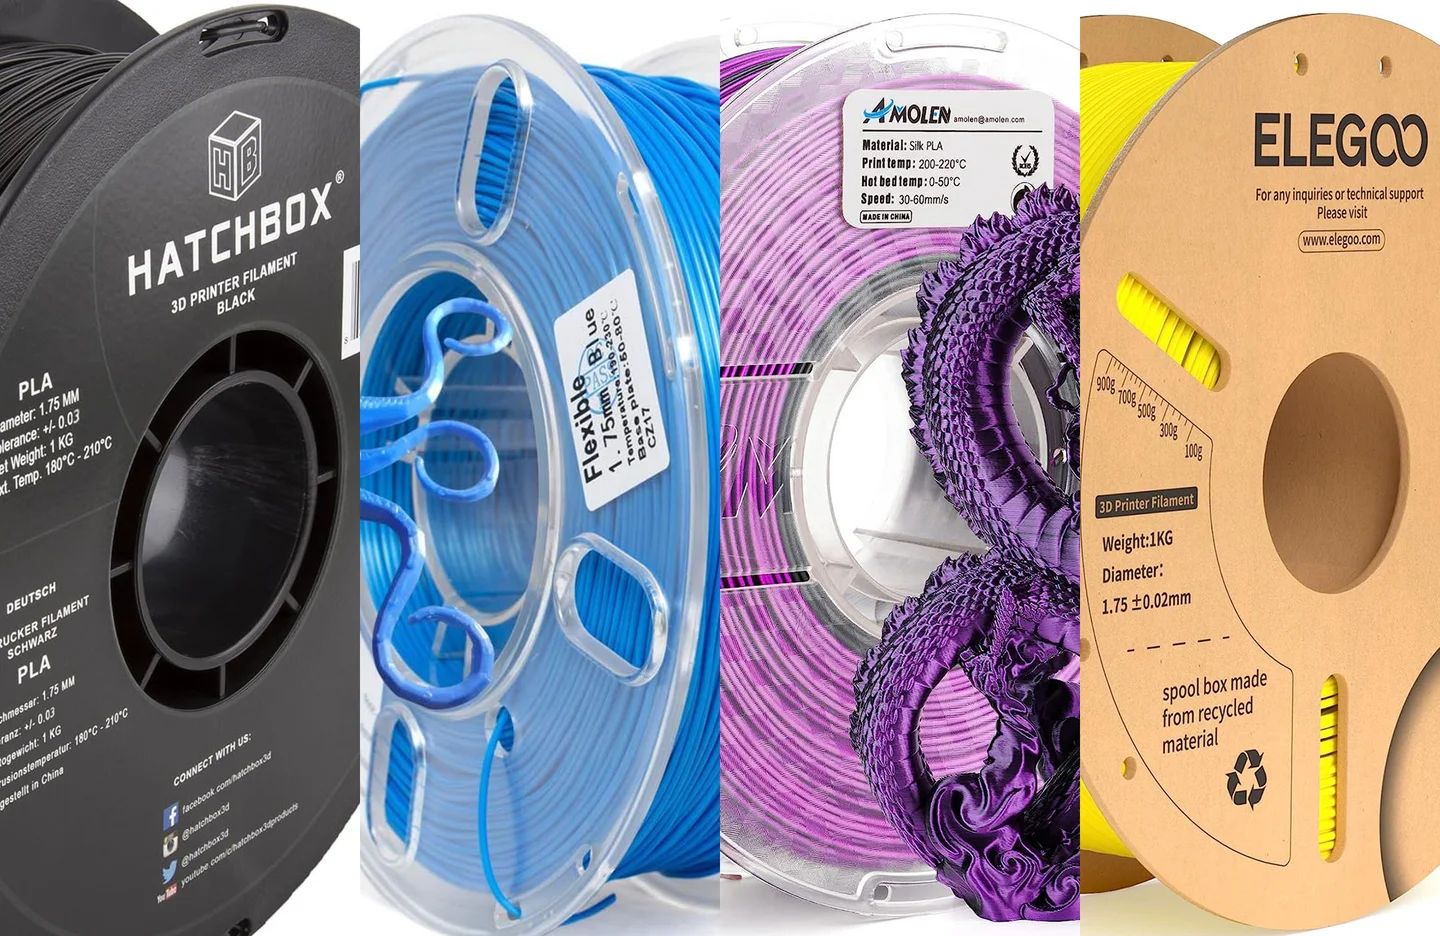
- Check the diameter: Ensure that the filament diameter matches your printer’s specifications. Most common filaments have a diameter of 1.75mm or 2.85mm, but double-check to be sure.
- Inspect for damage or debris: Take a close look at the entire length of the filament. Look for any signs of damage, such as cracks or breaks. Additionally, check for any debris or foreign particles that may have accumulated on the surface. Remove any obstructions if necessary.
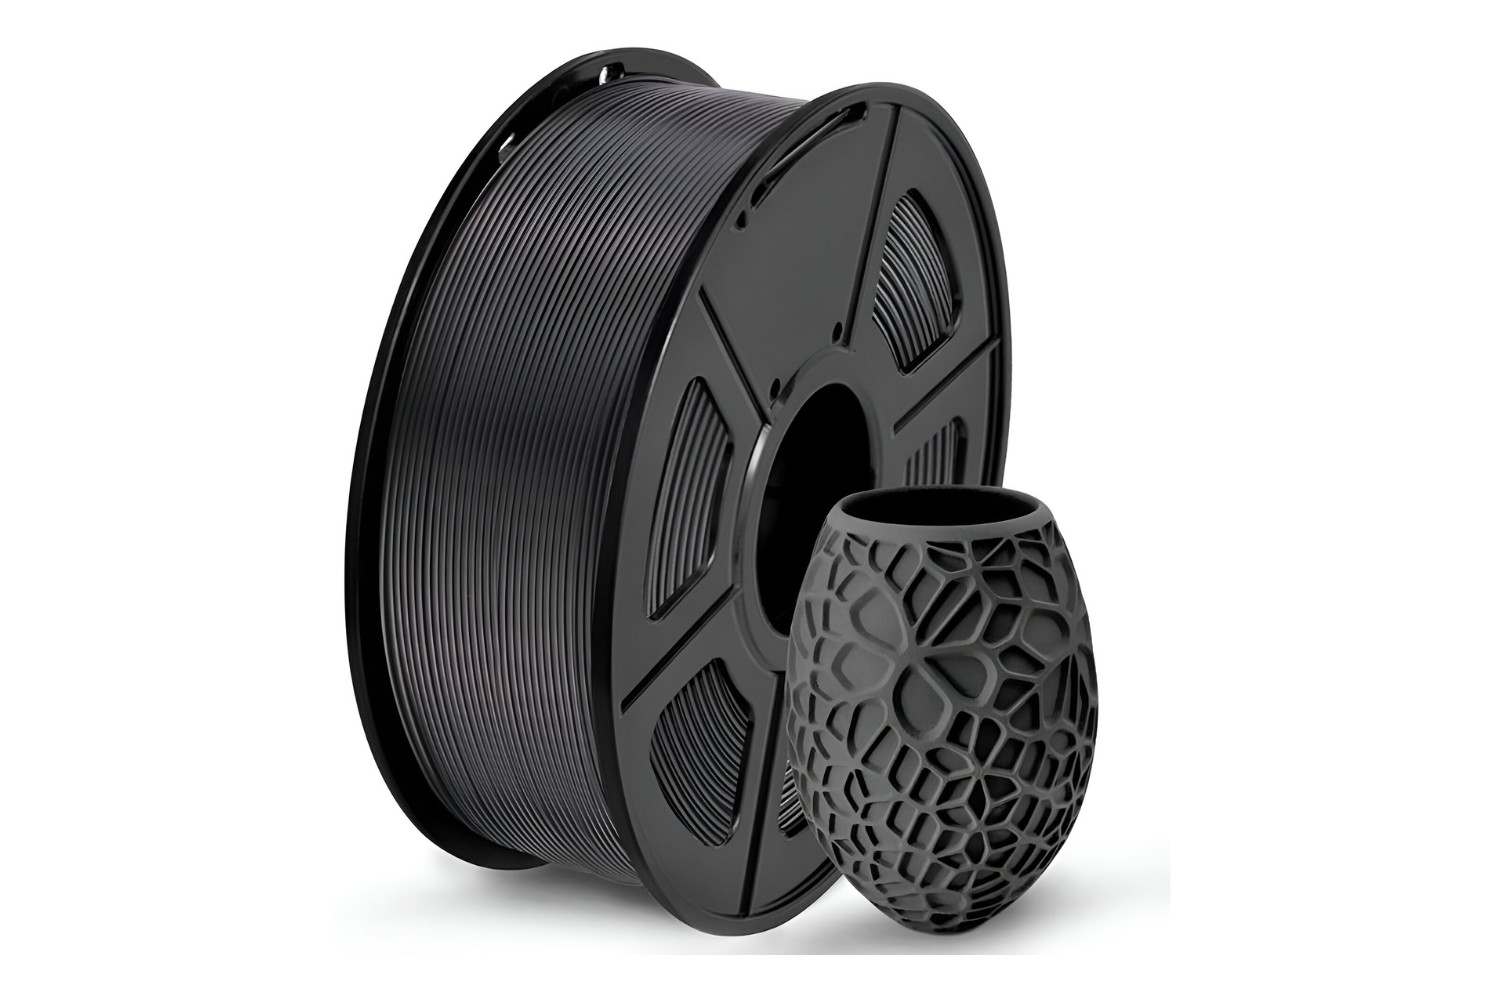
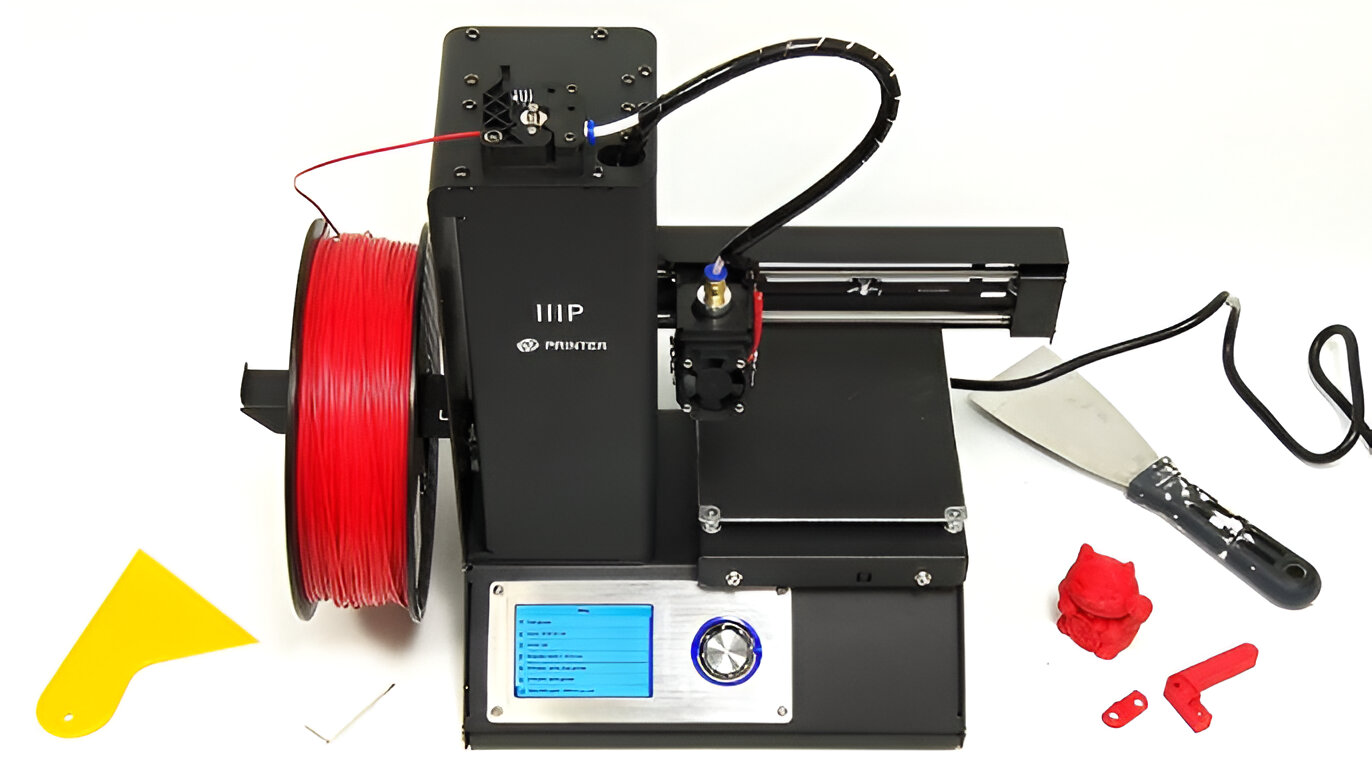
- Prepare the filament spool: Place the filament spool on the spool holder or the designated area of your 3D printer. Make sure the spool rotates freely and does not get tangled or obstruct the filament path during printing.
- Set up the filament guide: Some printers have a filament guide tube that helps direct the filament from the spool to the extruder. If your printer has one, make sure it is properly aligned and secured.
- Load the filament into the printer: Depending on your printer model, there may be specific instructions for loading the filament. Follow the manufacturer’s guidelines to ensure proper insertion.
By properly preparing your filament before feeding it into the printer, you’ll minimize the chances of any issues during the printing process. Taking the time to check for any damage or debris will help produce higher-quality prints.
Locating the Filament Port
Before you can feed filament into your 3D printer, you need to locate the filament port. The filament port is the entry point where the filament is inserted into the printer’s extruder. Here’s how you can find it:
- Refer to the manufacturer’s documentation: The easiest way to locate the filament port is by referring to the manufacturer’s documentation or user manual. They usually provide detailed diagrams with clear indications of where the filament port is located.
- Check the printer’s exterior: In some cases, the filament port may be clearly marked on the outside of the printer. Look for labels or symbols that indicate the filament path or the extruder assembly.
- Inspect the extruder: The filament port is typically located on or near the extruder assembly. It may be a small hole or a slot where the filament is inserted. Examine the extruder closely to identify the entry point.
- Look for guiding mechanisms: Some printers have additional guiding mechanisms that direct the filament towards the extruder. These may include tubes, channels, or brackets. Take note of these components as they can help you locate the filament port more easily.
- Ask for assistance: If you’re still having trouble finding the filament port, don’t hesitate to reach out to the manufacturer’s support team or consult online forums and communities dedicated to 3D printing. The community is usually very helpful in guiding beginners through the process.
Once you have located the filament port, you’re ready to move on to the next step of inserting the filament into the printer’s extruder. Familiarizing yourself with the location of the filament port ensures a smoother filament feeding process.
Inserting the Filament
Now that you have located the filament port, it’s time to insert the filament into the 3D printer’s extruder. Follow these steps to ensure proper insertion:
- Cut the filament: Using a sharp pair of scissors or cutters, snip the end of the filament at a clean 45-degree angle. This will make it easier to insert the filament into the extruder.
- Preheat the extruder: Check the recommended temperature for your filament type and set your printer to preheat the extruder accordingly. This will soften the filament and make it easier to feed into the printer.
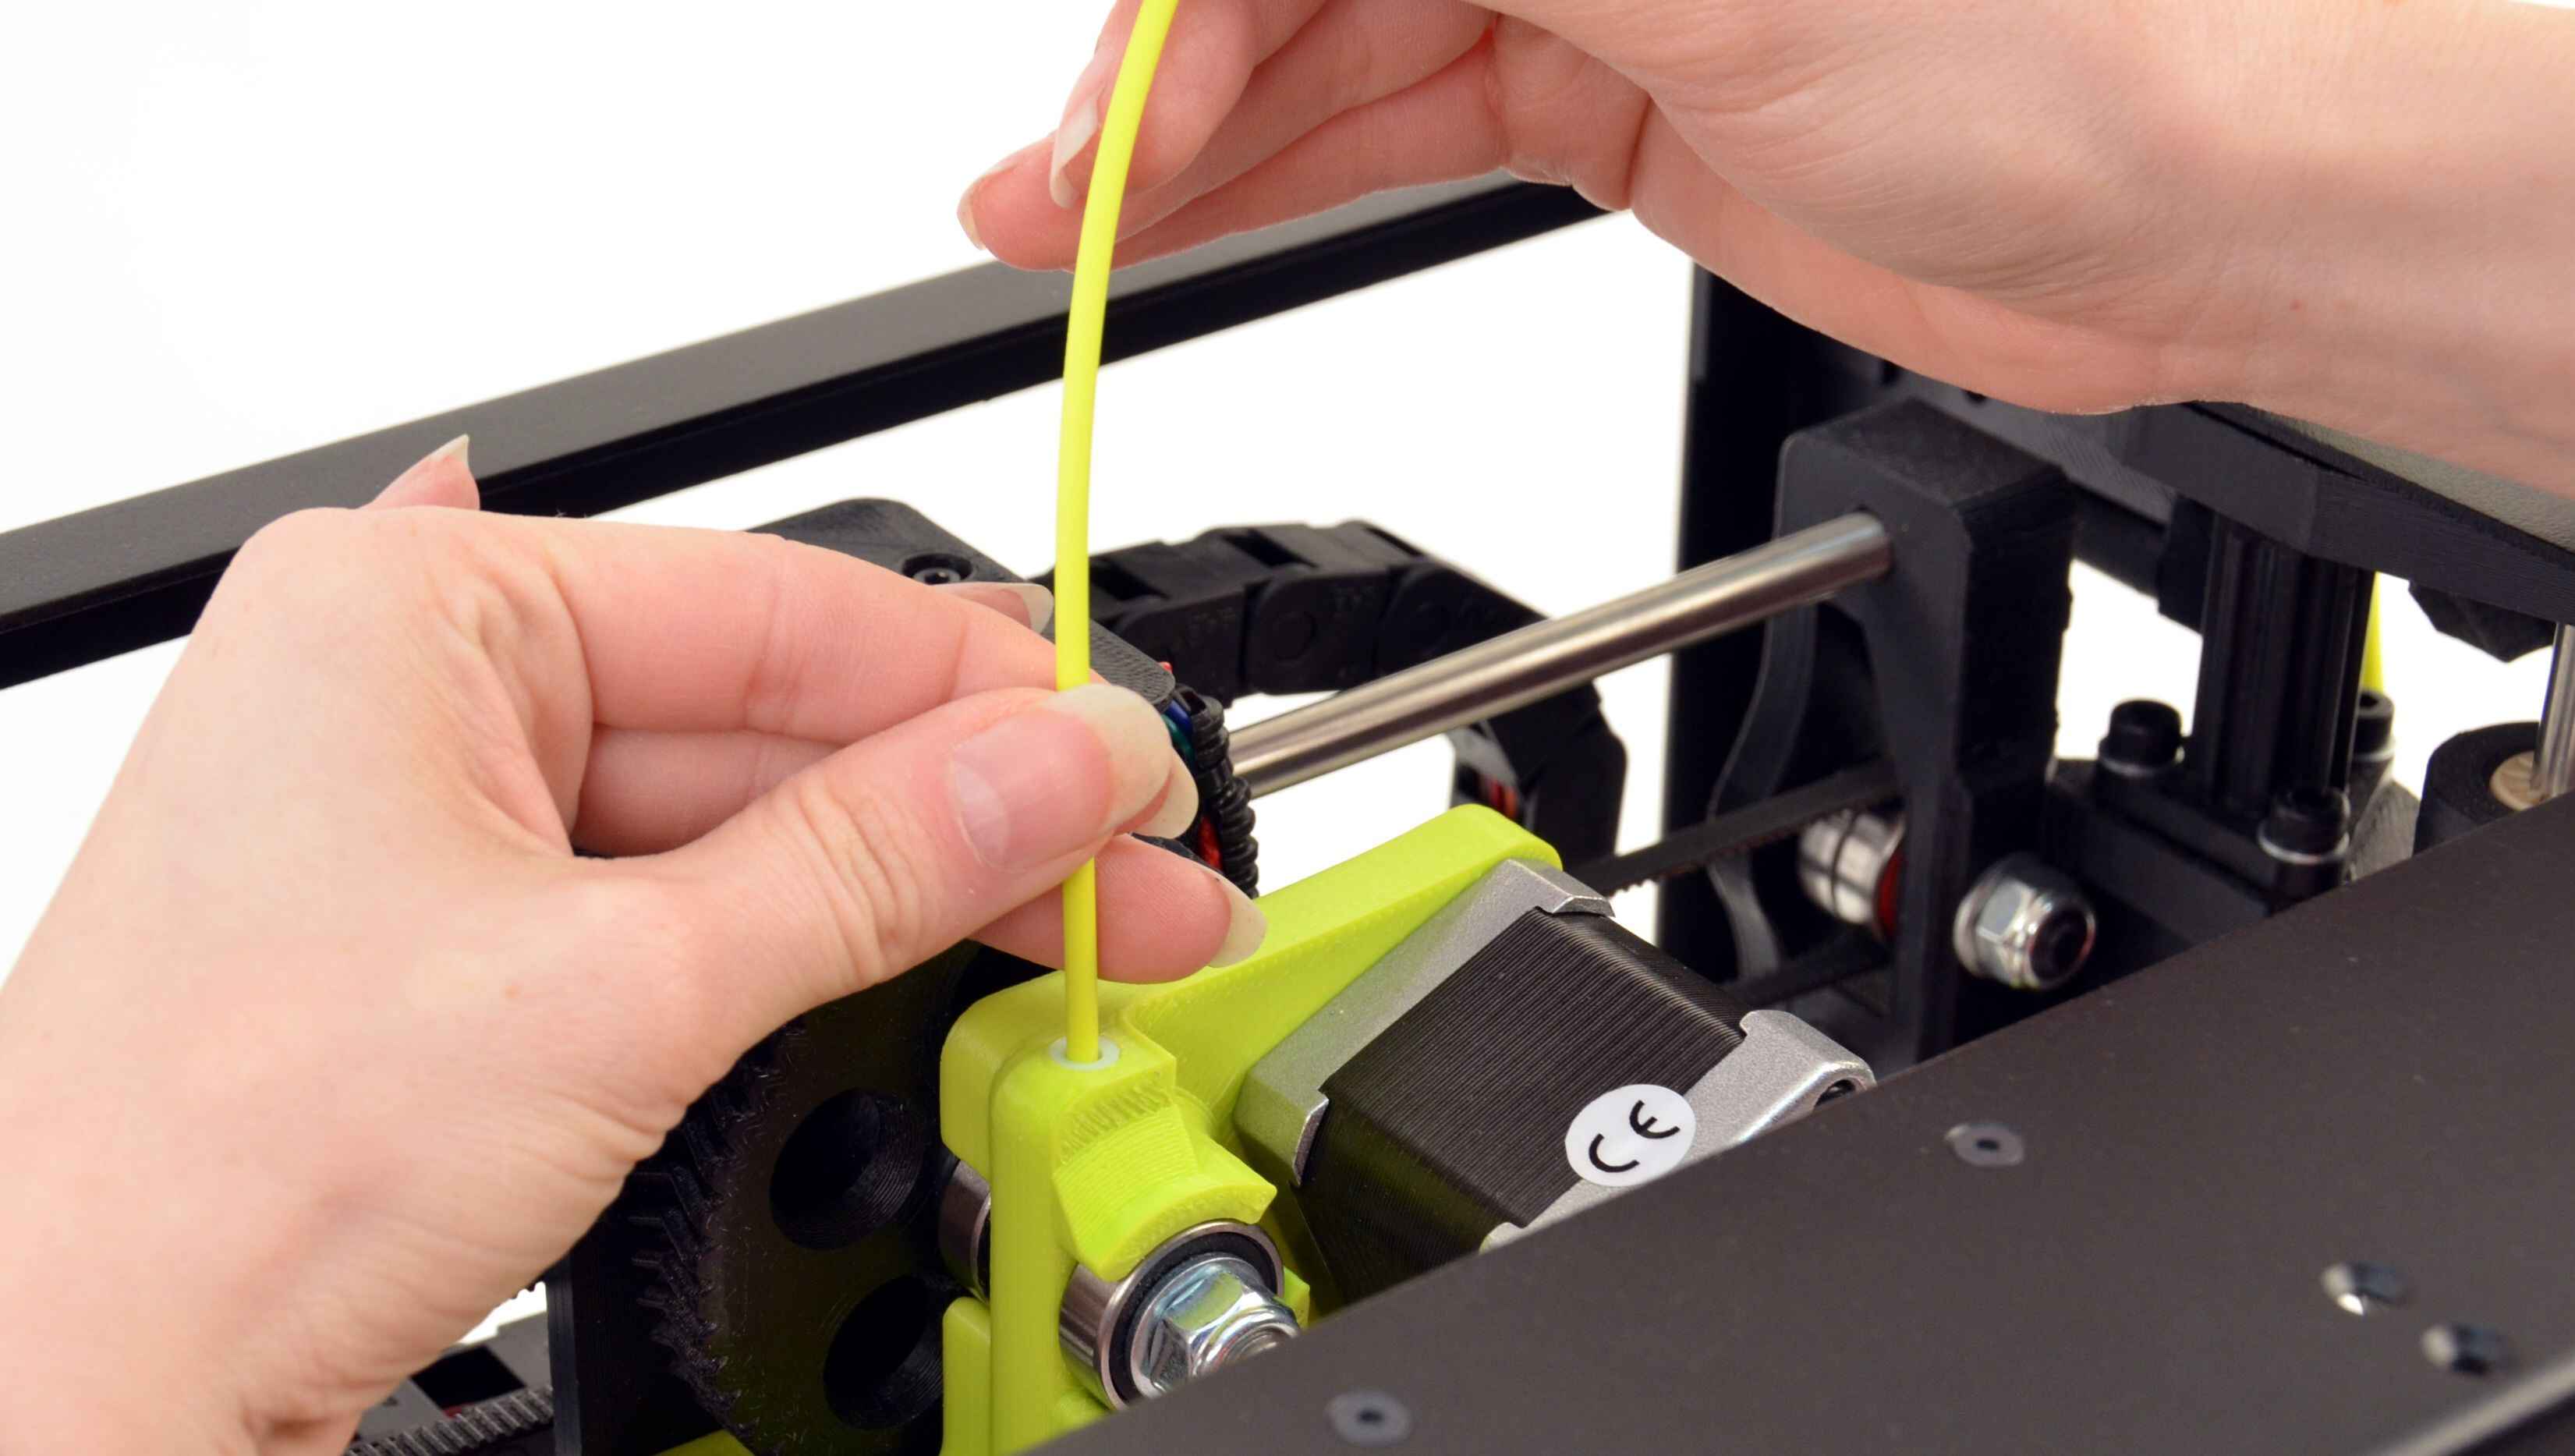
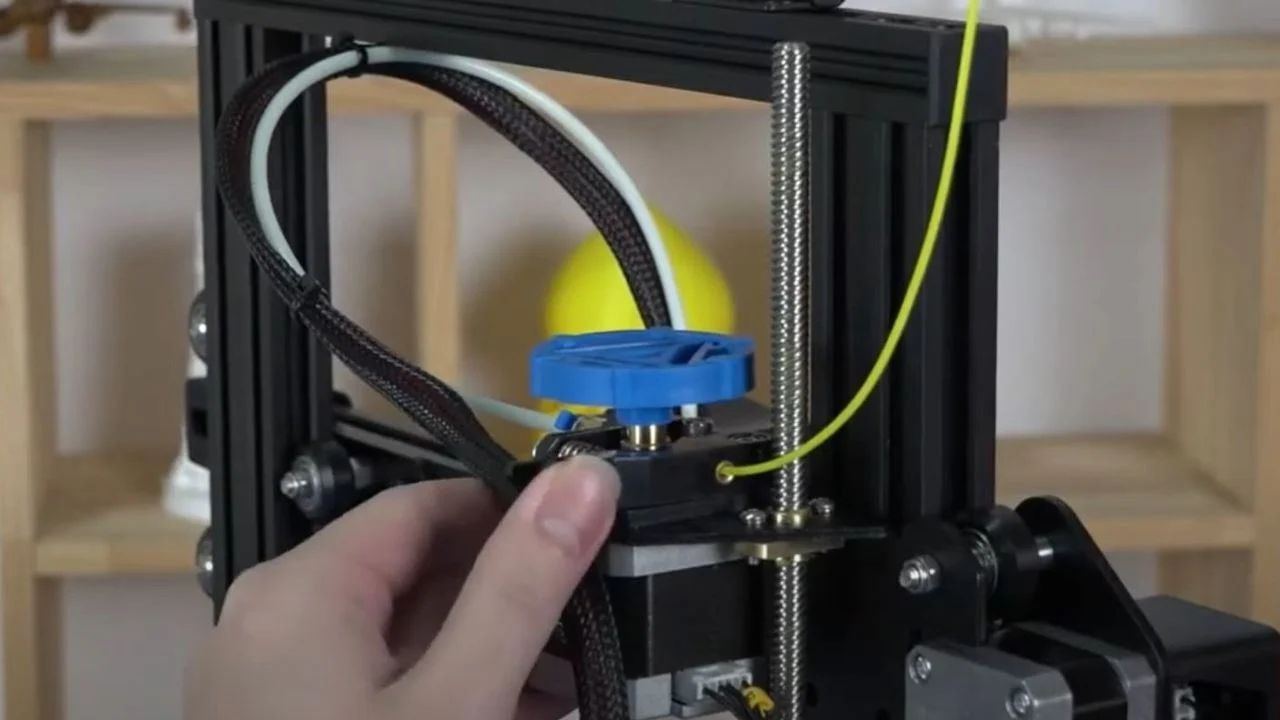
- Manually insert the filament: Gently insert the cut end of the filament into the filament port, pushing it in until you feel resistance. Be careful not to force it too hard, as this can cause damage.
- Advance the filament: Once the filament is inserted, you can manually advance it further into the extruder. Most printers have a control panel or touch screen interface where you can find options to extrude or manually feed the filament. Follow the manufacturer’s instructions to gradually feed the filament into the extruder.
- Monitor the filament path: Keep an eye on the filament as it moves through the guiding mechanisms, ensuring it stays aligned and doesn’t get caught or tangled. Adjust the position of the spool or filament guide if necessary.
- Confirm filament engagement: Check that the filament is properly engaged in the extruder and reaches all the way to the nozzle. This will ensure a consistent flow of filament during the printing process.
By following these steps, you can successfully insert the filament into the 3D printer, setting the stage for a smooth and reliable printing process. With the filament in place, you’re ready to move on to the next step of feeding the filament into the extruder.
Feeding the Filament into the Extruder
Feeding the filament into the extruder is a crucial step to ensure a continuous flow of material during the 3D printing process. Here’s how you can feed the filament into the extruder:
- Filament tension: Before you start feeding the filament, ensure that the tension on the filament spool is just right. If the tension is too loose, the filament may unravel uncontrollably, while if it’s too tight, it may cause unnecessary resistance. Adjust the tension by tightening or loosening the spool holder or filament guide if required.
- Activate the extruder motor: Most 3D printers require you to activate the extruder motor to feed the filament. Consult your printer’s user manual or interface to find the specific function that engages the motor. Once activated, the motor will guide the filament into the extruder.
- Observe the feeding process: Watch as the filament enters the extruder. Ensure it enters smoothly without bending or kinking. If you notice any issues, such as the filament not moving or getting stuck, immediately stop the feeding process and investigate the cause.
- Advance the filament: Continue to feed the filament until you see it emerge from the nozzle. This ensures that any previous material in the extruder is purged, and only the new filament is being extruded.
- Monitor the extrusion: Once the filament starts coming out of the nozzle, observe its flow and consistency. It should be a steady and even extrusion. If you notice any irregularities, such as uneven flow or clogs, it may indicate a problem with the extruder that requires troubleshooting.
- Confirm filament flow: Finally, inspect the first layer of your print to ensure that the filament is successfully flowing and adhering to the build plate. This will indicate that the feeding process was successful.
Feeding the filament into the extruder is a critical step in ensuring a successful and reliable 3D printing process. By carefully following these steps and monitoring the filament flow, you can avoid common issues like filament jams or uneven extrusion.
Testing the Filament Feed
After feeding the filament into the extruder, it’s important to test the filament feed to ensure that it is functioning correctly. Here are a few steps to help you test the filament feed:
- Prepare a test print: Choose a simple test print that will allow you to observe the filament flow and extrusion. This could be a calibration cube, a small vase, or any other model specifically designed for testing purposes.
- Set up the print parameters: Before starting the print, ensure that the printer settings, such as temperature, print speed, and layer height, are properly configured for the filament you are using. Consult the manufacturer’s recommendations or established print profiles for optimal results.
- Monitor the first layer: As the print begins, pay close attention to the first layer being laid down. Ensure that the filament adheres well to the build plate and that there are no gaps or inconsistencies in the print. This will indicate that the filament feed is functioning properly.
- Observe the layer adhesion: As the print progresses, continue to monitor the layer adhesion. The layers should bond together smoothly, creating a solid and well-formed object. Any signs of poor layer adhesion, such as gaps or layer separation, may indicate an issue with the filament feed or extruder calibration.
- Inspect the overall print quality: Once the test print is complete, examine the overall quality of the print. Look for any defects, such as stringing, warping, or inconsistent layer heights. These issues could be a result of improper filament feed or other settings that need adjustment.
- Make adjustments if necessary: If you notice any problems with the filament feed or print quality, you may need to make some adjustments. This could include fine-tuning the filament tension, adjusting the extrusion multiplier, or modifying the print settings based on your observations.
By testing the filament feed and observing the print quality, you can identify any issues early on and make the necessary adjustments for better results. Remember that 3D printing can require some trial and error, so don’t be discouraged if you encounter challenges along the way. Each print is an opportunity to refine your settings and improve your techniques.
Troubleshooting Tips
While 3D printing can be a rewarding and exciting process, it’s not uncommon to encounter some challenges along the way. Here are some troubleshooting tips to help you overcome common issues with filament feeding:
- Filament jams: If the filament gets stuck or jams during the feeding process, check for obstructions in the filament path. It could be a clogged nozzle, a misaligned filament guide, or a snagged filament spool. Clear any blockages and ensure the filament can move freely.
- Extrusion inconsistencies: Inconsistent extrusion or uneven flow can lead to poor print quality. To address this issue, check the extruder’s drive gear and make sure it is firmly gripping the filament. Additionally, verify that the filament diameter is correctly set in your slicer software to ensure accurate extrusion.
- Filament slipping: If you notice the filament slipping or not feeding consistently, it may indicate insufficient tension on the spool holder. Adjust the tension, ensuring the filament has enough resistance to prevent it from unraveling uncontrollably.
- Under-extrusion or over-extrusion: If you are experiencing under-extrusion (thin or weak print layers) or over-extrusion (bulging or messy layers), calibrate your extruder steps/mm. This adjustment will ensure precise and consistent filament feeding.
- Filament grinding: Filament grinding can occur when the extruder motor is applying excessive force and grinding the filament against the drive gear. This can lead to stripped or damaged filament. Check for signs of excessive tension or misalignment, and adjust as necessary.
- Print not sticking to the build plate: Poor adhesion between the printed object and the build plate can cause prints to fail. Ensure that the build plate is properly leveled and clean. You may also consider applying adhesion aids such as a layer of painter’s tape or a specialized print bed adhesive.
- Warping or lifting: Warping occurs when the corners or edges of a print start to lift from the build plate during printing. This can be caused by uneven cooling or inadequate bed temperature. Adjust the bed temperature, use a heated bed, or consider using a brim or raft to improve adhesion and minimize warping.
Remember, troubleshooting is an essential part of the 3D printing journey. Each issue encountered provides an opportunity to learn and refine your skills. Don’t hesitate to consult online communities, forums, or the printer manufacturer’s support for additional guidance tailored to your specific printer model.
Conclusion
Congratulations! You have successfully learned how to feed filament into your 3D printer. By following the steps provided in this guide, you can ensure a smooth and reliable filament feeding process, leading to high-quality 3D prints. Here’s a quick recap of the key points we covered:
We started by preparing the filament, checking its diameter, inspecting for any damage or debris, and setting up the filament spool and guide. Next, we located the filament port on the printer, whether through the manufacturer’s documentation or visual inspection of the extruder assembly.
After locating the filament port, we moved on to inserting the filament, cutting it at a clean angle, and gently but firmly inserting it into the port. We advanced the filament manually, ensuring it reached the extruder and confirmed proper engagement.
Feeding the filament into the extruder involved adjusting the filament tension, activating the extruder motor, and monitoring the feeding process. We observed the filament flow, advanced it until it extruded from the nozzle, and verified the layer adhesion and overall print quality.
To further aid your 3D printing journey, we provided troubleshooting tips to tackle common issues such as filament jams, extrusion inconsistencies, filament slipping, under-extrusion, over-extrusion, poor print adhesion, warping, and lifting. With these tips, you’ll be better equipped to address any challenges that may arise.
Remember, 3D printing is a continuous learning process, and each print presents an opportunity for improvement. Don’t be discouraged if you encounter difficulties along the way. Embrace the troubleshooting process, gather insights from the community, and refine your techniques to achieve outstanding results.
Now that you’re equipped with the knowledge to properly feed filament into your 3D printer, you can embark on exciting projects and bring your ideas to life through the magic of 3D printing. Happy printing!