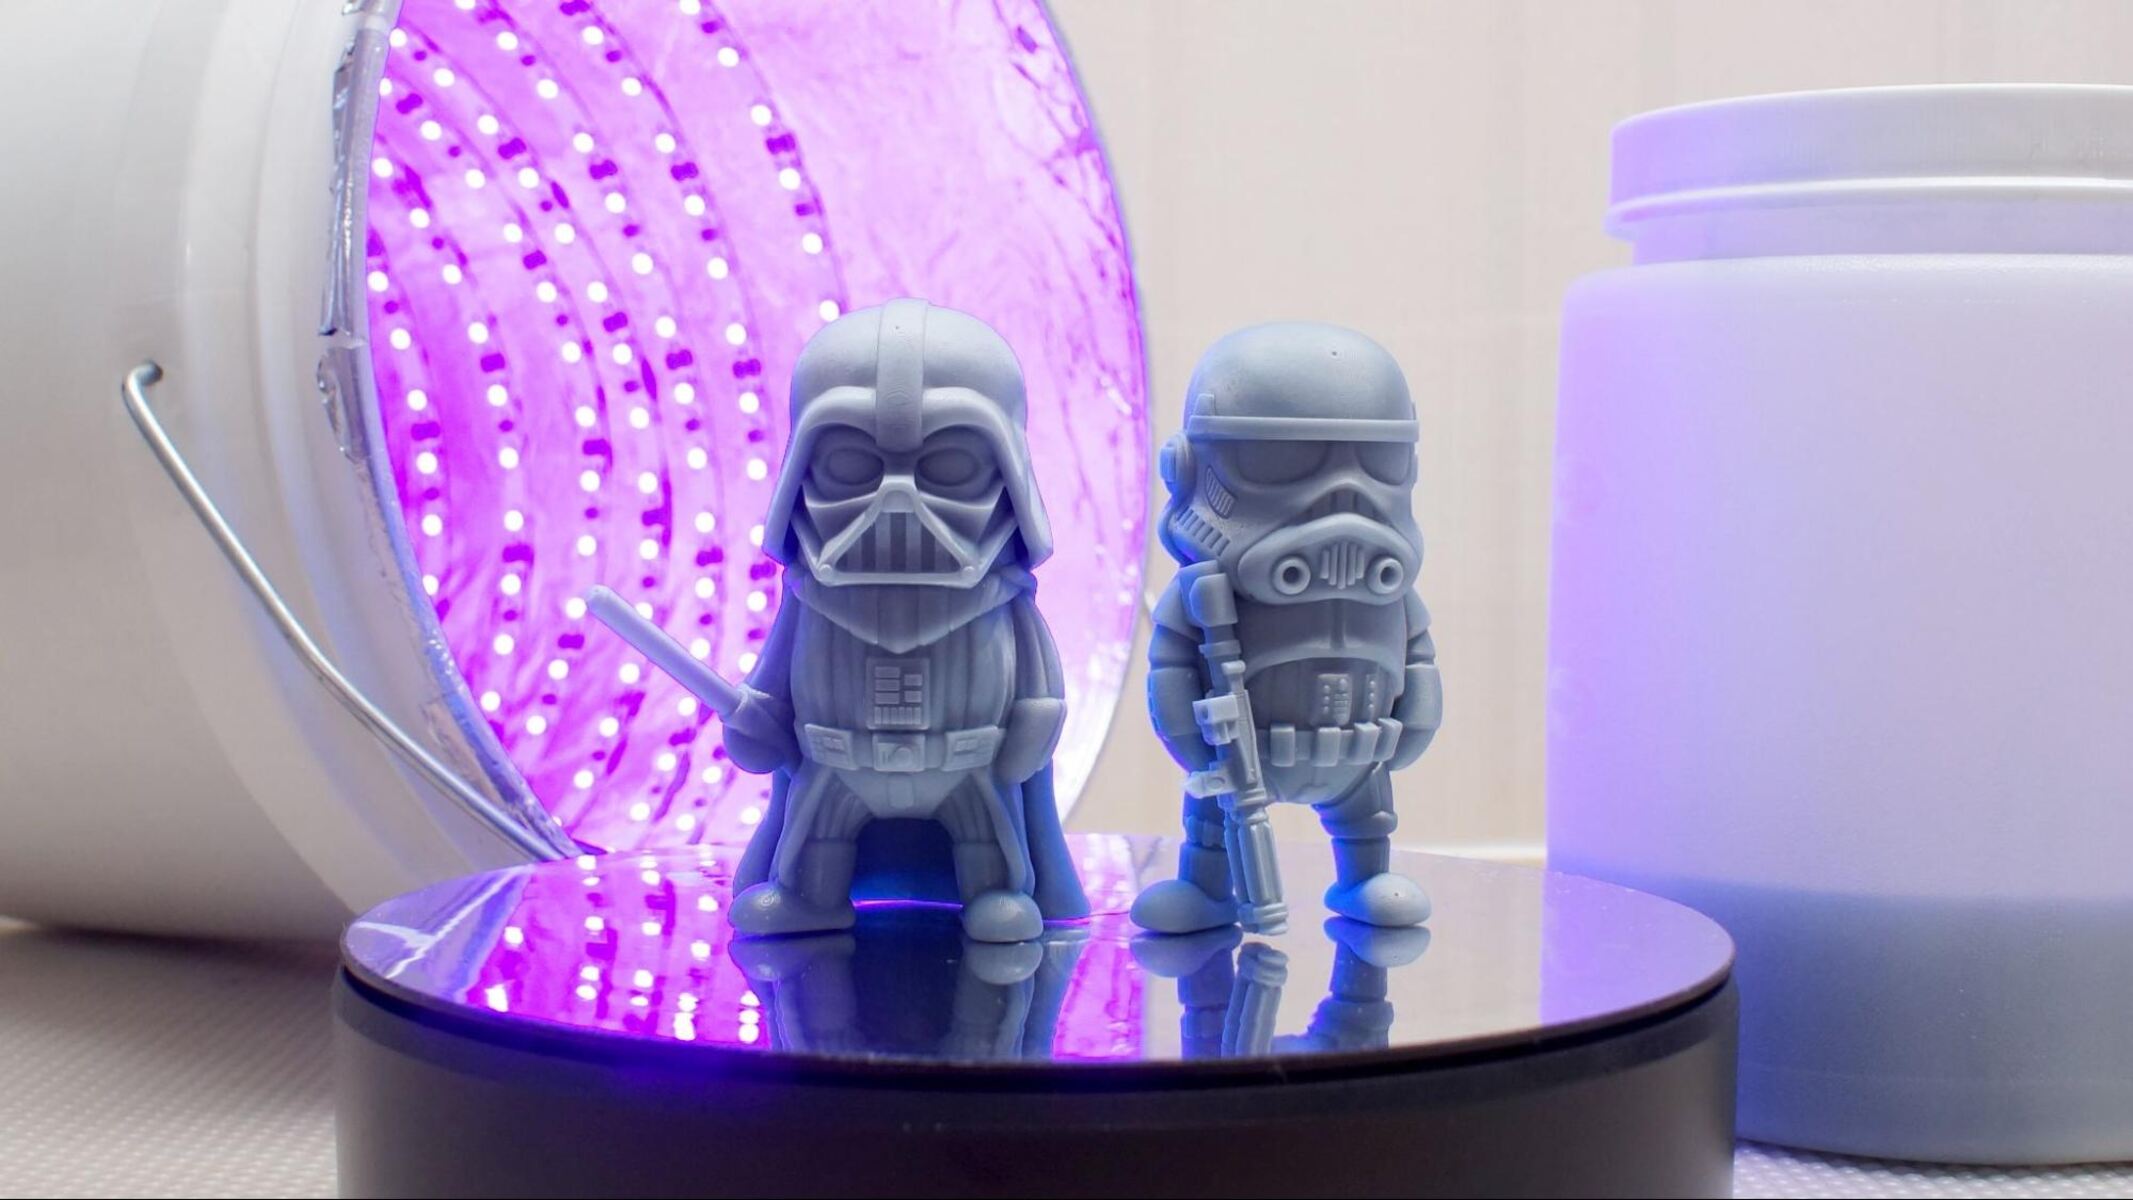
Introduction
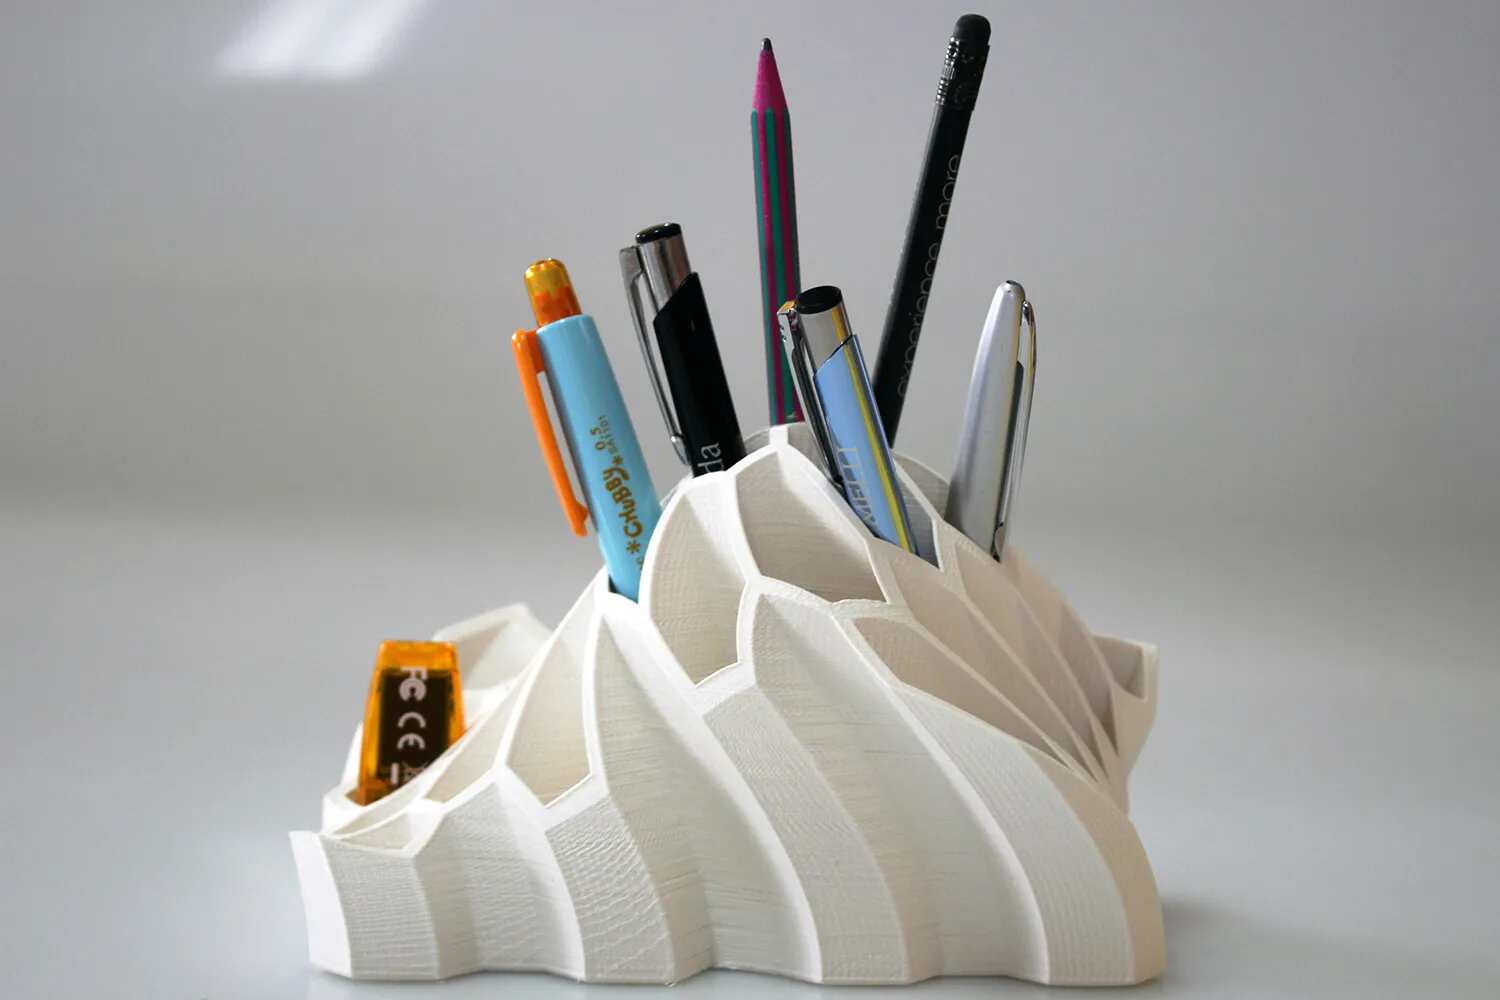
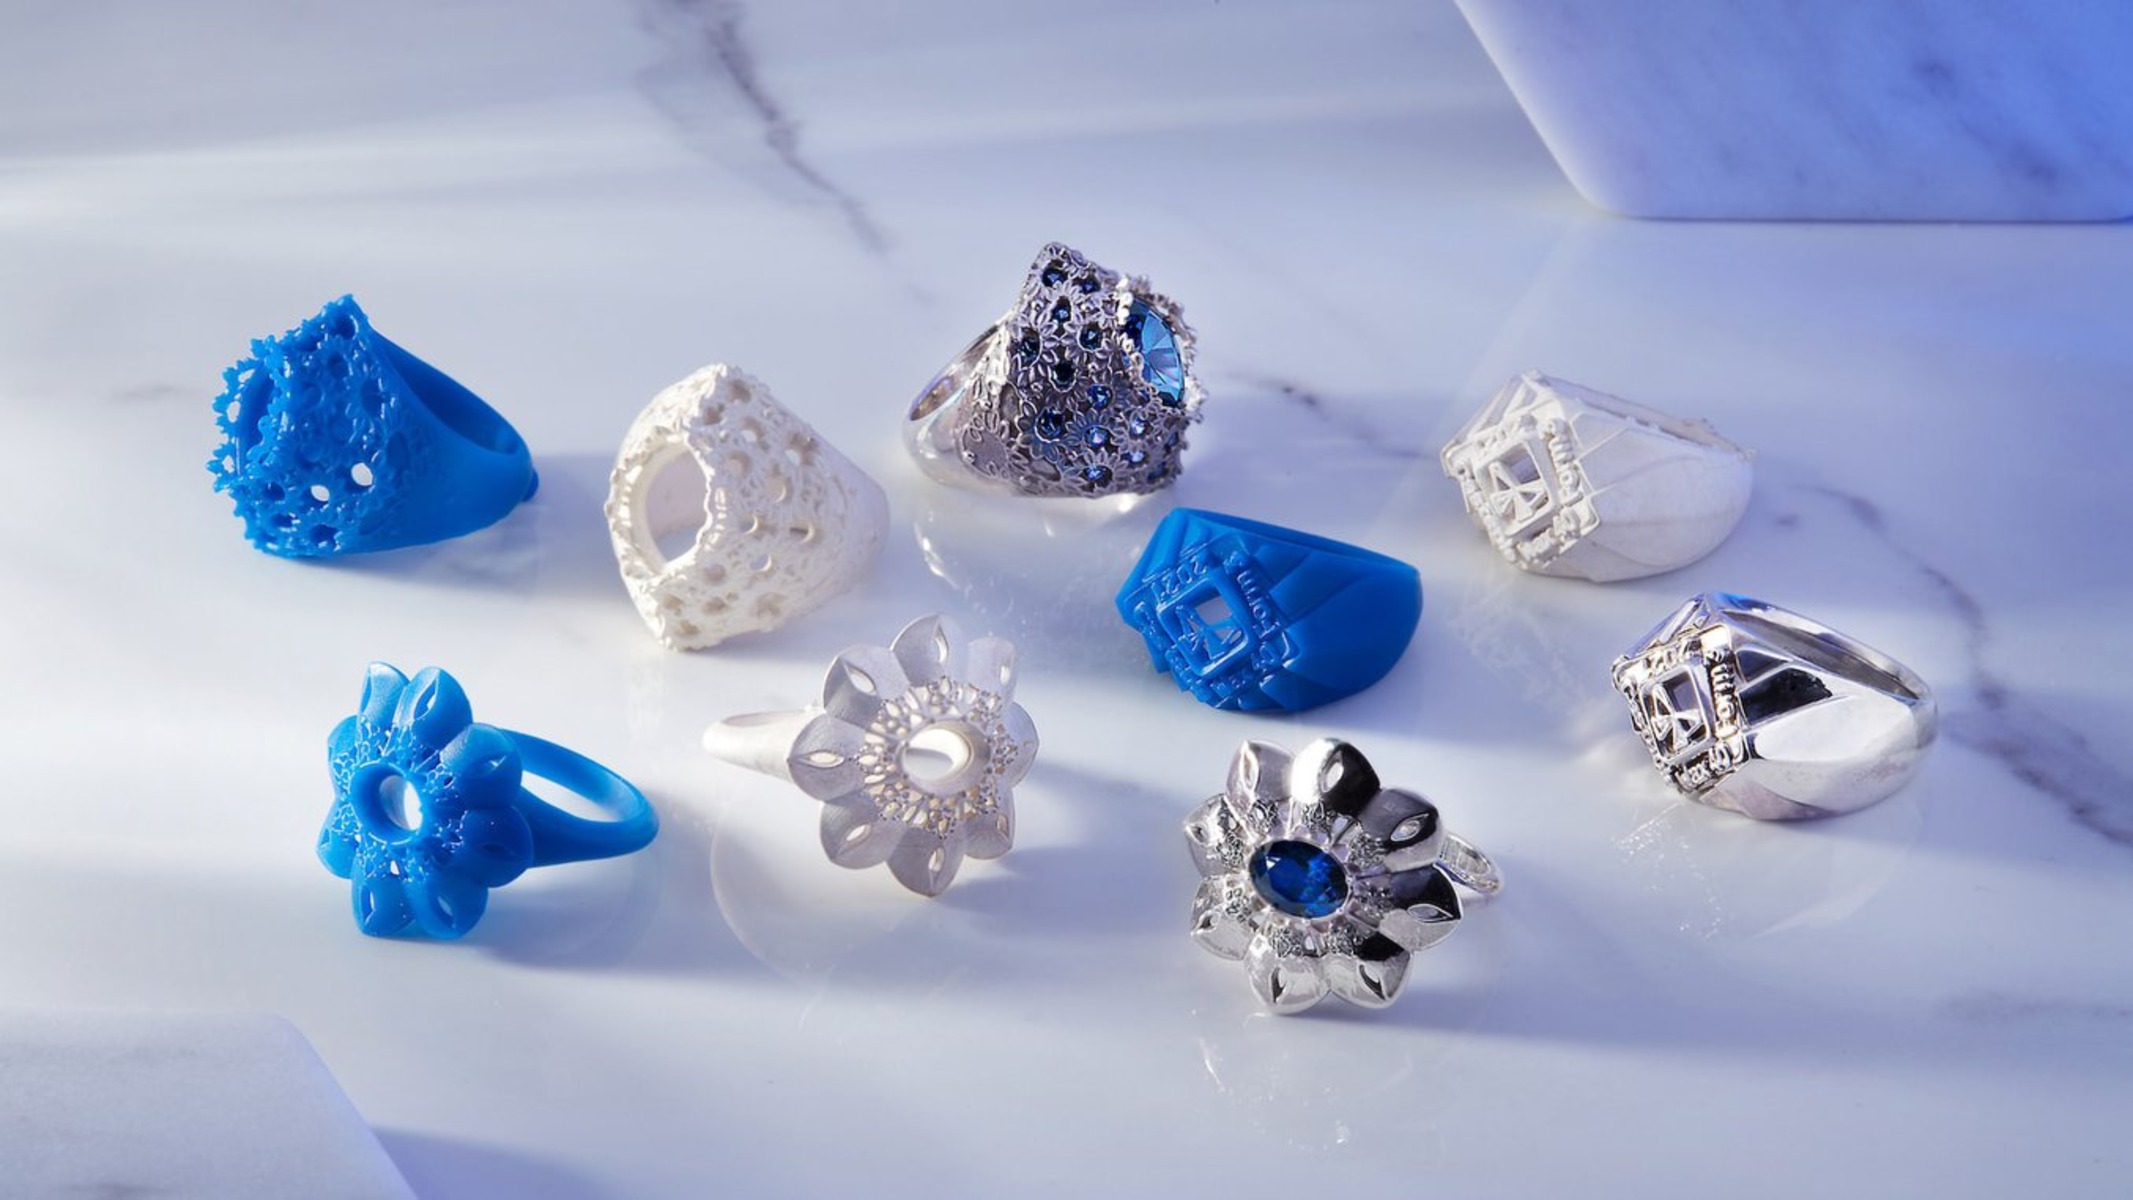
3D printing technology has revolutionized various industries, and jewelry making is no exception. With the advent of 3D printers, creating custom-designed jewelry has become more accessible and affordable than ever before. Whether you’re a professional jeweler or a passionate hobbyist, a 3D printer can open up a world of possibilities for designing and producing unique pieces that truly reflect your vision and style.
In this article, we will delve into the fascinating world of 3D printed jewelry and explore the process of turning digital designs into stunning physical pieces. We will guide you through the essential steps, from choosing the right 3D printer for jewelry making to showcasing and selling your creations online.
One of the key advantages of 3D printing in the realm of jewelry making is the ability to bring intricate and complex designs to life. Traditional jewelry manufacturing techniques often impose limitations on design possibilities due to the constraints of mold making and casting. With 3D printing, however, you can create intricate details, organic shapes, and even movable parts that were previously challenging or impossible to achieve.
Furthermore, using a 3D printer allows for greater customization. You can design and produce jewelry pieces tailored to your customers’ specific preferences, offering them a unique and personal experience. This level of customization can set your jewelry business apart from competitors and attract discerning customers who appreciate the individuality of handcrafted pieces.
As with any technology, getting started with 3D printed jewelry may seem overwhelming at first, but with the right knowledge and guidance, you’ll be well on your way to creating stunning pieces. In the following sections, we will walk you through the essential steps, share tips and techniques, and provide resources to help you harness the power of 3D printing in your jewelry making journey.
Choosing the Right 3D Printer for Jewelry Making
When venturing into 3D printing for jewelry making, it is crucial to select the right 3D printer that meets your specific needs and requirements. With a wide range of options available in the market, it can be overwhelming to make the right choice. Here are some key factors to consider when choosing a 3D printer for jewelry making:
- Resolution: The resolution of a 3D printer refers to the level of detail it can achieve. In jewelry making, intricate and precise details are essential, so look for a printer with high resolution capabilities.
- Build Volume: Consider the size of the objects you intend to print. A larger build volume allows for printing larger jewelry pieces or multiple smaller items in one go.
- Printing Technology: There are several 3D printing technologies available, including FDM, SLA, and DLP. Each has its own pros and cons, so make sure to choose the one that suits your requirements and budget.
- Material Compatibility: Check the compatibility of the printer with the materials commonly used in jewelry making, such as resin, wax, or precious metals. Ensure that the printer supports the materials you plan to work with.
- Reliability and Ease of Use: Look for a printer known for its reliability and ease of use. Pay attention to factors such as user-friendly interface, intuitive software, and good customer support.
- Price: Consider your budget and find a balance between affordability and quality. Keep in mind that investing in a higher-quality printer may yield better results and save you time and frustration in the long run.
Additionally, it is recommended to research and read reviews from other jewelry makers who have experience with the specific 3D printers you are considering. Their insights can provide valuable information and help you make an informed decision.
Remember, choosing the right 3D printer is a crucial step in your jewelry making journey. Take your time, weigh the options, and select the printer that aligns with your needs and allows you to bring your creative visions to life.
Understanding the Different Materials Used for 3D Printed Jewelry
When it comes to 3D printing jewelry, there is a wide range of materials available, each with its own unique characteristics and applications. Understanding the different materials is essential in achieving the desired aesthetics and functionality of your 3D printed jewelry pieces. Here are some commonly used materials in jewelry making:
- Resin: Resin is a popular material choice for 3D printed jewelry due to its ability to produce highly detailed and intricate designs. It is available in various colors and finishes, allowing for creativity and customization. Resin prints can be further post-processed, polished, or painted to achieve the desired final look.
- Wax: Wax is commonly used in jewelry casting processes, and 3D printed wax patterns can be directly used for investment casting. This allows for the creation of complex and delicate designs that would be challenging to achieve using traditional wax carving techniques.
- Precious Metals: Some advanced 3D printers can print directly using precious metals such as gold, silver, and platinum. These printers use a process known as Direct Metal Laser Sintering (DMLS) or similar techniques to create high-quality, metal jewelry pieces. This method offers the advantage of producing intricate designs and unique textures directly in the desired metal.
- PLA and ABS: PLA (Polylactic Acid) and ABS (Acrylonitrile Butadiene Styrene) are thermoplastics commonly used in general 3D printing. While not as widely used in jewelry making, they can be suitable for prints that do not require fine details or have specific functional requirements. These materials are more commonly used in rapid prototyping or for designing custom molds for traditional casting processes.
When selecting the material for your 3D printed jewelry, consider factors such as the desired level of detail, durability, color options, and post-processing possibilities. It’s important to note that certain materials may require specific equipment, such as UV curing chambers for resin prints or high-temperature chambers for metal prints.
Furthermore, experimenting with combinations of different materials can lead to unique and innovative jewelry designs. For example, combining resin and precious metals can create captivating pieces that highlight both the intricate details and the elegance of the metal.
As with any material, it’s essential to understand the properties, advantages, and limitations of the specific material you choose. This knowledge will enable you to optimize your designs, select appropriate print settings, and achieve the best possible results for your 3D printed jewelry.
Designing Your Own Custom Jewelry with CAD Software
One of the most exciting aspects of 3D printing jewelry is the ability to design and create your own custom pieces using Computer-Aided Design (CAD) software. CAD software empowers jewelry makers to bring their unique ideas to life in a digital format, which can then be translated into a physical 3D printed object. Here’s how you can design your own custom jewelry with CAD software:
- Choose the Right CAD Software: There are several CAD software options available specifically designed for jewelry making, such as RhinoGold, Matrix, or JewelCAD. These software programs offer specialized tools and features tailored to the needs of jewelry designers, including gemstone settings, ring sizing, and advanced sculpting capabilities.
- Learn the Basics of CAD: Familiarize yourself with the fundamentals of CAD software by exploring tutorials and online resources. Mastering the basics will help you navigate the software interface, utilize the tools efficiently, and create precise and accurate designs.
- Start with Sketches: Begin the design process by sketching your ideas on paper or using digital sketching tools. This will help you visualize your design concept before translating it into the CAD software.
- Create 2D Profiles: Use the CAD software to draw the 2D profiles of your jewelry pieces. This includes outlining shapes, curves, gemstone settings, and any other details you want to incorporate into your design.
- Extrude and Sculpt: Utilize the extrusion and sculpting tools to give depth and volume to your 2D profiles. This step involves transforming the 2D profiles into 3D shapes and adding intricate details, such as textures, engravings, or filigree patterns.
- Refine and Fine-Tune: Take the time to refine and fine-tune your design by adjusting proportions, smoothing surfaces, and ensuring that all details are cohesive and visually appealing.
- Test and Validate: Before proceeding with the 3D printing process, it is advisable to perform test prints or renderings to validate the design and ensure that it meets your expectations. This step allows for necessary modifications and optimizations before producing the final piece.
Remember, designing jewelry with CAD software requires patience, practice, and a keen eye for detail. Take advantage of the vast resources available online, such as tutorials and forums, to learn new techniques, exchange ideas, and refine your skills.
By harnessing the power of CAD software, you can unleash your creativity and design one-of-a-kind, personalized jewelry pieces that reflect your unique style and vision.
Tips and Techniques for Optimizing Your 3D Printed Jewelry Designs
Creating high-quality 3D printed jewelry involves more than just designing a visually appealing piece. It’s important to optimize your designs to ensure successful and efficient printing. Here are some tips and techniques to optimize your 3D printed jewelry designs:
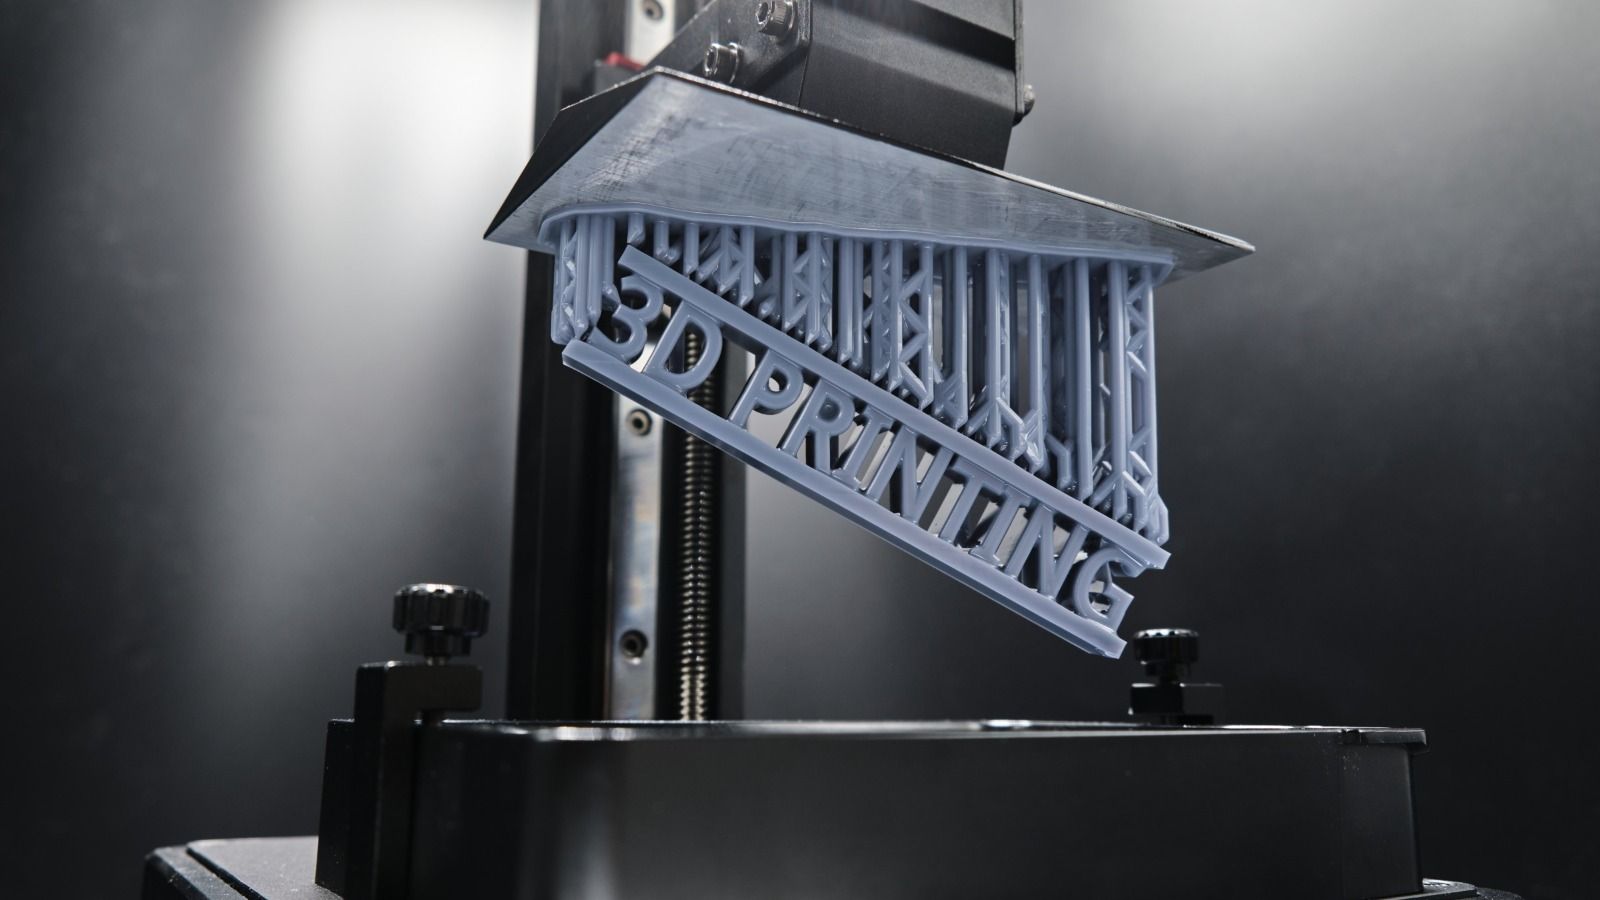
- Consider Print Orientation: Experiment with different print orientations to minimize support structures and achieve the best surface finish. This can also help in reducing the post-processing required.
- Optimize Support Structures: When support structures are necessary for your design, ensure that they are strategically placed and easy to remove. This will help minimize post-processing time and reduce the risk of damaging delicate details.
- Thicken Thin Features: If your design includes thin features or delicate sections, consider thickening them to prevent potential breakage during the printing and post-processing stages.
- Use Geometric Supports: Instead of relying solely on automatic supports generated by the software, you can manually design custom geometric supports. This technique can offer better control and reduce the amount of material used for supports.
- Account for Shrinkage: Different materials undergo shrinkage during the printing and curing processes. Consider compensating for this shrinkage in your design to ensure accurate dimensions and proper fit of gemstones or other components.
- Design for Specific Printing Technologies: Different 3D printing technologies have specific limitations and capabilities. Take these into account when designing your jewelry. For example, SLA printers may require drain holes for excess resin to escape, while DMLS printers have specific size restrictions for certain features.
- Test Print with Different Settings: Experiment with different print settings, such as layer height, print speed, and resin exposure time. Test printing small sections or prototypes can help you fine-tune the settings and achieve the best print quality.
- Integrate Assembly Features: If your design consists of multiple pieces that need to be assembled, consider incorporating alignment features or connectors to aid in the assembly process. This can simplify the post-processing and ensure proper alignment of the components.
- Use Testers and Prototypes: Before printing your final design, it’s beneficial to print testers or prototypes to assess the fit, functionality, and aesthetics. This step allows for necessary adjustments and refinements before investing time and materials in the final print.
- Pay Attention to Finishing: The final finishing touches can elevate the appearance and quality of your 3D printed jewelry pieces. Consider post-processing techniques such as sanding, polishing, and adding coatings or finishes to achieve the desired look and feel.
Remember, optimization is an ongoing process. Continuously explore new techniques, experiment with different materials and settings, and learn from your experiences. With time and practice, you’ll develop a deep understanding of how to maximize the potential of 3D printing for your jewelry designs.
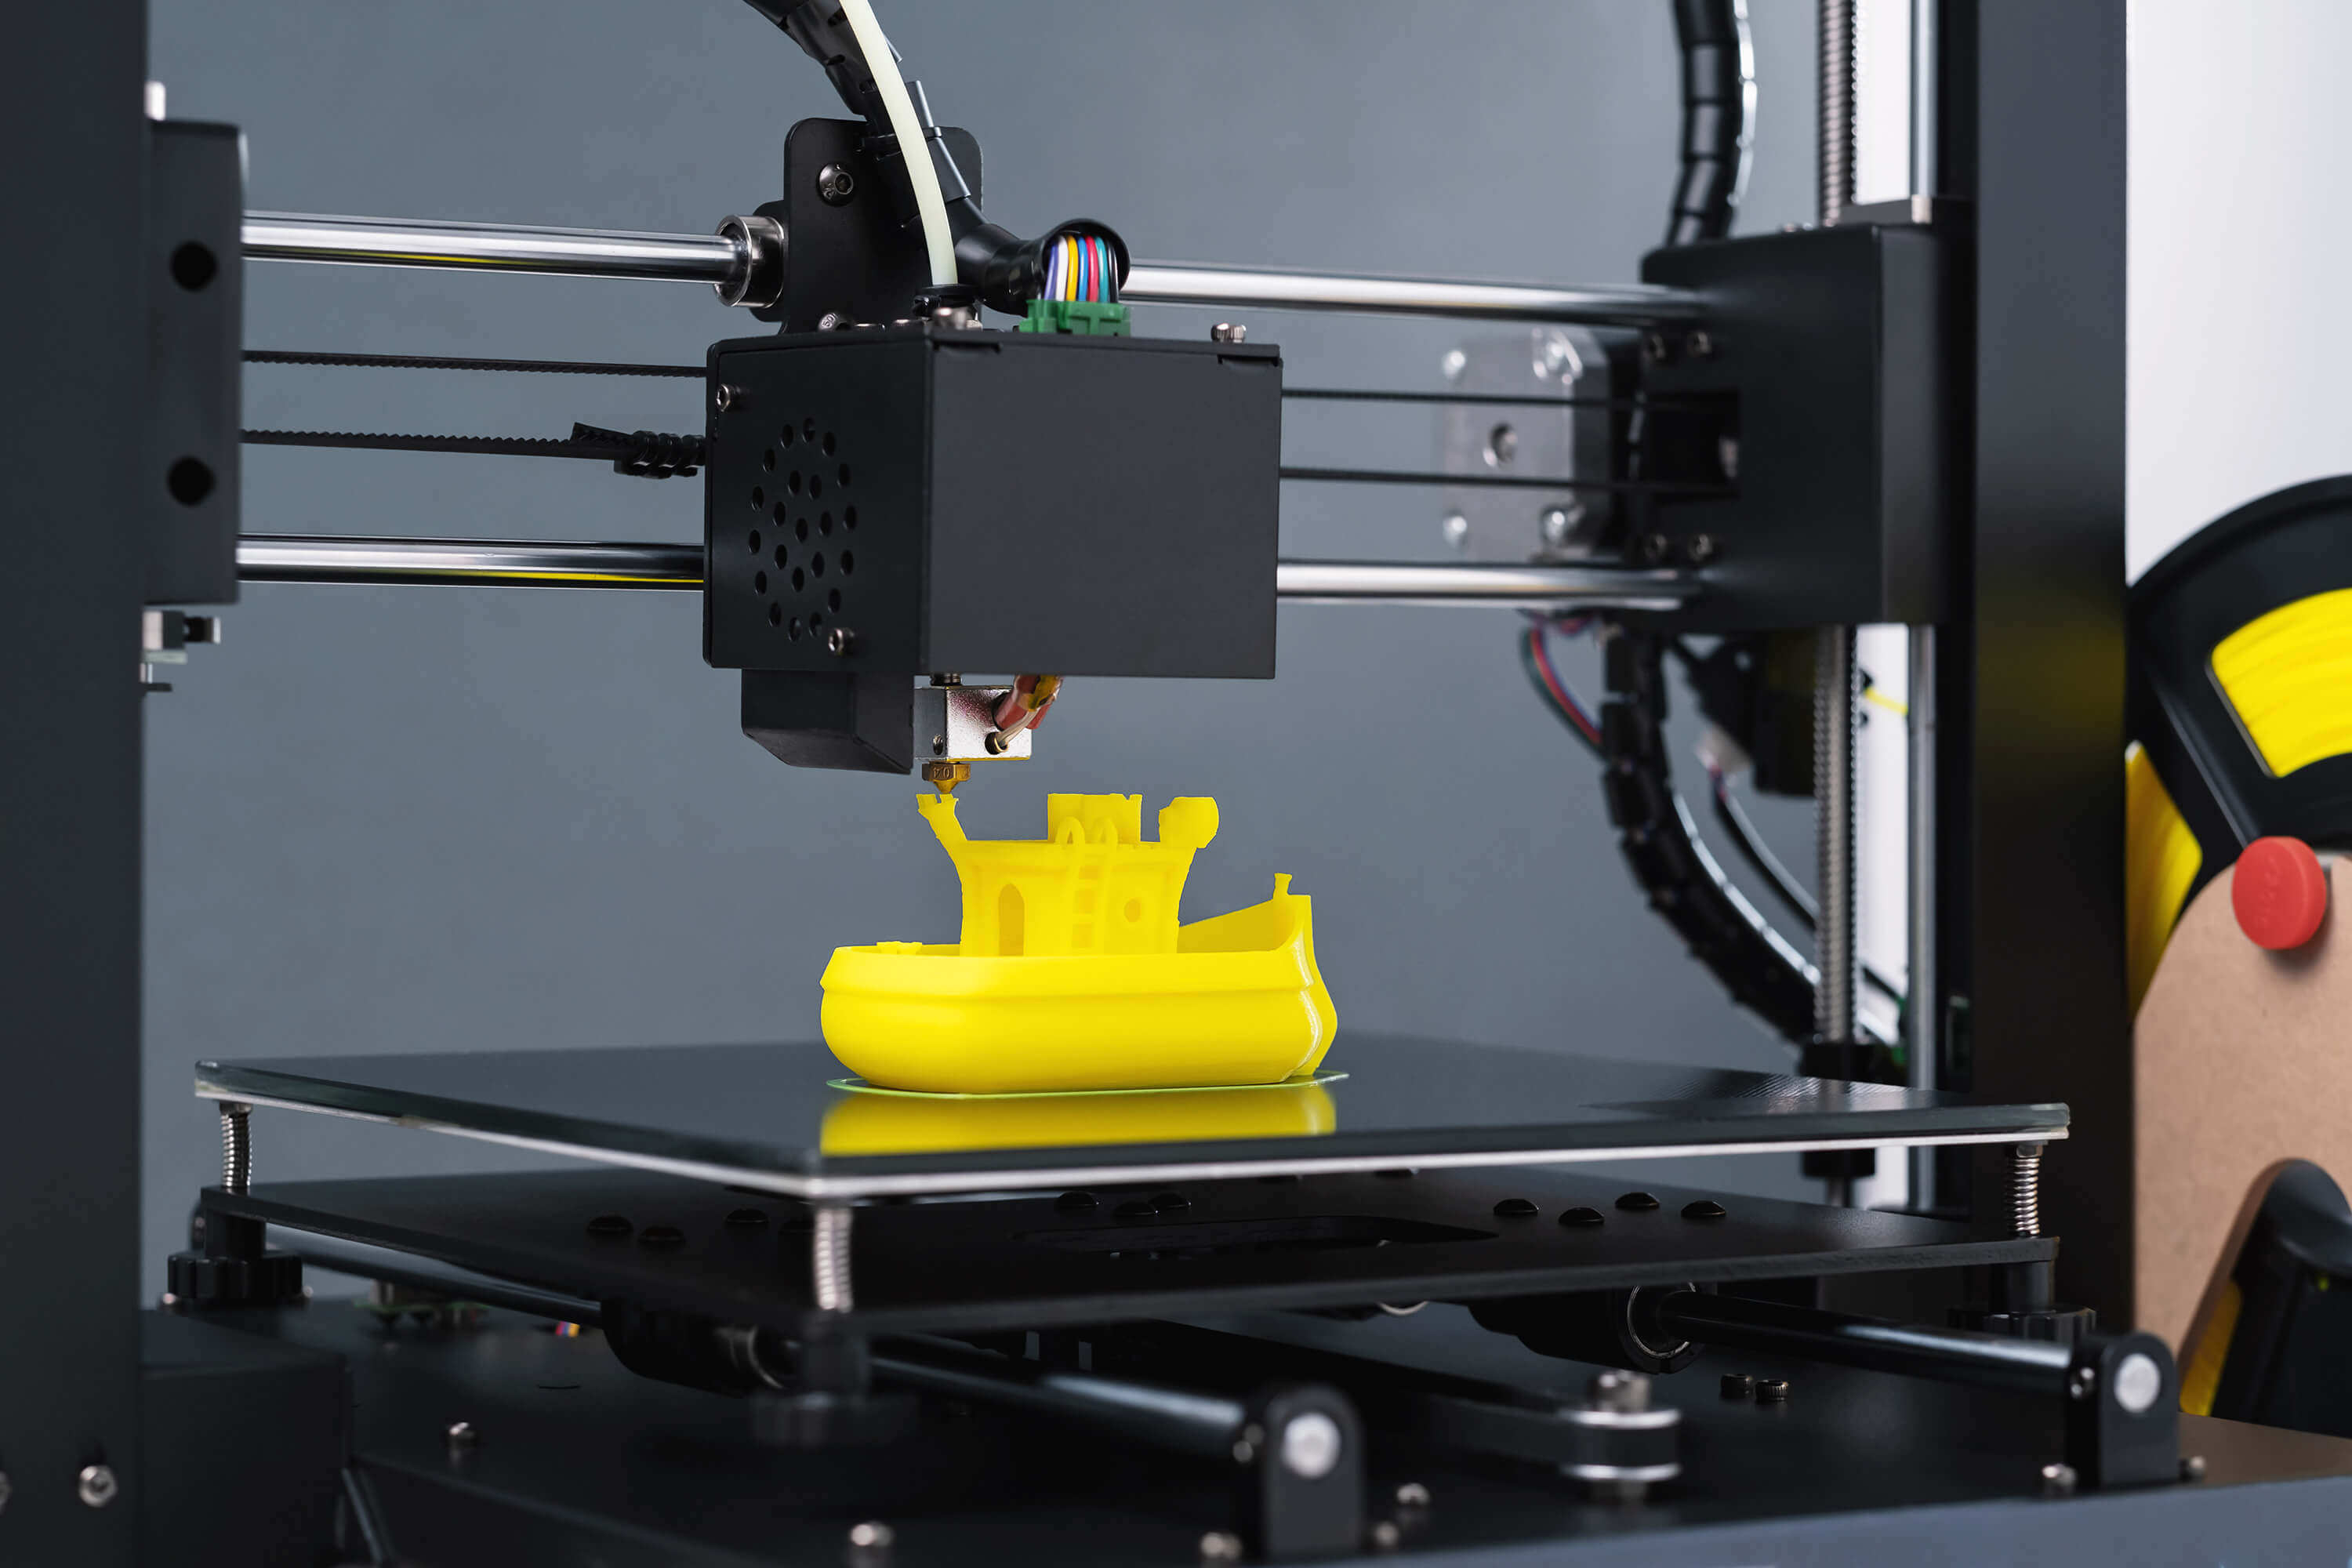
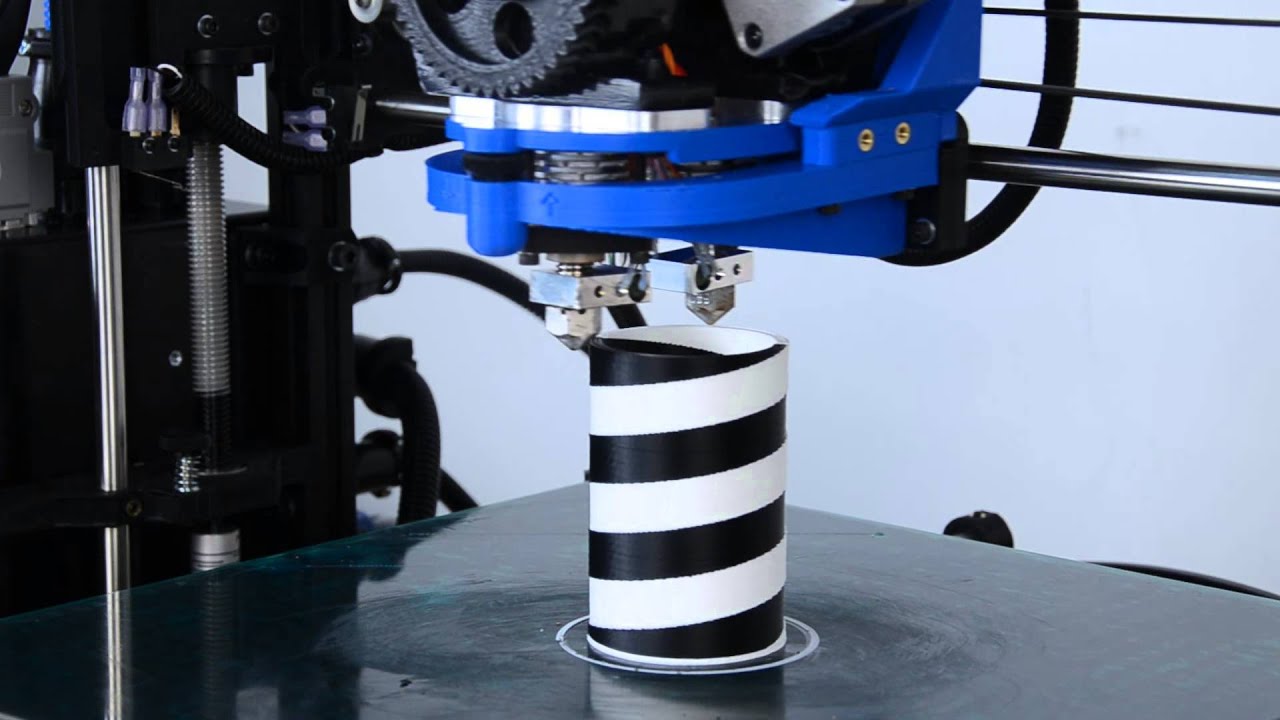
Preparing Your 3D Printer for Jewelry Printing
Before diving into the jewelry printing process, it is essential to properly prepare your 3D printer to ensure optimal results. Here are some key steps to follow when preparing your 3D printer for jewelry printing:
- Calibrate the Printer: Proper calibration is crucial for achieving accurate and precise prints. Follow the manufacturer’s guidelines to calibrate the printer’s build plate, leveling, and axis movements. This step ensures that the printer is properly aligned and ready to produce high-quality jewelry prints.
- Use the Correct Filament or Resin: Ensure that you are using the appropriate filament or resin for your jewelry prints. Each material has specific requirements in terms of temperature, curing time, and printing settings. Using the correct materials will ensure compatibility with your 3D printer and produce the desired results.
- Check the Print Bed Adhesion: Proper adhesion of the print to the build plate is crucial to prevent print failures. Check that your print bed is clean and apply the appropriate adhesive, such as a glue stick or specialized bed adhesives, to ensure proper adhesion during the printing process.
- Set the Print Settings: Configure the print settings in your slicing software to optimize the print quality and speed for jewelry printing. Adjust parameters such as layer height, print speed, and printing temperature to match the requirements of your specific design and material.
- Ensure Proper Ventilation: Some materials used in jewelry printing, such as certain resins, may emit fumes during the printing process. Ensure that your workspace has proper ventilation to dissipate any odors or potentially harmful gases. Consider using a dedicated ventilation system or working in a well-ventilated area to protect your health.
- Monitor the Printing Process: Keep a close eye on the printing process to detect any potential issues or errors. Monitor the printer’s progress, observe the quality of the print as it develops, and be prepared to troubleshoot if necessary. This proactive approach can help prevent failed prints and ensure the successful completion of your jewelry designs.
- Prepare Post-Processing Tools: Have the necessary post-processing tools ready before starting the print. This includes tools for removing supports, sanding, polishing, and any other finishing techniques you plan to use. Having everything prepared in advance will help streamline the post-processing stage and ensure a smoother workflow.
Remember to consult your printer’s user manual and follow the manufacturer’s guidelines for proper setup and maintenance. Each 3D printer may have specific requirements and considerations, so it’s important to be familiar with your specific printer’s capabilities and limitations.
By taking the time to prepare your 3D printer and ensuring that everything is properly configured, you will set yourself up for a successful jewelry printing experience and increase the chances of achieving high-quality, professional results.
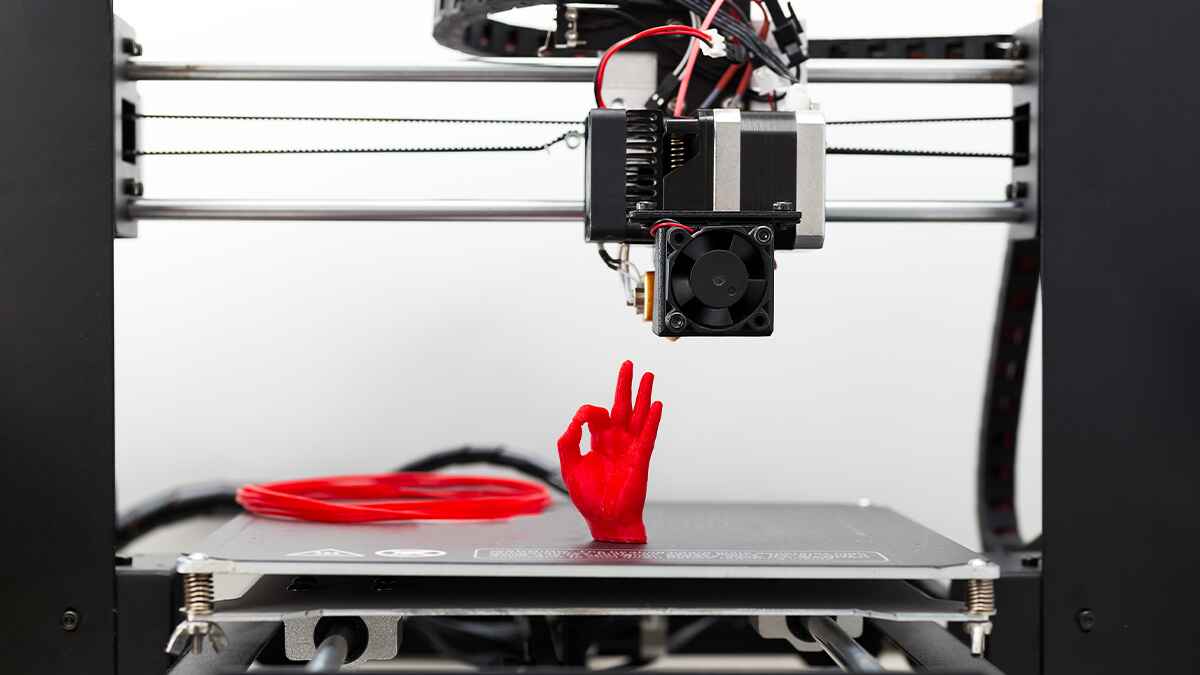
Printing and Post-Processing Your 3D Printed Jewelry
Once you have prepared your 3D printer and finalized your designs, it’s time to embark on the exciting journey of printing and post-processing your 3D printed jewelry. This section will guide you through the essential steps to ensure successful prints and achieve the desired finish for your jewelry pieces.
- Initiate the Print: Load the prepared 3D model into your slicing software and generate the G-code. Transfer the G-code to your 3D printer and initiate the print. It is essential to monitor the print initially to ensure proper adhesion to the print bed and smooth printing process.
- Support Removal: Once the print is complete, carefully remove any support structures. Use appropriate tools such as pliers, cutters, or sandpaper to gently remove the supports while being mindful of the delicate details and surfaces of your jewelry piece.
- Surface Finishing: Depending on the desired finish, post-process the printed jewelry piece. This may include sanding, filing, or buffing the surfaces to smooth out any imperfections or layer lines. Take care to maintain the integrity of the design and preserve intricate details.
- Polishing: For a refined and shiny finish, consider polishing the surface of your 3D printed jewelry. This can be achieved using various techniques, such as hand polishing with polishing compounds or using a polishing machine. Take caution not to over-polish delicate features or remove too much material.
- Texturing and Surface Treatment: If desired, you can add texture or unique surface treatments to your jewelry pieces. This can be done by using techniques like bead blasting, chemical treatments, or laser engraving to create captivating visual effects and enhance the overall appearance of your designs.
- Stone Setting: If your design includes gemstones or other embellishments, carefully set them in their designated places using appropriate techniques and tools. Take care to ensure a secure and precise setting while maintaining the aesthetic appeal of the jewelry piece.
- Final Inspection: Before considering your 3D printed jewelry piece complete, inspect it carefully to ensure all aspects meet your expectations. Check for any remaining imperfections, blemishes, or areas that may require additional touch-ups or adjustments.
- Quality Control: Conduct a final quality control check to ensure the integrity, durability, and overall function of your jewelry piece. Verify that it meets your desired standards in terms of aesthetics, structural integrity, and comfort.
It’s worth noting that the post-processing techniques and steps may vary depending on the specific material you used for printing and the desired final outcome. Some materials may require additional curing, coating, or specialized post-processing techniques to achieve the desired results.
Remember that post-processing is an art in itself, requiring patience and attention to detail. Experiment with different techniques, materials, and equipment to refine your post-processing skills and achieve stunning, professional-quality 3D printed jewelry pieces.
Adding Finishing Touches to Your 3D Printed Jewelry
Once you have completed the printing and post-processing stages of your 3D printed jewelry, it’s time to add the final finishing touches to elevate the overall aesthetic and quality of your piece. These finishing touches will help polish your jewelry and make it ready for wear or display. Here are some key aspects to consider:
- Buffing and Polishing: Give your jewelry a smooth and lustrous finish by buffing and polishing the surfaces. Utilize polishing compounds, cloths, or rotary tools to gently rub the piece, achieving a glossy shine. Pay attention to delicate details and ensure that you avoid over-polishing or altering the design.
- Plating or Coating: Enhance the appearance of your 3D printed jewelry by applying plating or coatings. Common options include electroplating with gold or silver, or applying protective coatings to increase durability or add visual effects. Follow specific techniques for each plating or coating method to achieve the desired result.
- Adding Gemstones: If your design incorporates gemstones, carefully set them using appropriate techniques. This could involve prong settings, bezel settings, or other mounting methods. Ensure that the gemstones are securely held in place while enhancing the overall aesthetic appeal of the jewelry.
- Enameling or Coloring: Add vibrancy and uniqueness to your 3D printed jewelry by incorporating enameling or coloring techniques. Use high-quality enamel paints or dyes to creatively highlight specific areas of your design. Take care to apply the enamel or color evenly and judiciously for a professional and consistent finish.
- Personalization: Consider adding personalized elements to your jewelry to create a meaningful and unique piece. This could involve engraving names, initials, or sentimental messages onto the surface of the jewelry. Utilize laser engraving or hand engraving techniques to achieve precise and intricate designs.
- Assembling Multiple Components: If your design consists of multiple printed parts, carefully assemble them together using appropriate techniques. This may involve soldering, gluing, or mechanically attaching the different components. Ensure that the assembly is secure, aligned, and visually appealing.
- Jewelry Findings: Incorporate appropriate jewelry findings, such as jump rings, clasps, or earring hooks, to make your piece wearable and functional. Choose findings that complement the overall design and match the desired style and quality of the finished jewelry.
- Quality Check: Before considering your 3D printed jewelry complete, conduct a thorough quality check. Inspect the piece for any remaining imperfections or issues. Verify that all elements are securely fastened, surfaces are smooth, and details are well-defined.
Always strive for excellence and pay attention to the smallest details when adding finishing touches to your 3D printed jewelry. These final steps can truly elevate your piece to a professional level and make it stand out in terms of both craftsmanship and visual appeal.
Exploring Advanced Techniques and Embellishments for Jewelry Making with a 3D Printer
Once you have become familiar with the basics of 3D printing jewelry, you can venture into exploring advanced techniques and embellishments to take your designs to the next level. These techniques allow for greater creativity and expand the possibilities for creating truly unique and intricate jewelry pieces. Here are some advanced techniques to consider:
- Hollow Structures: Experiment with creating hollow designs to reduce material usage and weight while maintaining structural integrity. This technique is particularly useful for large and statement pieces or designs that require flexibility.
- Lattice Structures: Incorporate lattice structures into your designs to create visually stunning and intricate patterns. Lattices not only enhance the aesthetics but also provide structural stability and allow for light filtration, adding a unique touch to your jewelry.
- Multi-Material Printing: Take advantage of multi-material 3D printing capabilities to create jewelry pieces that combine different materials. This opens up possibilities for creating contrasting textures, colors, or functional elements within the same design, resulting in visually striking and dynamic pieces.
- Movable Parts: Explore the integration of movable parts within your jewelry designs. This could involve incorporating hinges, interlocking mechanisms, or joints that allow certain components to move or rotate. Such interactive elements add interest and engagement to your jewelry.
- Interchangeable Components: Design components that can be easily replaced or interchanged. This allows for adaptability and customization, giving wearers the flexibility to modify the appearance of their jewelry. Consider creating interchangeable gemstone settings or decorative elements for added versatility.
- Integrating Electronics: Combine 3D printed jewelry with electronic elements, such as LED lights, sensors, or small circuit boards. This fusion of technology and aesthetics can create futuristic or interactive pieces that truly mesmerize and captivate the wearer.
- Textured Surfaces: Explore different surface textures by incorporating patterns, reliefs, or embossed details in your designs. These textured surfaces add depth and visual interest to your jewelry pieces, enhancing their overall allure.
- Integrating Natural Elements: Combine 3D printed components with natural materials like wood, gemstones, or shells to create jewelry pieces that strike a harmonious balance between the digital and organic worlds. This technique allows for the fusion of different textures and materials to create intriguing and unique designs.
- Experimenting with Alternative Materials: Go beyond traditional jewelry materials and experiment with using alternative materials, such as biodegradable filaments or recycled plastics. This not only adds an eco-friendly aspect to your designs but also presents new opportunities for creativity and sustainability in jewelry making.
- Customizing Closures: Pay attention to the closures of your jewelry pieces by creating custom-designed clasps, hooks, or fasteners. This allows for a cohesive design aesthetic while ensuring secure and comfortable wearability.
Remember, exploring advanced techniques and embellishments requires creativity, practice, and a spirit of experimentation. Embrace the opportunities that 3D printing offers to push the boundaries of conventional jewelry making and create truly extraordinary pieces that reflect your unique style and vision.
Showcasing and Selling Your 3D Printed Jewelry Online
Once you have created your exquisite 3D printed jewelry pieces, it’s time to showcase and sell them online. The internet provides an incredible platform to reach a global audience and connect with potential customers who appreciate the uniqueness of your designs. Here are some key steps to successfully showcase and sell your 3D printed jewelry online:
- Create a Stunning Online Presence: Build an engaging and visually appealing website or online store to showcase your jewelry. Use high-quality images and detailed product descriptions to captivate visitors and provide an interactive shopping experience.
- Utilize Social Media Platforms: Leverage the power of social media to promote your jewelry. Share captivating images and engaging content on platforms such as Instagram, Facebook, and Pinterest to reach a wider audience and build your brand following.
- Invest in Professional Product Photography: Present your jewelry in the best possible light by investing in high-quality product photography. Clear, well-lit images that showcase the details and craftsmanship of your pieces will entice potential buyers and make your jewelry stand out.
- Offer Customization Options: Provide customization options, such as different metals, gemstone choices, or personalization services, to cater to individual preferences. This allows customers to have a personalized experience and feel a deeper connection to your jewelry.
- Write Compelling Product Descriptions: Craft compelling and detailed product descriptions that highlight the unique features and craftsmanship of your jewelry. Use persuasive language, storytelling, and sensory cues to evoke emotions and create an irresistible buying proposition.
- Implement Secure Online Payment Methods: Ensure that your online store offers secure and trusted payment methods to instill confidence in your customers. Utilize reputable payment gateways and encrypt customer data to prioritize their privacy and protection.
- Offer Clear Returns and Exchange Policies: Be transparent and provide clear returns and exchange policies to address any potential concerns customers may have. This instills trust and allows customers to feel confident in their purchase decision.
- Engage with Your Audience: Be active and responsive to customer inquiries, comments, and feedback. Engage with your audience through social media, email newsletters, and blog posts to build relationships and create a loyal customer base.
- Collaborate with Influencers or Bloggers: Collaborate with influential individuals in the fashion or jewelry industry, such as bloggers or social media influencers, to promote your 3D printed jewelry. Their endorsement and reach can significantly amplify your brand exposure and attract new customers.
- Participate in Virtual Markets or Exhibitions: Explore virtual marketplaces, online exhibitions, or designer showcases to connect with a broader audience. These platforms allow you to showcase your jewelry and connect directly with potential buyers from around the world.
Remember, building a successful online presence takes time and effort. Continuously refine your online strategies, adapt to changing trends, and always prioritize delivering exceptional customer experiences. With dedication and a strong online presence, you can achieve your goals and build a thriving business selling your 3D printed jewelry online.
Conclusion
3D printing has revolutionized the world of jewelry making, allowing designers and artisans to create stunning and intricate pieces that were once unimaginable. With the right 3D printer, materials, and techniques, you can bring your unique jewelry designs to life and unleash your creativity.
Throughout this article, we have explored the essential steps and considerations for successful 3D printed jewelry making. From choosing the right 3D printer and materials to designing custom jewelry with CAD software, optimizing designs, and post-processing techniques, each step is crucial in achieving outstanding results.
By incorporating advanced techniques, embellishments, and personalized touches, you can take your jewelry designs to the next level, creating pieces that captivate and inspire. Furthermore, leveraging the power of the internet to showcase and sell your 3D printed jewelry allows you to reach a global audience and build a thriving online business.
Remember, patience, practice, and continuous learning are key to mastering the art of 3D printed jewelry. Embrace the endless possibilities that this technology offers, experiment with new materials and techniques, and refine your designs to create truly remarkable and one-of-a-kind jewelry pieces.
With dedication, passion, and a commitment to excellence, you can establish yourself as a prominent jewelry designer in the digital era and make a lasting impression in the world of 3D printed jewelry.