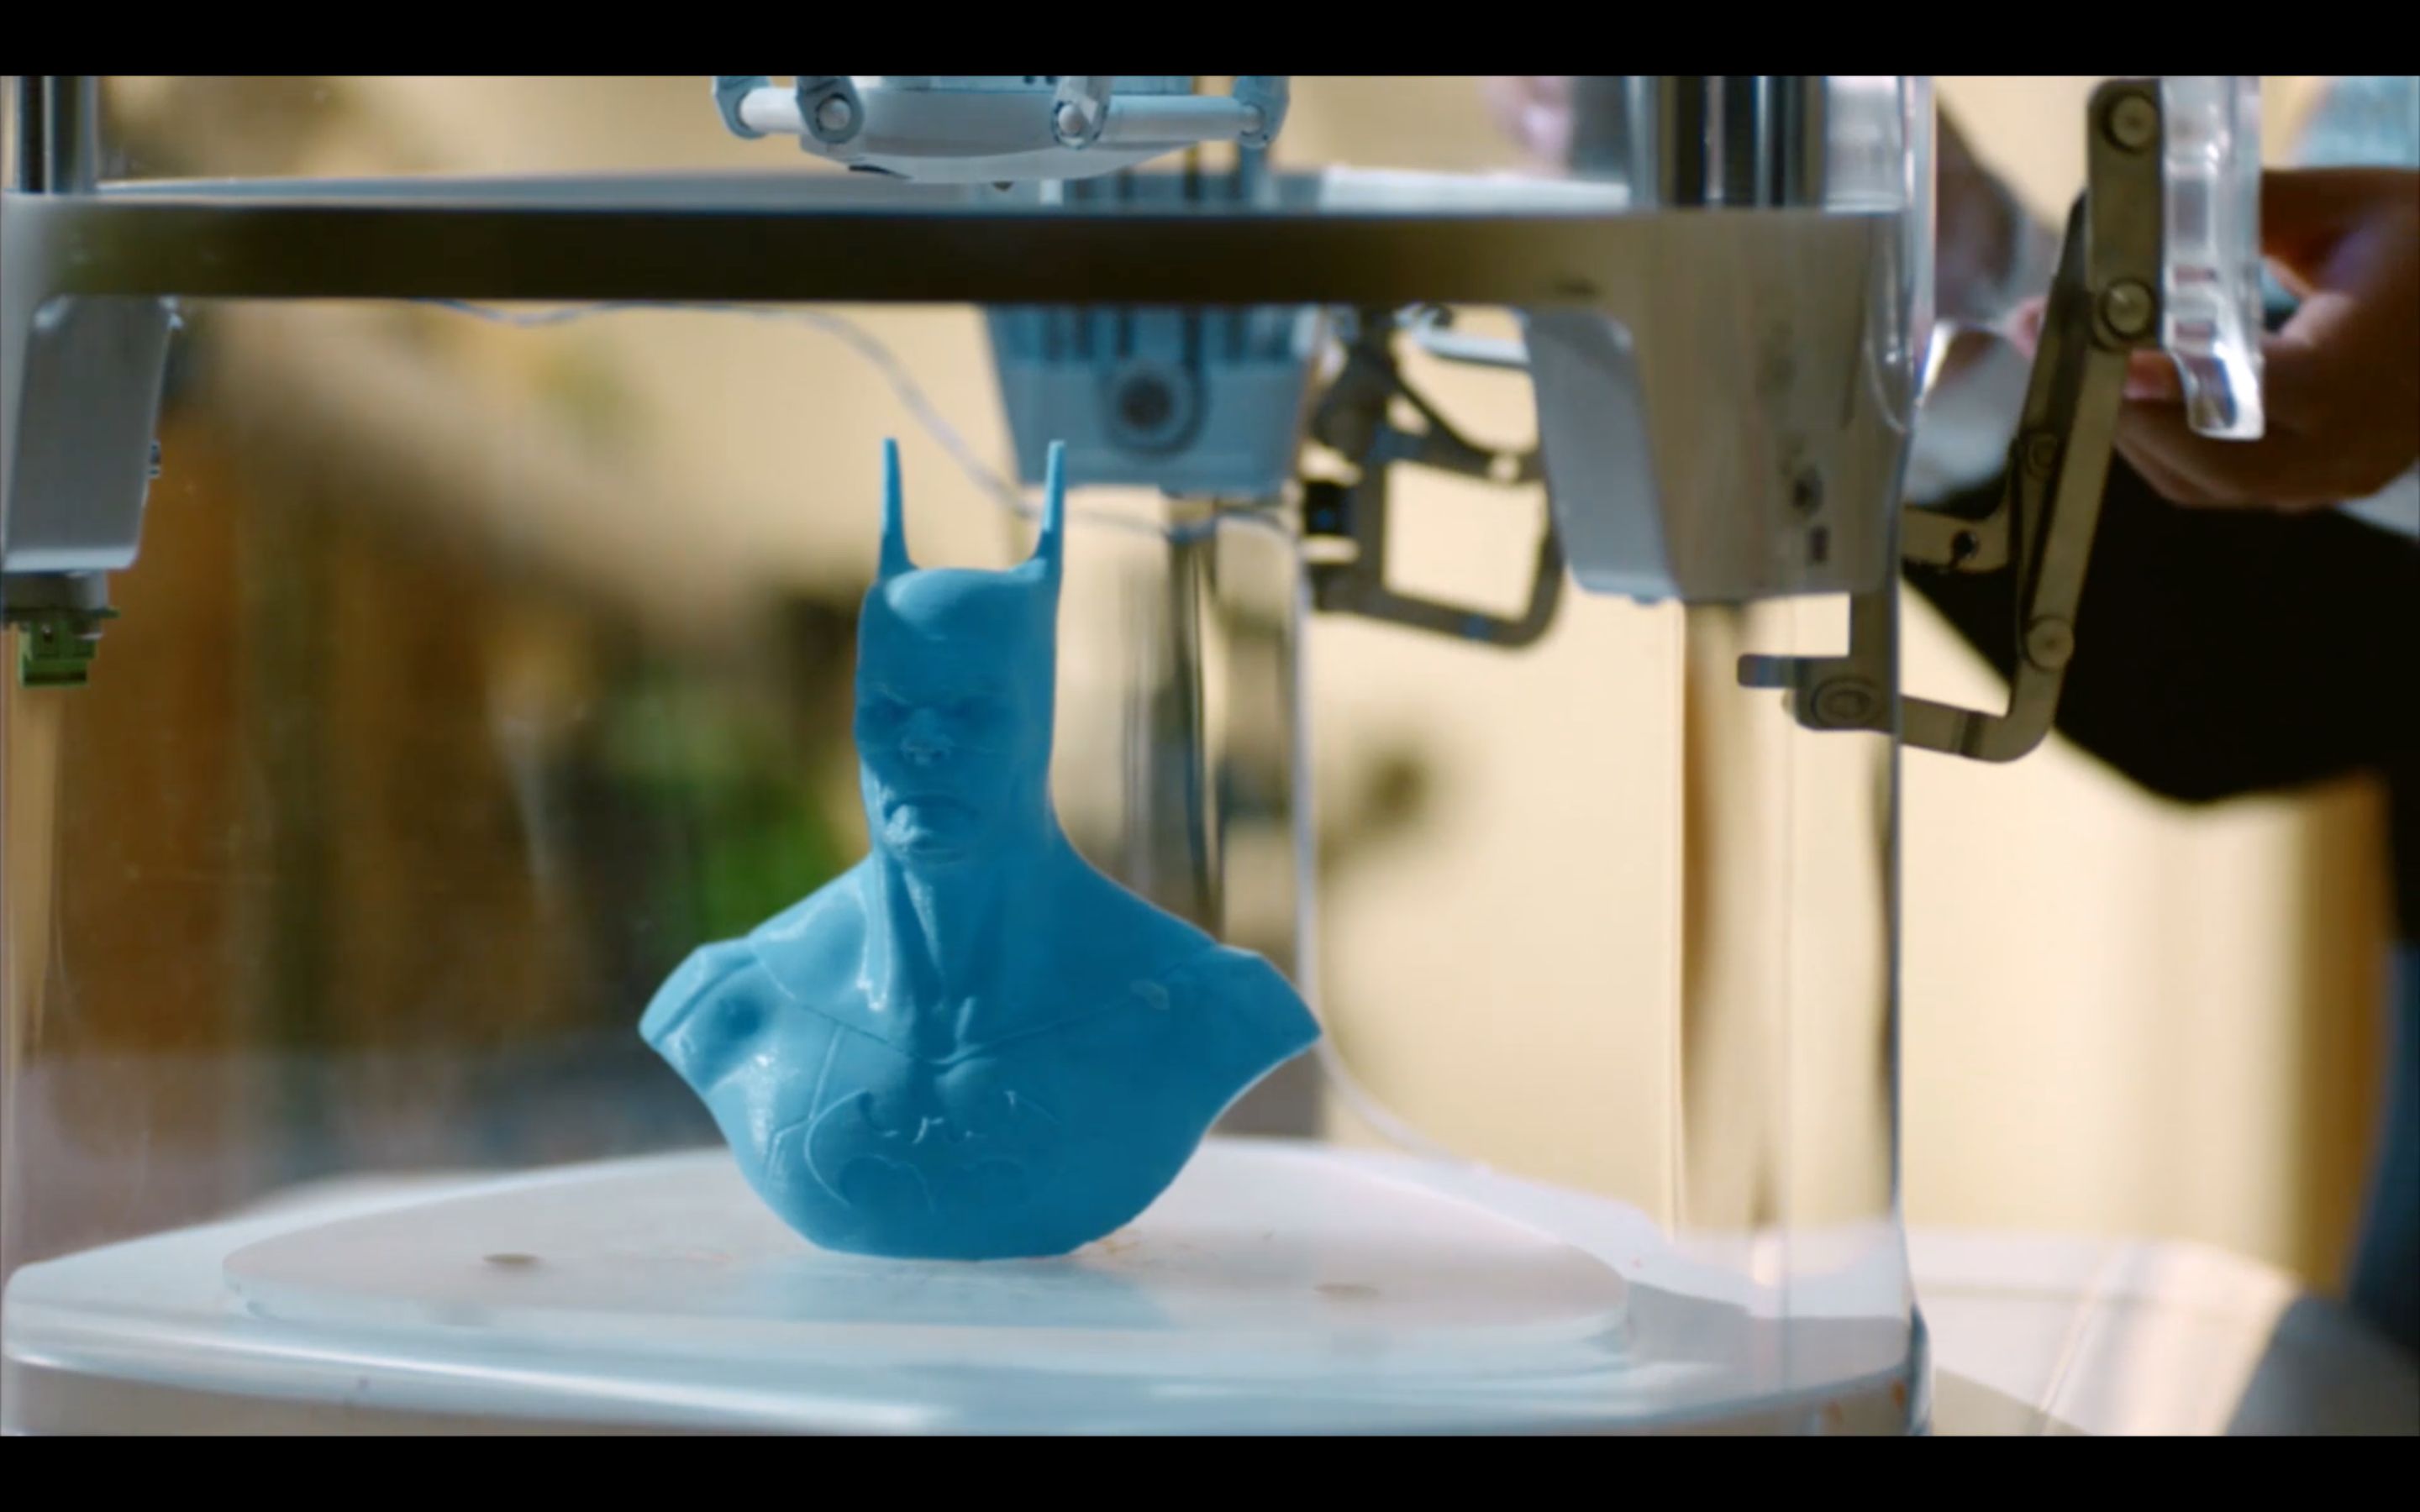
Introduction
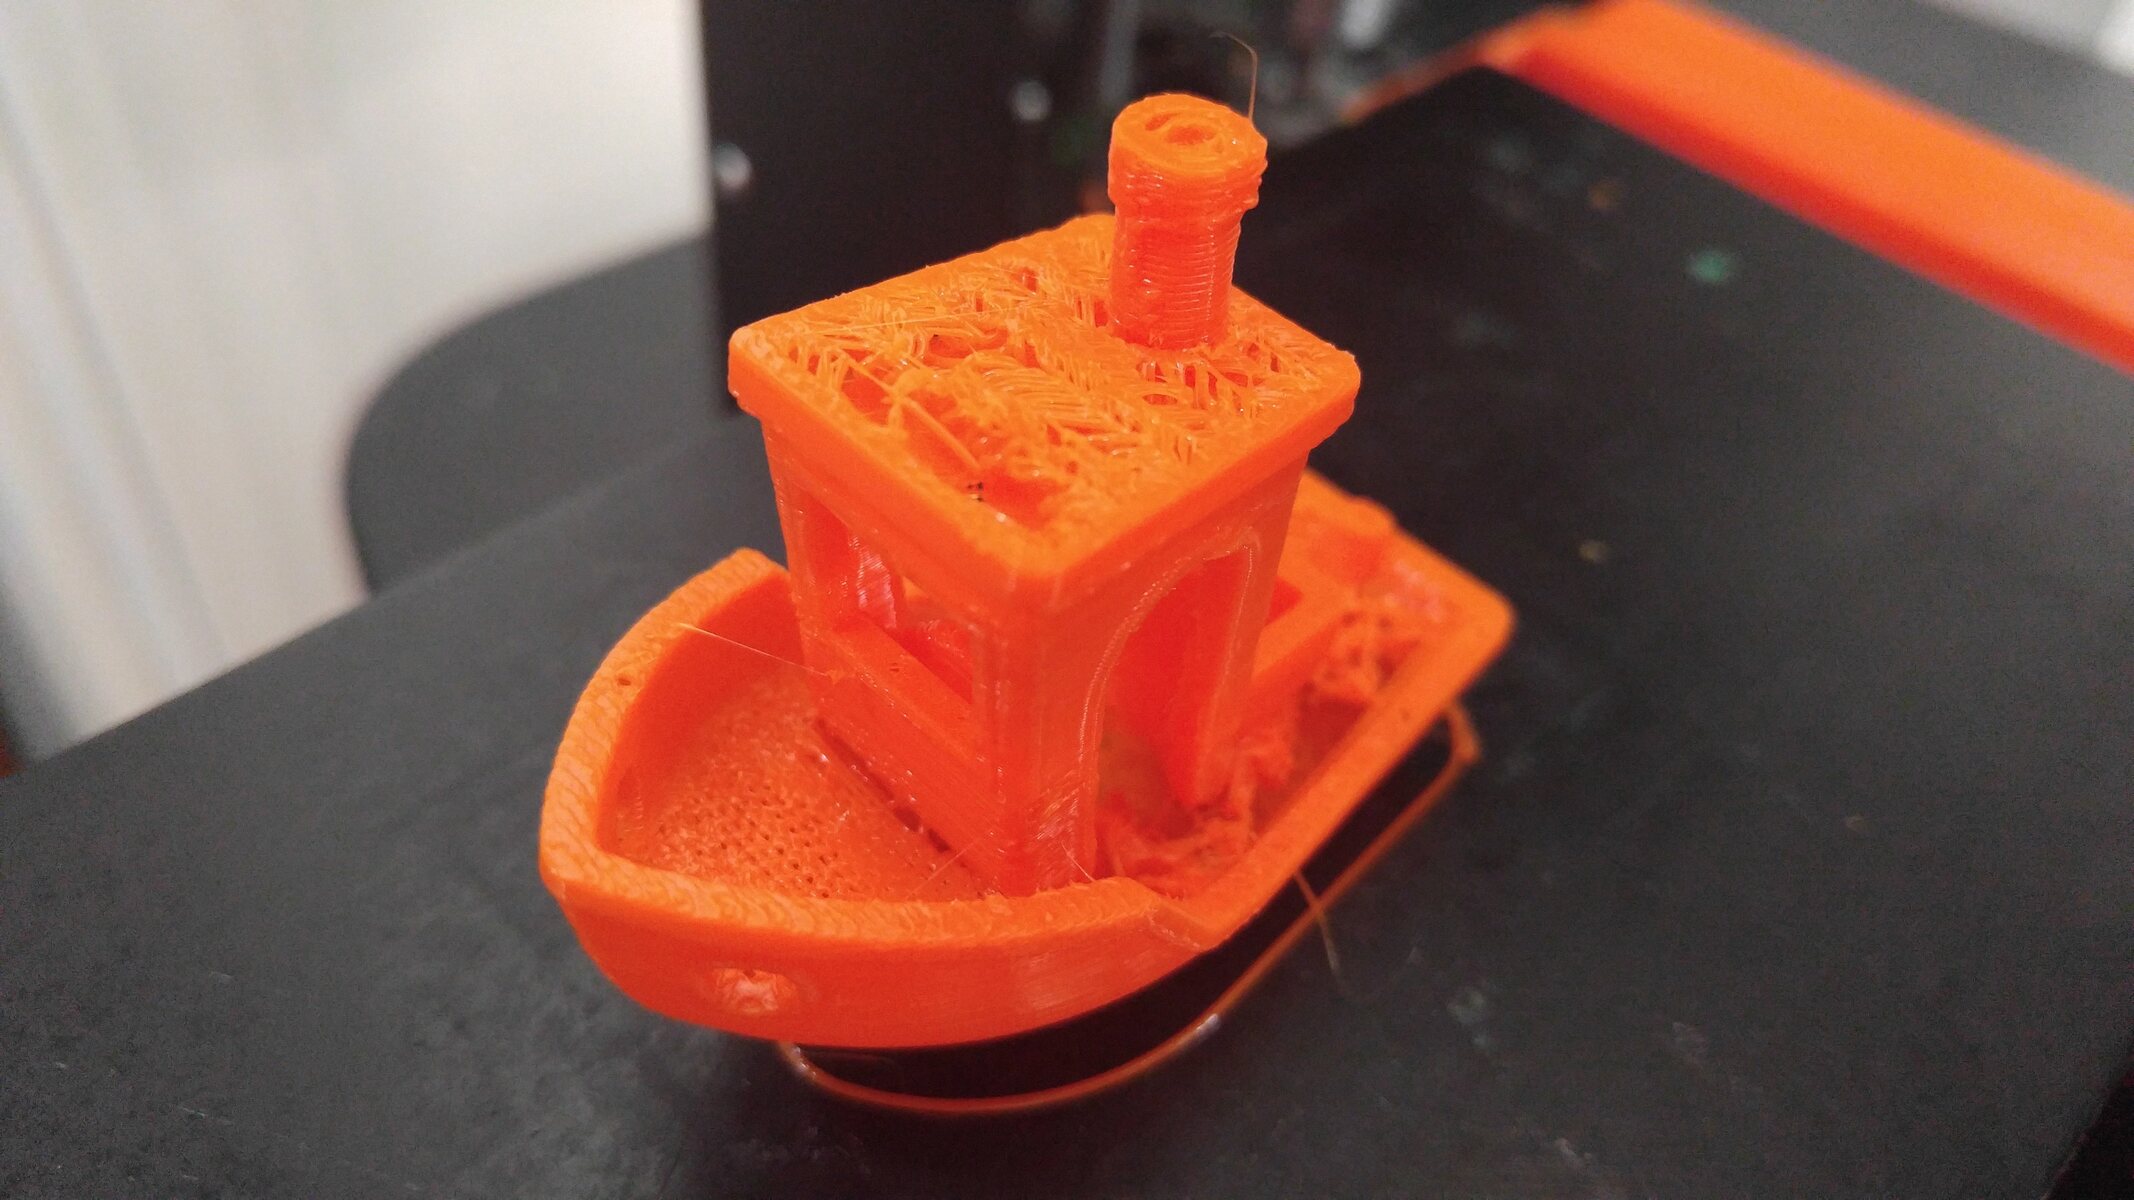
A 3D printer is an amazing tool that allows you to turn your digital designs into physical objects. However, like any technology, it can sometimes encounter problems that can be frustrating and lead to less than desirable results. If you’re finding that your 3D printer is not producing the quality prints you were expecting, there could be several reasons behind it. In this article, we will explore some common issues that can cause your 3D printer to mess up and provide possible solutions to help you get back on track.
Clogged nozzle, improper bed leveling, filament tangles, inconsistent extrusion, warping and lifting, cooling issues, printer settings, and filament quality are some of the factors that can contribute to a 3D printer malfunction. By understanding these potential issues and implementing the appropriate solutions, you’ll be able to troubleshoot and address the problem effectively.
Keep in mind that every 3D printer model is unique, and the specific problems and solutions mentioned in this article may vary based on the manufacturer and type of printer you are using. However, the concepts discussed here should provide a good starting point for diagnosing and resolving common issues that may arise during the printing process.
Now, let’s dive into the details of each potential problem and explore the steps you can take to rectify them.
Clogged Nozzle
One of the most common issues that can cause your 3D printer to mess up is a clogged nozzle. Over time, small particles or debris can accumulate in the nozzle, restricting the flow of filament and leading to poor-quality prints. If you notice that your prints have gaps, inconsistent extrusion, or are not adhering properly to the bed, a clogged nozzle might be the culprit.
To unclog the nozzle, you can try the following steps:
- Heat the nozzle: Start by heating up the nozzle to its designated temperature. This will soften any stuck filament or debris trapped inside.
- Manually remove the filament: Once the nozzle is heated, gently push and pull the filament to try and remove any clogs. If the filament doesn’t come out easily, avoid using excessive force as this may damage the printer.
- Use a cleaning needle or nozzle cleaning kit: If the filament doesn’t clear the clog, you can use a cleaning needle or a specialized nozzle cleaning kit to carefully remove any remaining debris. Insert the needle or cleaning tool into the nozzle and gently wiggle it to loosen and dislodge any obstructions.
- Test with a new filament: After cleaning the nozzle, load a new filament and perform a test print to ensure that the clog has been completely resolved.
Prevention is key when it comes to nozzle clogs. It’s important to regularly clean and maintain your printer to minimize the chances of clogging. Additionally, using high-quality filament, storing it in a dry environment, and avoiding abrupt temperature changes can help prevent clogs from occurring in the first place.
By regularly inspecting and cleaning the nozzle, you can maintain a consistent and reliable printing experience with your 3D printer.
Improper Bed Leveling
Another common issue that can lead to problematic 3D prints is improper bed leveling. The printer’s bed needs to be leveled correctly to ensure that the first layer of filament adheres properly and that subsequent layers are printed accurately.
When the bed is not leveled correctly, you may notice issues such as uneven layer heights, poor adhesion, or prints that detach from the bed during printing. To resolve this problem, follow these steps:
- Home the printer: Start by homing the printer and ensuring that the nozzle is at the correct starting position.
- Adjust the leveling screws: Most printers have screws or knobs that can be adjusted to level the bed. Start with one corner of the bed and slowly adjust the leveling screw until there is a slight resistance when sliding a piece of paper between the nozzle and the bed.
- Repeat for other corners: Move on to the other corners of the bed and repeat the leveling process. Make sure to adjust each screw or knob to achieve a consistent and even gap between the nozzle and the bed.
- Perform calibration prints: Once you’ve leveled the bed, perform a few calibration prints to ensure that the first layer adheres properly and that subsequent layers are printed accurately. Pay attention to any signs of poor adhesion or uneven layer heights and make further adjustments if necessary.
Proper bed leveling is essential for achieving high-quality prints. It ensures that each layer of filament is deposited accurately and adheres firmly to the bed. Remember to relevel the bed periodically, especially if you notice any changes in the print quality.
Additionally, some printers offer features like automatic bed leveling, which can simplify the process. If your printer supports this feature, refer to the manufacturer’s instructions on how to enable and calibrate it.
By taking the time to properly level your printer’s bed, you can avoid many common issues and enjoy consistent and precise 3D prints.
Filament Tangles
Filament tangles can be a frustrating issue that can disrupt the printing process and result in failed prints. Tangles occur when the filament gets twisted or knotted, preventing smooth and continuous flow through the extruder. This can lead to inconsistent extrusion, gaps in the printed object, or even nozzle jams.
To address filament tangles, consider the following steps:
- Inspect the filament spool: Before loading the filament, check the spool for any twists or tangles. If you notice any issues, carefully unwind and straighten the filament to ensure smooth feeding.
- Use a filament guide: A filament guide can help ensure that the filament is fed into the extruder at a consistent angle, reducing the chances of tangles occurring. There are various guides available, ranging from simple clips to more complex mechanisms that guide the filament’s path.
- Properly load the filament: When loading the filament, make sure to carefully insert it into the extruder, following the manufacturer’s instructions. Avoid forcing or bending the filament, as this can lead to tangles or jams.
- Monitor the printing process: While the printer is running, keep an eye on the filament spool. If you notice any tangling or twisting, pause the print, untangle the filament, and resume the print job. It may be helpful to use a filament guide or holder to keep the filament tidy and prevent it from tangling as it unwinds from the spool.
Prevention is key when it comes to filament tangles. Keeping the filament spool organized and properly loaded, as well as using filament guides, can significantly reduce the chances of tangles occurring during the printing process.
Furthermore, using high-quality filament can also minimize the likelihood of tangles as it tends to have a more consistent diameter and smoother surface, allowing for smoother feeding through the extruder.
By implementing these steps and maintaining proper filament management, you can minimize filament tangles and enjoy smoother and more reliable 3D prints.
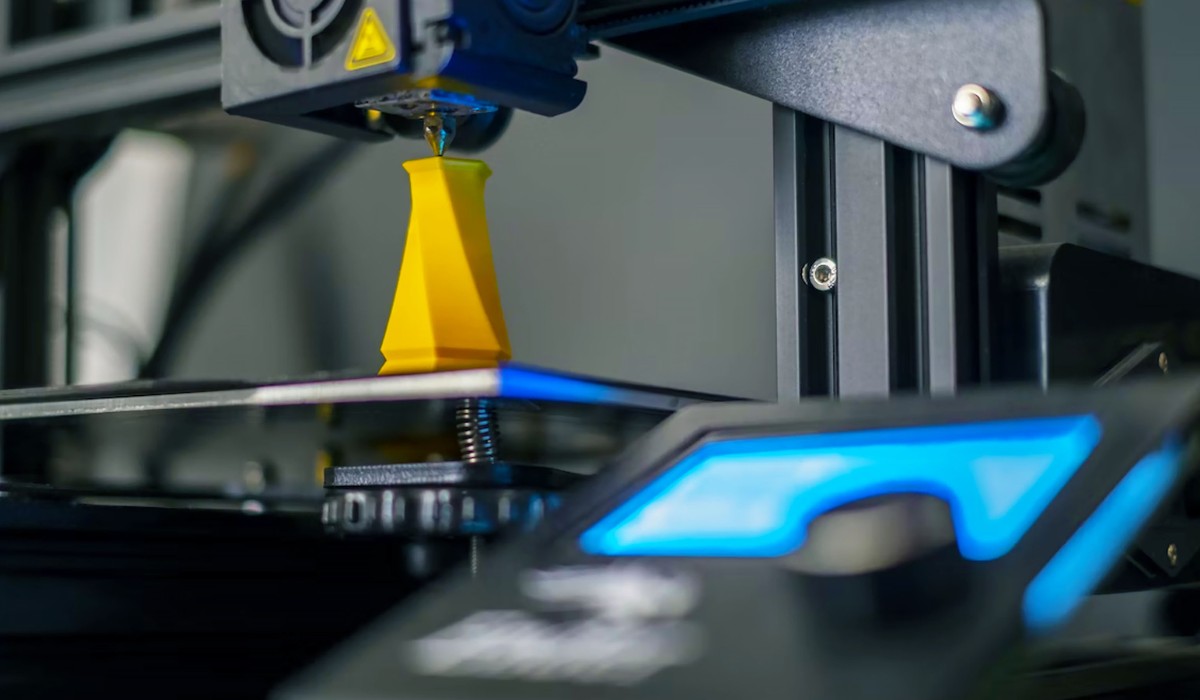
Inconsistent Extrusion
Inconsistent extrusion is a common issue that can result in poor-quality prints. It occurs when the amount of filament being fed through the extruder is not consistent, leading to gaps, under-extrusion, or over-extrusion in the printed object. Several factors can contribute to this problem, including nozzle blockages, incorrect temperature settings, or improper filament tension.
To address inconsistent extrusion, consider the following steps:
- Check for nozzle blockages: Inspect the nozzle for any blockages or debris that may be hindering the smooth flow of filament. If necessary, clean the nozzle using a cleaning needle or a specialized cleaning kit, as mentioned earlier in this article.
- Ensure proper temperature settings: Make sure that the temperature settings for your filament are correct. Different types of filament require different temperatures to extrude properly. Consult the manufacturer’s guidelines or filament packaging for the recommended temperature range.
- Calibrate filament tension: Improper filament tension can also result in inconsistent extrusion. Check the tension of the filament as it passes through the extruder. It should be tight enough to feed smoothly without slipping, but not so tight that it causes excessive resistance or damage to the filament. Consult your printer’s documentation for guidance on adjusting or calibrating the filament tension.
- Check for filament feeding issues: Ensure that the filament is properly loaded and feeding smoothly into the extruder. If the filament is not feeding consistently, it can lead to uneven extrusion. Check for any obstructions or tangles in the filament path, and adjust or clean the filament feeding mechanism if necessary.
By addressing these potential causes of inconsistent extrusion, you can improve the overall print quality and achieve more accurate and reliable results.
It’s worth noting that some printers also offer features like flow rate adjustments or advanced slicing settings that allow for fine-tuning the extrusion process. If your printer supports these features, you may consider experimenting with them to achieve optimal extrusion results.
Remember, troubleshooting inconsistent extrusion may require some trial and error, as different printers and filaments may react differently. Patience and persistence are key in identifying and resolving the underlying causes of inconsistent extrusion.
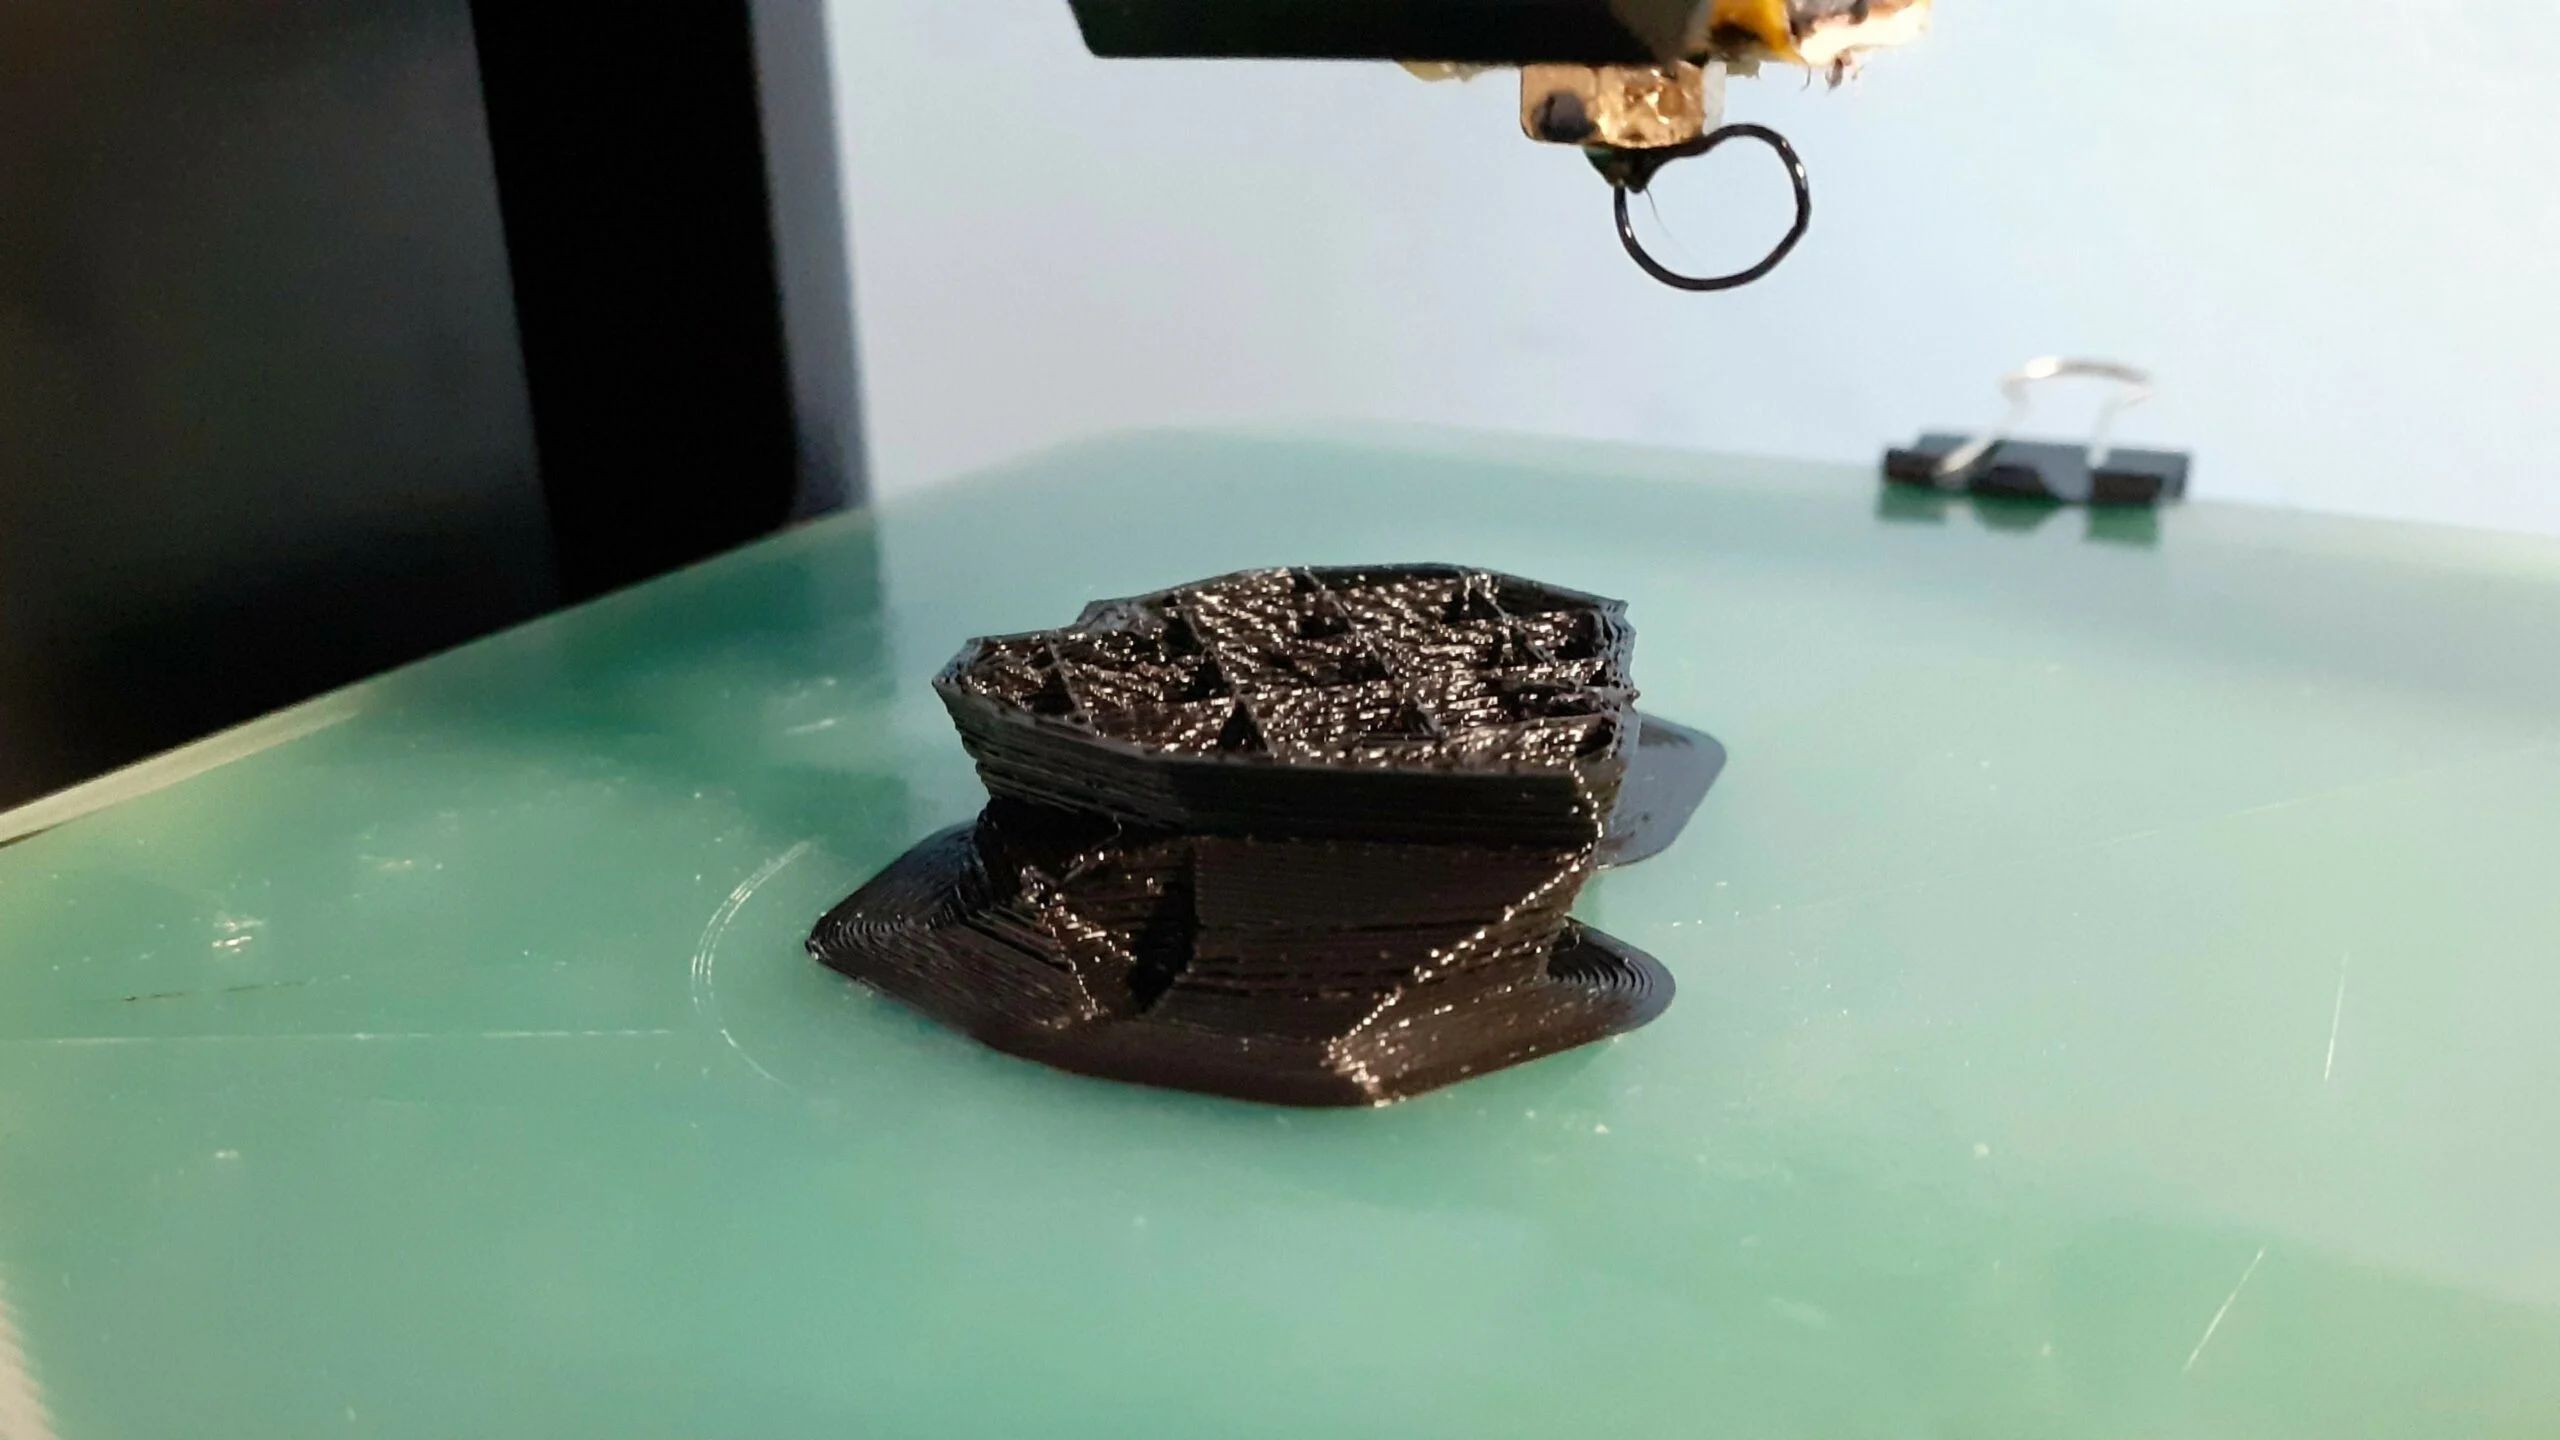
Warping and Lifting
Warping and lifting of prints from the print bed is a frustrating issue that can occur during the 3D printing process. It happens when the printed object curls or warps at the corners or edges, causing it to detach from the bed and ruining the print. This problem is commonly caused by uneven cooling or improper adhesion between the printed object and the print bed.
To address warping and lifting, consider the following steps:
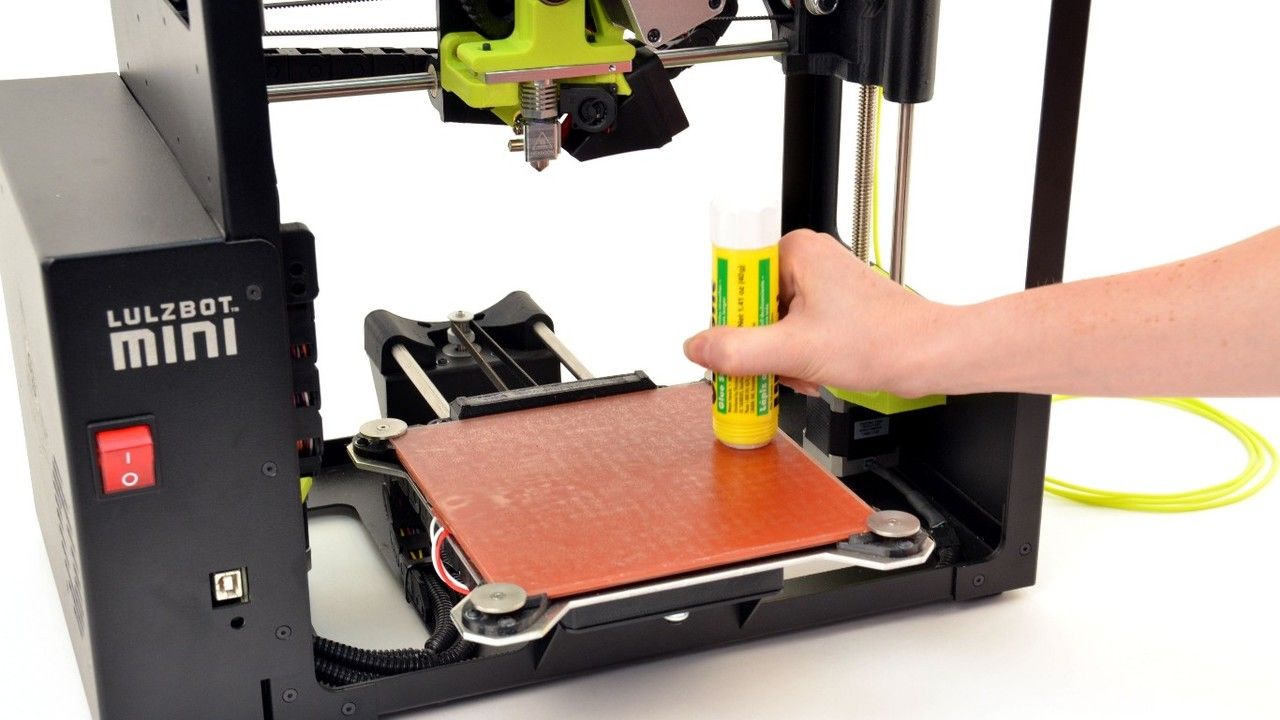
- Ensure proper bed adhesion: The first step is to ensure that the print bed provides sufficient adhesion for the printed object. This can be achieved by using appropriate bed surface materials, such as a heated bed with a build surface like glass, PEI, or a specialized 3D printing adhesive like hairspray or glue stick. The selected bed surface should promote good adhesion between the filament and the bed, preventing warping and lifting.
- Adjust bed temperature and settings: Temperature plays a crucial role in preventing warping. Ensure that the bed temperature is set correctly for the type of filament being used. Different filaments have specific temperature requirements for optimal adhesion. Additionally, adjust the temperature settings in your slicer software to enable a suitable print bed temperature and cooling conditions for the specific material being used.
- Improve bed leveling: Accurate bed leveling is essential for preventing warping and lifting. Make sure that the bed is properly leveled to ensure that the first layer adheres uniformly to the print surface. Uneven bed leveling can lead to inconsistencies in filament deposition and subsequent warping as the print progresses.
- Use a brim or raft: Adding a brim or raft to your print can provide additional support and help to prevent warping. A brim is a thin layer of filament that surrounds the base of the printed object, providing extra stability. A raft, on the other hand, is a thicker, multi-layered structure that sits underneath the printed object, adding a more substantial foundation for better adhesion and reduced warping.
Remember, factors such as the size and geometry of the printed object, as well as the environmental conditions during printing, can also influence the occurrence of warping and lifting. It may be necessary to experiment with different settings and techniques to find the optimal solution for your specific print requirements.
By implementing these steps and considering the factors that contribute to warping and lifting, you can increase the chances of successful prints with minimal warping and lifting issues.
Cooling Issues
Cooling plays a crucial role in the 3D printing process, as it helps in solidifying the printed layers and maintaining the overall structural integrity of the object. However, cooling issues can arise and affect the quality of your prints. Insufficient cooling can lead to overheating, which may result in filament drooping, stringing, or poor layer adhesion. On the other hand, excessive cooling can cause warping, cracking, or even layer separation.
Here are some steps to address cooling issues:
- Adjust fan speed: Most 3D printers come equipped with a cooling fan. Check if the fan speed is set appropriately for your specific filament material. Some filaments, like PLA, benefit from higher fan speeds to promote faster and more effective cooling, while others, like ABS, require less cooling to maintain optimal print quality.
- Optimize fan placement and direction: Ensure that the cooling fan is positioned correctly to direct airflow towards the printed object. This helps in efficiently cooling each layer as it is printed. Experiment with adjusting the angle or position of the fan to achieve optimal cooling results.
- Use a cooling shroud or duct: A cooling shroud or duct can help to concentrate and direct the airflow from the cooling fan specifically onto the printed object. This can enhance cooling effectiveness and reduce the chances of overheating or warping.
- Tweak temperature and speed settings: In some cases, adjusting the printing temperature or the print speed can help in resolving cooling-related issues. Lowering the printing temperature or reducing the print speed can allow more time for each layer to cool effectively before the next layer is printed.
It’s important to note that different filament materials and printing conditions may require specific cooling settings. Experimentation and fine-tuning may be required to find the optimal cooling configuration for your prints.
Keep in mind that environmental factors, such as the ambient temperature and airflow in the printing area, can also impact cooling effectiveness. Ensure that your printer is placed in an appropriate location to avoid interference with the cooling process.
By addressing cooling issues and optimizing the cooling setup for your specific printing needs, you can achieve better print quality and minimize the occurrence of cooling-related problems.
Printer Settings
Proper printer settings are essential for achieving high-quality 3D prints. Adjusting various settings in your slicer software can significantly impact the outcome of your prints, including the overall print quality, surface finish, and print speed. Incorrect or suboptimal settings may result in issues such as stringing, under- or over-extrusion, or poor layer adhesion.
Here are some key printer settings to consider:
- Layer height: The layer height refers to the thickness of each printed layer. Choosing an appropriate layer height can impact the level of detail and smoothness of the printed object. A smaller layer height can result in finer details, but may increase print time, while a larger layer height can speed up the printing process but may sacrifice some detail.
- Print speed: The print speed determines how quickly the printer moves while extruding filament. It is important to find the right balance between speed and quality. Increasing the print speed can reduce printing time but may result in decreased print quality. Conversely, lowering the print speed can improve print quality but may prolong the printing process.
- Temperature: The temperature setting determines the melting point of the filament. Different filaments require specific temperature ranges for optimal extrusion and adhesion. Consult the manufacturer’s recommendations or filament packaging for the recommended temperature range, and adjust the settings accordingly in your slicer software.
- Retraction: Retraction is the process of pulling the filament back slightly to avoid oozing or stringing during non-printing movements. It helps reduce the chances of filament droplets forming between printed areas. Adjusting the retraction distance and speed can help minimize stringing and improve the overall print quality.
- Infill density: The infill density refers to the amount of internal structure within a printed object. Increasing the infill density will result in a more solid and robust print, while decreasing it can save print time and material. The appropriate infill density depends on the desired strength and weight of the printed object.
It’s important to note that while these settings are crucial, they may vary depending on the specific printer, filament, and desired print outcome. Experimentation and fine-tuning may be necessary to find the optimal settings for your specific requirements.
Regularly calibrating and fine-tuning your printer’s settings can lead to improved print quality and better overall performance. Keep track of the changes you make and document the settings that yield the best results, as this information can be valuable for future prints.
By understanding and adjusting these printer settings, you can optimize your 3D printing process and achieve the best possible results.
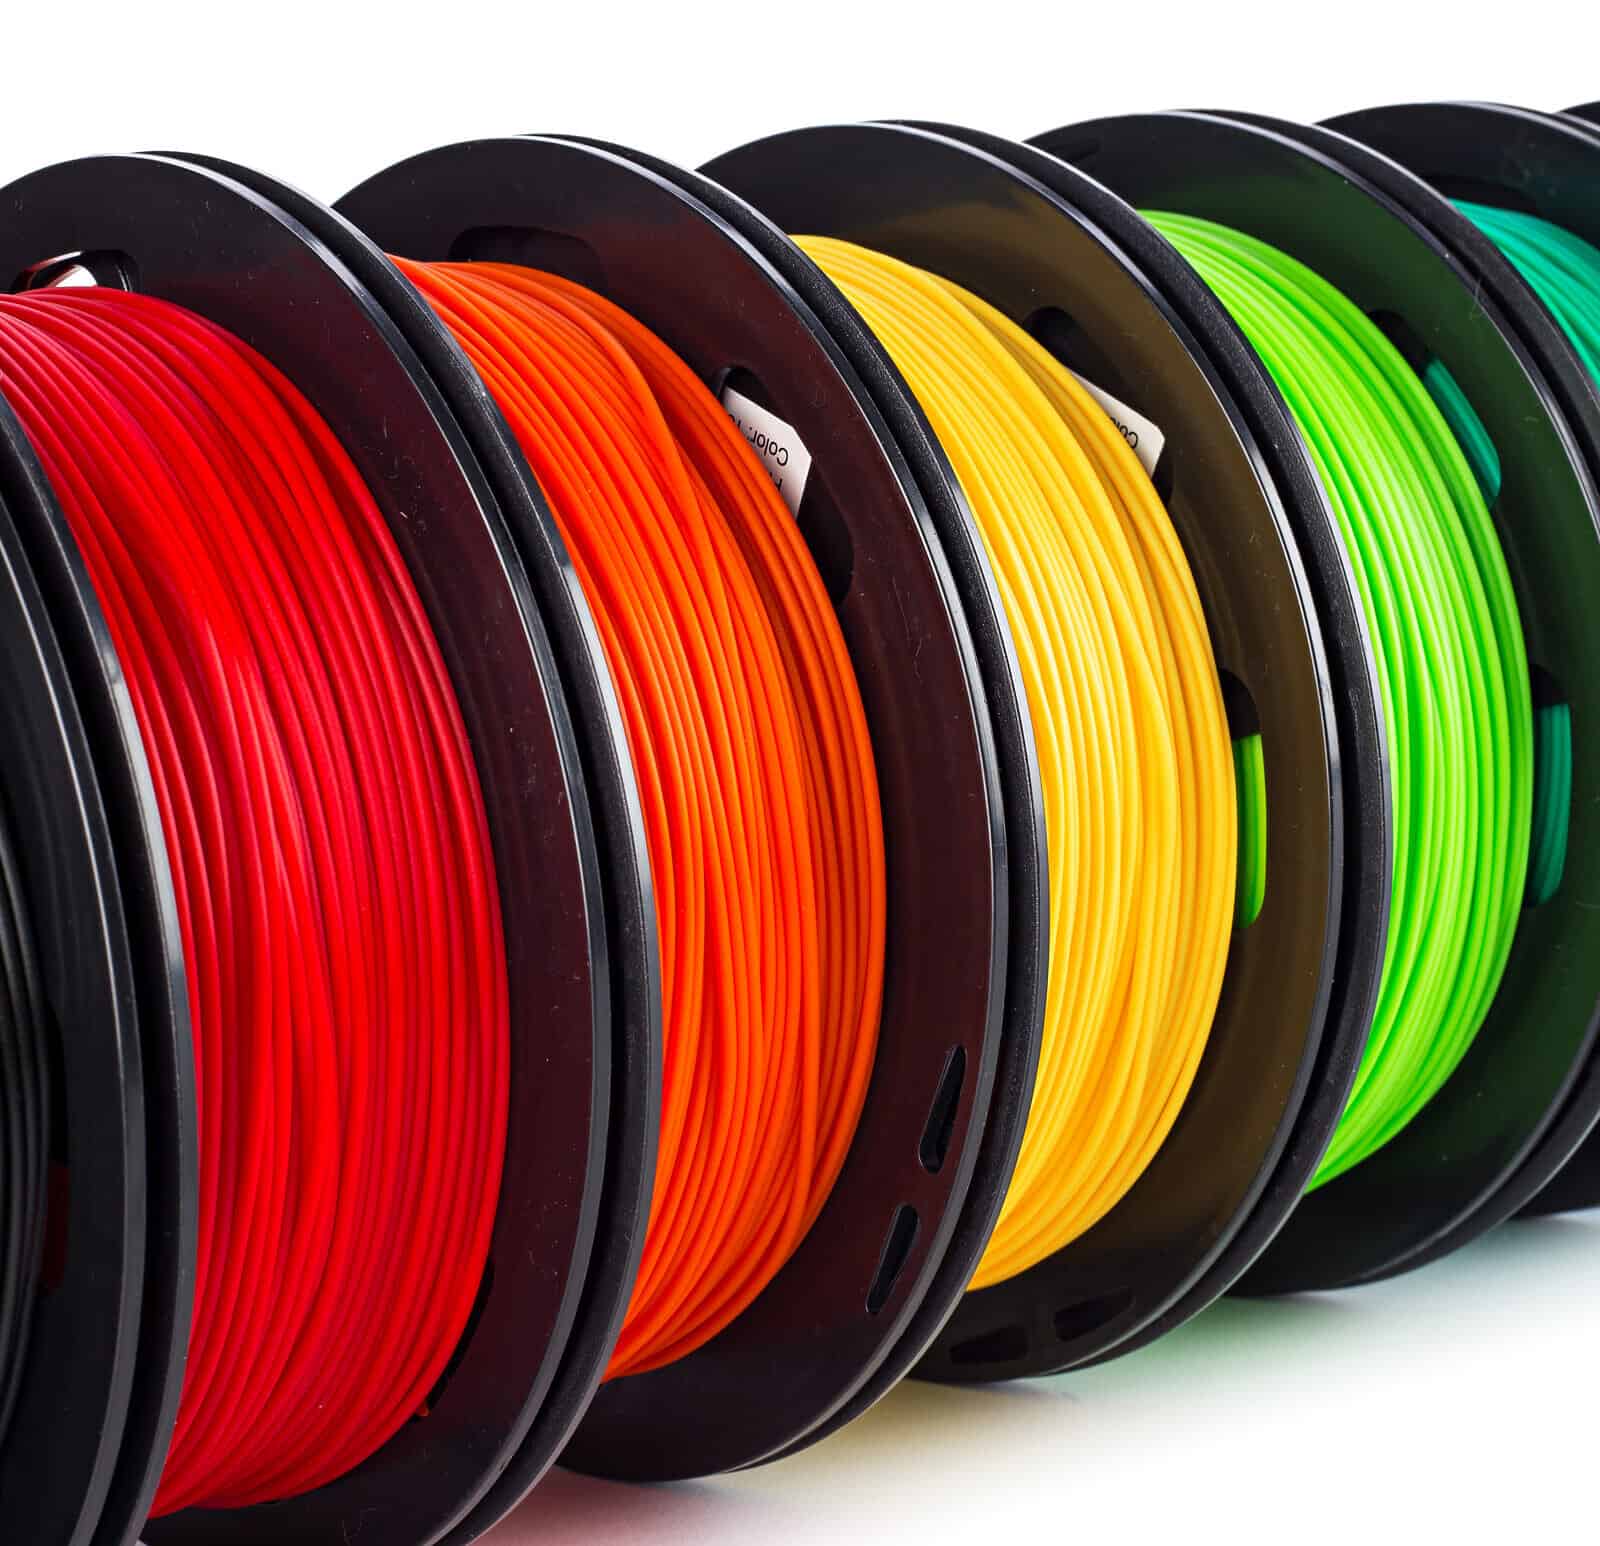
Filament Quality
The quality of filament used in 3D printing can have a significant impact on the final print results. Low-quality or poorly manufactured filament can lead to a range of issues, including poor print quality, clogs, inconsistent extrusion, and decreased overall reliability.
Here are some factors to consider when it comes to filament quality:
- Filament Diameter: It is crucial to use filament with a consistent and accurate diameter. Inconsistent filament diameter can affect the extrusion process, leading to uneven printing, under-extrusion, or over-extrusion. Check the specifications of your printer and filament supplier to ensure that the filament’s diameter matches the printer’s requirements.
- Filament Material: There are various types of filament available, each with its own set of properties and characteristics. Common filament types include PLA, ABS, PETG, and more. Choose the filament material that best suits your specific application and requirements. Additionally, ensure that the filament is of high quality and sourced from reputable manufacturers to avoid potential issues.
- Filament Storage: Proper storage of filament is essential to maintain its quality. Moisture can negatively affect filament performance and print results. Store filament in a cool, dry, and airtight container to avoid moisture absorption. If necessary, consider using desiccant packs or filament dryers to remove any moisture that may have been absorbed.
- Filament Color: While the color of filament may seem like a purely aesthetic choice, it can have practical implications. Dark-colored filaments, such as black or dark blue, tend to absorb more heat, which can affect print quality. Lighter-colored filaments are generally more forgiving and easier to work with.
- Filament Cost: Quality filament may cost more than lower-grade options, but it generally delivers better results and increased reliability. Investing in high-quality filament can save you time and frustration in the long run, as it is less likely to cause issues that may require reprinting or troubleshooting.
- Filament Reviews and Recommendations: Before purchasing filament, it can be helpful to read reviews and seek recommendations from experienced users. They can provide insights into the quality, performance, and compatibility of different filament brands and types.
By using high-quality filament that meets your printer’s specifications and properly maintaining its storage, you can significantly improve the overall print quality and reliability of your 3D prints.
Remember, not all filaments are created equal, so it’s essential to do your research and choose a reputable supplier that offers reliable and consistent filament options.
Ultimately, the quality of your filament can greatly impact the success and satisfaction you derive from your 3D printing endeavors. Choose wisely and experiment with different brands and types to find the filament that best suits your needs.
Conclusion
As we’ve explored in this article, there are several common issues that can cause a 3D printer to mess up. From clogged nozzles to improper bed leveling, filament tangles, inconsistent extrusion, warping and lifting, cooling issues, printer settings, and filament quality, each problem can impact the quality and success of your prints.
However, by understanding these potential issues and implementing the appropriate solutions, you can overcome these challenges and improve your 3D printing experience. Regular maintenance, troubleshooting, and fine-tuning are essential to keep your printer in optimal condition and achieve high-quality prints.
Remember to stay patient and persistent when troubleshooting issues with your printer. It may require some trial and error to identify and resolve the underlying causes of problematic prints. Don’t be afraid to experiment with different settings, techniques, and filament types to find what works best for your specific needs.
Additionally, it’s crucial to research and invest in high-quality filament from reputable suppliers, as it can significantly impact the overall print quality and reliability of your prints.
By addressing these issues and making the necessary adjustments, you’ll be able to produce better prints, unleash your creativity, and fully enjoy the incredible capabilities of 3D printing technology.