Introduction
3D printing has revolutionized the world by enabling individuals to bring their ideas to life with the click of a button. However, one common frustration that many 3D printing enthusiasts encounter is filament tangles. There’s nothing more disheartening than starting a print only to find a knotted mess of filament ruining your project.
Fortunately, there are methods to untangle filament and get your 3D printer back up and running smoothly. In this article, we will delve into the various causes of filament tangles, the importance of a well-prepared workspace, and effective techniques for untangling filament.
Understanding the causes of filament tangles is crucial in preventing them from occurring in the first place. Occasionally, filament can become tangled during storage or transportation due to its flexible and thin nature. Other times, the tangle might occur within the printer itself, especially if the filament spool isn’t properly secured or there’s a misalignment in the filament path.
Before diving into the techniques for untangling filament, it’s essential to prepare your workspace properly. Ensure that you have a clean and clutter-free area to work in, with adequate lighting. This will help you identify any knots or tangles accurately and provide a smooth surface for untangling.
In the next sections, we will discuss how to assess the severity of a filament tangle and the basic untangling techniques you can employ. We will also explore the use of heat and specific tools that can assist in untangling filament more efficiently.
However, prevention is always better than cure. Therefore, we will wrap up by discussing preventive measures you can take to minimize the occurrence of filament tangles in the future.
Don’t let filament tangles hinder your 3D printing projects. With the right knowledge and techniques, you can easily untangle filament and get back to creating amazing prints. So, let’s dive in and unravel those knots!
Understanding the Causes of Filament Tangles
Filament tangles can be frustrating, but understanding the underlying causes can help you prevent them from happening in the first place. There are several factors that can contribute to filament tangles, both during storage and printing.
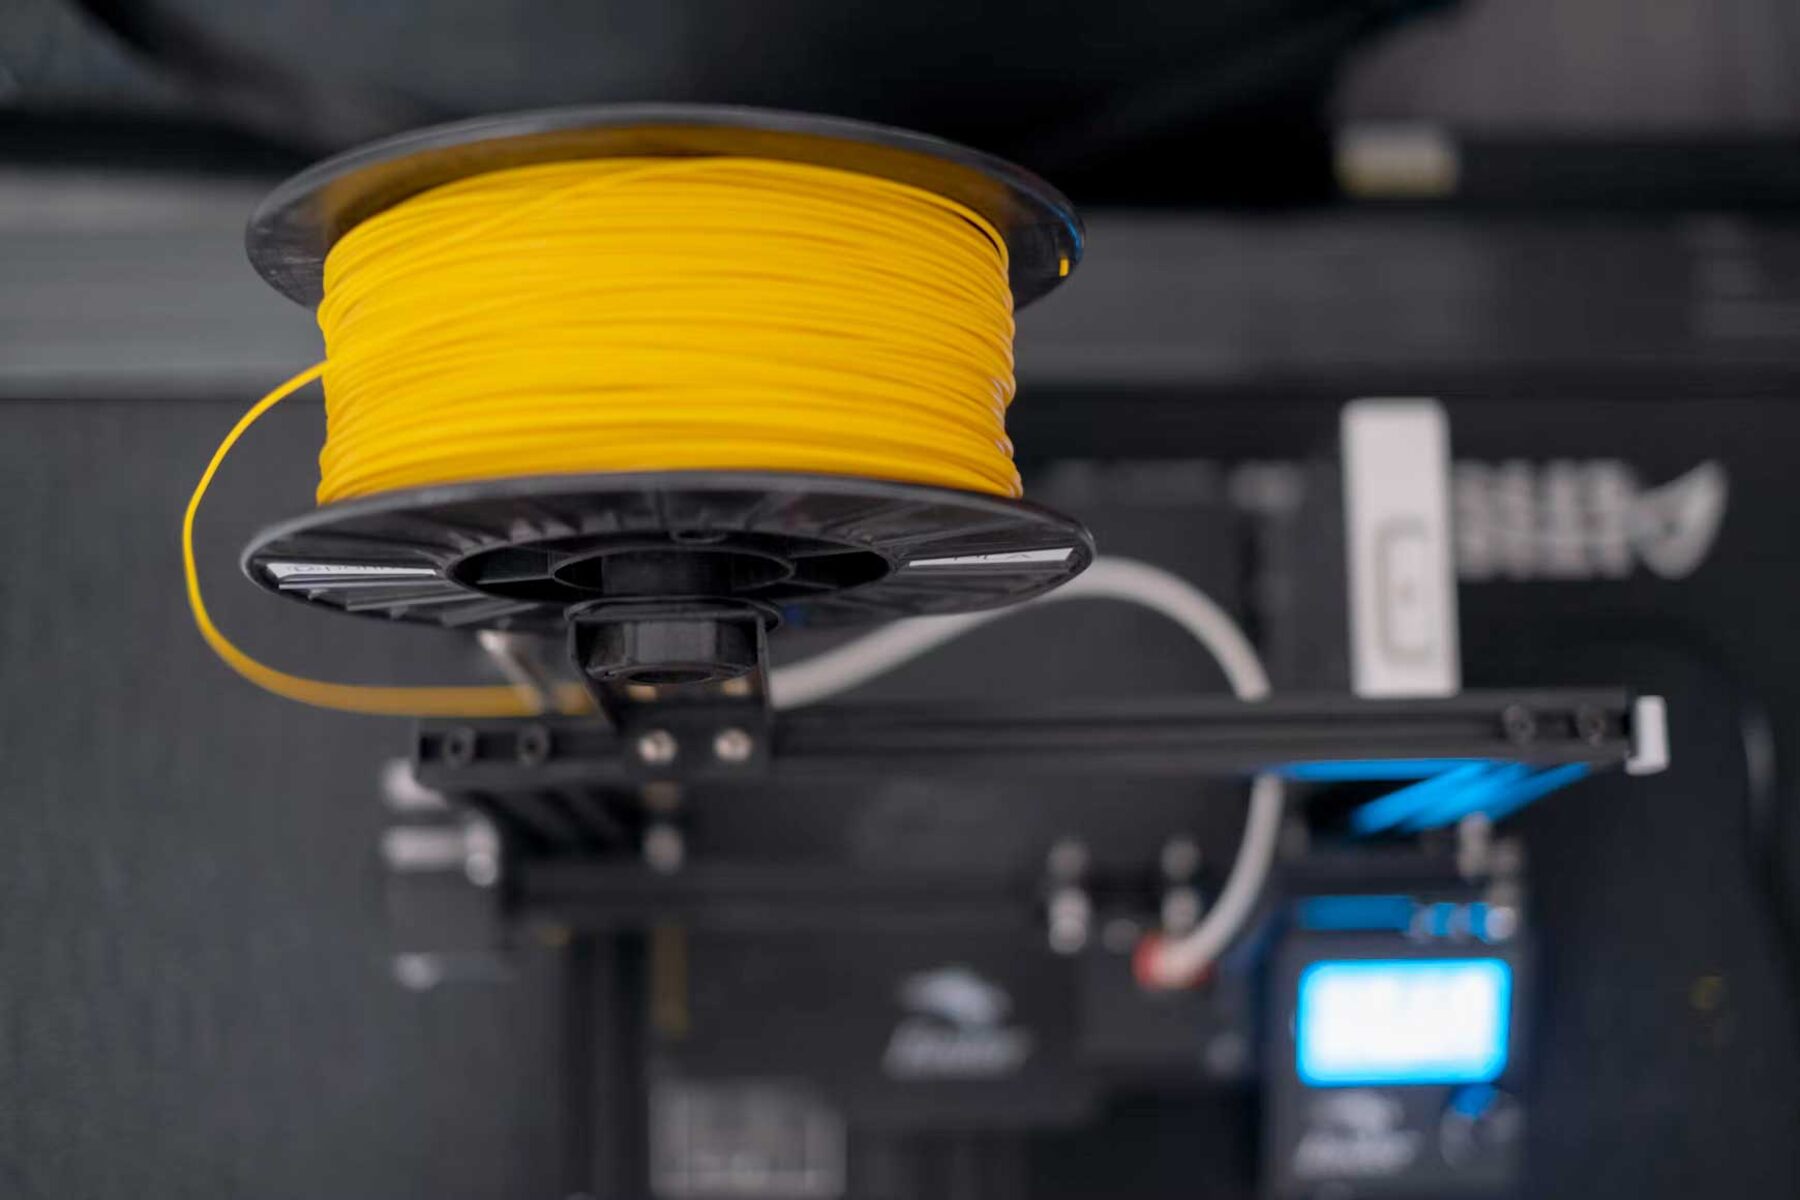
One common cause of filament tangles is improper storage. If the filament spool is not correctly secured or stored in a damp or dusty environment, it can lead to kinks and knots in the filament. It’s crucial to store your filament in a dry and clean place, preferably in a sealed container or airtight bag, to protect it from moisture and contaminants.
Another cause of filament tangles is improper handling. When not handled with care, the filament can easily become twisted or tangled. It’s important to handle the filament gently, avoiding unnecessary twists or knots. Additionally, using a filament guide or a filament holder can help maintain a smooth and consistent feeding path.
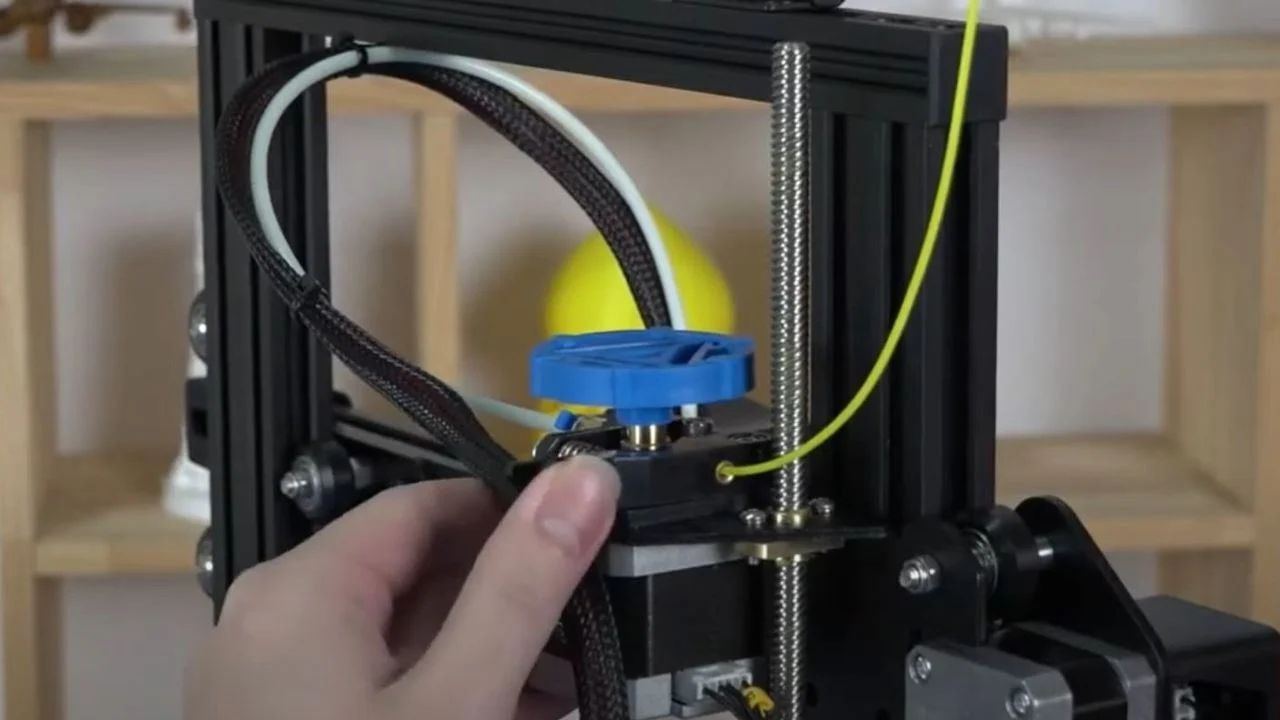
During the printing process, filament tangles can occur if the filament is not properly guided through the printer. Misalignment in the filament path or loose spooling can result in tangles and knots. Make sure that the filament is correctly inserted and guided along the designated path within the printer to avoid any entanglements.
In some cases, filament tangles can also occur due to mechanical issues with the printer itself. If the extruder motor is not feeding the filament evenly or if there are obstructions or misalignments in the extruder assembly, it can lead to filament tangles. Regular maintenance and calibration of your 3D printer can help minimize these issues.
It’s important to note that certain filament materials, such as flexible or brittle filaments, are more prone to tangling. These materials have a higher likelihood of kinking or breaking, which can result in tangles during printing. Taking extra precautions when handling and feeding these materials can help reduce the chances of tangles.
By understanding and addressing these causes, you can significantly decrease the occurrence of filament tangles in your 3D printing projects. In the next sections, we will explore techniques for preparing your workspace, assessing tangle severity, and untangling filament effectively.
Preparing Your Workspace
Before you begin untangling filament, it’s essential to prepare your workspace adequately. A well-organized and clean workspace will not only make the untangling process easier but also prevent further tangles and ensure a smooth printing experience.
The first step in preparing your workspace is to ensure that you have enough space to comfortably work with the tangled filament. Clear away any unnecessary clutter or objects that might interfere with the untangling process. Having ample room to maneuver the filament will make it easier to identify and untangle any knots.
Next, make sure you have good lighting in your workspace. Ample lighting will help you see the fine details of the tangled filament and make it easier to spot any twists or knots. Consider using a desk lamp or position your workspace near a natural light source to ensure sufficient illumination.
It’s also crucial to have a clean surface to work on. Dust or debris on the table can get caught in the tangled filament or further complicate the untangling process. Wipe down your workspace before starting to remove any potential contaminants that could hinder your progress.
If possible, consider using a non-slip mat or a silicone pad on your workspace. These materials can prevent the filament spool from sliding around during the untangling process, allowing you to focus on unraveling the tangles without additional disruptions.
Having a set of tools specifically designated for untangling filament is also beneficial. These tools can include tweezers, needle-nose pliers, and small wire brushes that can help in separating and straightening out any tangled sections of the filament. Keep these tools within reach on your workspace so that you can easily access them when needed.
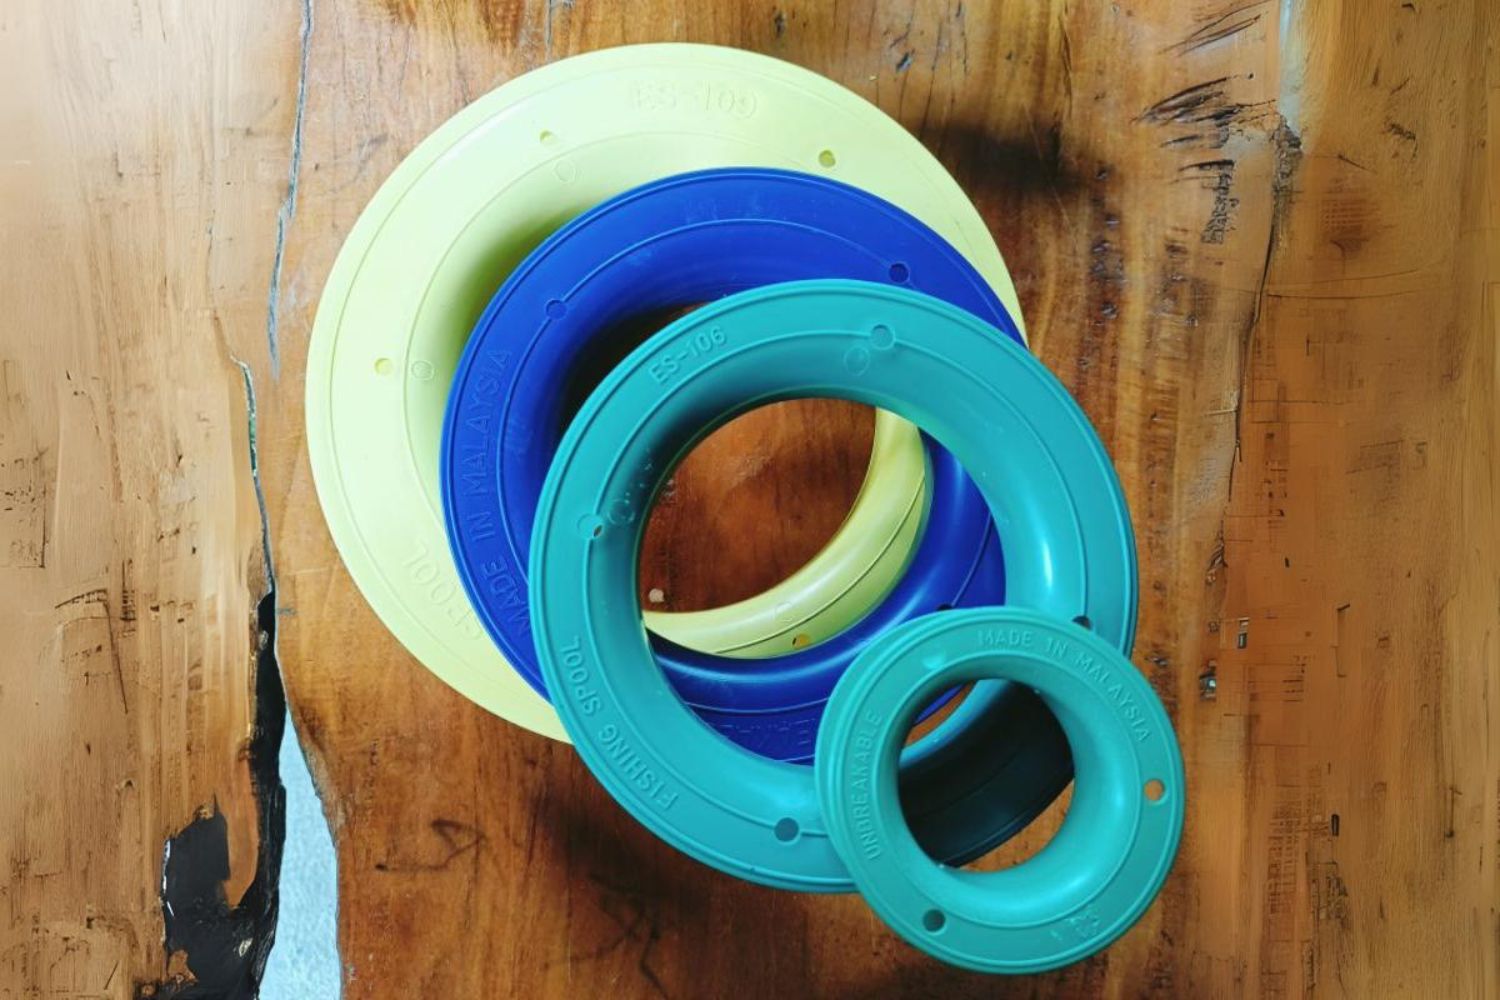
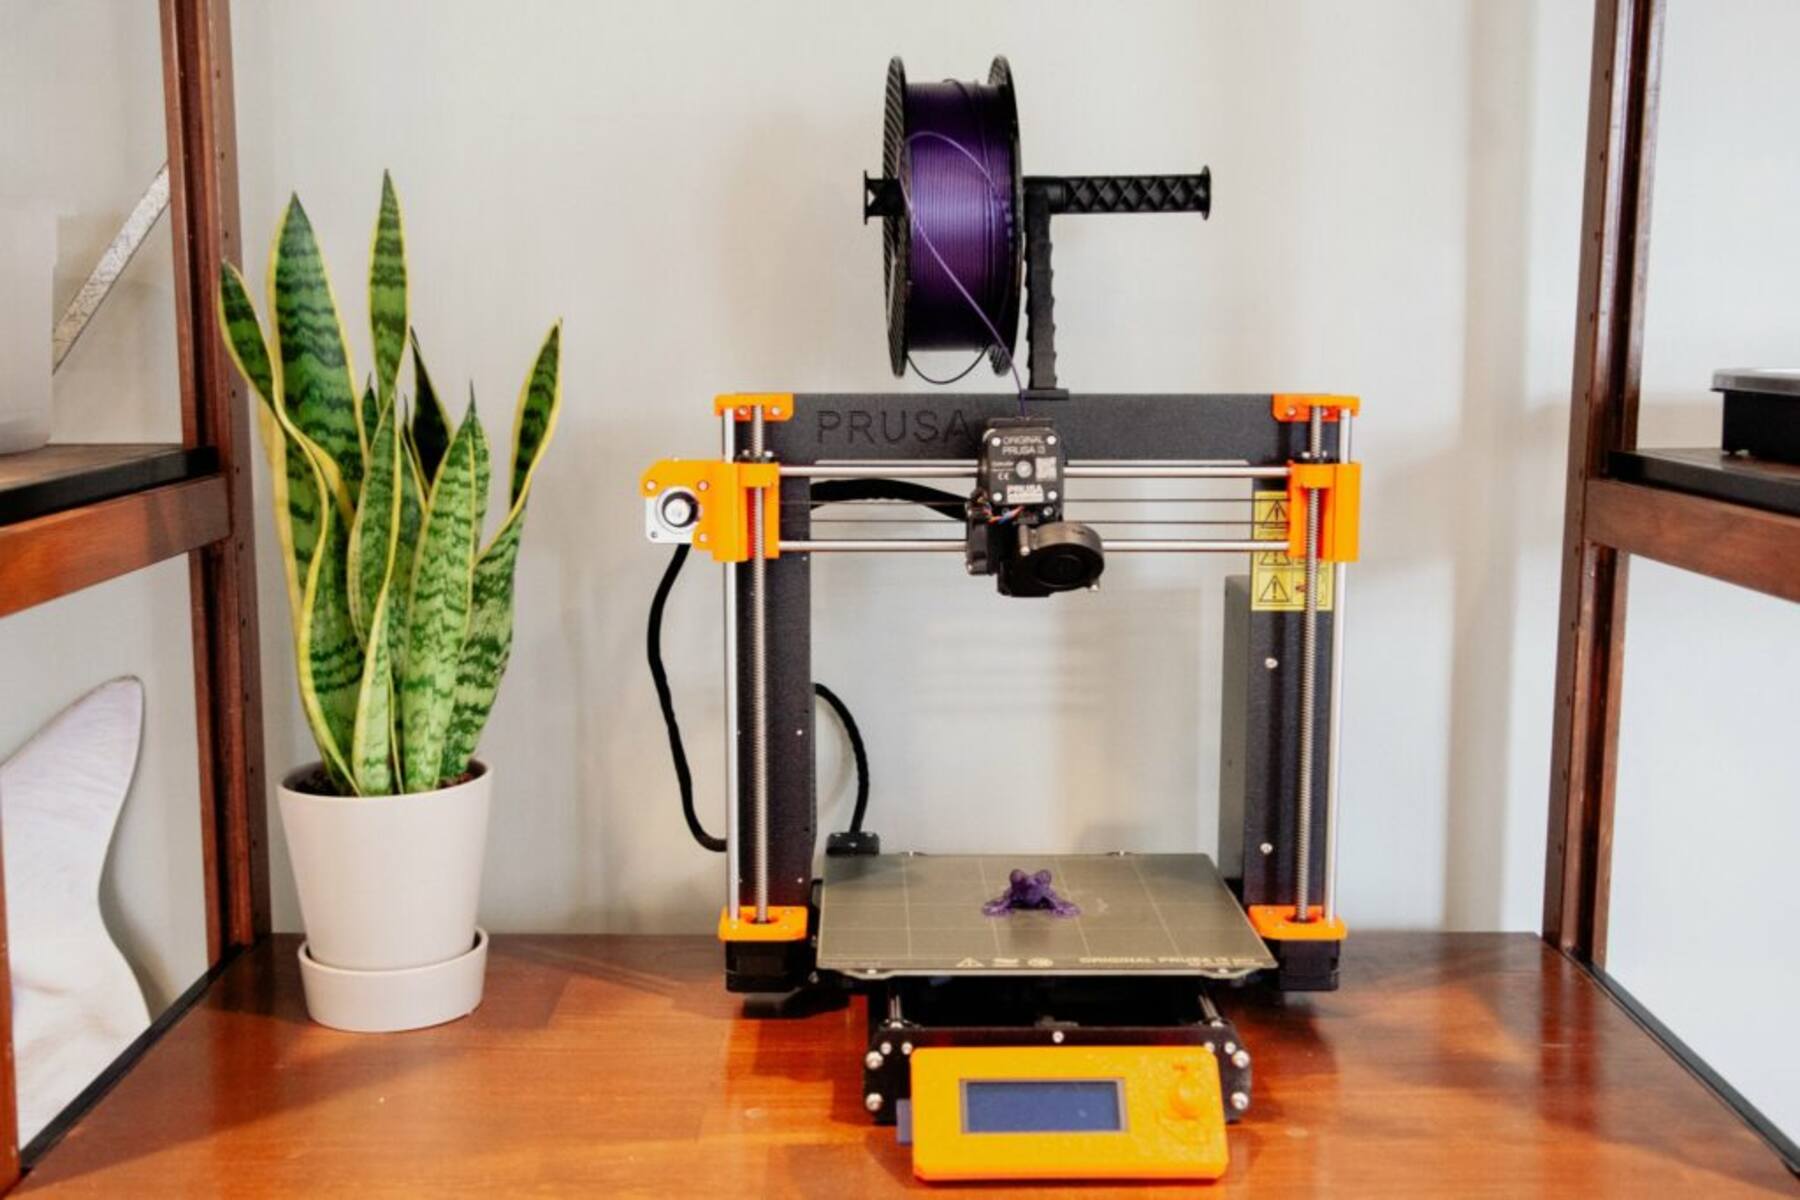
Lastly, it’s essential to have a suitable storage solution for your filament. Storing your filament properly when not in use can prevent tangles from occurring. Consider using filament spool holders or storage containers that keep the filament organized and protected from dust and moisture.
By taking the time to prepare your workspace before attempting to untangle filament, you’ll set yourself up for success. A clean and well-lit workspace, combined with the right tools and proper filament storage, will make the untangling process more efficient and increase the chances of salvaging the tangled filament.
Assessing the Tangle Severity
When faced with a tangled filament, it’s important to assess the severity of the tangle before attempting to untangle it. Understanding the complexity and extent of the tangle will help you determine the most suitable approach for untangling.
The first step in assessing the tangle severity is to examine the visible knots and twists in the filament. Take a close look at the tangled section and identify any areas where the filament is tightly wound or knotted together. This will give you an idea of the complexity of the tangle.
Next, consider the length of the tangled section. Is it just a few inches of filament that is tangled, or is it a significant portion of the spooled filament? The length of the tangle will influence the time and effort required for untangling.
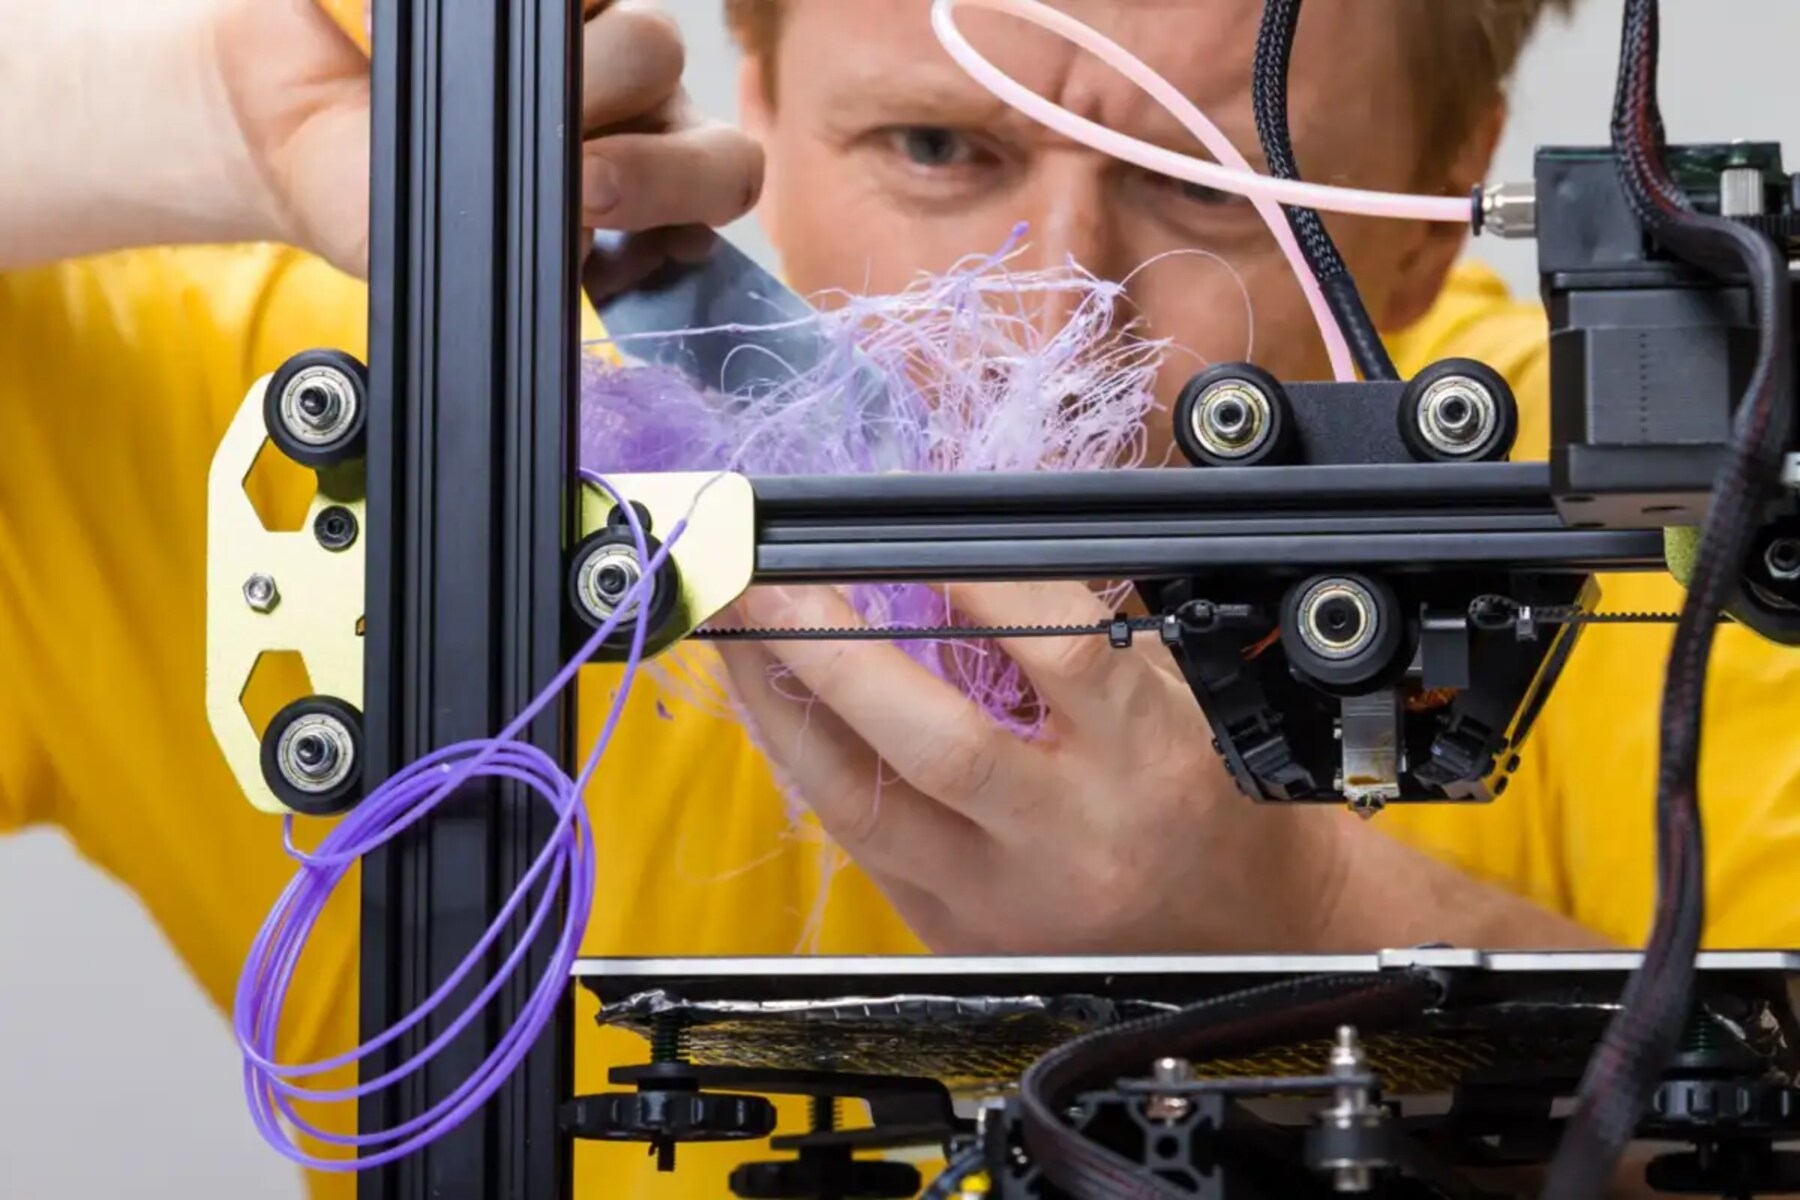
Another factor to consider is the flexibility of the filament material. Certain materials, such as flexible or elastic filaments, can be more challenging to untangle due to their inherent properties. These materials tend to twist and kink more easily, which can complicate the untangling process.
Additionally, evaluate if there are any obstructions or foreign objects caught in the tangle. Sometimes debris or broken pieces of filament can become entangled, making it harder to unravel the tangle. Clearing any obstructions before starting the untangling process will make it more manageable.
Finally, assess the overall condition of the tangled filament. Is it just a small knot or tangle that can be easily resolved, or has the filament become severely warped or damaged? If the filament is irreversibly damaged, it might be more practical to replace it rather than attempting to untangle it.
By taking the time to assess the severity of the tangle, you can determine the best course of action for untangling the filament. If the tangle seems relatively straightforward and the filament is salvageable, you can proceed with basic untangling techniques. However, if the tangle is complex or the filament is extensively damaged, it might be necessary to explore alternative solutions or consider using a fresh spool of filament.
Remember, patience is key when assessing tangle severity. Rushing into the untangling process without fully understanding the complexity of the tangle can potentially worsen the situation. Take your time to evaluate the tangle, and then proceed with confidence using the appropriate untangling techniques.
Getting Started: Basic Untangling Techniques
When faced with tangled filament, employing basic untangling techniques can help you unravel the mess and salvage the filament for your 3D printing projects. Here are several straightforward methods to get started:
1. Gentle Tugging: Begin by identifying the knots or twisted sections in the filament. Using a gentle, steady pulling motion, try to loosen the knots without applying excessive force. Start at the outermost part of the tangle and work your way inward, gradually untangling the filament.
2. Manual Unraveling: If the tangle consists of tightly wound filament, use your fingers to carefully unwind the tangled sections. Take your time and be patient, ensuring that you are not applying too much pressure that could potentially break the filament.
3. Reverse Winding: If the filament is wrapped around itself or other parts of the spool, reverse winding can help untangle the sections. Slowly rotate the spool in the opposite direction of the winding, guiding the filament out of the tangle. Alternatively, if the filament is wound too tightly, you can try gently pulling the spool apart to loosen the coils.
4. Rotating the Spool: Sometimes, simply rotating the spool while holding the tangled section can help loosen the tangle. Slowly rotate the spool in one direction while gently holding the tangled area, allowing the filament to unwind naturally.
5. Cutting and Rejoining: In extreme cases where the tangle is too severe or the filament is irreversibly damaged, cutting and rejoining the filament can be a viable option. Carefully use scissors or a sharp blade to trim away the tangled section, ensuring that you have a clean cut. Once the tangled portion is removed, join the remaining sections using a filament joining technique such as heat welding or filament splicing.
Remember, patience and a gentle touch are crucial when employing these basic untangling techniques. Rushing or applying excessive force can potentially damage the filament or complicate the tangle further. Take your time and be gentle, allowing the filament to slowly unravel without causing any additional knots or twists.
If the tangle proves to be too complex or challenging to untangle using these basic techniques, don’t worry. In the next sections, we will explore additional methods, such as using heat or specialized tools, to help you untangle filament more effectively.
Using Heat to Untangle Filament
When faced with stubborn tangles in your filament, employing heat can be an effective technique to soften the material and make it more pliable for untangling. Here are some steps to follow when using heat to untangle filament:
1. Identify the Tangled Section: Carefully examine the filament to locate the specific tangled section that needs to be untangled using heat. This method is most effective for knots or tangles that are tightly wound.
2. Heat Source: Use a heat source such as a hairdryer or heat gun. Set the heat source to a low or medium setting to avoid overheating the filament and causing it to deform or melt. Maintain a safe distance of several inches between the heat source and the filament.
3. Apply Heat: Direct the heat towards the tangled section of the filament, moving the heat source back and forth to evenly distribute the heat. The heat will soften the filament and make it more malleable.
4. Gently Untangle: Once the filament has been heated, use your fingers or a pair of tweezers to gently ease apart the individual strands of the tangled section. Be cautious not to apply excessive force that could potentially break the filament.
5. Cool Down: Allow the filament to cool down naturally. As it cools, the filament will regain its rigidity, locking the strands in their new untangled position. This will help prevent the tangle from reoccurring.
Using heat to untangle filament can be particularly useful for flexible or elastic filaments that tend to coil and tangle easily. The heat softens the material, making it more pliable and easier to work with.
However, it’s important to note that not all filaments respond well to heat. Some filaments, such as PLA, may have a lower heat tolerance and can deform or melt if exposed to excessive heat. It’s crucial to know the specific heat tolerances of your filament material and adjust the heat source accordingly to avoid damaging the filament.
Additionally, be cautious when using heat to untangle filament and ensure you work in a well-ventilated area to avoid inhaling any fumes that may be released during the heating process.
By using the appropriate heat source and following these steps, you can effectively untangle stubborn knots and tangles in your filament, making it ready for your next 3D printing project.
Untangling Filament with Tools
While basic untangling techniques can work for simple tangles, more complex knots may require the use of specialized tools to effectively untangle the filament. Here are some useful tools and techniques to consider:
1. Needle-Nose Pliers: Needle-nose pliers can be handy for untangling filament, especially when dealing with tightly wound knots or tangles. Gently grip the tangled section with the pliers and carefully try to separate the strands, unraveling the tangle in the process.
2. Tweezers: Tweezers, especially ones with thin, pointed tips, are useful for untangling small knots or separating twisted sections of filament. They allow for precise maneuvering and can help separate intertwined strands without causing damage.
3. Dental Picks: Dental picks can be effective tools for untangling filament, particularly for intricate or hard-to-reach knots. The fine and pointed ends of dental picks allow for precise maneuvering and can help unravel tight tangles without damaging the filament.
4. Small Wire Brush: A small wire brush, such as a brass bristle brush, can be used to gently comb through the tangled filament. Start at the outer edges of the tangle and gradually work your way inward, carefully untangling the strands as you go. The bristles can help separate and straighten out the twisted sections of filament.
5. Filament Guiding Tools: Using filament guiding tools, such as filament guides or tubing, can prevent tangles from occurring during the printing process. These tools ensure that the filament follows a single path without twisting or looping, reducing the chances of tangles.
When using tools to untangle filament, it’s essential to proceed with caution and apply gentle force. Avoid pulling or yanking on the filament excessively, as this can lead to breakages or further tangles. Take your time, carefully manipulating the strands to unravel the tangle without causing any damage.
It’s also worth noting that tools should be cleaned and free from any residue or debris before using them on the filament. Any contaminants on the tools can potentially transfer onto the filament, affecting the print quality.
By utilizing these tools and techniques, you can untangle even the most challenging knots and tangles in your filament. Remember to be patient, gentle, and ensure that the tools you use are appropriate for the specific filament material to avoid any damage during the untangling process.
Preventing Filament Tangles in the Future
While it can be frustrating to deal with filament tangles, taking proactive measures can help prevent them from occurring in the first place. By implementing these preventive strategies, you can minimize the chances of encountering tangled filament in your future 3D printing projects:
1. Proper Filament Storage: Store your filament in a dry and clean environment. Use airtight containers or sealed bags to protect the filament from moisture and dust, which can contribute to tangles. Additionally, ensure that the filament spool is secured and properly aligned to prevent filament tangling during storage or transportation.
2. Controlled Filament Path: Maintain a consistent and smooth filament path within your 3D printer. Use filament guides or tubing to guide the filament from the spool to the extruder, minimizing the chances of twists or loops. Regularly check for any obstructions or misalignments in the filament path and make necessary adjustments.
3. Gentle Handling: Handle the filament with care to avoid unnecessary twists or knots. Avoid forcefully pulling or tugging on the filament during loading or unloading. Instead, use smooth and controlled movements to guide the filament through the printer, ensuring it flows freely without any entanglements.
4. Regular Maintenance: Regularly maintain and calibrate your 3D printer to prevent mechanical issues that could lead to filament tangles. Check and clean the extruder assembly, making sure there are no obstructions or misalignments. Lubricate moving parts if necessary and keep the printer in optimal working condition.
5. Quality Filament Suppliers: Choose reputable and reliable filament suppliers. Quality filament will have better winding and packaging, reducing the likelihood of tangles during storage or shipment. Research and read reviews about the filament brands to ensure you are purchasing from trusted sources.
6. Filament Monitoring: Monitor the filament during printing. Keep an eye on the tension of the filament as it feeds into the extruder. If you notice any signs of the filament not feeding smoothly or encountering resistance, stop the print and inspect for any tangles or misalignments.
7. Regular Filament Checks: Periodically check your filament spools for any signs of tangling or knots. Address any tangles promptly to prevent them from worsening or causing issues during printing. Untangle the filament using the techniques mentioned earlier in this article.
By implementing these preventive measures, you can significantly reduce the occurrence of filament tangles and ensure a smoother 3D printing experience. Taking the time to properly store, handle, and maintain your filament will save you valuable time and frustration in the long run.
Conclusion
Dealing with filament tangles can be a frustrating experience for any 3D printing enthusiast. However, with the knowledge and techniques shared in this article, you can effectively untangle filament and get back to creating amazing prints.
We started by understanding the causes of filament tangles, such as improper storage, handling, and printer misalignments. By identifying these factors, you can take steps to prevent tangles from occurring in the first place.
We then discussed the importance of preparing your workspace, ensuring that it is clean, well-lit, and organized. A properly prepared workspace can help you identify and untangle filament tangles more effectively.
Next, we explored techniques for assessing the severity of tangles and employing basic untangling methods. These techniques involved gentle tugging, manual unraveling, reverse winding, and rotating the spool, among others.
For more stubborn tangles, we discussed the use of heat to soften the filament, making it more pliable for untangling. Additionally, we explored the use of tools such as needle-nose pliers, tweezers, and small wire brushes for more intricate tangles.
Lastly, we emphasized the importance of implementing preventive measures to minimize the occurrence of filament tangles in the future. Proper filament storage, controlled filament paths, gentle handling, regular maintenance, and quality filament suppliers all play a crucial role in preventing tangles.
By following these guidelines and taking the necessary precautions, you can maintain a smoother printing experience and reduce the frustrations associated with filament tangles.
Remember, patience and a gentle touch are key when untangling filament. Take your time, assess the severity of the tangle, and employ the appropriate techniques and tools to unravel the knots. With practice, you’ll become proficient in untangling filament and enjoy uninterrupted 3D printing sessions.
So, don’t let filament tangles get in the way of your creativity. Armed with the knowledge gained from this article, you’re now equipped to tackle any tangled filament and continue bringing your 3D printing projects to life!