Introduction
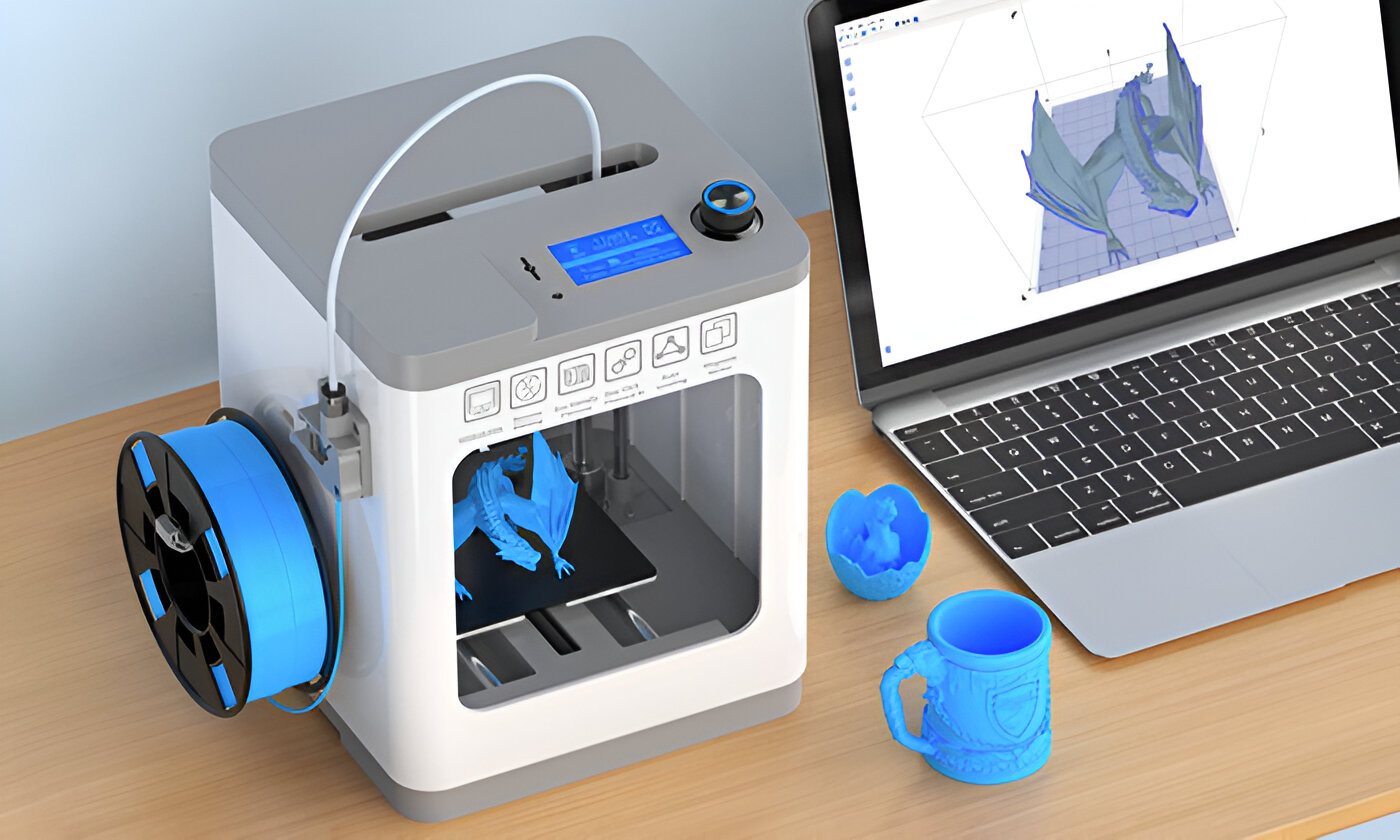
Welcome to the world of 3D printing, where imagination is brought to life with the help of advanced technology. One of the key components in the 3D printing process is the filament. Filament is the material that is melted and extruded to create the intricate layers that form a 3D printed object.
Making your own 3D printer filament can be a rewarding and cost-effective endeavor. Not only does it give you more control over the materials you use, but it also allows you to experiment with different colors and properties to achieve the desired results. In this article, we will guide you through the process of making your own 3D printer filament from start to finish.
Before we dive into the nitty-gritty details, it’s important to have a basic understanding of how 3D printer filament works. Filament is typically made from thermoplastic materials that can be melted and solidified repeatedly. The most commonly used materials include ABS (Acrylonitrile Butadiene Styrene), PLA (Polylactic Acid), and PETG (Polyethylene Terephthalate Glycol).
The filament-making process involves melting the raw material, extruding it through a nozzle, and allowing it to cool and solidify. The resulting filament is then wound onto a spool for easy use in a 3D printer. It is crucial to maintain the correct diameter and consistency of the filament to ensure smooth and precise printing.
While it may seem like a complex process, making your own 3D printer filament is achievable with the right knowledge and equipment. In the following sections, we will walk you through the steps and provide valuable tips and insights to help you successfully create your own high-quality filament. So, let’s get started on this exciting journey of filament making!
Understanding the Basics of 3D Printer Filament
Before you start making your own 3D printer filament, it’s important to have a solid understanding of the basics. Filament is the material used in 3D printing, and it comes in a variety of types and properties. By understanding these basics, you can choose the right filament for your specific printing needs.
First and foremost, it’s essential to consider the filament diameter. Most 3D printers use filament with a diameter of either 1.75mm or 2.85mm. It’s crucial to know the specific diameter that your 3D printer supports to ensure compatibility and optimal printing performance.
Next, let’s explore the different types of filament materials. ABS (Acrylonitrile Butadiene Styrene) is a popular choice known for its strength and durability. It has a higher melting point, making it suitable for parts that may be exposed to higher temperatures. However, ABS tends to emit a noticeable odor during printing.
PLA (Polylactic Acid) is another common filament material. It is derived from renewable resources such as cornstarch or sugarcane and is environmentally friendly. PLA is easier to print with, as it has a lower melting point, reduced warping, and emits less odor during the printing process. However, it may not be as strong as ABS and is more susceptible to degradation under exposure to moisture and heat.
PETG (Polyethylene Terephthalate Glycol) is a versatile filament that combines the advantages of both ABS and PLA. It offers the durability of ABS and the ease of use of PLA. PETG is also known for its high impact resistance, making it suitable for functional parts and prototypes that require toughness.
In addition to these three common filament materials, there are many other options available. Nylon filament is known for its flexibility and durability, making it ideal for applications that require both strength and flexibility. HIPS (High Impact Polystyrene) filament is often used as a support material for complex prints and can be easily dissolved in a specific solvent.
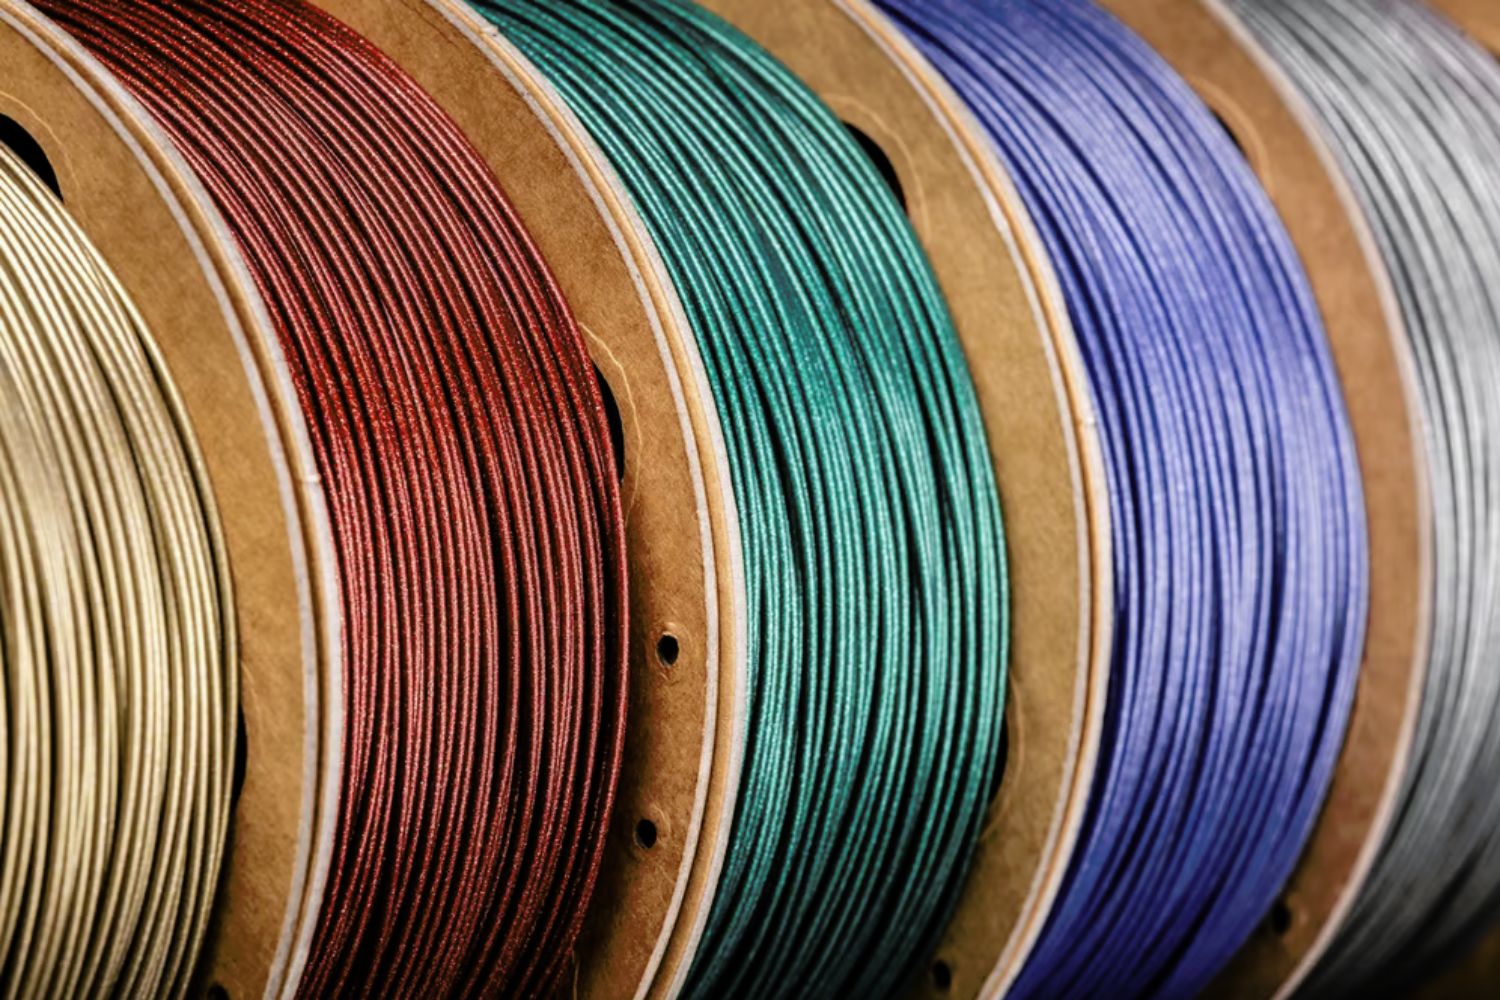
Furthermore, various specialty filaments exist, such as wood-filled filament, metal-filled filament, and glow-in-the-dark filament. These specialty filaments allow you to achieve unique and eye-catching results in your 3D prints.
Understanding the properties and characteristics of different filament materials will help you choose the right one for your specific printing requirements. It’s crucial to consider factors such as strength, flexibility, temperature resistance, and aesthetic qualities to ensure the success of your 3D prints. By selecting the appropriate filament material, you can achieve the desired results and create stunning and functional objects with your 3D printer.
Choosing the Right Materials for Your Filament
Selecting the right materials for your filament is crucial to achieving the desired results in your 3D prints. There are several factors to consider when choosing the materials, including the properties of the filament, the intended use of the printed object, and your personal preferences.
The first consideration is the type of filament material. As mentioned earlier, common filament materials include ABS, PLA, and PETG. Each material has its own unique properties, so it’s important to evaluate them and choose the one that best suits your requirements.
If you need a filament that is strong and durable, ABS might be the right choice. It is known for its high impact resistance and can withstand higher temperatures. ABS is commonly used for functional parts, mechanical components, and prototypes.
On the other hand, if you prioritize ease of use and environmental friendliness, PLA is a good option. PLA is biodegradable and derived from renewable resources such as cornstarch or sugarcane. It is easier to print with, has lower warping tendencies, and emits less odor during printing.
If you’re looking for a balance between strength and ease of use, PETG filament is worth considering. It offers the best of both worlds, with high impact resistance and printing properties similar to PLA. PETG is a popular choice for a wide range of applications, including functional prototyping, mechanical parts, and artistic prints.
After selecting the filament material, another factor to consider is the color. Filament is available in a wide variety of colors, allowing you to bring your creative vision to life. Whether you prefer vibrant and bold colors or more subtle and natural tones, there is a color option available to suit your preferences.
Furthermore, some filaments come with additional features or properties. For example, you can find filaments with additives that provide enhanced characteristics, such as increased strength, improved flexibility, or increased heat resistance. These specialty filaments allow you to tailor the properties of your prints to specific requirements.
It’s important to note that not all printers support every type of filament. Before purchasing filament, check your printer’s specifications to ensure compatibility. Some printers are designed to work with specific filament diameters and types, so make sure to choose filament that is compatible with your printer.
By considering the properties of different filament materials, the intended use of the printed objects, and your personal preferences for color and special features, you can choose the right materials for your filament. This thoughtful selection process will result in successful and high-quality 3D prints that meet your specific needs and expectations.
Equipment and Tools Needed for Filament Making
Making your own 3D printer filament requires specific equipment and tools to ensure a smooth and successful process. By gathering the necessary items beforehand, you can set yourself up for a seamless filament-making experience.
The first essential piece of equipment is a filament extruder. This machine is responsible for melting the raw material and extruding it into a consistent filament. There are various extruders available on the market, ranging from simple desktop models to more advanced industrial-grade machines. Choose an extruder that meets your production needs and budget.
Alongside the extruder, you will need a filament diameter gauge. This tool allows you to measure the diameter of the filament accurately. It is crucial to maintain a consistent diameter throughout the filament to ensure smooth and reliable printing.
To achieve the desired filament diameter, you will need a filament diameter control system. This system includes components such as a filament pressure roller, a diameter control unit, and a feedback loop to monitor and adjust the filament diameter during production.
To handle the melted filament, you will need a cooling system. This can include a cooling chamber or fans to cool the extruded filament quickly. Proper cooling is essential to maintain the integrity and quality of the filament, so it’s important to have an efficient cooling setup.
Another important tool is a filament winder. This enables you to neatly wind the extruded filament into a spool for easy storage and use. The filament winder should have adjustable tension and speed settings to ensure proper winding and prevent tangling.
In addition to the machine-related equipment, you will require safety gear. Filament making involves working with high temperatures, so it’s essential to protect yourself. Safety goggles, heat-resistant gloves, and a heat-resistant apron are important to ensure your safety during the filament-making process.
Furthermore, you will need the raw material for your filament, which could be ABS, PLA, PETG, or any other filament type of your choice. Make sure to source high-quality raw materials from reliable suppliers to ensure the best results in your filament production.
Lastly, it’s important to have a clean and organized workspace. Keep your filament-making area free from dust and debris that could affect the quality of the filament. Having a clean environment will also contribute to the overall efficiency and success of your filament-making process.
With the necessary equipment and tools in place, you are ready to embark on your filament-making journey. Properly functioning equipment, along with the appropriate safety precautions and quality raw materials, will ensure that you can produce high-quality filament for your 3D printing projects.
Preparing the Raw Materials
Before you can start the filament-making process, it’s essential to properly prepare the raw materials. This preparation involves carefully handling and processing the filament material to ensure optimal results in the final product.
The first step is to acquire high-quality raw materials for your filament. Choose a supplier that offers reliable and consistent filament material. It is crucial to use materials that have been specifically designed for 3D printing to ensure the best possible printing performance and output.
Once you have the raw materials in hand, it’s important to store them properly. Keep the filament material in a cool and dry location, away from direct sunlight and moisture. This will help maintain the integrity of the material and prevent any moisture absorption, which can lead to poor filament quality during the extrusion process.
If the filament material has been exposed to moisture or has absorbed any moisture, it’s important to dry it before use. You can do this by placing the filament in a dry box or using a filament dryer specifically designed for this purpose. The drying process helps remove any excess moisture and ensures optimal filament quality and performance.
Now that your filament material is ready, it’s time to prepare it for the extrusion process. This involves cutting the filament material into smaller pieces or pellets, depending on the extruder’s requirements. A filament cutter or pelletizer can be used to achieve accurate and consistent cutting.
Once the filament material is cut into smaller pieces, it’s important to measure the appropriate amount for each batch of filament production. Follow the guidelines provided by your extruder manufacturer regarding the optimal amount of material to use for each run. This will help ensure consistent results and minimize material wastage.
Additionally, some extruders may require the filament material to be pre-dried before it enters the extrusion process. In this case, the cut filament pieces may need to undergo a secondary drying process to remove any remaining moisture. Refer to the manufacturer’s instructions and recommendations for the specific requirements of your extruder.
By properly preparing the raw materials, you can ensure the best quality and performance in your filament production. From sourcing high-quality materials to storing them correctly and preparing them for the extrusion process, each step is crucial to achieving optimal results in filament production.
Melting the Filament to the Desired Consistency
Once the raw filament material is prepared, the next step in the filament-making process is melting the material to achieve the desired consistency for extrusion. This crucial step requires careful control of temperature and heating time to ensure the optimal melting of the filament material.
The first consideration is the temperature setting for melting the filament material. Different types of filament materials have different melting points. Refer to the manufacturer’s guidelines or material specifications to determine the recommended temperature range for melting the specific filament material you are using.
Using a filament extruder, heat the filament material gradually to the desired melting temperature. It’s important to monitor the temperature closely to prevent overheating, as excessive heat can negatively affect the quality and properties of the filament.
Maintaining consistent heating is crucial to achieve uniform melting of the filament material. This ensures that the melted material will have the desired consistency for extrusion. The extruder’s heating mechanism, such as heating coils or a heated barrel, should be able to maintain a constant temperature throughout the melting process.
The heating time required will depend on the specific filament material and the extruder’s capabilities. It’s important to follow the manufacturer’s instructions and recommendations for the optimal heating time. This will ensure that the filament material is thoroughly melted and has reached the correct viscosity for extrusion.
During the melting process, it’s essential to prevent any impurities or foreign particles from entering the melted filament. This can be achieved by using a clean and controlled environment, as well as ensuring the raw filament material and the extruder’s components are free from any contaminants.
In addition to temperature control and time management, it’s important to consider safety during the melting process. Working with high temperatures requires proper precautions to prevent burns or other accidents. Always follow safety guidelines and wear appropriate protective gear, such as heat-resistant gloves and goggles, to ensure your safety.
Achieving the desired consistency for the melted filament is crucial for successful extrusion and subsequent 3D printing. By carefully controlling the temperature, heating time, and maintaining cleanliness, you can ensure that the filament material is melted to the optimal viscosity and ready for the next stage of the filament-making process.
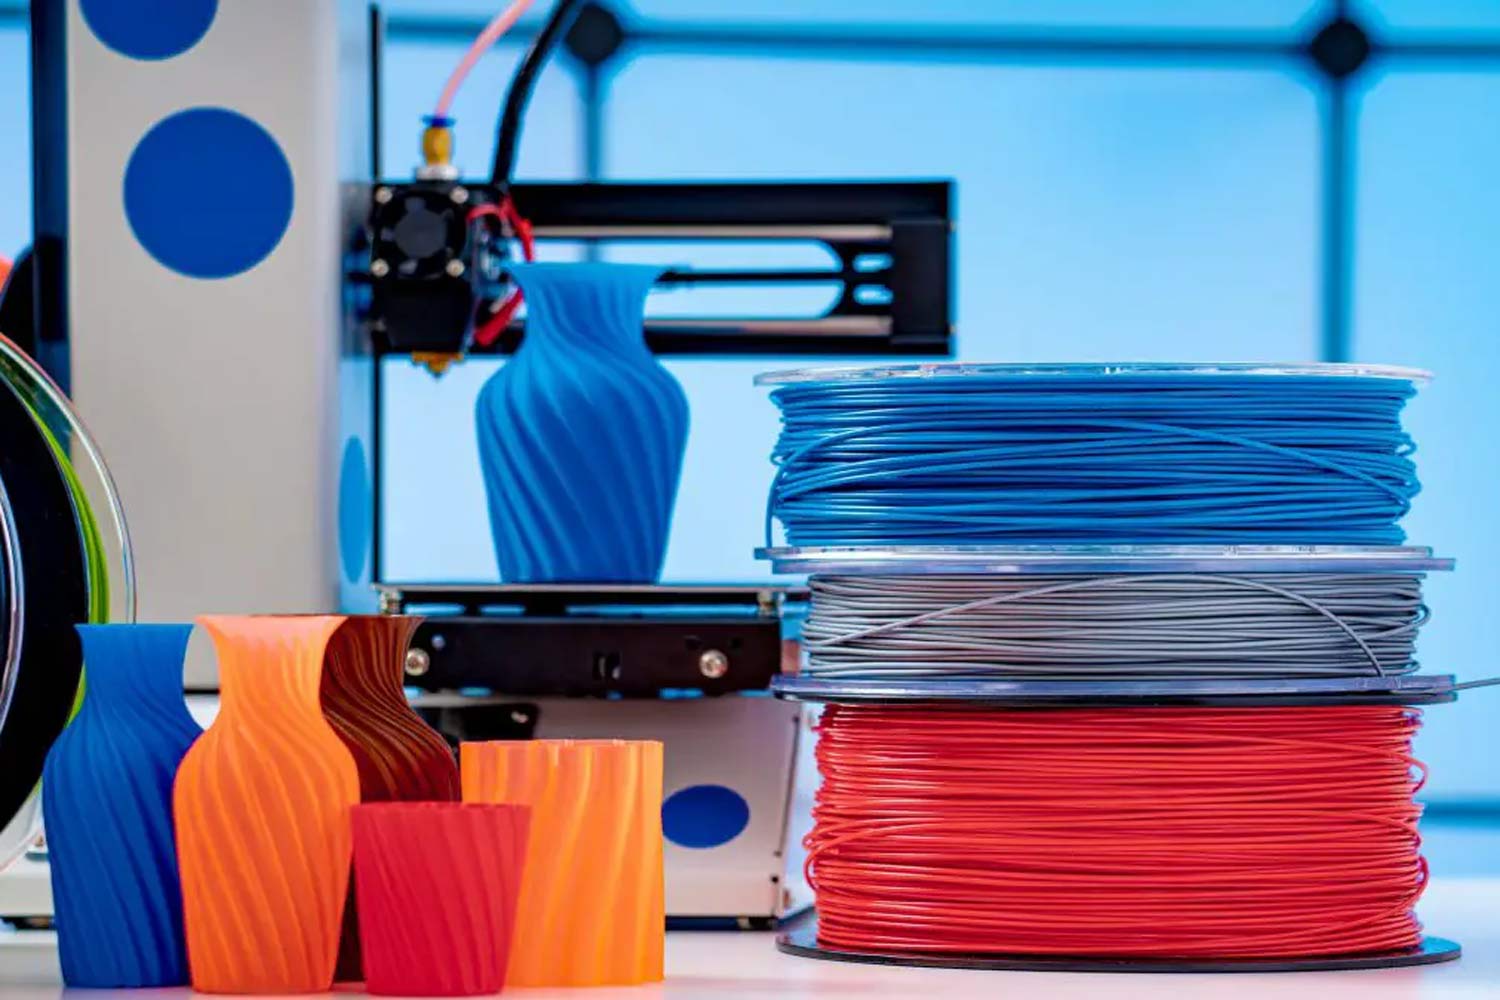
Extrusion and Cooling Process
After the filament material has been melted to the desired consistency, the next step in the filament-making process is extrusion. Extrusion involves forcing the melted filament material through a nozzle to create a continuous filament strand. This process requires precision and control to ensure the filament’s diameter and quality.
The extrusion process begins by feeding the melted filament material into the nozzle of the extruder. The extruder applies pressure to push the material through the nozzle opening, forming a continuous filament strand. It’s important to maintain a consistent and controlled flow of the filament material during this process to achieve uniform diameter and reliable printing results.
To ensure precise filament diameter, a diameter control unit is used in conjunction with the extruder. This unit measures the filament’s diameter continuously and adjusts the extruder’s speed and pressure accordingly. This control mechanism helps maintain a consistent filament diameter throughout the extrusion process, resulting in high-quality filament.
As the filament is extruded, it needs to be cooled rapidly to solidify and maintain its shape. Proper cooling is essential to prevent warping or deformation of the filament and ensure its usability in 3D printing. This is achieved using a cooling system, which can include fans or a cooling chamber specifically designed to cool the extruded filament quickly.
The cooling system should be set up in a way that evenly distributes the cooling air or coolant around the filament. This ensures uniform cooling and prevents any areas of uneven cooling that could affect the filament’s diameter or structural integrity.
During the cooling process, it’s important to monitor the filament’s temperature to ensure it reaches a solid state while preventing any thermal stresses or brittleness. The cooling time will vary depending on the filament material, diameter, and ambient temperature conditions. Follow manufacturer recommendations or perform tests to determine the appropriate cooling time for your specific filament.
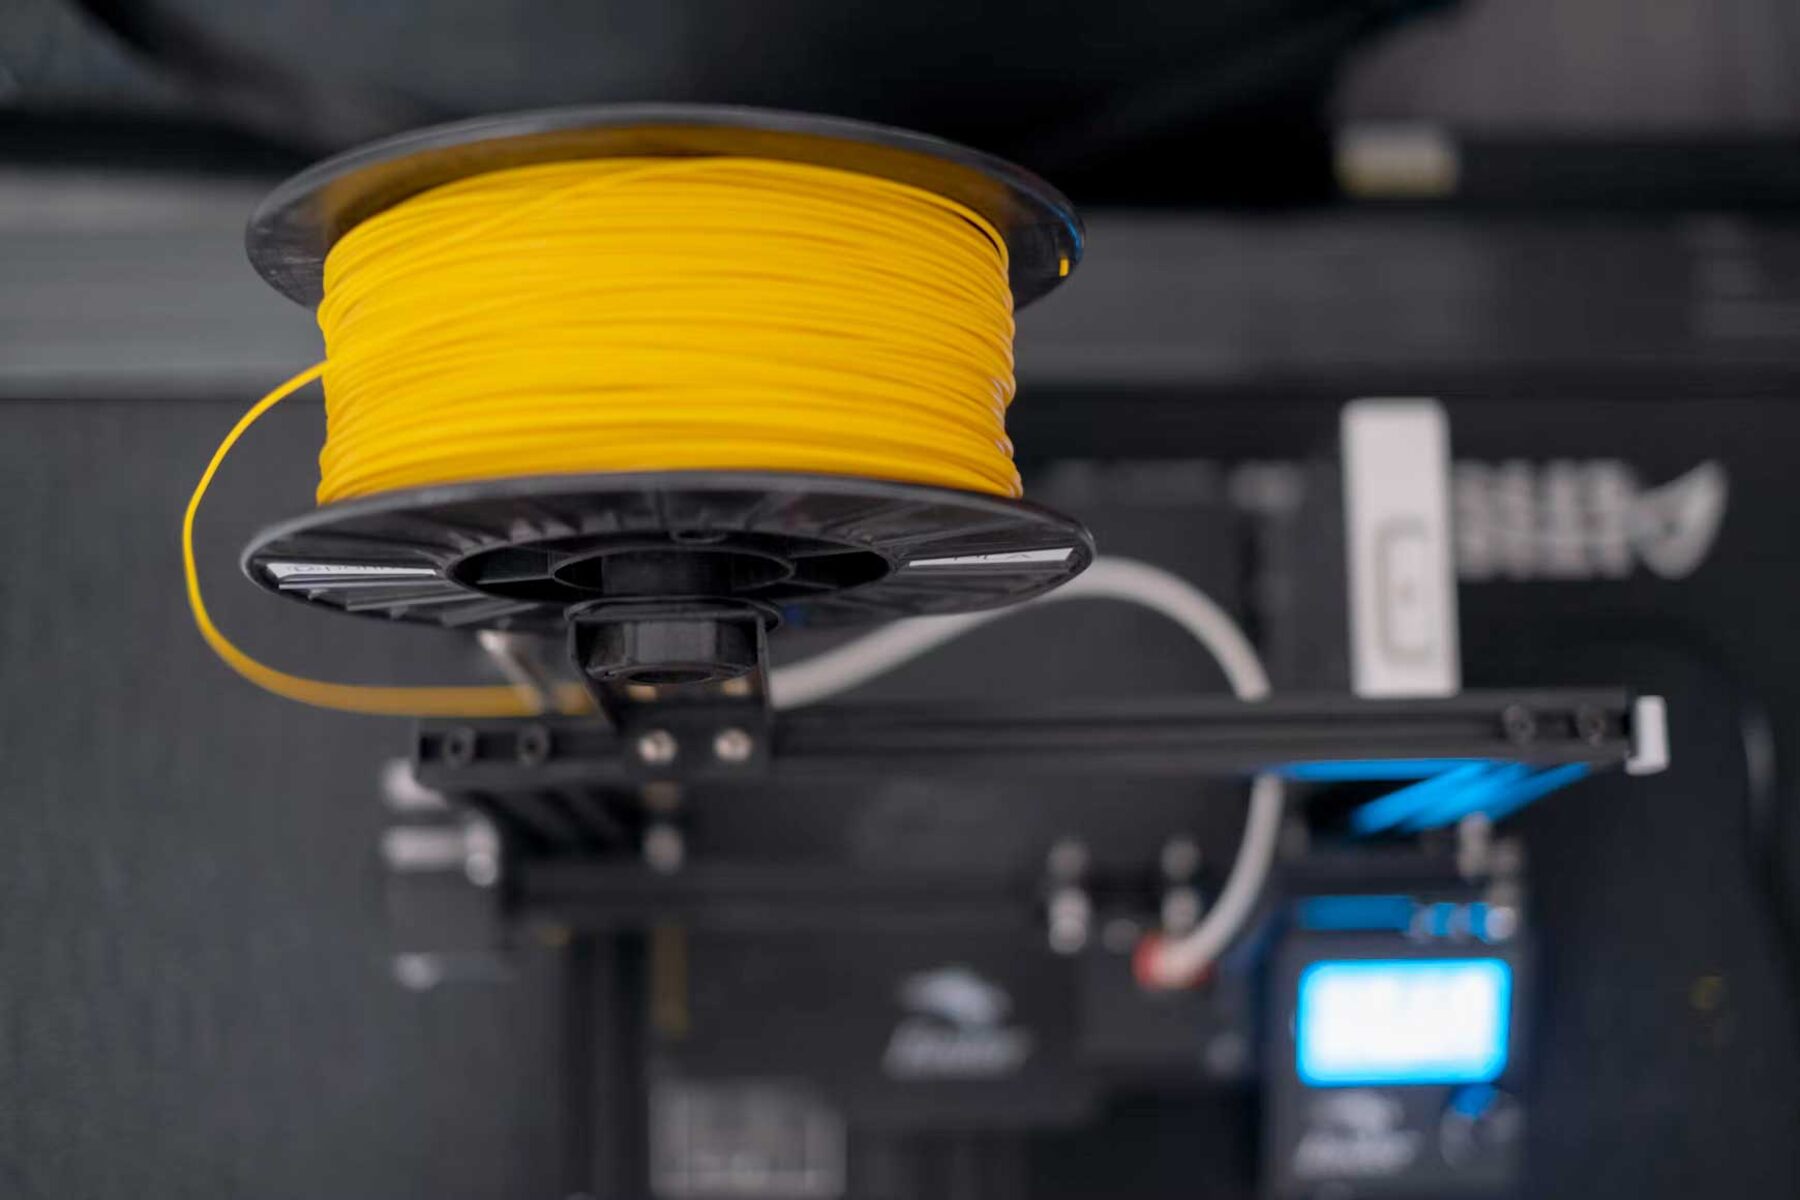
Once the filament has been sufficiently cooled and solidified, it can be wound onto a spool for easy storage and use. This winding process should be done carefully to prevent any twisting, tangling, or kinking of the filament. A filament winder with adjustable tension and speed settings is essential to ensure proper winding and maintain the filament’s integrity.
The extrusion and cooling process is a critical stage in the filament-making process. By ensuring precise control of extrusion parameters, maintaining consistent filament diameter through diameter control, and implementing an effective cooling system, you can produce high-quality filament that is ready for use in your 3D printing projects.
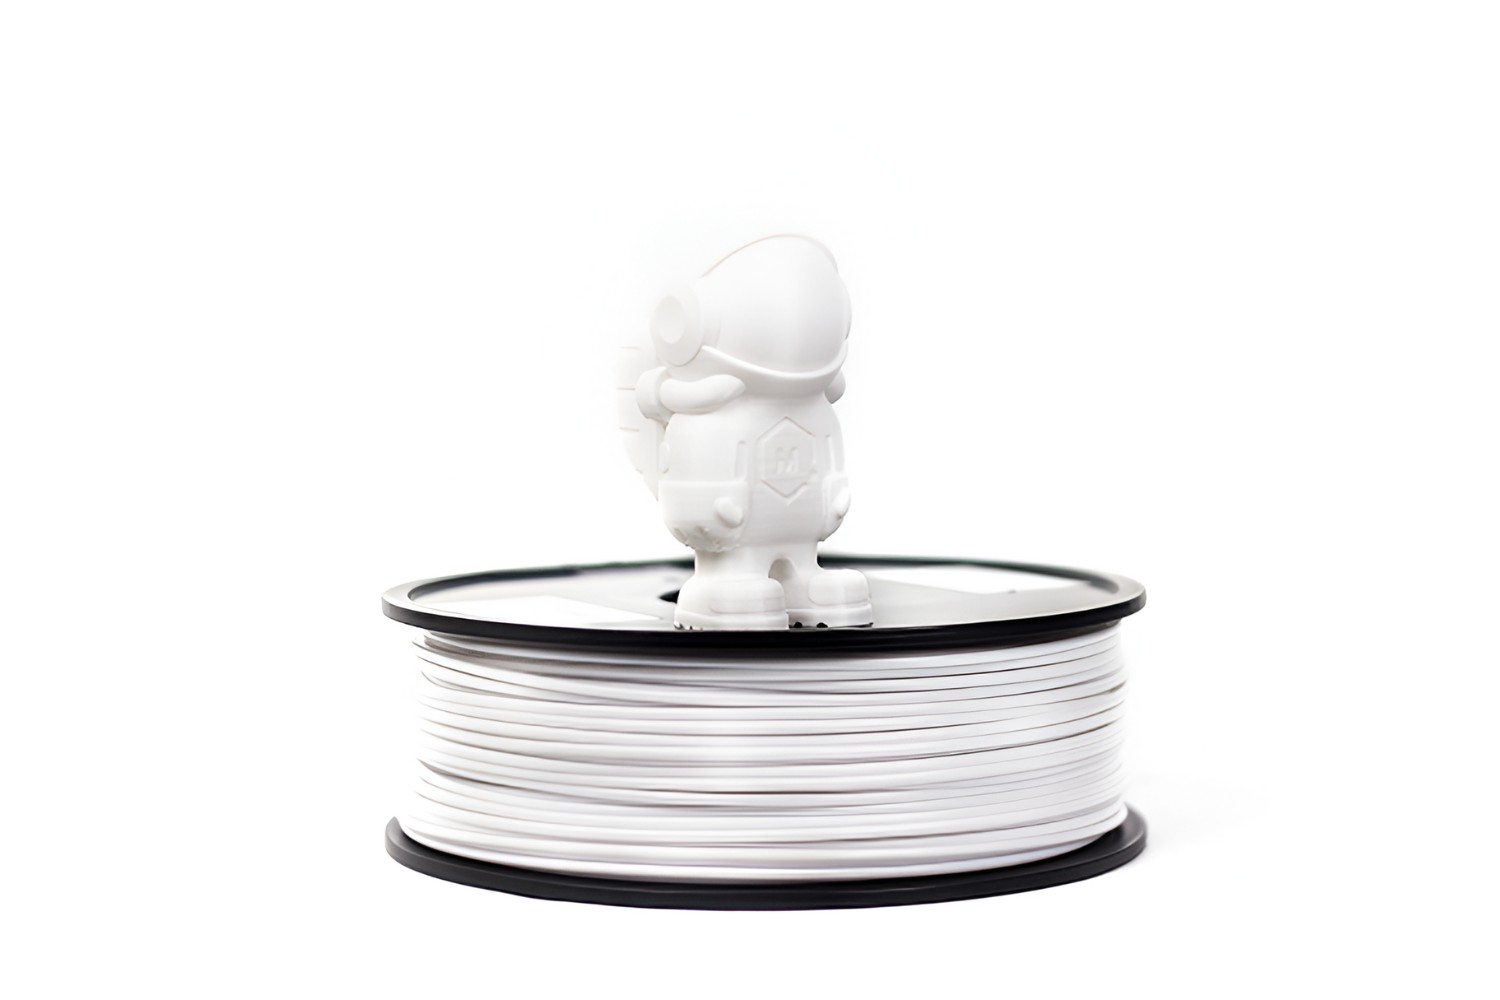
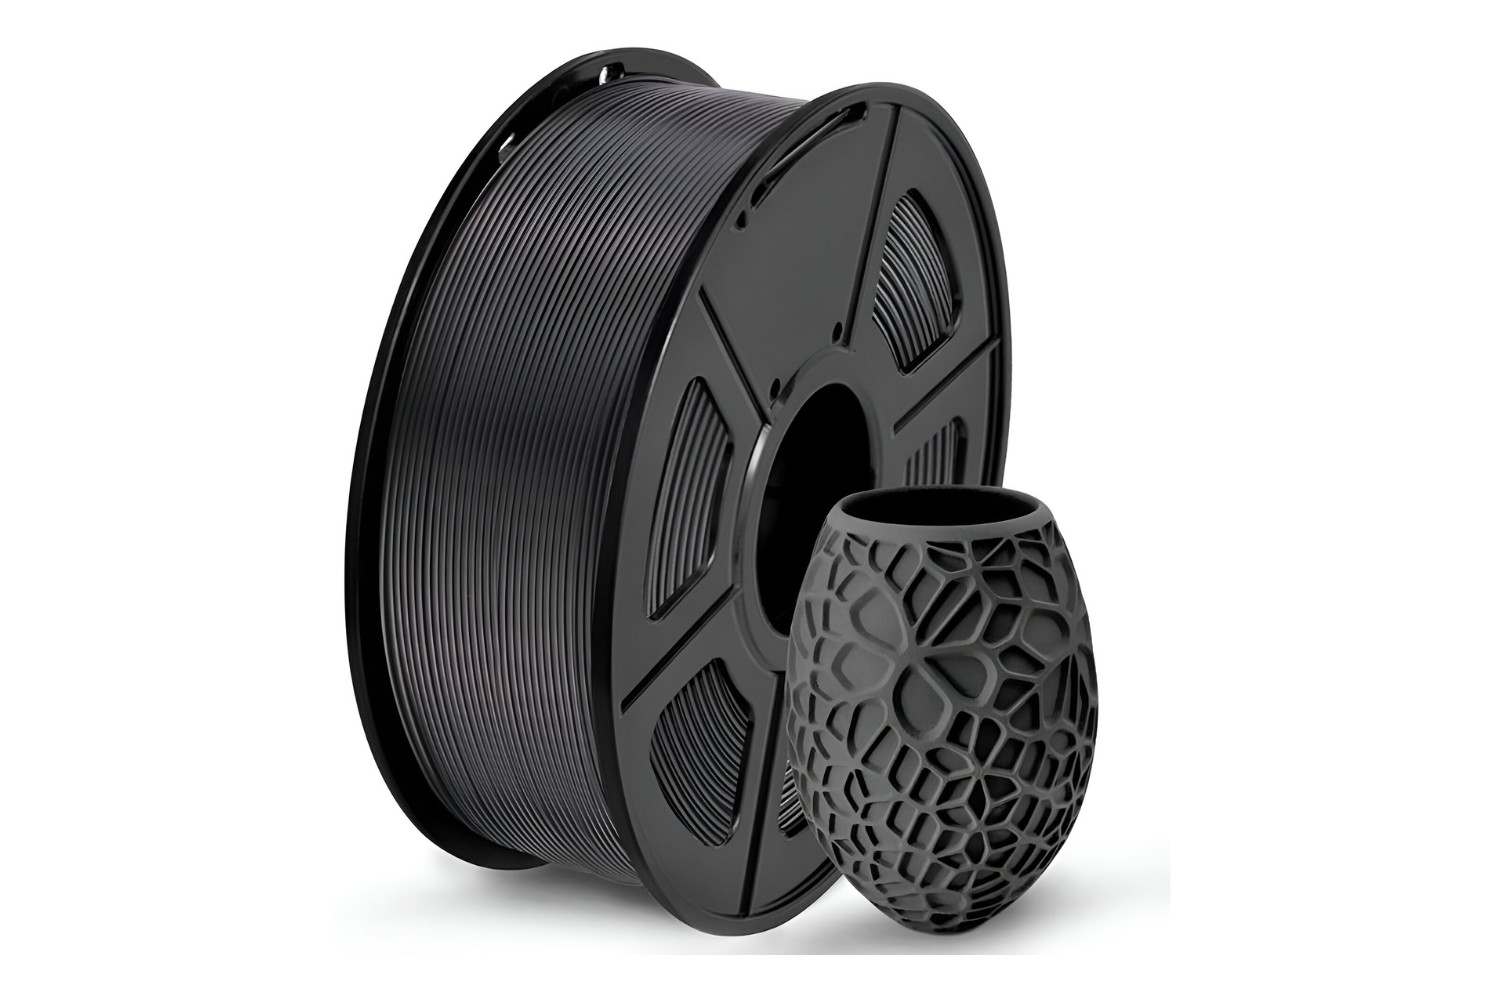
Winding the Filament onto a Spool
Once the filament has been extruded and cooled, the next step in the filament-making process is winding the filament onto a spool. Proper winding ensures that the filament remains organized, untangled, and ready for use in your 3D printer. Let’s explore the winding process and the important considerations to achieve optimal results.
Begin by preparing a clean and smooth spool for winding the filament. The spool should have a suitable diameter and width to accommodate the desired length and diameter of the filament. Ensure that the spool is in good condition, free from any defects or obstructions that could hinder the winding process.
To start the winding process, secure the end of the filament to the spool. You can use tape or a small clip to keep the filament in place. It’s essential to ensure that the filament is attached securely to prevent it from loose and causing tangles during winding.
As you begin winding, it’s important to maintain tension on the filament to ensure even winding across the spool. Too much tension can lead to filament breakage, while too little tension can result in loose and irregular winding. Adjust the tension as needed to achieve a smooth and evenly wound filament.
Be mindful of the winding speed. Fast winding may cause the filament to wrap unevenly or loosen on the spool, while slow winding can prolong the winding process significantly. The winding speed should be balanced to ensure efficiency and maintain a consistent filament alignment across the spool.
It’s important to monitor the winding process carefully to ensure that the filament is winding neatly and without any twisting or overlapping. Occasionally check the filament as it is wound to ensure that it remains aligned and tangle-free. Take corrective actions if you notice any irregularities during the winding process.
During the winding process, you can use a filament guide or cone to guide the filament onto the spool for smooth and organized winding. This helps prevent tangling or overlapping and ensures a neat and uniform filament distribution on the spool.
Once you have completed winding the filament, secure the end to the spool to prevent the filament from unwinding. You can use tape, a clip, or a filament tie to keep the end of the filament in place. Ensure that it is attached securely so that the filament remains intact and ready for use.
Label the spool with relevant information such as the filament type, color, diameter, and any other important details. This labeling helps you identify and organize your filament collection, making it easier to choose the appropriate filament for your 3D printing projects.
Proper winding ensures that your filament remains organized and ready to use. By following the steps outlined above and being attentive to the winding process, you can ensure that your filament is neatly wound onto the spool, preventing tangles and facilitating smooth printing experiences.
Testing and Quality Control of the Filament
Once the filament has been wound onto the spool, it’s important to perform testing and quality control checks to ensure that the filament meets the desired specifications and is ready for use in your 3D printing projects. Testing and quality control measures play a crucial role in ensuring the reliability and performance of the filament. Let’s explore some key aspects of filament testing and quality control.
One important test is measuring the filament’s diameter at various points along its length. Use a filament diameter gauge or caliper to measure the diameter at multiple sections of the filament. The diameter should remain consistent within the tolerance range specified by the filament material manufacturer.
The filament’s diameter plays a significant role in the success of 3D prints. An incorrect diameter can lead to under-extrusion or over-extrusion, affecting the dimensional accuracy and structural integrity of the printed object. By testing the filament’s diameter, you can identify any inconsistencies and make adjustments if needed.
Another essential quality control measure is inspecting the filament for any visible defects or impurities. Thoroughly examine the filament’s surface for any bumps, irregularities, or foreign particles. These defects can interfere with the extrusion process or cause printing issues. Discard any filament that exhibits significant defects or impurities.
Additionally, it’s important to test the filament’s compatibility with your 3D printer. Load the filament onto your printer and perform a test print using a sample object or a calibration print. This test will help you evaluate the filament’s performance, adherence, and print quality.
Monitor the printing process closely, paying attention to any issues like filament jams, poor layer adhesion, or inconsistent extrusion. Any irregularities or deviations from expected results should be noted and used as a basis for troubleshooting and improvement in future filament production.
To ensure the longevity and usability of your filament, it’s crucial to store it properly. Place your filament in airtight containers or vacuum-sealed bags to protect it from moisture and humidity. Store the filament in a cool and dry location away from direct sunlight and extreme temperature fluctuations. Proper storage helps maintain the filament’s integrity and prevents degradation, resulting in consistent print quality over time.
Performing regular quality control checks even after the initial testing is recommended. By periodically testing and inspecting your filament, you can identify any changes in diameter or quality over time and address them accordingly.
Ensuring the quality and reliability of your filament through proper testing and quality control measures is essential for consistent and successful 3D printing. By consistently monitoring the filament’s diameter, inspecting for defects, testing compatibility, and storing it correctly, you can produce high-quality filament that contributes to outstanding 3D prints.
Troubleshooting Common Issues
While making your own filament can be a rewarding process, it’s not without its challenges. Like any manufacturing process, there may be times when you encounter issues or face difficulties. Understanding common problems and how to troubleshoot them can help you overcome these obstacles and improve the quality of your filament. Let’s explore some common issues and their potential solutions.
One common issue is inconsistent filament diameter. If you notice fluctuations in the filament’s diameter, it can affect print quality and result in uneven extrusion. To address this issue, ensure that your filament extruder is properly calibrated and the filament diameter control system is functioning correctly. Double-check the filament cutting process to ensure accurate and consistent filament lengths, as variability in filament size can contribute to diameter inconsistencies.
Another common issue is filament breakage during the extrusion process. This can occur due to various factors such as excessive tension, improper cooling, or issues with the extruder. To resolve filament breakage, check the tension settings during the winding process and adjust them if necessary. Ensure that the cooling system is effectively cooling the filament to prevent any overheating or brittleness. Additionally, inspect the extruder components for any signs of damage or wear that may be contributing to filament breakage.
Filament jamming is another issue that can disrupt the filament-making process. If the filament gets stuck inside the extruder or nozzle, it can lead to inconsistent extrusion or even damage to the machine. To prevent filament jams, ensure that the filament feeding mechanism is clean and free from any debris or obstructions. If the filament is prone to jamming, consider using a filament lubricant or a different filament material with better flow characteristics.
Inconsistent print quality is a common concern that can be attributed to various factors. It’s important to assess the overall extrusion process, including the melting, extrusion, and cooling stages, to identify potential culprits. Check the filament’s diameter, alignment, and consistency to ensure that the extrusion is uniform. Adjust the cooling system to achieve proper cooling and solidification of the filament. Additionally, make sure that the filament spools are stored correctly to avoid moisture absorption, as damp filament can lead to poor printing results.
Warping and delamination of printed objects can also arise from issues with the filament. If you consistently experience warping or delamination, reassess the filament material’s properties and parameters, such as print temperature and cooling settings. Experiment with different printing configurations to find the optimal settings for your specific filament material.
It’s important to document and analyze any recurring issues or anomalies in the filament-making process. Keep meticulous records of observations and test results to identify patterns and potential root causes. Using this information, implement targeted solutions, such as equipment adjustments or process changes, to mitigate the issues and improve the overall quality of your filament.
Remember that troubleshooting requires patience and a systematic approach. Monitor the entire filament-making process and make incremental adjustments to address specific issues. Seek advice from experienced filament makers or professionals if you encounter persistent challenges that are difficult to resolve on your own. With persistence and a diligent approach to problem-solving, you can overcome common issues and produce high-quality filament for your 3D printing projects.
Conclusion
Making your own 3D printer filament is a fascinating and rewarding endeavor that allows you to have more control over the materials you use and explore endless possibilities in 3D printing. By following the steps outlined in this article, you can create high-quality filament to fuel your creative projects and achieve remarkable 3D prints.
Understanding the basics of 3D printer filament is crucial for selecting the right materials for your specific printing needs. Consider factors such as filament diameter, material properties, and color options to ensure optimal results in your prints. Proper equipment and tools, including an extruder, filament diameter control system, cooling system, and filament winder, are essential for successfully making filament.
During the filament-making process, it’s important to pay attention to each step and adhere to quality control measures. Properly preparing the raw materials, achieving the desired consistency through melting and extrusion, and careful winding onto a spool contribute to the overall quality of the filament. Furthermore, testing the filament’s diameter, inspecting for defects, and conducting compatibility tests with your 3D printer ensure reliable and consistent results.
In the event of common issues, troubleshooting techniques such as adjusting filament diameter control, addressing filament breakage or jamming, and optimizing print parameters can help resolve the problems and improve the filament-making process. Documenting observations, analyzing data, and seeking guidance from experts in the field can contribute to the continuous improvement of your filament production.
In conclusion, making your own 3D printer filament opens up a world of possibilities in the realm of 3D printing. With the right knowledge, equipment, and attention to detail, you can create high-quality filament that meets your specific requirements. Embrace the challenges, learn from your experiences, and let your creativity shine through as you embark on this exciting journey of filament making.