Introduction
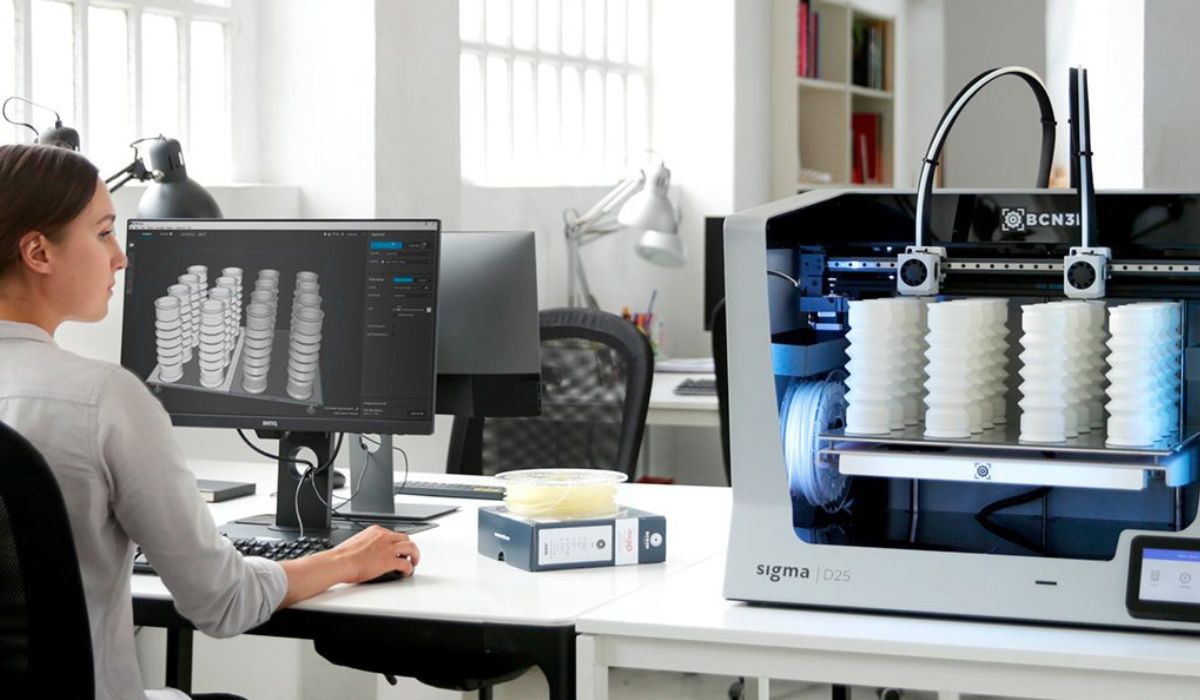
Welcome to the world of 3D printing! A 3D printer is an incredible tool that allows you to transform digital designs into physical objects. Whether you are a hobbyist, an educator, or an entrepreneur, owning a 3D printer can open up a whole new realm of creativity and possibilities.
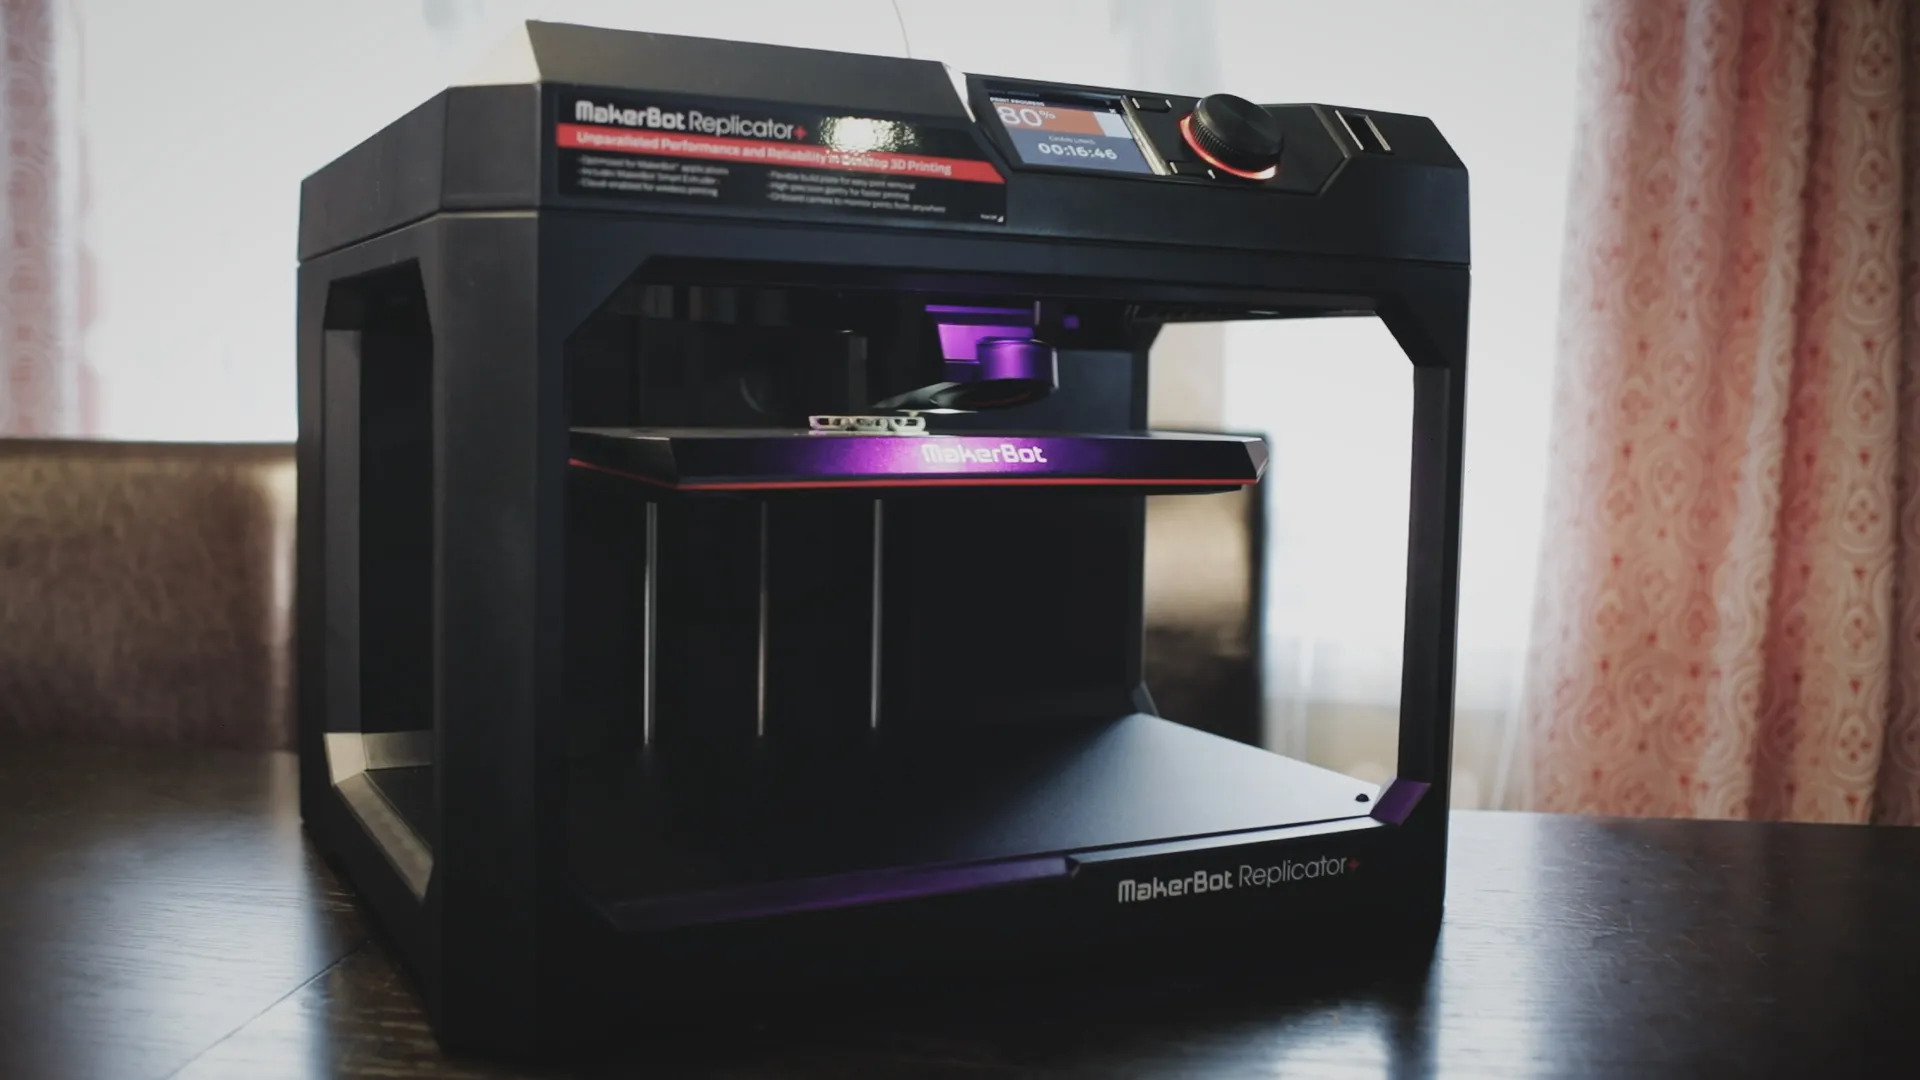
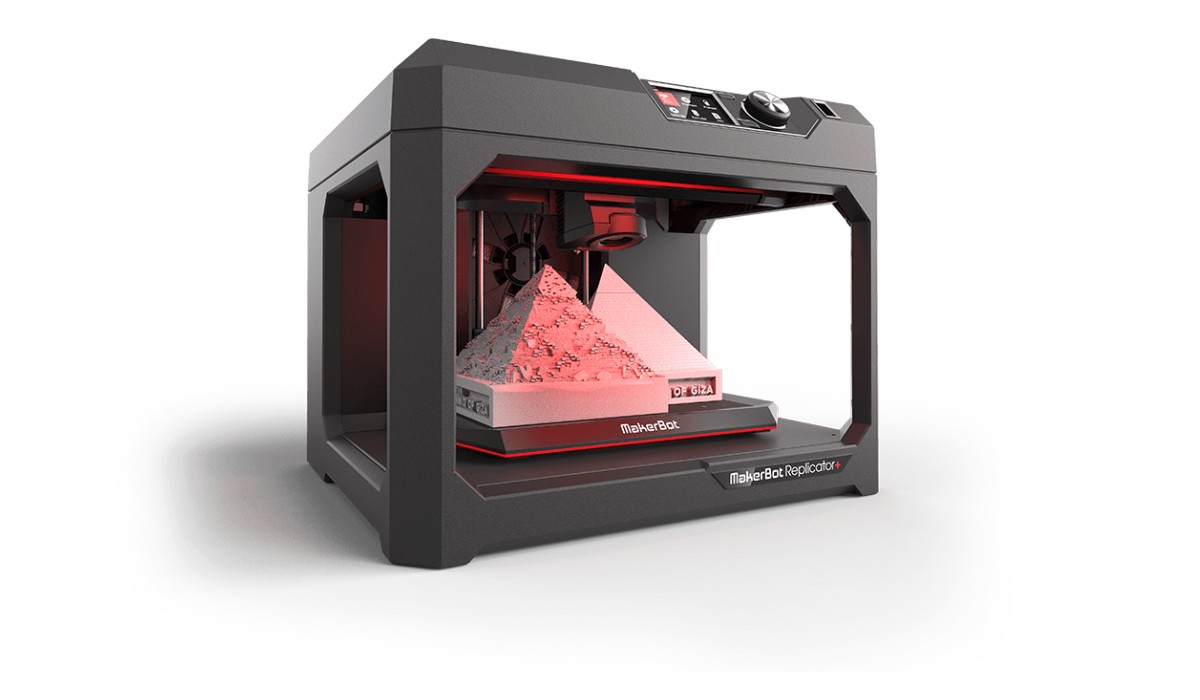
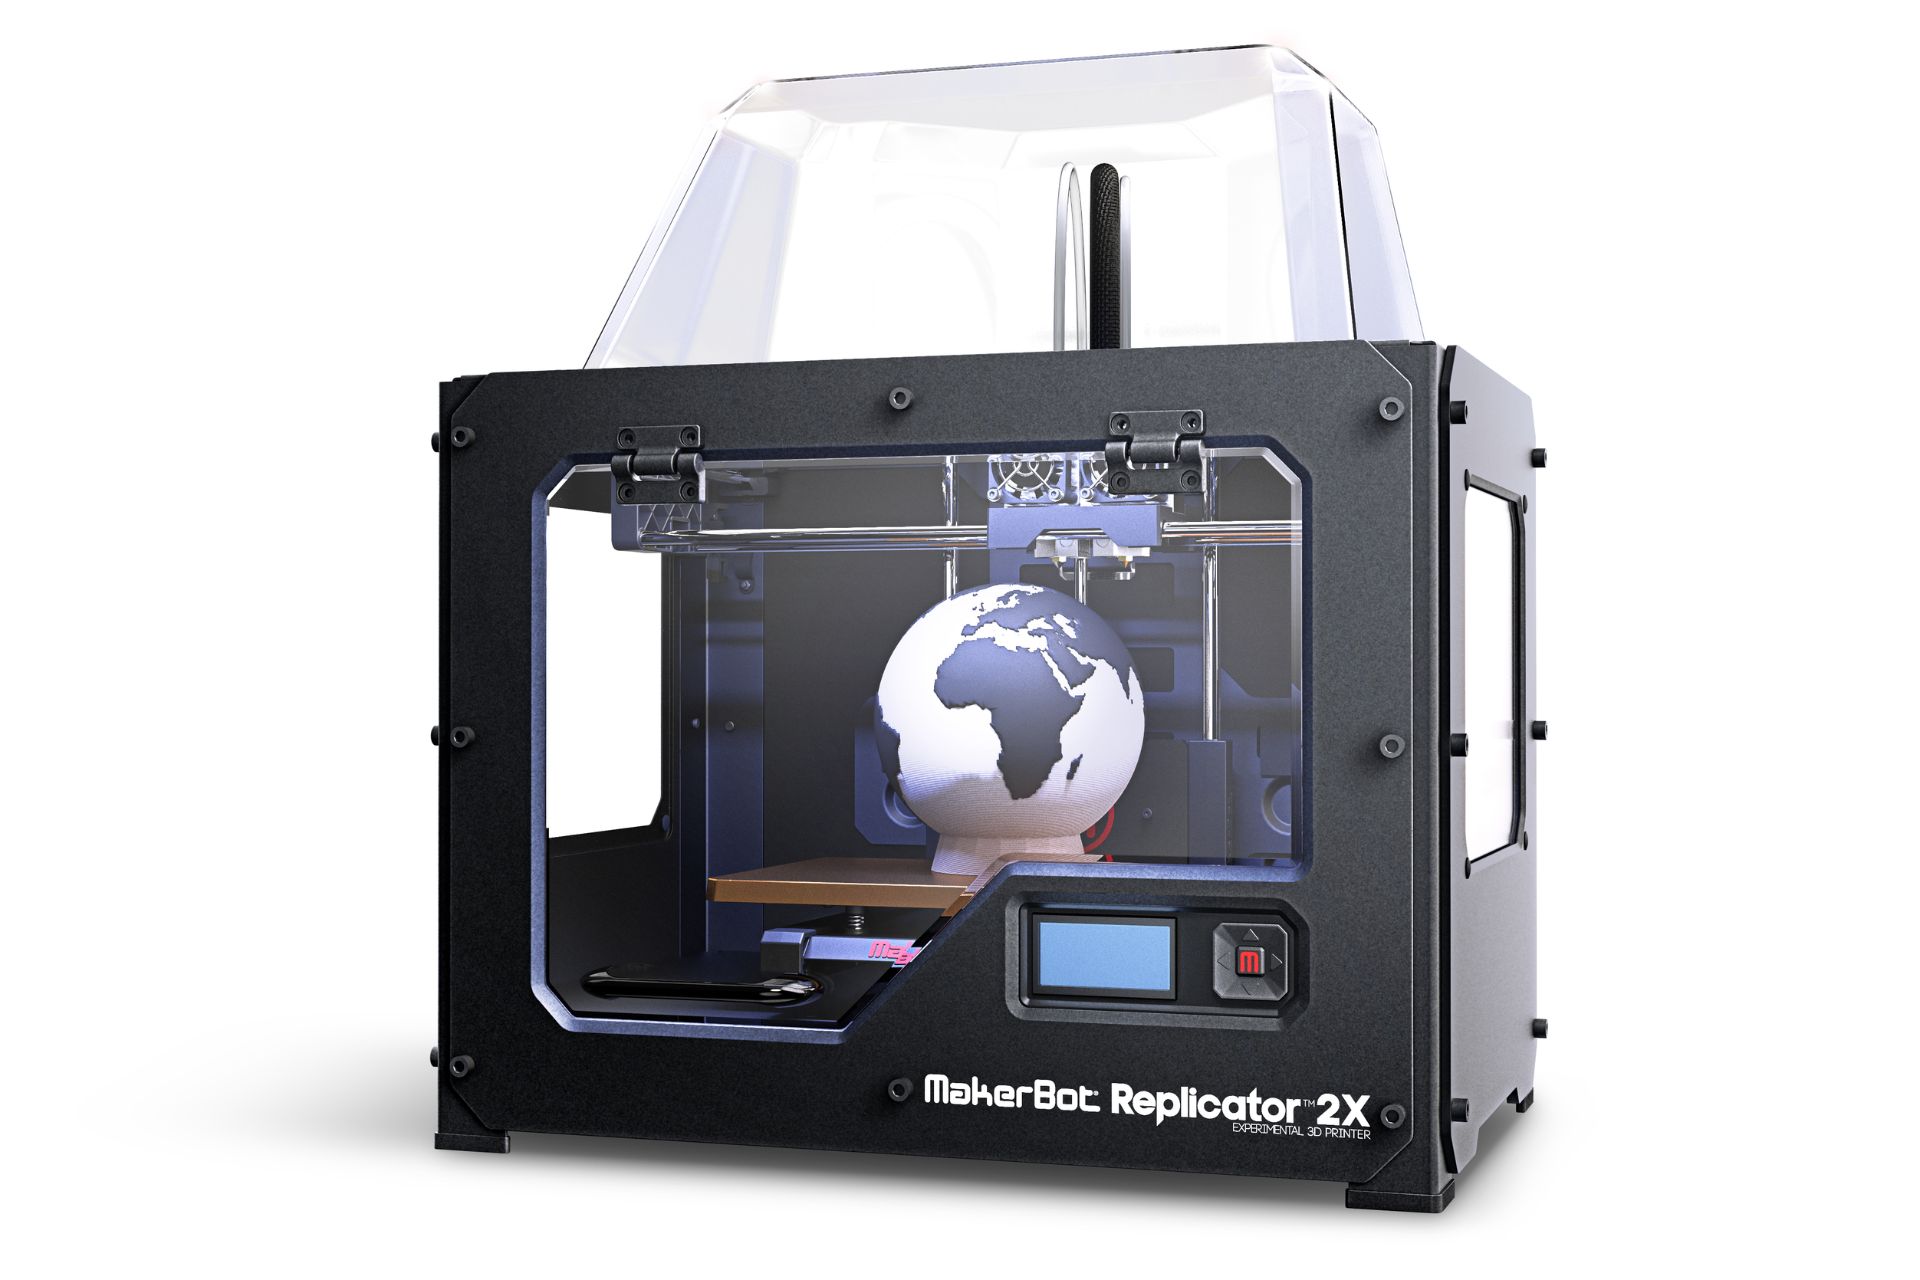
In this guide, we will walk you through the process of setting up a 3D printer specifically the Replicator 2. Before we dive into the nitty-gritty details, let’s take a moment to understand the basics.
The Replicator 2 is a popular 3D printer model known for its reliability and ease of use. It utilizes Fused Deposition Modeling (FDM) technology to build objects layer by layer using a thermoplastic material called filament. With its build volume of 285 x 153 x 155 mm and a print resolution of 100 microns, the Replicator 2 offers a good balance between size and quality.
Before you embark on your 3D printing journey, it’s important to note that setting up a 3D printer requires some technical knowledge and attention to detail. But don’t worry, we will guide you through each step to ensure a smooth and successful setup.
Throughout this guide, we will cover everything from unboxing the Replicator 2 to loading filament and preparing your first print. We will also touch on important topics such as safety precautions, connecting the power supply, and troubleshooting common issues. By the end of this guide, you will have all the knowledge you need to unleash your creativity and start bringing your ideas to life.
So, if you’re ready to embark on this 3D printing adventure, let’s get started by unboxing the Replicator 2!
Safety Precautions
Before diving into the exciting world of 3D printing with your Replicator 2, it’s crucial to prioritize safety. While 3D printers are generally safe to use, it’s always better to take some precautions to minimize any potential risks. Here are some important safety measures to keep in mind:
- Operating Environment: Ensure that you set up your Replicator 2 in a well-ventilated area with proper airflow. Avoid using it in confined spaces to prevent the buildup of potentially harmful fumes.
- Fire Safety: Although rare, there is a possibility of a fire hazard when operating a 3D printer. Never leave the printer unattended while it’s printing and keep a fire extinguisher nearby, just in case. It’s also important to periodically inspect the printer for any signs of wear or damage that could potentially cause overheating.
- Electrical Safety: Make sure to plug your Replicator 2 into a grounded electrical outlet. Avoid using extension cords or power strips as they may not provide stable power supply, which can affect the printer’s performance and potentially cause damage.
- Hotend Safety: The hotend of the Replicator 2 can reach high temperatures during printing. Exercise caution when handling the printer and do not touch the hotend or the heated build platform while they are in operation or immediately after printing. Allow sufficient time for the parts to cool down before handling or removing prints.
- Material Safety: When choosing filament for your Replicator 2, always ensure that it is compatible with the printer’s specifications. Some materials may emit fumes or odors during printing, so it’s advisable to use the printer in a well-ventilated area or consider using a filtration system. Additionally, always consult the manufacturer’s guidelines and safety data sheets for any potential hazards associated with the filament material you are using.
- Maintenance and Cleaning: Regularly clean your Replicator 2 to remove any dust, debris, or filament residue that may accumulate. Follow the manufacturer’s recommendations for maintenance and keep the printer in good working condition to prevent any safety issues.
By following these safety precautions, you can ensure a safe and enjoyable 3D printing experience with your Replicator 2. Now that we’ve covered the safety aspects, let’s move on to the exciting part – unboxing the Replicator 2!
Unboxing the Replicator 2
Unboxing your Replicator 2 is an exciting moment as you get to see your new 3D printer in all its glory. Properly unboxing and handling the printer is essential to ensure its safety and integrity. Follow these steps to unbox your Replicator 2:
- Inspect the Package: Carefully examine the package for any signs of damage during shipping. If you notice any visible damage, take pictures for documentation purposes before opening the package.
- Find a Flat Surface: Select a clean, flat surface to place your Replicator 2. Make sure the area provides enough space for the printer and any additional accessories.
- Open the Box: Gently open the top of the box and remove any loose items or packing material. Keep an eye out for any included documentation, such as user manuals or setup guides.
- Remove the Printer: Lift the Replicator 2 carefully from the box and place it on the designated surface. It may be helpful to have an extra pair of hands to ensure smooth and safe handling of the printer, as it can be quite heavy.
- Remove Protective Packaging: Inspect the Replicator 2 for any protective packaging materials such as foam or plastic wrap. Remove them carefully, ensuring not to damage any of the printer’s components.
- Check the Accessories: Along with the printer, you should also find various accessories and components in the box. These may include the power supply, USB cable, tools, and sample filaments. Take inventory of all the included items to ensure everything is present.
- Set Aside the Packaging: As you unbox the Replicator 2 and its accessories, set aside the packaging materials for recycling or disposal. Keeping the work area clean and organized will make subsequent assembly and setup steps more convenient.
Unboxing your Replicator 2 is the first step towards 3D printing greatness. By following these steps, you have ensured that your printer is safely and properly unpacked. Now, let’s move on to the next step: assembling the Replicator 2!
Assembling the Replicator 2
Now that you have successfully unboxed your Replicator 2, it’s time to assemble the printer. The assembly process is relatively straightforward and should only take a few steps. Follow these instructions to assemble your Replicator 2:
- Locate the Build Platform: Look for the build platform, which is a flat surface where your prints will be created. It should be separate from the main printer body.
- Attach the Build Platform: Align the build platform with the printer’s base, ensuring that any connectors or screws line up correctly. Gently slide the build platform into place and secure it in position according to the manufacturer’s instructions.
- Install the Filament Spool Holder: Find the filament spool holder, which is typically a rod or arm-like structure. Attach it to the designated location on your Replicator 2. This will hold the filament spool during the printing process.
- Mount the Filament Guide Tube: Connect the filament guide tube to the extruder assembly of your Replicator 2. This tube will guide the filament from the spool holder to the extruder head during printing.
- Prepare the Extruder Head: Locate the extruder head, which is responsible for melting and extruding the filament. Ensure that it is properly positioned and secure on the printer according to the manufacturer’s guidelines.
- Connect Cables and Wires: Take the time to connect any necessary cables and wires to their respective ports on your Replicator 2. Make sure the connections are secure and properly inserted to ensure smooth operation.
- Double-Check Connections: Before proceeding, it’s essential to review all the connections and attachments you’ve made. Ensure that everything is secure and properly aligned to avoid any issues during operation.
By following these assembly instructions, you have successfully put together your Replicator 2. The printer is now ready for the next steps of the setup process. In the next section, we will go over connecting the power supply to ensure your Replicator 2 is ready for action!
Connecting the Power Supply
Now that you have assembled your Replicator 2, it’s time to connect the power supply to provide the necessary electricity for operation. Follow these steps to properly connect the power supply:
- Locate the Power Supply: Find the power supply unit (PSU) that came with your Replicator 2. It is typically a separate component that converts the electricity from the outlet to the appropriate voltage required by the printer.
- Identify the Power Input: Locate the power input port on your Replicator 2. It is usually found on the back or side of the printer. The port may be labeled with a power icon or indicated by a socket symbol.
- Connect the Power Cord: Take the power cord provided with your Replicator 2 and insert it into the power input port. Make sure the connection is secure and properly inserted to prevent accidental disconnection.
- Connect to a Power Outlet: Plug the other end of the power cord into a grounded power outlet. Ensure that the outlet is easily accessible and in close proximity to the printer, but not in a location where it can be easily tripped over or damaged.
- Check the Power Indicator: Once the power cord is connected, check the power indicator on your Replicator 2. This may be a light or LED that confirms that the printer is receiving power. If the indicator is on, it signifies that the power supply is working correctly.
- Confirm Power Requirements: It’s important to verify that the power supply voltage matches the requirements of your region. Different countries have different voltage standards, so ensure that your power supply is compatible.
By following these steps, you have successfully connected the power supply for your Replicator 2. This ensures that your printer is ready to be powered on and start the setup process. In the next section, we will cover connecting your Replicator 2 to a computer for further configuration.
Connecting to a Computer
Connecting your Replicator 2 to a computer is an essential step in the setup process, as it allows you to control and communicate with the printer. Follow these steps to establish a connection between your Replicator 2 and your computer:
- Check System Requirements: Before starting the connection process, ensure that your computer meets the minimum system requirements specified by the manufacturer. This may include a specific operating system, available USB ports, and compatible software.
- Locate the USB Port: Find the USB port on your Replicator 2. It is usually located on the back or side of the printer, near the power input port. Ensure that the USB port is easily accessible for connection.
- Connect the USB Cable: Take the USB cable provided with your Replicator 2 and insert one end into the USB port on the printer. Make sure the connection is secure and properly inserted.
- Connect to Your Computer: On the other end of the USB cable, insert the USB connector into an available USB port on your computer. Again, ensure that the connection is secure and properly inserted.
- Power On the Printer: Turn on your Replicator 2 by using the power switch located on the printer. This will initiate the power-up sequence and prepare the printer for communication with your computer.
- Install Required Software: Depending on your printer model and operating system, you may need to install the manufacturer’s software or driver to establish a proper connection. Follow the provided instructions to install the required software on your computer.
- Establish Connection: Once the necessary software is installed, launch the software and look for an option to connect or detect your Replicator 2. Follow the software’s instructions to establish a connection between the printer and your computer.
- Confirm Connection: After completing the connection process, verify that your Replicator 2 is successfully connected to your computer. You may see a confirmation message or an indication within the software that the connection has been established.
By following these steps, you have successfully connected your Replicator 2 to your computer. This enables you to control and communicate with the printer, allowing you to send print jobs and configure settings. In the next section, we will cover the installation and setup of the software required to operate your Replicator 2.
Installing and Setting Up the Software
To fully utilize the capabilities of your Replicator 2, you need to install and set up the necessary software on your computer. This software allows you to prepare 3D models, slice them into printable layers, and send the instructions to your printer. Follow these steps to install and set up the software:
- Download the Software: Visit the manufacturer’s website or the Replicator 2 support page to download the latest version of the software. Ensure that you choose the software that corresponds to your operating system.
- Run the Installer: Locate the downloaded software file and run the installer. Follow the on-screen instructions to complete the installation process. Make sure to read and accept any license agreements or terms of use.
- Launch the Software: Once the installation is complete, launch the software on your computer. You may find a shortcut on your desktop or in the start menu. Alternatively, you can search for the software name in your application launcher.
- Connect Your Printer: Ensure that your Replicator 2 is connected to your computer via the USB cable as described in the previous section. The software should automatically detect the printer and display a connection status, or you may need to manually select the printer from a list of available devices.
- Configure Printer Settings: Access the printer settings within the software to configure various parameters such as print quality, filament type, and build volume. Refer to the printer’s manual or documentation for guidance on the recommended settings for your Replicator 2.
- Prepare 3D Models: Use the software’s built-in tools or import 3D models from external sources to prepare them for printing. This may involve scaling, positioning, and adjusting settings such as infill density and support structures.
- Slice the Model: Slice the 3D model into printable layers using the software’s slicing feature. This process converts the 3D model into a series of instructions that the printer can understand. Adjust the slicing settings, such as layer height and print speed, according to your preferences and requirements.
- Send the Print Job: Once the model is sliced, send the print job to your Replicator 2 through the software. Verify that the printer is connected and ready, and click the print button or follow the software’s instructions to initiate the printing process.
By following these steps, you have installed and set up the software required to operate your Replicator 2. You can now prepare 3D models, slice them, and send print jobs to your printer. In the next section, we will cover the important process of calibrating your Replicator 2 for optimal performance.
Calibrating the Replicator 2
Calibrating your Replicator 2 is an essential step to ensure the best possible print quality and accuracy. Proper calibration ensures that the printer is correctly aligned and calibrated for optimal performance. Follow these steps to calibrate your Replicator 2:
- Level the Build Platform: Start by leveling the build platform of your Replicator 2. This ensures that the distance between the nozzle and the build platform is consistent, resulting in precise layer adhesion. Use the printer’s built-in leveling feature or follow the manufacturer’s instructions to level the build platform.
- Check Extruder Calibration: Check and calibrate the extruder of your Replicator 2. This ensures that the correct amount of filament is extruded during printing. Follow the manufacturer’s instructions on how to perform extruder calibration using the printer’s settings or software.
- Adjust Z-Axis Home Position: Adjust the Z-axis home position to ensure the proper starting point for your prints. This ensures that the nozzle starts at the correct height above the build platform. Use the printer’s settings or software to adjust the Z-axis home position according to the manufacturer’s instructions.
- Fine-Tune Print Speed and Temperature: Fine-tune the print speed and temperature settings to achieve the desired print quality. Experiment with different settings to find the optimal combination for your specific prints. Keep in mind that print speed and temperature can affect the strength, resolution, and overall quality of your prints.
- Check and Adjust Belt Tension: Check the tension of the belts that control the movement of the printer’s components. Tensioning the belts properly ensures accurate movement and minimizes vibrations during printing. Refer to the manufacturer’s instructions on how to check and adjust the belt tension on your Replicator 2.
- Perform Test Prints: After calibrating your Replicator 2, it’s a good idea to perform test prints to evaluate the print quality and make any necessary adjustments. Use benchmark models or simple objects to check for issues such as overextrusion, underextrusion, or misalignment. Make note of any adjustments needed and iterate until you achieve the desired print quality.
- Document Calibration Settings: It is recommended to document the calibration settings you used for reference in the future. This will help you replicate successful prints and troubleshoot any issues that may arise in the printing process.
By following these steps, you have successfully calibrated your Replicator 2. Calibration is an ongoing process, so don’t hesitate to make adjustments as needed to continuously improve your print quality. In the next section, we will cover the process of loading filament into your Replicator 2 in preparation for printing.
Loading Filament
One of the crucial steps in preparing your Replicator 2 for printing is loading filament into the printer. Filament is the material that gets extruded and forms the layers of your 3D prints. Here’s how you can load filament into your Replicator 2:
- Prepare the Filament: Start by ensuring that you have the correct type of filament for your Replicator 2. Check the manufacturer’s guidelines to determine the compatible filament types and sizes. Also, verify that the filament is free from tangles or knots.
- Heat the Extruder: Turn on your Replicator 2 and allow it to heat up. Access the printer’s settings or display panel to set the extruder temperature according to the filament’s specific requirements. This ensures that the filament will melt and extrude properly.
- Unloading Any Existing Filament: If there is any existing filament loaded in the printer, unload it before loading new filament. Use the printer’s settings or software to initiate the filament unloading process. Follow the manufacturer’s instructions to safely remove the filament.
- Prepare the Filament Spool: Position the filament spool on the spool holder of your Replicator 2. Ensure that the filament can unwind smoothly without any obstructions or entanglements. The spool should rotate freely as the filament is pulled during the printing process.
- Insert the Filament: Feed the end of the filament into the filament guide tube or extruder assembly. Use gentle force to push the filament through until it reaches the nozzle of the extruder. If needed, refer to the manufacturer’s instructions for the specific loading mechanism of your Replicator 2.
- Monitor Extrusion: Once the filament is inserted, keep an eye on the extruder nozzle. You should see melted filament being extruded in a controlled manner. This indicates that the filament has successfully loaded into the printer. If there are any issues, such as irregular extrusion or clogging, consult the printer’s manual for troubleshooting steps.
- Confirm Filament Loading: Double-check that the filament is securely loaded and properly positioned within the printer. Ensure that it is aligned with the extruder assembly and the filament guide tube, and that there are no obstructions or tangled sections. This will help ensure smooth filament feeding during the printing process.
By following these steps, you have successfully loaded filament into your Replicator 2. Now, your printer is ready to start bringing your 3D designs to life. In the next section, we will discuss the necessary steps to prepare and initiate your first print on the Replicator 2.
Preparing Your First Print
Now that your Replicator 2 is assembled, calibrated, and loaded with filament, it’s time to prepare your first 3D print. This exciting step will bring your digital designs to life. Follow these steps to prepare your first print:
- Select a 3D Model: Start by choosing the 3D model you want to print. You can either create your own design using computer-aided design (CAD) software or find pre-made designs from online platforms and repositories.
- Import the 3D Model: If you have created your own 3D model, import it into the software that came with your Replicator 2. If you are using a pre-made design, download the file and open it in the software. Make sure the 3D model is properly positioned and scaled according to your preferences.
- Slice the 3D Model: Use the software’s slicing feature to convert the 3D model into printable layers. Set the desired layer height, print speed, and any other specific parameters for your print. This step is crucial as it determines the quality and behavior of the printed object.
- Preview the Sliced Layers: Take some time to preview the visual representation of the sliced layers in the software. This will give you an idea of how the final print will look and allow you to identify any potential issues or areas of improvement. Use the preview tool to navigate through the layered view of the print.
- Configure Print Settings: Customize the print settings to achieve the desired print quality and functionality. Adjust parameters such as infill density, print speed, support structures, and any other settings that are relevant to your specific print. Refer to the printer’s documentation or online resources for recommended values.
- Save the Print File: Once you are satisfied with the settings, save the sliced print file in a format compatible with your Replicator 2. This is usually in .gcode or .x3g format. Choose a location on your computer where you can easily locate the file when sending it to the printer.
- Send the Print Job: Using the software, send the print job to your Replicator 2. Make sure the printer is connected to your computer via the USB cable and powered on. Follow the software’s instructions to initiate the print. The printer will start heating up, and the extruder will begin 3D printing based on the instructions in the print file.
- Monitor the Print: Throughout the printing process, monitor the progress of your first print. Keep an eye on the extrusion, layer adhesion, and overall print quality. Address any issues that may arise, such as filament jams or misalignment, by referring to the printer’s documentation or troubleshooting guides.
- Finishing the Print: Once the 3D printing is complete, carefully remove the finished object from the build platform. Use caution when handling the object, as it may still be hot or need some post-processing, such as removing support structures or smoothing rough edges.
Following these steps will help you prepare and execute your first successful 3D print on the Replicator 2. Remember, practice and experimentation will give you a better understanding of the printer’s capabilities and help you achieve higher quality prints. In the next section, we will explore the importance of monitoring and troubleshooting during the 3D printing process.
Monitoring and Troubleshooting
Monitoring the print progress and troubleshooting any issues that arise during the 3D printing process are essential for achieving successful prints with your Replicator 2. Here are some important aspects to consider:
- Monitor the Print: Throughout the printing process, keep a close eye on the printer and the object being printed. Observe the extrusion, layer adhesion, and overall print quality. This will help you catch any issues early on and make adjustments if necessary.
- Address Filament Jams: If you notice that the filament is not extruding properly or if there are gaps in the print, there may be a filament jam. Stop the print job and refer to the manufacturer’s guidelines for clearing filament jams. Check for any obstructions or clogs in the extruder assembly and clean them if necessary.
- Check for Layer Adhesion Issues: Poor layer adhesion can result in weak or brittle prints. If you notice that layers are separating or not adhering properly, consider adjusting the print temperature, print speed, or the cooling settings. Experiment with different settings until you achieve a strong bond between layers.
- Adjust Print Settings: If you are not satisfied with the print quality or the details of your print, consider making adjustments to the print settings. This may involve changing the layer height, print speed, infill density, or adding support structures. Experimentation and iteration are key to finding the optimal settings for your prints.
- Address Warping or Lifting: Warping or lifting of the print during the printing process can result in a failed or distorted object. To mitigate this issue, ensure that the build platform is leveled properly and that the temperature and cooling settings are adjusted correctly. Adding a brim or using adhesive aids like hairspray or a build plate adhesive can also help improve bed adhesion.
- Document and Learn: If you encounter any issues during the printing process, document the problem and the steps you took to resolve it. This will help you build a troubleshooting guide for future reference and enable you to learn from previous experiences.
- Refer to Resources: If you encounter persistent issues or need assistance with troubleshooting, don’t hesitate to reach out to the manufacturer’s support team or consult online forums and communities. These resources can provide valuable insights and solutions to common printing problems.
- Practice Patience and Persistence: 3D printing is a process that requires patience and persistence. Not every print will be perfect, and encountering challenges is part of the learning experience. Embrace the opportunity to troubleshoot and improve your prints, and celebrate the successes along the way.
By regularly monitoring your prints and addressing any issues that arise, you can improve the quality and reliability of your Replicator 2 prints. Troubleshooting is an essential skill that will help you overcome challenges and enhance your 3D printing capabilities. In the final section, we will wrap up this guide by summarizing the key steps and emphasizing the exciting possibilities of using your Replicator 2.
Conclusion
Congratulations on successfully setting up your Replicator 2, one of the most popular 3D printers in the market! Throughout this guide, we have walked you through the essential steps to unbox, assemble, and calibrate the printer. We have also covered the process of connecting the power supply, establishing a connection with a computer, and installing the necessary software.
Loading filament, preparing your first print, and monitoring the progress are essential aspects of the 3D printing journey. We have discussed the importance of proper calibration, troubleshooting common issues, and adjusting print settings to optimize the quality and performance of your Replicator 2.
As you continue your 3D printing endeavors, remember to practice patience and persistence. Each print will provide valuable insights and opportunities for improvement. Experiment with different settings, explore various filament materials, and unleash your creativity to bring your ideas to life.
Additionally, it is important to prioritize safety throughout the entire process. Take necessary precautions to ensure a safe operating environment, follow proper handling procedures when dealing with hot components, and maintain the printer according to the manufacturer’s guidelines.
Always refer to the manufacturer’s documentation, online resources, and support communities for additional guidance and troubleshooting assistance. These valuable resources can further enhance your understanding of the Replicator 2 and help you overcome any challenges that may arise.
With your Replicator 2 now fully set up and calibrated, you are ready to embark on an exciting journey of 3D printing. Whether you are creating prototypes, educational models, or artistic designs, the possibilities with your Replicator 2 are endless.
Enjoy the process of turning your digital designs into tangible objects, and remember that continuous learning and experimentation are key to mastering the art of 3D printing. So, gather your creativity, explore new horizons, and let your Replicator 2 unleash your imagination.