Introduction
Printing with a 3D printer can be an exciting and rewarding experience. However, one common issue that many users face is dealing with stuck filament on the printer bed. Whether it’s due to improper bed leveling, filament jams, or other factors, a stuck filament can be a frustrating situation that hinders the printing process.
When filament gets stuck, it can prevent the proper flow of material and cause print quality issues. It is crucial to address this problem promptly to ensure smooth and successful prints. In this article, we will discuss effective methods for removing stuck filament from a 3D printer bed.
Understanding why filament gets stuck is the first step in resolving the issue. Several factors contribute to filament jams, including improper bed leveling, insufficient adhesion between the filament and the bed, incorrect temperature settings, or even a clogged nozzle. By understanding the underlying causes, you can take the necessary precautions to minimize the occurrence of stuck filament in the future.
Before attempting to remove the stuck filament, it’s important to take some precautions. Firstly, always ensure that the 3D printer is turned off and has completely cooled down. Working with a hot printer can be hazardous and may lead to burns. Secondly, wearing protective gloves is recommended to avoid direct contact with the filament and any residual heat on the printer bed. Lastly, having good lighting and a clean workspace will help you perform the task more efficiently.
To successfully remove stuck filament, you will need a few essential tools. Some of the commonly used tools include a pair of pliers or tweezers for manual removal, a heat gun or hairdryer for applying heat, and a cooling fan or compressed air for cooling the filament. Having these tools ready before starting will make the process smoother and more effective.
Why Filament Gets Stuck
Understanding the reasons behind filament jams can help prevent them from occurring and enable you to troubleshoot the issue effectively. Here are some common reasons why filament gets stuck in a 3D printer:
- Improper bed leveling: When the printer bed is not properly leveled, it can affect the first layer of the print. If the nozzle is too close to the bed, the filament may get stuck as it doesn’t have enough space to flow. Conversely, if the nozzle is too far away, the filament may not adhere properly and cause a clog.
- Insufficient adhesion: If the filament doesn’t adhere well to the print bed, it can result in uneven or incomplete prints. Inadequate bed surface preparation, such as not using a suitable adhesive like glue or tape, can cause the filament to detach or get stuck during the printing process.
- Incorrect temperature settings: Temperature plays a crucial role in 3D printing. If the nozzle temperature is too low, the filament may not melt properly and cause a blockage. On the other hand, if the temperature is too high, the filament can become too fluid and lead to a jam.
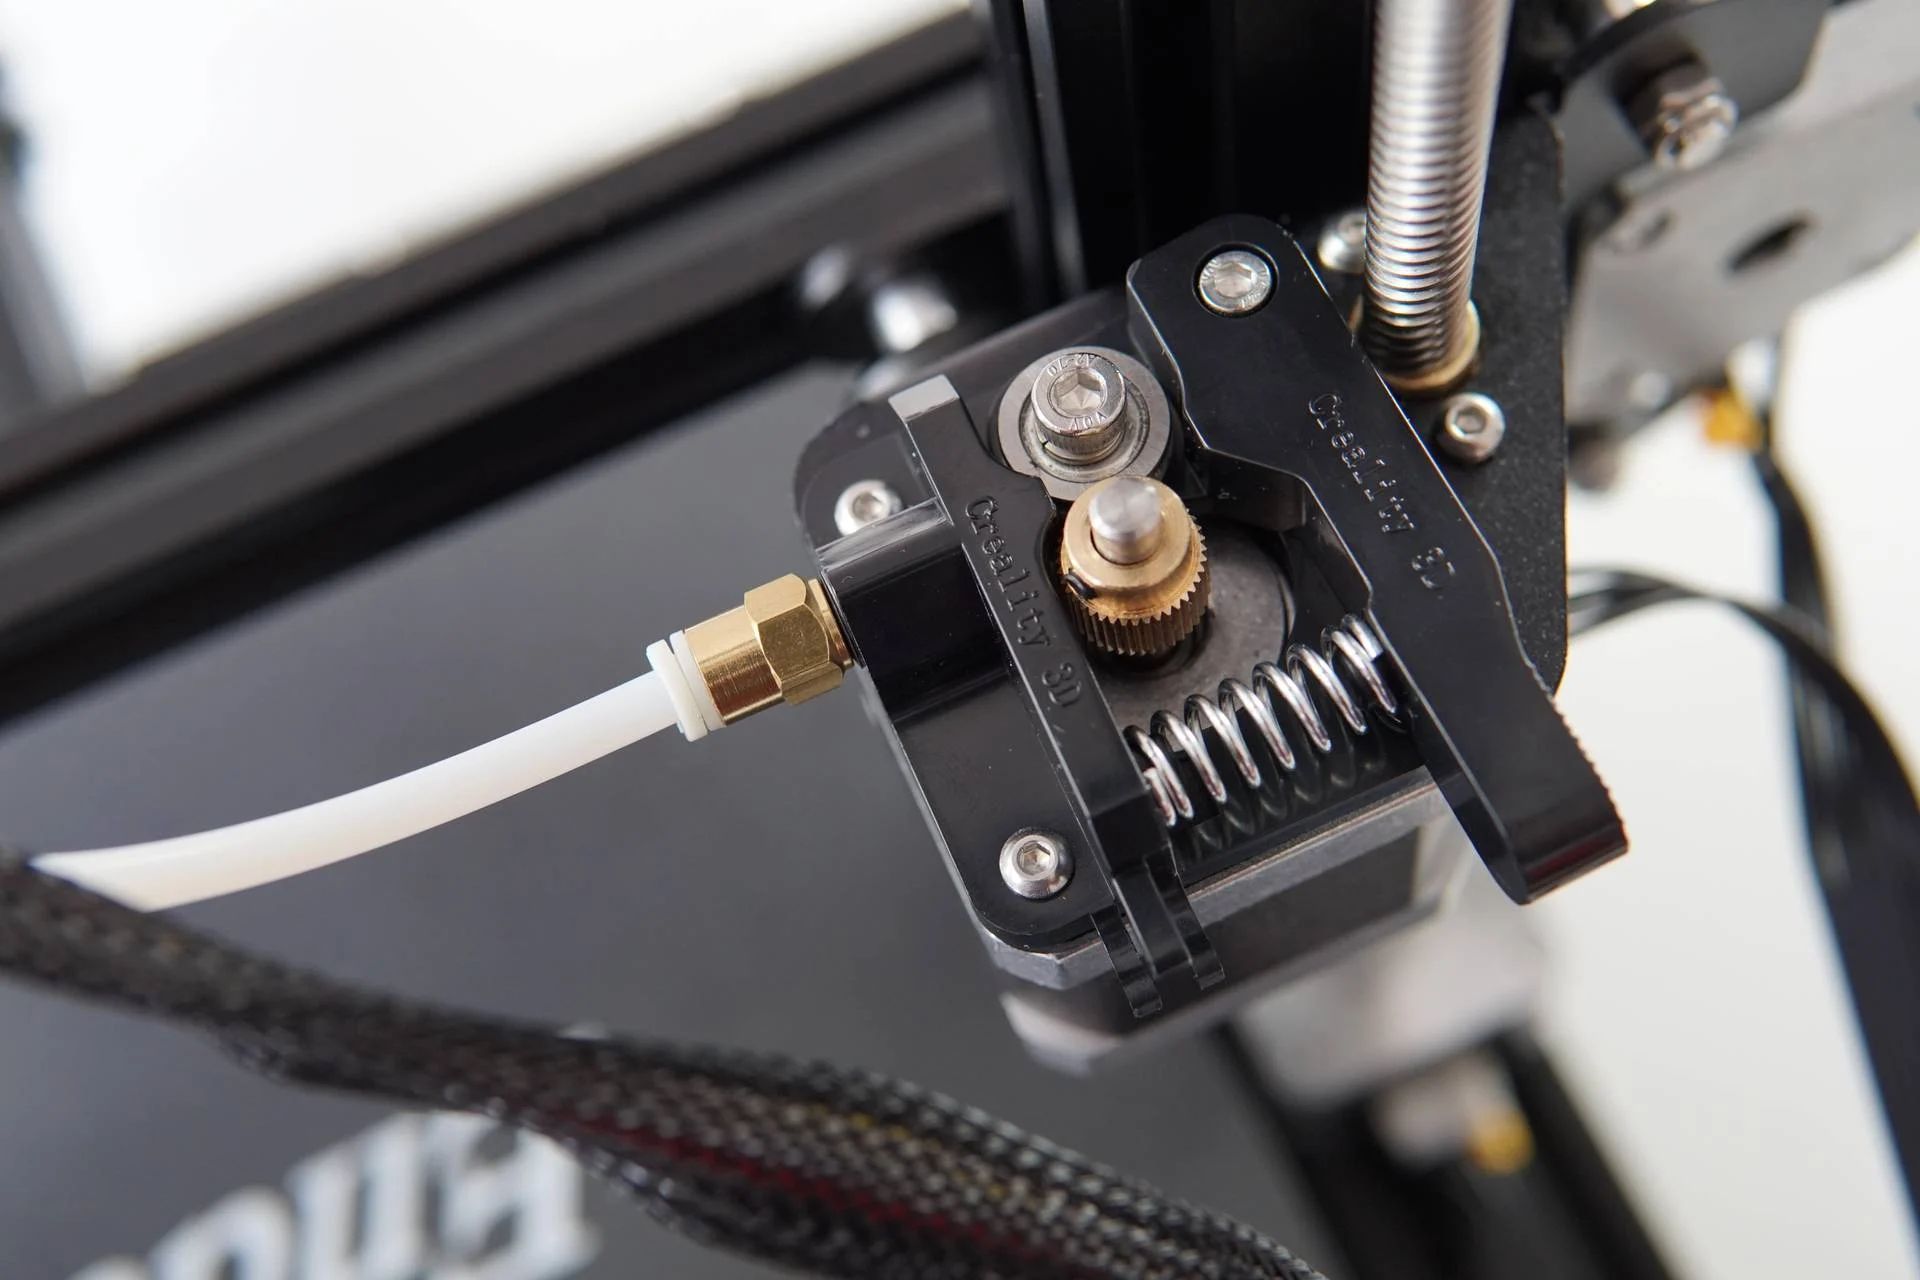
- Clogged nozzle: Over time, debris, dust, or hardened filament can build up and clog the printer’s nozzle. This can obstruct the smooth flow of filament and result in blockages and stuck filament.
- Poor filament quality: Low-quality or improperly stored filament can introduce impurities or uneven diameters, making it prone to jams. It’s essential to use high-quality filament from reputable manufacturers and store it in a controlled environment.
By being aware of these common causes, you can take measures to minimize the risk of filament jams. Regularly leveling the printer bed, ensuring proper adhesion, calibrating temperature settings, and maintaining a clean nozzle are crucial steps toward preventing filament from getting stuck during the printing process.
Precautions Before Removing the Stuck Filament
Before diving into the process of removing stuck filament from your 3D printer bed, there are a few important precautions to keep in mind. These precautions will ensure your safety and help prevent any damage to your printer. Here are some key steps to follow:
- Turn off the 3D printer: Before attempting to remove the stuck filament, make sure your 3D printer is turned off. This will prevent any accidental movement of the extruder or damage to the printer components during the filament removal process.
- Allow the printer to cool down completely: Working with a hot printer can be dangerous and increase the risk of burns. Give your 3D printer enough time to cool down, especially the heated bed and nozzle. This will make the filament removal process safer and more manageable.
- Wear protective gloves: Filament and printer components can retain heat even after the printer is turned off. Wearing protective gloves will help shield your hands and reduce the risk of burns. Additionally, gloves will provide a barrier between your skin and any chemical residues on the filament, ensuring your safety.
- Ensure proper ventilation: Filament removal can sometimes release fumes or odors, especially if you’re using a heat-based method. Work in a well-ventilated area or consider using a ventilation fan to minimize any potential exposure to harmful fumes.
- Clean and organize your workspace: Before you begin, clear your workspace of any clutter or debris. This will provide you with a clean and organized area to work in, ensuring that you have easy access to the necessary tools and reducing the chances of accidents or damage to the printer.
By following these precautions, you can ensure a safe and efficient filament removal process. Remember, always prioritize your safety and take necessary steps to protect yourself and your 3D printer before attempting any maintenance or troubleshooting tasks.
Tools Required for Removing Stuck Filament
When it comes to removing stuck filament from your 3D printer bed, having the right tools at your disposal can make the process easier and more effective. Here are some essential tools you’ll need:
- Pliers or tweezers: These tools are handy for manually removing stuck filament. They allow you to grip and gently pull out the filament, especially if it’s jammed or partially melted.
- Heat gun or hairdryer: Applying heat to the stuck filament can soften it and make it easier to remove. A heat gun or hairdryer helps to loosen the filament from the bed or nozzle so that it can be pulled out more smoothly.
- Cooling fan or compressed air: Once the stuck filament has been heated and loosened, a cooling fan or compressed air can help speed up the cooling process. This prevents the filament from reattaching or causing further blockages as it solidifies.
- Tweezers with a flat, blunt tip: These specialized tweezers are designed for precision work and can be used to remove small or delicate bits of stuck filament without causing damage to the printer or the print surface.
- Cleaning tools: Having a selection of cleaning tools, such as small brushes or cotton swabs, can be helpful for clearing any residual filament or debris from the printer nozzle or other components after the removal process.
It’s important to note that the specific tools required may vary depending on your printer model and the circumstances of the stuck filament. Always refer to your printer’s manual or consult manufacturer guidelines for any additional tools or equipment that may be recommended for your specific situation.
By having these essential tools ready, you’ll be well-prepared to tackle any stuck filament issues that arise during your 3D printing journey. Remember to handle the tools with care and follow safety precautions to prevent any accidental damage or injury.
Method 1: Manually Removing Stuck Filament
Manually removing stuck filament is a straightforward method that can be effective in freeing up your 3D printer bed. Here’s a step-by-step guide on how to do it:
- Turn off the 3D printer: Begin by turning off your 3D printer to ensure your safety and prevent any accidental movement of the extruder during the filament removal process.
- Allow the printer to cool down: Give your printer enough time to cool down completely to avoid the risk of burns. This is especially important if the filament is partially melted or stuck to the nozzle.
- Put on protective gloves: Wear protective gloves to protect your hands from hot components and to prevent direct contact with the filament.
- Locate and access the stuck filament: Identify the area on the printer bed where the filament is stuck. Depending on the situation, the filament may be stuck to the bed, clogged in the nozzle, or partially melted.
- Use pliers or tweezers: Carefully grip the stuck filament with a pair of pliers or tweezers. If the filament is partially melted, gently tug and wiggle it to free it from its stuck position.
- Remove the filament: Slowly and steadily pull the filament out of the printer bed. Be cautious not to exert excessive force to avoid damaging the printer or the nozzle.
- Clean the printer: Once the filament is removed, inspect the nozzle and the printer bed for any remaining debris or residue. Use cleaning tools such as brushes or cotton swabs to clean these areas if necessary.
By following these steps, you should be able to manually remove the stuck filament from your 3D printer bed. Remember to handle the process with care and take precautions to avoid any damage to the printer components or injury to yourself.
Method 2: Using Heat to Remove Stuck Filament
Using heat is another effective method for removing stuck filament from your 3D printer bed. This technique helps to soften the filament, making it easier to manipulate and remove. Here’s a step-by-step guide on how to use heat to remove stuck filament:
- Turn off the 3D printer: Start by turning off your 3D printer to ensure your safety and prevent any accidental movements of the extruder during the filament removal process.
- Allow the printer to cool down: Give your printer enough time to cool down completely. It’s important to work with a cool printer to avoid any risk of burns or damage to the components.
- Put on protective gloves: Wear protective gloves to protect your hands from hot components, filament, and any residual heat on the printer bed.
- Heat the stuck filament: Use a heat gun or a hairdryer on low heat to warm up the stuck filament. Focus the heat on the area where the filament is stuck to soften it. Be careful not to overheat the filament or any other parts of the printer.
- Gently pull the filament: Once the filament is heated and softened, use a pair of pliers or tweezers to gently pull the filament out of the printer bed. Slowly and steadily apply gentle force, making sure not to damage the printer or the nozzle.
- Cool the filament: After removing the stuck filament, use a cooling fan or compressed air to cool down the area. This helps solidify the filament quickly and prevents it from reattaching or causing further blockages.
- Clean the printer: Inspect the nozzle and the printer bed for any remaining debris or residue. Use cleaning tools like brushes or cotton swabs to remove any leftover filament or other impurities.
Using heat to remove stuck filament allows for easier manipulation and can help prevent further damage to the printer. However, it’s important to exercise caution when working with heat and ensure that you do not overheat the filament or any other components during the process.
Method 3: Using Cold to Remove Stuck Filament
Using cold to remove stuck filament is an alternative method that can effectively free up your 3D printer bed. Cooling the filament helps to solidify it, making it easier to manipulate and remove. Here’s a step-by-step guide on how to use cold to remove stuck filament:
- Turn off the 3D printer: Start by turning off your 3D printer to ensure your safety and prevent any accidental movements of the extruder during the filament removal process.
- Allow the printer to cool down: Give your printer enough time to cool down completely. It’s important to work with a cool printer to avoid any risk of burns or damage to the components.
- Put on protective gloves: Wear protective gloves to protect your hands from any sharp edges or rough surfaces on the printer.
- Cool the stuck filament: You can use a cooling fan or compressed air to cool down the stuck filament. Direct the airflow towards the area where the filament is stuck to speed up the solidification process.
- Gently remove the filament: Once the filament is cooled and solidified, use a pair of pliers or tweezers to gently pull it out of the printer bed. Apply a steady and gentle force to avoid any damage to the printer or the nozzle.
- Clean the printer: After removing the stuck filament, inspect the nozzle and the printer bed for any remaining debris or residue. Use cleaning tools like brushes or cotton swabs to remove any leftover filament or other impurities.
Using cold to remove stuck filament can be a safe and effective method. It helps solidify the filament, making it easier to handle and prevents it from reattaching to the printer bed or causing further blockages. However, it’s important to note that this method may not be suitable for all types of filament or situations. Some filaments may require a lower temperature for solidification.
Always refer to the filament manufacturer’s guidelines or consult your printer’s manual for specific instructions on cooling or freezing methods, as some printers may have limitations or recommendations regarding temperature fluctuations. Additionally, exercise caution when using compressed air to prevent any damage to delicate components.
Conclusion
Dealing with stuck filament on a 3D printer bed can be frustrating, but with the right techniques and precautions, it can be resolved effectively. Whether you choose to manually remove the filament, use heat, or employ cold methods, it’s important to prioritize safety and follow the necessary steps to avoid any damage to your printer or injury to yourself.
Understanding the common reasons behind stuck filament, such as improper bed leveling, insufficient adhesion, incorrect temperature settings, clogged nozzles, or poor filament quality, can help prevent such issues from occurring in the first place. Taking proper precautions, like turning off the printer, allowing it to cool down, wearing protective gloves, and working in a well-ventilated and organized workspace, ensures a safe filament removal process.
Having the appropriate tools ready, such as pliers, tweezers, a heat gun or hairdryer, a cooling fan or compressed air, and cleaning tools, will make the filament removal process smoother and more efficient.
Regardless of the method you choose, whether it’s manually removing the filament, using heat, or relying on cold methods, always exercise caution and be patient. Take your time to carefully remove the filament, ensuring that you don’t cause any damage to the printer bed, nozzle, or other components.
By following these guidelines and techniques, you’ll be able to successfully remove stuck filament from your 3D printer bed, enabling you to resume your printing projects with ease. Remember to consult your printer’s manual or seek professional assistance if you encounter any persistent issues or if you require additional guidance specific to your printer model.