Introduction
Welcome to the world of 3D printing! Owning a 3D printer opens up a realm of possibilities, allowing you to bring your creative ideas to life. However, like any other piece of technology, proper maintenance is essential to ensure optimal performance and longevity. In this article, we will discuss the key steps to maintaining your 3D printer, ensuring that it consistently delivers high-quality prints.
Taking care of your 3D printer not only extends its lifespan but also guarantees the best possible printing outcomes. From routine cleaning to firmware updates, each aspect of maintenance plays a vital role in enhancing print accuracy and minimizing potential issues. Whether you are a seasoned enthusiast or a beginner, understanding these maintenance procedures will empower you to get the most out of your 3D printer.
Before we dive into the specific maintenance tasks, it is important to note that safety should always be a top priority. Always follow the manufacturer’s guidelines and wear appropriate protective gear, such as gloves and safety glasses, when working with your 3D printer. Additionally, ensure that the printer is powered off and unplugged before performing any maintenance activities.
Now, let’s explore the essential steps to maintain your 3D printer and keep it in perfect working condition. From cleaning and lubrication to firmware updates and troubleshooting advice, we will cover all the necessary aspects of 3D printer maintenance. By following these guidelines, you can enjoy smooth, hassle-free printing experiences and produce incredible 3D creations.
Safety Precautions
When working with a 3D printer, it is important to prioritize safety to prevent accidents and ensure a secure working environment. Here are some essential safety precautions to keep in mind:
- Read the User Manual: Start by thoroughly reading the user manual provided by the manufacturer. This will help you understand the specific safety instructions and precautions for your particular 3D printer model.
- Wear Protective Gear: Always wear appropriate protective gear, including safety glasses and gloves, when operating or performing maintenance on your 3D printer. This gear will protect you from any potential injuries or accidents.
- Keep Flammable Materials Away: Keep flammable materials, such as paper or cloth, away from your 3D printer to prevent fire hazards. Ensure that the area around the printer is clean and free from any combustible substances.
- Work in a Well-Ventilated Area: 3D printers can emit fumes and odors during the printing process. To minimize any potential health risks, make sure you work in a well-ventilated area or consider using a fume extraction system.
- Unplug the Printer: Before performing any maintenance or cleaning tasks, always switch off the printer and unplug it from the power source. This will prevent any accidental starts or electrical shocks.
- Keep Children and Pets Away: Ensure that children and pets are kept away from the 3D printer, especially when it is in operation. The moving parts and hot components can pose a potential danger to their safety.
- Avoid Touching Hot Surfaces: During and immediately after a print job, various parts of the printer, such as the nozzle and the heated bed, can become extremely hot. Avoid touching these surfaces directly to prevent burns or injuries.
- Regular Maintenance: Regularly inspect and maintain your 3D printer to ensure that all components are in proper working condition. Replace any worn-out parts or damaged cables immediately to prevent any accidents.
By following these safety precautions, you can create a safe working environment and minimize the risk of accidents while operating or maintaining your 3D printer. Remember, your safety is of utmost importance, so always err on the side of caution.
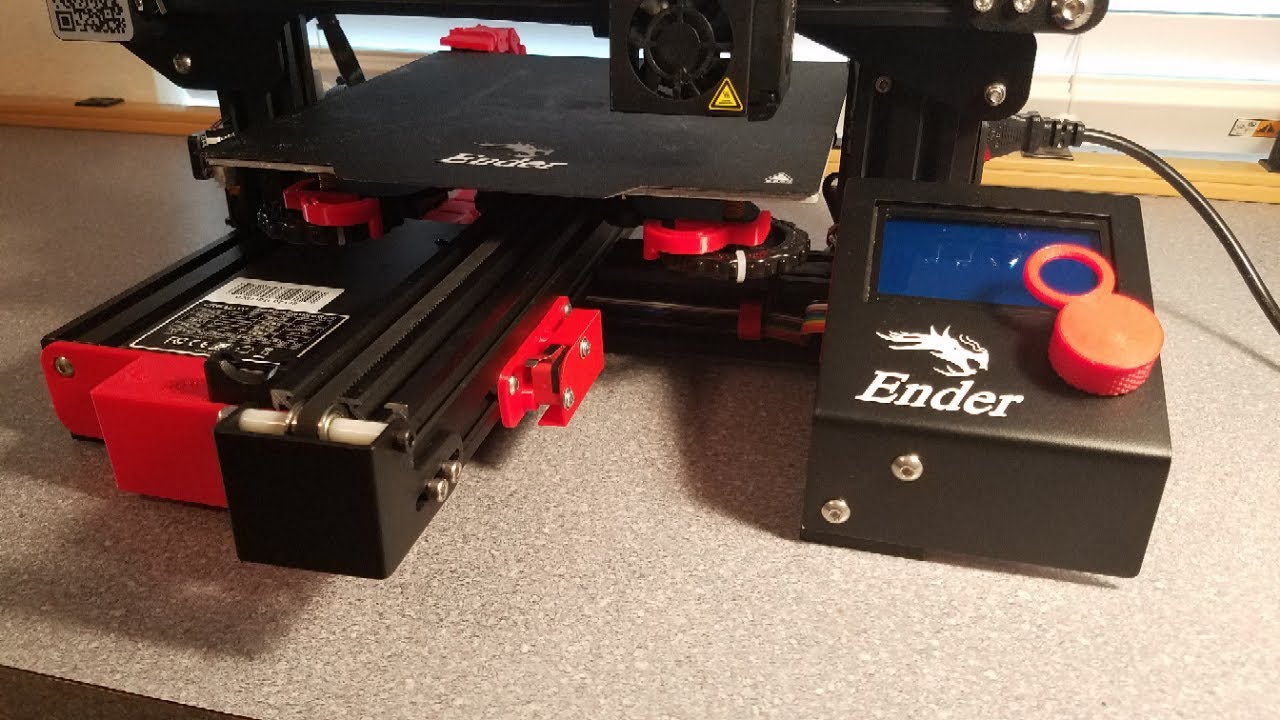
Regular Cleaning
Regular cleaning is essential to keep your 3D printer in optimum condition and ensure consistent and high-quality prints. Here are some key areas to focus on when performing regular cleaning:
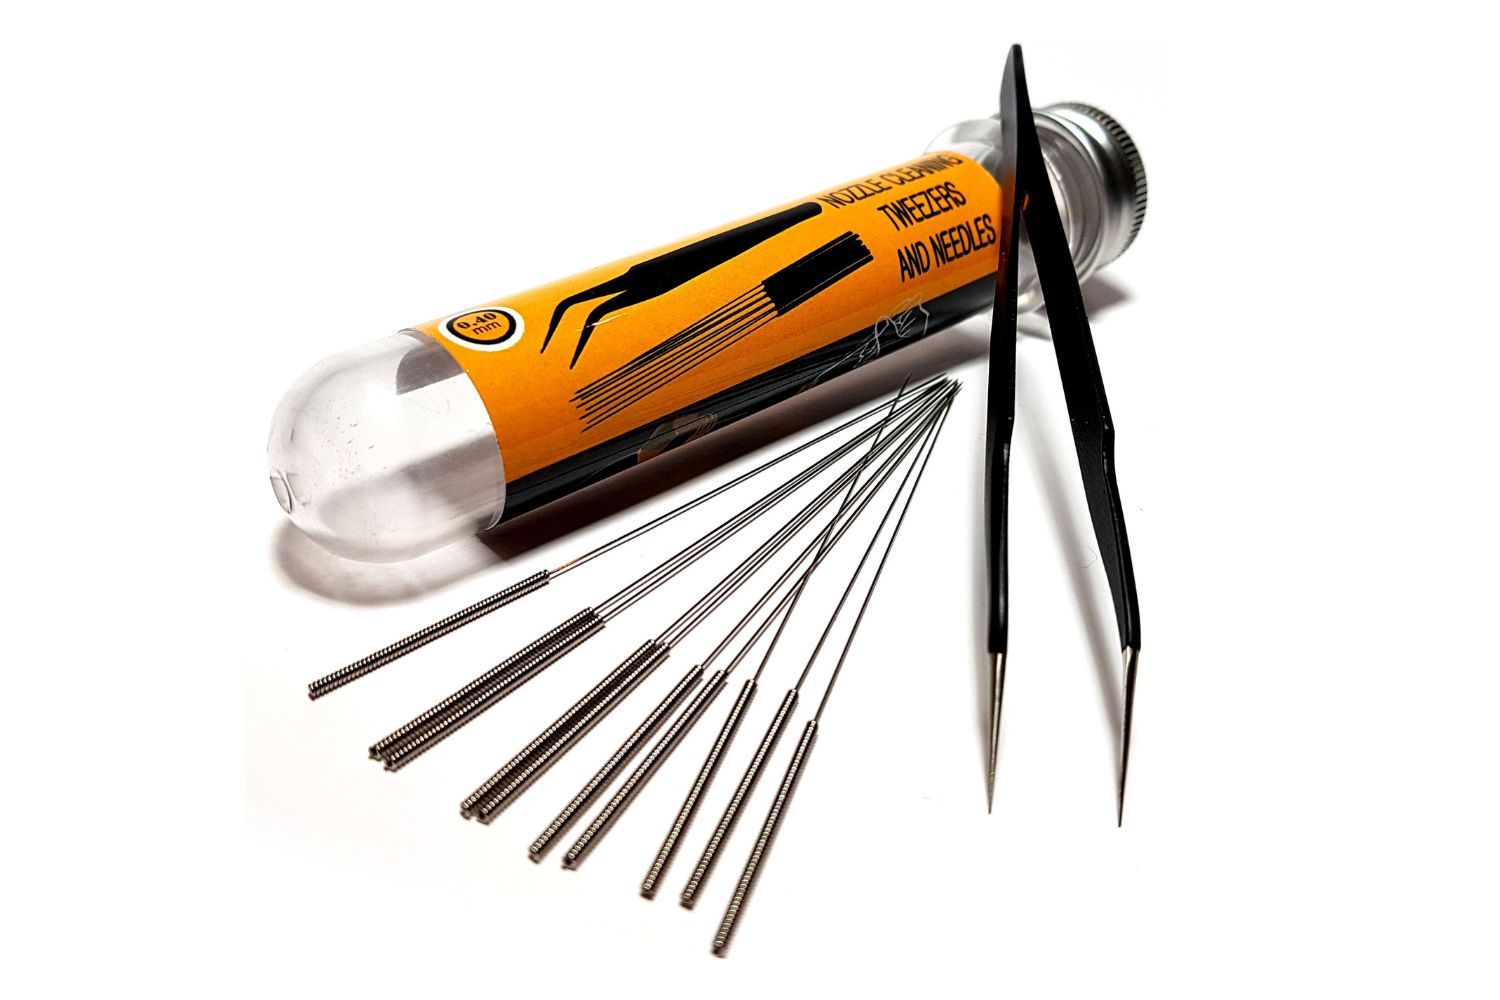
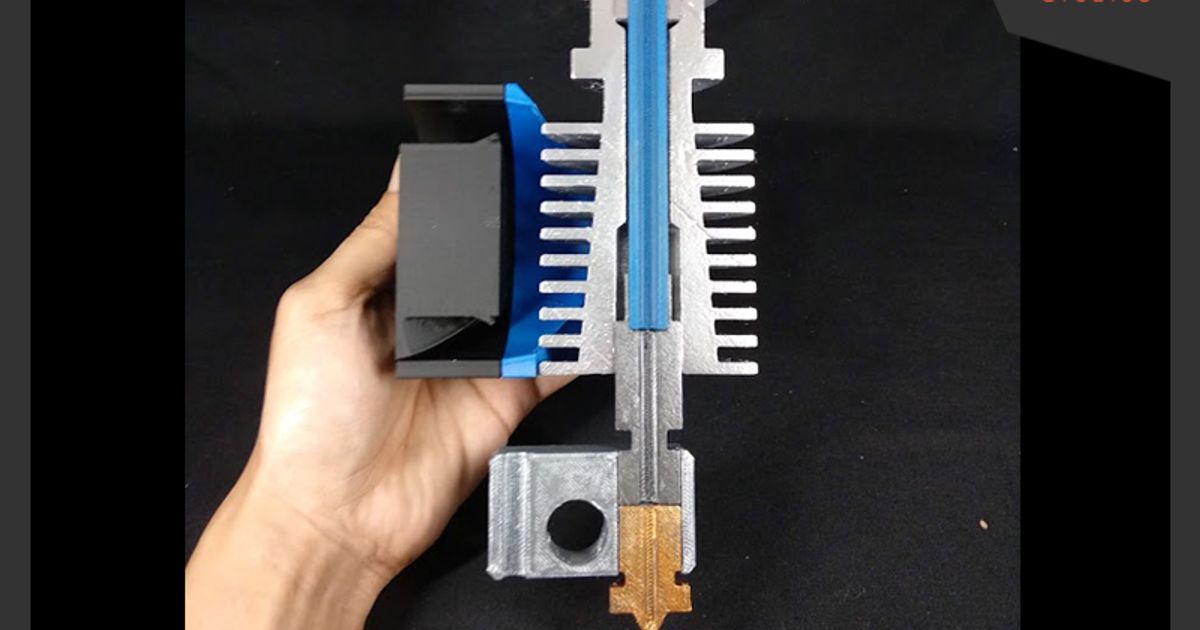
- Nozzle Cleaning: The nozzle is one of the critical components of a 3D printer. Over time, it can become clogged with leftover plastic or debris, leading to poor print quality. Use a nozzle cleaning kit or a small needle to remove any obstructions. Be sure to follow the manufacturer’s instructions to avoid damaging the nozzle.
- Build Plate Cleaning: The build plate, or the bed, is where your prints adhere to during the printing process. It is important to maintain a clean and smooth surface to ensure proper adhesion. Use a soft cloth or a gentle brush along with isopropyl alcohol or a mild cleaner to clean the build plate after each print. Be careful not to scratch the surface.
- Filament Path Cleaning: Inspect the filament path for any debris or dust that may have accumulated. Clean the path thoroughly using a small brush or compressed air to prevent any blockages that could cause printing issues.
- External Cleaning: Dust and dirt can accumulate on the exterior of your 3D printer, affecting its performance and appearance. Use a soft cloth or a brush to wipe away any dust regularly. Avoid using harsh chemicals or abrasive materials that can damage the printer’s surface.
Remember to perform these cleaning tasks regularly. The frequency of cleaning may vary depending on your usage and the printing materials you use. By keeping your 3D printer clean, you can prevent clogs, improve print quality, and extend the lifespan of your printer.
Lubrication
Proper lubrication is crucial for the smooth and efficient operation of your 3D printer’s moving parts. Regular lubrication helps reduce friction, wear, and noise, ensuring that the printer performs optimally. Here’s a guide on how to lubricate your 3D printer:
- Refer to the Manufacturer’s Instructions: Consult the user manual or the manufacturer’s website to identify the specific lubrication points recommended for your 3D printer model. Different printers may have varying lubrication requirements, so it’s important to follow the manufacturer’s guidelines.
- Select the Right Lubricant: It’s important to use the correct lubricant to avoid damaging the printer’s components. Typically, a light machine oil or a silicone-based lubricant is suitable for lubricating the moving parts of the printer, such as rods, bearings, and lead screws.
- Apply Lubricant to Moving Parts: Apply a small amount of lubricant to the designated points according to the instructions provided by the manufacturer. Be careful not to apply excessive lubricant, as it can attract dust and debris, leading to clogs. Wipe off any excess lubricant to avoid any potential issues.
- Regular Maintenance Schedule: Incorporate lubrication into your regular maintenance routine. The frequency of lubrication depends on the printer’s usage and the specific recommendations from the manufacturer. In general, lubrication every few months or after a certain number of print hours is a good practice.
Remember, over-lubricating can be as harmful as under-lubricating. Always follow the manufacturer’s instructions to ensure the proper amount of lubrication is applied. By regularly lubricating your 3D printer, you can keep the moving parts running smoothly, minimize wear and tear, and improve the overall performance of your printer.
Bed Leveling
Proper bed leveling is crucial for achieving accurate and consistent prints with your 3D printer. Bed leveling ensures that the print surface is parallel to the printer’s nozzle, allowing for proper adhesion and uniform layer deposition. Here are the steps to follow for effective bed leveling:
- Home the Printer: Start by homing the printer to ensure that the nozzle is at its starting position.
- Prepare a Leveling Tool: Most printers come with a bed leveling tool or offer recommendations for suitable alternatives. This tool helps you to adjust the levelness of the bed.
- Adjust the Bed Corners: Begin by adjusting the corners of the bed. Place the leveling tool on each corner and adjust the bed height or the leveling screws until the tool just touches the bed. Repeat this process for all corners.
- Check the Middle Areas: Move the leveling tool to the center and various points in between to ensure the bed is level across its entirety. Continue adjusting the leveling screws until the tool remains level at all points.
- Repeat the Process: Bed leveling is not a one-time task. It’s recommended to periodically check and re-level the bed, especially after moving the printer or changing the build surface. Regular maintenance prevents print issues caused by an uneven bed.
Proper bed leveling is crucial to achieve precise first layers, reduce the risk of failed prints, and ensure accurate dimensional accuracy throughout the entire print. Take your time to level the bed correctly and repeat the process whenever necessary for optimal print results.
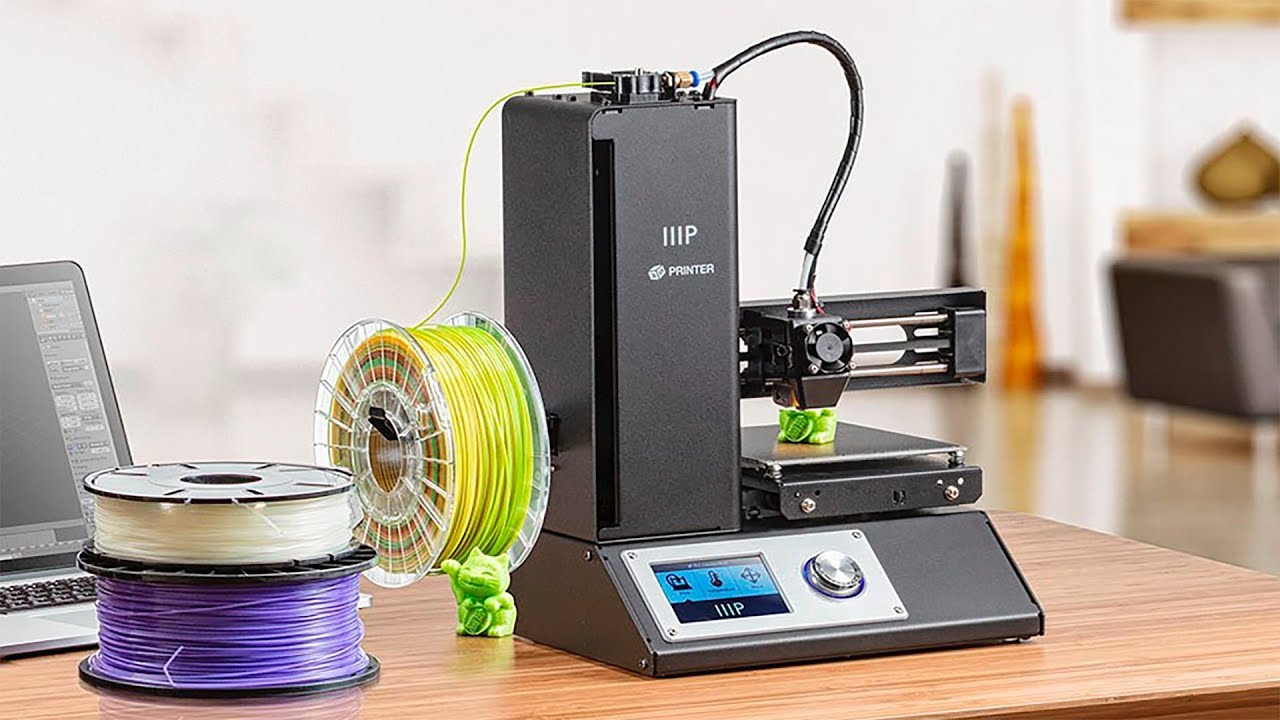
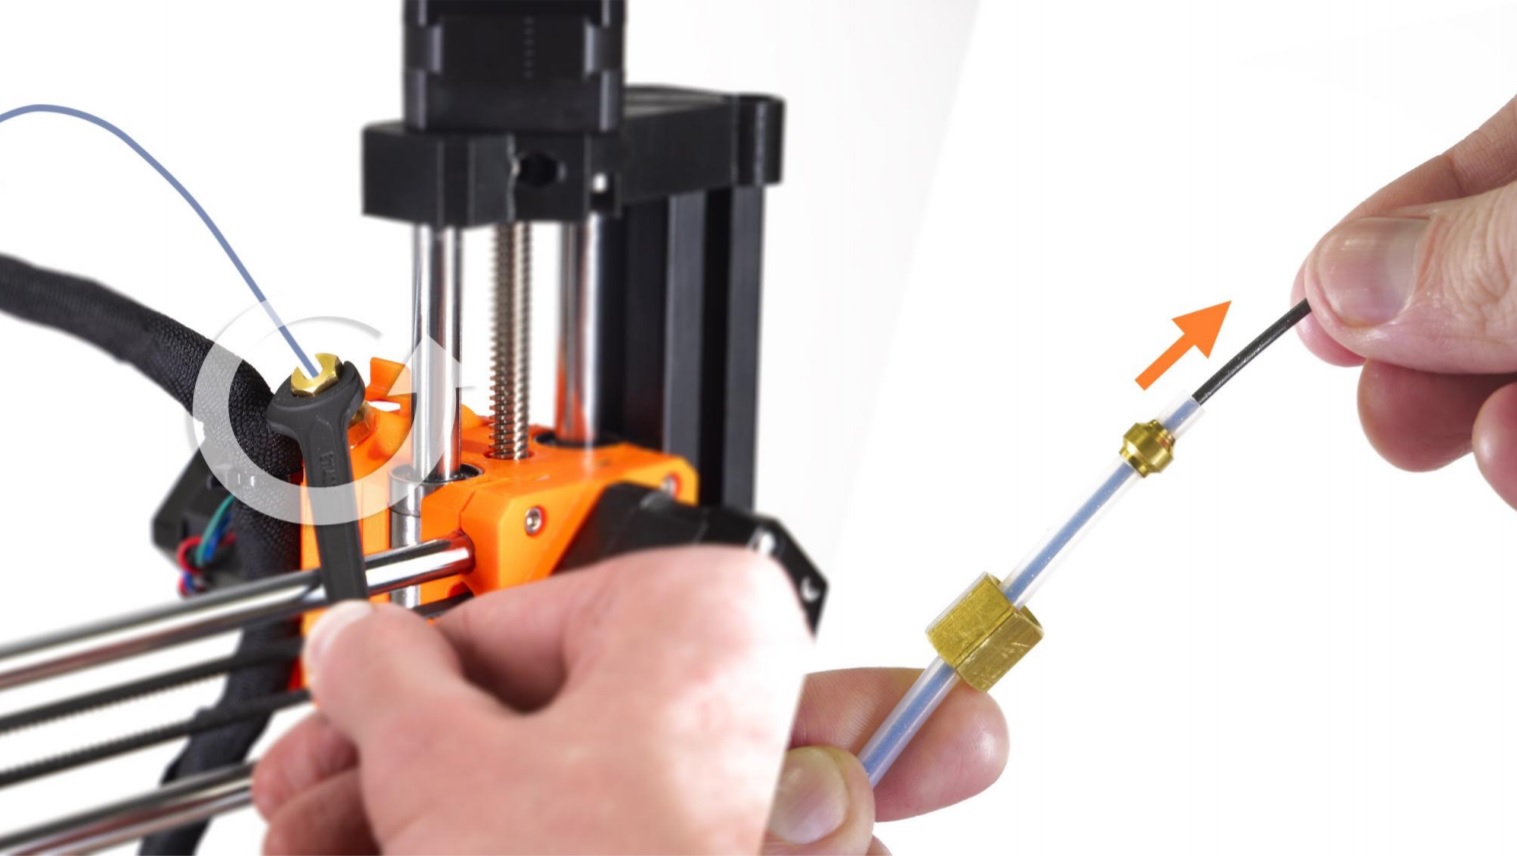
Filament Loading and Unloading
Loading and unloading filament correctly is essential for a smooth and uninterrupted printing process. Proper handling of filament ensures good filament flow, prevents jams, and maintains consistent extrusion. Follow these steps to load and unload filament properly with your 3D printer:
- Prepare the Filament: Cut the end of the filament to ensure a clean and straight edge. This makes it easier to insert into the printer’s filament path.
- Preheat the Nozzle: Start by preheating the nozzle to the appropriate temperature for the filament you are using. This ensures that the filament can be smoothly melted and extruded.
- Loading Filament: For loading filament, insert the filament into the filament path or the extruder. Feed it manually until it reaches the nozzle. Some printers have a specific filament loading mechanism; refer to your printer’s manual for guidance.
- Unloading Filament: To unload filament, heat up the nozzle again to a suitable temperature. Once heated, release the tension on the filament and gently pull it out of the extruder. Make sure to remove any leftover filament from the nozzle to prevent clogs.
- Clearing Filament Jams: In case of a filament jam, follow the manufacturer’s instructions for troubleshooting. This may involve manually removing the filament, using a filament cleaning tool, or performing a cold pull (also known as a “filament purge”).
Proper filament loading and unloading ensures a consistent filament flow, reduces the risk of clogs, and allows for seamless printing. Following these steps will help maintain the integrity of your prints and prevent unnecessary issues during the printing process.
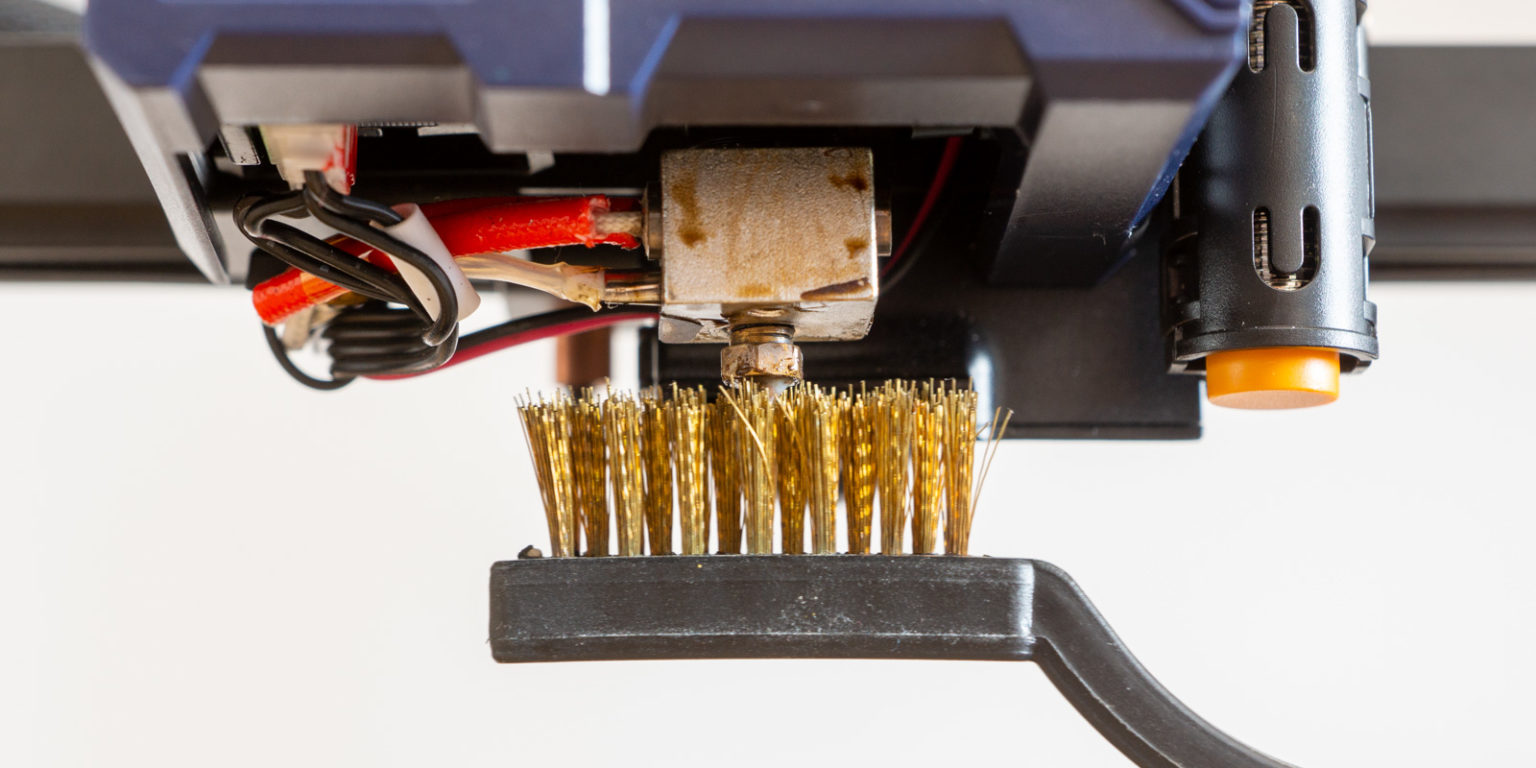
Nozzle Cleaning
The nozzle is a critical component of a 3D printer that can easily become clogged with residue or leftover filament. It is essential to keep the nozzle clean to ensure smooth filament flow and prevent print quality issues. Here’s a step-by-step guide on how to clean the nozzle properly:
- Heat Up the Nozzle: Start by heating up the printer’s nozzle to the temperature required for the filament you are using. This will soften any residues and make them easier to remove.
- Use a Nozzle Cleaning Kit: Nozzle cleaning kits usually include small needles or cleaning wires that are specifically designed to fit into the nozzle opening. Gently insert the cleaning tool into the nozzle and carefully remove any debris or clogs. Do not apply excessive force, as it may damage the nozzle.
- Cold Pull Method: Another effective method for cleaning the nozzle is the cold pull method, also known as a “filament purge.” Heat the nozzle to the printing temperature, then allow it to cool slightly. With the nozzle still warm, manually retract the filament while applying gentle force. This process can help remove any stuck or charred debris from the nozzle.
- Flush with Cleaning Filament: Using cleaning filament can also help remove any residue or obstructions in the nozzle. Follow the manufacturer’s instructions for your specific cleaning filament to flush out any debris. It is important to note that cleaning filament should not be used for printing actual models.
Regular nozzle cleaning is necessary to maintain optimal print quality and prevent potential printing issues. Incorporate nozzle cleaning into your routine maintenance to ensure a smooth and trouble-free 3D printing experience.
Updating Firmware
Updating the firmware of your 3D printer is an important aspect of maintenance that can bring significant improvements to your printing experience. Firmware updates often include bug fixes, new features, and performance enhancements. Here’s a step-by-step guide on how to update the firmware of your 3D printer:
- Check for Firmware Updates: Visit the manufacturer’s website or the support section of your printer’s documentation to check for available firmware updates. Look for the specific instructions and firmware files provided.
- Prepare the Firmware Update: Download the latest firmware version for your printer and save it to your computer. Ensure that you have the correct firmware file for your printer model to avoid any compatibility issues.
- Backup Current Configuration: Before proceeding with the firmware update, it is recommended to back up your current printer configuration, including any custom settings or modifications you have made. This will allow you to revert to your previous settings if needed.
- Flash the Firmware: Follow the instructions provided by the manufacturer to flash the new firmware onto your printer. This process typically involves connecting your printer to your computer using a USB cable and using firmware update software or specific tools.
- Verify the Firmware Update: After flashing the new firmware, verify the update by checking the printer’s display or connecting it to your computer. Ensure that the firmware version displayed matches the one you intended to install.
Updating the firmware of your 3D printer can provide various benefits, such as improved print quality, enhanced features, and increased stability. Always follow the manufacturer’s instructions and take precautions to prevent any interruptions or complications during the firmware update process.
Troubleshooting Common Issues
3D printing can sometimes encounter problems that may affect the quality or success of your prints. Understanding how to troubleshoot common issues can save you time and frustration. Here are some common 3D printing problems and their possible solutions:
- Poor Adhesion: If your prints are not sticking to the bed properly, ensure that your bed is level and clean. Adjust the bed height if necessary, apply adhesive, or use a different print surface for better adhesion.
- Underextrusion: Underextrusion occurs when the printer is not pushing out enough filament. Check the filament path for any obstructions, ensure proper nozzle temperature, and inspect the extruder for clogs or worn-out parts. Adjusting the filament tension or re-slicing the model may also help.
- Overextrusion: Overextrusion happens when there is too much filament being pushed out, resulting in messy or distorted prints. Check the filament diameter, adjust the flow rate in your slicer settings, or calibrate the extruder steps/mm to regulate the extrusion amount.
- Layer Shifting: Layer shifting can occur when the printer’s mechanical components are not properly aligned. Check the belts, pulleys, and rods for any looseness or damage. Ensure that they are correctly tensioned and properly lubricated.
- Stringing: Stringing refers to the thin strands of filament that appear between different parts of the print. To reduce stringing, optimize the retraction settings in your slicing software, increase travel speeds, or adjust the temperature and cooling settings.
- Warping: Warping occurs when the corners or edges of a print start to lift or curl. Use a heated bed and apply proper bed adhesion methods, such as utilizing a brim or raft, to minimize warping. You can also experiment with different bed temperatures and print surface materials.
These are just a few examples of common issues that can arise during 3D printing. It is important to diagnose and address problems promptly to ensure successful and quality prints. Utilize online resources, forums, and user communities for additional troubleshooting guidance specific to your printer model.
Conclusion
Maintaining a 3D printer is essential to ensure optimal performance and high-quality prints. By following the proper maintenance procedures outlined in this article, you can extend the lifespan of your printer, improve print accuracy, and reduce the occurrence of common printing issues.
Begin by prioritizing safety and adhering to the manufacturer’s guidelines for operating your 3D printer. Take the necessary precautions, wear protective gear, and create a safe working environment. Regularly clean your printer, including the nozzle, build plate, and filament path, to prevent clogs and maintain optimal print quality.
Lubrication is key to ensuring smooth and efficient operation. Use the appropriate lubricant and follow the manufacturer’s recommendations to keep the printer’s moving parts in excellent condition.
Bed leveling is crucial for achieving accurate prints. Follow the steps provided to ensure that your print surface is perfectly aligned with the printer’s nozzle.
Proper filament loading and unloading techniques ensure consistent extrusion and prevent potential blockages. Follow the recommended steps, and clear any filament jams promptly.
Consider updating the firmware of your 3D printer to take advantage of bug fixes and performance enhancements provided by the manufacturer.
Lastly, familiarize yourself with common troubleshooting techniques for addressing issues like poor adhesion, underextrusion, overextrusion, layer shifting, stringing, and warping. Troubleshooting skills will help you diagnose and resolve potential problems, ensuring successful 3D printing experiences.
By incorporating these maintenance practices into your regular routine, you can keep your 3D printer in optimal condition and enjoy reliable and high-quality prints for years to come.