Introduction
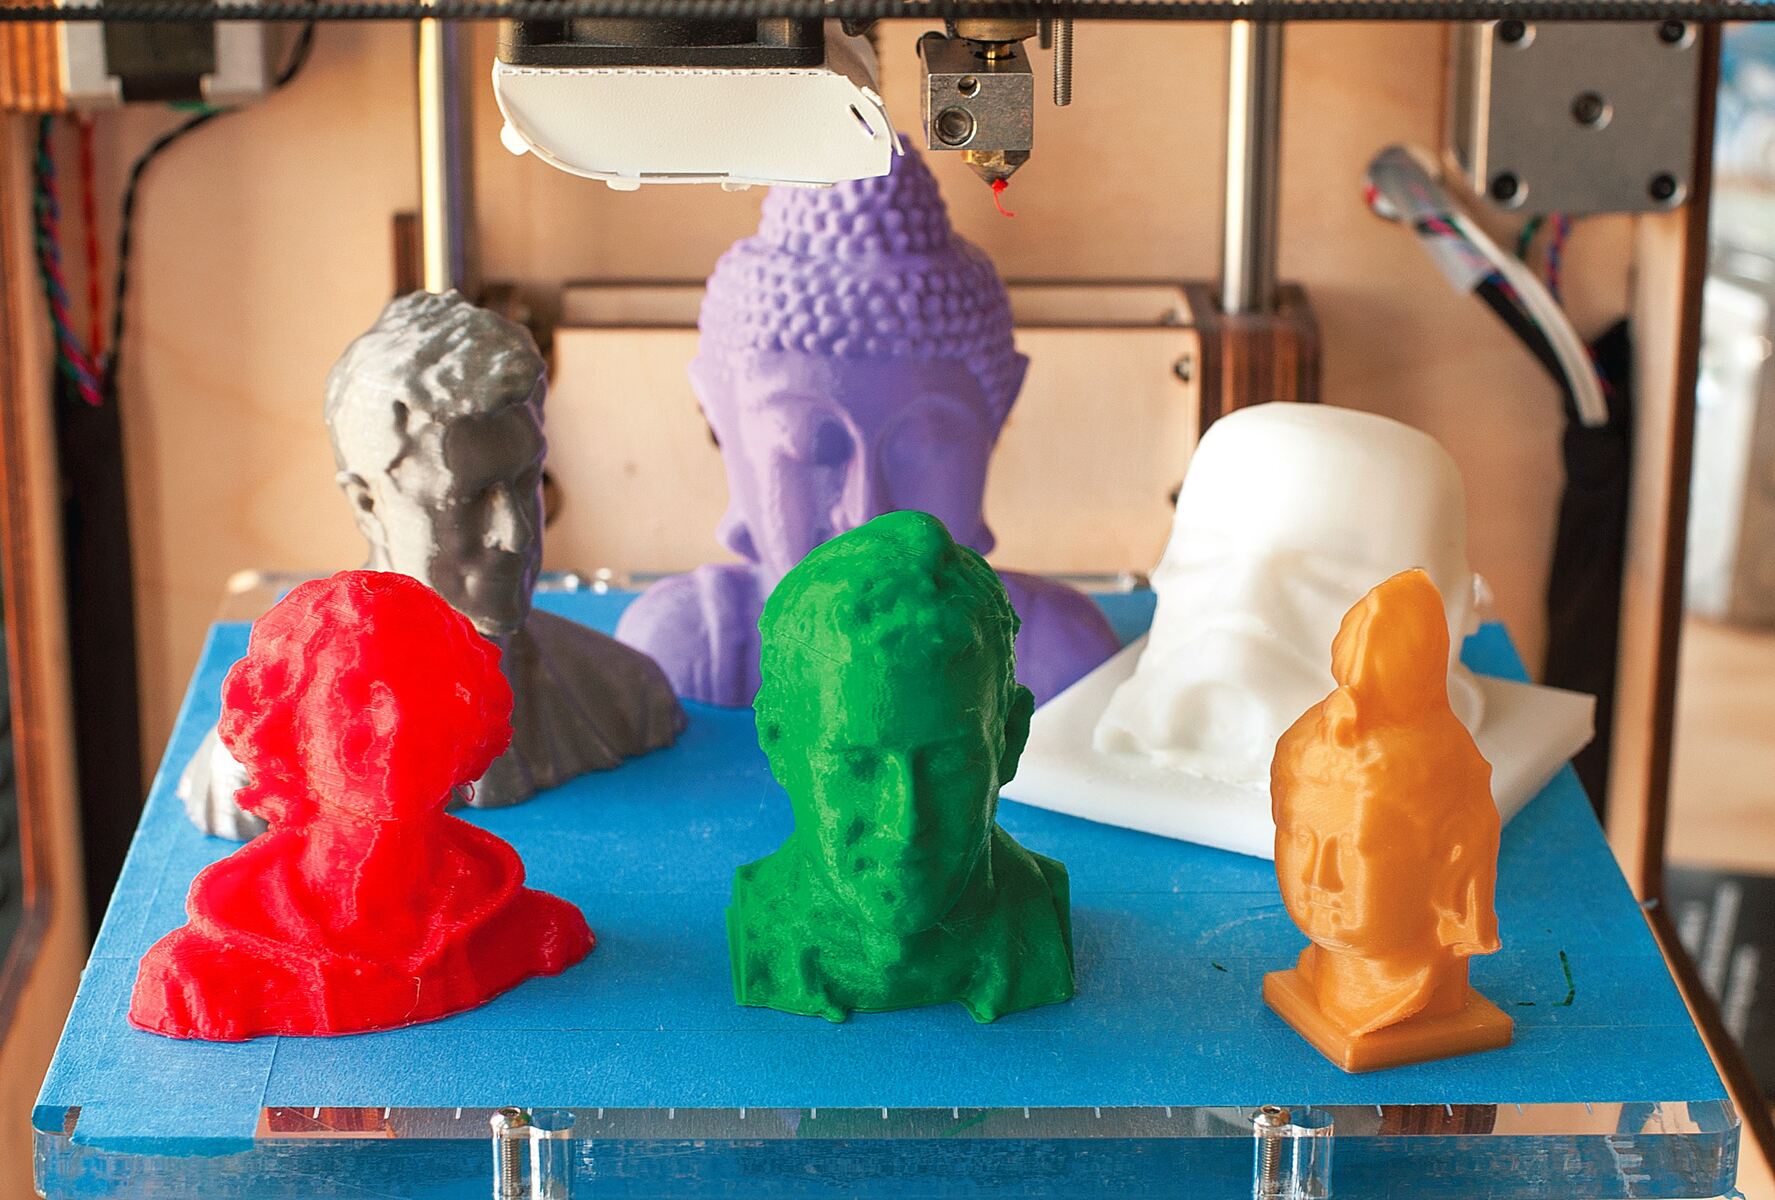
Welcome to the world of 3D printing! Over the past few years, this fascinating technology has gained immense popularity and has revolutionized various industries. Whether it’s rapid prototyping, custom manufacturing, or simply letting your creativity run wild, 3D printing has opened up a world of possibilities.
One crucial aspect of 3D printing that often goes under the radar is slicing. Slicing plays a crucial role in transforming a digital 3D model into a physical object. It is the process of breaking down a 3D model into individual layers or slices that the 3D printer can understand and build layer by layer.
In this article, we will dive deep into the world of slicing in 3D printing. We’ll explore how slicing works, the key parameters involved, the software used, and some common challenges faced during the slicing process. By the end, you’ll have a solid understanding of slicing and be ready to maximize your 3D printing experience.
So, let’s jump right in and unravel the mysteries of slicing in 3D printing.
What is Slicing in 3D Printing?
Slicing is a critical step in the 3D printing process that converts a 3D model into a format that a 3D printer can understand and execute. It involves dividing the model into multiple individual layers, much like slicing a loaf of bread. Each layer is then printed one by one to gradually build the complete 3D object.
During slicing, the software analyzes the 3D model and generates a set of instructions for the printer to follow. These instructions include the positioning of the print head, the movement paths, the printing speed, the layer height, the infill percentage, and much more. Essentially, slicing determines how the final object will be printed and with what parameters.
Accuracy and precision are crucial when it comes to slicing. The thickness of each layer can greatly impact the overall quality of the printed object. Smaller layers result in smoother surfaces, while thicker layers can cause visible stepping or roughness. Additionally, various parameters such as print speed and infill density can affect the strength, integrity, and appearance of the final print.
By utilizing a slicing software, users have control over these parameters and can optimize them according to the requirements of the print. This allows for customization and the ability to achieve different levels of detail, strength, and speed in the final printed object.
Overall, slicing is a fundamental process in 3D printing that bridges the gap between the digital 3D model and the physical object. It ensures that the printer has the necessary instructions to accurately reproduce the desired design, layer by layer.
How Does Slicing Work?
Slicing in 3D printing involves several steps to convert a 3D model into a series of printable layers. Let’s explore the process in more detail:
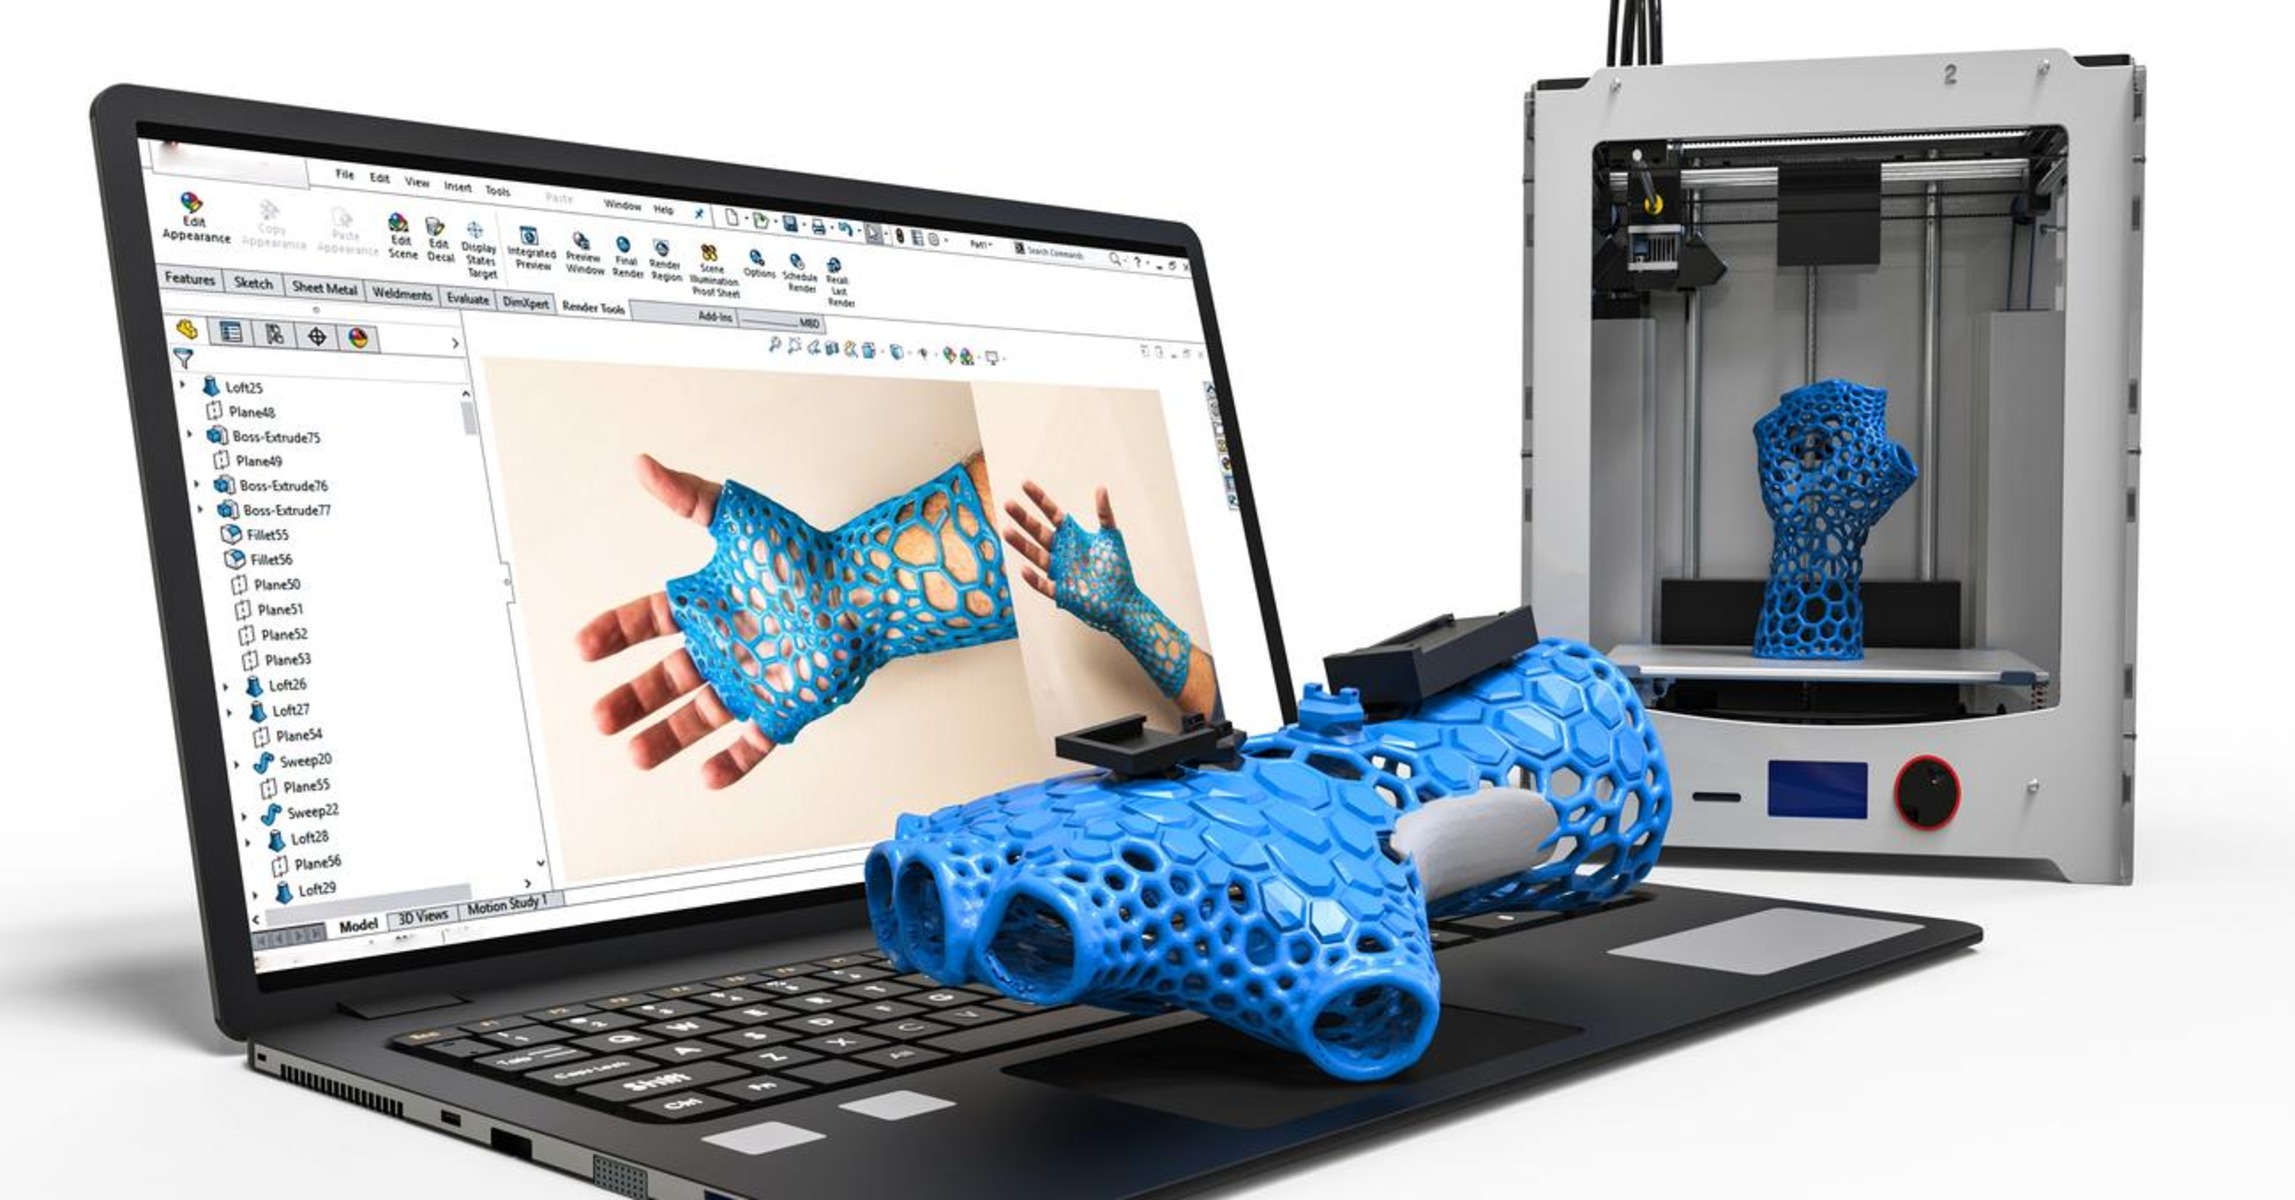
- Importing the 3D Model: First, the 3D model is imported into the slicing software. This can be done by either designing the model from scratch using computer-aided design (CAD) software or downloading a pre-made model from online repositories.
- Choosing Slicing Parameters: Once the 3D model is imported, the user selects various parameters according to their preferences. These parameters include layer height, print speed, infill density, support structures, and more. Each parameter choice affects the final print quality, strength, and printing time.
- Decomposing the Model: The slicing software then breaks down the 3D model into individual layers based on the selected layer height. This process involves creating a horizontal cross-section of the model at each layer.
- Generating Toolpaths: Next, the software generates toolpaths for the 3D printer to follow. It determines the movements of the print head, the order in which each layer is printed, and the strategies for filling the layers, such as zigzag patterns or concentric circles.
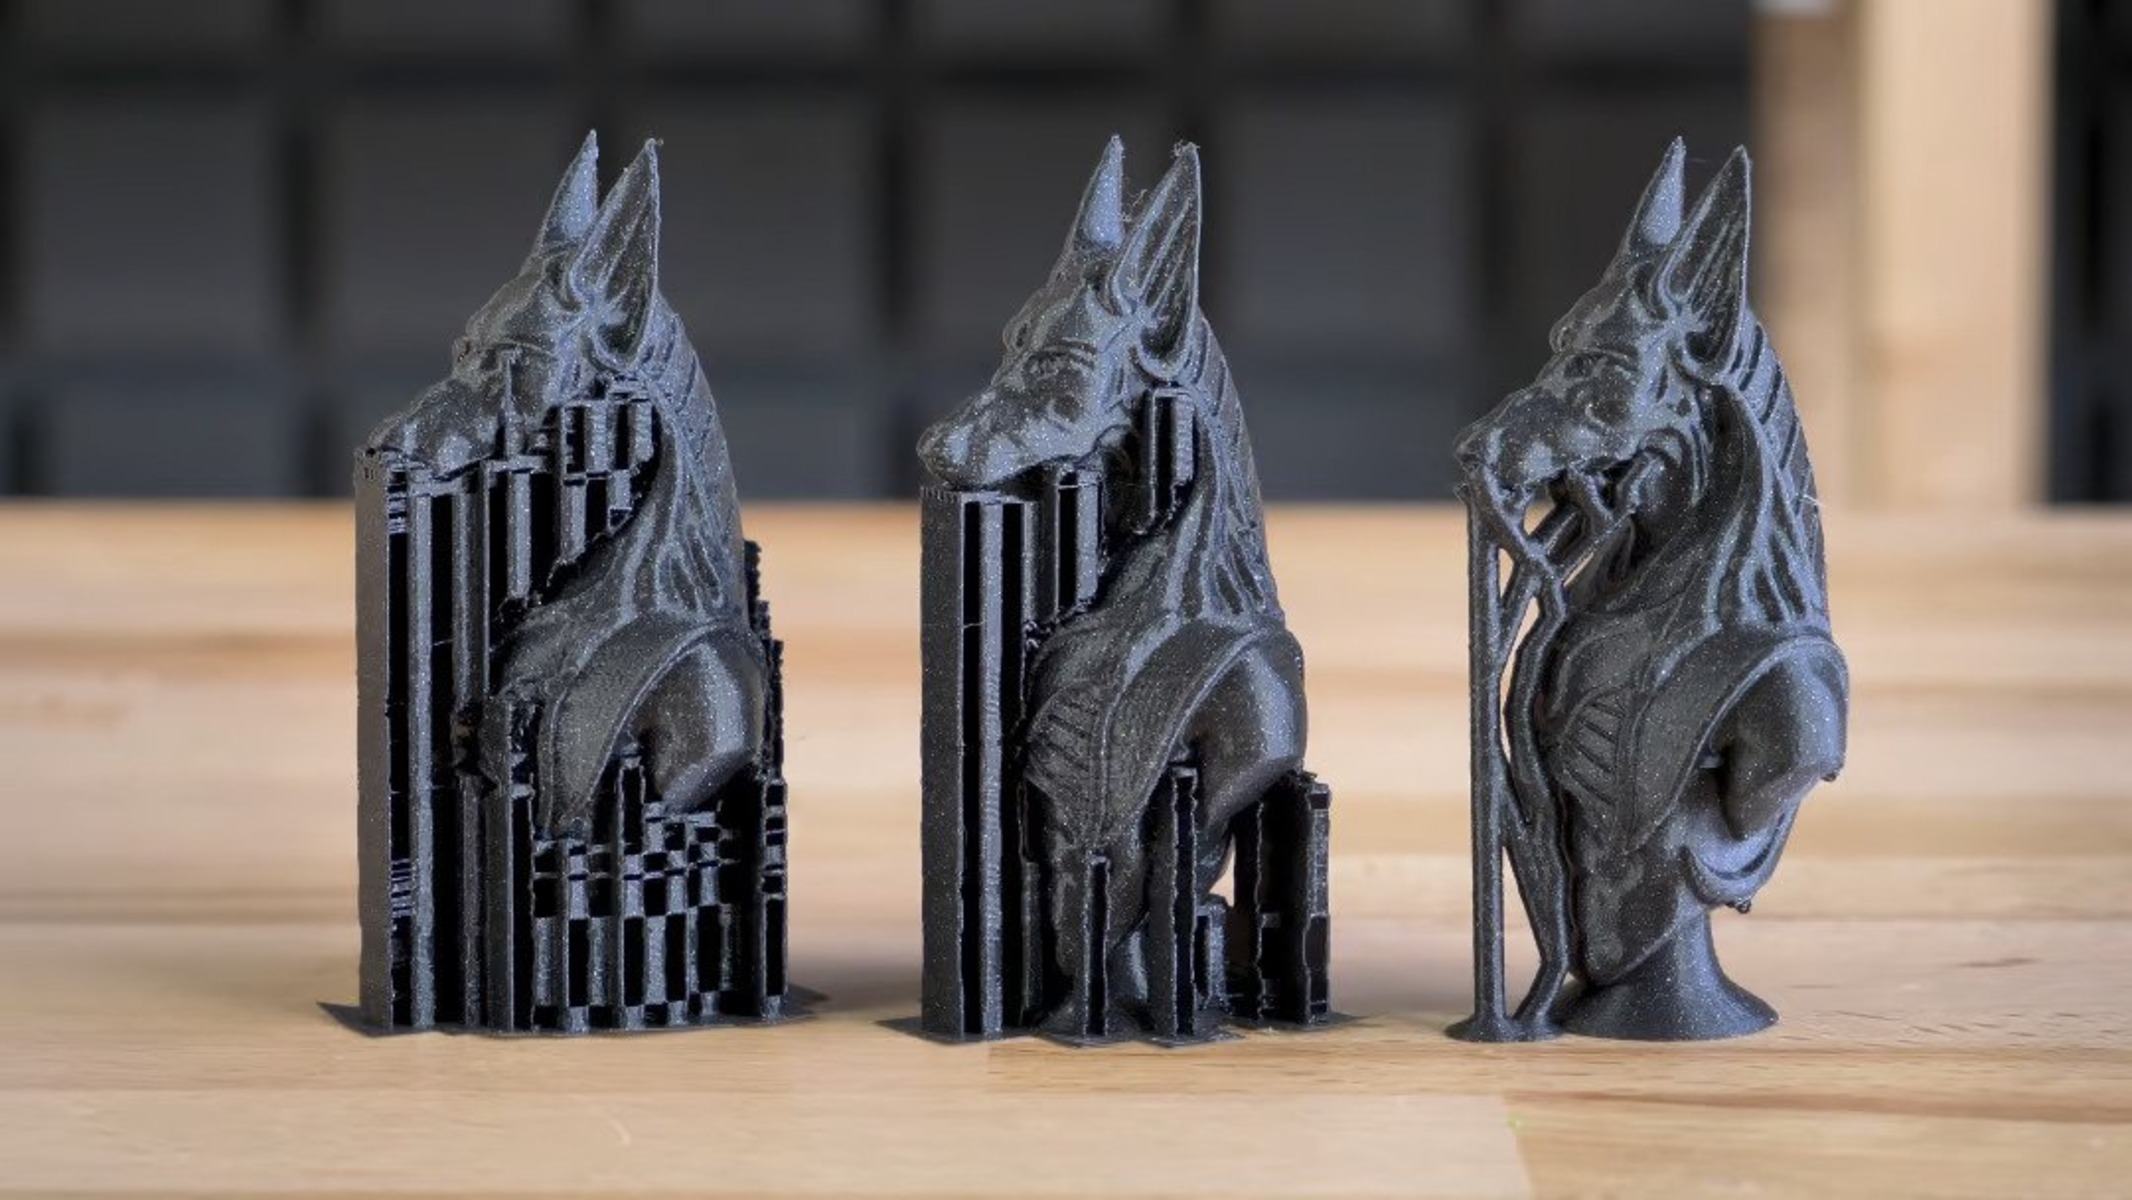
- Support Structures: If needed, the software also generates support structures to provide stability for overhanging or complex sections of the model. These supports are printed alongside the model and can be easily removed after printing.
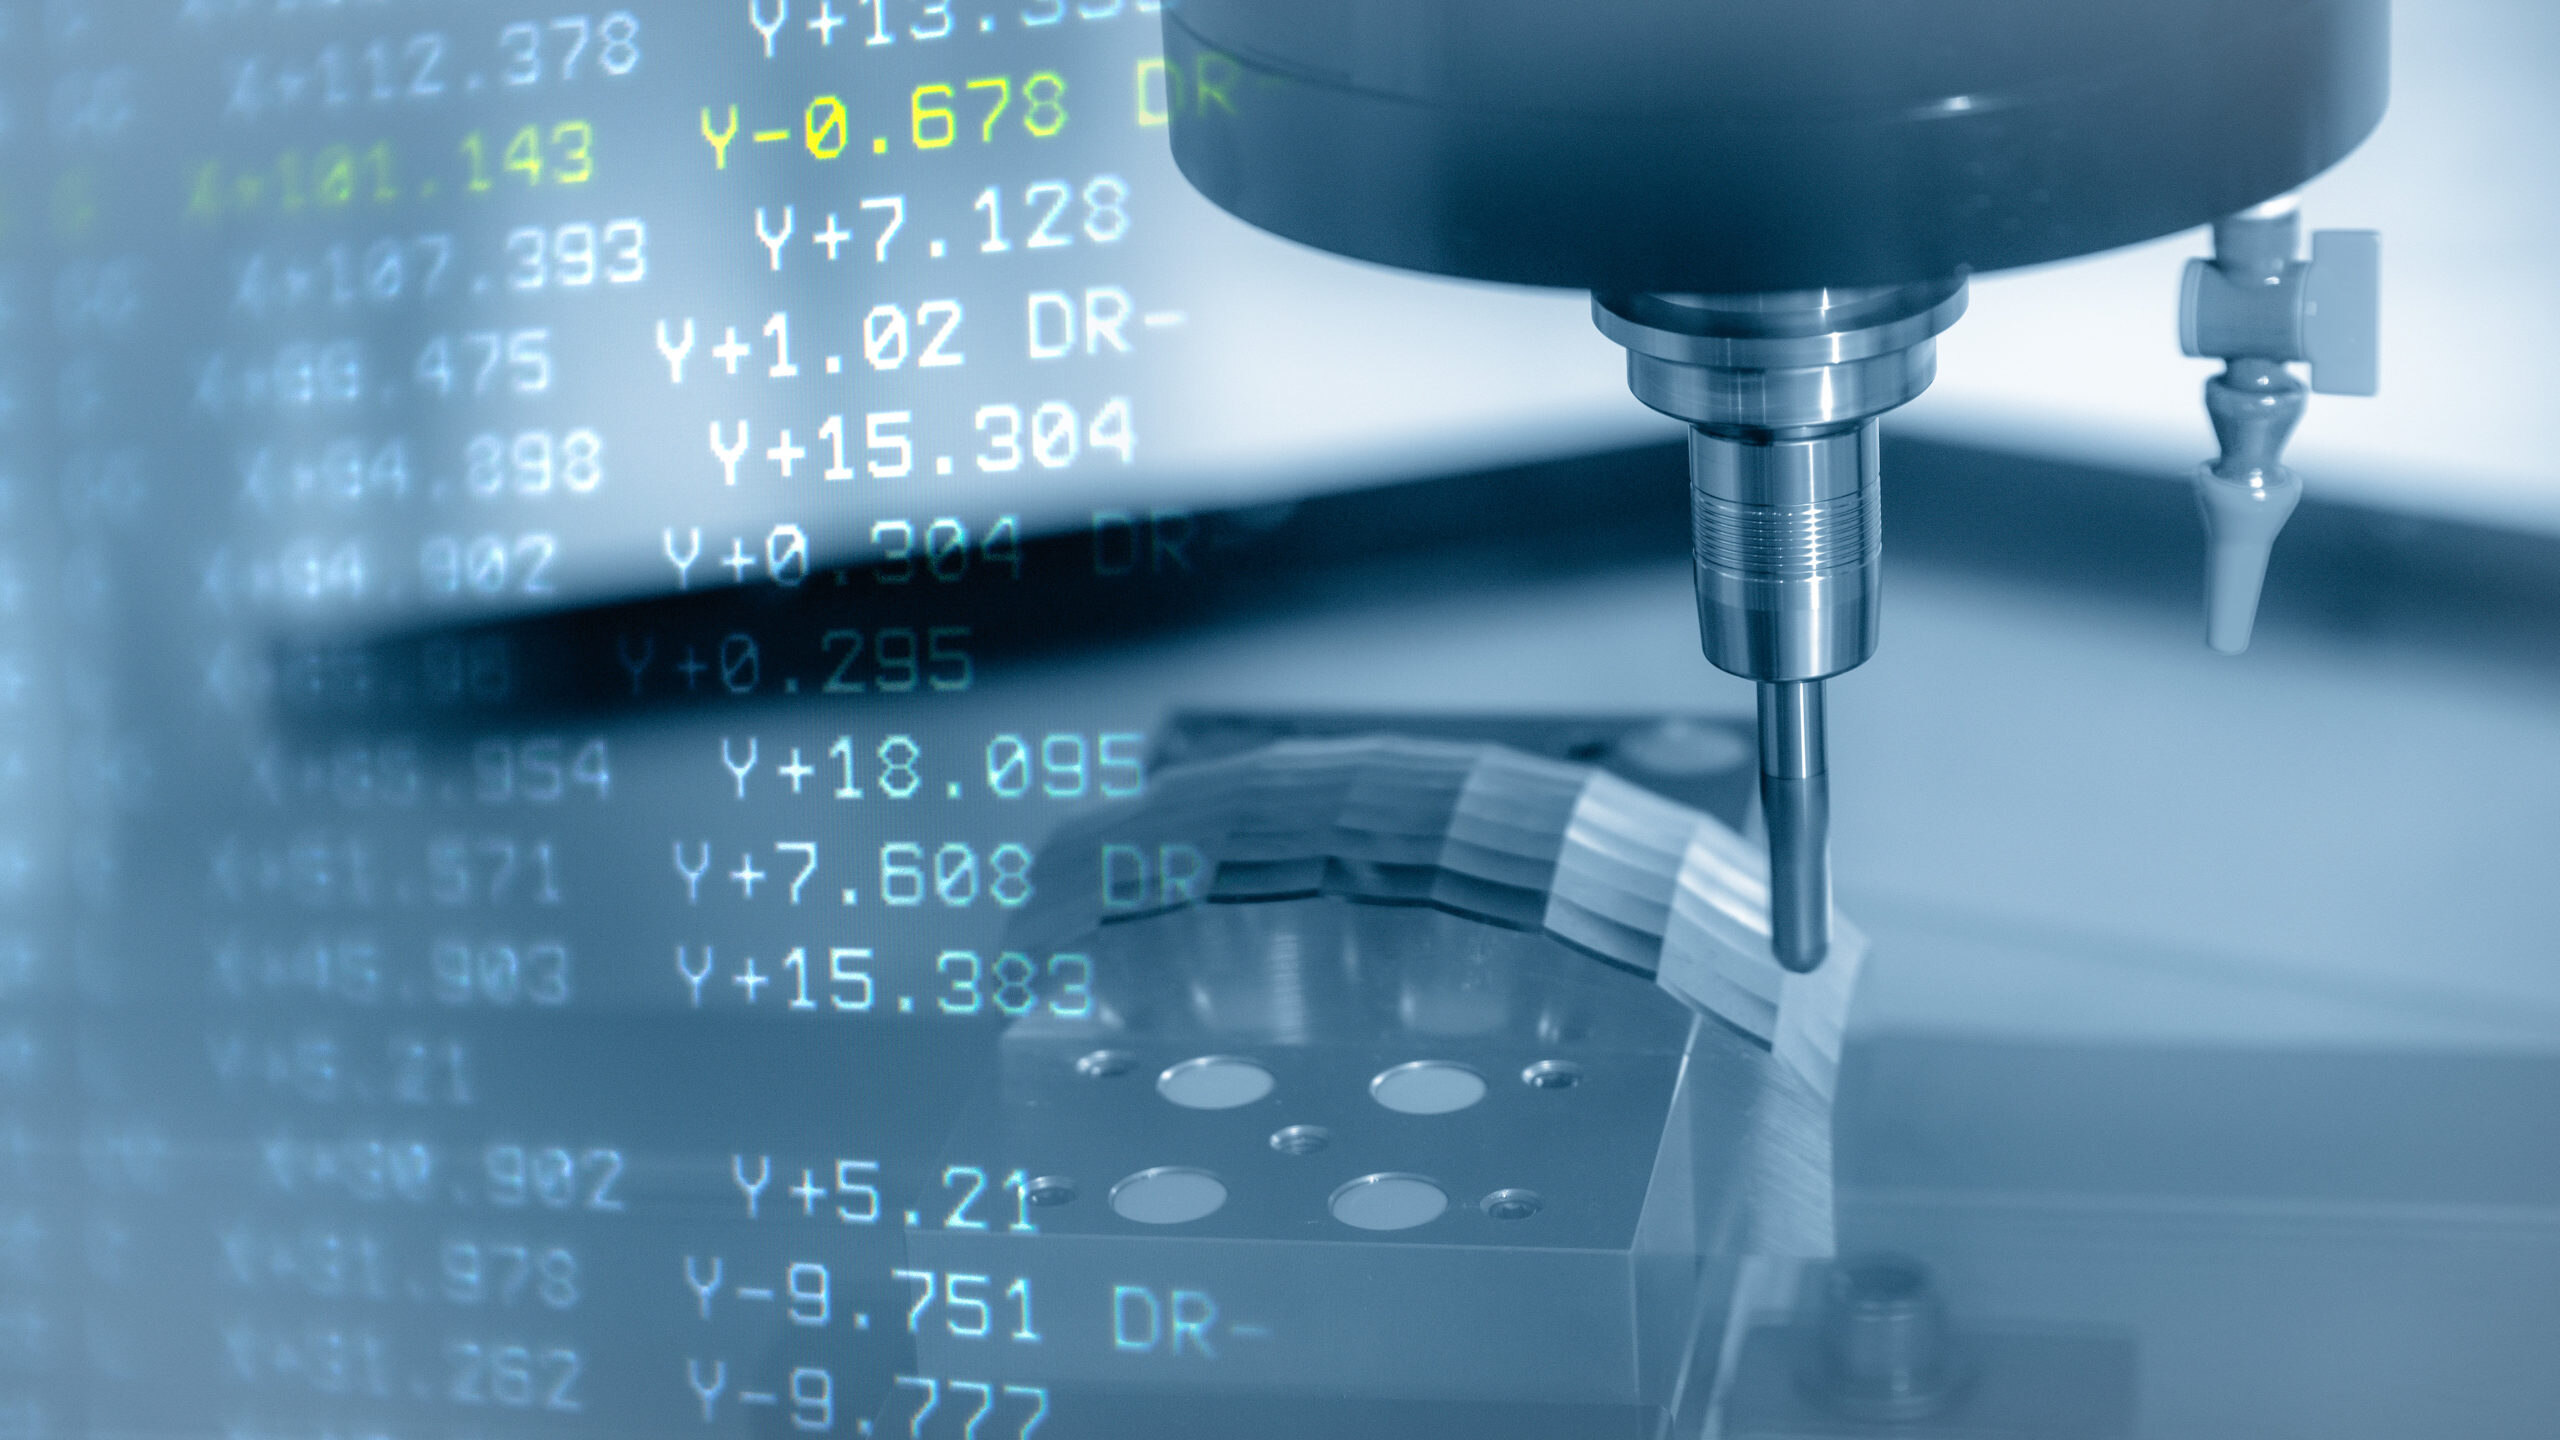
- Outputting the Sliced File: Once all the necessary calculations are complete, the slicing software outputs a sliced file that contains all the instructions for the 3D printer. This file can have various formats, such as G-code, which is the most commonly used format.
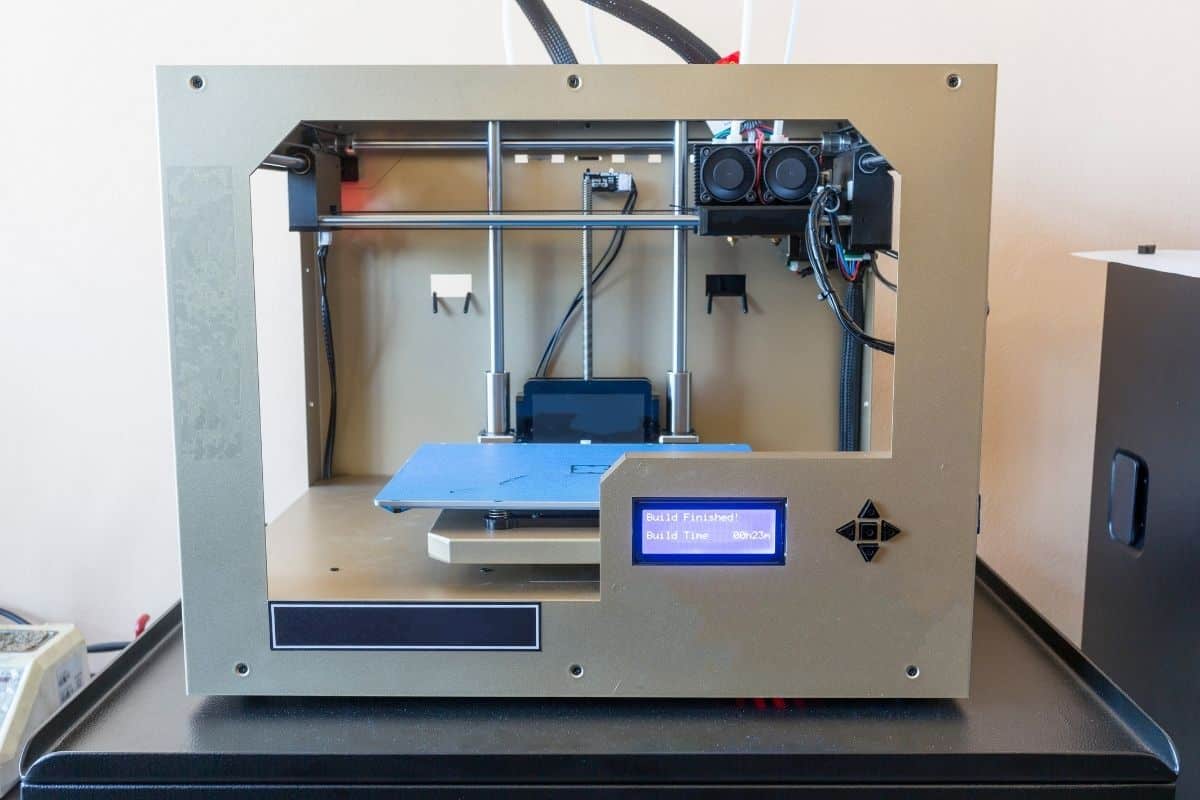
- Transferring and Printing: Finally, the sliced file is transferred to the 3D printer, either via a USB cable, SD card, or network connection. The printer reads the file and begins printing the object layer by layer, following the instructions provided by the slicing software.
By understanding how slicing works, users can make informed decisions about the parameters they choose, resulting in optimal print quality, strength, and efficiency.
Key Parameters in Slicing
When it comes to slicing a 3D model for printing, there are several key parameters that users need to consider. These parameters greatly influence the quality, strength, and appearance of the final printed object. Let’s take a closer look at some of these key parameters:
- Layer Height: Layer height refers to the thickness of each printed layer. Smaller layer heights result in finer details but can increase the printing time. On the other hand, larger layer heights can speed up the print but might sacrifice some detail and surface smoothness.
- Print Speed: Print speed determines how quickly the printer moves during the printing process. Faster speeds can reduce the overall printing time but can lead to decreased print quality and accuracy. Slower speeds are generally preferred for intricate models or when a higher level of detail is desired.
- Infill Density: Infill density refers to the percentage of internal infill material used to solidify the print. Higher densities result in stronger prints, while lower densities can reduce material usage and print time. The infill pattern can also be customized, with options such as grid, honeycomb, or triangular patterns.
- Support Structures: Support structures are essential when printing overhanging or complex geometries. They provide temporary support during the printing process and are typically printed in a different material that is easily removable. Users can choose to generate support structures automatically or manually add them to specific parts of the model.
- Print Temperature: Print temperature determines the melting point of the filament material used in 3D printing. It is crucial to select the appropriate temperature for the specific material to ensure proper adhesion and layer bonding. Different filaments have different ideal temperature ranges, so it’s essential to consult the manufacturer’s recommendations.
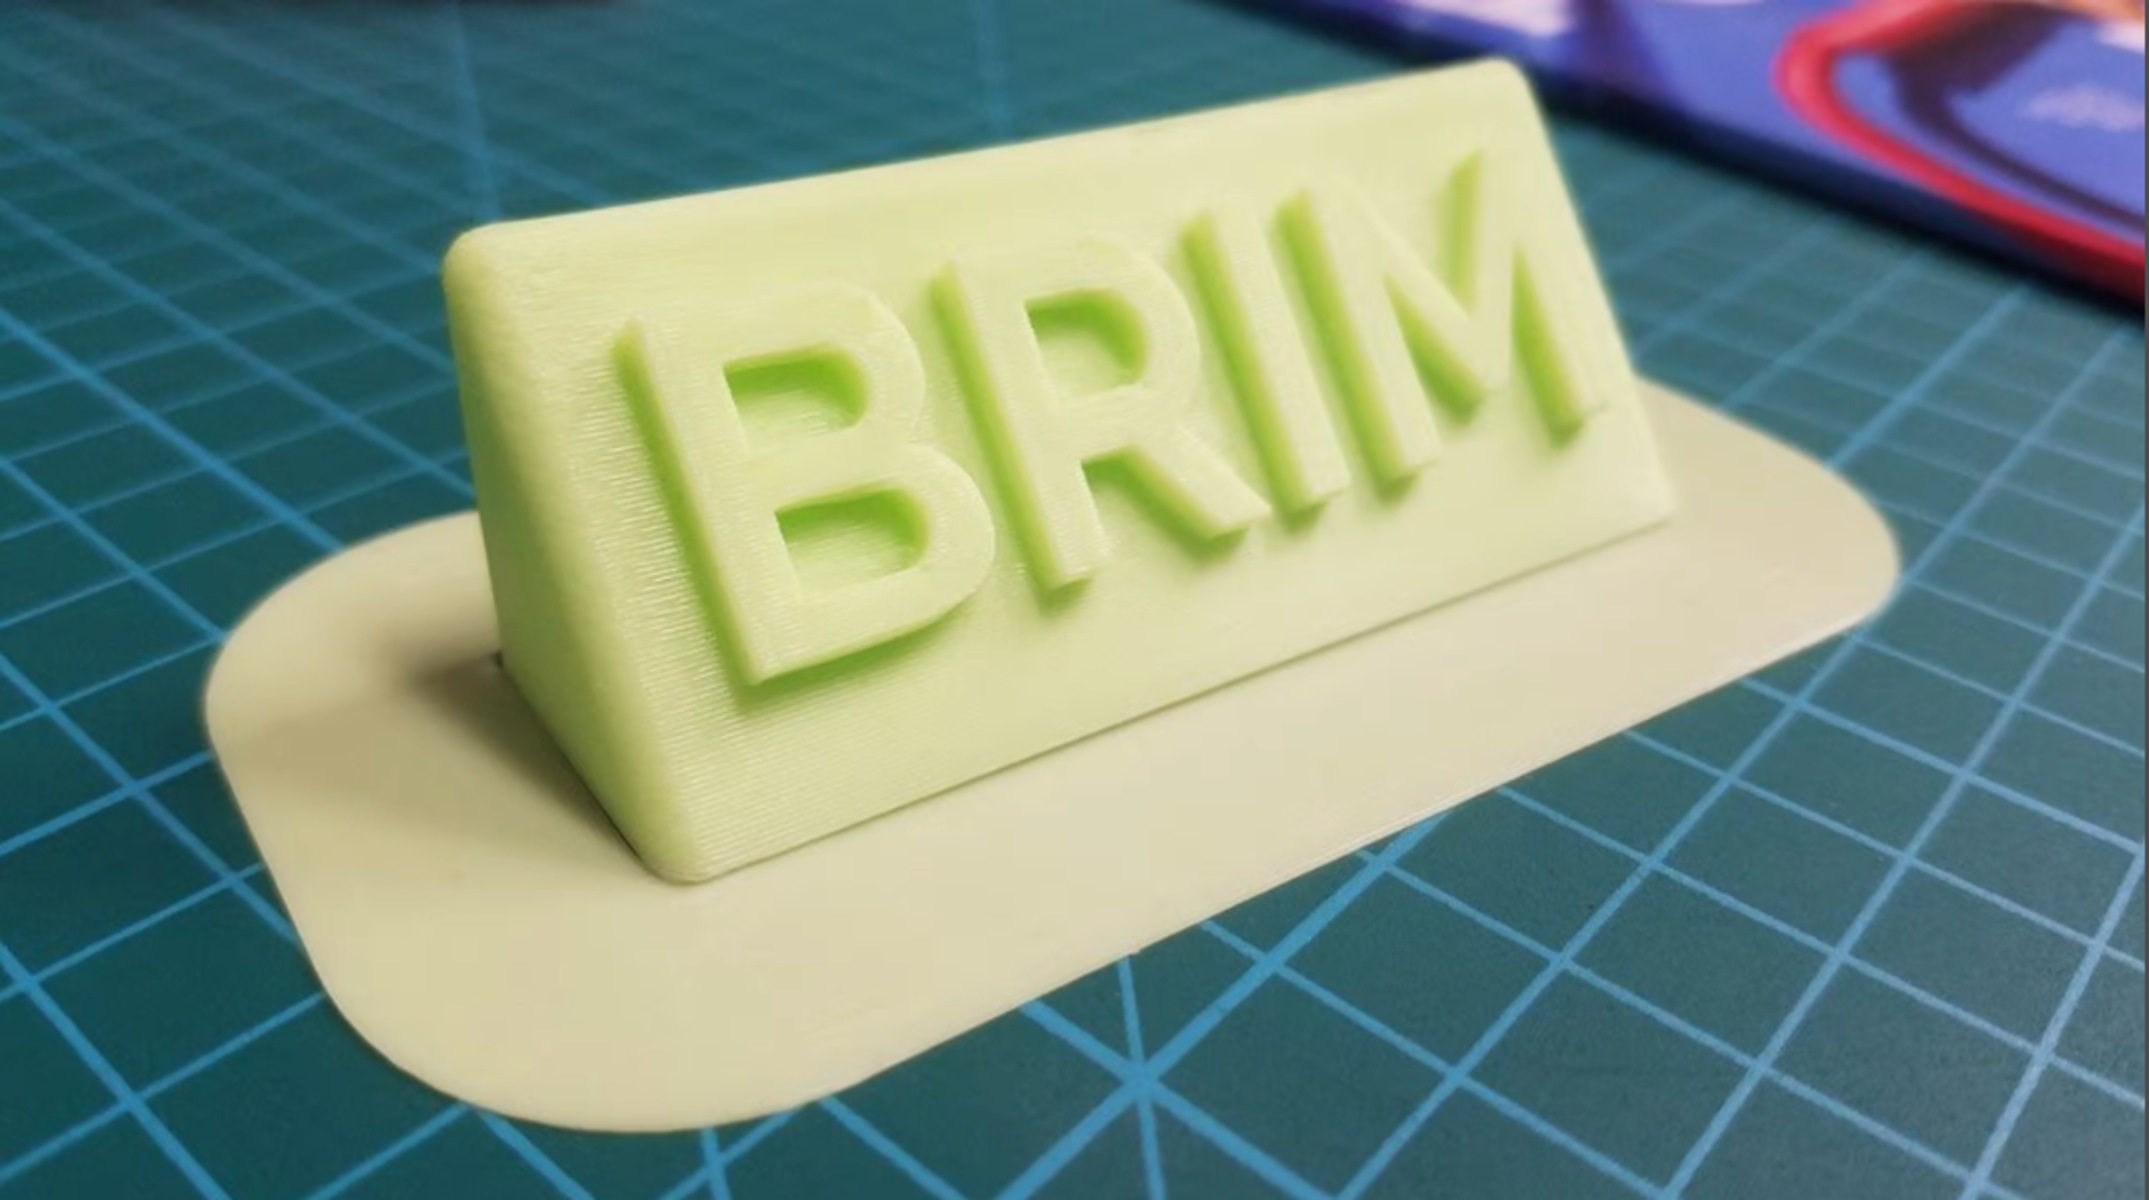
- Print Bed Adhesion: Ensuring proper adhesion between the print bed and the first layer is crucial for successful 3D printing. Parameters such as bed temperature, print surface material, and the use of adhesive aids like glue or specialized tapes can influence bed adhesion and prevent warping or shifting during printing.
These are just a few key parameters in slicing, and there are many more to explore. Each parameter choice requires careful consideration and depends on the specific requirements of the print. It’s important to experiment, iterate, and fine-tune these parameters to achieve the desired print quality and optimize the overall 3D printing experience.
Slicing Software
When it comes to slicing a 3D model for 3D printing, specialized slicing software is an essential tool. These software programs take the digital 3D model and convert it into a format that the 3D printer can understand. There are several popular slicing software options available, each with its own unique features and capabilities.
One of the most widely used slicing software is Ultimaker Cura. It is an open-source software with a user-friendly interface and powerful slicing capabilities. Cura supports a wide range of 3D printers and offers advanced settings for fine-tuning the print parameters. It also has customizable profiles for different materials, enabling users to achieve optimal results.
Slic3r is another popular choice among 3D printing enthusiasts. It is an open-source software known for its extensive customization options. Slic3r allows users to adjust parameters at a granular level, giving them full control over every aspect of the slicing process. It also supports multiple extruders, making it suitable for printers with dual extrusion capabilities.
PrusaSlicer is specifically designed for Prusa 3D printers but can also be used with other printers. It offers a simple and intuitive interface while providing advanced features such as customizable support structures, variable layer heights, and automatic model repair. PrusaSlicer also includes profiles for different Prusa printer models, ensuring optimized performance.
Other notable slicing software options include Simplify3D, which offers a comprehensive set of features and supports a wide range of 3D printers, and KISSlicer, known for its efficient and fast slicing process.
Ultimately, the choice of slicing software depends on personal preference, the specific requirements of the print, and the compatibility with the 3D printer being used. It’s important to explore different software options, experiment with different settings, and find the one that best suits your needs.
Understanding Slicer Settings
When it comes to slicing a 3D model for printing, understanding and optimizing slicer settings is essential to achieve the desired print quality and performance. Slicers offer a plethora of settings to customize the printing process based on specific needs. Here are some common slicer settings that users should be familiar with:
- Layer Height: This setting determines the thickness of each printed layer. Smaller layer heights result in finer details but increase printing time, while larger layer heights can speed up the print but might sacrifice some detail.
- Print Speed: Print speed determines how quickly the printer moves. Faster speeds reduce printing time but may affect print quality and accuracy. Slower speeds are generally preferred for intricate models or when a higher level of detail is desired.
- Infill Density: Infill density refers to the percentage of internal infill material used to solidify the print. Higher densities result in stronger prints, while lower densities reduce material usage and print time. The infill pattern can also be customized to optimize strength and stability.
- Support Structures: Support structures are essential for printing overhanging or complex geometries. Slicer settings allow for the customization of support structures, including their density, angle, and placement on the model. It’s important to strike a balance between support effectiveness and ease of removal.
- Print Temperature: Print temperature determines the melting point of the filament material used. Proper temperature selection is crucial for adhesion and layer bonding. Different materials have different ideal temperature ranges, so referring to the filament manufacturer’s recommendations is important.
- Retraction Settings: Retraction is the process of pulling the filament back slightly to prevent oozing and stringing between printed parts. Slicer settings allow for adjusting retraction distance and speed to minimize potential issues.
- Bridging Settings: Bridging refers to printing horizontal sections without support underneath. Slicer settings for bridging control parameters such as cooling, speed, and extrusion to ensure proper bridging performance and avoid sagging or drooping.
- Print Bed Adhesion: Proper adhesion between the print bed and the first layer is crucial for successful 3D printing. Slicer settings allow for adjusting parameters such as bed temperature, print surface material, and the use of adhesive aids like glue or specialized tapes.
These are just a few examples of the many slicer settings available. It’s important to understand the impact of each setting on the final print and to experiment with different combinations to optimize print quality, strength, and overall printing experience.
Common Challenges and Tips for 3D Printing Slices
While 3D printing slices offer incredible potential, they can also present certain challenges. Here, we will explore some common challenges faced during the slicing process and provide tips to overcome them:
- Print Quality: Achieving high-quality prints relies on finding the right balance of slicer settings. Experiment with different parameters such as layer height, print speed, and infill density to optimize print quality based on your specific needs.
- Support Removal: Removing support structures can sometimes be tricky, especially if they are tightly integrated with the printed object. To make support removal easier, try adjusting slicer settings to increase the gap between the supports and the model, or consider using support materials that are easier to remove.
- Warpage and Adhesion: Warping and poor bed adhesion can lead to print failures. Ensure proper leveling and cleaning of the print bed, use adhesion aids like glue stick or painter’s tape, and experiment with bed temperatures to find the optimal setting for your filament material.
- Overhangs and Bridging: Overhangs and bridging can pose challenges, as they require proper support or careful print settings. Adjusting parameters like cooling, print speed, and support structures can result in smoother and more successful prints with challenging geometries.
- Fine Details: Printing small, intricate details may require adjustments to slicer settings. Consider decreasing the layer height, adjusting print speed, and increasing the extrusion width to achieve finer details in your prints.
- Printing Time: Slicing settings can significantly impact printing time. If shorter print times are a priority, consider increasing the layer height, reducing the infill density, and adjusting print speeds accordingly. However, bear in mind that it may come at the cost of reduced print quality.
- Material Compatibility: Different filament materials require specific slicing settings to achieve the best results. Consult the manufacturer’s guidelines or community forums to understand the optimization techniques for the specific material you are using.
It’s important to note that 3D printing is an iterative process. Don’t be afraid to experiment, adjust settings, and learn from each print. By understanding the challenges and implementing the right solutions, you can enhance the quality and success rate of your 3D printed slices.
Conclusion
Slicing plays a vital role in the 3D printing process, transforming digital 3D models into physical objects. By breaking down the models into individual layers, slicing software creates printable instructions for the 3D printer, allowing for incredible designs to come to life.
Understanding the key parameters in slicing, such as layer height, print speed, infill density, and support structures, is essential for achieving desired print quality and performance. Additionally, slicer settings offer a level of customization that allows users to optimize their prints based on specific needs and preferences.
While challenges may arise during the slicing process, such as print quality issues, support removal difficulties, warping, and intricate details, taking advantage of the available tips and best practices can help overcome these hurdles. Embracing trial and error and learning from each print will lead to continuous improvement in 3D printing slices.
As the world of 3D printing continues to advance, the slicing process will undoubtedly evolve as well. New software developments and innovative techniques will provide even more opportunities for creativity and precision in 3D printing.
By gaining a deeper understanding of slicing, its inner workings, and the importance of slicer settings, users can unlock the full potential of their 3D printers. So, go ahead, experiment, and unleash your imagination in the exciting realm of 3D printing slices.