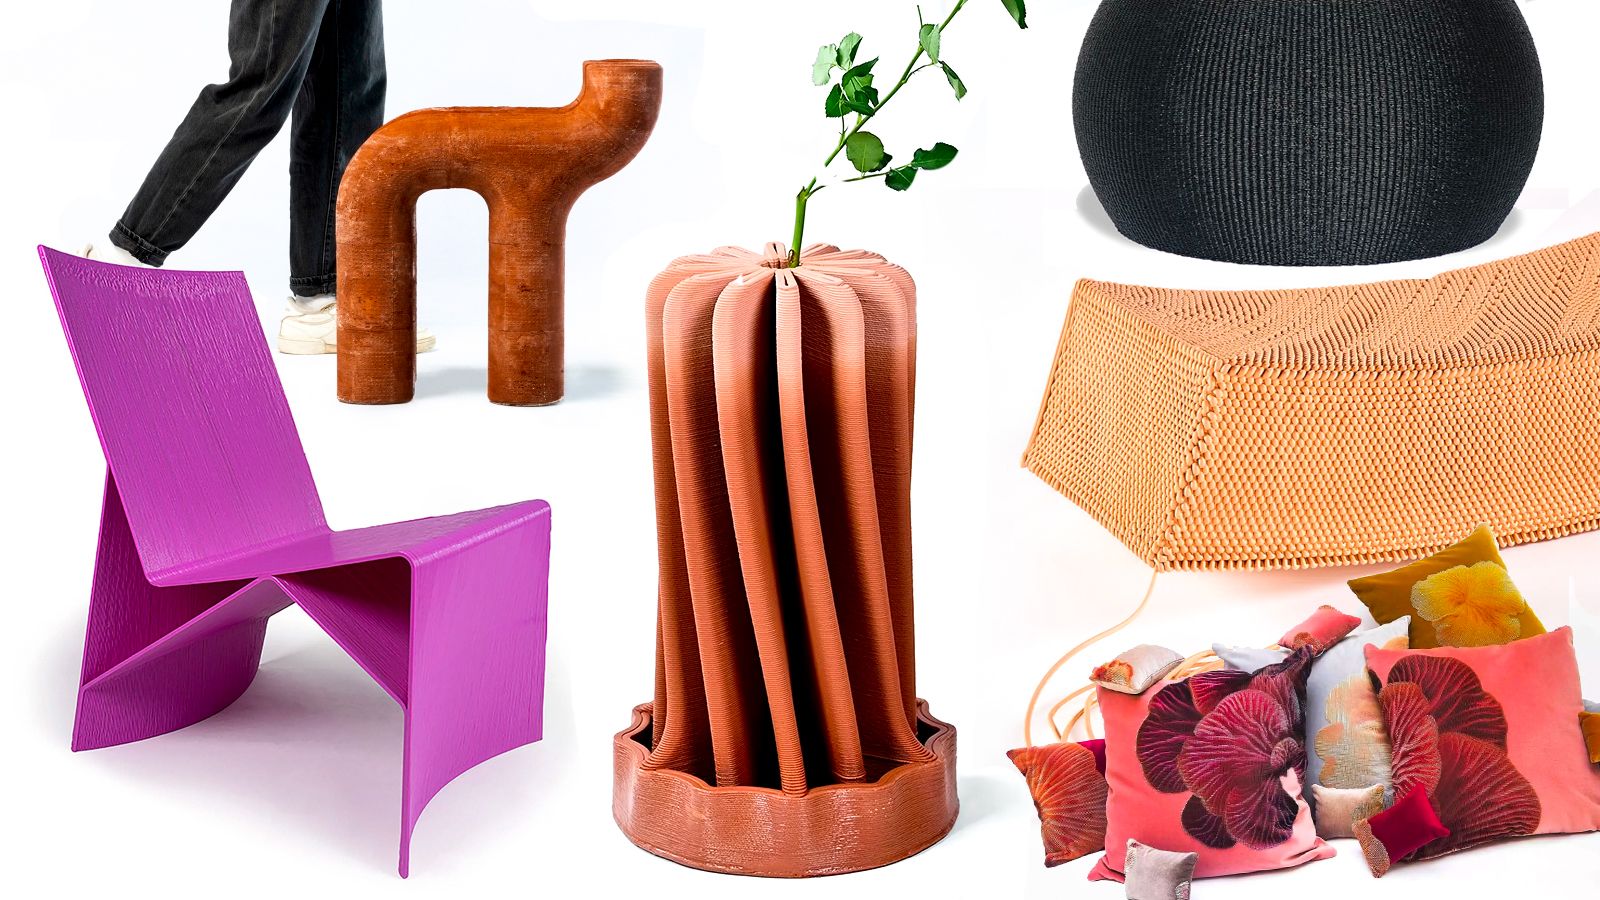
Introduction
Welcome to the world of 3D printing! If you’re fascinated by the idea of bringing your digital designs to life, a 3D printer is the perfect tool for you. With the ability to transform virtual models into physical objects, 3D printing opens up a world of creative possibilities. Whether you’re a hobbyist, an artist, or an engineer, learning how to create 3D images for a 3D printer is an invaluable skill.
In this article, we will guide you through the process of making 3D images that are ready to be printed. We will walk you through the essential steps, from choosing the right design software to finishing post-processing touches. By the time you finish reading this article, you’ll have all the knowledge you need to bring your imagination to life.
Before we dive into the technical details, let’s quickly touch on what 3D printing is all about. Unlike traditional printing techniques that deposit ink onto a flat surface, 3D printing builds layer upon layer to create three-dimensional objects. This process, also known as additive manufacturing, offers immense flexibility and precision when it comes to creating physical objects of various shapes and sizes.
Now that you have a general understanding of 3D printing, it’s time to delve into the nitty-gritty of creating 3D images. Don’t worry if you’re completely new to this. We will guide you through each step in a simple and straightforward manner, ensuring that you have a solid foundation to create your own 3D prints.
Understanding 3D Printing
Before we start creating 3D images, it’s essential to have a fundamental understanding of how 3D printing works. As mentioned earlier, 3D printing is an additive manufacturing process that builds objects layer by layer. But how does it actually happen?
Firstly, you need a 3D model of the object you want to print. This model serves as the digital blueprint that guides the 3D printer’s movements. It can be created using specialized design software or obtained from online repositories.
Once you have the 3D model, you’ll need to prepare it for printing. This involves adjusting dimensions, scaling, adding details, and applying textures to ensure the final print matches your desired outcome. The next step is to export the model into a format that the 3D printer understands, such as an STL file.
Before sending the file to the printer, it’s crucial to optimize the 3D model for printing. This process involves checking for any potential issues like intersecting geometries, thin walls, or overhangs that may cause printing problems. Additionally, you may need to split the model into multiple parts if your printer has size limitations.
With the model prepared and optimized, it’s time to move on to the actual printing process. This involves selecting the appropriate printing materials, known as filaments, and setting up the printer with the right parameters, such as temperature and layer height. The printer will then heat the filament and extrude it layer by layer, gradually building the object.
Once the printing is complete, you still have some work to do. Depending on the quality you desire, you may need to perform post-processing tasks like removing support structures, sanding down rough edges, or applying surface finishes to enhance the appearance of the print. These finishing touches will give your prints that professional quality.
Now that you have a basic understanding of 3D printing, it’s time to dive deeper into each step of the process. In the following sections, we will explore the intricacies of creating a 3D model, optimizing it for printing, and the various post-processing techniques you can employ.
Choosing the Right Design Software
To create 3D images for your 3D printer, you’ll need the right design software. There are several options available, each with its own strengths and features. Here are a few popular choices to consider:
1. Tinkercad: If you’re new to 3D modeling, Tinkercad is an excellent starting point. It’s a free, browser-based software that offers a user-friendly interface and basic modeling tools. Tinkercad is great for simple designs and is widely used by beginners and educators.
2. Fusion 360: If you’re looking for more advanced features and a professional-grade software, Fusion 360 is a powerful option. It offers robust modeling tools, parametric design capabilities, and simulation features. Fusion 360 is ideal for complex designs and is widely used in engineering and product design fields.
3. Blender: If you’re interested in creating organic shapes or character models, Blender is a versatile software to consider. It’s a free and open-source 3D modeling and animation software. While it has a steeper learning curve, Blender offers a wide range of tools and is suitable for artistic and intricate designs.
4. SketchUp: SketchUp is a popular choice for architectural and product design. It has a user-friendly interface and intuitive tools that make it easy to create 3D models. SketchUp offers a free version with limited features and a pro version with more advanced tools.
When choosing the right software, consider your level of expertise, the complexity of the designs you want to create, and the specific features you need. Try out different options to see which one you feel most comfortable with and can achieve the desired results. There are numerous online tutorials, forums, and communities where you can find support and resources for each software.
Remember, the software is just a tool, and your creativity and vision are what truly matter. Don’t be afraid to experiment and learn as you go. With practice and dedication, you can master the chosen design software and create stunning 3D images for your 3D printer.
Creating a 3D Model
Now that you’ve selected the right design software, it’s time to start creating your 3D model. This is where your creativity comes into play as you bring your ideas to life in the digital realm. Here are a few steps to guide you through the process:
1. Sketch and Plan: Begin by sketching out your idea on paper or creating a digital sketch as a reference. This will help you visualize the dimensions and overall shape of your model. Consider the functionality, aesthetic appeal, and any specific features you want to incorporate into your design.
2. Start with Basic Shapes: Most design software allows you to start with basic geometric shapes like cubes, spheres, or cylinders. Use these basic shapes as building blocks to form the structure of your model. This step will give you a solid foundation to work with.
3. Use Extrusion and Manipulation Tools: Extrusion is a powerful tool that allows you to create depth and volume by pulling or pushing surfaces. Experiment with extrusion to add details and contours to your model. Manipulation tools like scaling, rotating, and mirroring can also help you refine the shape and proportions.
4. Refine and Iterate: Creating a 3D model is an iterative process. Continuously refine and adjust your design as you go along. Don’t be afraid to experiment and try different approaches. This is where you can explore different variations and find the design that best meets your vision.
5. Add Details and Textures: Incorporate specific details and textures to enhance the realism and visual appeal of your model. This can include adding patterns, engravings, or surface textures. Pay attention to small details, as they can make a significant difference in the final outcome.
6. Check for Printability: While creating your 3D model, it’s crucial to keep in mind its printability. Ensure that the model doesn’t have any intersecting or overlapping geometry, and that the walls are thick enough for your chosen printing technology. Test your model by checking for potential issues using the software’s built-in analysis tools.
Remember, creating a 3D model takes practice and patience. Don’t be discouraged if your first attempts don’t turn out exactly as planned. Take the time to learn from your mistakes and embrace the iterative process of refining and improving your designs. With each model you create, you’ll gain more experience and expertise in creating 3D images for your 3D printer.
Adjusting Dimensions and Scaling
Once you’ve created your 3D model, it’s important to ensure that the dimensions and scale of your design are accurate and suitable for your printing needs. Making precise adjustments to the size of your model is a crucial step in the 3D printing process. Here are a few key considerations when adjusting dimensions and scaling:
1. Determining the Desired Size: Think about the intended purpose and size requirements of your 3D print. Are you creating a small decorative object or a functional prototype? Consider the dimensions and scale that would best serve your purpose and plan accordingly.
2. Scaling Uniformly: If you want to increase or decrease the overall size of your model while maintaining its proportions, it’s important to scale it uniformly. This ensures that all the elements of your design are scaled proportionally so that they appear balanced and cohesive.
3. Adjusting Specific Dimensions: In some cases, you may want to adjust specific dimensions of your model without altering its overall scale. Pay attention to crucial measurements, such as wall thickness, hole diameter, or clearance between parts. Make sure these dimensions are suitable for your printer’s capabilities and the intended use of the print.
4. Reference Real-World Objects: If you’re creating a model of an existing object or prototype, it can be helpful to reference real-world objects to ensure accurate dimensions. Use measuring tools or reference images to determine the precise measurements and adjust your model accordingly.
5. Testing and Iterating: After adjusting the dimensions, it’s crucial to test the printability of your model. Some printers may have limitations on minimum feature size or maximum build volume. Run test prints to verify that the dimensions are appropriate and that the model can be successfully printed without issues.
6. Considering Tolerances: Depending on the intended use of your print, you may need to consider tolerances. For functional parts or assemblies, you may need to ensure a proper fit between components. Adjust the dimensions accordingly to account for the necessary tolerances, taking into account the materials and printing technology you’ll be using.
Remember to save different versions of your model as you make adjustments to the dimensions and scaling. This allows you to backtrack or compare different iterations if needed. Take your time to adjust and fine-tune the dimensions until you’re satisfied with the final result.
By carefully adjusting the dimensions and scaling of your 3D model, you can ensure that your printed objects meet your expectations in terms of size, functionality, and overall quality.
Adding Details and Textures
Adding details and textures to your 3D model is an essential step that can elevate your print from a basic shape to a visually appealing and realistic object. These details can make your design stand out, highlight specific features, or add depth and complexity to your model. Here are some key considerations when adding details and textures:
1. Surface Details: Consider the finer details that can enhance the surface of your model. This can include engraved patterns, embossed logos, or etched designs. These details can be created by subtracting or adding geometry to your model or by using texturing tools in your design software.
2. Raised Features: Adding raised features can give your model a tactile quality and increase visual interest. This can be achieved by extruding specific parts of your design or creating separate components that are then attached to the main model.
3. Texture Mapping: Applying textures to your model can create a more realistic appearance. Textures can mimic materials like wood, metal, or fabric, or they can add visual effects like roughness, smoothness, or patterns. Design software often provides built-in textures or allows you to import custom textures for added realism.
4. Finer Details: Pay attention to smaller details that can make a significant difference in the final look of your print. This can involve adding screws, bolts, or other intricate elements that contribute to the authenticity and functionality of your design.
5. Colors: Utilize color to enhance the final aesthetic of your print. Many 3D printing technologies allow for multi-color printing. Take advantage of this by assigning different colors to different parts of your model or applying gradients to achieve more visually appealing outcomes.
6. Test Prints: Before finalizing the details and textures, it’s a good practice to run test prints. This will give you a better understanding of how the details will appear in the physical form and allow you to make adjustments as needed.
Remember to strike a balance between adding details and maintaining printability. Fine details may require high print resolutions or specific printing technologies. Make sure the level of detail you choose is achievable with your printer and appropriate for the size and type of object you’re printing.
Adding details and textures can significantly enhance the overall look and feel of your 3D print. It allows you to customize your designs, experiment with different styles, and bring your creations to life with remarkable visual impact.
Exporting the 3D Model for Printing
Once you have finished creating your 3D model and adding all the desired details and textures, it’s time to prepare the model for printing. This involves exporting the model in a format that is compatible with your 3D printer. Here are the key steps to successfully export your 3D model:
1. Confirm File Format: Check the file format requirements of your 3D printer. The most commonly used file format for 3D printing is the Standard Triangle Language (STL) file format. Ensure that your design software can export your model in this format or any other required file format.
2. Simplify the Geometry: Before exporting the model, simplify the geometry to reduce file size and processing time. Remove any unnecessary or overly complex elements that do not contribute to the final print. This can be done through the software’s tools or by using plugins or features specifically designed for geometry optimization.
3. Check for Errors: Run a final check on the model to identify any potential errors or issues that may affect the printing process. Look for non-manifold geometry, overlapping faces, or intersecting parts. Some design software offers built-in tools for error checking, or you can use third-party software specifically designed for this purpose.
4. Set the Desired Resolution: Adjust the resolution of the exported model based on your printing requirements. Higher resolutions will result in finer details but will also increase the file size and printing time. Consider the capabilities of your printer and your desired print quality when setting the resolution.
5. Set the Scale and Units: Ensure that the scale and units are correctly set before exporting the model. Confirm that the dimensions of your model match your desired print dimensions. If necessary, make any final adjustments to the scale or units within your design software before exporting.
6. Save and Export: Save a final copy of your model and export it in the desired file format. Choose a location on your computer where you can easily access the file when sending it to the 3D printer. It’s also a good practice to include a description or filename that references the design or other relevant information.
With the model properly exported, you are now ready to move on to the next stage of the 3D printing process: preparing the print file. This involves setting up the printing parameters, such as layer height, infill density, and support structures, to ensure optimal printing results. We will explore this step further in the next section.
By following these guidelines for exporting your 3D model, you can ensure that it is in the correct format and ready for the printing process, bringing your digital creation one step closer to becoming a physical object.
Preparing the Print File
Now that you have successfully exported your 3D model in the appropriate format, the next step is to prepare the print file. This process involves setting up the parameters and configurations specific to your 3D printer to ensure a successful and high-quality print. Here are the key considerations when preparing the print file:
1. Slicing Software: Install and set up a slicing software that is compatible with your 3D printer. Slicing software takes the 3D model and generates a toolpath, splitting it into individual layers that the printer can understand and follow during the printing process.
2. Configure Printing Parameters: Adjust the printing parameters within the slicing software to match your desired print quality and specifications. This includes settings such as layer height, print speed, infill density, and support structures. Consider the capabilities and limitations of your 3D printer when configuring these parameters.
3. Orientation and Placement: Determine the ideal orientation and placement of your model on the print bed. Consider factors such as minimizing support structures, optimizing print time, and ensuring stability during the printing process. Proper orientation can result in better surface finish and reduce the need for additional post-processing.
4. Generate Supports: If your model requires support structures, enable the support generation function within the slicing software. Supports are temporary structures that are printed alongside your model to provide stability during the printing process. They can be easily removed or cleaned up after printing, but they are crucial for printing overhangs and complex geometries.
5. Preview and Review: Before generating the final print file, utilize the preview function within the slicing software to review the layer-by-layer visualization of the print process. This allows you to identify any potential issues or areas that may need adjustment. Ensure that all aspects of the model are adequately supported and that critical features are not compromised during the printing process.
6. Save and Transfer: Once you are satisfied with the slicing configurations, save the print file generated by the slicing software. This file will have an extension specific to your 3D printer, such as G-code. Transfer the print file to the 3D printer using the appropriate method, such as an SD card, USB, or wireless connection.
By thoroughly preparing the print file, you are ensuring that your 3D printer has the necessary instructions to produce a successful print. Take the time to understand the capabilities and limitations of your printer and experiment with different settings to achieve the desired balance between print quality and print time.
In the next section, we will discuss the final steps of the 3D printing process, including printing the model, post-processing, and adding finishing touches to bring your 3D image to life.
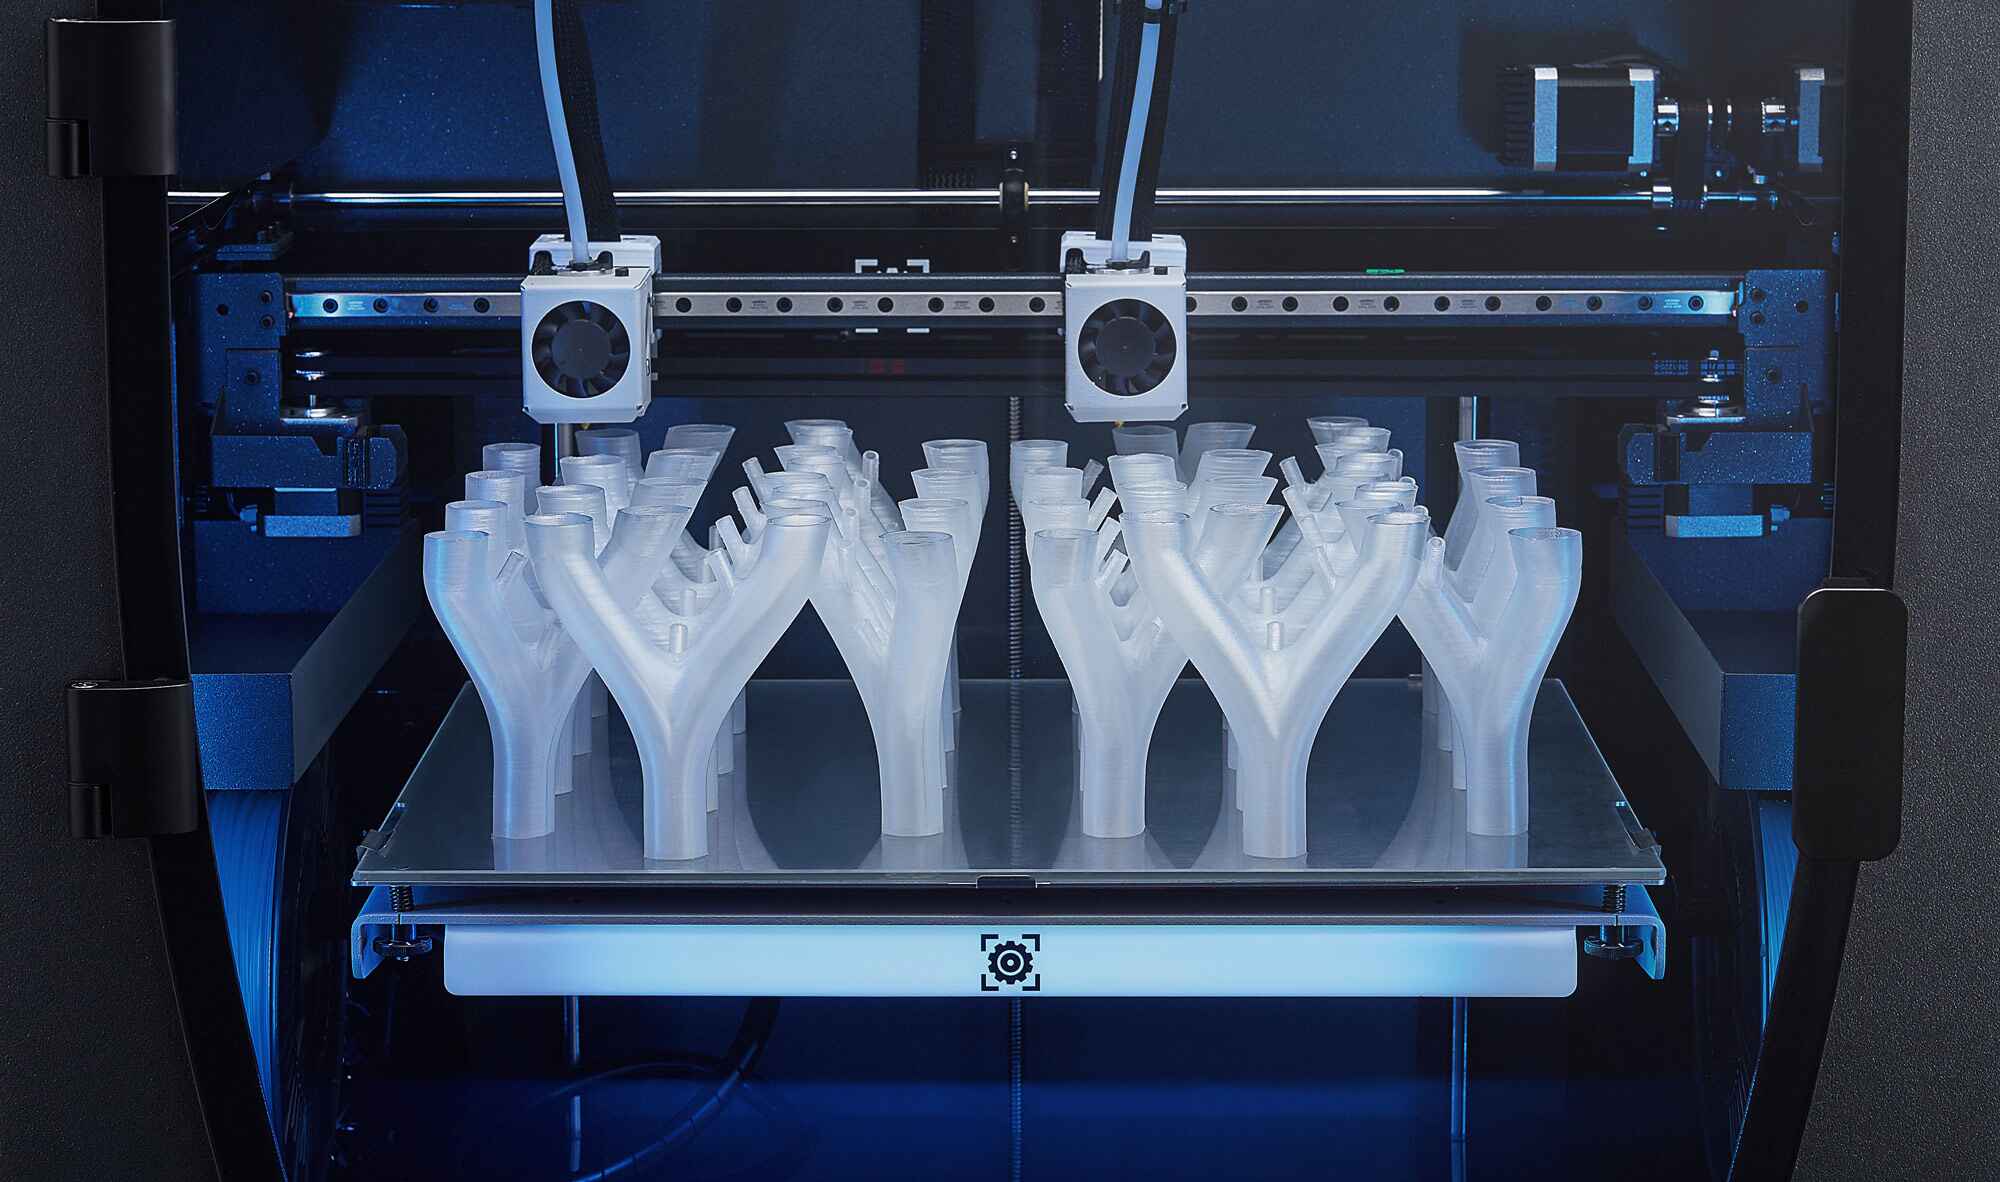
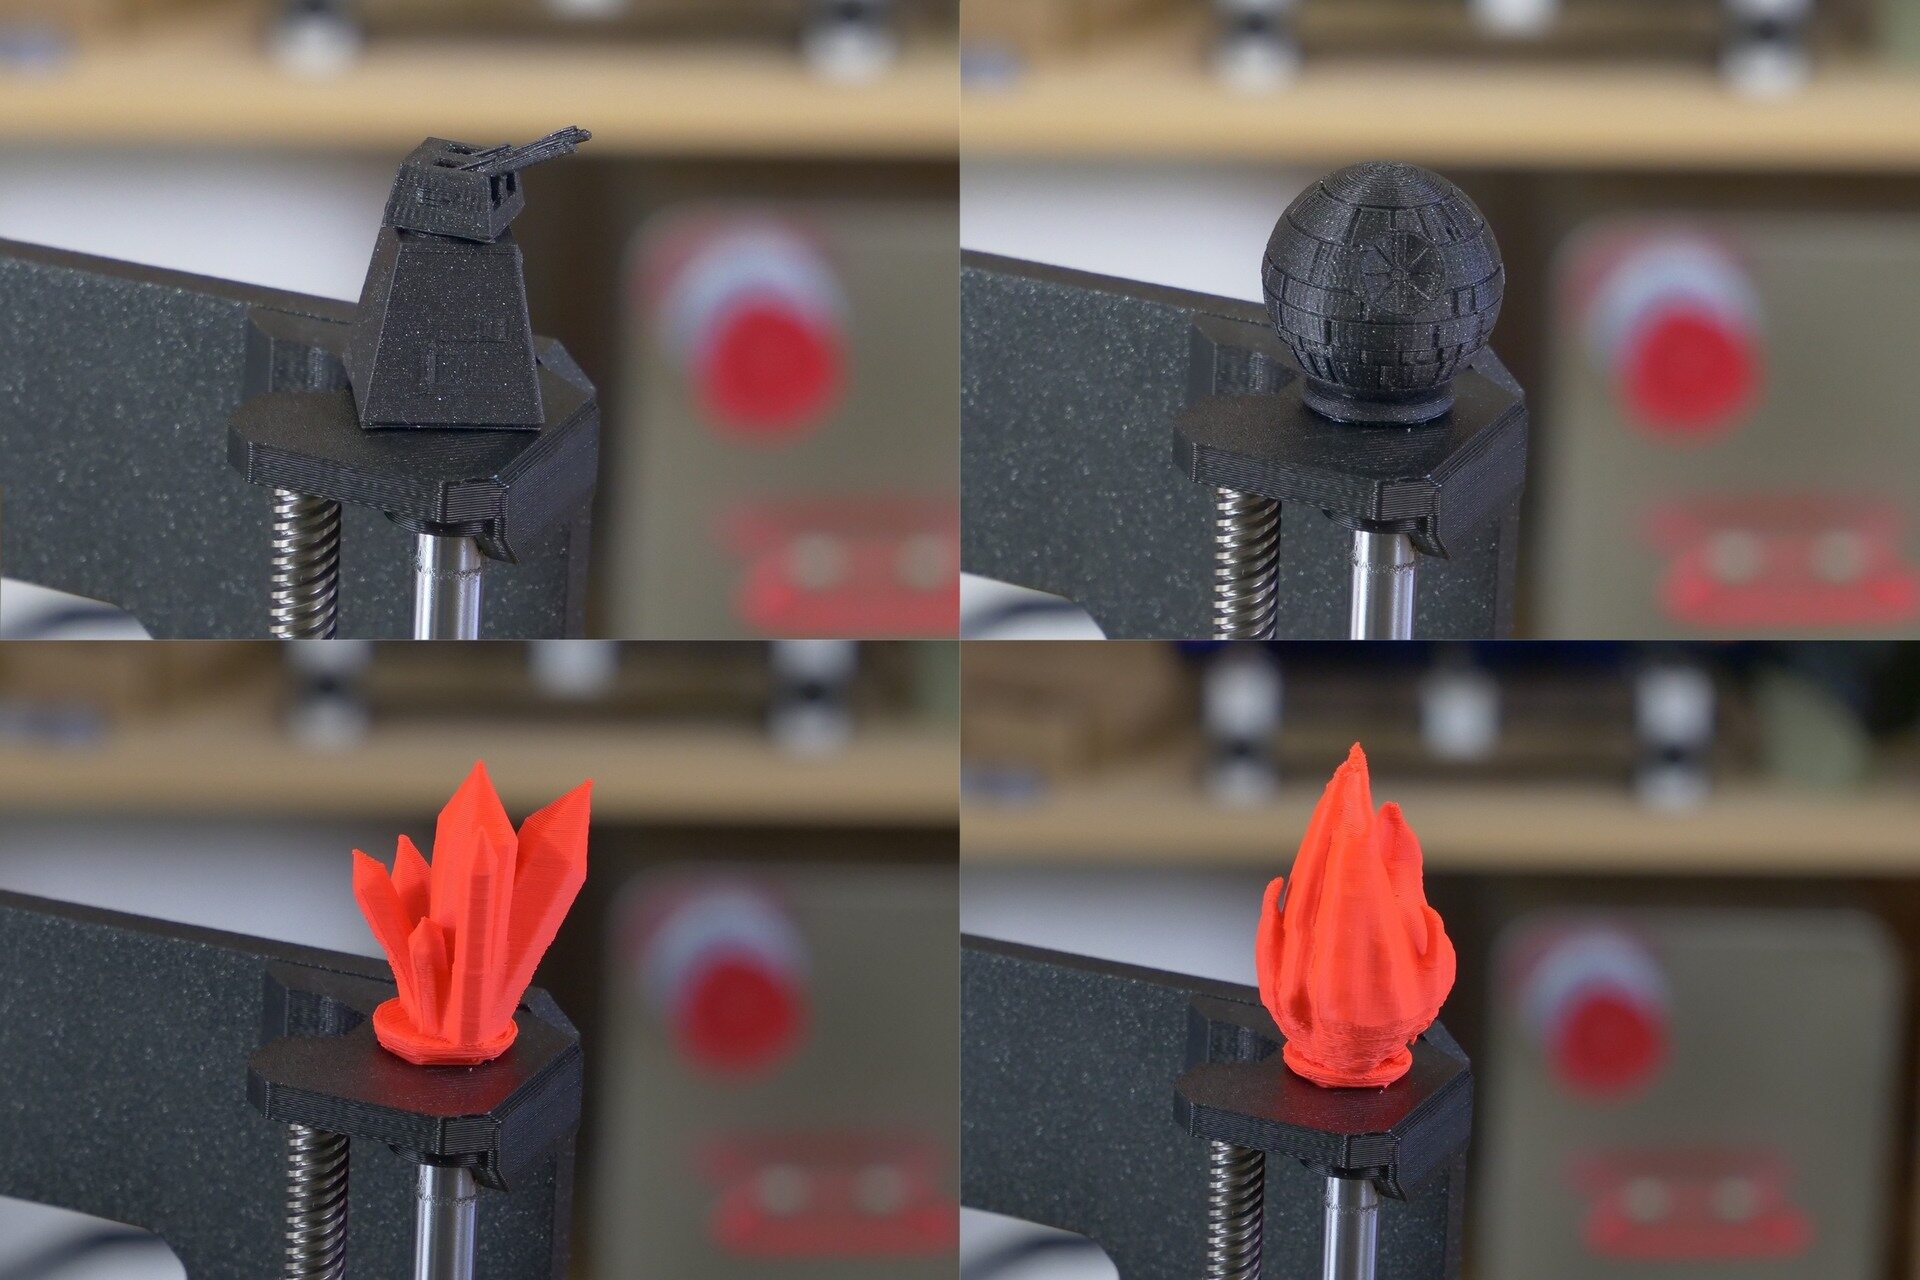
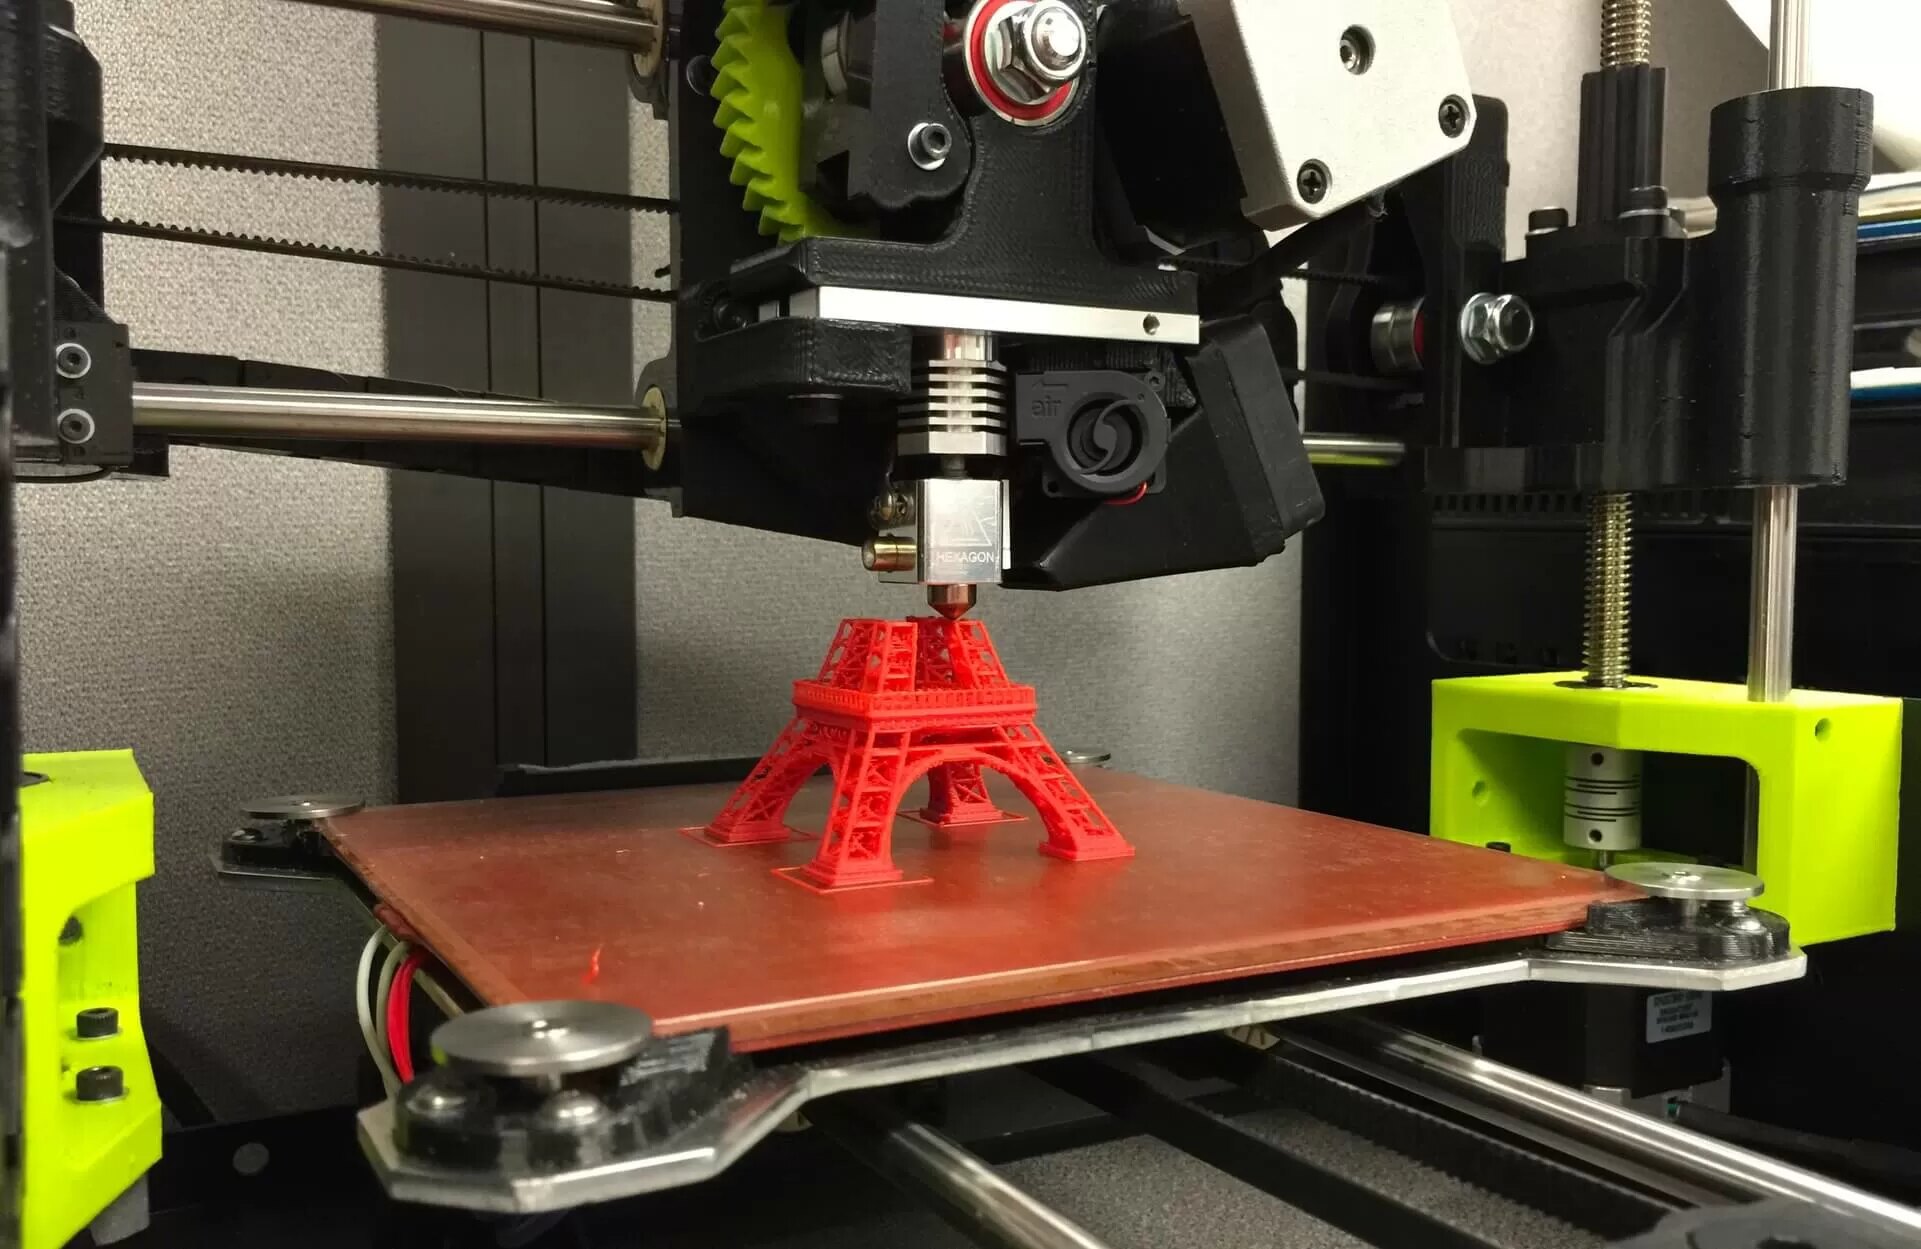
Printing the 3D Model
Printing the 3D model is the moment when your digital creation becomes a physical object. It’s an exciting and crucial step in the 3D printing process. Here, we will walk you through the key steps involved in printing your 3D model:
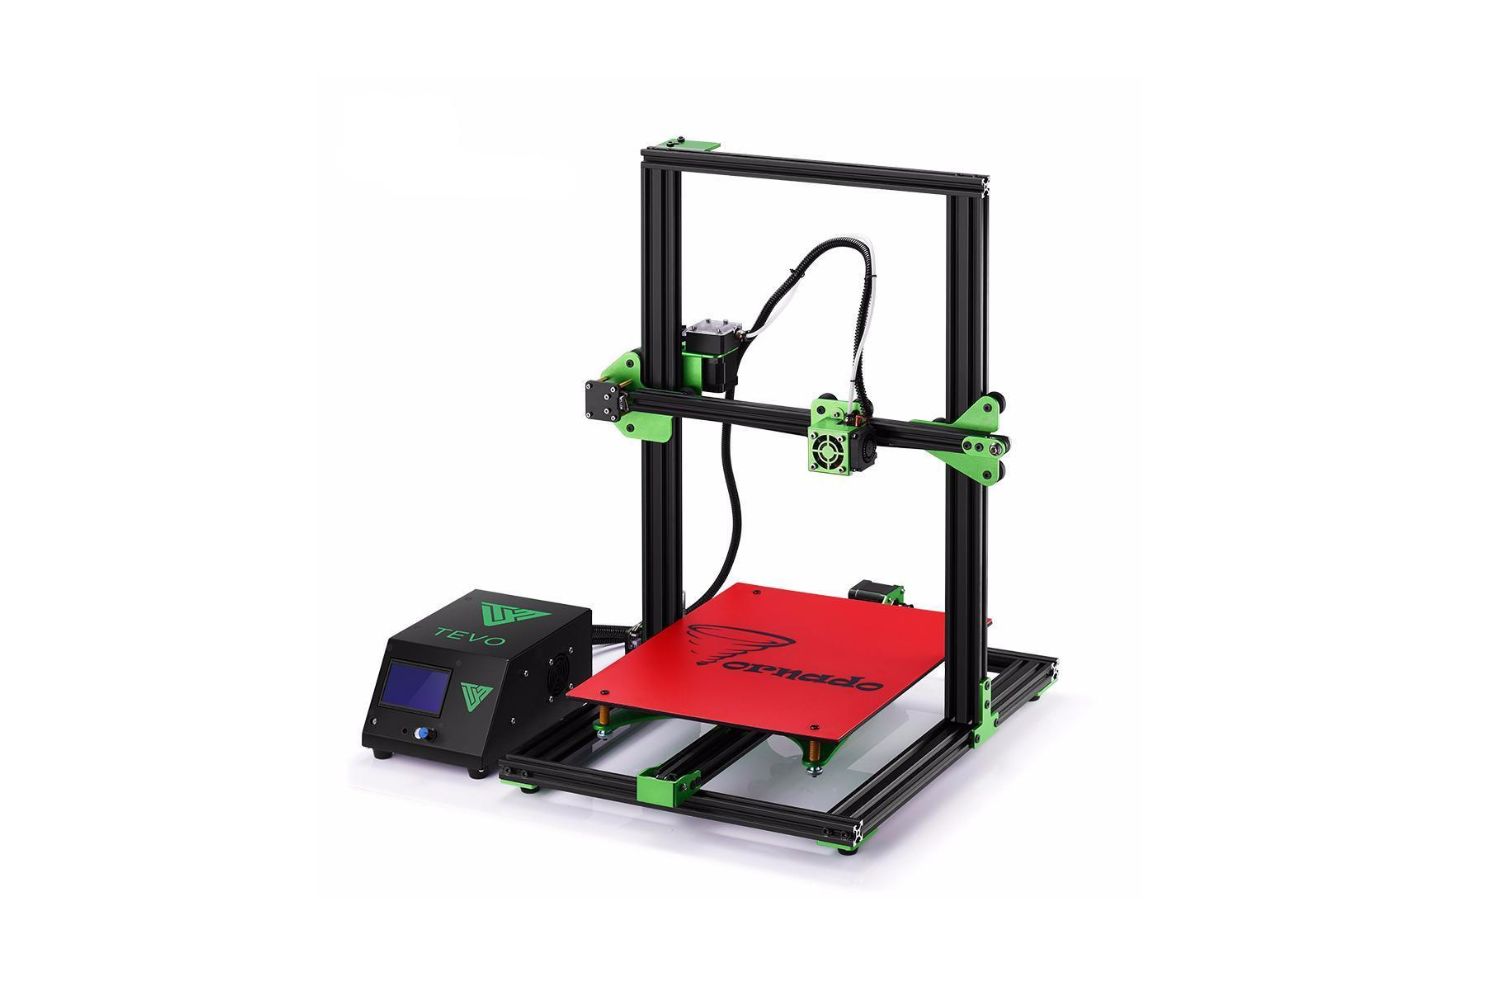
1. Prepare the Printer: Ensure that your 3D printer is properly set up and calibrated. This includes leveling the print bed, checking the filament availability, and confirming that the printer’s temperature settings are appropriate for the chosen printing material.
2. Load the Filament: If your printer uses filament spools, load the appropriate filament into the printer’s filament feeder system. Follow the manufacturer’s instructions to correctly insert and secure the filament, ensuring it glides smoothly into the extruder.
3. Transfer the Print File: If you haven’t already done so, transfer the print file to your 3D printer using the selected method, such as an SD card or USB connection. Make sure the printer recognizes the file and is ready to begin the printing process.
4. Start the Print: Initiate the printing process through the printer’s interface or control panel. The printer will begin heating the extruder and the print bed to the desired temperatures. Once the target temperatures are reached, the printer will start extruding and depositing layers of filament based on the instructions provided in the print file.
5. Monitor the Printing Process: Keep an eye on the print as it progresses. Check periodically to ensure that the layers are adhering properly, the extrusion is consistent, and there are no unexpected issues or errors occurring during the print. Make any necessary adjustments or intervene if needed.
6. Support Removal (If Applicable): After the print is complete, allow it to cool down. If your model has support structures, carefully remove them using pliers, tweezers, or other suitable tools. Take special care not to damage the printed object as you remove the supports. If necessary, use sandpaper or a file to smooth out any rough edges or surfaces.
Remember, the printing time can vary depending on the size, complexity, and resolution of your model. Be prepared to wait for the printing process to complete, as it may take several hours or even longer for larger and more detailed prints.
With the printing process finished, you can now admire your newly printed 3D model. However, there may be some final touches and post-processing steps to consider before your print is complete. We will explore these steps in the next section.
Post-Processing and Finishing Touches
After printing your 3D model, it’s time for post-processing and adding those finishing touches that will bring your print to its full potential. While your 3D printer does most of the work, these additional steps can greatly enhance the appearance and functionality of your printed object. Here are some important post-processing and finishing techniques to consider:
1. Support Removal: If your print had support structures, carefully remove them using tools like pliers or tweezers. Take your time to ensure that all supports are completely removed without causing any damage to the printed object. Smooth out any rough surfaces left behind by the supports using sandpaper or a file, if necessary.
2. Cleaning and Smoothing: Depending on the 3D printing technology and filament used, your print may have rough or bumpy surfaces. Clean the print with warm soapy water to remove any dust, debris, or residue. For smoother surfaces, consider using sandpaper or a sanding sponge to gently smooth out imperfections and achieve a more polished finish.
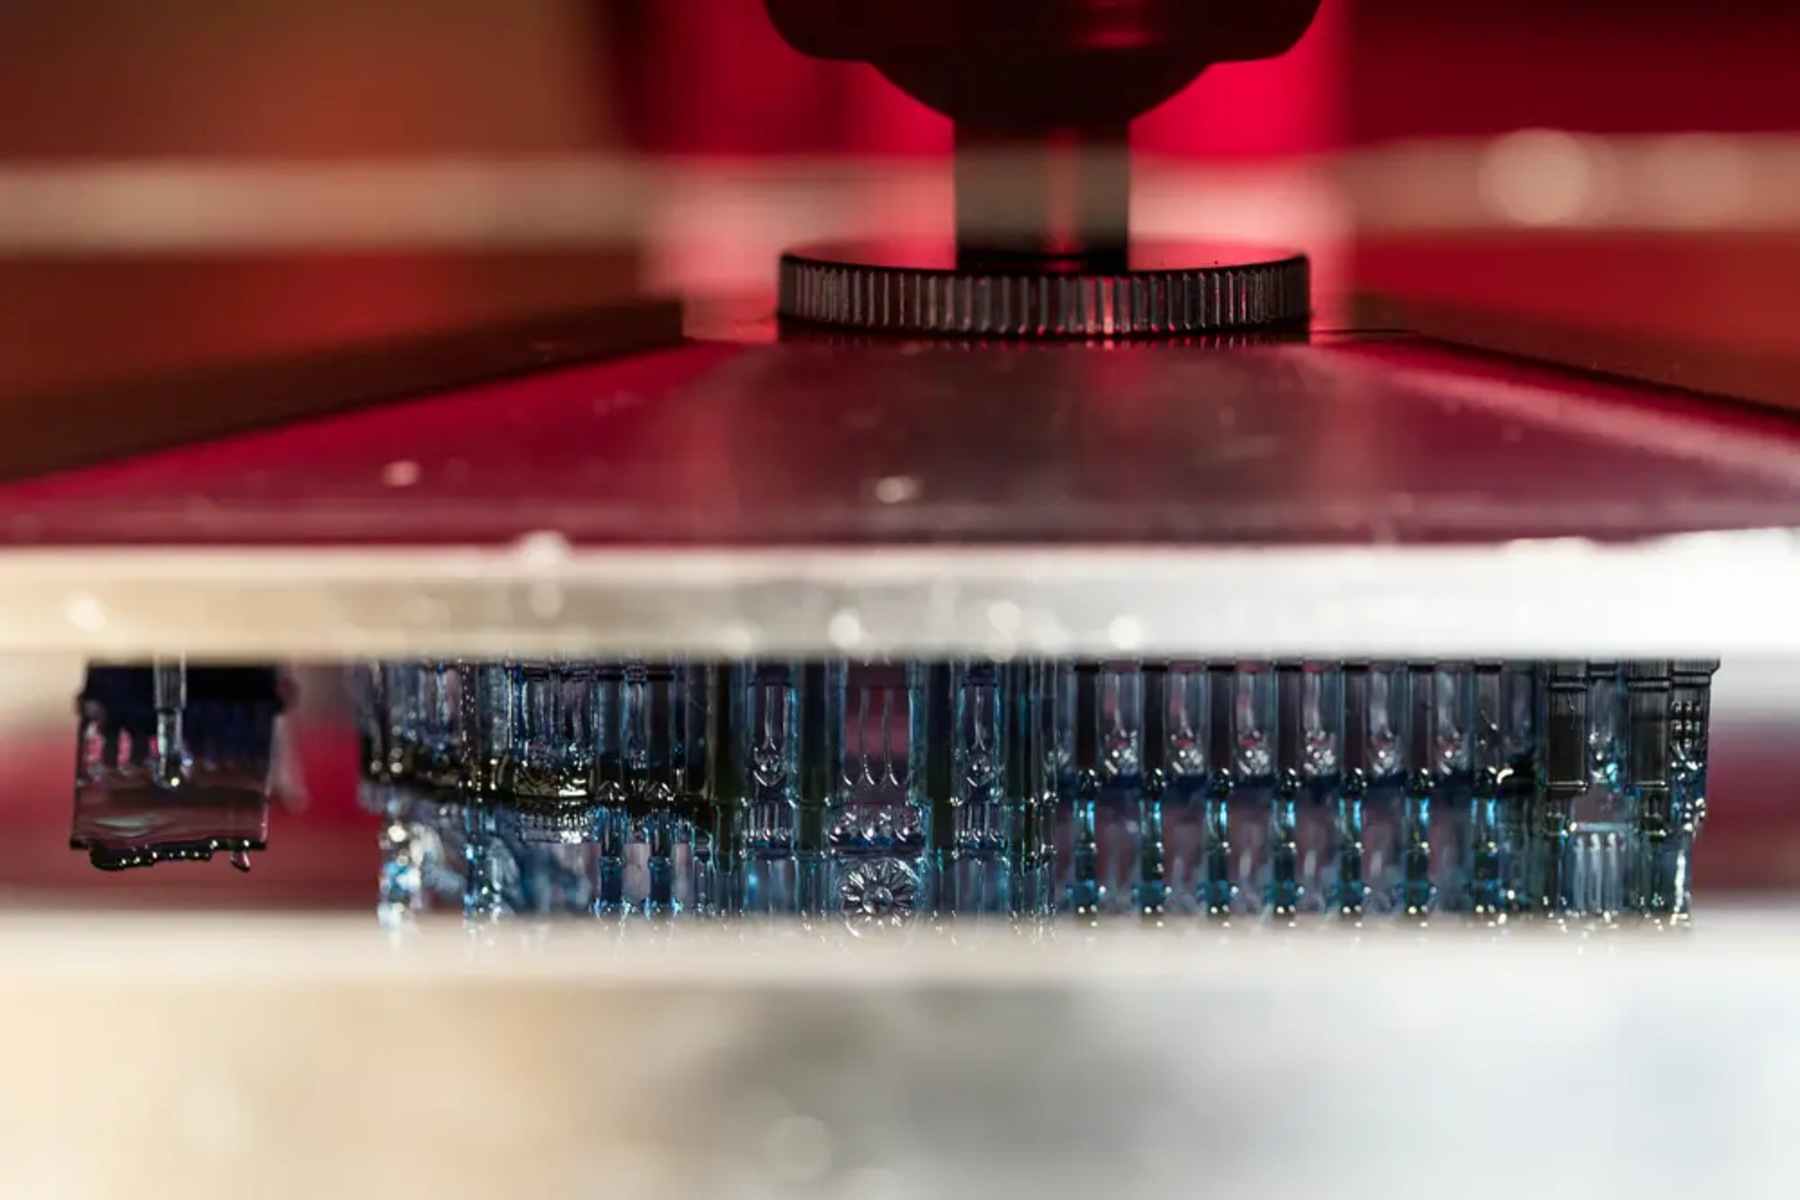
3. Post-curing (For Resin Prints): If you used a resin-based 3D printer, your print might require post-curing. This involves exposing the print to ultraviolet (UV) light to fully cure and harden the resin. Follow the manufacturer’s recommendations for the proper post-curing method and duration.
4. Painting and Coloring: Unleash your creativity by painting or coloring your 3D print. Acrylic paints, spray paints, or specialized paints for 3D prints can be used to add color and detail. Consider using primers or fillers to provide a smooth surface for painting and ensure better adhesion of the paint layers.
5. Surface Finishes: Explore different surface finishes to give your print a unique look and texture. Techniques like sanding, polishing, or applying clear coats can provide a glossy or matte finish. You can also experiment with textures by adding patterns or engraving details through various techniques.
6. Assembly and Integration: If your design consists of multiple parts, assemble them carefully using suitable adhesives or fasteners. Ensure proper alignment and fitment to ensure the structural integrity of the final product. This step is particularly important for functional prints or multipart models.
Remember, post-processing and finishing touches are an opportunity to showcase your creativity and attention to detail. Experiment with different techniques, colors, and finishes to achieve the desired outcome for your 3D print.
Once you’re satisfied with the post-processing steps, it’s time to proudly display or use your finished 3D print, knowing that you have successfully brought your digital creation to life in tangible form.+
Conclusion
Congratulations! You’ve reached the end of our guide on how to make 3D images for a 3D printer. Throughout this article, we’ve explored the essential steps involved in creating 3D models, adjusting dimensions and scaling, adding details and textures, and preparing and printing the final object. While the process of 3D printing may seem complex at first, with practice and patience, you can master the art of bringing your digital designs to life.
By choosing the right design software and carefully crafting your 3D model, you can create objects that are unique and tailored to your specific needs. Adjusting dimensions and scaling ensures that your prints meet the desired size and functionality, while adding details and textures enhances their visual appeal.
Exporting your 3D model in a compatible file format and preparing the print file with the appropriate settings sets the stage for a successful print. And finally, printing your 3D model, followed by post-processing and finishing touches, brings your print to its fullest potential, turning it into a tangible object that you can proudly display or use.
As you embark on your 3D printing journey, continue to experiment, learn, and refine your skills. Connect with other 3D printing enthusiasts, explore online communities, and stay up-to-date with the latest advancements in 3D printing technology. The possibilities are endless, whether you’re creating functional prototypes, artistic sculptures, personalized gifts, or intricate designs.
Remember that 3D printing is a dynamic field, with advancements and new techniques constantly emerging. Stay curious and embrace the ever-evolving nature of this technology. Most importantly, enjoy the process and have fun bringing your imagination to life through the limitless possibilities of 3D printing.