Introduction
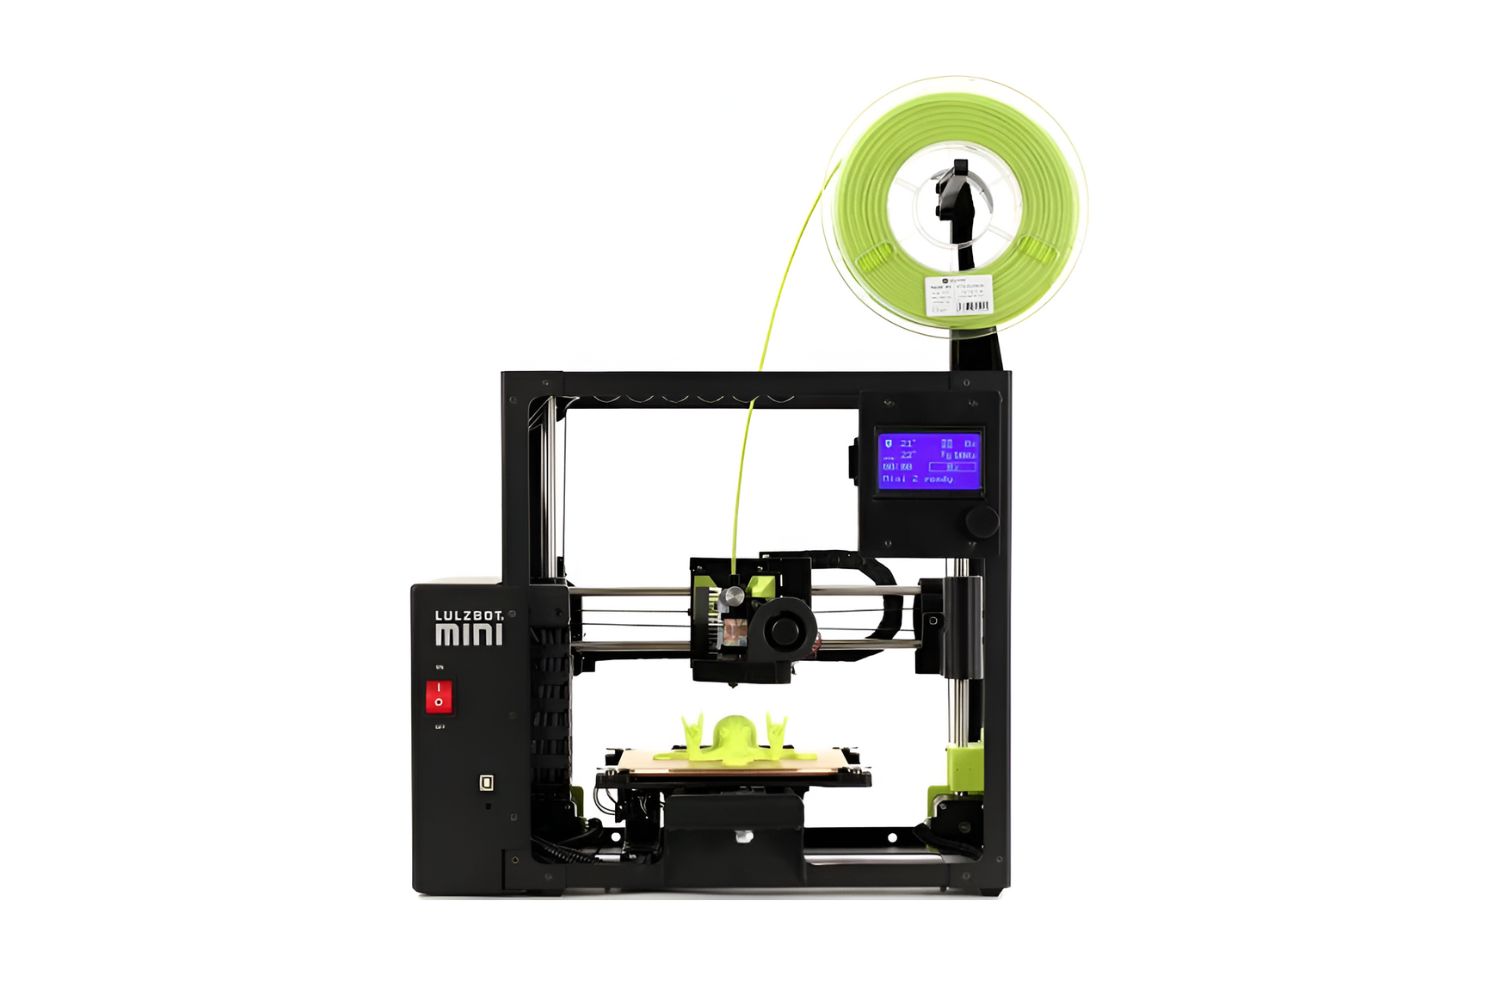
Welcome to the world of 3D printing! If you own a Lulzbot Mini 3D printer, you’re in for a treat. However, like any machine, your printer may encounter some issues from time to time. One common problem that many 3D printer users face is the need to open the extruder idler. The extruder idler is responsible for gripping and feeding the filament into the hot end of the printer, and it may need to be accessed for maintenance or cleaning purposes.
In this guide, we will walk you through the steps to open the extruder idler on your Lulzbot Mini 3D printer. Don’t worry; it’s not as complicated as it sounds! With just a few simple tools and a little bit of patience, you’ll be able to access the extruder idler and get your printer back up and running smoothly.
Before we dive into the step-by-step instructions, make sure you have all the necessary tools handy. You will need a 2.5mm Allen wrench, a pair of needle-nose pliers, and a clean cloth or paper towel. It’s always a good idea to disconnect the power before starting any maintenance on your printer, so keep that in mind as well.
Ready to get started? Let’s dive in and open the extruder idler on your Lulzbot Mini 3D printer!
Tools Required
Before we begin, make sure you have the following tools on hand:
- A 2.5mm Allen wrench
- Needle-nose pliers
- A clean cloth or paper towel
These tools are essential for accessing and opening the extruder idler on your Lulzbot Mini 3D printer. The Allen wrench will be used to loosen the idler screw, while the needle-nose pliers will help in sliding the idler clamp back. The clean cloth or paper towel is necessary for cleaning or wiping any dust or debris that may be present on the idler bearing.
Make sure the Allen wrench fits the screw snugly to prevent any potential damage or stripping. The needle-nose pliers should have a fine tip for better maneuverability. As for the clean cloth or paper towel, it’s important to have a lint-free material to avoid leaving behind any fibers or particles that could interfere with the printer’s operation.
Having these tools readily available will make the process smoother and ensure that you can complete the task efficiently. With the right tools in hand, you’re ready to move on to the next step of opening the extruder idler on your Lulzbot Mini 3D printer.
Step 1: Disconnect the Power
Safety first! It’s essential to disconnect the power before you begin any maintenance on your Lulzbot Mini 3D printer. By doing so, you’ll prevent any accidental movement of the extruder that could potentially cause injury or damage to the printer.
Locate the power switch or unplug the printer from the power source. Make sure the printer is completely off before proceeding to the next steps. It’s also a good idea to wait a few minutes to allow any residual power to dissipate.
Why is this step important? Well, by disconnecting the power, you eliminate the risk of the printer accidentally moving or the hot end heating up while you’re working on it. This ensures the safety of both you and your printer during the maintenance process.
Remember, safety should always be a top priority. Taking a moment to disconnect the power is a simple yet crucial step in opening the extruder idler. Now that the power is off, we can move on to the next step and prepare to remove the filament from the printer.
Step 2: Remove the Filament
Now that the power is disconnected, it’s time to remove the filament from the extruder. This step is important to ensure a clear path when accessing the extruder idler on your Lulzbot Mini 3D printer.
First, let’s heat the hot end to soften the filament. Go to your printer’s control panel or software and select the option to preheat the extruder. Set the temperature to the melting point of the filament you’re using. While the hot end is heating up, you can prepare for the next steps.
Next, locate the filament release lever or button on your printer. Gently press or pull the lever to release the tension on the filament. Once the tension is released, gently pull the filament out of the extruder. Be careful not to force or yank it, as this could lead to filament breakage or damage to the extruder assembly.
For some filaments, such as flexible ones, you may need to cut off the end of the filament before removing it. Use a pair of scissors to cut the filament close to the extruder to ensure a clean removal.
Once the filament is removed, it’s a good idea to clean the extruder’s filament path. Use a clean cloth or paper towel to wipe away any residual filament or debris. This will ensure a smooth process when we access the extruder idler in the next steps.
With the filament removed and the extruder path cleared, we’re ready to move on to the next step: loosening the extruder idler screw.
Step 3: Loosen the Extruder Idler Screw
With the filament removed and the extruder path cleared, it’s time to loosen the extruder idler screw. This screw holds the idler clamp in place, and loosening it will allow us to access the extruder idler more easily.
Locate the extruder idler screw on the idler assembly. It is usually a small screw located near the top of the idler. Use the 2.5mm Allen wrench that we mentioned earlier to loosen the screw. Turn the wrench counterclockwise to loosen the screw, but be careful not to overtighten or strip it.
Loosening the extruder idler screw will release the tension on the idler clamp, allowing it to move freely. This step is crucial for accessing the extruder idler in the next steps without any obstructions.
Once you’ve loosened the screw, set aside the Allen wrench, as we won’t need it for the next steps. With the extruder idler screw loosened, we’re ready to move on to the next step and slide the idler clamp back.
Note: It’s important to avoid excessive force when loosening the extruder idler screw to prevent damage. Apply gentle pressure and stop as soon as the screw is loosened enough to release the tension on the idler clamp.
Step 4: Slide the Idler Clamp Back
Now that we have loosened the extruder idler screw, it’s time to slide the idler clamp back. This will give us access to the extruder idler and allow us to perform any necessary maintenance or cleaning tasks.
Take the needle-nose pliers and carefully grip the idler clamp. The idler clamp is the small metal piece located just below the extruder idler screw. Gently pull the clamp towards the back of the printer, sliding it away from the hot end assembly.
Moving the idler clamp back will create space between the clamp and the idler bearing. This is important for accessing the extruder idler and ensures that there are no obstructions in our way.
As you slide the idler clamp back, be cautious not to use excessive force or twist it. The goal is to create enough space for easy access without damaging any components of the idler assembly.
Once the idler clamp is moved back, take a moment to inspect the area and ensure that it is clear and free from any debris or filament remnants. This will ensure a smooth and hassle-free process when we access the extruder idler in the next steps.
Now that the idler clamp is safely moved back, we’re ready to move forward and access the extruder idler itself. Let’s proceed to the next step and uncover the extruder idler for maintenance or cleaning tasks.
Step 5: Access the Extruder Idler
With the idler clamp slid back, we can now access the extruder idler on your Lulzbot Mini 3D printer. This step will allow us to perform maintenance or cleaning tasks on the idler bearing if needed.
Take a moment to locate the extruder idler. It is a small wheel or bearing that grips the filament and feeds it into the hot end of the printer. The extruder idler is usually located near the top of the extruder assembly.
Gently lift the extruder idler, applying slight upward pressure. This will disengage it from the filament path and allow you to move it freely for cleaning or inspection purposes.
As you access the extruder idler, it’s a good idea to check for any signs of wear or damage. Inspect the idler bearing for any debris or dust that may have accumulated. If necessary, use a clean cloth or paper towel to wipe away any dirt or particles.
Additionally, it’s important to ensure that the extruder idler is aligned properly and moves freely. Look for any signs of misalignment or restrictions in movement. If you notice any issues, it may be necessary to clean or replace the idler bearing.
Take your time to thoroughly inspect the extruder idler and ensure that it is in optimal condition. Cleaning or replacing the idler bearing if needed will help maintain optimal performance and ensure smooth filament feeding during printing.
Now that we have accessed the extruder idler and inspected it, we’re ready to move on to the next step and perform any necessary maintenance or replacement tasks on the idler bearing.
Step 6: Clean or Replace the Idler Bearing
Now that we have accessed the extruder idler on your Lulzbot Mini 3D printer, it’s time to determine if the idler bearing needs cleaning or replacement. This step is important to ensure smooth and reliable filament feeding during the printing process.
Inspect the idler bearing for any debris, dust, or signs of wear. If you notice any buildup or particles on the bearing, it’s time to clean it. Use a clean cloth or paper towel to gently wipe away any dirt or residue. Make sure to clean both the inner and outer surfaces of the idler bearing.
For stubborn dirt or filament residue, you can use a small brush or toothbrush to gently scrub the bearing. Avoid using excessive force or aggressive cleaning agents, as these can damage the bearing’s surface.
If the idler bearing is heavily worn, damaged, or no longer moves freely, it may be necessary to replace it. Check with the manufacturer for the appropriate replacement part and follow their instructions for installation.
When cleaning or replacing the idler bearing, take care to position it back into place properly. Ensure that it is aligned correctly and moves freely without any hindrance. Improper alignment or restricted movement can lead to filament feeding issues and affect the overall printing quality.
By cleaning or replacing the idler bearing when necessary, you’ll maintain the optimal performance of your Lulzbot Mini 3D printer and ensure smooth filament feeding. Now that we have cleaned or replaced the idler bearing, let’s move on to the next step and reassemble the extruder idler.
Step 7: Reassemble the Extruder Idler
Now that we have cleaned or replaced the idler bearing, it’s time to reassemble the extruder idler on your Lulzbot Mini 3D printer. This step will ensure that the idler is securely in place and ready for filament feeding during the printing process.
Start by gently lowering the extruder idler back into its original position. Make sure that it is properly aligned and sits snugly against the idler clamp. The idler bearing should fit securely without any wobbling or misalignment.
Next, carefully slide the idler clamp forward until it reaches the extruder idler. Apply gentle pressure to ensure that the idler clamp securely holds the idler bearing in place. The idler clamp should be positioned snugly against the idler, without any gaps or excessive tension.
Double-check that the idler clamp is properly aligned and tightly secured. This will ensure that the extruder idler is in the correct position for smooth filament feeding and reliable printing performance.
Once the extruder idler is reassembled, take a moment to inspect the surrounding area for any debris or loose filament. If necessary, use a clean cloth or paper towel to wipe away any dust or particles that may have accumulated during the reassembly process.
With the extruder idler successfully reassembled, we’re nearly done. In the next step, we’ll load the filament back into the printer, ensuring that it is properly fed through the extruder idler and ready for printing.
Step 8: Load the Filament
Now that we have reassembled the extruder idler on your Lulzbot Mini 3D printer, it’s time to load the filament back into the printer. This step will ensure that the filament is properly fed through the extruder idler and ready for your next printing project.
Start by heating up the hot end of your printer to the appropriate temperature for the filament you are using. You can do this through the control panel or software of your printer. Make sure to wait until the hot end reaches the desired temperature before proceeding.
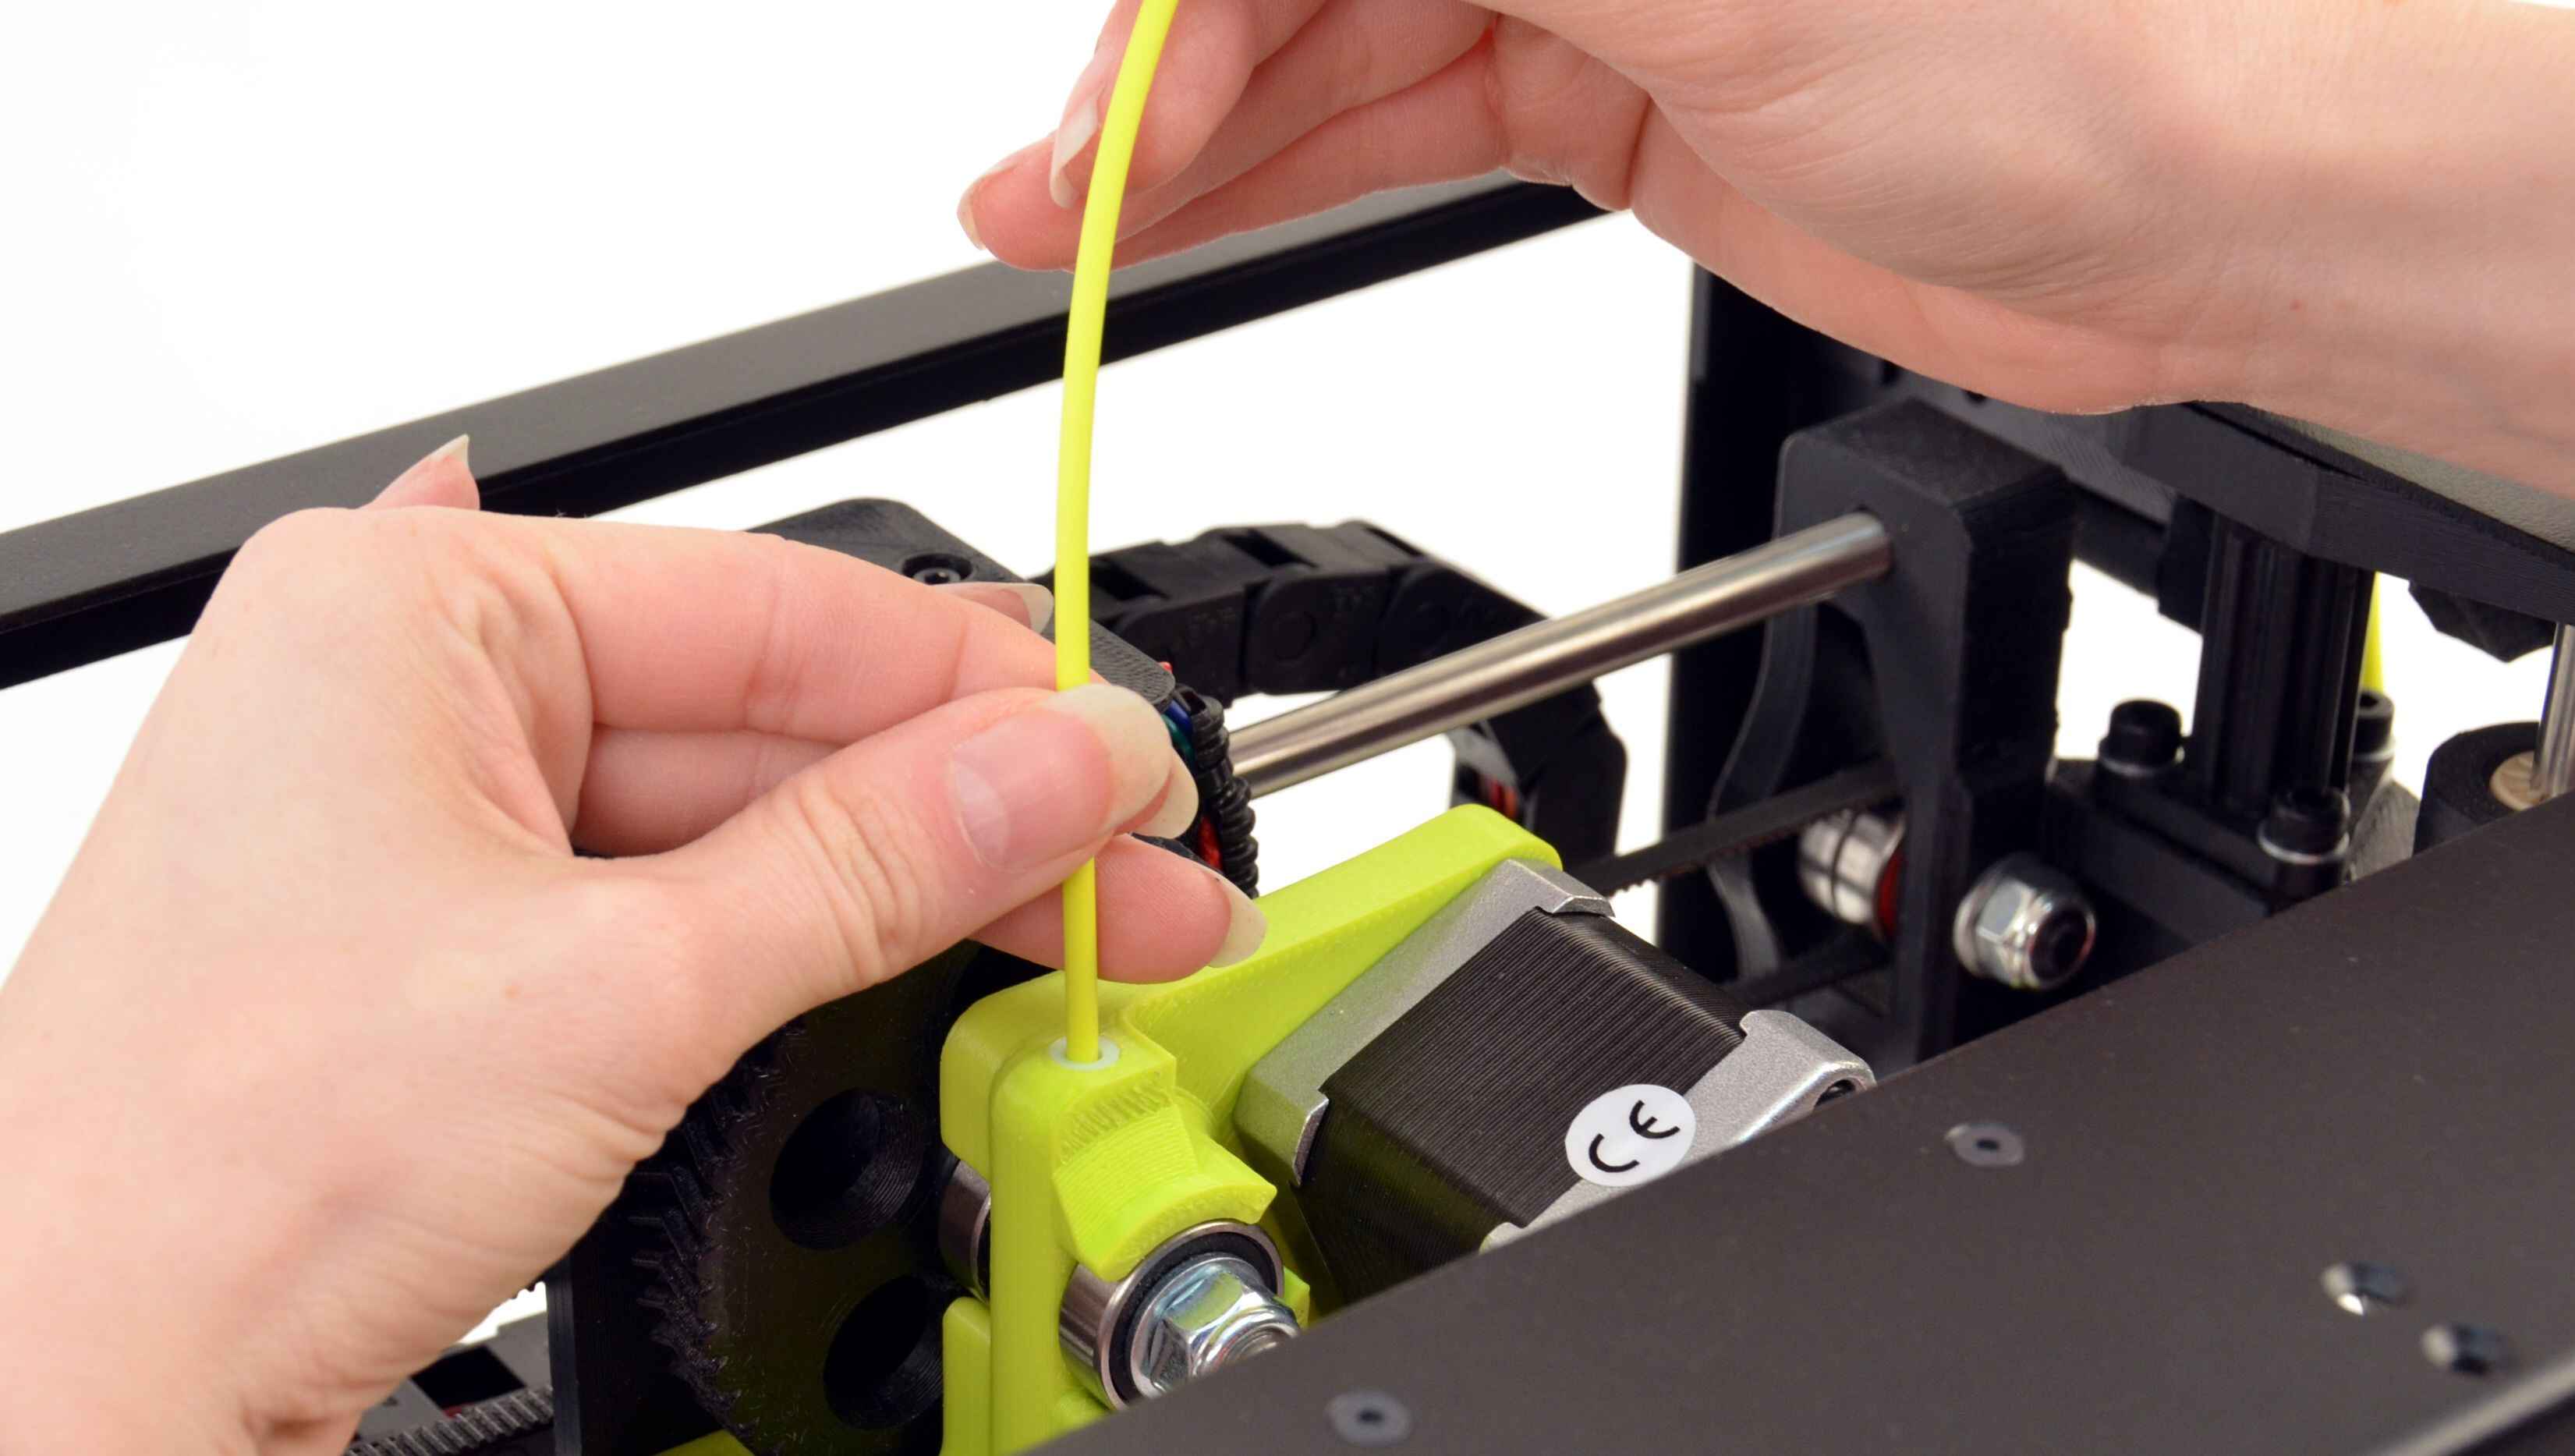
Take the end of your filament and gently guide it into the filament entry point on the printer. The entry point is usually located at the top of the extruder assembly. Gently push the filament into the entry point and continue pushing until it starts coming out from the nozzle.
As the filament is being loaded, monitor its progress and ensure that it is feeding smoothly through the extruder idler. Make sure there are no bends or kinks in the filament and that it is properly guided through the filament path.
Once you see a consistent flow of filament coming out from the nozzle, you can consider the loading process complete. It’s a good practice to extrude a small amount of filament to purge any air bubbles or residue that may have accumulated during the loading process.
With the filament successfully loaded, you’re now ready to start your next 3D printing project. Double-check that everything is securely in place, including the extruder idler, and that there are no loose wires or components.
It’s always a good idea to monitor the first few layers of your print to ensure that the filament is being extruded properly and adhering to the print bed. If you notice any issues, refer to the troubleshooting guide for your printer or consult with manufacturer support.
With the filament loaded and proper printing conditions established, you’re now ready to unleash your creativity and bring your 3D printing ideas to life!
Conclusion
Congratulations! You have successfully learned how to open the extruder idler on your Lulzbot Mini 3D printer. By following the step-by-step instructions, you gained the necessary knowledge and skills to access and maintain the extruder idler for optimal performance.
Remember, proper maintenance and cleaning of the extruder idler are crucial for smooth filament feeding and reliable printing results. By regularly inspecting and cleaning the idler bearing, you can prevent issues such as filament jams and ensure consistent and high-quality prints.
Always prioritize safety by disconnecting the power before performing any maintenance tasks on your 3D printer. Additionally, make sure to have the required tools, such as the Allen wrench and needle-nose pliers, on hand for a seamless and efficient repair process.
If you encounter any difficulties or need further assistance, don’t hesitate to consult the user manual provided with your Lulzbot Mini 3D printer or reach out to the manufacturer’s support team. They are there to help you and provide guidance for any specific issues you may encounter.
Now that you have successfully opened the extruder idler, keep exploring the amazing world of 3D printing. Let your creativity soar as you bring your ideas to life using your Lulzbot Mini 3D printer!
Happy printing!