Introduction
Welcome to the world of 3D printing! Whether you’re a hobbyist, a professional, or simply fascinated by the endless possibilities of this technology, one thing is for sure – a clean 3D printer plate is essential for achieving high-quality prints.
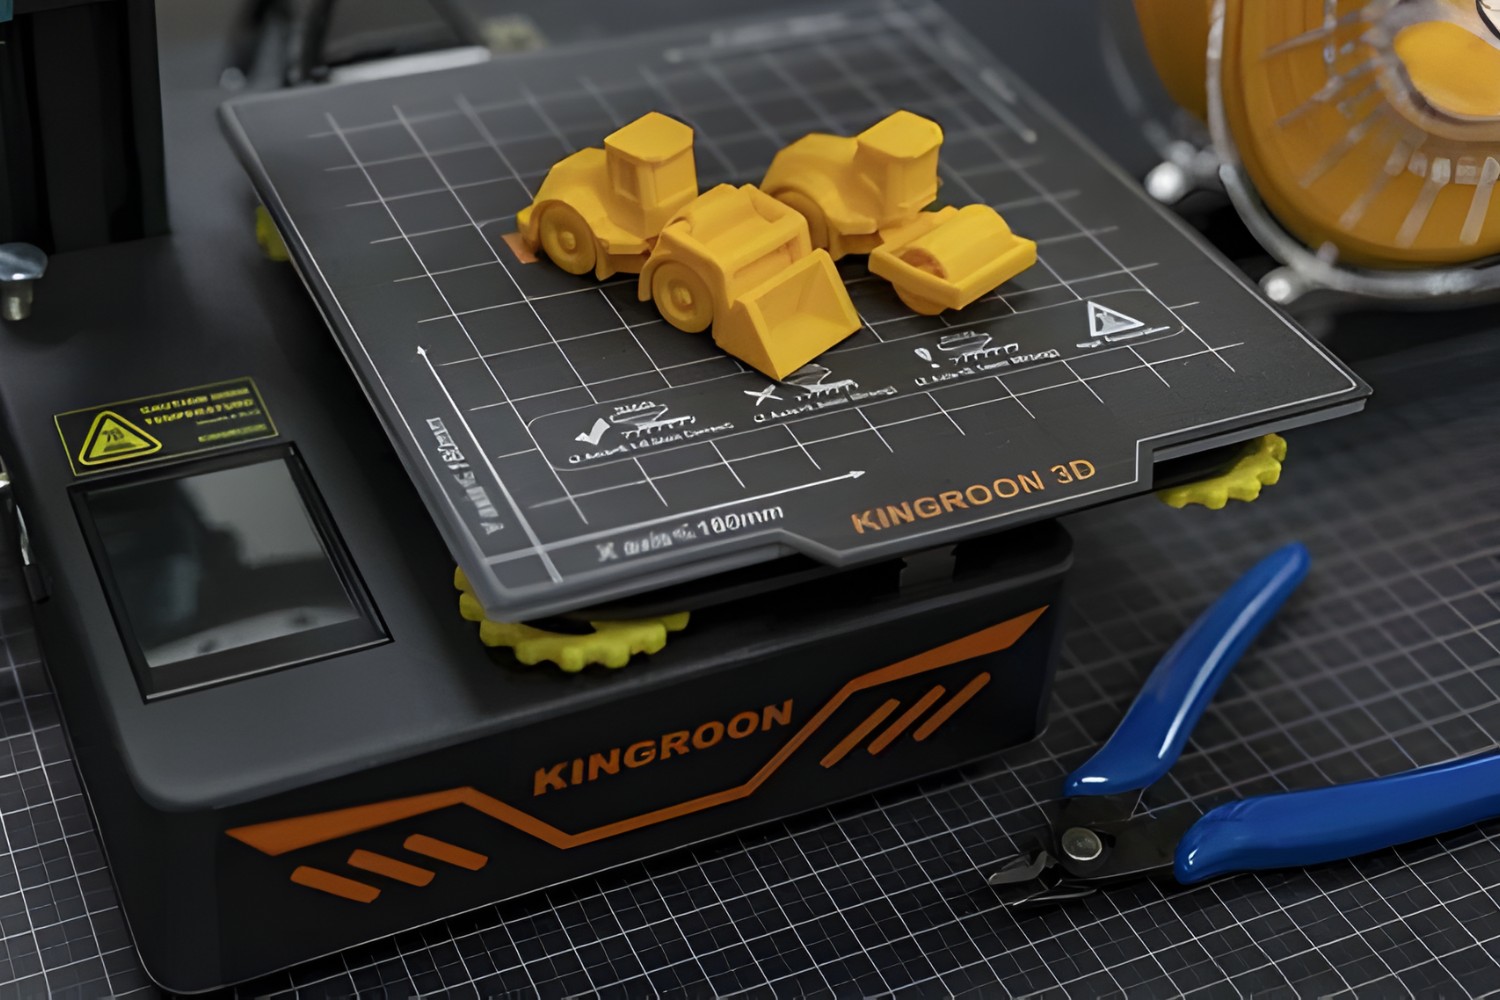
When using a 3D printer, the plate serves as the foundation for your creations. It’s where the first layer of your object is laid down, and any imperfections or debris on the plate can negatively impact the final result. Cleaning your 3D printer plate regularly not only ensures optimal print quality but also extends the lifespan of your plate, preventing any damage or buildup that could affect future prints.
In this guide, we will take you through the step-by-step process of cleaning a 3D printer plate, from removing your finished object to inspecting the plate for damages. We’ll also provide you with some preventive maintenance tips to help you keep your plate in top shape, ensuring smooth printing experiences time and time again. So, let’s dive in and learn how to give your 3D printer plate the care it deserves!
Why it’s important to clean your 3D printer plate
Keeping your 3D printer plate clean is crucial for several reasons. Let’s explore why it’s important to regularly maintain and clean your 3D printer plate:
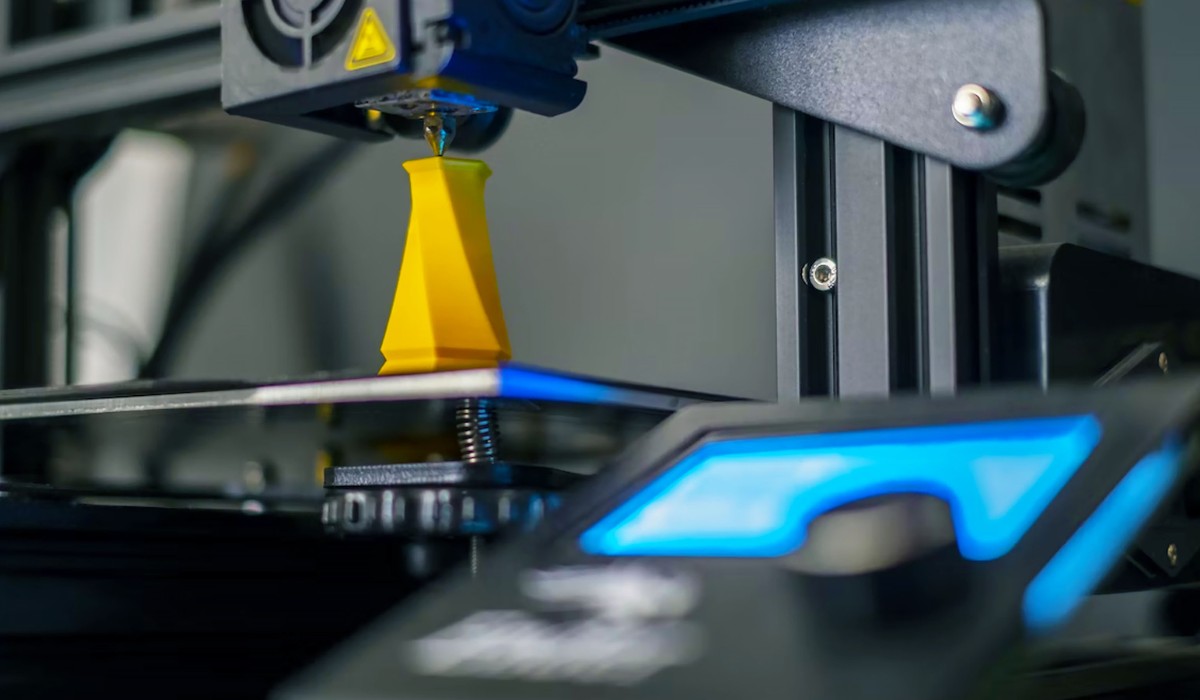
- Optimal print quality: A clean plate provides a smooth and level surface for your 3D prints. Any dirt, debris, or leftover residue from previous prints can affect the adhesion of the first layer, leading to imperfections and poor print quality. By cleaning your plate, you ensure that each layer of your object adheres properly, resulting in crisp and detailed prints.
- Preventing print failures: A dirty or contaminated plate can cause print failures, such as warping, uneven layers, or objects detaching mid-print. When the first layer doesn’t stick properly, the entire print can become compromised. Regularly cleaning your 3D printer plate reduces the chances of print failures and saves you time and material by avoiding costly reprints.
- Extending plate lifespan: Over time, the build-up of residue or particles on the plate can lead to scratches and damage. Cleaning your plate regularly removes any debris that could potentially scratch or damage the surface. By maintaining a clean plate, you ensure its longevity, reducing the need for expensive replacements.
- Ensuring accuracy and reliability: A clean plate helps maintain the accuracy and reliability of your 3D printer. Uneven surfaces or particles on the plate can cause the print head to offset or protrude, resulting in misaligned prints. By keeping your plate clean, you ensure that your printer can consistently deliver precise and reliable prints.
Now that you understand why it’s important to clean your 3D printer plate, let’s delve into the tools and supplies you’ll need to perform a thorough cleaning!
Tools and supplies needed for cleaning
Before you start cleaning your 3D printer plate, gather the following tools and supplies:
- Rubber spatula or scraper: This tool will help you gently remove your finished object from the plate without causing any damage.
- Isopropyl alcohol (IPA): IPA is a commonly used cleaning solvent that effectively removes residue and oils from surfaces. Look for a high concentration, such as 90% or higher, for optimal cleaning.
- Microfiber cloth or lint-free cloth: These soft and non-abrasive cloths are perfect for wiping and drying your 3D printer plate.
- Cleaning brush: Use a soft-bristled brush, like a toothbrush, to scrub away any stubborn residue or particles.
- Cleaning container or basin: A shallow container or basin large enough to hold your 3D printer plate and allow it to be fully submerged in the cleaning solution.
- Water: You’ll need clean water for rinsing your plate after cleaning.
Make sure to have all these tools and supplies easily accessible before you begin the cleaning process. Having everything prepared will save you time and prevent any interruptions in the middle of cleaning.
Now that you’re equipped with the necessary tools and supplies, let’s move on to the step-by-step process of cleaning your 3D printer plate!
Step 1: Removing the 3D printed object from the plate
The first step in the cleaning process is to safely and carefully remove the 3D printed object from the plate. Follow these steps to ensure a smooth removal:
- Let the plate cool down: Allow the plate to cool down completely after the print is finished. This ensures that the object has solidified and is less likely to warp or deform during removal.
- Use a rubber spatula or scraper: Gently insert a rubber spatula or scraper underneath the edge of the object. Apply gradual and even pressure to loosen the object from the plate. Be cautious not to apply too much force or scratch the plate.
- Work your way around the object: Slowly move the spatula or scraper along the sides of the object, carefully lifting it away from the plate. Take your time and work around the entire perimeter of the object to prevent any damage or distortion.
- Remove any remaining residue: If there are small pieces or remnants of the object left on the plate, lightly scrape them off using the spatula or scraper. Ensure that the plate is clean and free of any debris before moving on to the next step.
By following these steps, you will safely remove the 3D printed object from the plate, preparing it for the next phase of the cleaning process. Remember to handle the objects with care to avoid any potential damage or breakage.
Next, we will move on to step 2, where we will prepare a cleaning solution to thoroughly clean the 3D printer plate.
Step 2: Preparing a cleaning solution
Once you have removed the 3D printed object from the plate, it’s time to prepare a cleaning solution that will effectively remove any residue or oils on the surface. Follow these steps to create a suitable cleaning solution:
- Dilute isopropyl alcohol (IPA): Fill a container or basin with isopropyl alcohol. For effective cleaning, a concentration of 70% is recommended. However, if you’re using a higher concentration, such as 90% or higher, you can dilute it with an equal amount of water.
- Mix the solution: Gently stir the mixture to ensure the alcohol and water are well blended. Avoid stirring too vigorously, as you don’t want to introduce air bubbles into the solution.
- Ensure proper ventilation: It’s important to work in a well-ventilated area when using isopropyl alcohol. Open windows or use a fan to provide adequate airflow and prevent the buildup of fumes.
By following these steps, you will have a suitable cleaning solution ready to effectively clean your 3D printer plate. It’s important to note that different manufacturers may recommend specific cleaning solutions, so always refer to your printer’s documentation for any specific instructions or recommendations.
Now that your cleaning solution is prepared, let’s move on to step 3, where we will soak the 3D printer plate in the solution to remove any stubborn residue.
Step 3: Soaking the 3D printer plate
Now that you have your cleaning solution prepared, it’s time to soak the 3D printer plate to effectively remove any stubborn residue and oils. Follow these steps to soak the plate:
- Submerge the plate: Place the 3D printer plate into the container or basin filled with the cleaning solution. Ensure that the plate is fully submerged, allowing the solution to reach all areas of the plate’s surface.
- Let it soak: Leave the plate in the cleaning solution for about 10-15 minutes. This allows the solution to break down any residual material and loosen it from the plate.
- Gently agitate the plate: To aid in the cleaning process, gently agitate the plate by moving it back and forth or in circular motions within the solution. This helps dislodge any remaining particles or debris.
- Do not scrub vigorously: While agitating the plate, avoid scrubbing it too vigorously, as this may damage the surface. Instead, use gentle movements to ensure effective cleaning without risking any scratches or marks.
By following these steps, you will allow the cleaning solution to break down stubborn residue on the 3D printer plate, making it easier to remove in the next steps. Soaking the plate also helps dissolve oils and grease that may have accumulated on the surface, giving you a clean and pristine plate for future prints.
With the plate properly soaked, we are ready to move on to step 4, where we will scrub the plate to remove any remaining residue.
Step 4: Scrubbing the plate
After soaking the 3D printer plate, it’s time to give it a thorough scrub to remove any remaining residue and stubborn particles. Follow these steps to scrub the plate effectively:
- Remove the plate from the cleaning solution: Carefully take the plate out of the container or basin, ensuring to drain any excess cleaning solution back into the container.
- Inspect the plate: Before scrubbing, inspect the plate for any visible residue or debris. Pay close attention to corners, edges, or areas that are harder to reach.
- Use a soft-bristled brush: Take a soft-bristled brush, such as a toothbrush, and gently scrub the plate’s surface in circular motions. Focus on areas with visible residue, applying gentle pressure to remove the particles.
- Continue scrubbing as needed: If there are stubborn areas that require more attention, continue scrubbing with the brush until the surface is clean. Avoid using excessive force that may scratch or damage the plate.
- Rinse the plate: Once you’ve finished scrubbing, rinse the plate under clean water to wash away any loosened residue, cleaning solution, or particles. Ensure that you thoroughly rinse all areas of the plate to remove any remaining cleaning solution.
- Dry the plate: Use a microfiber cloth or lint-free cloth to gently dry the plate. Pat the surface dry, avoiding any rubbing motions that may introduce static or cause scratches.
By following these steps, you will effectively remove any stubborn residue and particles from the 3D printer plate. Scrubbing the plate ensures a clean surface for your future prints, preventing any unwanted imperfections or adhesion issues.
Now that the plate is scrubbed and dried, let’s move on to step 5, where we will inspect the plate for any damages.
Step 5: Drying the plate
After scrubbing the 3D printer plate, it’s crucial to ensure that it is thoroughly dried before proceeding. Follow these steps to properly dry the plate:
- Check for moisture: Carefully inspect the plate to ensure there is no excess moisture remaining. Look for any damp areas or droplets on the surface.
- Pat dry with a cloth: Gently pat the plate dry using a clean, lint-free cloth or microfiber cloth. Ensure that you cover all areas of the plate, paying attention to corners and edges.
- Allow air drying (optional): If you prefer, you can let the plate air dry naturally. Place it on a clean and dry surface, ensuring that it is resting flat to prevent any warping or damage.
- Check moisture levels again: After drying, recheck the plate for any lingering moisture. Ensure that it is completely dry to the touch before proceeding.
Properly drying the 3D printer plate is essential to prevent any moisture from interfering with your future prints. Any trapped moisture could lead to adhesion issues or distortions in the print, compromising the overall quality.
With the plate now thoroughly dried, we can move on to step 6, where we will inspect the plate for damages and ensure its overall condition.
Step 6: Inspecting the plate for damages
After cleaning and drying the 3D printer plate, it’s essential to inspect it for any damages that may affect its performance. Follow these steps to conduct a thorough inspection:
- Check for scratches: Carefully examine the plate’s surface for any scratches or abrasions. Look closely under good lighting to spot any fine lines or marks that may have occurred during the cleaning process.
- Inspect for warping: Check the plate’s flatness by holding it up against a light source or against a contrasting background. Look for any noticeable bending or warping that could affect the print’s adhesion or overall quality.
- Examine for residue: Ensure that there is no residual cleaning solution or debris stuck on the plate. Pay attention to corners, edges, and hard-to-reach areas, as residue can accumulate in these spots.
- Look for discoloration: Check for any discoloration or stains on the plate’s surface. These could be signs of residue buildup or chemical reactions that may affect the print quality.
- Inspect mounting holes and screws: If your 3D printer plate requires mounting holes and screws, examine them to ensure they are in good condition. Make sure the holes are free of debris and the screws are tight but not overly tightened.
By conducting a thorough inspection, you can identify any potential issues with the plate and take appropriate action. If you notice any significant damages or defects, consider consulting the manufacturer or replacing the plate if necessary.
Now that the plate has been inspected, we can move on to step 7, where we will provide preventive maintenance tips to keep your 3D printer plate clean and in optimal condition.
Step 7: Preventive maintenance tips to keep your 3D printer plate clean
Ensuring the long-term cleanliness and performance of your 3D printer plate requires regular preventive maintenance. Follow these tips to keep your plate clean and in optimal condition:
- Wipe the plate before each print: Before starting a new print, use a microfiber cloth or lint-free cloth to wipe the plate’s surface. This removes any dust, fingerprints, or debris that may have accumulated since the last print.
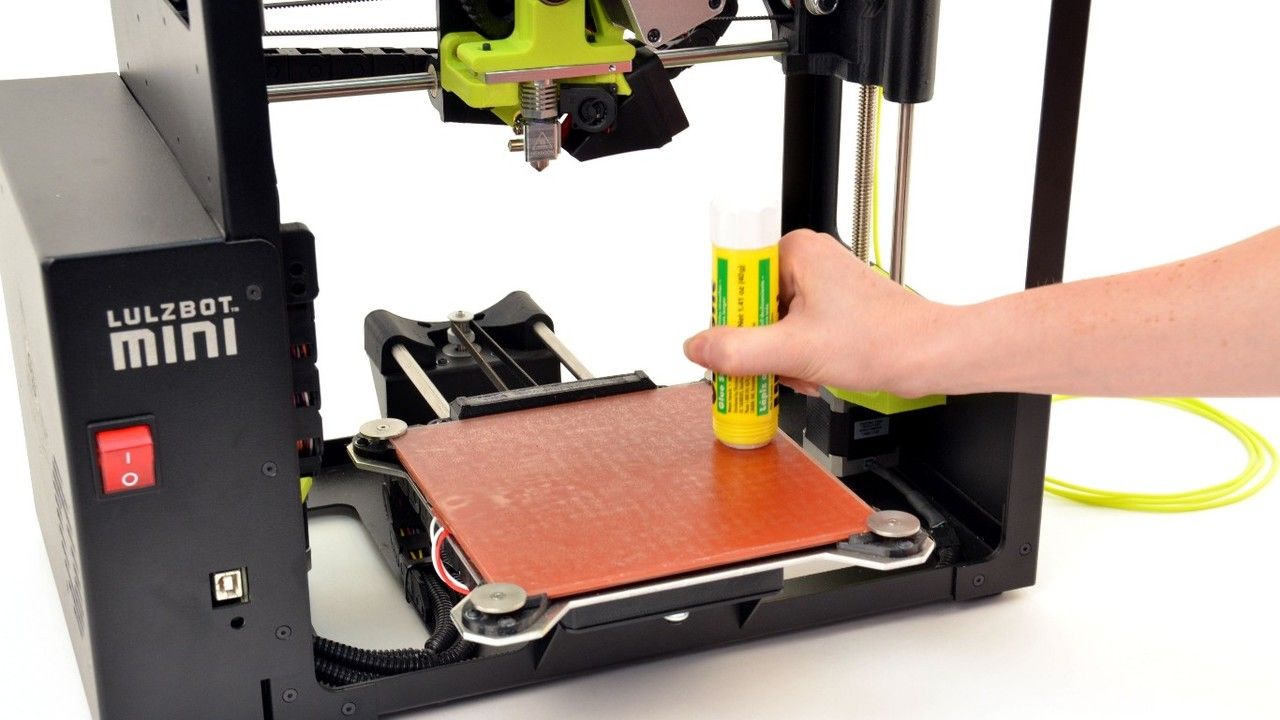
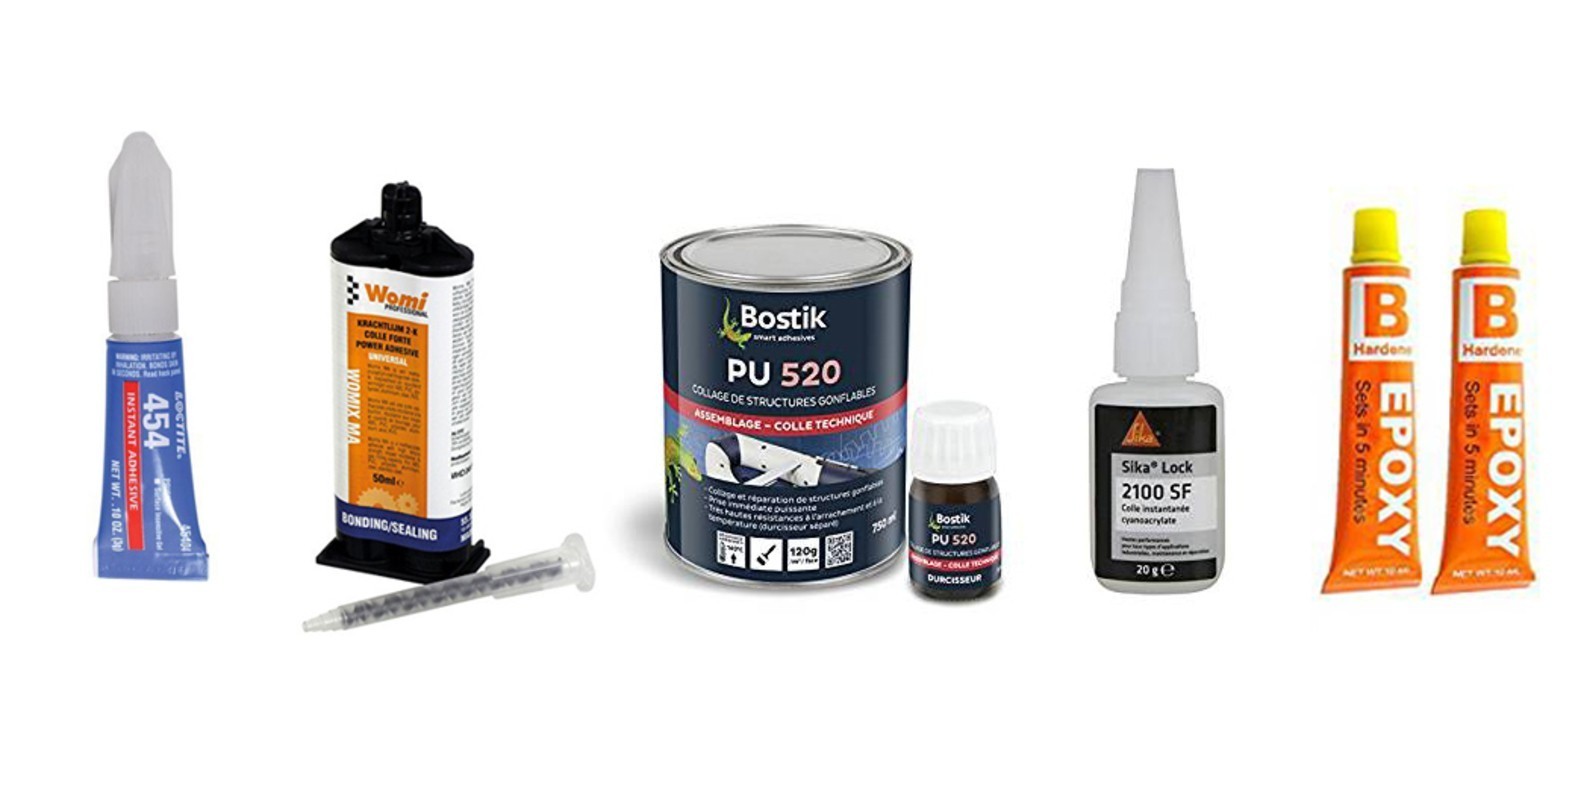
- Use a release agent: Consider using a suitable release agent, such as a 3D printing adhesive or glue stick, to enhance the adhesion of prints to the plate. This can help prevent print failures and make it easier to remove finished objects.
- Keep the printing area clean: Regularly clean the surrounding area of your printer, including the build platform and resin tray for resin printers. This prevents any debris or spilled materials from contaminating the plate during the printing process.
- Avoid touching the plate with bare hands: Oils and sweat from your hands can transfer to the plate and affect the adhesion of prints. If you need to handle the plate, wear clean gloves or hold it by the edges to minimize contact with the surface.
- Store the plate properly: When not in use, store the plate in a clean and dust-free environment. Use a protective cover or bag to shield it from potential scratches or damage, especially if you need to stack multiple plates together.
- Perform regular deep cleaning: In addition to routine cleaning, periodically perform a more thorough deep cleaning of the plate. This can involve soaking the plate in a cleaning solution for an extended period or using specialized cleaning agents recommended by the manufacturer.
By following these preventive maintenance tips, you can ensure the cleanliness and longevity of your 3D printer plate. Regular maintenance reduces the chances of print failures, improves print quality, and extends the lifespan of the plate itself.
With these tips in mind, you are now equipped with the knowledge to keep your 3D printer plate in top shape. Happy printing!
Conclusion
Cleaning your 3D printer plate is an essential part of maintaining optimal print quality and prolonging the life of your plate. By following the step-by-step process outlined in this guide, you can effectively remove residue, debris, and oils from your plate, ensuring smooth and successful prints. Remember to gather the necessary tools and supplies before starting the cleaning process, including a rubber spatula or scraper, isopropyl alcohol, a soft-bristled brush, and a cleaning container.
In addition to the cleaning process, preventive maintenance is crucial to keep your 3D printer plate clean and in optimal condition. Wiping the plate before each print, using release agents, maintaining a clean printing area, and storing the plate properly are all important practices to follow. Regular deep cleanings can also help keep your plate in top shape.
By incorporating these cleaning and maintenance practices into your 3D printing routine, you can ensure high print quality, prevent print failures, and maximize the lifespan of your 3D printer plate. So, take the time to give your 3D printer plate the care it deserves, and enjoy consistently excellent prints!