Introduction
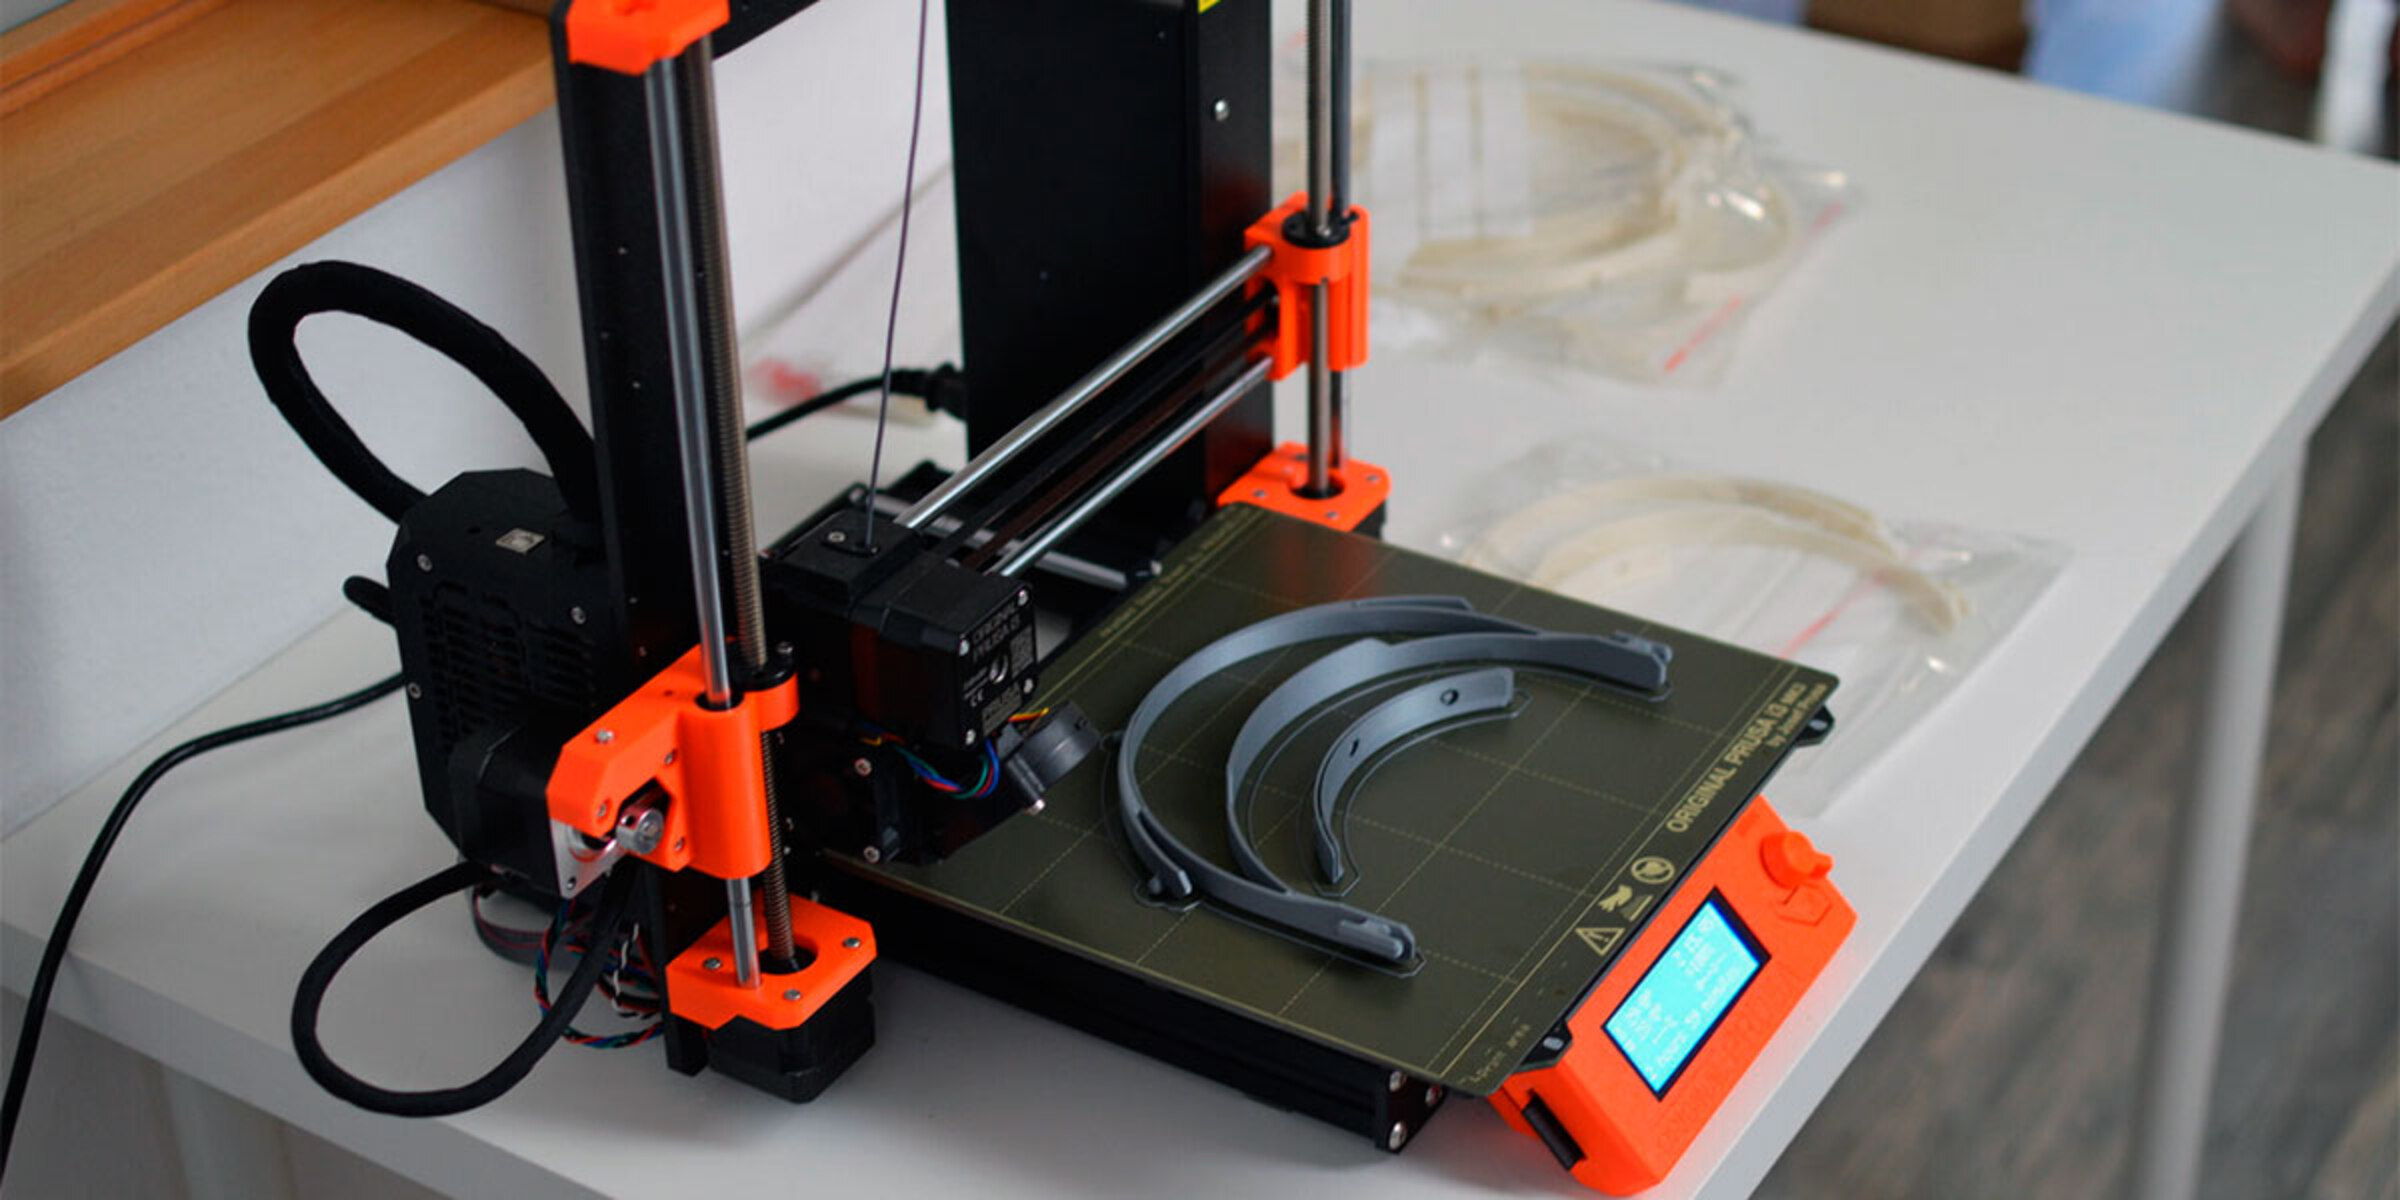
Printers have come a long way, and 3D printers have revolutionized various industries with their ability to produce intricate and precise objects. However, like any technology, 3D printers are not immune to occasional issues. One common problem that can occur during the printing process is layer shifting. This frustrating phenomenon can result in misaligned layers, causing your prints to appear distorted or even fail completely.
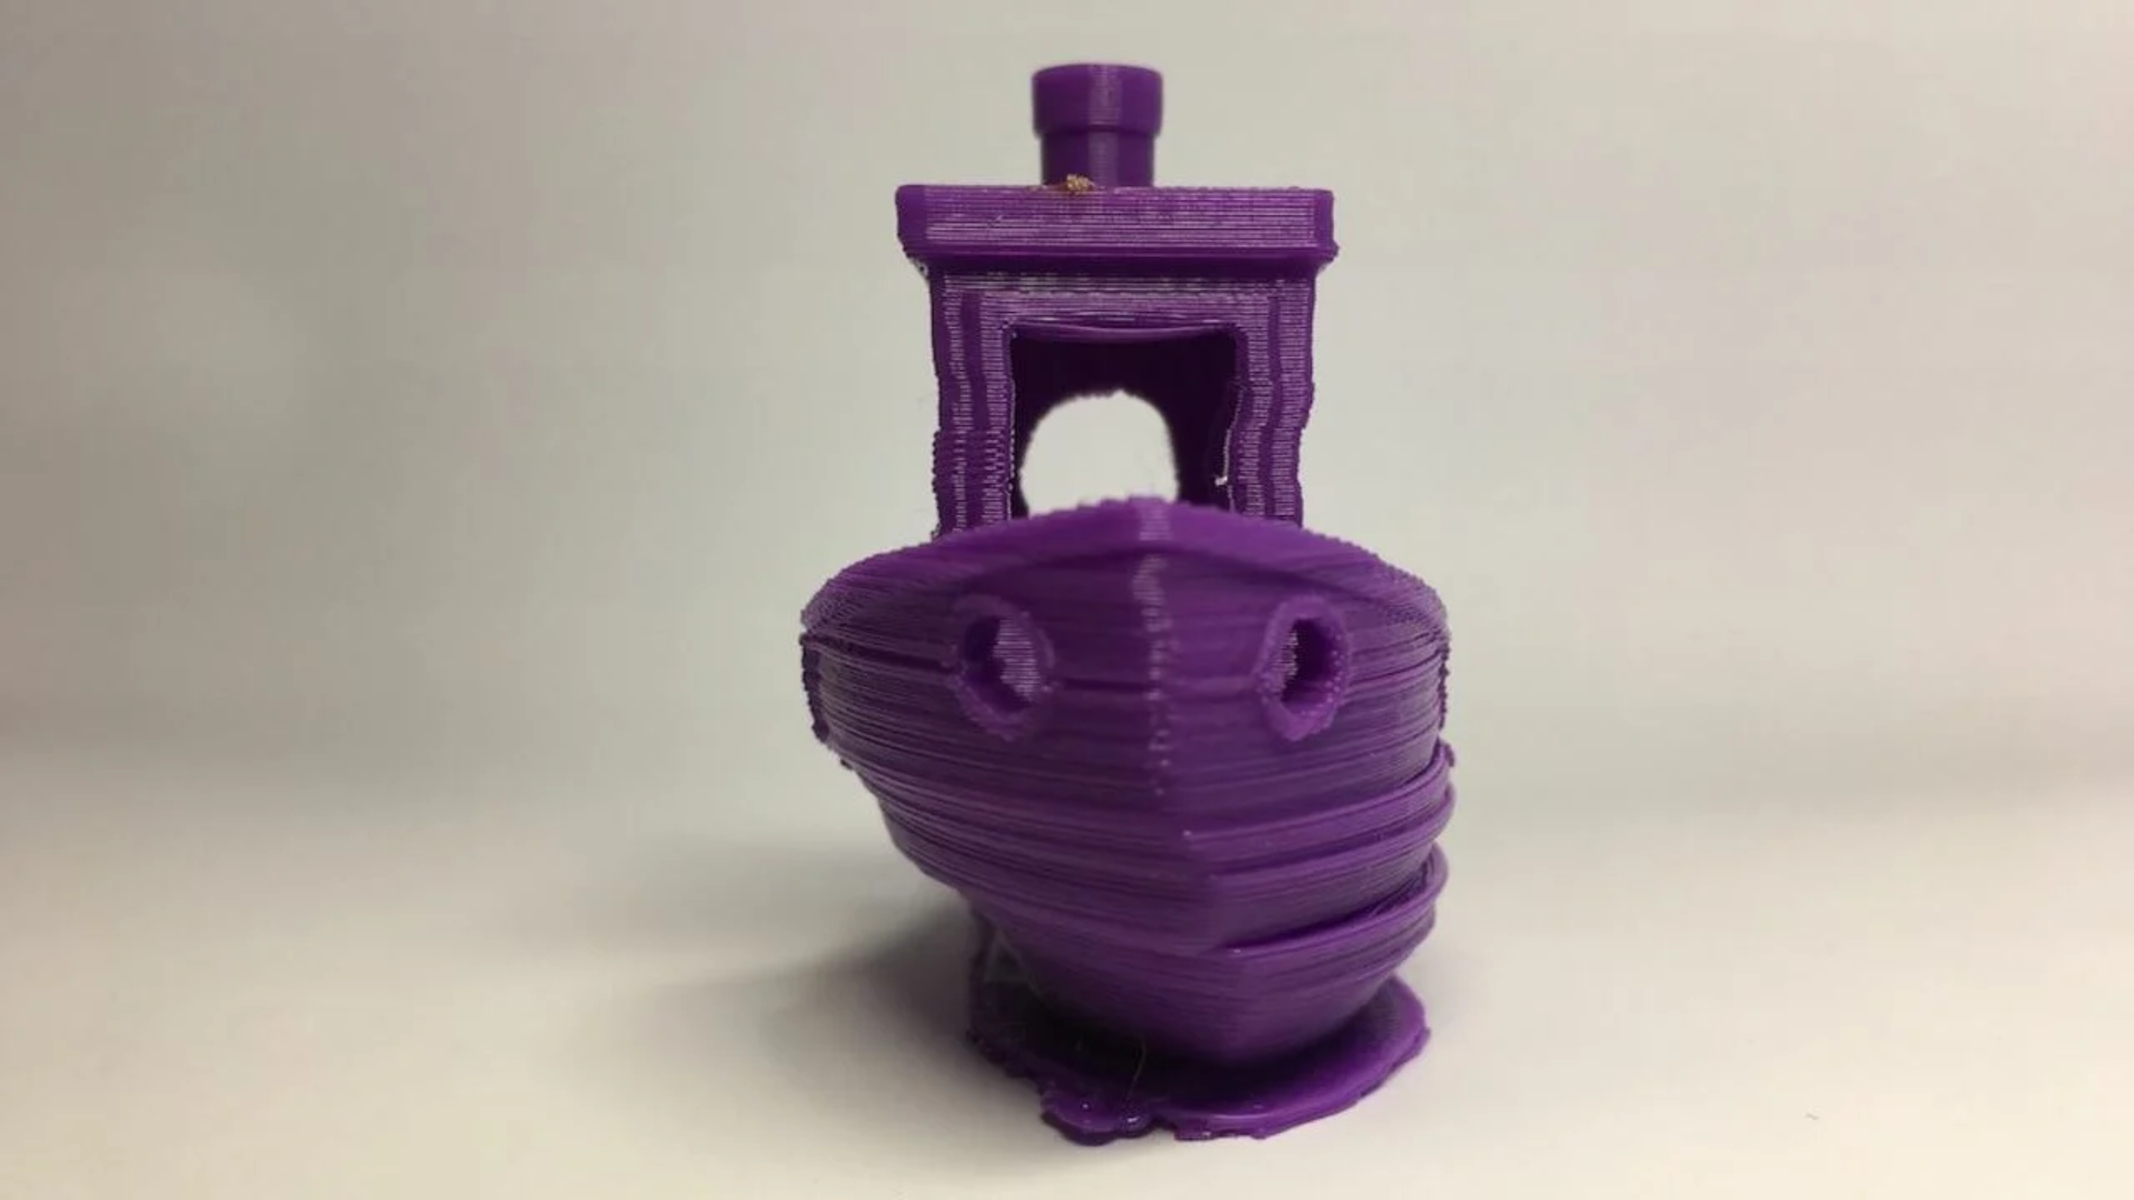
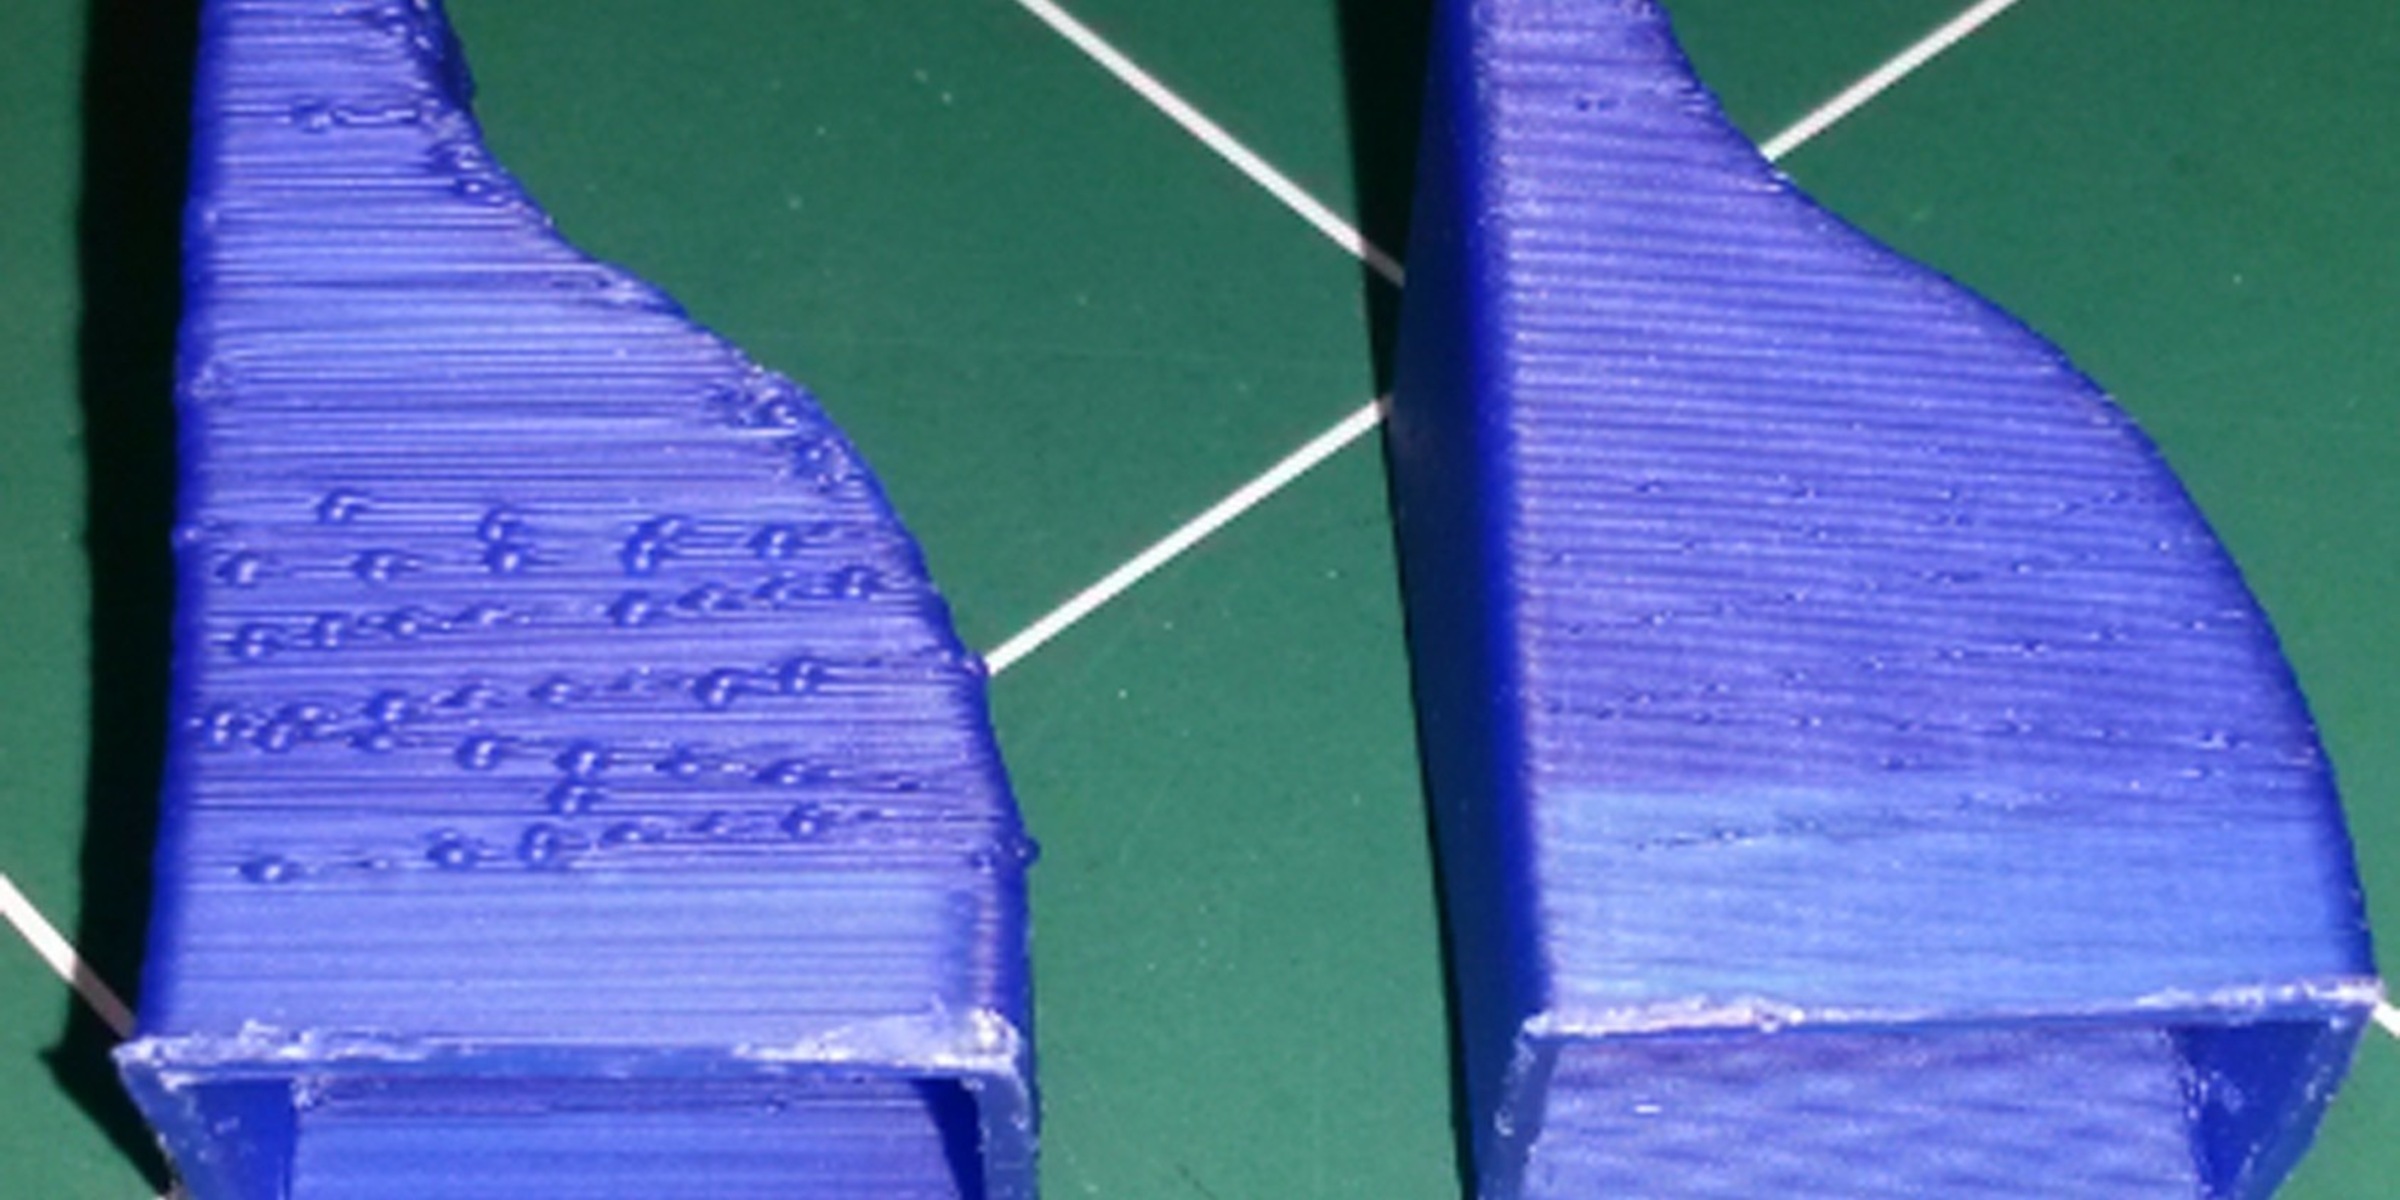
Layer shifting happens when the printer’s build platform or extruder deviates from its intended position, causing subsequent layers to be printed in the wrong location. This can result in misaligned, overlapping, or skewed layers, ultimately ruining the print and wasting time and materials.
Understanding why layer shifting occurs and how to fix it is essential in maintaining the quality and consistency of your 3D prints. In this article, we will delve into the common causes of layer shifting and explore various solutions to help you troubleshoot and rectify the issue. Whether you are a seasoned 3D printing enthusiast or just starting, these techniques will assist you in overcoming layer shifting challenges and achieving excellent print results.
Why does layer shifting occur?
Layer shifting in 3D printers can be attributed to a variety of factors. Understanding these causes is crucial in troubleshooting and preventing this issue from recurring in the future. Let’s explore some of the common reasons why layer shifting occurs:
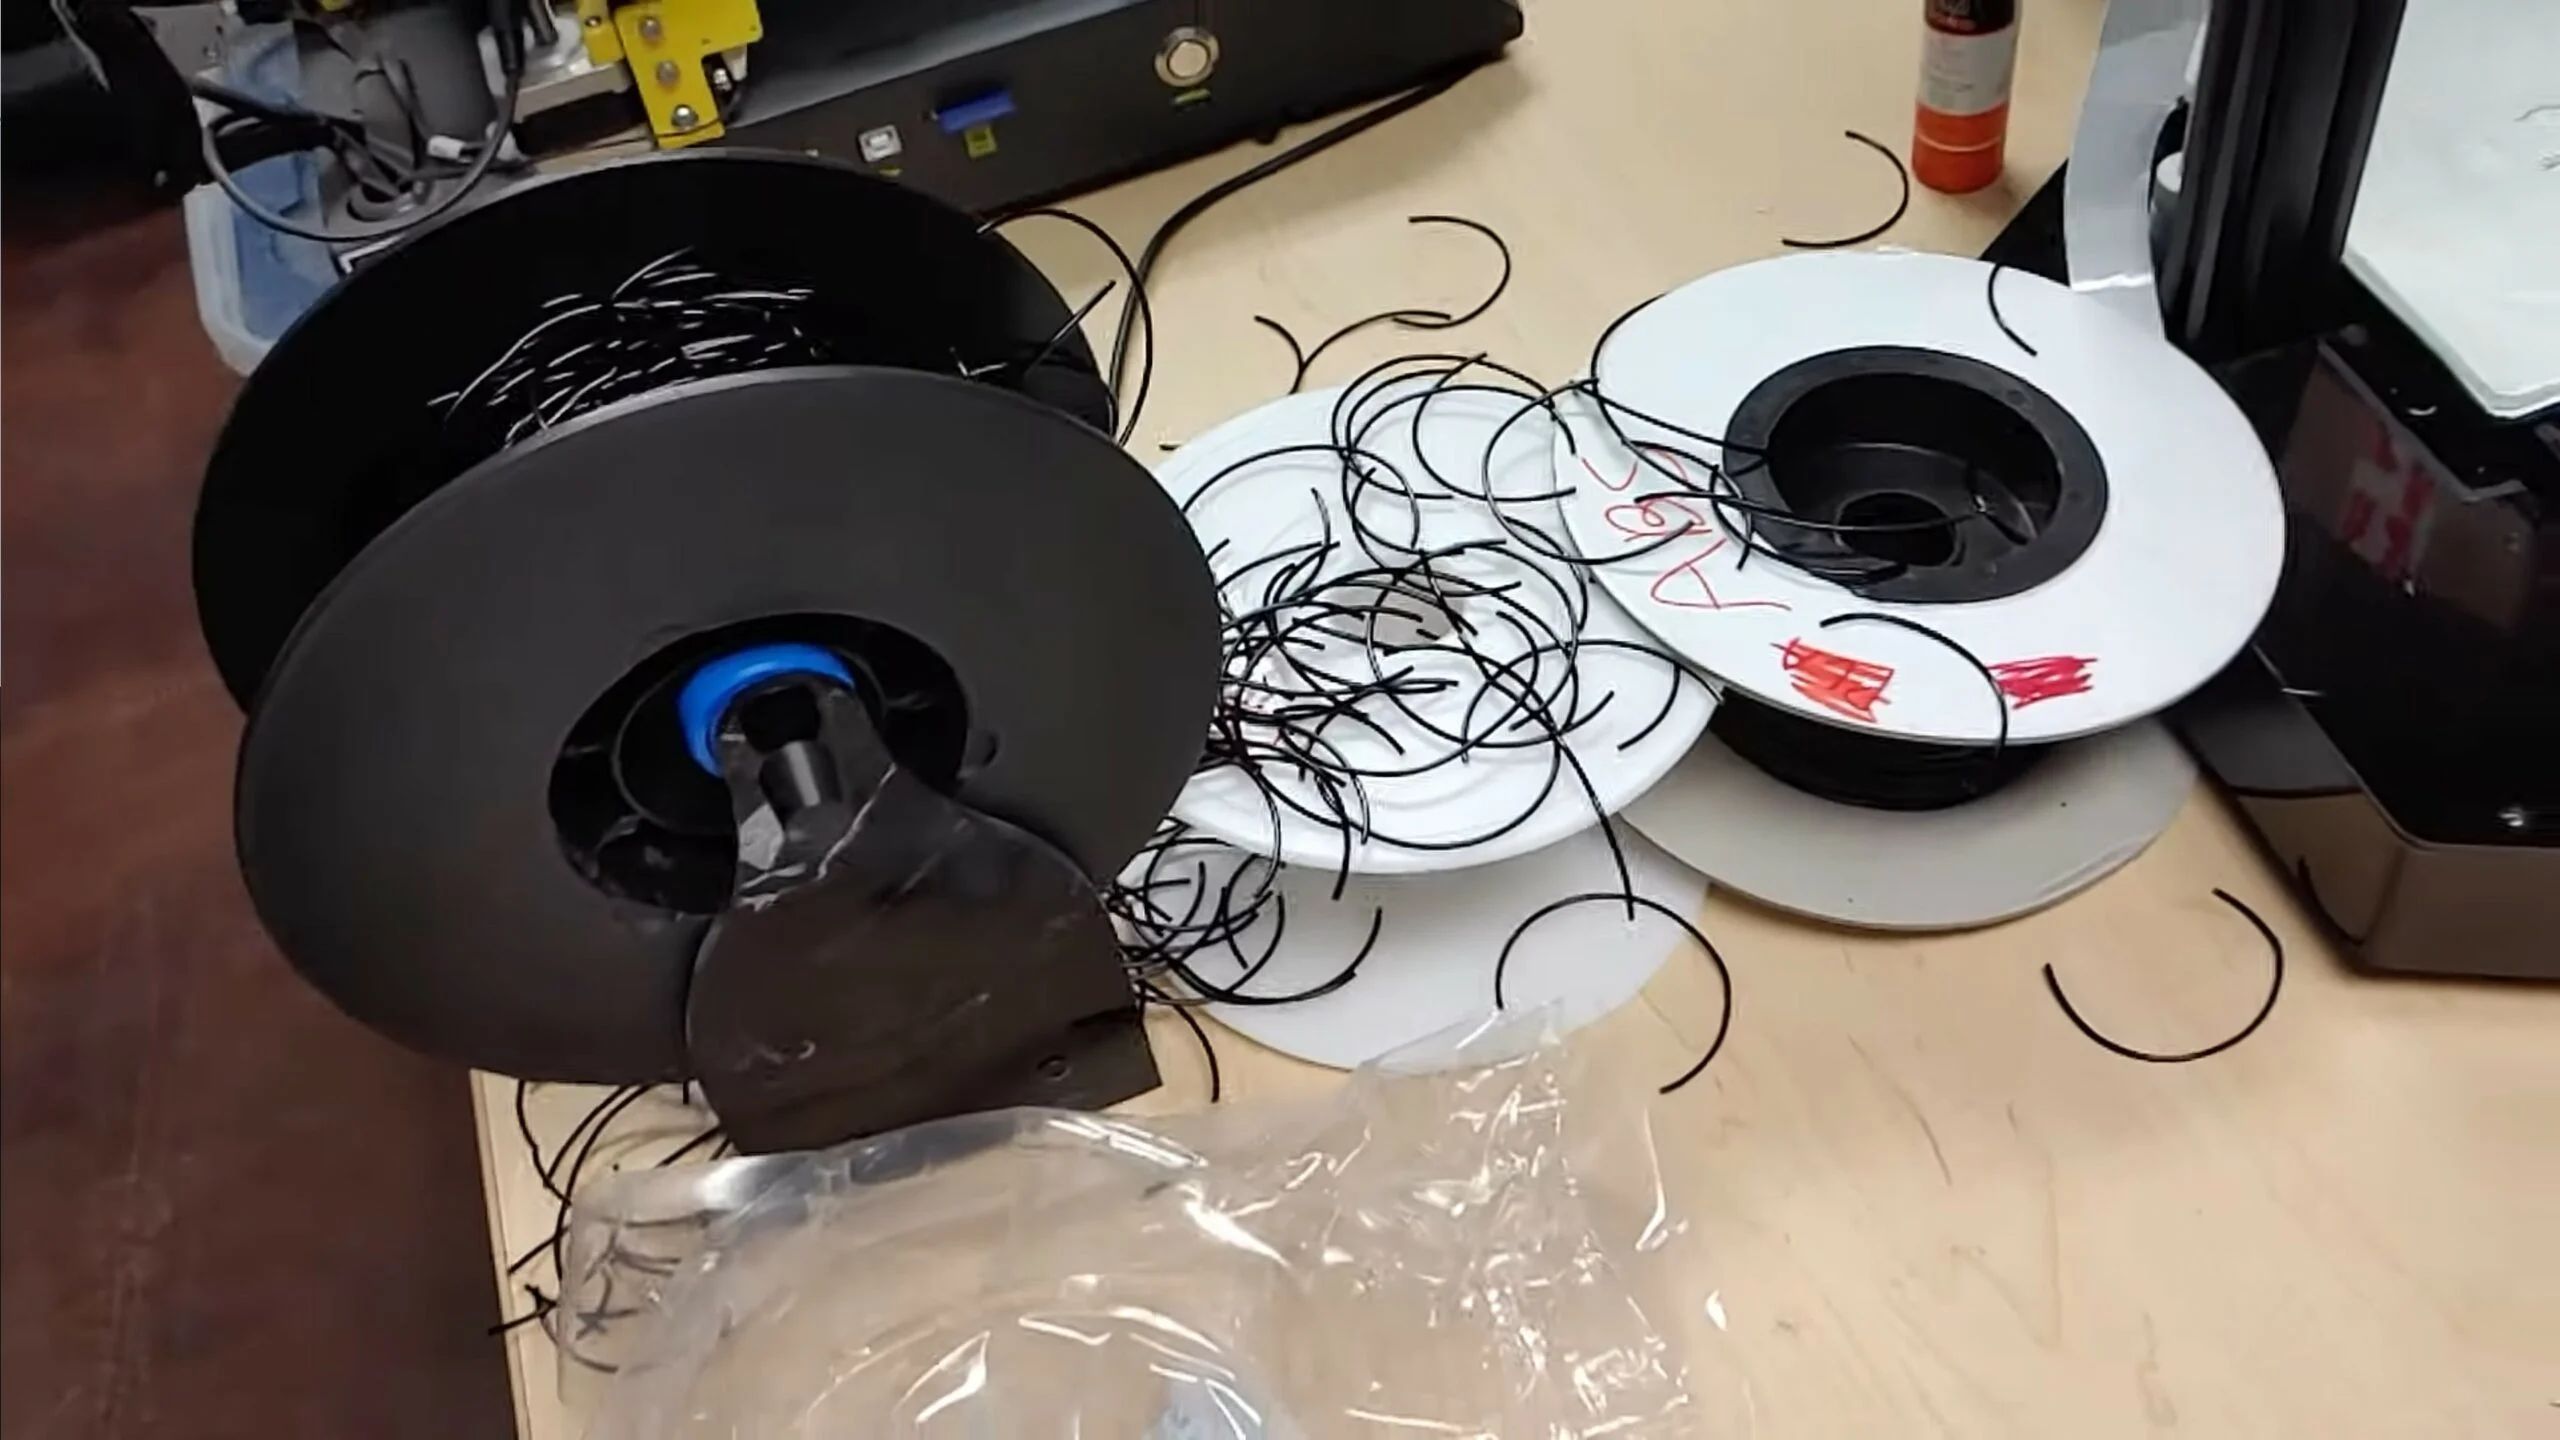
- Mechanical issues: One of the primary causes of layer shifting is mechanical problems within the printer. Issues such as loose belts, misaligned rods, or worn-out bearings can lead to the build platform or extruder moving out of position during the printing process.
- Stepper motor current: Inadequate or excessive current supplied to the stepper motors can result in inconsistent movements, causing layer shifting. It’s crucial to ensure that the current is appropriately set for each motor to maintain precise positioning.
- Insufficient power supply: If a 3D printer is not receiving enough power, it can struggle to deliver consistent movements. Fluctuations or drops in voltage can lead to unstable operation and layer shifting.
- Loose fasteners: Vibrations during the printing process can cause screws and fasteners to gradually loosen over time. This can lead to misalignment and shifting of the printer’s components, affecting print quality.
- Software glitches: While less common, software-related issues can also contribute to layer shifting. This can occur due to incorrect slicer settings, outdated firmware, or compatibility problems between different software components.
Identifying the underlying cause of layer shifting is the first step in finding an appropriate solution. In the following sections, we will discuss how to diagnose layer shifting issues and provide practical techniques to address each specific cause. By addressing these factors, you can minimize the occurrence of layer shifting and achieve more successful and accurate 3D prints.
Common causes of layer shifting
Layer shifting in 3D printers can be caused by several factors. By understanding these common causes, you can effectively troubleshoot and resolve this issue. Let’s explore some of the prevalent reasons behind layer shifting:
- Mechanical issues: One of the primary culprits of layer shifting is mechanical problems within the printer. Loose belts, misaligned rods, or worn-out bearings can result in the build platform or extruder moving out of position during the printing process.
- Stepper motor current: Inadequate or excessive current supplied to the stepper motors can lead to inconsistent movements, causing the layers to shift. It’s important to ensure that the current is properly set for each motor to maintain precise positioning.
- Insufficient power supply: If a 3D printer doesn’t receive enough power, it may struggle to provide consistent movements. Voltage fluctuations or drops can result in unstable operation and layer shifting.
- Loose fasteners: Vibrations during the printing process can gradually loosen screws and fasteners. This can lead to misalignment and shifting of the printer’s components, adversely affecting print quality.
- Software glitches: Although less common, software-related issues can contribute to layer shifting. This can occur due to incorrect slicer settings, outdated firmware, or compatibility problems between different software components.
Identifying the root cause of layer shifting is crucial for implementing the appropriate solution. In the next sections, we will guide you through techniques for diagnosing layer shifting issues and provide practical solutions to address each specific cause. By tackling these common causes head-on, you can minimize the occurrence of layer shifting and achieve more successful and accurate 3D prints.
How to diagnose layer shifting issues
Diagnosing the root cause of layer shifting is crucial in addressing the issue effectively. By following these steps, you can identify the underlying problem and take appropriate action:
- Observe the shift: Examine the printed object and determine the exact nature of the layer shifting. Note the direction and magnitude of the shift. This can provide valuable clues about the cause of the problem.
- Check belt tension: Inspect the belts on your 3D printer. If they are loose or slack, they can cause the build platform or extruder to shift during printing. Tension the belts appropriately to ensure proper alignment and stability.
- Inspect the stepper motors: Examine the stepper motors responsible for moving the build platform and extruder. Check for any abnormal noises, overheating, or loose connections. Ensure that the motors are receiving the correct current and functioning properly.
- Examine the power supply: Verify that your 3D printer is receiving sufficient power. Check for fluctuations or drops in voltage that could affect the printer’s operation. Consider using a surge protector or voltage regulator to stabilize the power supply.
- Tighten fasteners: Inspect and tighten all screws and fasteners on your printer. Vibrations during the printing process can cause them to loosen over time. Ensure that all components are securely fastened to prevent shifts or misalignment.
- Update firmware and software: Ensure that your firmware and slicing software are up to date. Outdated software can introduce compatibility issues and contribute to layer shifting problems. Update to the latest versions and recalibrate your printer if necessary.
By carefully diagnosing the layer shifting issues in your 3D printer, you can pinpoint the underlying cause and implement the appropriate solution. In the following sections, we will guide you through specific techniques to address each common cause of layer shifting.
Fixing layer shifting due to loose belts
One of the primary causes of layer shifting in 3D printers is loose belts. If the belts that control the movement of the build platform or extruder are not properly tensioned, they can cause shifts and misalignment during the printing process. Here are some steps you can take to fix layer shifting issues caused by loose belts:
- Identify the loose belt: Inspect the belts on your 3D printer and identify the one that is causing the issue. Be sure to check both the X and Y-axis belts as either one can contribute to layer shifting problems.
- Tension the belt: Loosen the belt tensioner, typically located near the motor or pulley. Apply gentle pressure to the belt and then tighten the tensioner to achieve the desired tension. Ensure that the belt is taut but not overly tight.
- Check the alignment: While tensioning the belt, also inspect its alignment. Make sure the belt is running parallel to the corresponding axis. Adjust the position of the motor or pulley if necessary to achieve proper alignment.
- Test and adjust: After tensioning and aligning the belt, run a test print to see if the layer shifting issue has been resolved. If the issue persists, consider repeating the process or slightly adjusting the belt tension until satisfactory results are achieved.
It’s important to note that over-tightening the belts can also cause issues, such as excessive resistance and motor strain. Finding the right balance of tension is essential to prevent layer shifting without compromising the printer’s overall performance.
By addressing loose belts and properly tensioning them, you can significantly reduce the occurrence of layer shifting in your 3D prints. However, if the issue persists, it may be necessary to explore other potential causes and solutions, which we will discuss in the following sections.
Adjusting stepper motor current to fix layer shifting
Inaccurate movements of stepper motors can be a significant cause of layer shifting in 3D printers. If the current supplied to the motors is inadequate or excessive, it can result in inconsistent positioning and layer misalignment. To address this issue, adjusting the stepper motor current can be an effective solution. Here’s how you can do it:
- Identify the stepper motor: Identify the stepper motor that is causing the layer shifting issue. Typically, there will be one motor for each axis of movement in your printer (X, Y, and Z).
- Locate the current adjustment potentiometer: Each stepper motor driver has a small potentiometer that allows you to adjust the current. Locate the potentiometer corresponding to the motor you identified in the previous step.
- Observe the current setting: Use a multi-meter or consult the documentation for your printer to determine the current setting for the motor. This will serve as a reference point for your adjustments.
- Adjust the current: Use a small screwdriver to turn the potentiometer gently. Clockwise rotation increases the current, while counterclockwise rotation decreases it. Make small adjustments and test between each adjustment to find the optimal current setting.
- Rerun the test print: Once you have adjusted the motor current, rerun the test print to see if the layer shifting issue has been resolved. If not, you may need to make further adjustments to achieve the desired results.
It’s important to be cautious when adjusting the stepper motor current. Keep in mind that too high or too low of a current can lead to motor overheating, reduced holding torque, or even motor damage. Follow the recommendations provided by your printer’s manufacturer and make incremental adjustments until you achieve the best balance of current for precise and accurate movements.
By correctly adjusting the stepper motor current, you can minimize layer shifting and ensure smoother and more consistent 3D prints. However, if the issue persists, there may be other factors contributing to the problem, which we will address in the following sections.
Calibrating the print bed to prevent layer shifting
A crucial aspect of achieving high-quality 3D prints is ensuring that the print bed is properly calibrated. If the bed is not properly leveled or aligned, it can lead to layer shifting issues during the printing process. Calibrating the print bed can help prevent this problem and improve the overall print quality. Here’s how to do it:
- Home the printer: Start by homing the printer, which returns the extruder and print bed to their original positions.
- Prepare a leveling tool: Use a leveling tool, such as a feeler gauge or piece of paper, that is thin enough to slide between the nozzle and the print bed but has some resistance.
- Position the leveling tool: Move the nozzle to one corner of the print bed. Place the leveling tool between the nozzle and the bed and adjust the bed height or leveling screws until you feel a slight resistance when sliding the leveling tool.
- Repeat for other corners: Move the nozzle to the remaining corners of the print bed and repeat the process of adjusting the bed height or leveling screws until the leveling tool slides with a consistent amount of resistance.
- Check the center of the bed: Finally, check the center of the print bed ensuring that it is also properly leveled. Adjust the bed height or leveling screws as necessary to achieve a uniform gap between the nozzle and the bed throughout the entire print area.
- Recheck regularly: Remember to regularly recheck and recalibrate the print bed as it may shift over time due to vibrations or changes in temperature.
Calibrating the print bed ensures that the nozzle maintains a consistent distance from the bed surface, which is crucial for proper adhesion and layer alignment. By taking the time to level the print bed accurately, you can significantly reduce the occurrence of layer shifting and achieve more reliable and precise 3D prints.
If layer shifting issues persist even after calibrating the print bed, there may be other factors at play, which we will address in the following sections.
Addressing layer shifting caused by insufficient power supply
Ensuring that your 3D printer receives a stable and sufficient power supply is crucial for consistent and accurate prints. Insufficient power supply can lead to fluctuations in voltage, which can result in layer shifting during the printing process. Addressing this issue requires taking a few steps to stabilize and optimize the power supply. Here’s what you can do:
- Check the power source: Verify that your printer is connected to a reliable power source. Make sure the power outlet is providing the necessary voltage and is free of any voltage fluctuations or surges.
- Use a dedicated outlet: To minimize interference and voltage fluctuations, consider using a dedicated power outlet solely for your 3D printer. Avoid sharing the outlet with other high-power consuming devices that could impact the stability of the power supply.
- Use a surge protector or voltage regulator: Installing a surge protector or a voltage regulator can provide an added layer of protection against power fluctuations. These devices can stabilize the voltage and protect your printer from potential damage caused by power spikes or drops.
- Consider a UPS (Uninterruptible Power Supply): A UPS can provide continuous power to your printer even in the event of a power outage. This extra layer of protection ensures that your print job is not interrupted, minimizing the risk of layer shifting due to sudden power loss.
By addressing insufficient power supply issues and stabilizing the voltage for your 3D printer, you can reduce the occurrence of layer shifting and improve print consistency. However, if layer shifting issues persist, there may be other causes to consider, which we will discuss in the following sections.
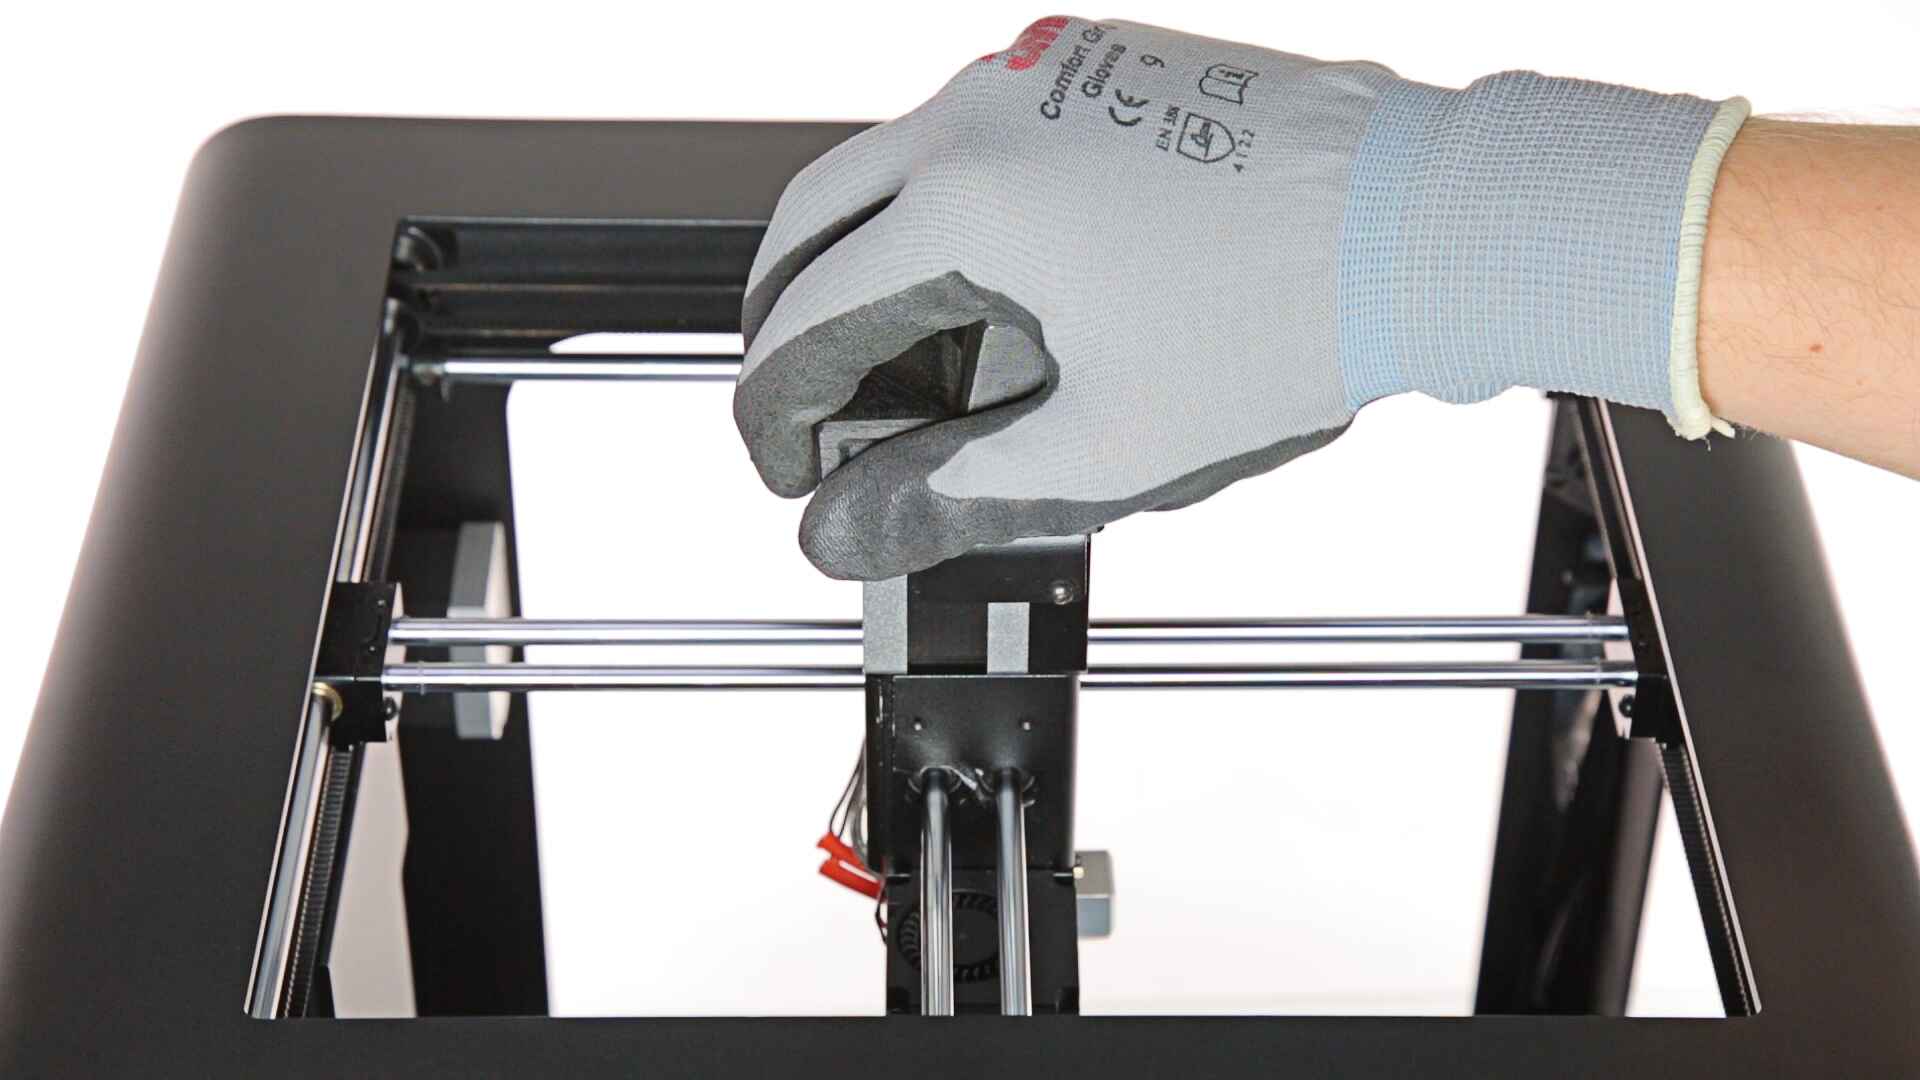
Solving layer shifting due to mechanical issues
Mechanical issues within a 3D printer can often be a leading cause of layer shifting. Loose belts, misaligned rods, and worn-out bearings can all contribute to the problem. Resolving these mechanical issues requires careful inspection and adjustment of various components. Here are some steps you can take to solve layer shifting caused by mechanical issues:
- Inspect the belts: Check the tension and condition of the belts that control the movement of the build platform and extruder. Ensure they are properly tensioned and free from any visible signs of wear or damage. Replace any worn-out or damaged belts.
- Align the rods: Ensure that the rods or linear guides in your printer are aligned correctly and parallel to each other. Misaligned rods can cause uneven movement, leading to layer shifting. Adjust and tighten the mounting brackets if necessary.
- Lubricate the bearings: Regularly lubricate the bearings that support the rods or linear guides to minimize friction. Ensure that the bearings move smoothly and without any resistance. Replace worn-out or damaged bearings as needed.
- Tighten fasteners: Check all screws, nuts, and fasteners on your printer for tightness. Vibrations during printing can cause these components to gradually loosen, resulting in misalignment and layer shifting. Carefully tighten all fasteners to secure the printer’s components.
- Minimize vibrations: Reduce vibrations by placing your printer on a stable surface or using anti-vibration mats. Additionally, consider using vibration-damping devices or shock-absorbers to minimize the impact of vibrations during the printing process.
By addressing mechanical issues and ensuring that all components are in optimal condition, you can significantly reduce layer shifting in your 3D prints. Regular maintenance and inspection of your printer’s mechanical components are essential to prevent any issues and ensure consistent and accurate prints.
If layer shifting persists after addressing mechanical issues, there may be other factors contributing to the problem, which we will explore in the following sections.
Conclusion
Layer shifting in 3D printers can be a frustrating issue that leads to misaligned and distorted prints. However, by understanding the common causes of layer shifting and following the appropriate troubleshooting steps, you can significantly reduce or even eliminate this problem. From loose belts and inaccurate stepper motor currents to power supply fluctuations and mechanical issues, each cause requires specific attention and adjustments. By addressing these factors, you can achieve more precise and consistent 3D prints.
Remember to regularly inspect and maintain your printer’s components, including belts, rods, bearings, and fasteners, to ensure optimal performance and minimize the risk of layer shifting. Additionally, pay attention to the power supply, ensuring that it provides stable and sufficient voltage to your printer.
By taking a systematic approach to diagnose and address layer shifting issues, you can enhance the quality of your prints and achieve greater success in your 3D printing projects. Stay proactive, perform routine maintenance, and continue to explore and learn about the intricacies of your specific printer model to optimize its performance.
With the solutions provided in this article, you can troubleshoot and resolve layer shifting problems, resulting in smoother prints, enhanced accuracy, and an overall improved 3D printing experience.