Introduction
Welcome to the exciting world of multi-color 3D printing! Gone are the days when 3D printers were limited to printing objects in a single color. With advancements in technology, it is now possible to unleash your creativity and bring your designs to life in vibrant, multi-colored glory. From intricate models to functional prototypes, multi-color printing adds a whole new dimension to the possibilities of 3D printing.
In this article, we will explore the various aspects of printing in multiple colors on a 3D printer. Whether you are a hobbyist, a designer, or an engineer, understanding the techniques, tools, and tips for achieving stunning multi-color prints will take your projects to the next level.
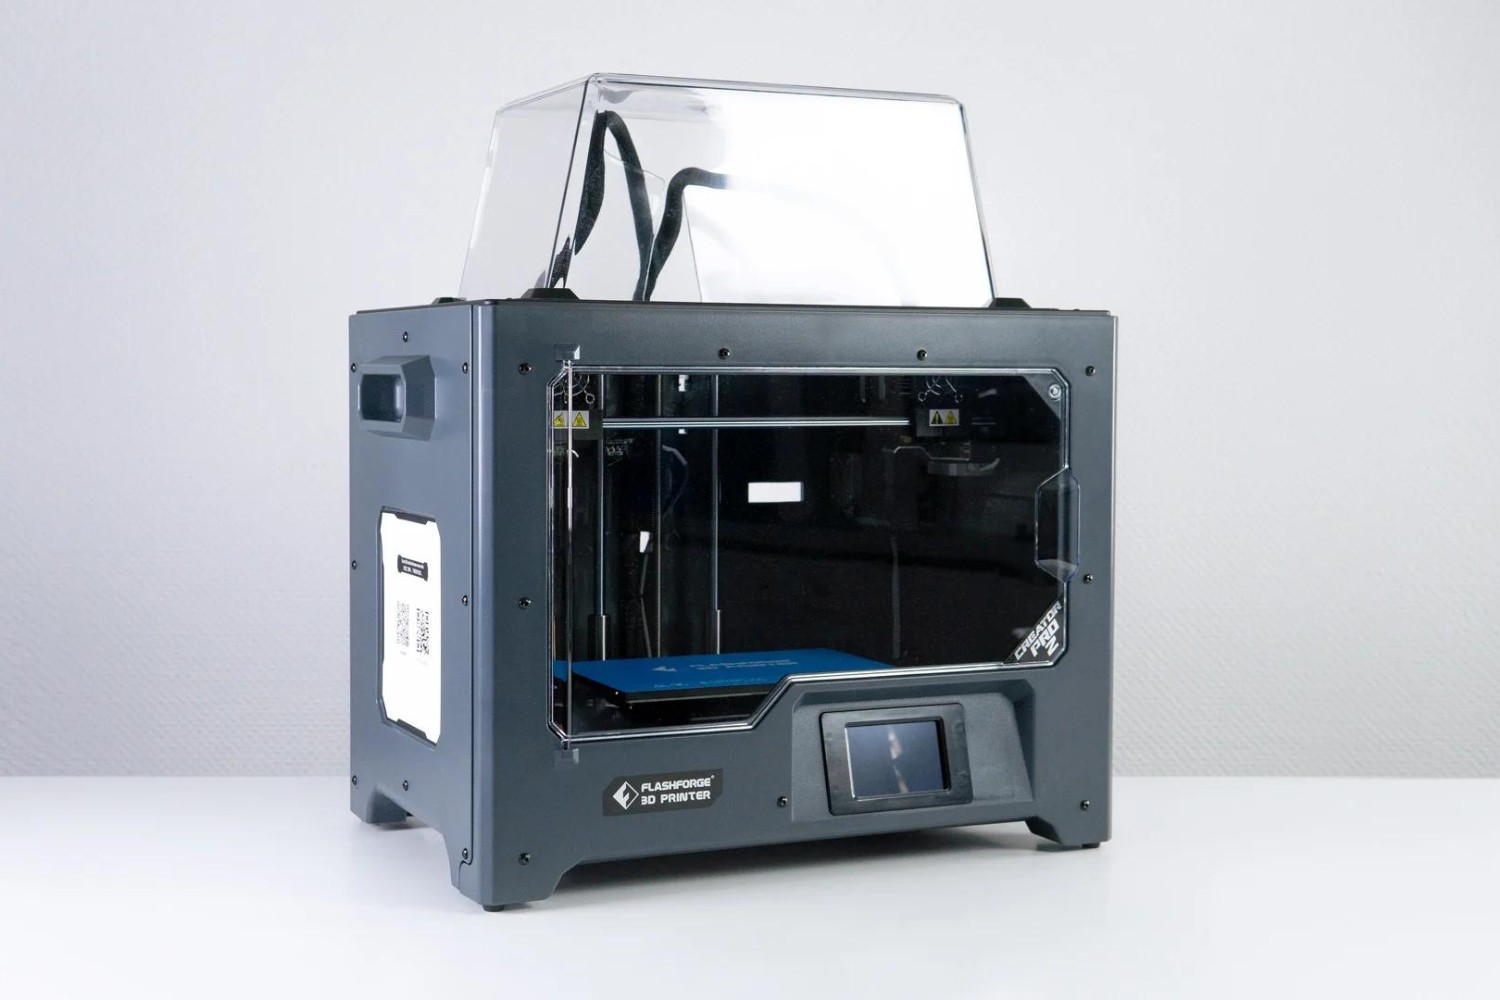
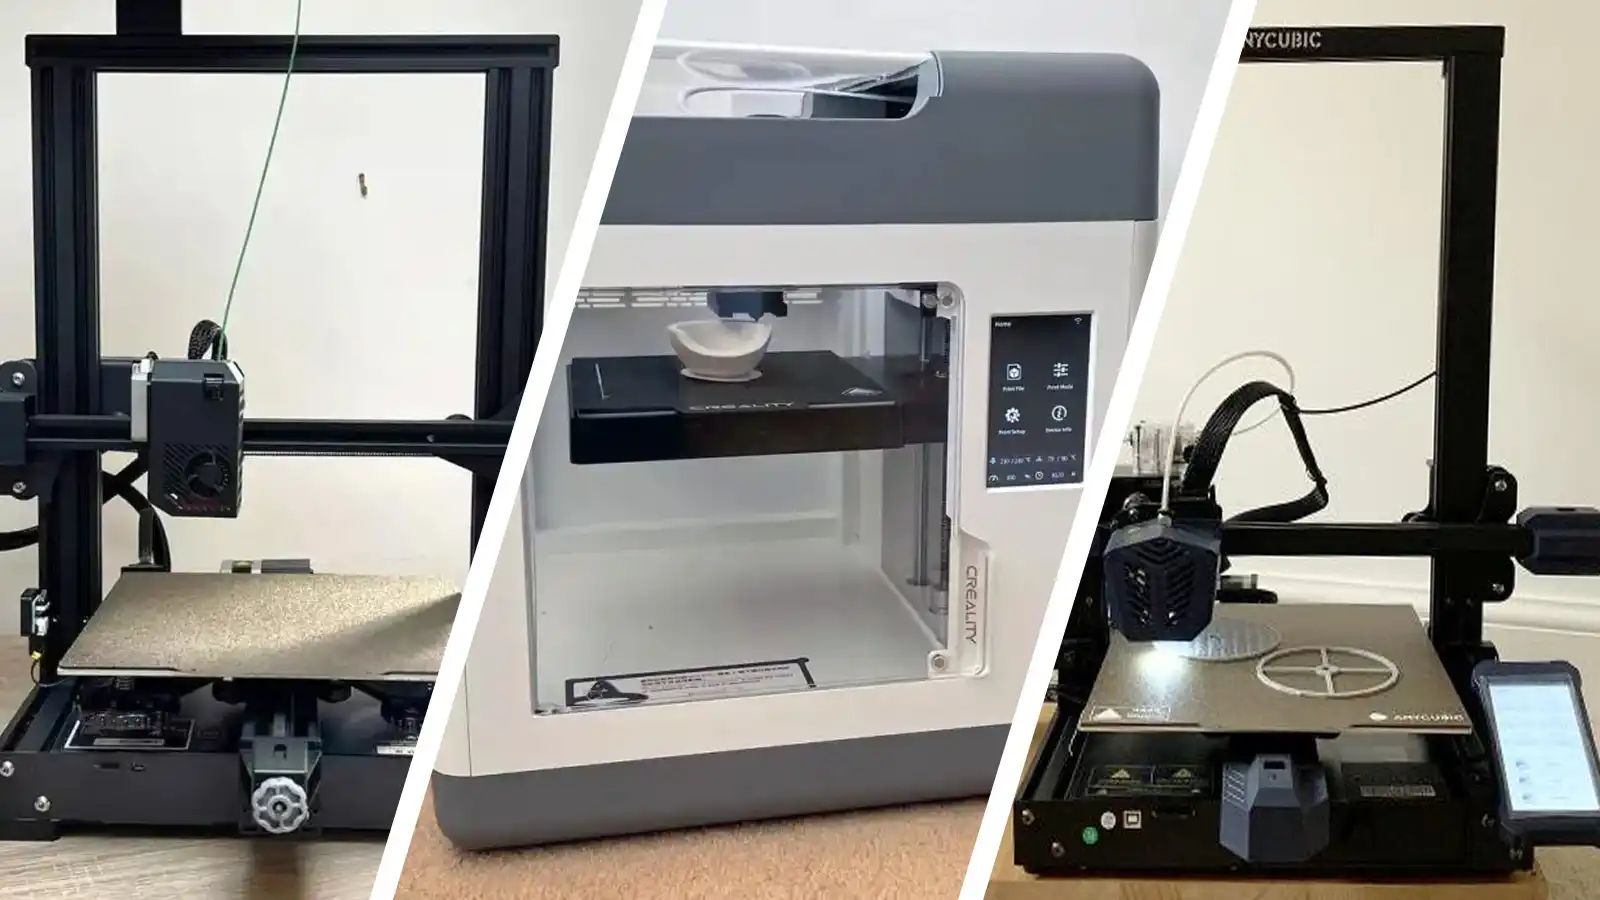
Choosing the right 3D printer is the first step towards achieving high-quality multi-color prints. Different printers have different capabilities, so it is important to consider factors such as print volume, print speed, and color mixing options before making a decision. We will delve into this topic in the next section, helping you make an informed choice.
Next, we will explore the color-mixing techniques used in 3D printing. This includes examining how printers achieve color blending, layering, and gradient effects. Understanding these techniques will provide valuable insights into creating visually stunning multi-color prints.
Preparing your 3D model for multi-color printing is crucial for a successful outcome. We will guide you through the necessary steps, including file format considerations, color assignment, and slicing settings. By following our recommendations, you will be well-equipped to optimize your designs for multi-color printing.
In the subsequent section, we will discuss the different types of multi-color filaments available in the market. Each filament type has unique properties and requirements, so understanding their characteristics is essential for achieving the desired color effects. We will help you choose the right filament for your specific needs.
The installation and calibration of color-mixing extruders are topics that will be covered in detail. These extruders are responsible for accurately depositing multiple colors during the printing process. We will provide step-by-step instructions to ensure your extruders are properly set up and calibrated for flawless multi-color printing.
With the groundwork laid, we will then guide you through the process of printing in multiple colors, offering a comprehensive step-by-step guide. From loading filaments to adjusting settings, our instructions will enable you to create stunning multi-color prints with ease.
When it comes to multi-color printing, troubleshooting common issues is essential. In this article, we will address common problems such as filament blending, color bleeding, and inconsistent layering. By understanding these challenges and their solutions, you can overcome any hurdles along the way.
Finally, we will provide valuable tips and tricks for achieving outstanding multi-color prints. These insights, gained from years of experience, will help you take your 3D printing projects to a whole new level of creativity and excellence.
So, grab your 3D printer and embark on a colorful journey of multi-color printing. Get ready to unleash your imagination and bring your designs to life with vibrant and eye-catching results!
Choosing the Right 3D Printer for Multi-color Printing
When it comes to printing in multiple colors, selecting the right 3D printer is crucial. Not all printers are capable of producing high-quality, multi-color prints, so it is important to consider certain factors before making your purchase.
One of the key considerations is the print volume of the printer. If you plan on printing larger objects or multiple objects simultaneously, you will need a printer with a spacious build area. Ensure that the printer you choose can accommodate your desired print size.
Print speed is another aspect to consider. Some printers may sacrifice speed when it comes to multi-color printing due to the added complexity of changing filaments and mixing colors. If speed is a priority for you, look for a printer that offers efficient color switching mechanisms.
Next, consider the color mixing options available. Some printers use multiple extruders to achieve color mixing, while others utilize a single extruder with a color-mixing mechanism. Each approach has its advantages and limitations, so choose a printer that aligns with your specific requirements.
Additionally, pay attention to the compatibility of the printer with multi-color filaments. Some printers support a wide range of filament types, including specialty filaments with different colors. Ensure that the printer you choose is compatible with the filaments you plan to use for multi-color printing.
Budget is also a significant factor when selecting a 3D printer. Multi-color printers can vary greatly in price, so it is essential to determine your budget and find a printer that offers the best balance of features and affordability. Consider the long-term costs of filaments and other accessories as well.
Lastly, do thorough research on the printer’s reliability, user reviews, and customer support. A printer that is known for its durability and has positive feedback from users will give you peace of mind and a better overall experience. Additionally, good customer support can resolve any issues that may arise during your multi-color printing journey.
By carefully evaluating these factors, you can choose a 3D printer that best suits your needs for multi-color printing. Remember, selecting the right printer is an investment in your creative endeavors, allowing you to unlock the full potential of multi-color 3D printing.
Understanding Color-Mixing Techniques in 3D Printing
Color mixing is an essential aspect of multi-color 3D printing that allows for the creation of vibrant and visually stunning prints. Understanding the various color-mixing techniques used in 3D printing will help you achieve the desired effects in your prints.
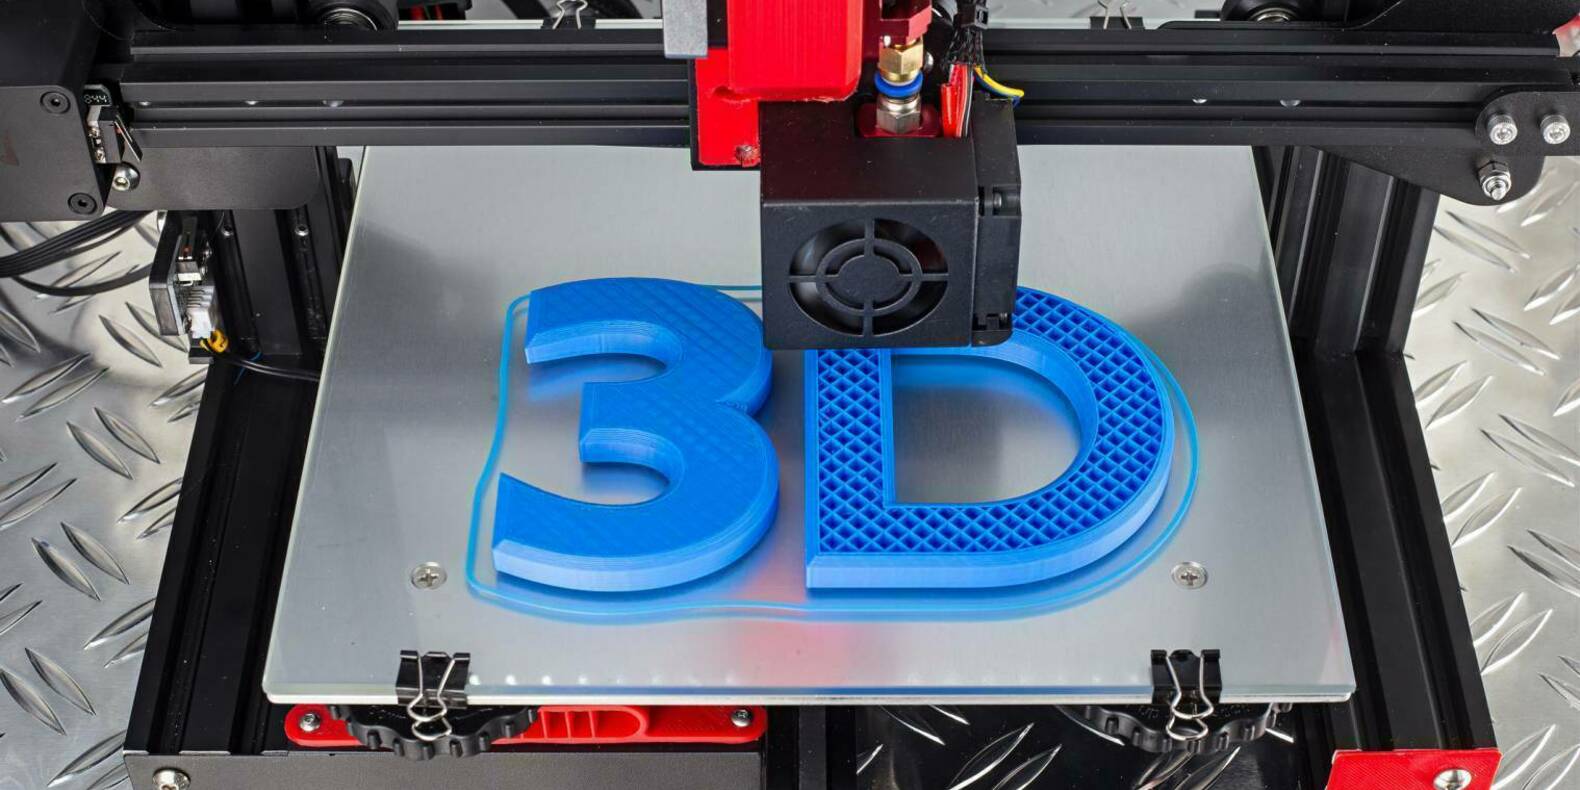
One common technique for color mixing is layering, where different colored filaments are deposited layer by layer to create the desired colors. By carefully selecting the order of the color layers, you can achieve a wide variety of color combinations. This technique is commonly used in printers with multiple extruders or single-extruder printers with color-mixing capabilities.
Another technique is color blending, where two or more colored filaments are mechanically mixed together to create new colors. This is often accomplished using a dual-extruder setup, each loaded with a different color filament. The printer then extrudes both filaments simultaneously, resulting in blended colors. It is important to calibrate the mixing ratio and extrusion speed to achieve accurate color blends.
Gradient printing is yet another technique that allows for smooth transitions between colors. This technique involves gradually changing the ratio of different colors as the print progresses, resulting in a gradient effect. Printers with multiple extruders or color-mixing mechanisms excel at achieving stunning gradient prints.
In 3D printing, color representation is achieved through the use of color palettes or color charts. These charts map the available filament colors and their respective codes, allowing you to assign specific colors to different parts of your 3D model. By referring to the color chart, you can accurately select the filament colors needed to achieve your desired print.
It is important to note that achieving precise and consistent color reproduction can be challenging in 3D printing. Factors such as filament quality, extruder calibration, and printer settings can impact the final colors in a print. Experimenting with different settings and fine-tuning your printer’s color-mixing capabilities will help you achieve the best possible color accuracy.
By understanding these color-mixing techniques and the factors that affect color reproduction, you can leverage the capabilities of your 3D printer to create stunning and multi-colored prints.
Preparing Your 3D Model for Multi-color Printing
Preparing your 3D model is a crucial step in achieving successful multi-color prints. By following the right techniques and considerations, you can optimize your design for multi-color printing and ensure accurate color representation.
The first step is choosing the appropriate file format. Most 3D printers accept STL files, which are the standard format for 3D printing. However, when it comes to multi-color printing, consider using file formats that support color information, such as OBJ or AMF. These formats allow you to assign specific colors to different parts of your model.
Once you have the suitable file format, it’s time to assign colors to your model. To do this, you can utilize color assignment tools in 3D modeling software or use color charts provided by the manufacturer. These color charts provide color codes for corresponding filaments, allowing you to accurately assign colors to different parts of your model.
One important consideration is the layer height and print settings. For multi-color printing, it’s recommended to use smaller layer heights to achieve finer detail and smoother color transitions. Depending on the capabilities of your printer, adjust the layer height settings to optimize the quality of your multi-color prints.
Slicing software plays a vital role in preparing your model for printing. Use a slicer that supports multi-color printing and offers the necessary features for seamless color transitions. The slicer allows you to assign different colors to different layers or regions of your model, ensuring accurate color reproduction during the printing process.
After slicing your model, it’s essential to review the layer preview to ensure colors are assigned correctly and there are no inconsistencies or gaps. This step helps identify any potential issues that may affect the final print.
When it comes to multi-color printing, filament management is essential. Make sure you have the required number of filament spools for the desired colors. Organize and label your filaments to ensure a smooth printing process with minimal interruptions or confusion.
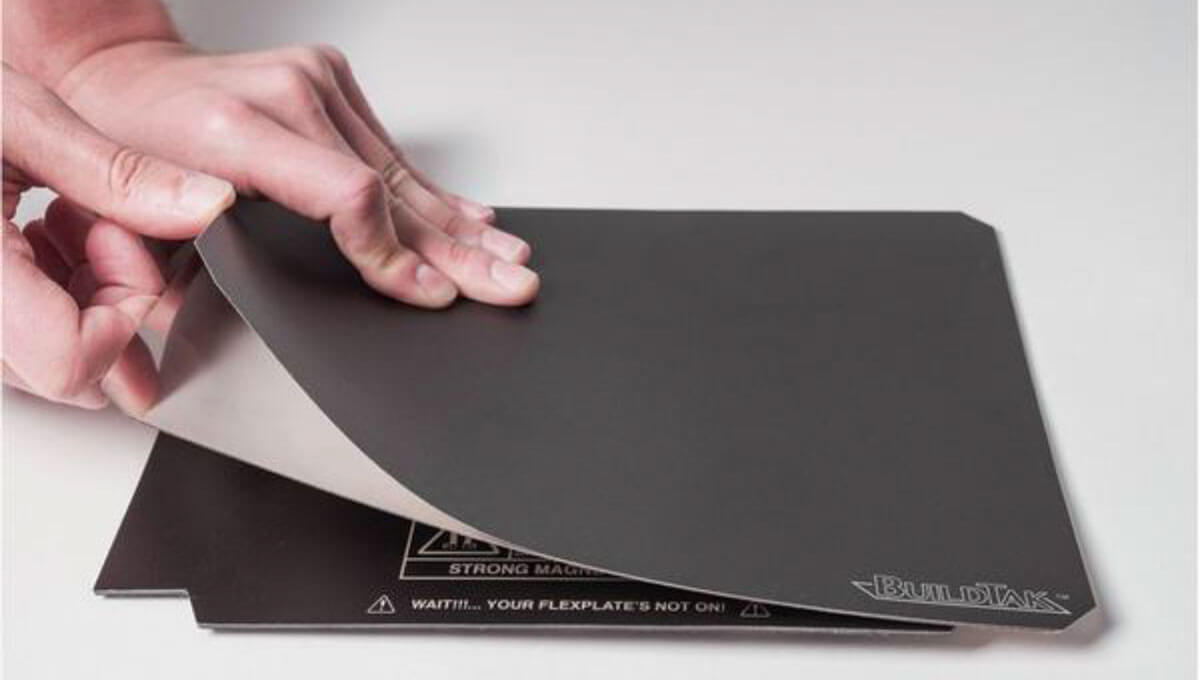
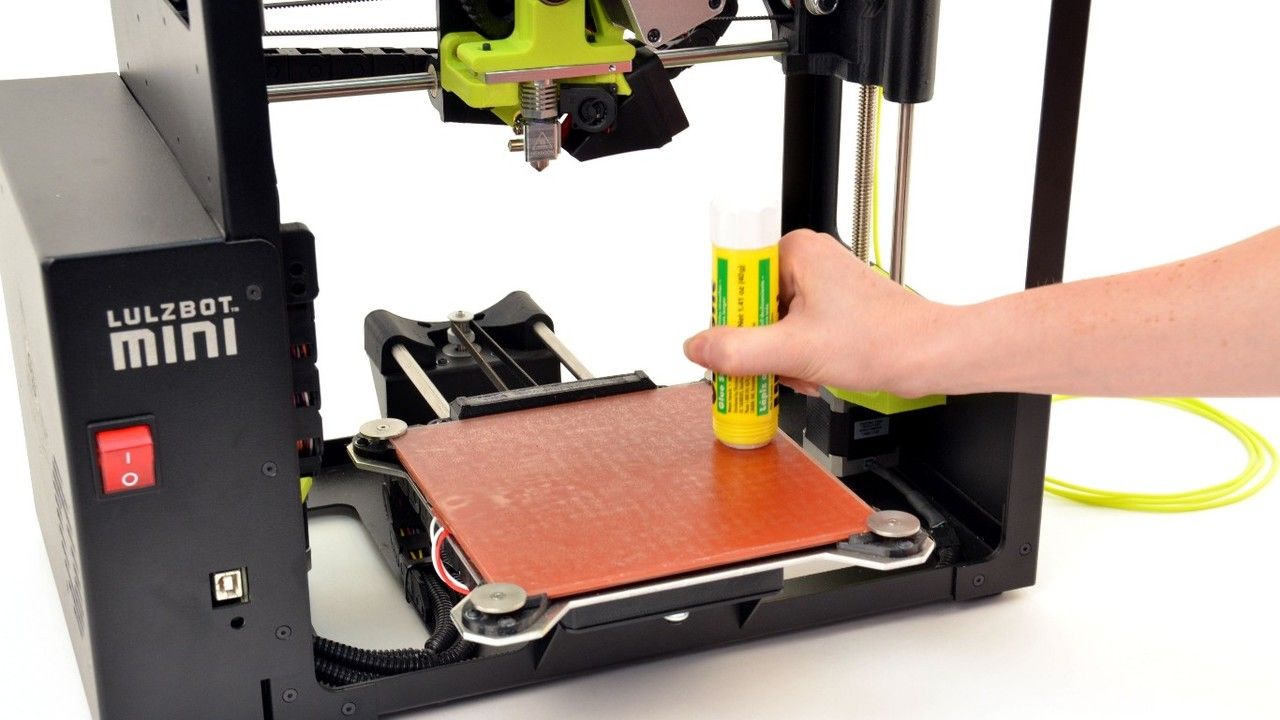
Lastly, before initiating the printing process, make sure your printer is properly calibrated. This includes calibrating the extruder height, bed leveling, and printer temperature. Proper calibration helps maintain print quality and color accuracy throughout the printing process.
By following these steps and considering the necessary aspects, you can prepare your 3D model for multi-color printing with confidence. Embrace the creative possibilities and bring your designs to life in vibrant and eye-catching colors.
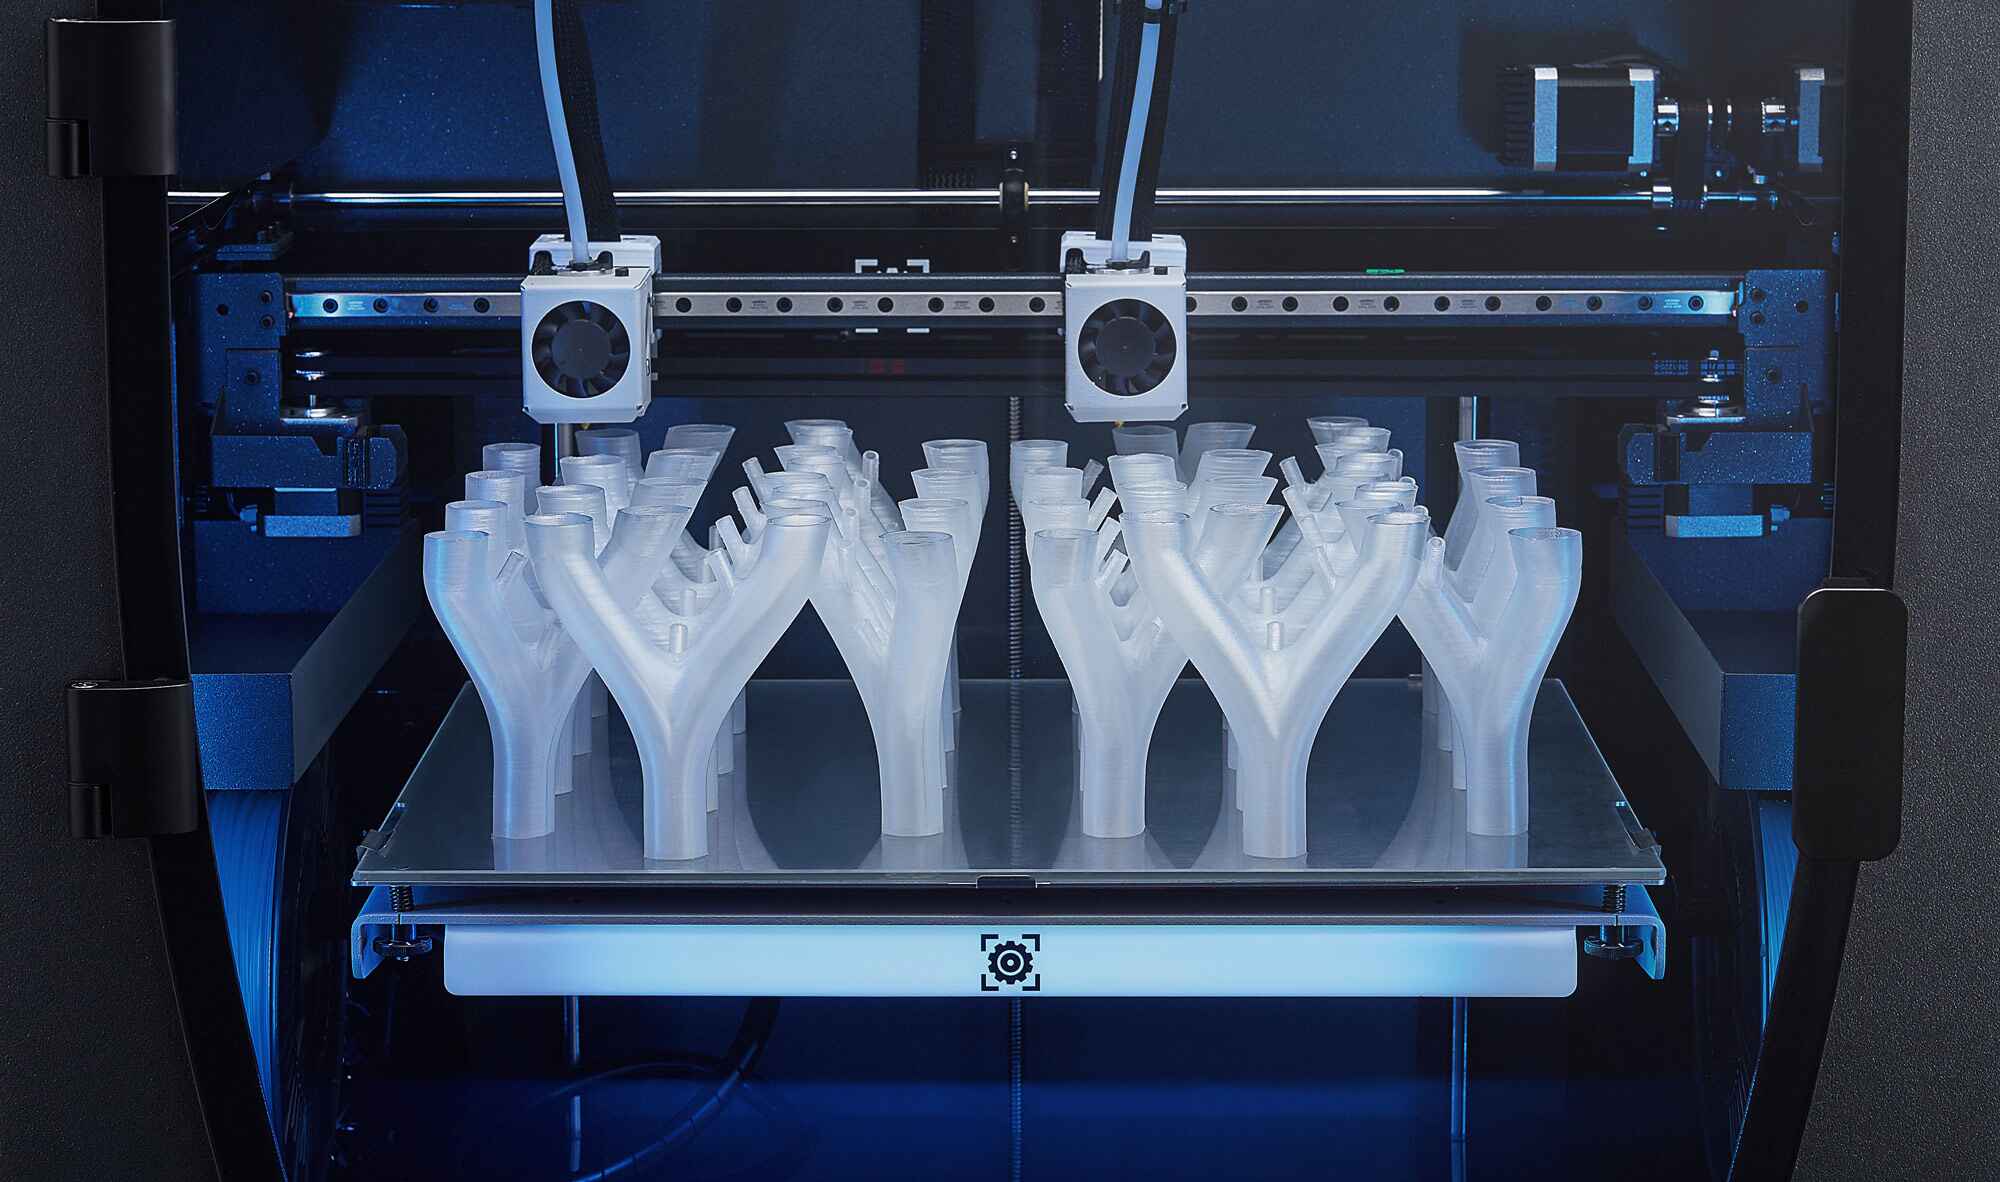
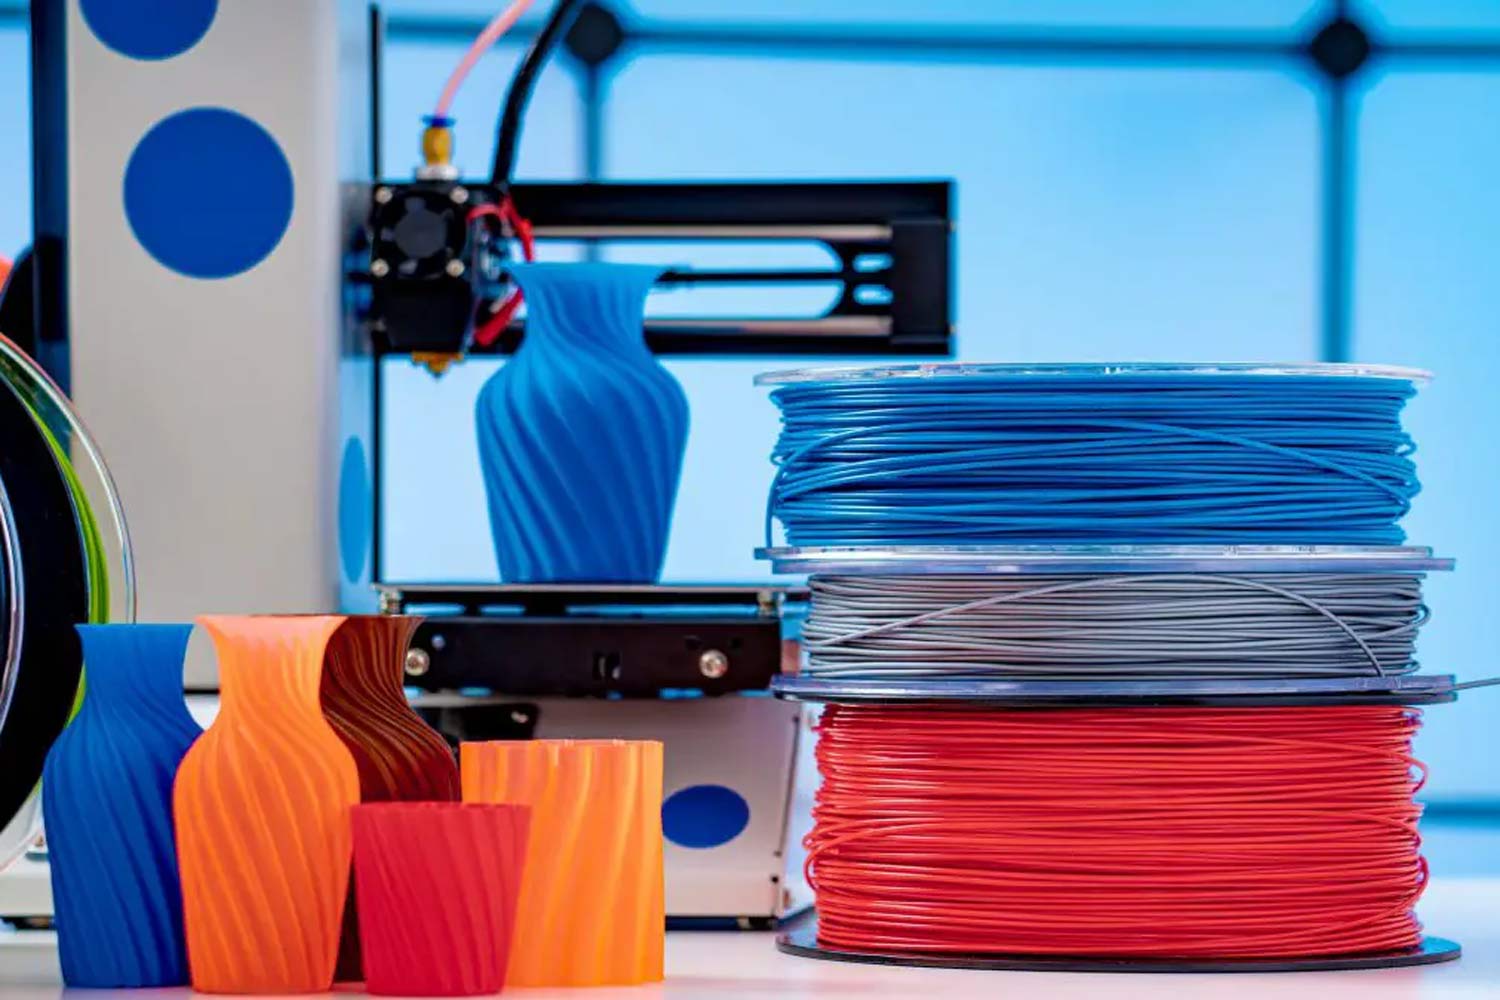
Using Multi-color Filaments in 3D Printing
Unlock a world of vibrant and visually captivating prints by using multi-color filaments in your 3D printing projects. These specialty filaments are specifically designed to create stunning multi-color effects, allowing you to add a new level of creativity to your designs.
Multi-color filaments come in a variety of types and compositions, each offering its own unique characteristics and color possibilities. Here are some popular types of multi-color filaments:
- Gradient Filaments: These filaments feature a gradual transition of colors along the length of the filament. When printed, they create mesmerizing gradient effects, adding depth and dimension to your prints.
- Color-Changing Filaments: These filaments change color in response to external factors such as temperature or exposure to sunlight. They can create dynamic designs with color variations or patterns that shift depending on the environment.
- Mixed Color Filaments: These filaments combine multiple colors in a single strand, resulting in random, speckled, or marbled patterns when printed. They can add a touch of uniqueness and unpredictability to your prints.
- Patterned Filaments: These filaments have predefined patterns or designs embedded within them. When printed, these patterns are visible on the surface of the print, offering intricate details and visual interest.
When using multi-color filaments, it’s essential to consider a few factors to achieve the best results. First, make sure your printer is compatible with these specialty filaments. Check the filament diameter and printing temperature range to ensure it aligns with your printer’s specifications.
It’s also crucial to check the filament’s compatibility with the specific print settings and techniques you plan to use. Different multi-color filaments may have different requirements in terms of nozzle temperature, layer height, and print speed. Experimentation and fine-tuning may be necessary to optimize your print settings for the specific multi-color filament you are using.
Additionally, pay attention to filament handling and storage. Multi-color filaments can be sensitive to moisture and ambient conditions, which can affect their printability and color consistency. Store your filaments in a dry and controlled environment, using airtight containers or desiccant packs to prevent moisture absorption.
Lastly, embrace experimentation and creativity when using multi-color filaments. Explore various color combinations, layering techniques, and gradient effects to produce unique and visually striking prints. Combine different types of multi-color filaments to create intricate patterns and captivating designs.
With the wide range of multi-color filaments available in the market, the possibilities for creativity are endless. Let your imagination run wild and bring your designs to life in a beautiful array of colors and effects.
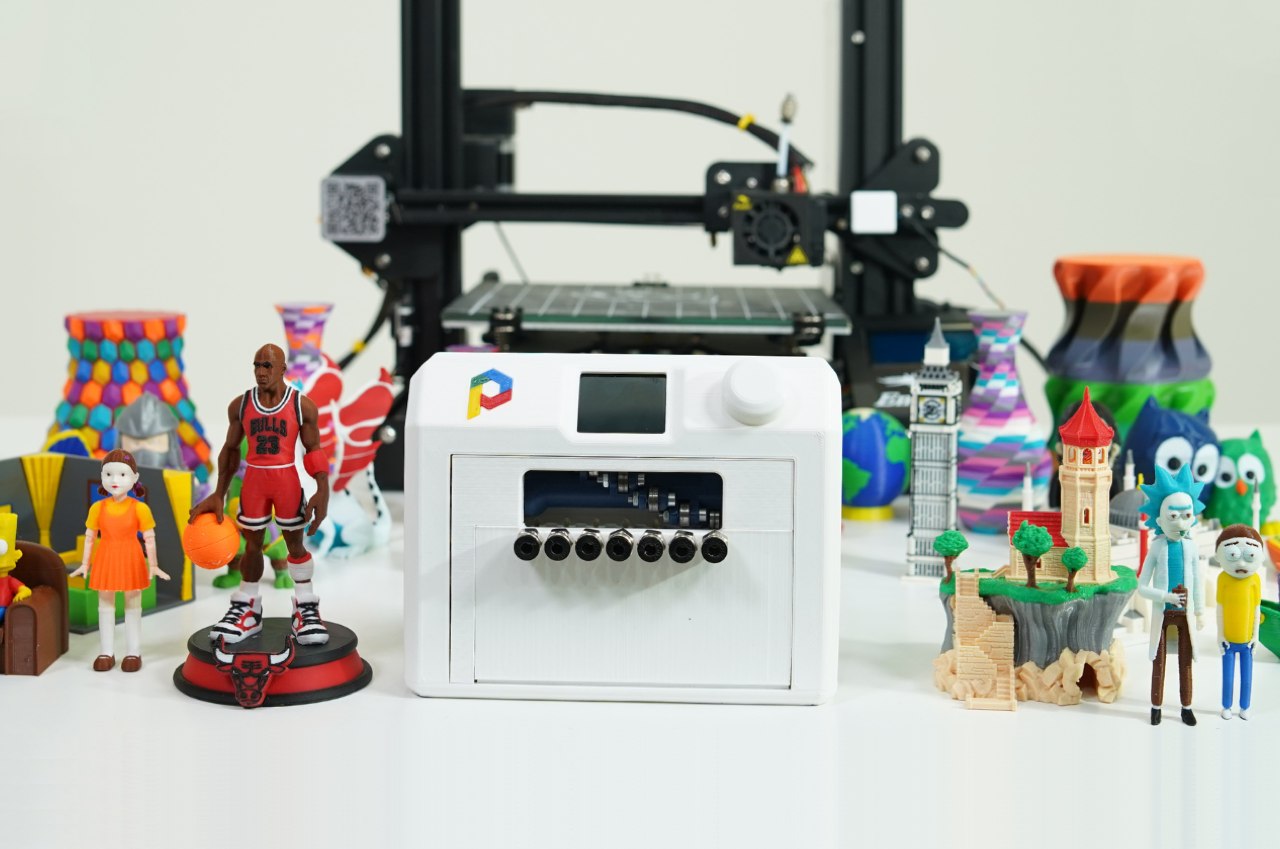
Installing and Calibrating Color-Mixing Extruders
Color-mixing extruders are key components when it comes to achieving accurate and vibrant multi-color prints. These extruders allow for the precise deposition of different colored filaments, enabling smooth color transitions and blends. Proper installation and calibration of these extruders are crucial for optimal performance and print quality.
The installation process will vary depending on the specific model and design of your printer. It is important to carefully follow the manufacturer’s instructions and guidelines provided with the extruder. This typically involves disassembling the existing extruder and attaching the new color-mixing extruder in its place.
During installation, ensure that all connecting parts are securely tightened to prevent any movement or misalignment during printing. Double-check the alignment of the extruder with the nozzle to ensure smooth filament flow and accurate color mixing.
After installation, it is essential to calibrate the color-mixing extruders. Calibration involves adjusting the mixing ratio and extruder settings to achieve the desired color accuracy and consistency in your prints.
Start by setting the mixing ratio, which determines the proportion of each color in the blend. This can be done using the printer’s software or through specific calibration tools provided by the manufacturer. Adjust the mixing ratio based on your desired color intensity and balance.
Next, calibrate the extruder temperature and flow rate. Different filaments may require slightly different temperature settings for optimal print quality. Experiment with different temperatures and flow rates to find the optimal combination for your specific filament and color mixing setup.
It is also important to fine-tune the retraction settings to prevent color bleeding or unwanted mixing during layer changes. Retraction settings control the retraction distance and speed, minimizing the oozing of melted filament when transitioning between colors.
To ensure accurate color reproduction, perform test prints and visually inspect the color transitions, gradients, and overall color consistency. Make adjustments as needed to achieve the desired results.
Regular maintenance of the color-mixing extruders is essential to keep them in optimal working condition. Keep the extruders clean and free from any residual filament that may affect color mixing. Lubricate moving parts (if applicable) to ensure smooth operation.
By carefully installing and calibrating your color-mixing extruders, you can achieve precise and vibrant colors in your multi-color prints. Take the time to understand your printer’s specifications and follow the recommended calibration procedures to unlock the full potential of your color-mixing capabilities.
Printing in Multiple Colors: Step-by-Step Guide
Printing in multiple colors on your 3D printer opens up a world of creativity and visual appeal for your 3D prints. Follow this step-by-step guide to achieve flawless multi-color prints:
Step 1: Prepare your model: Start by selecting a 3D model that you want to print in multiple colors. Ensure the model is properly prepared and optimized for multi-color printing. Consider the design elements and determine which sections of the model will be assigned different colors.
Step 2: Assign colors: Use your slicer software to assign colors to the different parts of your model. Refer to the color chart provided by the manufacturer or use the color assignment tools in your software to accurately assign colors to designated areas of your model.
Step 3: Adjust print settings: Configure the layer height, print speed, and temperature settings in your slicer software according to your printer’s specifications. Make sure to adjust these settings to achieve the best quality and color accuracy for your specific model.
Step 4: Load filaments: Load the required filaments into your printer’s extruders. Ensure that each extruder is properly loaded with the designated color filament based on your color assignment. Make sure the filaments are securely inserted and properly guided through the filament path.
Step 5: Start the print: Initiate the multi-color print job in your slicer software. The printer will begin the printing process, depositing the different colored filaments according to the assigned colors. Monitor the initial layers to ensure correct filament deposition and smooth color transitions.
Step 6: Manage filament changes: During the print, the printer will pause and prompt you to change filaments when transitioning to a different color. Follow the on-screen instructions, unload the previous filament, and load the next filament of the required color. Pay attention to the alignment and make sure the new filament is properly primed before resuming the print.
Step 7: Monitor the print: Keep an eye on the progress of your multi-color print. Check for any issues such as filament jams, extrusion problems, or color bleeding. Make any necessary adjustments to ensure the print continues smoothly and the colors are accurately represented.
Step 8: Finishing touches: After the print is completed, carefully remove the print from the build plate. Clean up any support structures or excess filament, if necessary. Take a moment to admire your masterpiece and check for any imperfections or touch-ups that may be required.
By following these steps, you can successfully print in multiple colors on your 3D printer. With practice and experimentation, you can create stunning and vibrant multi-color prints that showcase your creativity and elevate your 3D printing projects to a whole new level.
Troubleshooting Common Issues in Multi-color Printing
While multi-color printing can produce stunning results, it can also present some challenges. Here are some common issues you may encounter during the multi-color printing process and troubleshooting steps to resolve them:
1. Color Bleeding: Color bleeding occurs when colors mix unintentionally, resulting in smudged or blended colors. To address this issue, ensure that your filament changes are clean and the new filament is properly primed before the extrusion starts. Adjusting retraction settings and reducing the temperature can also help minimize color bleeding.
2. Inconsistent Layering: If you notice uneven color layering or gaps between color transitions, it may indicate a problem with the filament flow or extruder calibration. Check that the extruder is properly calibrated and ensure the filament path is clear of any obstructions or blockages. Adjusting the extrusion multiplier or flow rate in your slicer software can also help improve layer consistency.
3. Filament Jams: A filament jam can occur when the filament gets stuck or tangled during the printing process. To resolve this issue, follow the manufacturer’s instructions for clearing filament jams. Make sure the filament spool is aligned correctly and not tangled or stuck, and check the extruder for any obstructions.
4. Warping or Adhesion Issues: Warping or poor adhesion can affect the quality and stability of your multi-color prints. Consider using a heated bed and applying a suitable adhesive, such as glue stick or 3D printing adhesive, to help improve adhesion. Adjusting the bed leveling and using a raft or brim around the print can also help mitigate warping issues.
5. Incorrect Color Representation: If the colors in your print are not accurately represented, it may be due to calibration or color assignment issues. Ensure that your color assignments are accurately mapped to the corresponding filaments. Calibrate the color-mixing extruders and adjust the print settings to achieve the desired color accuracy and representation.
6. Extrusion Problems: If you are experiencing inconsistent extrusion, under-extrusion, or over-extrusion, it can impact the color deposition and overall print quality. Check that the extruder gears or gears are clean and properly aligned. Calibrate the extruder steps/mm to ensure accurate filament feeding. Adjusting the temperature and flow settings can also help optimize extrusion.
7. Clogged Nozzle: A clogged nozzle can result in uneven filament flow and poor color deposition. To unclog the nozzle, refer to the manufacturer’s instructions for the proper cleaning procedure. You may need to disassemble the extruder and use cleaning tools or filament purge techniques to remove any blockages or dried filament.
If you encounter any issues during multi-color printing, it’s important to approach troubleshooting methodically and systematically. Consult the user manual or seek guidance from the printer manufacturer or online forums and communities for specific troubleshooting steps related to your printer model.
With patience, persistence, and a systematic approach, you can overcome these common issues and achieve high-quality multi-color prints that showcase the true potential of your 3D printer.
Tips for Achieving Stunning Multi-color Prints
Creating stunning multi-color prints on your 3D printer requires a combination of skill, technique, and attention to detail. Here are some valuable tips to help you achieve outstanding results:
1. Understand Color Theory: Familiarize yourself with color theory principles to create harmonious and visually appealing color combinations. Consider using complementary, analogous, or triadic color schemes to enhance the overall impact of your prints.
2. Choose Colors Wisely: Select colors that complement your design and evoke the desired emotions or atmosphere. Avoid using colors that may clash or overpower each other, unless intentional for specific effects.
3. Optimize Layer Height: Using a smaller layer height can enhance the details and color transitions in your prints. Experiment with different layer heights to find the optimal setting for your specific model and filament.
4. Fine-tune Color Mixing: Calibrating the color-mixing extruders and adjusting the mixing ratios can significantly impact the color accuracy and blending in your prints. Take the time to fine-tune these settings to achieve the desired color effects.
5. Experiment with Filament Types: Don’t be afraid to try different types of multi-color filaments, such as gradient, color-changing, or patterned filaments. Each type can create unique visual effects and add depth to your prints.
6. Use Support Structures Strategically: When designing multi-color prints, strategically place support structures to minimize their impact on the visible surfaces of your model. Consider the color of the support material and how it may affect the overall aesthetics of your print.
7. Print Slowly: Slowing down the print speed can help reduce the chances of color bleeding or color inaccuracies, especially when transitioning between different colors. Experiment with different print speeds to find the optimal balance between speed and print quality.
8. Post-processing Techniques: Consider applying post-processing techniques, such as sanding, painting, or applying clear coatings, to enhance the visual appeal of your multi-color prints. These techniques can add depth, gloss, or texture to your finished prints.
9. Practice Patience and Persistence: Achieving stunning multi-color prints requires practice and experimentation. Don’t be discouraged by initial challenges or imperfect results. Learn from each print and make iterative improvements to refine your skills.
10. Consult and Share Knowledge: Engage with the 3D printing community, join forums or social media groups, and participate in discussions. Sharing knowledge and experiences with fellow enthusiasts can broaden your understanding and inspire new ideas.
Embrace these tips and techniques to elevate your multi-color prints to new levels of creativity and visual impact. With practice and a keen eye for detail, you can produce stunning multi-color prints that will capture attention and amaze viewers.
Conclusion
Printing in multiple colors on a 3D printer opens up a world of possibilities for creativity and visual impact. With the right techniques and tools, you can achieve stunning multi-color prints that showcase the true potential of your 3D printer.
In this article, we explored various aspects of multi-color printing, from choosing the right 3D printer to understanding color-mixing techniques and preparing your 3D models. We also provided step-by-step guidance for printing in multiple colors and troubleshooting common issues that may arise.
By following the tips and techniques outlined in this article, you can optimize your print settings, select the right filaments, and fine-tune your color-mixing capabilities. This will enable you to create vibrant, visually appealing multi-color prints that capture attention and amaze viewers.
Remember to experiment, be patient, and continue learning as you embark on your multi-color printing journey. Each print is an opportunity for growth and improvement, refining your skills and expanding your creative horizons.
Whether you are a hobbyist, artist, designer, or engineer, multi-color printing offers a whole new dimension to your 3D printing projects. Embrace the beauty of color, unleash your imagination, and let your designs come to life in a stunning array of vibrant shades and gradients.
So, gather your filaments, calibrate your extruders, and dive into the world of multi-color printing. Explore, create, and share your masterpieces with the world!