Introduction
3D printing has revolutionized the way we can create complex and intricate objects. This advanced technology allows us to bring our digital designs to life by printing them layer by layer. However, when it comes to printing objects with overhangs or intricate geometries, supports are often needed. These supports act as scaffolding to ensure that the printed object maintains its structural integrity during the printing process.
While supports are essential for successful 3D printing, they can be a hassle to remove once the printing is complete. Removing supports requires careful attention and the right tools to ensure that the finished object remains intact and undamaged.
In this guide, we will explore the importance of removing supports in 3D printing and provide you with a step-by-step process to do so effectively. We will also discuss the necessary tools, safety precautions, alternative methods, and share useful tips for easier support removal. By following these guidelines, you can achieve cleaner and more professional-looking 3D printed objects.
What are supports in 3D printing?
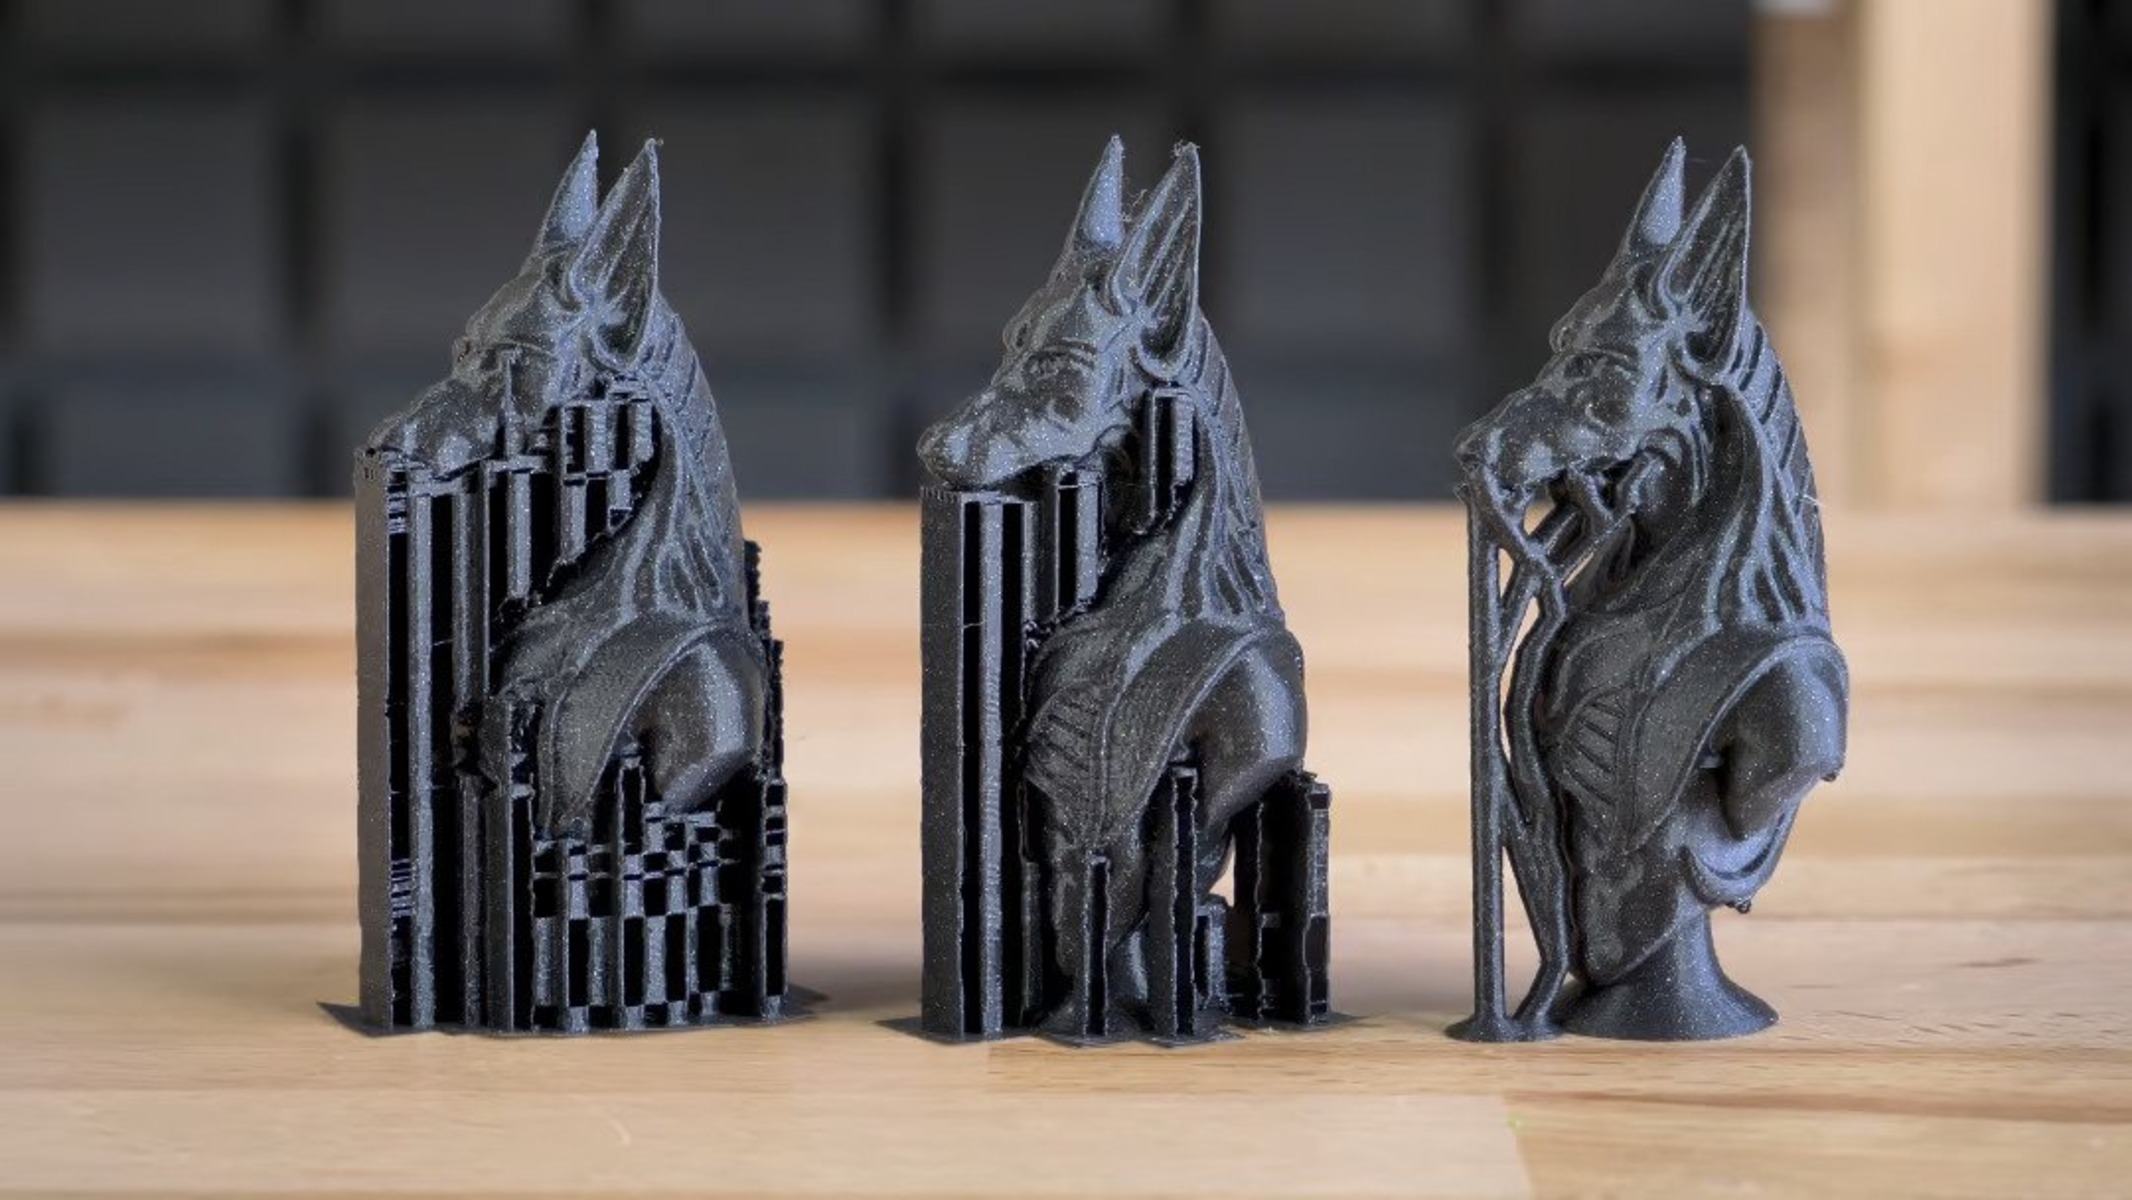
Supports in 3D printing refer to additional structures that are printed alongside the main object in order to provide stability and prevent deformations during the printing process. These supports act as temporary scaffolding, allowing the printer to create overhangs, bridges, and intricate details that would otherwise be impossible to print without external support.
Supports are typically made from the same material as the main object, ensuring compatibility and easy removal once the printing is complete. They are designed to be easily broken or detached from the object, leaving minimal marks or traces behind.
The need for supports arises when the angle between the printed layer and the overhang exceeds the printer’s maximum limit. When such angles occur, the printer cannot successfully print the layer in mid-air without supports. The supports help to maintain the integrity of the design and prevent collapsing or warping.
The requirement for supports depends on the complexity of the design and the capabilities of the 3D printer being used. Designs with significant overhangs, bridges, or intricate details will likely necessitate the use of supports. However, certain 3D printers, such as those with dual or multi-extruders, can use dissolvable materials for the supports, making their removal much easier and eliminating the need for post-printing support removal.
It is important to note that supports are not always needed for every 3D printing project. Simple designs or those with minimal overhangs may not require any additional support structures. In such cases, the printing process can be faster and the post-printing cleanup much easier.
Why do you need to remove supports?
After successfully 3D printing an object with supports, the next crucial step is to remove these supports before considering the print job complete. There are several reasons why removing supports is necessary:
1. Aesthetic appearance: Supports are typically printed with the same material as the main object, but they can leave behind marks or blemishes that detract from the overall quality and appearance of the print. Removing the supports ensures a cleaner and more polished final product.
2. Functionality: In some cases, supports may affect the functionality of the 3D printed object. Extra support structures can hinder the movement of moving parts or interfere with the object’s intended purpose. Removing the supports allows the object to function properly as intended.
3. Surface finish: Supports can leave behind rough or uneven surfaces on the print. By removing them, you can achieve a smoother finish, making it easier to paint, sand, or apply other post-processing techniques.
4. Material savings: Supports require additional material during the printing process, which can increase printing costs. By removing the supports, you can save on material expenses and optimize the printing process.
5. Post-processing: If you plan to apply additional post-processing techniques such as sanding, painting, or finishing, removing the supports is essential. Leaving supports attached during these processes can make it difficult to achieve the desired outcome.
6. Weight and balance: Supports may add unnecessary weight to the printed object, affecting its balance or structural stability. Removing them allows the object to remain lightweight and properly balanced.
7. Customization and modification: Once the supports are removed, you have the freedom to modify or customize the 3D printed object to suit your specific needs. Removing supports is a crucial step before further modifications such as drilling holes or attaching additional components.
By removing supports, you ensure that the 3D printed object looks its best, functions properly, and provides the desired finish and functionality. Taking the time to remove supports properly will result in a high-quality print that can be used or displayed with pride.
Tools required for removing supports
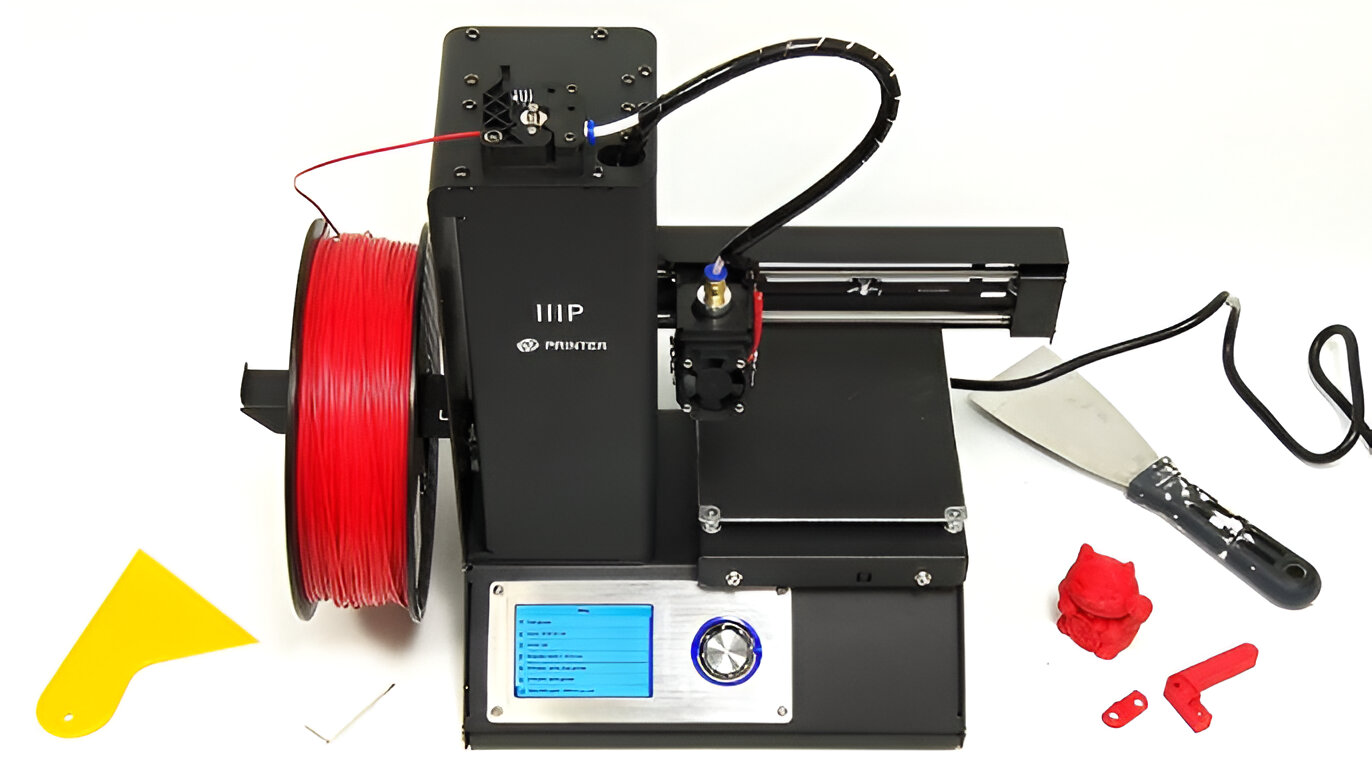
To successfully remove supports from your 3D printed objects, you will need a few essential tools. These tools will help you remove the supports effectively and minimize the risk of damaging the print. Here are the key tools you should have:
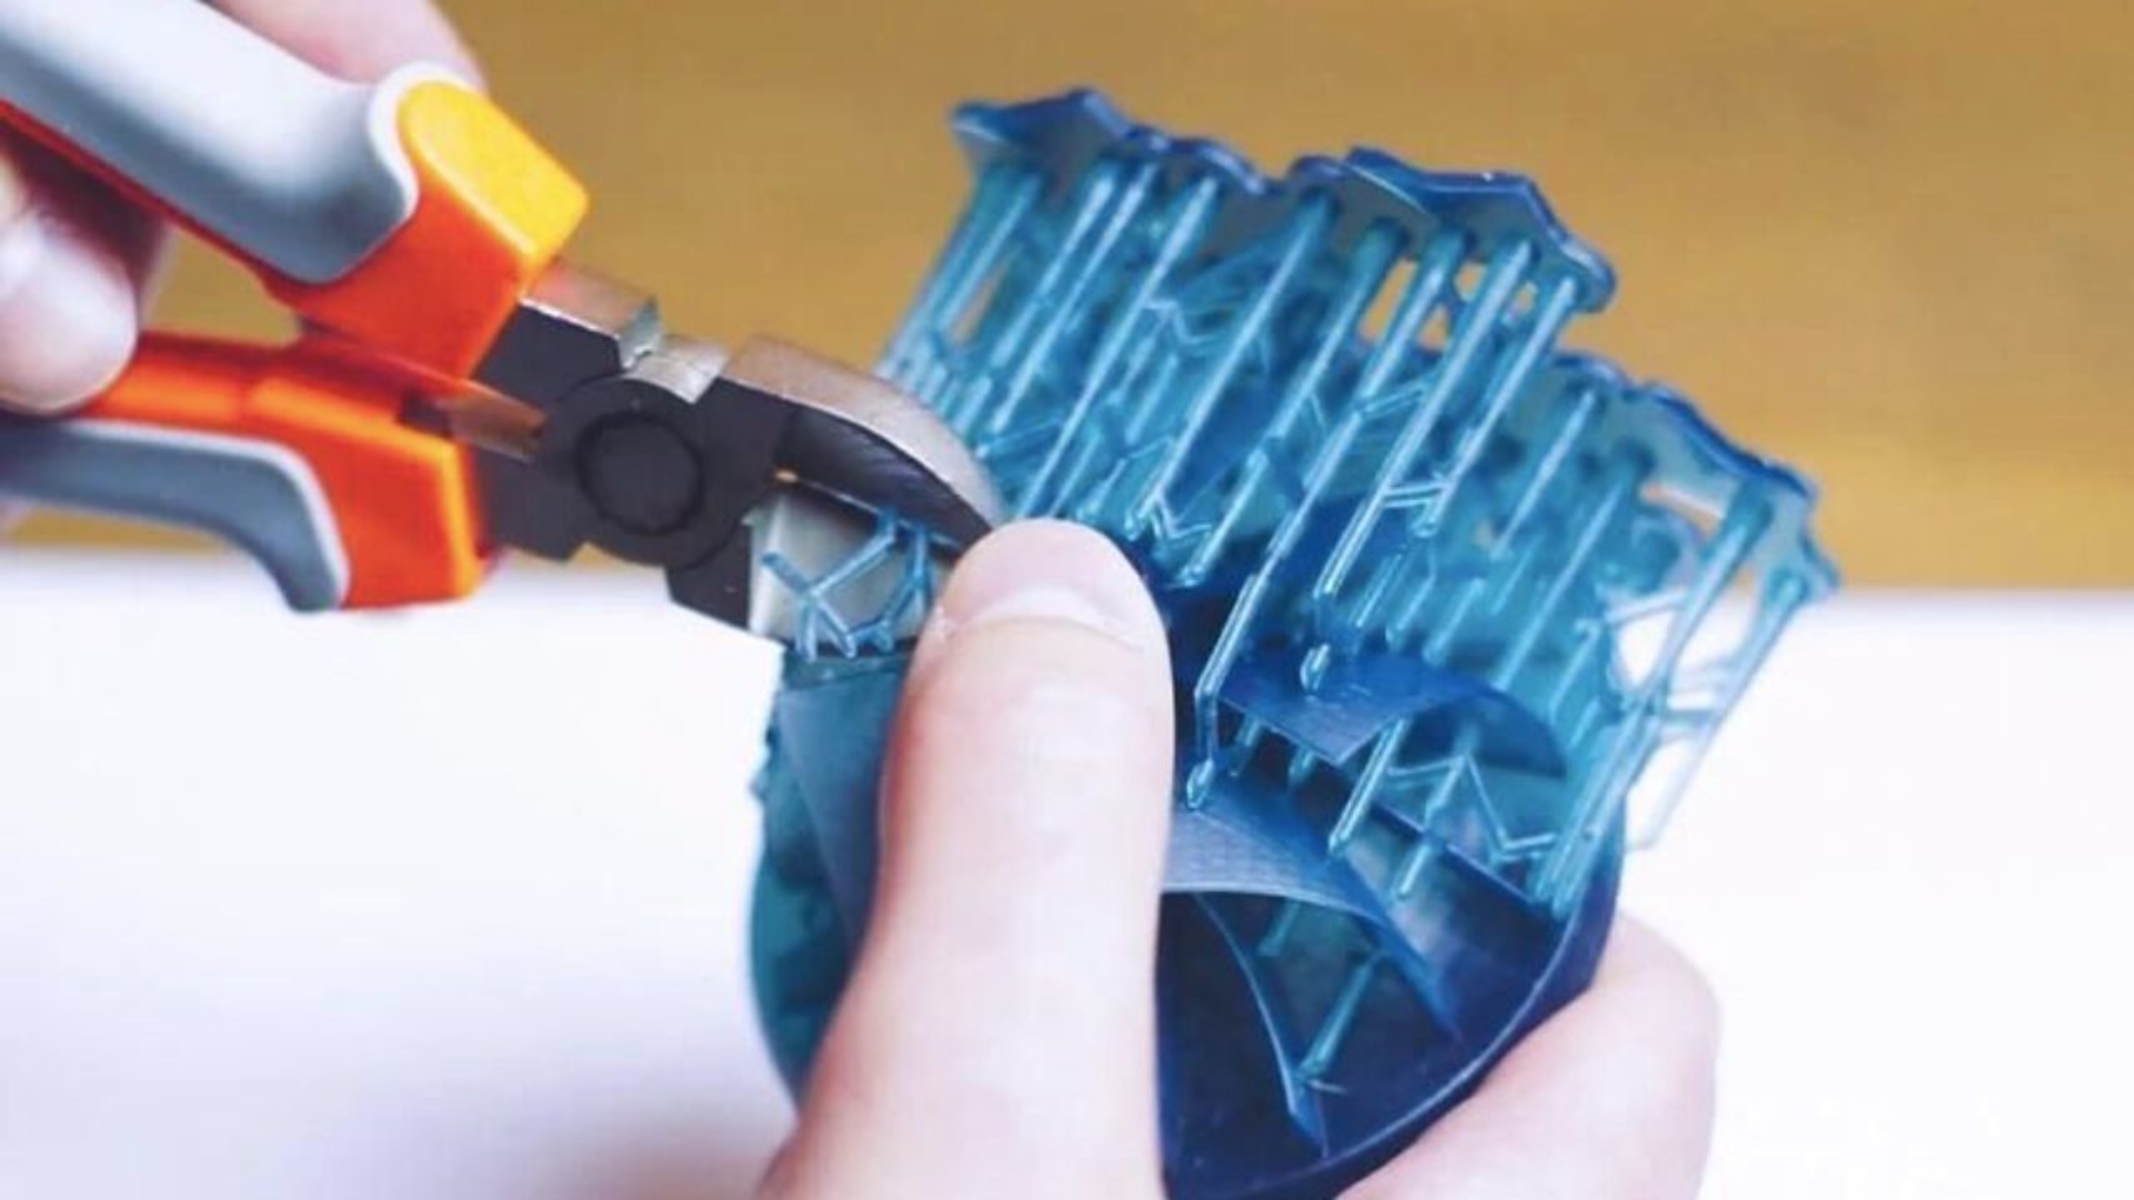
1. Flush cutters or side cutters: These small cutters with angled blades are perfect for cutting away the supports close to the surface of the print. They allow you to trim supports without leaving noticeable marks or damaging the print.
2. Tweezers or needle-nose pliers: These tools are useful for gripping and removing small or hard-to-reach support remnants. They provide better control and precision when removing supports from intricate or delicate prints.
3. Scalpel or hobby knife: A sharp scalpel or hobby knife can be used to carefully slice through supports that may be difficult to access with cutters. It allows for more precise and controlled cutting, especially in tight spaces.
4. Needle files or sandpaper: Depending on the print material and desired finish, needle files or sandpaper can be used to smooth out any rough edges or marks left behind by the supports. They help to achieve a clean and polished surface.
5. Safety glasses or goggles: While removing supports, small fragments or shards can sometimes fly off. Protect your eyes by wearing safety glasses or goggles to prevent any potential injuries.
6. Protective gloves: During support removal, certain prints or support materials may have sharp edges that can cause cuts or scrapes. Wearing protective gloves provides an extra layer of safety and prevents any potential injuries.
7. Compressed air or brush: Dust and debris can accumulate during the support removal process. Using compressed air or a brush allows you to clean the surface of the print, ensuring it is free from any unwanted residue.
Having these tools readily available ensures that you have everything you need to effectively and safely remove supports from your 3D printed objects. By using the proper tools, you can achieve cleaner results, minimize the risk of damage, and save time during the post-printing process.
Safety precautions while removing supports
When removing supports from 3D printed objects, it is important to prioritize safety to prevent accidents or damage to the print. Here are some essential safety precautions to keep in mind:
1. Wear protective gear: Always wear safety glasses or goggles to protect your eyes from any flying debris or sharp edges that may occur during the support removal process. Additionally, wearing protective gloves will safeguard your hands against any potential cuts or scrapes.
2. Work in a well-ventilated area: Some 3D printing materials, such as certain types of plastics, may release harmful fumes or particles when cut or sanded. Ensure that you are working in a well-ventilated area to minimize inhalation of any potentially toxic substances.
3. Handle sharp tools with care: Be cautious when using sharp tools like cutters, knives, or files. Keep these tools away from your body and surfaces to prevent accidental cuts or injuries. Always cut or trim away from yourself and maintain a firm grip on the tool handles.
4. Use proper tool techniques: Familiarize yourself with proper techniques for using the tools required for support removal. For example, use flush cutters with a controlled and steady motion to avoid accidentally damaging the print. Always be mindful of your surroundings and what you are cutting.
5. Avoid excessive force: Apply gentle and controlled pressure when removing supports. Excessive force can lead to accidental slips or damage to the print. Take your time and work steadily to ensure clean removal without causing any unnecessary harm.
6. Be cautious of hot surfaces: If you are using heated bed printers or freshly printed objects that are still warm, be careful not to touch or place any tools on the hot surfaces. Wait for the objects to cool down before proceeding with support removal to prevent burns or damage.
7. Clean up debris: Regularly clean the work area during and after support removal. Use compressed air or a brush to remove any dust or debris that may accumulate. This keeps your workspace tidy and reduces the risk of accidents caused by slips or falls.
By following these safety precautions, you can minimize the risk of accidents and ensure a safe support removal process. Always prioritize your well-being and the integrity of the 3D printed object when handling tools and working with supports.
Step-by-step guide to removing supports
Removing supports from 3D printed objects requires careful attention and the right techniques to ensure a clean and undamaged result. Here is a step-by-step process to help you effectively remove supports:
1. Inspect the print: Carefully examine the 3D printed object to identify the areas where supports were used. Take note of any delicate or intricate parts that may require extra caution during removal.
2. Gather your tools: Ensure that you have all the necessary tools for support removal, such as flush cutters, tweezers or pliers, a scalpel or hobby knife, needle files, and safety gear. Having everything ready beforehand will save time and keep the process organized.
3. Start with large supports: Begin by removing the larger and more accessible supports first. Use the flush cutters to carefully cut close to the surface of the print, leaving minimal residue behind. Take your time and work methodically to avoid damaging the printed object.
4. Trim excess support remnants: After removing the larger supports, use the tweezers or needle-nose pliers to grip and remove any remaining support remnants. Be gentle and patient to avoid putting undue stress on the print.
5. Address hard-to-reach areas: For areas that are difficult to access with cutters or pliers, use the scalpel or hobby knife to carefully slice through the supports. Exercise caution to avoid accidentally cutting the print. Take your time and work slowly to ensure precision.
6. Smooth and refine the surface: Once all the supports have been removed, examine the print for any rough edges or small marks left behind. Use needle files or sandpaper to gently smooth out these areas, ensuring a polished finish.
7. Clean the print: Use compressed air or a brush to remove any dust or debris that may have accumulated during the support removal process. This step is particularly important if you plan to apply any post-processing techniques, such as painting or finishing.
8. Inspect the final result: Once the supports have been fully removed and the print has been cleaned, carefully inspect the final result. Look for any visible marks or imperfections and address them accordingly with additional smoothing or refinishing techniques.
By following this step-by-step guide, you can effectively remove supports from your 3D printed objects while minimizing the risk of damage. Take your time, exercise caution, and prioritize the integrity of the print throughout the support removal process.
Alternative methods to remove supports
While using traditional tools like cutters and pliers is the most common approach to remove supports from 3D printed objects, there are alternative methods that can be equally effective. These alternative methods may be preferable in certain situations or for specific types of prints. Here are some alternative methods to consider:
1. Chemical support removal: Some 3D printing materials, such as those made from water-soluble supports, can be dissolved using chemical solutions. These solutions typically consist of water and a solvent that dissolves the supports without affecting the main print. This method can be particularly useful for complex or delicate prints that are difficult to clean using traditional methods. However, it requires access to specific materials and careful handling of the chemicals.
2. Heat removal: For certain materials like PLA (Polylactic Acid), supports can be softened or melted away using heat. This can be done by using a heat gun or a hairdryer to gradually heat the supports until they become pliable and can be easily peeled or scraped off. However, caution must be taken to avoid heating the main object excessively and to prevent warping or deformation.
3. Sanding: Sanding is another alternative method to remove supports. Using sandpaper of various grits, you can carefully sand away the supports, starting with a coarse grit and gradually moving to finer grits for a smooth finish. This method requires patience and precision to avoid scratching or damaging the main print. It is particularly useful for removing any residual marks left by supports and achieving a polished surface.
4. Water jet or ultrasonic cleaning: Water jet or ultrasonic cleaning can be effective for prints that have delicate and intricate details. These methods use high-pressure water or ultrasonic waves to dislodge and remove the supports. They are especially useful for prints that are difficult to access with traditional tools, but may require specialized equipment for effective results.
5. Print orientation optimization: Another alternative approach to minimize the need for extensive support removal is to optimize the orientation of the print during the 3D modeling stage. By adjusting the design’s angles and orientation, you can reduce the amount of support material needed or orient the overhangs in a way that minimizes the contact points of the supports with the main object. This method requires careful consideration during the design phase but can greatly simplify support removal.
It’s important to note that not all alternative methods will work for every type of print or material. The suitability of each method will depend on factors such as the material used, the complexity of the print, and personal preferences. Experimentation and finding the method that works best for your specific situation may be necessary.
By exploring alternative methods, you can find the most suitable approach for removing supports from your 3D printed objects, saving time and effort while achieving high-quality results.
Tips and tricks for easier support removal
Removing supports from 3D printed objects can sometimes be a challenging task. However, by incorporating these tips and tricks into your support removal process, you can make the task easier and achieve better results:
1. Optimize support settings: Before printing, review your slicing software’s support settings. Adjust the support density, angle, and pattern to minimize the amount of support material needed. This can make support removal easier and reduce the risk of damaging the print.
2. Print with breakaway supports: Consider using breakaway supports, which are specifically designed to be easier to remove. These supports are more brittle, allowing them to be easily snapped or broken away from the print.
3. Make strategic cuts: When removing supports with cutters or knives, make strategic cuts close to the print surface. By cutting as close as possible to the print, you minimize the amount of support material that needs to be removed. However, exercise caution to avoid cutting into the print itself.
4. Use a heat source: For certain materials, applying heat can make support removal easier. Use a heat gun or hairdryer to soften the supports, making them more pliable and easier to peel or scrape away. Remember to carefully control the heat and avoid overheating the print.
5. Try freezing: Some materials become more brittle when frozen, making support removal easier. Place the 3D printed object in a freezer for a short period of time, then gently snap or scrape away the supports. Be cautious not to freeze the print for too long, as it could affect the overall integrity of the object.
6. Experiment with solvents: For prints with water-soluble supports, consider using a water-soluble support removal solution. Dip the print in the solution to dissolve the supports, then rinse the object clean. Ensure you follow proper safety protocols and handle the solvents with care.
7. Post-process with sanding: After removing the bulk of the supports, use sandpaper with varying grits to smooth out any remaining marks or rough edges. By gradually progressing to finer grits, you can achieve a polished finish on the print.
8. Work in stages: If the print has complex or extensive supports, consider removing them in stages. Remove the supports that are easiest to access first, then gradually work towards the more intricate or hard-to-reach areas. This approach can make support removal more manageable and reduce the risk of accidental damage.
Remember to be patient and take your time when removing supports. Rushing the process can lead to mistakes or damage to the print. Carefully assess the print and choose the most appropriate techniques and tools for the task at hand. With practice and experience, support removal will become easier and more efficient.
Conclusion
Removing supports from 3D printed objects is an essential step in achieving clean and professional-looking prints. By understanding the purpose of supports, utilizing the right tools, and following proper techniques, you can successfully remove supports while minimizing the risk of damaging the print.
In this guide, we explored the importance of removing supports and the reasons behind it. We discussed the tools required for support removal and emphasized the importance of safety precautions to ensure a safe working environment. Additionally, we provided a step-by-step guide to follow during the support removal process, as well as alternative methods that can be used under specific circumstances.
We also shared tips and tricks to make support removal easier and more efficient, such as optimizing support settings, strategically cutting supports, utilizing heat or freezing, experimenting with solvents, and employing post-processing techniques like sanding.
By implementing these recommendations and continually refining your support removal techniques, you can achieve cleaner and more professional-looking 3D prints. Remember to take your time, exercise caution, and prioritize the integrity and aesthetics of the print throughout the support removal process.
With practice and experience, you will become more adept at support removal, allowing you to unlock the full potential of 3D printing and create intricate and complex designs that are support-free and visually stunning.