Introduction
3D printing has revolutionized the manufacturing industry, allowing us to bring our creative ideas to life. However, one challenge that arises when using a 3D printer is the need for supports. Supports are structures that are printed alongside the main object to provide stability and prevent sagging or collapsing during the printing process. While supports are essential for complex designs, removing them can be a painstaking task.
Whether you are a beginner or an experienced 3D printing enthusiast, learning how to remove 3D printer supports is crucial to achieving a clean and professional-looking final product. In this guide, we will explore various methods and techniques to efficiently remove supports from your 3D prints.
Before we dive into the different removal methods, it’s important to understand why supports are necessary in the first place. Supports are typically added to areas of a 3D print that have overhangs, bridges, or intricate details that would otherwise be impossible to print without additional support.
The main goal of removing supports is to leave behind a smooth and flawless surface on your 3D print. A poorly removed support can leave visible marks, scarring, or even damage the delicate structure of your creation. Therefore, it’s essential to use the right tools and techniques for an effective support removal process.
What are 3D Printer Supports?
3D printer supports are temporary structures that are printed alongside the main object to provide stability during the printing process. These supports act as a scaffolding system, preventing sagging, warping, or collapse of the print during the build. They are typically printed in a material that is compatible with the main filament being used, such as PLA or ABS.
The placement of supports is determined by the 3D modeling software or slicer program used to prepare the print. The software analyzes the model and identifies areas that require support due to overhangs, bridges, or intricate details. It then generates a support structure that conforms to the shape of the object, providing necessary reinforcement during the printing process.
Supports can take various forms, including columns, grids, or lattice structures, depending on the software settings and the complexity of the object. They are printed in a way that allows easy removal once the print is complete.
While supports are a vital component of successful 3D printing, their presence can impact the overall appearance of the final print. Removing the supports correctly is crucial to ensure a smooth and blemish-free surface on your desired object. Improper removal can leave visible marks, scars, or damage delicate details, compromising the quality of the print.
It’s important to note that not all 3D prints require supports. Simple designs or prints with minimal overhangs may not need additional support structures. However, for more complex and intricate models, supports are usually necessary to achieve accurate and high-quality results.
Now that we understand what 3D printer supports are and why they are crucial, let’s explore different methods and techniques to effectively remove them from your prints.
Why Remove 3D Printer Supports?
Removing 3D printer supports is an essential step in the post-processing of your prints. While supports are necessary during the printing process to ensure structural integrity, leaving them on the final print can have several drawbacks.
Firstly, supports can leave visible marks and scars on the surface of your print. These marks can be particularly noticeable if the supports are made from a different material or color than the main print. Removing the supports carefully ensures a smooth and flawless surface, enhancing the overall aesthetics of your print.
Secondly, supports can hide intricate details and features of your model. When supports are attached to delicate or intricate parts, they can obstruct the visibility of those details. Removing the supports allows you to fully appreciate and showcase the intricate design elements of your print.
Furthermore, leaving supports on your print can affect the functionality of the object. If supports are not removed properly, they can interfere with moving parts or mechanisms, impeding the intended functionality of the print. Carefully removing the supports ensures that your print can function as intended.
Additionally, supports can impact the dimensional accuracy and tolerance of your print. Depending on the design and quality of the supports, they can introduce slight deviations or inconsistencies in the dimensions of your print. By removing the supports, you can ensure that your print maintains its desired dimensions and tolerances.
Lastly, removing supports is necessary if you plan on painting or post-processing your print. Supports can create unwanted texture or surface irregularities that can affect the outcome of your post-processing techniques. Removing the supports allows you to have a clean and smooth surface, providing a better canvas for painting or other finishing techniques.
By understanding the importance of removing 3D printer supports, you can ensure that your prints look their best and function properly. In the following sections, we will explore different methods and techniques for removing supports effectively and efficiently.
Tools and Materials needed
Before we delve into the various methods of removing supports from your 3D prints, let’s first gather the necessary tools and materials:
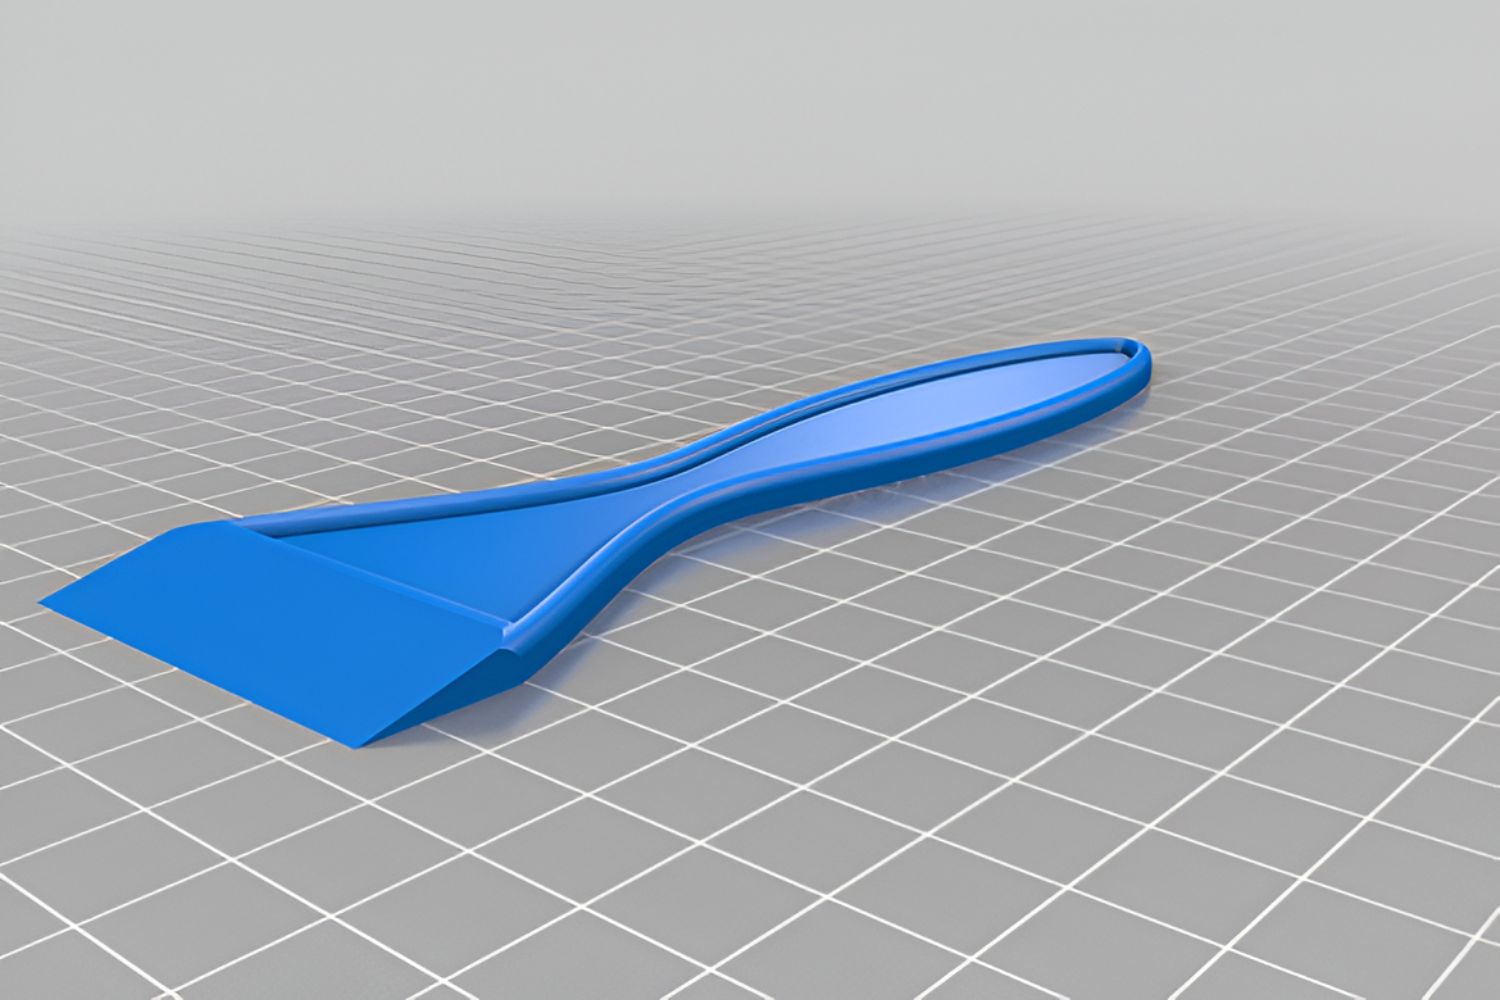
- Flush Cutters: These are small, sharp cutters that are ideal for snipping off supports close to the print. Look for cutters with a fine tip for precision.
- X-Acto Knife: A precision knife with a sharp, replaceable blade is useful for carefully slicing through supports and removing them from hard-to-reach areas.
- Needle Files: These small, fine files are handy for smoothing out the rough edges left behind after removing supports. They can also be used to clean up any remaining support fragments.
- Sanding Tools: Sandpaper or sanding sponges of various grits (ranging from coarse to fine) can be used to further smooth the surface of your print, especially in areas where supports were attached.
- Heat Gun or Hair Dryer: Applying heat to the supports can make them easier to remove, especially if they are made from a material that softens with heat.
- Dissolvable Support Material: If your printer and filament support it, using a dissolvable support material can simplify the removal process. PLA prints can be paired with PVA supports, while ABS prints can utilize HIPS supports.
- Fine-tipped Pliers: These can be useful for carefully gripping and pulling out support fragments that may be stuck inside intricate parts of your print.
- Protective Gloves and Safety Glasses: It’s important to protect yourself while working with tools and removing supports. Wear gloves to protect your hands and safety glasses to shield your eyes from any potential flying debris.
Having these tools and materials ready will make the support removal process smoother and ensure that you have everything you need to achieve clean and professional-looking prints.
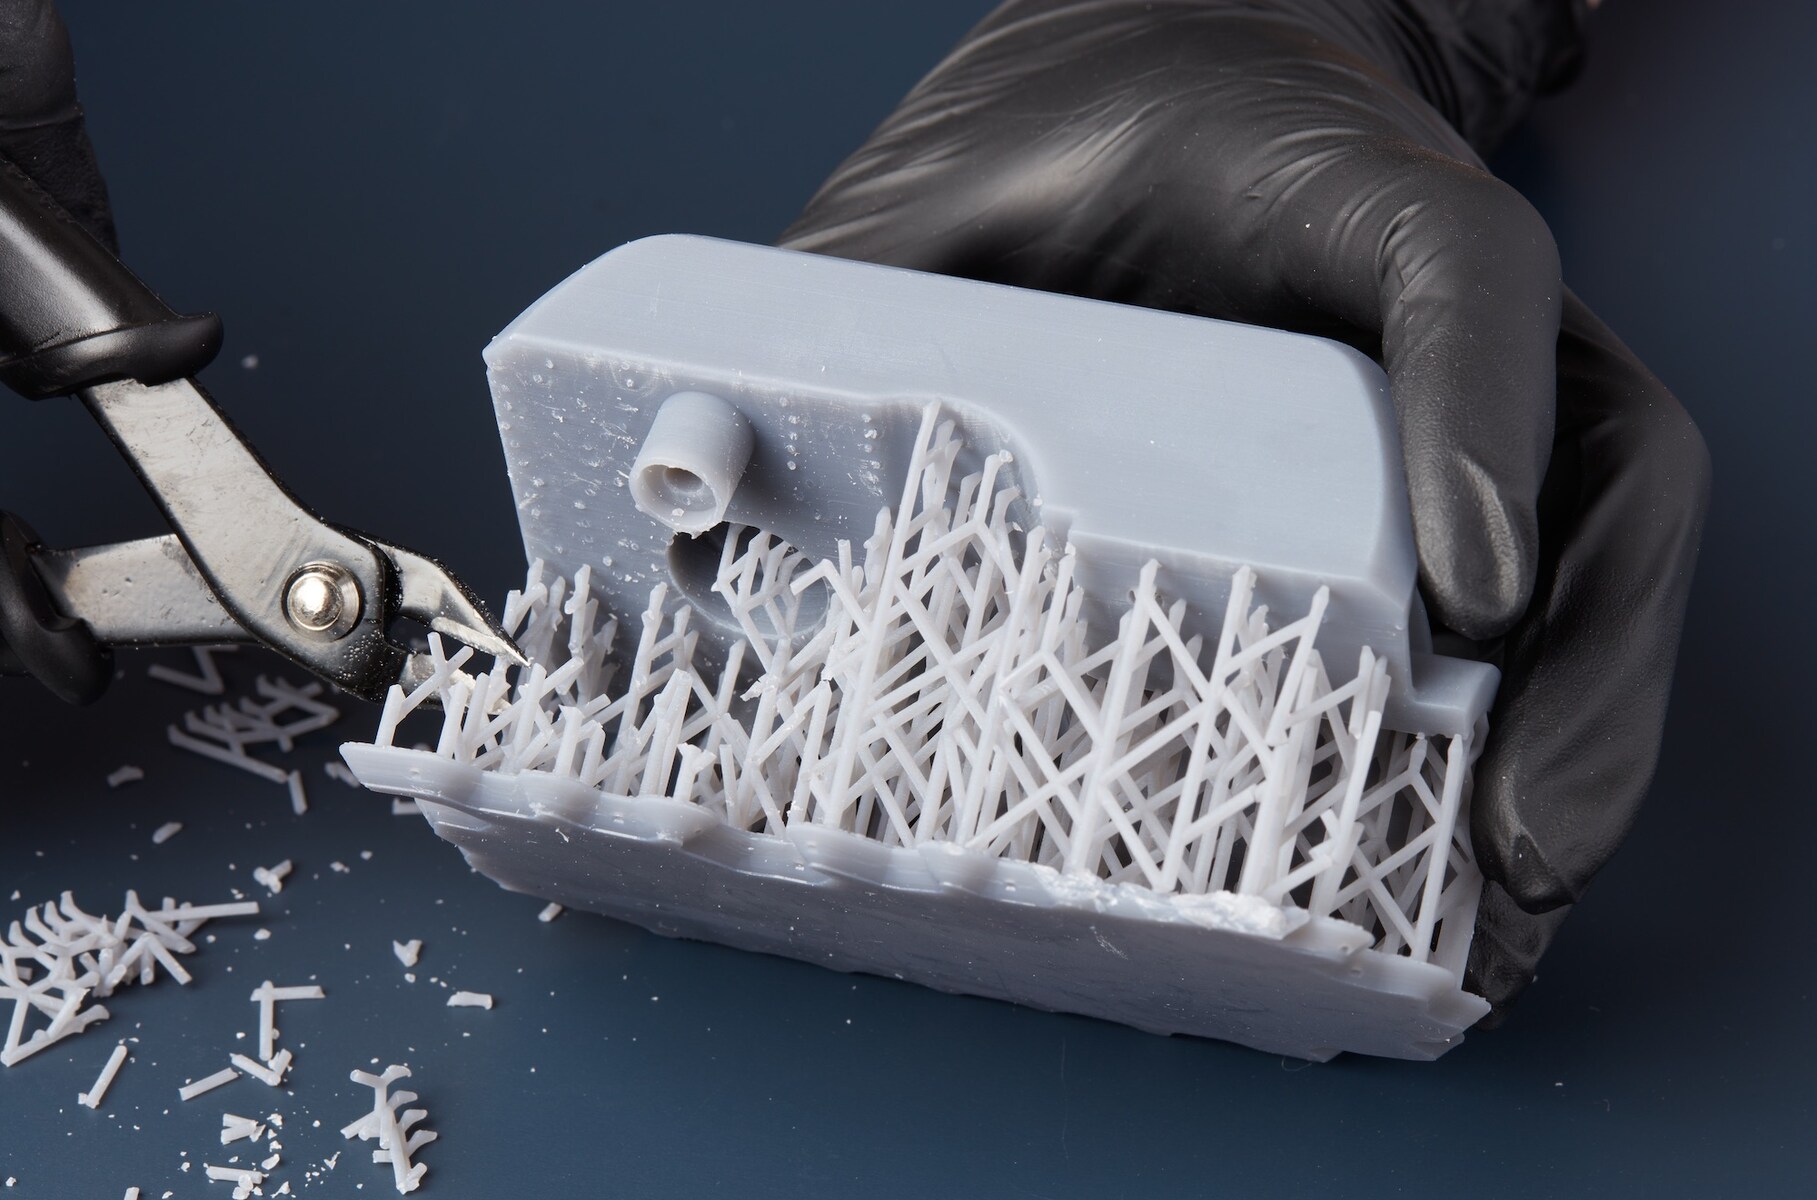
Method 1: Manual Support Removal
One of the most common and straightforward methods of removing 3D printer supports is through manual removal. This method involves using basic hand tools to carefully cut or snap off the supports from your print.
Here’s a step-by-step guide on how to manually remove supports:
- Inspect your 3D print and identify the areas where supports are attached.
- Use flush cutters to trim the supports as close to the print as possible. Be careful not to cut into or damage the main print.
- If there are any remaining support pieces, use an X-Acto knife to carefully slice and remove them. Take your time to avoid any accidental damage to the print.
- Once the majority of the supports are removed, use needle files to smooth out any rough edges left behind. This will help to achieve a clean and polished finish.
- If necessary, use sandpaper or sanding sponges of various grits to further refine the surface of your print, especially in the areas where the supports were attached.
- Inspect your print thoroughly to ensure all supports have been removed and that there are no remaining fragments or rough spots.
It’s important to take your time and work carefully during the manual support removal process to avoid damaging the print or leaving behind visible marks. Practice on scrap prints or less important projects before attempting support removal on more intricate or valuable prints.
While manual support removal can be time-consuming, it is a reliable method that allows for precise control over the removal process. With practice and patience, you can achieve clean and professional-looking prints using this method.
Method 2: Using Heat and Cold
Another effective method for removing 3D printer supports is by using a combination of heat and cold. This technique is particularly useful when dealing with supports made from materials that soften or become more brittle under specific temperature conditions.
Here’s how you can use heat and cold to remove supports:
- Identify the areas where supports are attached to your 3D print.
- Apply heat to the supports using a heat gun or a hairdryer set to a low temperature. Heat helps to soften the supports, making them easier to remove.
- Gently wiggle or twist the supports while still applying heat to detach them from the print. Be cautious not to use excessive force, as it may damage the print.
- If the supports are resistant, you can carefully apply cold to make them more brittle. This can be done by placing the print in a freezer or applying a cold pack directly to the supports.
- Once the supports have become brittle, you can snap them off more easily. Using gloves, grip the supports close to the print and apply gentle pressure to break them away.
- After removing the supports, inspect the print for any remaining fragments or rough spots. Use needle files or sandpaper to smooth out any imperfections.
It’s important to note that the effectiveness of this method may vary depending on the type of material used for the supports and the specific temperature conditions applied. Experimentation and practice will help you determine the optimal heat and cold settings for different prints.
While using heat and cold can be an effective method for removing supports, it’s essential to take precautions to avoid damaging the print. Be mindful of overheating the print or applying excessive force, as this can lead to warping or breakage. Practice on less critical prints before attempting this method on more valuable or intricate projects.
Using heat and cold in combination with careful handling can provide a convenient and efficient way to remove supports from your 3D prints, especially when dealing with supports made from materials that are sensitive to temperature changes.
Method 3: Dissolvable Supports
When dealing with complex and intricate prints, dissolvable supports can be a game-changer. This method involves using a support material that is soluble in a specific solvent, making support removal much easier and leaving behind a clean finish.
Here’s how you can utilize dissolvable supports to remove supports from your 3D prints:
- First, ensure that your 3D printer is capable of utilizing dissolvable support materials. PLA prints can be paired with PVA (Polyvinyl Alcohol) supports, while ABS prints can be paired with HIPS (High-Impact Polystyrene) supports.
- Set up your 3D printer to print both the main object and the supports using different materials. This may require multiple extruders or dual extrusion capability.
- Print your model with the dissolvable support material, making sure that the supports are positioned correctly under the overhangs or intricate areas.
- Once the print is complete, remove it from the build plate and submerge it in a container filled with the appropriate solvent for the support material.
- Allow the print to soak in the solvent for a specified amount of time, typically a few hours or overnight, depending on the size and complexity of the print. The solvent will gradually dissolve the supports, leaving the main object unaffected.
- After the supports have dissolved, remove the print from the solvent and rinse it with clean water to remove any residue.
- Inspect the print for any remaining support fragments or rough edges. Use needle files or sandpaper to smooth out any imperfections.
Using dissolvable supports can save you considerable time and effort compared to traditional support removal methods. This method is especially effective for prints with complex geometries or internal cavities that are difficult to access manually.
However, it’s important to ensure that your printer is compatible with dissolvable support materials and that you have access to the appropriate solvents. Additionally, be aware that using dissolvable supports may require additional setup and maintenance of your 3D printer.
By utilizing dissolvable supports, you can achieve cleaner and more intricate prints, as well as simplify the support removal process, resulting in high-quality finished products.
Method 4: Support Removal Assisted Tools
In addition to manual techniques, there are various support removal tools available in the market that can assist in the efficient removal of supports from your 3D prints. These tools are specifically designed to make the process easier and minimize the risk of damaging the print.
Here are some support removal assisted tools that you can consider:
- Support Removal Pliers: These specialized pliers have a unique design with curved or angled tips that make it easier to grip and snap off supports. They provide better leverage and control, especially when dealing with supports in hard-to-reach areas.
- Support Removal Tweezers: These tweezers are designed with a thin and pointed tip that allows for precise and delicate support removal. They are particularly useful for removing small or fragile supports.
- Support Removal Blades: These blades have a flat and sharp edge that can be gently slid under the supports, making it easier to lift and remove them without damaging the print. They are ideal for scraping off stubborn supports.
- Support Removal Knives: These knives have a curved or hooked blade specifically designed for reaching and removing supports attached to complex or hard-to-reach areas of a print. They provide better access and control while minimizing the risk of accidental damage.
When using support removal assisted tools, it’s important to exercise caution and attentiveness. Gradually and carefully work your way around the print, ensuring that you’re not applying excessive force that could lead to unintended damage. Use the tools in combination with manual techniques to achieve the best results.
Before investing in any support removal tools, it’s advisable to research and read reviews to find tools that are reliable, durable, and suitable for your specific requirements.
By utilizing support removal assisted tools, you can simplify the support removal process and achieve cleaner and more precise results, especially for prints with intricate designs or challenging support locations.
Tips and Tricks for Easier Removal
Removing supports from 3D prints can sometimes be a challenging task, but with the following tips and tricks, you can make the process easier and achieve better results:
- Print with Minimal Supports: When designing your models, try to minimize the need for supports by optimizing the orientation and design of your prints. This can help reduce the amount of supports required and make the removal process easier.
- Adjust Support Settings: Experiment with your slicing software settings to optimize the support structures. Adjusting parameters such as support density, angle threshold, and z-gap can help you achieve better support removal results.
- Start with Manual Removal: Begin by manually removing supports using flush cutters and other hand tools. This allows for greater control and precision, especially when removing supports close to the print surface.
- Use Proper Lighting: Adequate lighting can help you identify areas where supports are attached more easily. Use a well-lit workspace or consider using additional lighting sources, such as a desk lamp, to enhance visibility.
- Work in Sections: Instead of trying to remove all supports at once, focus on one section at a time. This approach allows you to maintain control and prevent accidental damage to the print while ensuring thorough removal of the supports.
- Take Breaks: Support removal can be a time-consuming process, so don’t rush it. Take regular breaks to rest your hands and maintain focus. This will help prevent fatigue and improve your overall precision and accuracy.
- Inspect and Clean: After removing supports, inspect your print carefully for any remaining support fragments or rough edges. Use needle files, sandpaper, or other tools to clean and smooth the surface of the print.
- Practice on Scrap Prints: If you’re new to support removal, practice on scrap prints or less important projects before attempting it on valuable or intricate prints. This will help you gain confidence and develop your technique.
- Learn from Others: Join online forums, communities, or social media groups focused on 3D printing. Engaging with other enthusiasts can provide valuable insights, tips, and tricks for successful support removal.
- Be Patient: Support removal can be a time-consuming process, especially for complex or large prints. Stay patient, take your time, and remember that the end result will be worth the effort.
Implementing these tips and tricks can significantly improve your support removal experience. Remember, practice makes perfect, and as you gain experience, you’ll become more efficient in removing supports and achieving cleaner and more professional-looking prints.
Conclusion
Removing 3D printer supports is an important step in the post-processing of prints to achieve a clean and professional-looking result. Whether you opt for manual removal, utilize heat and cold, dissolve supports, or use support removal assisted tools, each method has its own advantages and is suitable for different types of prints.
By understanding the purpose of supports and the potential challenges they can pose, you can approach support removal with confidence. Remember to gather the necessary tools and materials, be patient, and practice caution to avoid damaging your prints during the removal process.
Experiment with different techniques, adjust slicer settings, and leverage the power of dissolvable supports to optimize your support removal process. Additionally, incorporating tips and tricks such as working in sections, inspecting and cleaning, and seeking advice from the 3D printing community will further enhance your support removal skills.
Keep in mind that support removal is an art that requires practice and experience. As you familiarize yourself with the nuances of your printer, materials, and designs, you will develop a personal approach and technique that best suits your needs and produces the desired results.
With a combination of patience, care, and continuous improvement, you can master the art of support removal and elevate the quality of your 3D printed creations to new heights.